
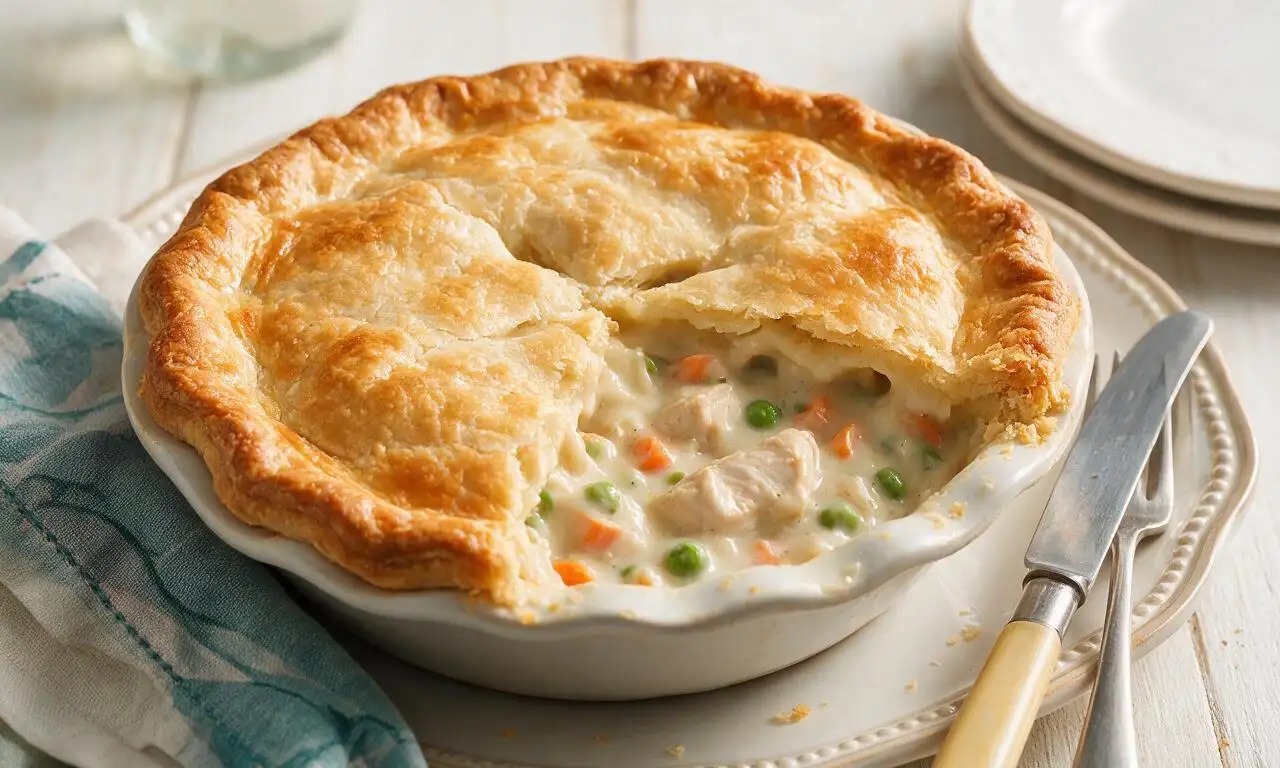
Chicken Pot Pie

title 1
Chicken Pot Pie
⏱️ cook time 1 hour 20 minutes
🍽️ servings 6
⚡ Difficulty medium

intro

Creamy, savory filling loaded with tender chicken and vegetables, tucked under a flaky golden crust for the ultimate cozy, satisfying home-cooked meal.

Ingredients

Boneless skinless chicken thighs 450 grams, cut into 2cm cubes
Unsalted butter 6 tablespoons (85 grams)
Olive oil 1 tablespoon (15ml)
Yellow onion 1 medium (150 grams, diced)
Carrots 2 medium (120 grams, diced)
Celery 2 stalks (100 grams, diced)
Frozen green peas 1 cup (150 grams)
All-purpose flour 1/3 cup (40 grams)
Low-sodium chicken broth 2 cups (480ml)
Heavy cream 1/2 cup (120ml)
Dried thyme 1 teaspoon
Garlic powder 1/2 teaspoon
Kosher salt 1 teaspoon, divided
Black pepper 1/2 teaspoon, divided
Refrigerated pie crusts 2 (9-inch/23cm) rounds
Large egg 1 (50 grams, beaten, for egg wash)

Steps

1

Cook the chicken

Heat 1 tablespoon (15ml) olive oil in a large Dutch oven over medium stovetop heat (175°C/350°F). Add the 450g cubed chicken, season with 1/2 teaspoon kosher salt and 1/4 teaspoon black pepper. Cook for 6-7 minutes, stirring occasionally, until chicken is golden on all sides and reaches an internal temperature of 74°C/165°F. Transfer cooked chicken to a clean plate and set aside.
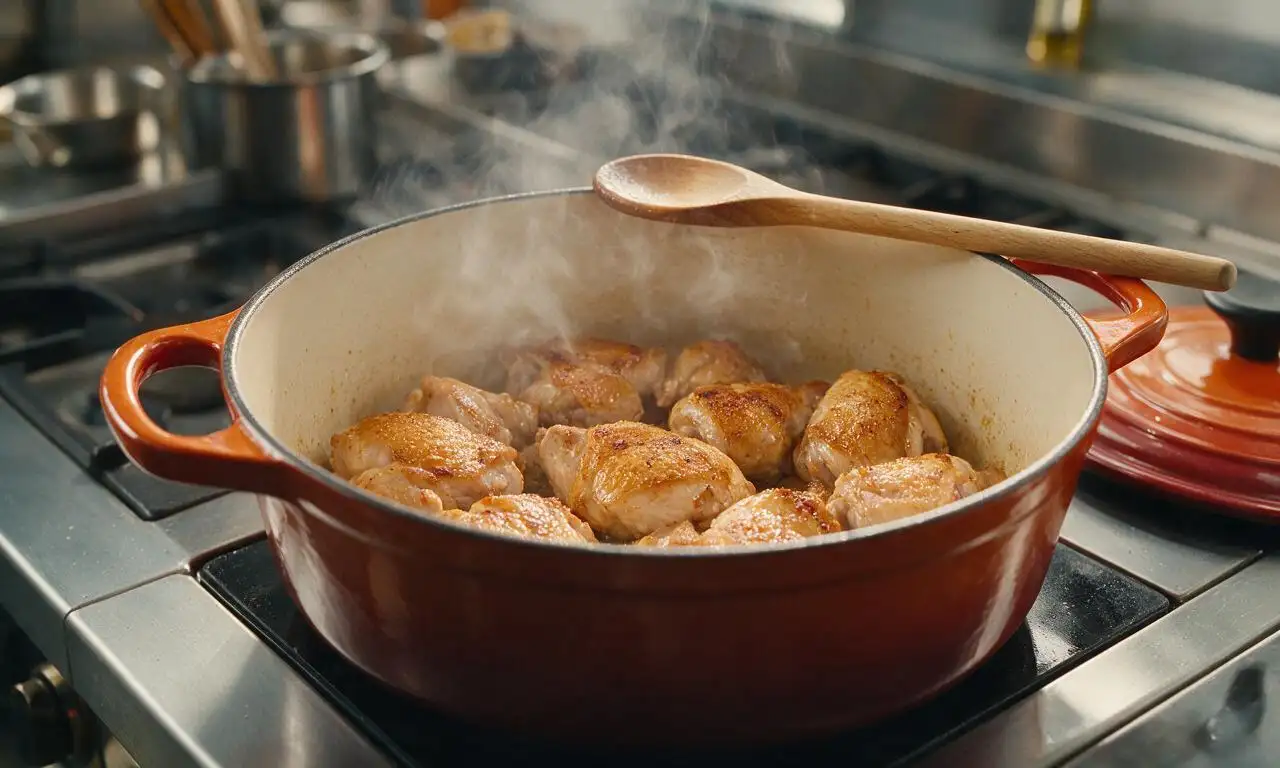
Step 1
step1:Cook the chicken
2

Sauté the vegetables

In the same unwashed pot, add 6 tablespoons (85g) unsalted butter and melt over medium heat. Add 150g diced yellow onion, 120g diced carrot, and 100g diced celery. Cook for 8 minutes, stirring occasionally, until vegetables are tender and onion is translucent. Stir in 1 teaspoon dried thyme and 1/2 teaspoon garlic powder, and cook for 30 seconds until fragrant.
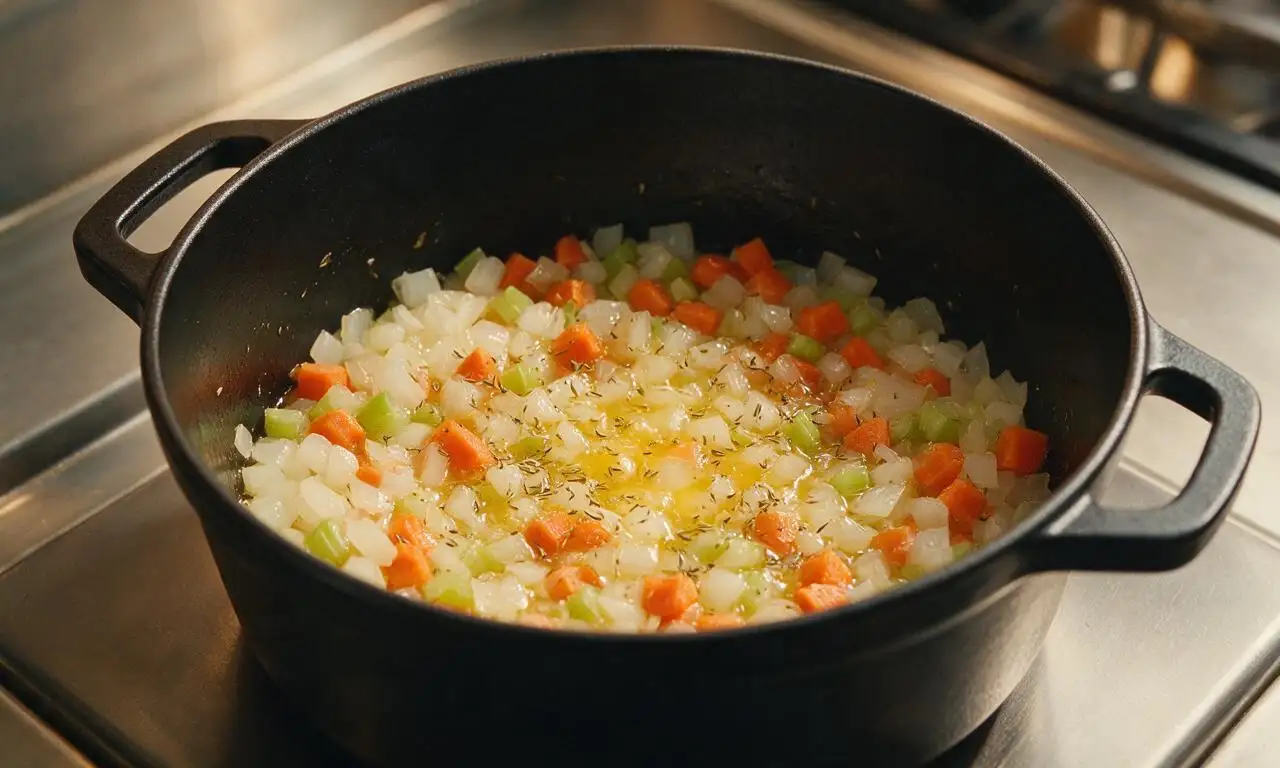
Step 2
step2:Sauté the vegetables
3

Make the creamy sauce

Sprinkle 1/3 cup (40g) all-purpose flour over the cooked vegetables, stir constantly to coat all pieces evenly, and cook for 2 minutes to eliminate raw flour taste. Slowly pour in 2 cups (480ml) low-sodium chicken broth while whisking continuously to prevent lumps, then stir in 1/2 cup (120ml) heavy cream. Reduce heat to medium-low, bring the mixture to a gentle simmer, and cook for 3-4 minutes until the sauce thickens enough to coat the back of a metal spoon.
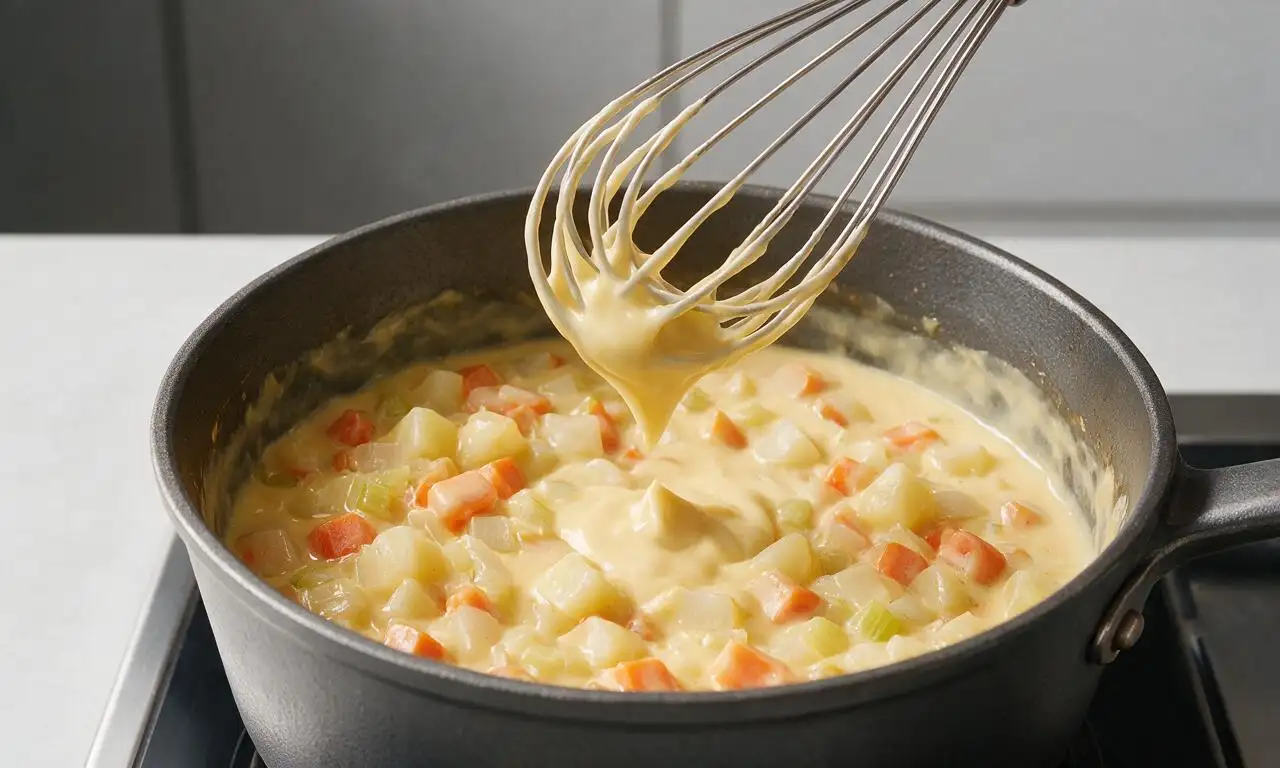
Step 3
step3:Make the creamy sauce
4

Combine the filling

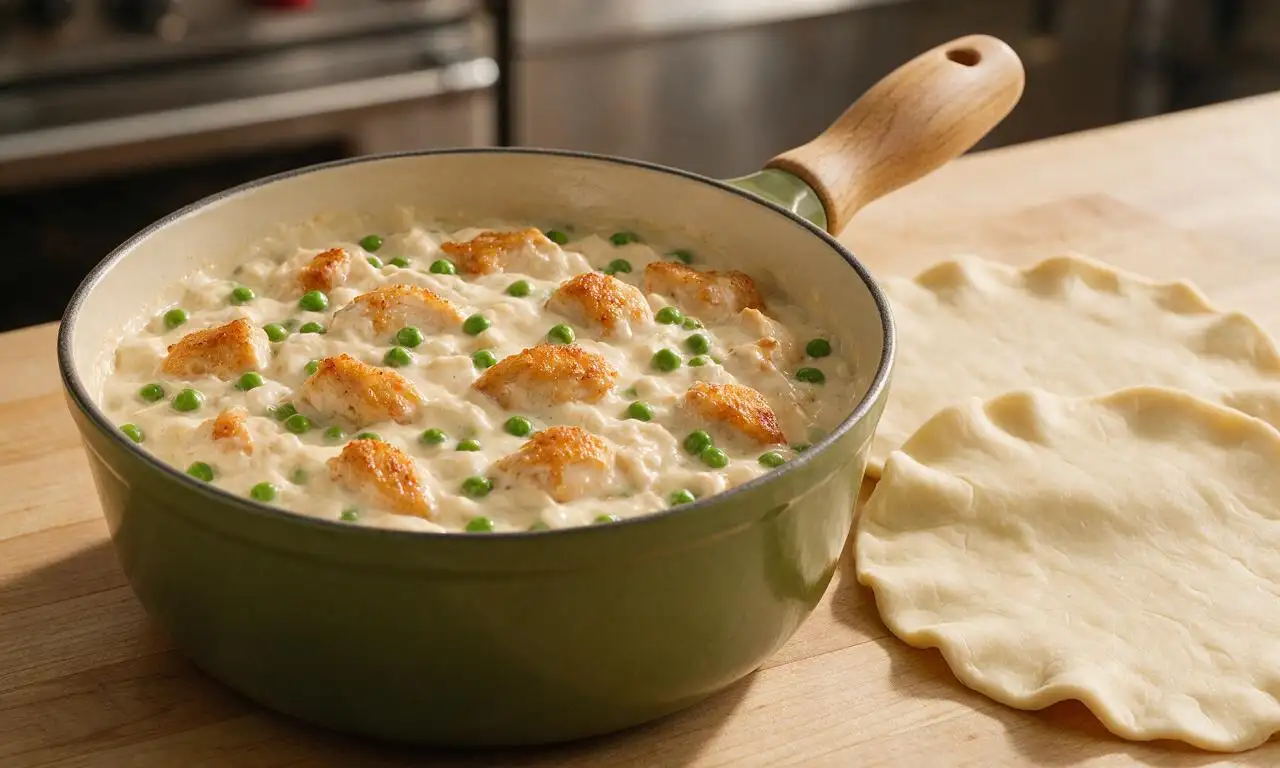
Add the reserved cooked chicken, 1 cup (150g) frozen peas, remaining 1/2 teaspoon kosher salt, and remaining 1/4 teaspoon black pepper to the thickened sauce. Stir gently to evenly distribute all ingredients, then remove the pot from heat. Let the filling cool for 10 minutes at room temperature before assembly to prevent the bottom crust from becoming soggy.
Step 4
step4:Combine the filling
5

Assemble the pot pie

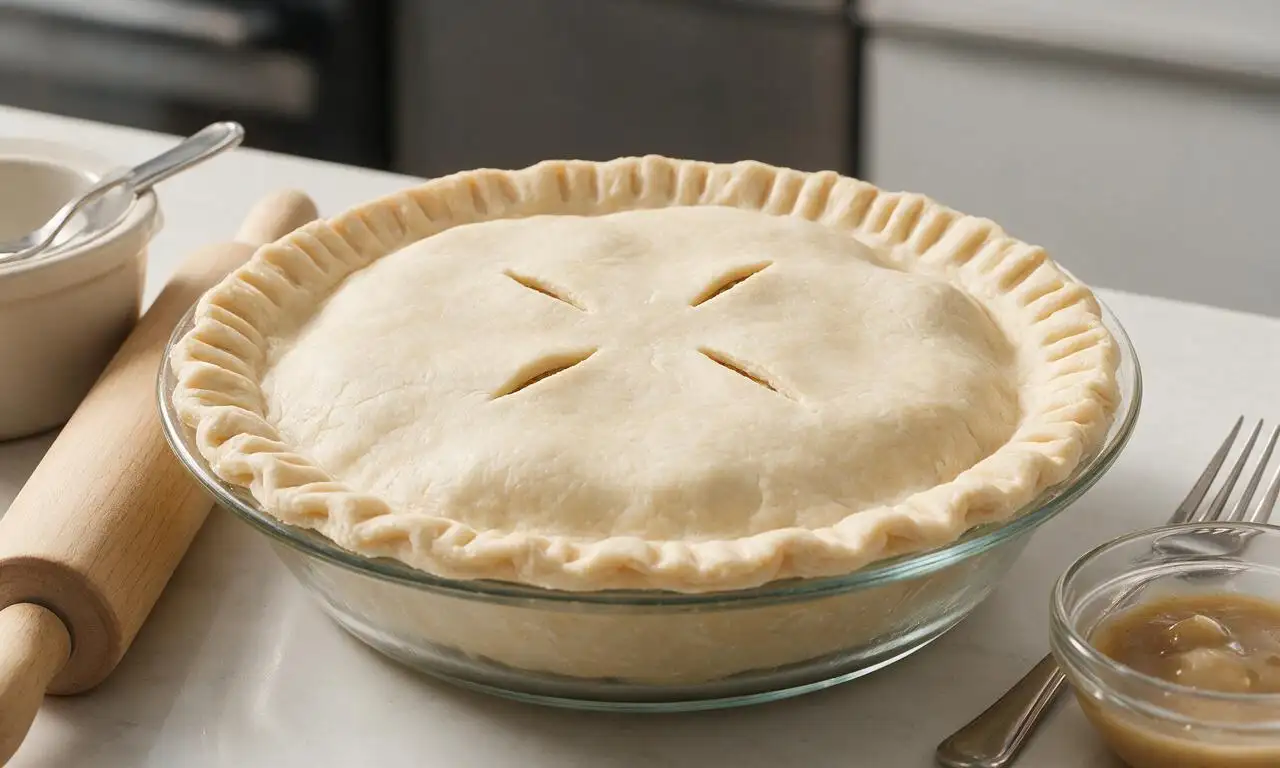
Preheat oven to 200°C/400°F. Unroll one 9-inch pie crust round and press it firmly into the bottom and up the sides of a 9-inch (23cm) deep-dish glass pie plate, trimming excess crust to leave a 1cm (1/2 inch) overhang past the plate edge. Pour the cooled filling evenly into the crust-lined plate. Unroll the second pie crust round and drape it over the top of the filling. Press the edges of the top and bottom crusts together firmly to seal, then crimp edges with your fingers or a fork. Cut 4 small 2cm slits in the top crust to allow steam to escape during baking.
Step 5
step5:Assemble the pot pie
6

Bake the pot pie

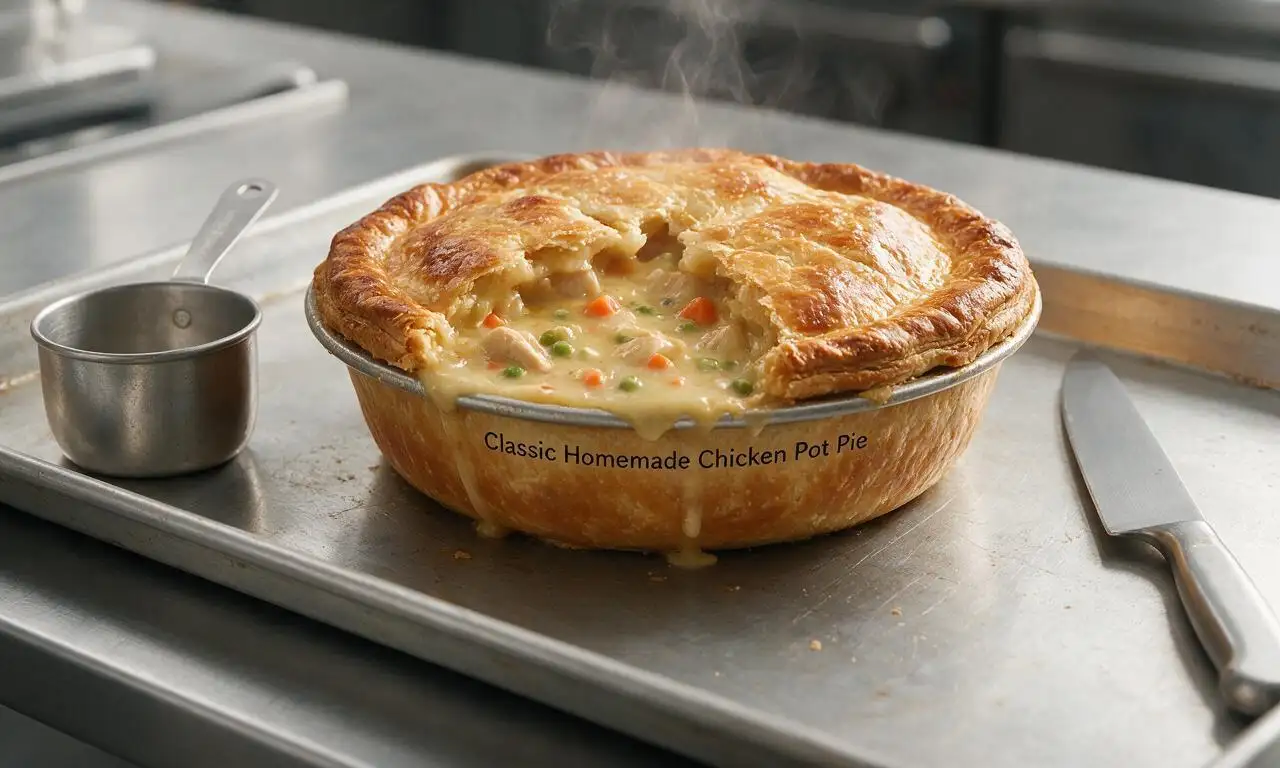
Brush the entire top crust and crimped edges with the beaten egg to create a shiny, deep golden finish. Place the pie plate on a rimmed baking sheet to catch any bubbling drips, then bake on the middle oven rack for 35-40 minutes, until the crust is rich golden brown and the filling bubbles vigorously through the top slits. If crust edges brown too quickly, cover them with thin strips of aluminum foil halfway through baking to prevent burning.
Step 6
step6:Bake the pot pie
7

Rest before serving

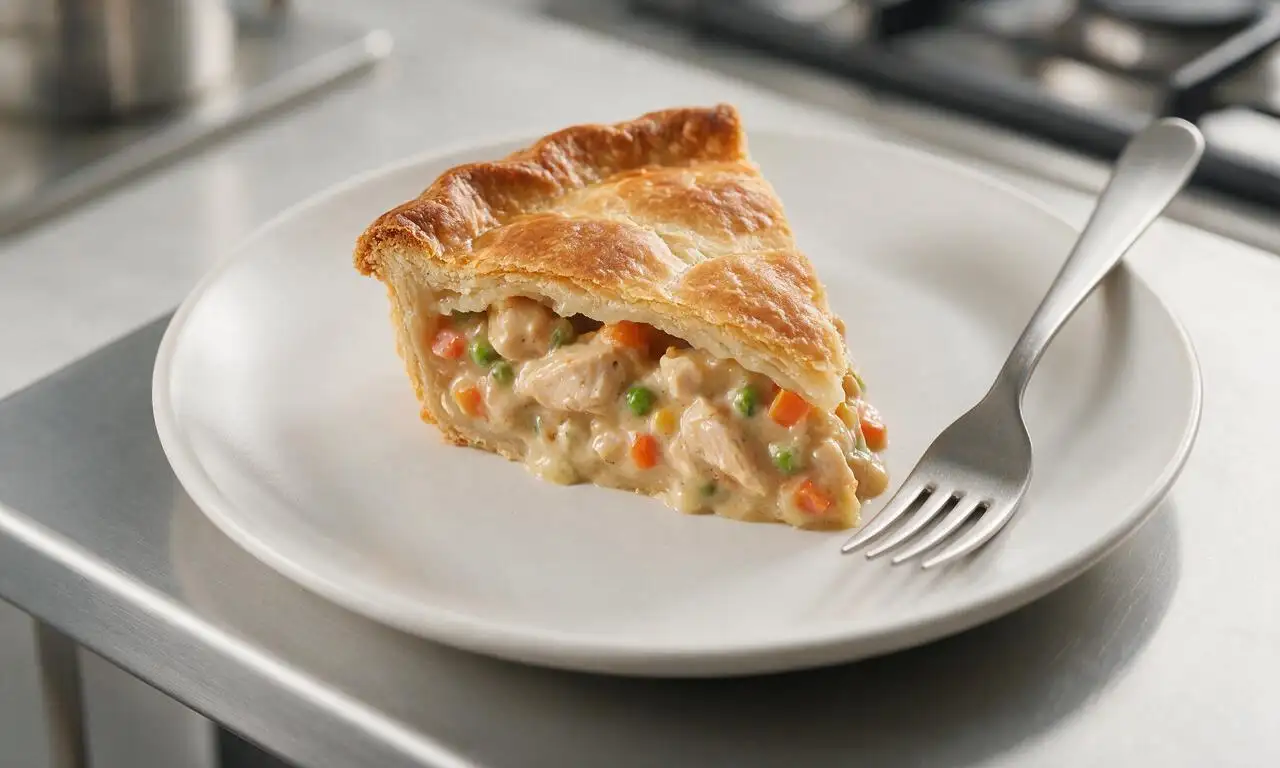
Remove the baked pie from the oven and let it rest at room temperature for 15 minutes before slicing, to allow the creamy filling to set and prevent runny, messy slices. Serve warm.
Step 7
step7:Rest before serving

Tips

1.Always let the hot filling cool for 10 minutes before adding the top crust, as hot filling will melt the crust’s butter and lead to a soggy bottom.
2.Keep pie crusts chilled until you are ready to use them; warm crust will shrink during baking and produce a tough, less flaky texture.
3.For extra depth of flavor, replace 1/2 cup of chicken broth with dry white wine when making the creamy sauce, if desired.


✨ You May Also Like

Main Course
🍜 United Kingdom

A showstopping classic of tender seared beef, savory mushroom duxelles, and crisp prosciutto wrapped in flaky golden puff pastry, baked to juicy perfection.

⏱️ 2 hours 1Main Course ★ 4.7
Main Course
🍜 India

Tender charred marinated chicken simmered in a rich, spiced creamy tomato sauce, this iconic Anglo-Indian curry pairs perfectly with basmati rice or warm naan.

⏱️ 50 minuteMain Course ★ 4.6
Main Course
🍜 Thailand

Classic tangy, sweet, and savory Thai stir-fried rice noodles with shrimp, tofu, and crunchy garnishes, balancing all five core Thai flavor profiles.

⏱️ 30 minuteMain Course ★ 4.5
Main Course
🍜 United Kingdom

Crispy golden beer-battered cod and fluffy double-fried chips, served with tangy tartar sauce and malt vinegar: the timeless, beloved British pub comfort classic.

⏱️ 45 minuteMain Course ★ 4.7
Main Course
🍜 Mexico

Smoky, chile-marinated pork tacos with caramelized pineapple, fresh cilantro, and lime: a beloved classic Mexican street food perfect for casual summer gatherings.

⏱️ 1 hour 45Main Course ★ 4.8
Main Course
🍜 United States

Crunchy Fritos corn chips layered with savory beef chili and melted cheddar, topped with cool, zesty fixings for a beloved, cozy Tex-Mex comfort food.

⏱️ 35 minuteMain Course ★ 4.8

Chicken Pot Pie:Frequently Asked Questions

1.Why do you use boneless skinless chicken thighs instead of chicken breast for this pot pie? ▾
Boneless, skinless chicken thighs stay far juicier and more tender through the double cooking process (searing then baking) than lean breast meat, which easily dries out. They also have a deeper, savorier flavor that complements the creamy, vegetable-heavy filling perfectly. If you strongly prefer white meat, cut breast into ½-inch chunks and reduce simmer time by 2 minutes to avoid toughness.
2.Can I make the pot pie filling ahead of time to save prep on busy weeknights? ▾
Absolutely! You can cook the full chicken and vegetable filling, let it cool completely, and store it in an airtight container in the fridge for up to 3 days before assembling and baking. Never pour warm filling directly onto your crust, as it will melt the crust’s butter and lead to a soggy, dense bottom instead of a light, flaky finish.
3.Why does the recipe call for both unsalted butter and olive oil when sautéing the filling base? ▾
This combo gives you the best of both worlds: unsalted butter adds that rich, nutty, classic pot pie flavor to the onion and carrot base, while olive oil raises the butter’s smoke point so it doesn’t burn as you soften veggies over medium heat. Using unsalted butter also lets you control exactly how much salt goes into the filling, so it never comes out overly salty.
4.My pot pie always has a soggy bottom crust—how do I prevent that? ▾
Soggy bottom crust is one of the most common pot pie pitfalls! First, always make sure your filling is fully cooled before adding it to the crust, as hot filling melts raw crust immediately. For extra insurance, you can blind bake the bottom crust for 8 minutes at 400°F, or brush the inside of the unbaked crust with a thin layer of beaten egg white to create a moisture-blocking seal.
5.Can I use frozen pre-cut vegetables instead of fresh yellow onion and carrots to save prep time? ▾
You absolutely can, for a faster weeknight version of this pie. Just thaw the veggies first and pat them very dry with paper towels before sautéing—frozen veggies release a lot of excess water as they thaw, which will make your filling runny and dilute that rich, savory flavor if you skip the drying step. Sauté them for 2 fewer minutes than fresh, since they’re already partially cooked.
6.How do I get that perfectly golden, flaky top crust every time I bake this? ▾
For a picture-perfect golden, flaky top crust, start with very cold crust dough—warm dough melts fast and won’t rise into those signature flaky layers. Cut a few 1-inch slits in the top to let steam escape as it bakes, then brush the entire surface with beaten egg mixed with a splash of heavy cream. Cover the crust edges with foil halfway through baking if they brown too quickly.
7.Can I freeze this chicken pot pie to have ready for future quick meals? ▾
This pot pie freezes beautifully for up to 3 months, perfect for easy, cozy future dinners. Assemble the full, unbaked pie in a freezer-safe dish, wrap it tightly in two layers of plastic wrap and one layer of foil, and freeze without baking. When you’re ready to eat, bake it straight from frozen at 375°F for 70 to 80 minutes, until filling is bubbly and crust is deep golden.
8.My pot pie filling always turns out too runny—how do I get the right thick, creamy consistency? ▾
Runny filling usually comes down to undercooking your roux or adding excess water from poorly drained veggies. After melting your butter and sautéing the onion and carrots, whisk in your flour and cook it for 2 full minutes to remove raw flour taste before adding broth and cream. If filling still feels thin, let it simmer 3 to 4 extra minutes to thicken before removing it from heat.
9.Do I have to use homemade pie crust, or is store-bought crust acceptable for this recipe? ▾
You absolutely do not need to make homemade crust to get a delicious, crowd-pleasing result! High-quality store-bought refrigerated pie crust works perfectly here, and is a huge time saver for busy cooks. Look for an all-butter crust for the best flaky texture and rich flavor, and keep it fully chilled until assembly for the best flaky rise.

Comments (4)

2 days ago

OMG this chicken pot pie is a total game changer for our Sunday family dinners! I was nervous because the medium difficulty rating had me worried I’d mess up the flaky crust, but the instructions were so straightforward even I could pull it off. My kids ate two servings each and asked when I’m making it again—total mom win! Quick question: has anyone tried prepping this ahead and freezing it before baking for crazy busy weeknights?

yesterday

I froze one last month! Assemble it fully (don’t bake it first), wrap it tight in two layers of plastic wrap and a layer of foil, and it stays good for up to 3 months. When you’re ready to bake, add 15-20 minutes to the cook time, no thawing needed! Turned out perfect for us when we had out-of-town family drop by last minute with zero warning.

yesterday

So happy your family loved the recipe! Great tip from MidwestMealPrepper too—freezing the unbaked pie works beautifully, just make sure to cut a few extra slits in the top crust before popping it in the oven from frozen to let steam escape. If you freeze it after baking, just reheat covered at 350°F for 25-30 minutes until it’s warmed all the way through!

3 days ago

Brought this to our neighborhood potluck last weekend and people were leaning over the table asking for the recipe before they even finished their first bite! The crust is so buttery and flaky, and the filling has the perfect ratio of chicken to veggies to creamy sauce, no weird gloopy texture like some pot pie recipes have. I added a little extra fresh thyme because I grow it in my windowsill, and it tasted chef’s kiss. 10/10 will be making this again for our next block party next month.

2 days ago

Love that you added fresh thyme—what a delicious, bright upgrade! So stoked it was a hit at the potluck, that’s exactly the kind of cozy, shareable dish this recipe was made for. Thanks for leaving a note about your tweak, I’m sure other readers will love giving that a try too!

1 week ago

I’m not the most confident baker and was low-key intimidated by the medium difficulty tag and 1 hour 20 minute cook time, but I made this last night for weekly meal prep and it was SO good. I used a store-bought rotisserie chicken to cut down on prep time and it still tasted totally from scratch, no one could tell I took a shortcut! My only tiny feedback is I wish the recipe specified what size baking dish to use! I grabbed a 9-inch deep dish pie plate and it was filled almost to the brim, but it didn’t bubble over in the oven so no harm done.

5 days ago

Thanks so much for the honest feedback! A 9-inch deep dish pie plate is actually exactly what we recommend for this recipe—you’re right that it fills up close to the top, so I’m glad it didn’t bubble over for you! Using rotisserie chicken is such a smart time-saver, I do that all the time on busy weeknights when I don’t have extra time to cook chicken from scratch.

5 minutes ago

Made this after a long, freezing day hiking in the Rockies last weekend and it hit so different. Cozy, hearty, and tasted exactly like the chicken pot pies my grandma used to make when I was a kid visiting her farm. I swapped out the peas for extra carrots because I hate peas (don’t @ me) and it was still perfect. Already sent the recipe to my whole hiking group for our next post-adventure group dinner!



