
chicken salad melt
intro
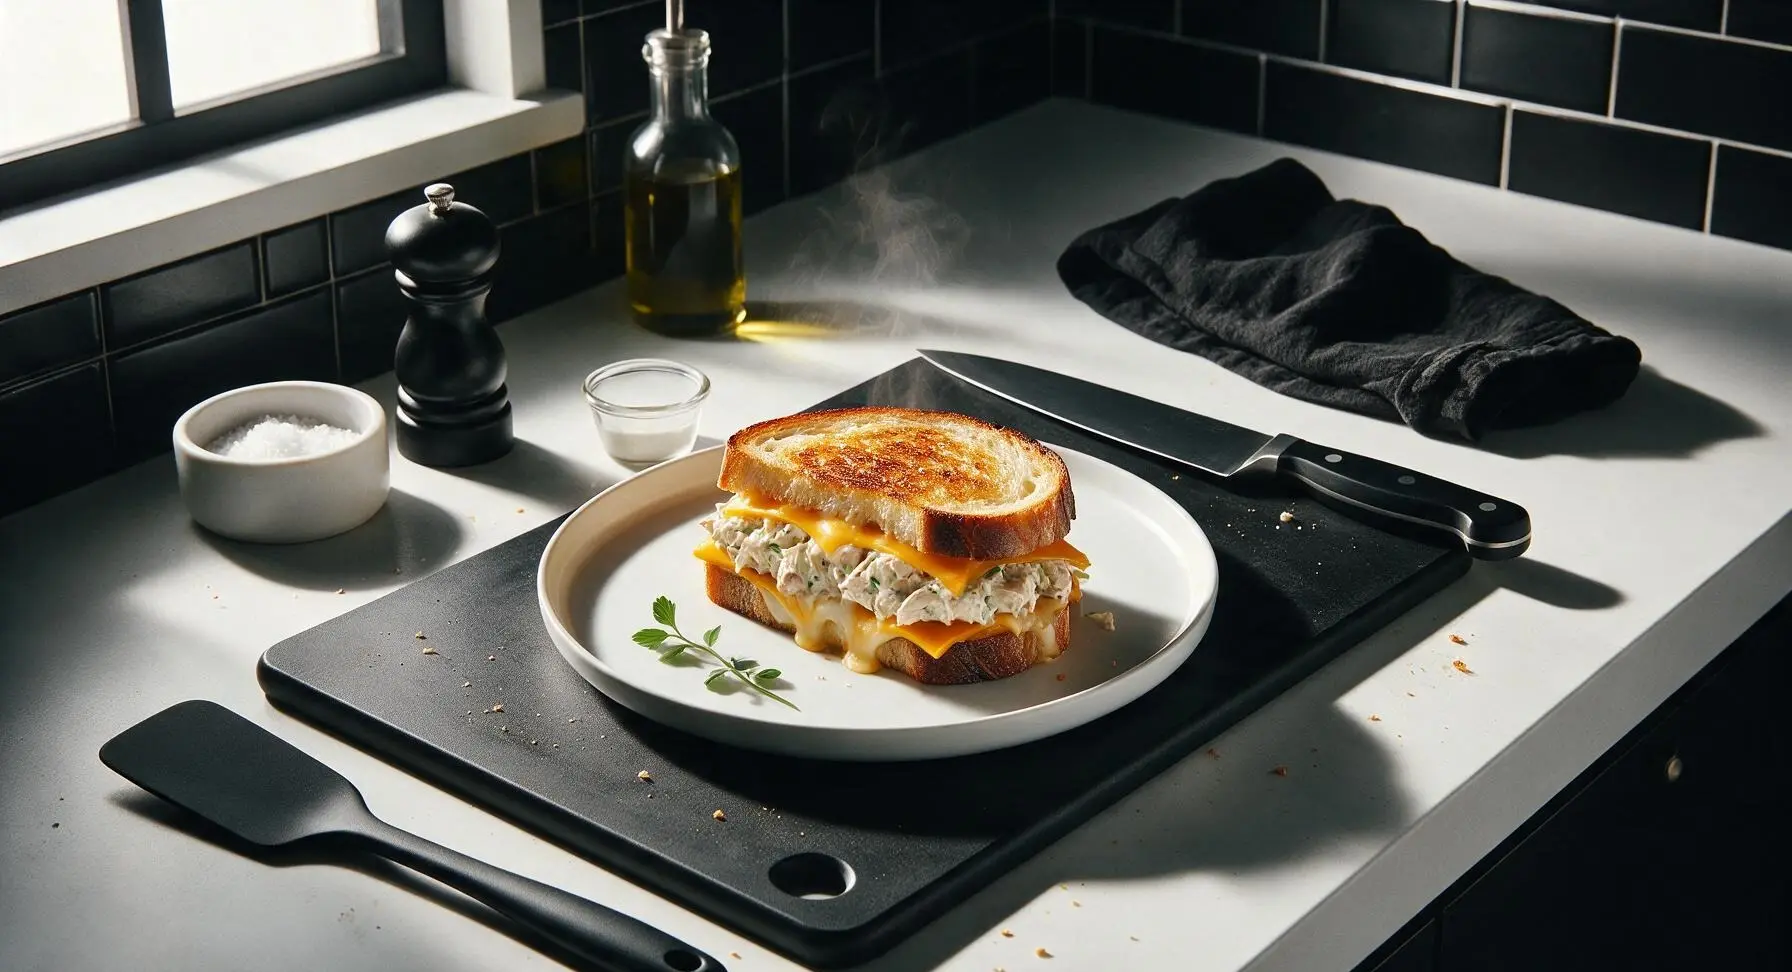
Creamy, crunchy chicken salad piled between sharp cheddar and crusty sourdough, toasted to golden perfection with oozing melted cheese. This cozy, satisfying sandwich comes together in under 30 minutes.
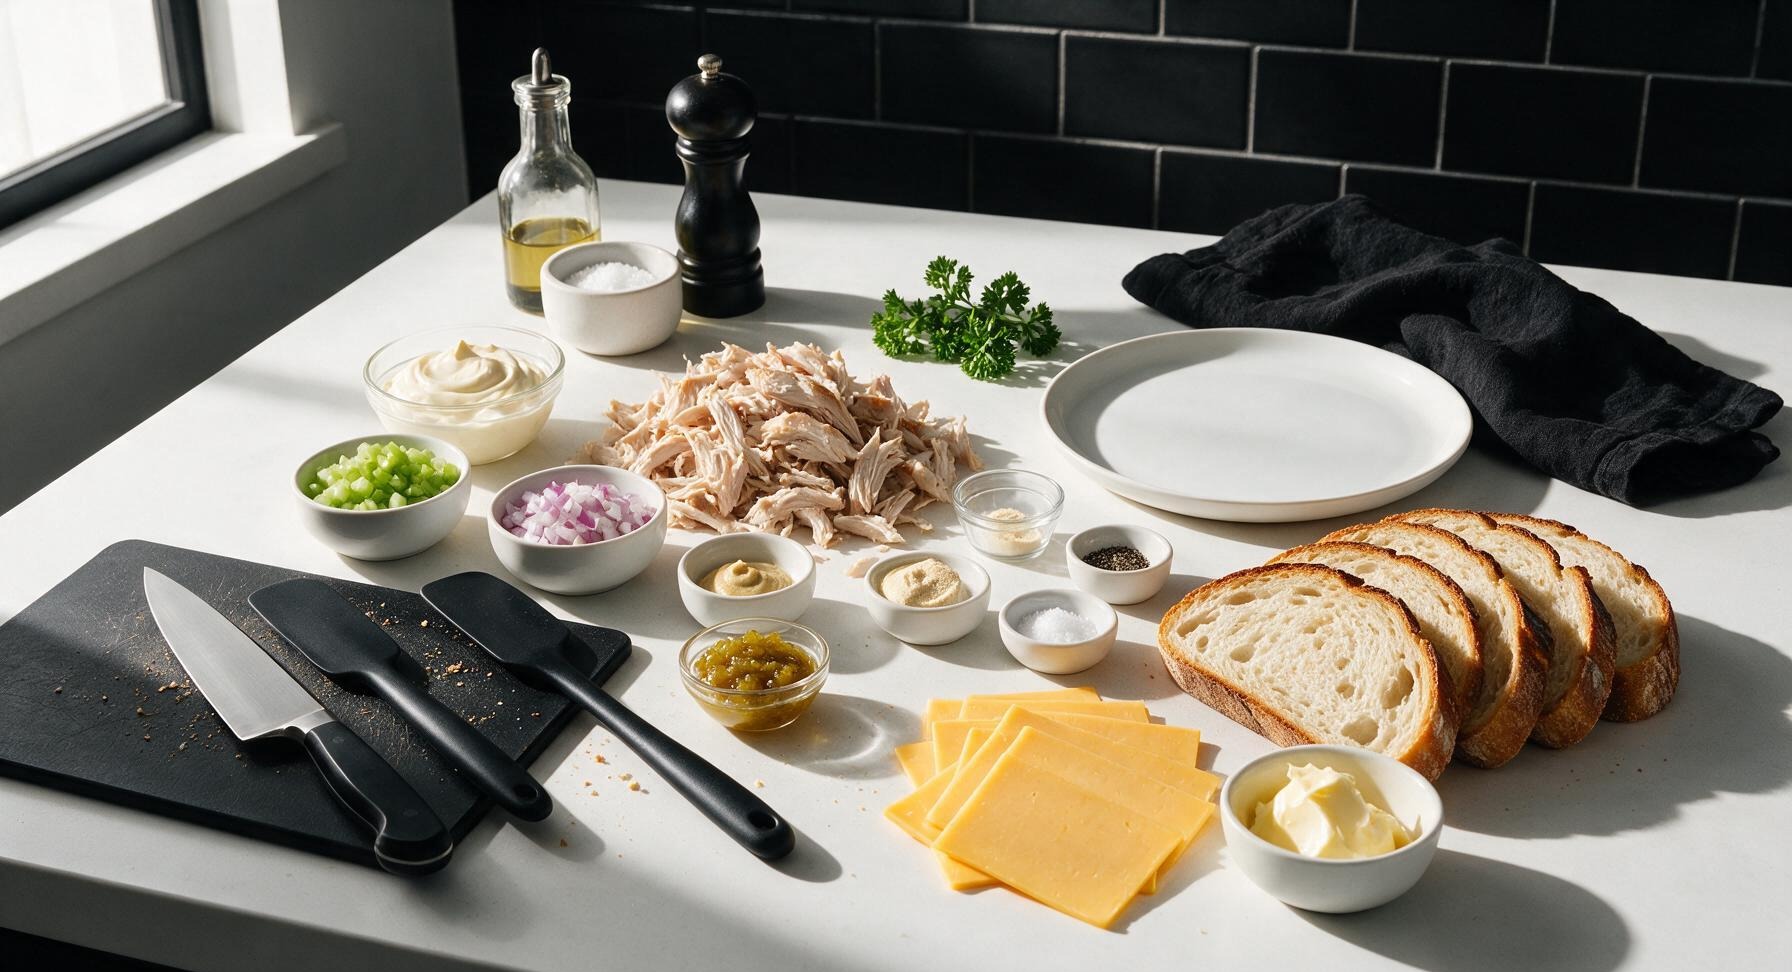
Ingredients
Steps
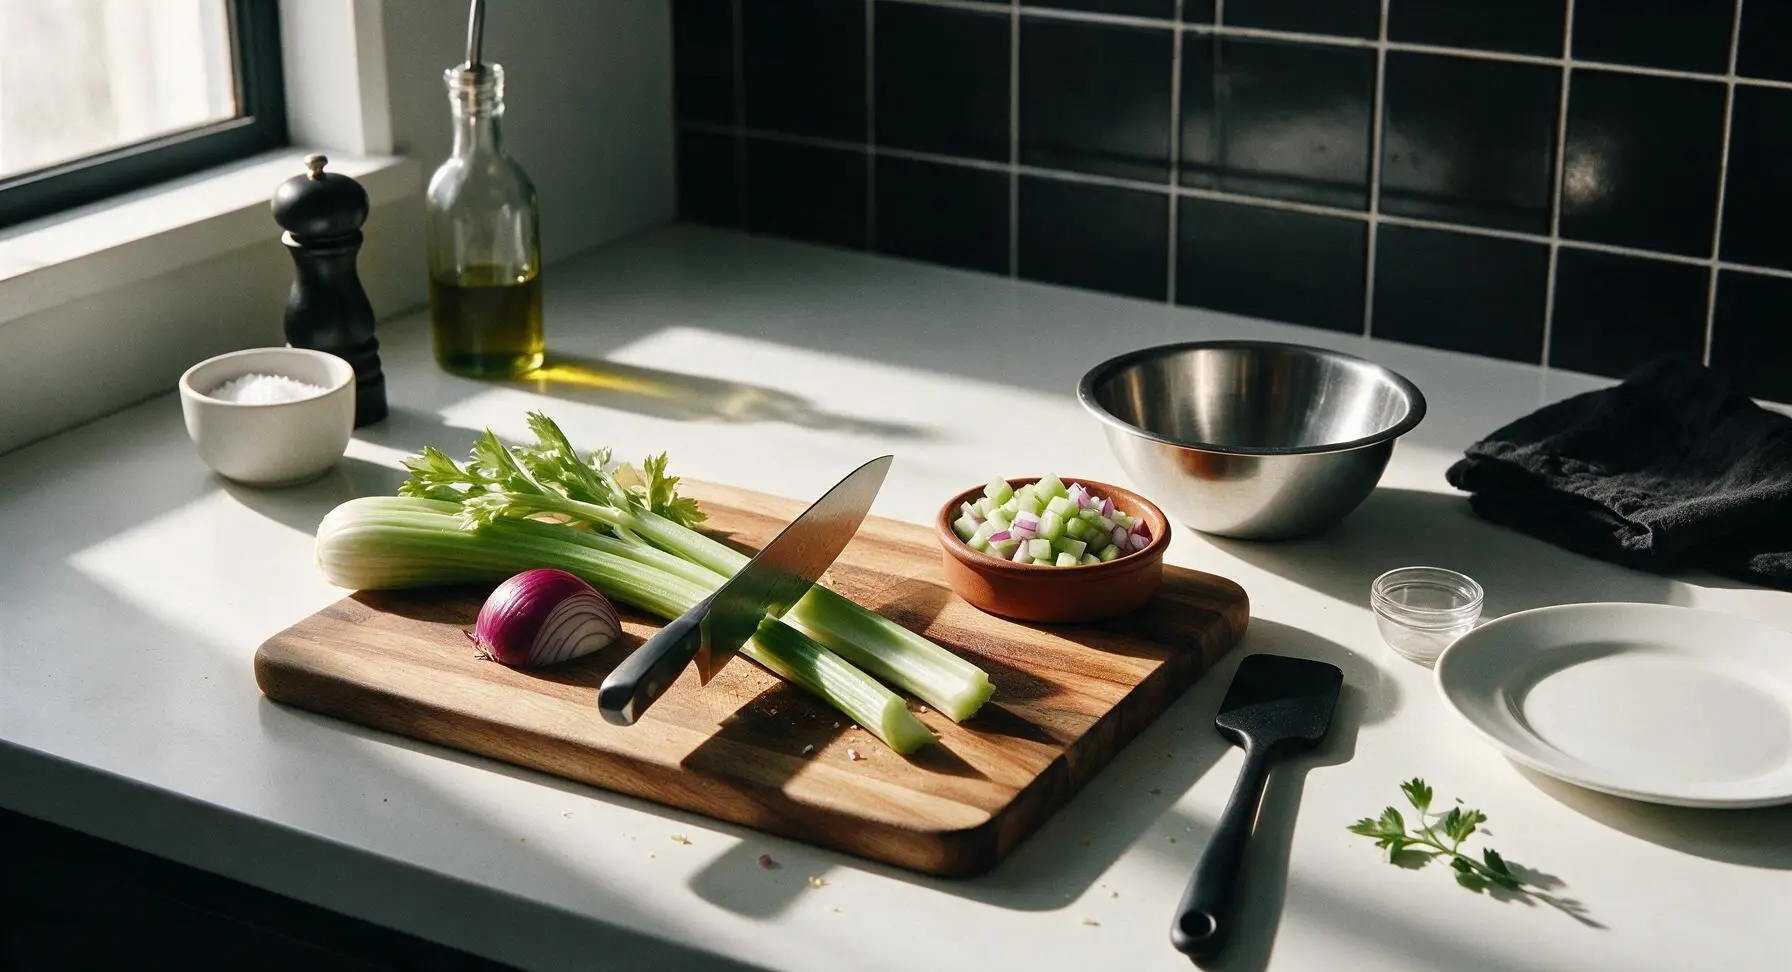
Dice Salad Aromatics
Place the trimmed celery stalk and quartered red onion on the acacia wood cutting board. Using the 8-inch stainless steel chef’s knife with olive green handle, dice both vegetables into uniform 1/4-inch pieces, measuring out 2 tbsp of diced celery and 2 tbsp of diced red onion and setting them aside in the small terracotta ramekin. Discard any tough, stringy celery ribs or dry, papery onion edges as you work.
Mix Chicken Salad Filling
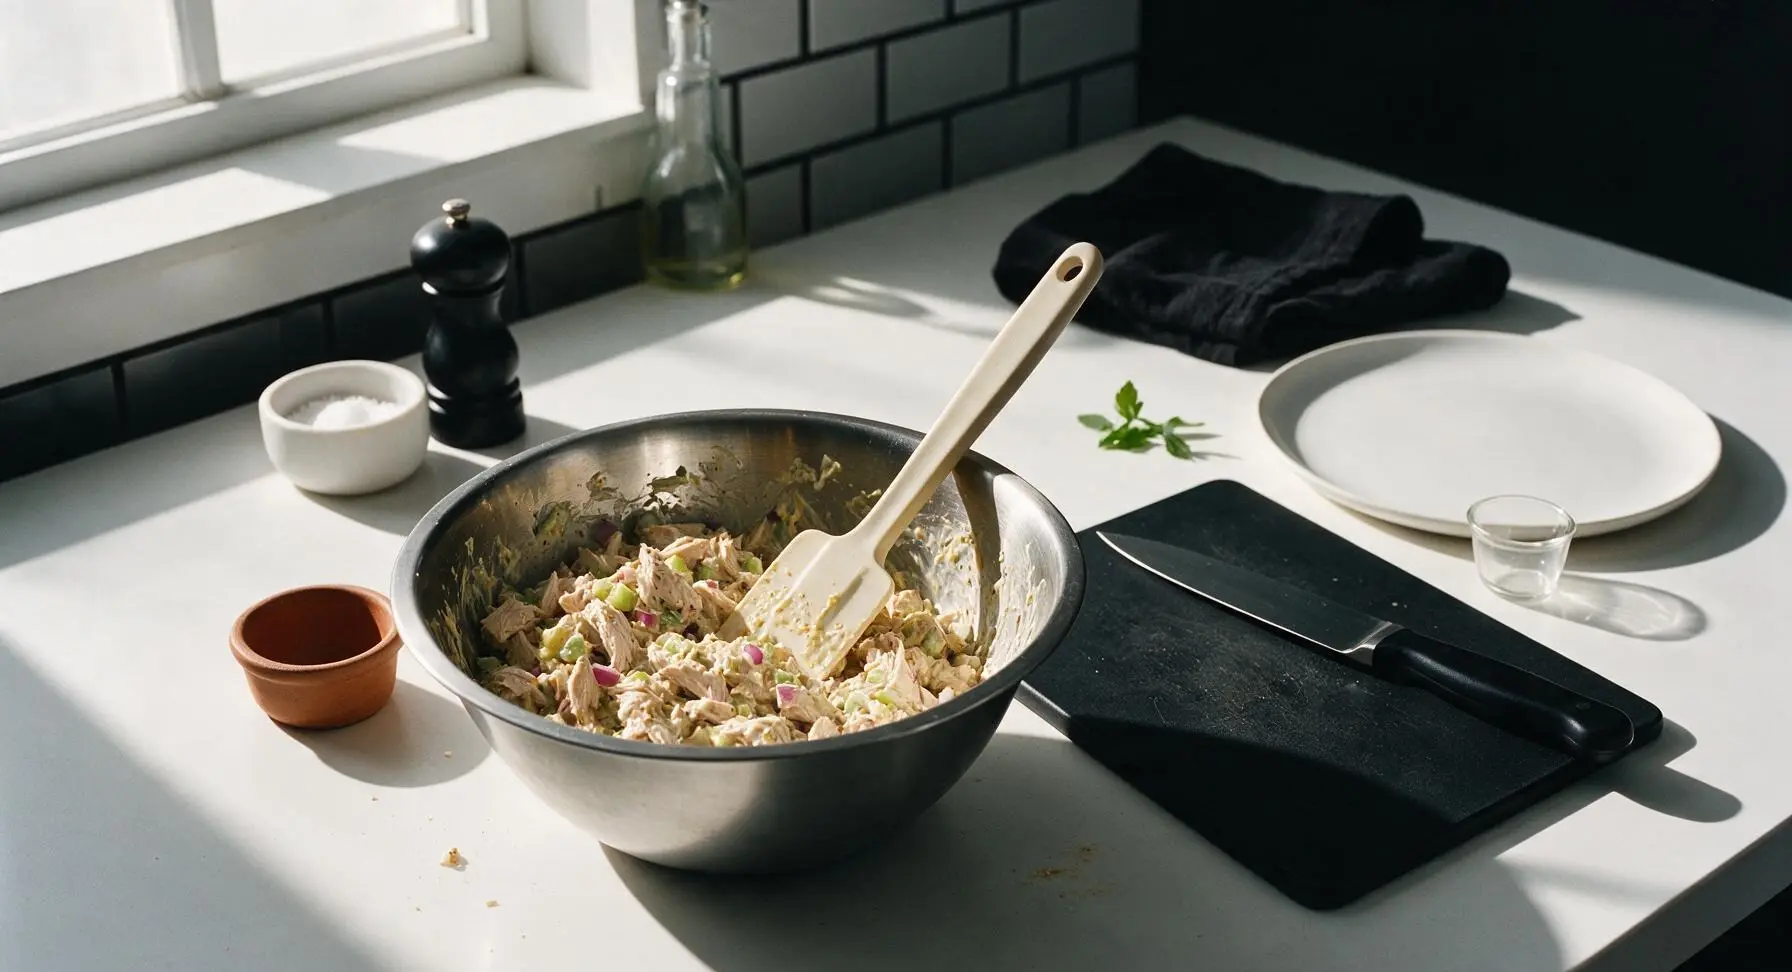
Add the 2 cups shredded rotisserie chicken, measured diced celery and red onion, 1/3 cup mayonnaise, 1 tbsp sweet pickle relish, 1 tsp Dijon mustard, 1/2 tsp garlic powder, 1/4 tsp kosher salt, and 1/4 tsp ground black pepper to the brushed stainless steel mixing bowl. Fold gently with the matte cream silicone spatula until all ingredients are evenly coated, leaving the chicken in tender, bite-sized chunks rather than mashing into a smooth paste. Set the bowl aside for 5 minutes to allow flavors to meld.
Layer Sandwich Components
Lay all 8 thick-cut sourdough slices flat on the acacia wood cutting board. Place one slice of sharp cheddar cheese on every bread slice, pressing gently so the cheese adheres to the bread surface to create a moisture barrier. Spoon 1/2 cup of the prepared chicken salad onto 4 of the cheese-topped bread slices, spreading it into an even 1/2-inch thick layer, then top each with the remaining 4 cheese-topped bread slices (cheese side facing down against the chicken salad) to form 4 complete sandwiches.
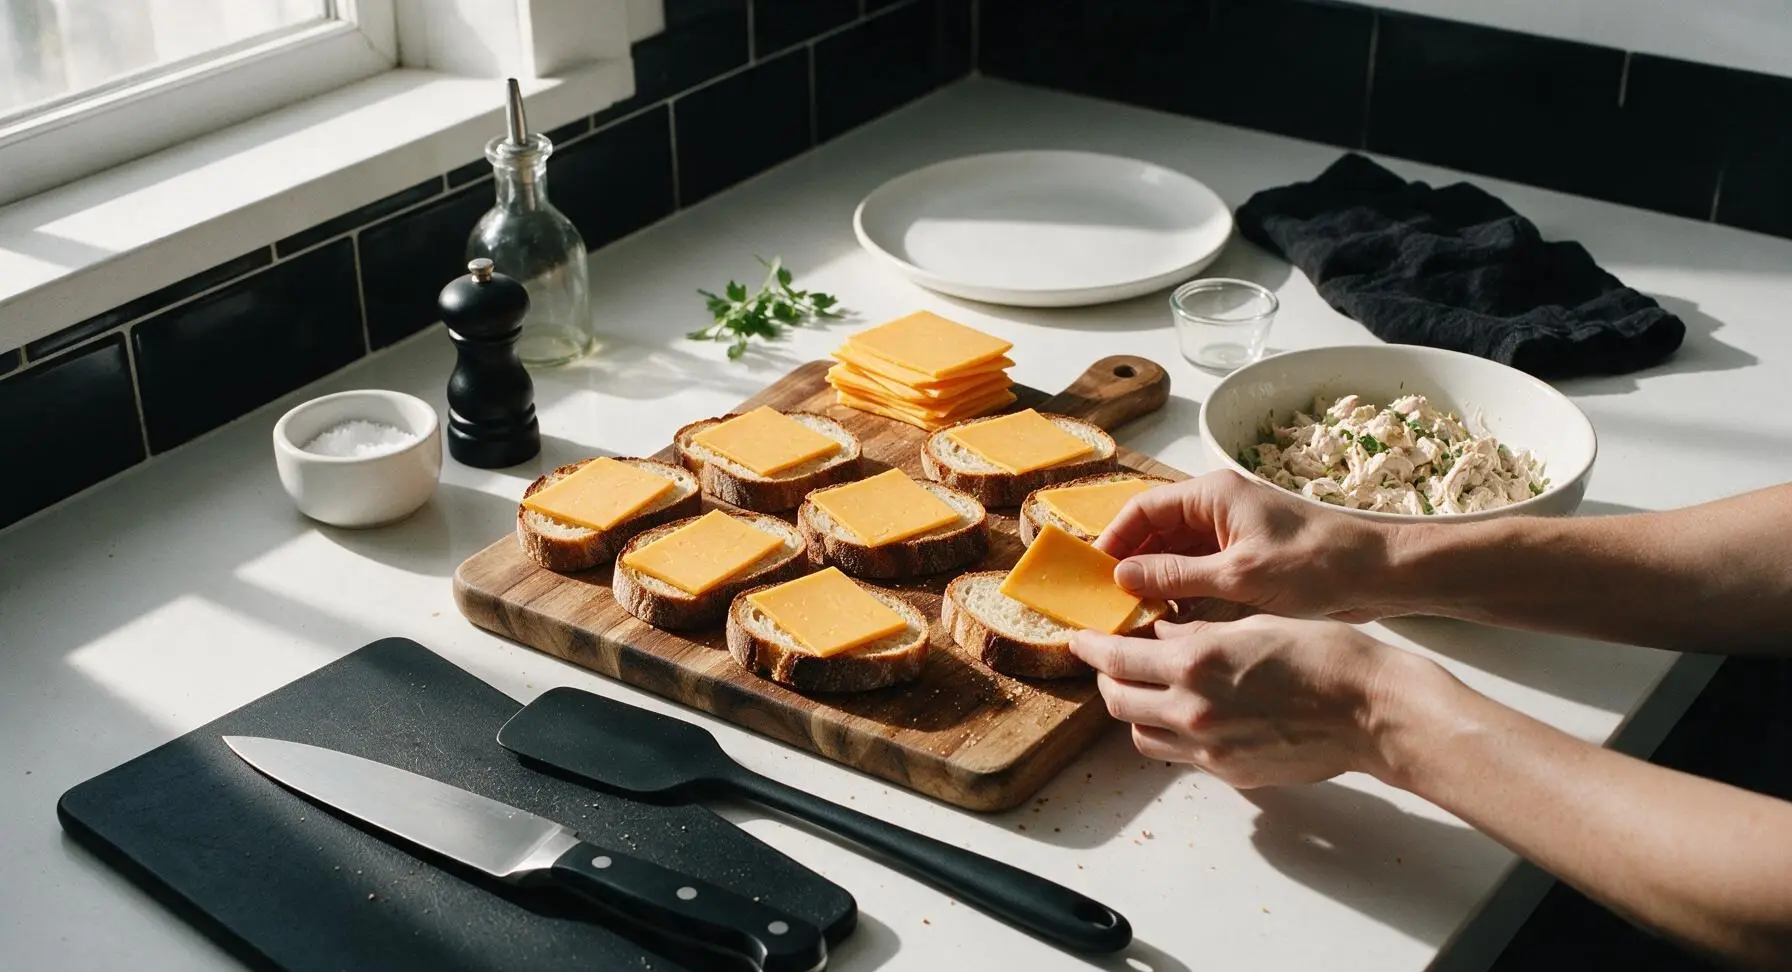
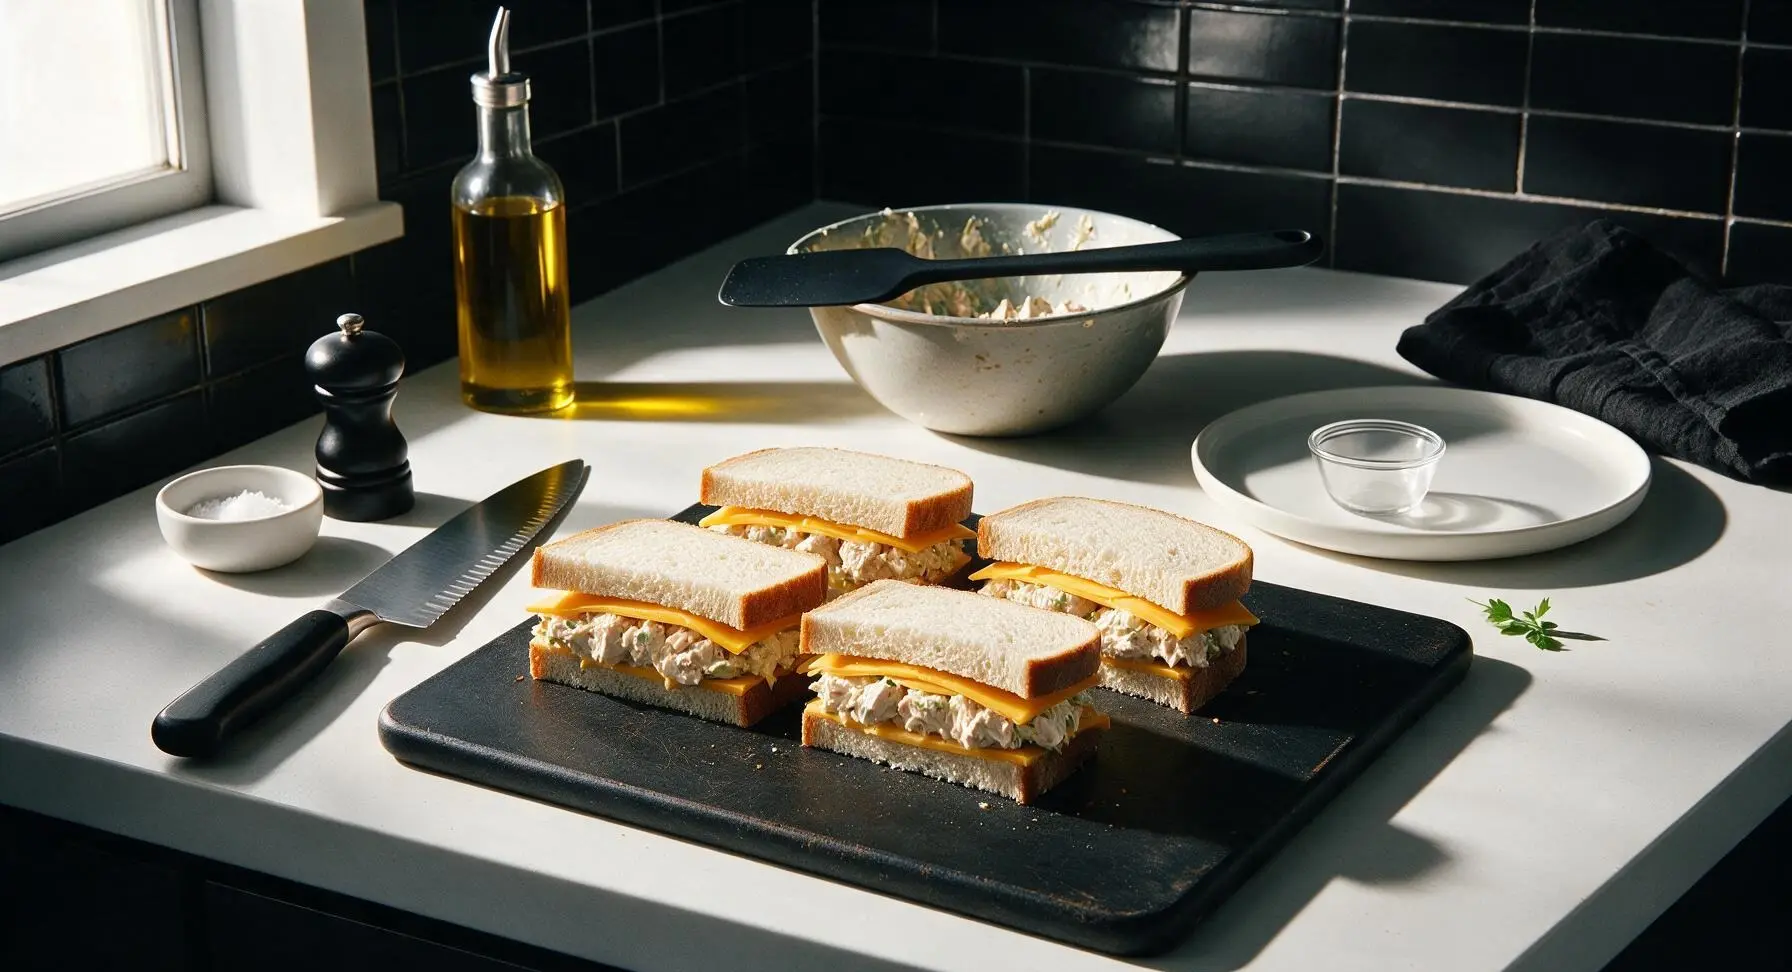
Prep Pan and Butter Bread
Retrieve the seasoned 12-inch cast iron skillet from storage and place it on the rear right stovetop cutout over medium-low heat, allowing it to preheat for 3 minutes. While the skillet heats, spread 1/2 tsp of softened unsalted butter on the top outer surface of each assembled sandwich, spreading the butter all the way to the bread edges to ensure an evenly crisp, golden crust.
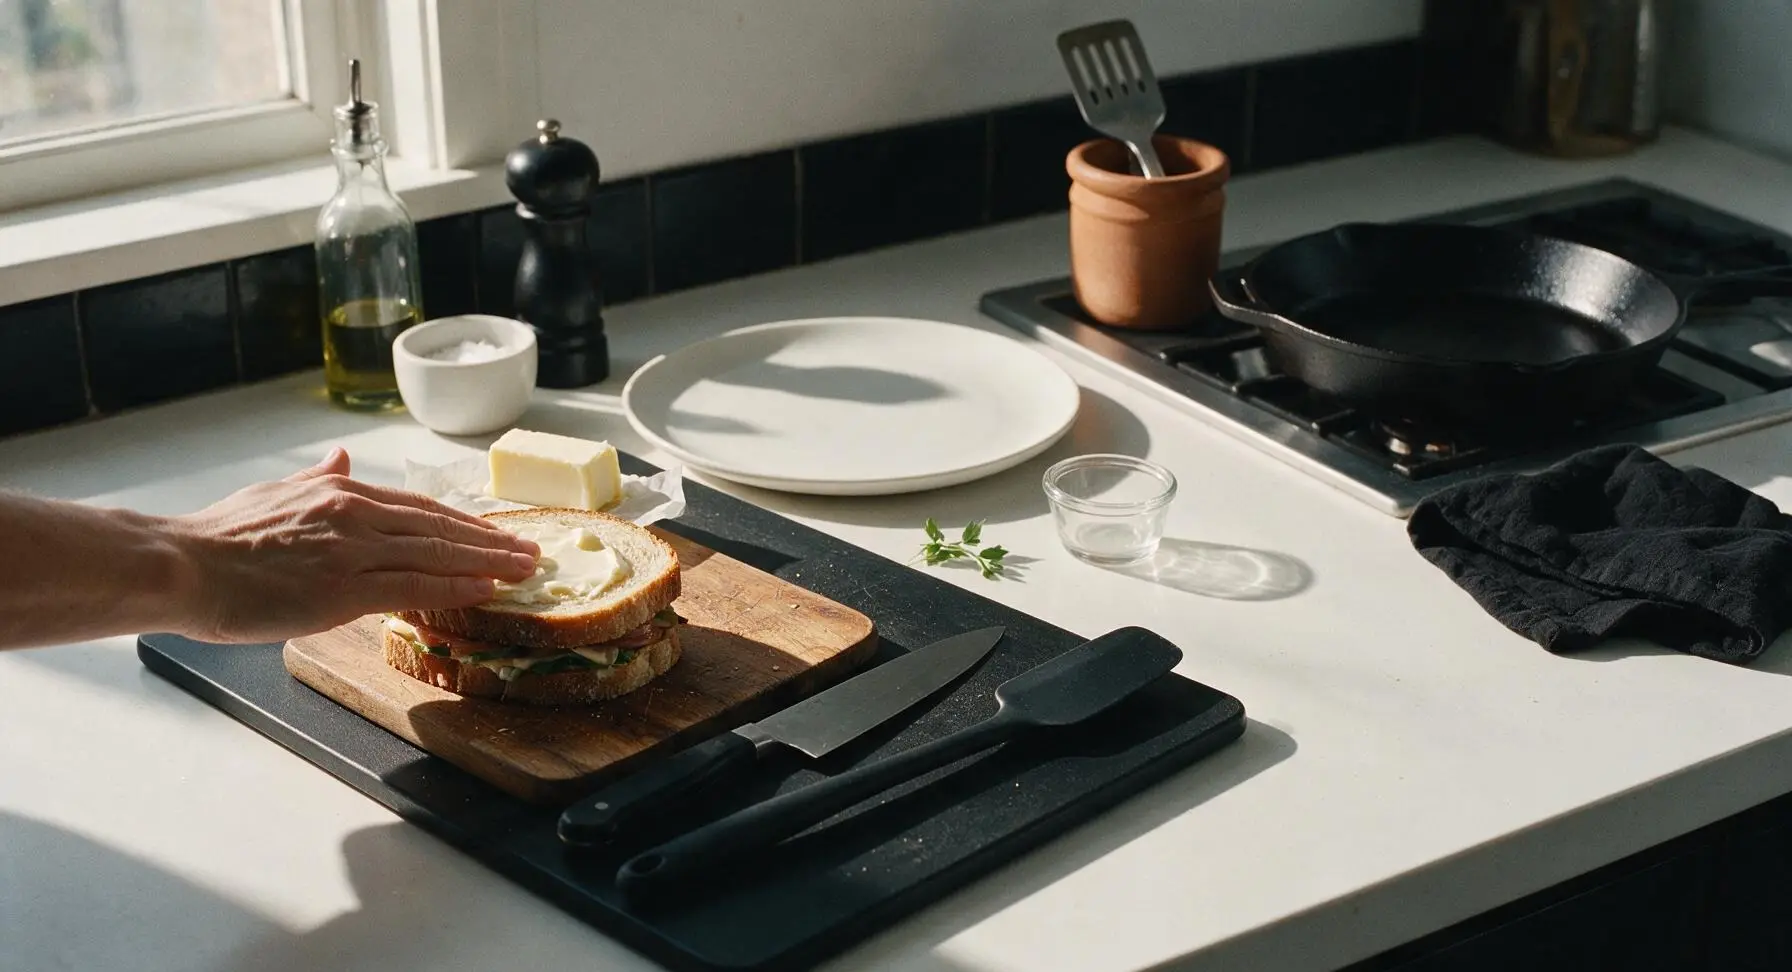
Toast Melts Until Crisp
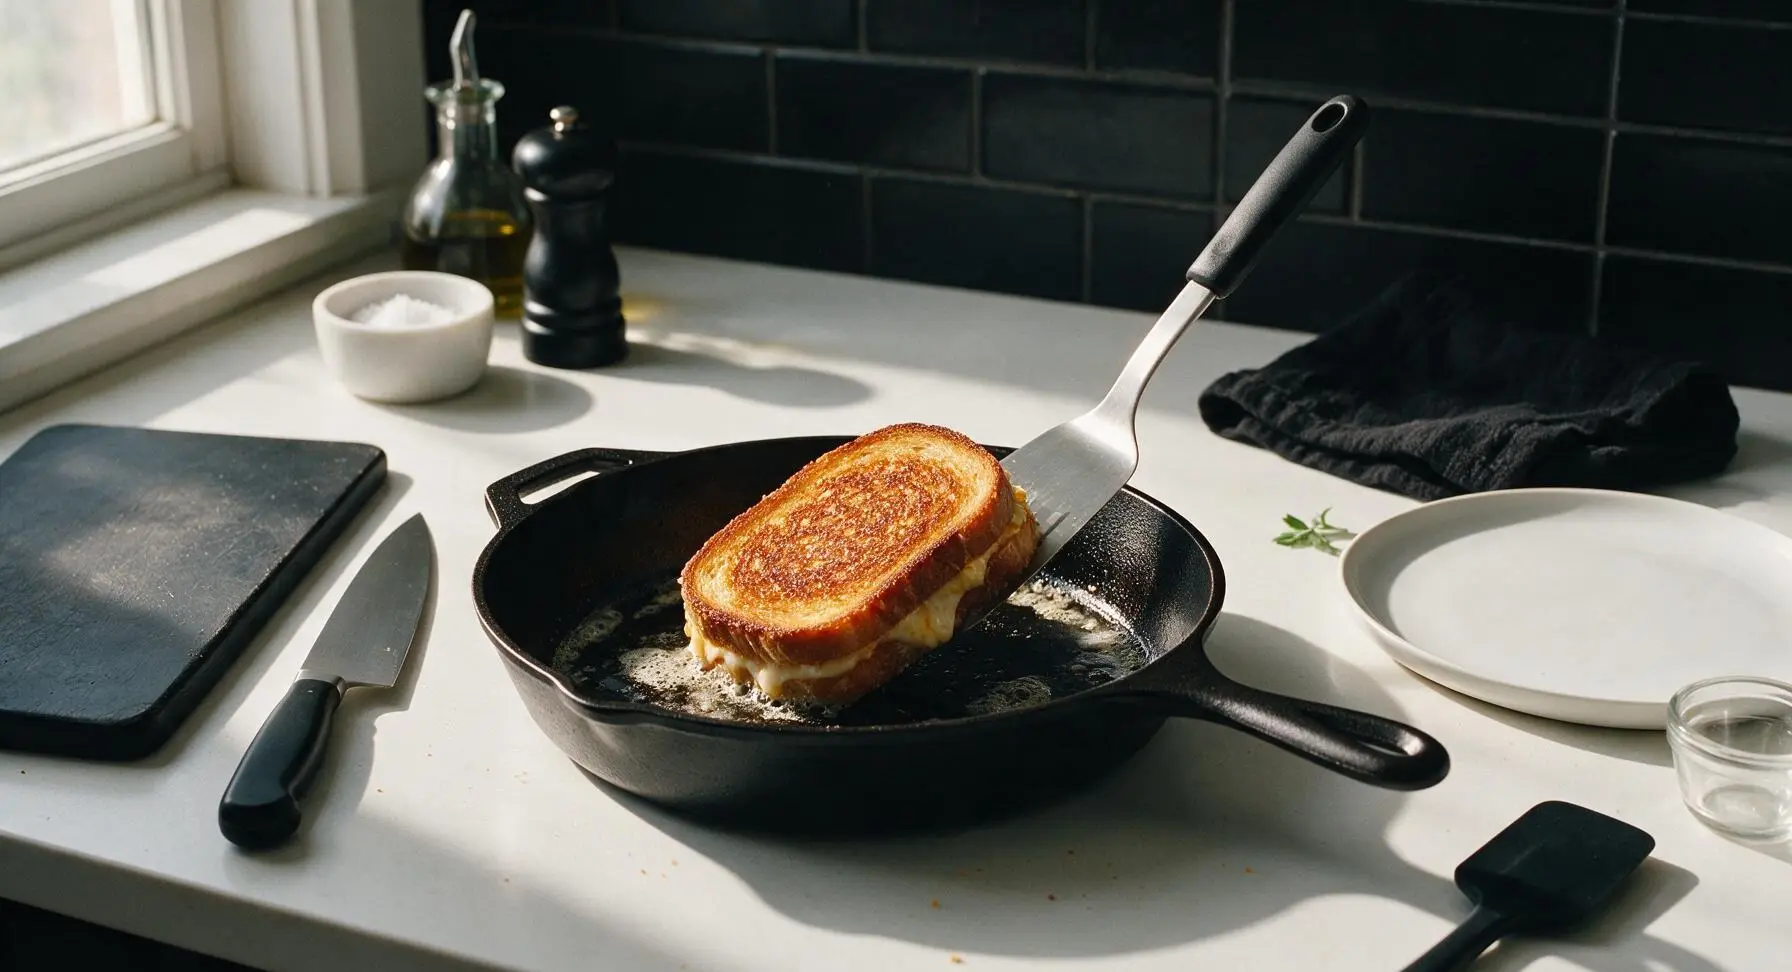
Retrieve the metal turner spatula from the terracotta crock. Carefully place 2 of the buttered sandwiches butter-side down into the preheated skillet. Spread the remaining 1/2 tsp butter per sandwich on the now-exposed top bread surface. Cook for 4-5 minutes on the first side, until the bread is deep golden brown and crispy, and the bottom cheese layer starts to bubble at the edges. Use the metal turner to flip the sandwiches carefully, then cook for another 3-4 minutes on the second side, until the second side is golden and all cheese is fully melted. Repeat with the remaining 2 sandwiches, adjusting heat if the bread starts to brown too quickly.
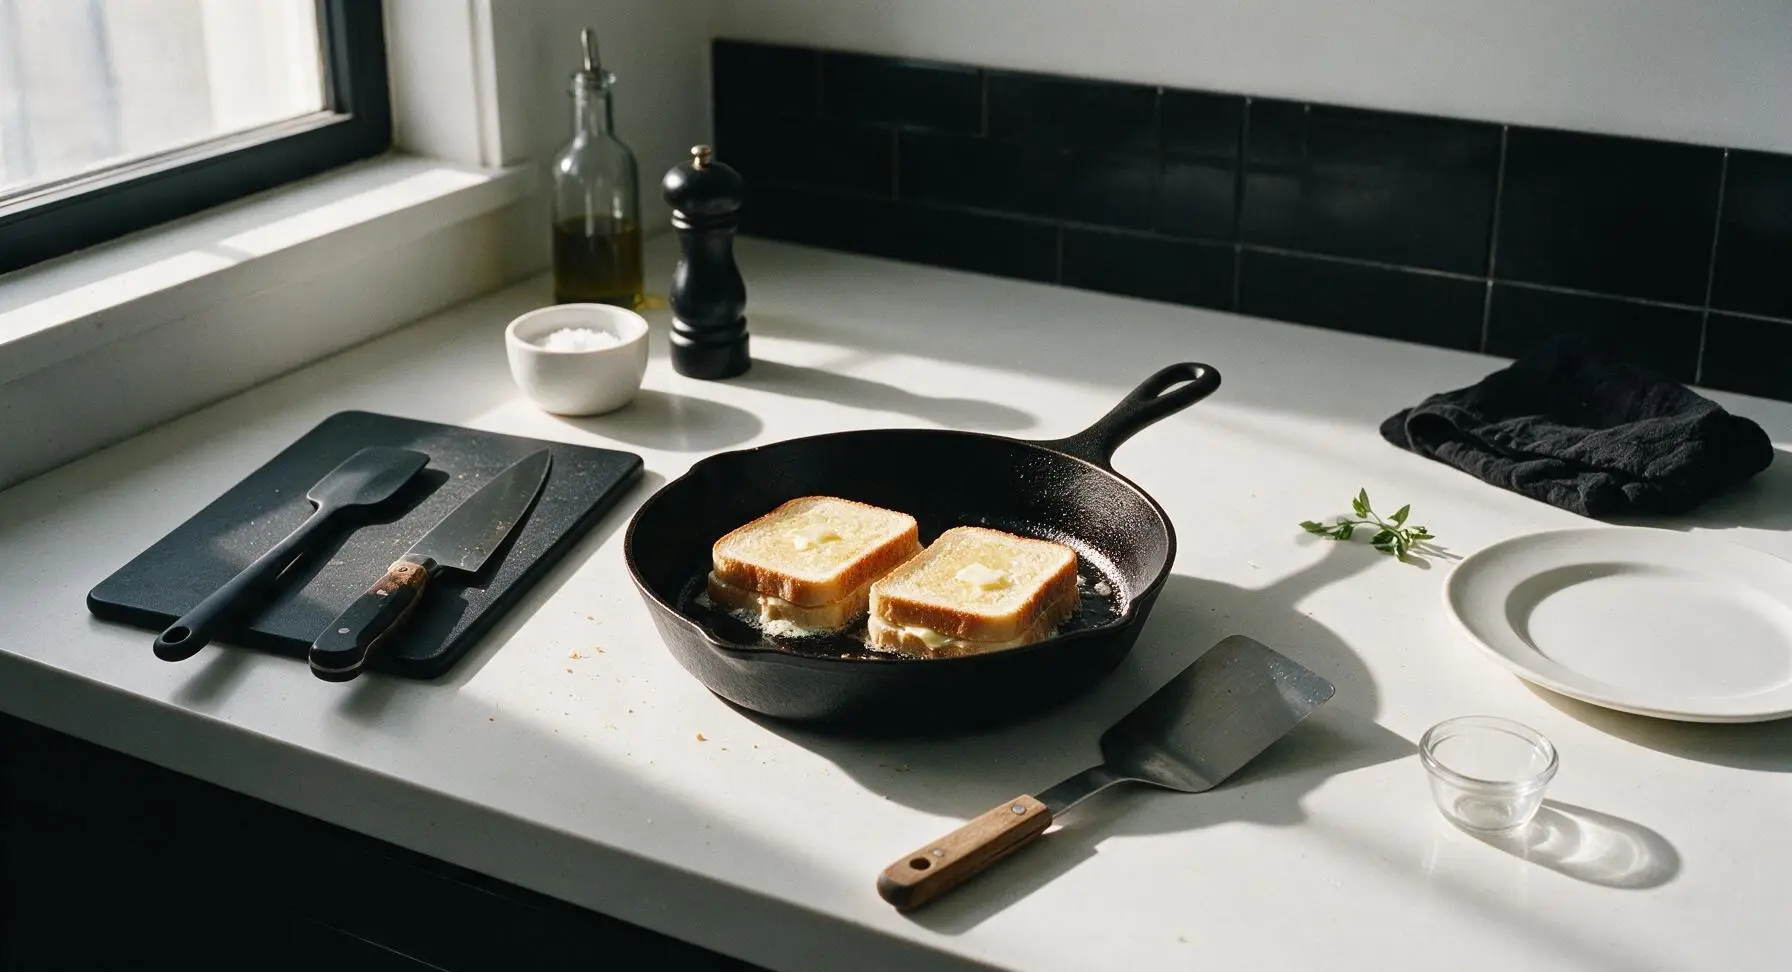
Rest and Cut Sandwiches
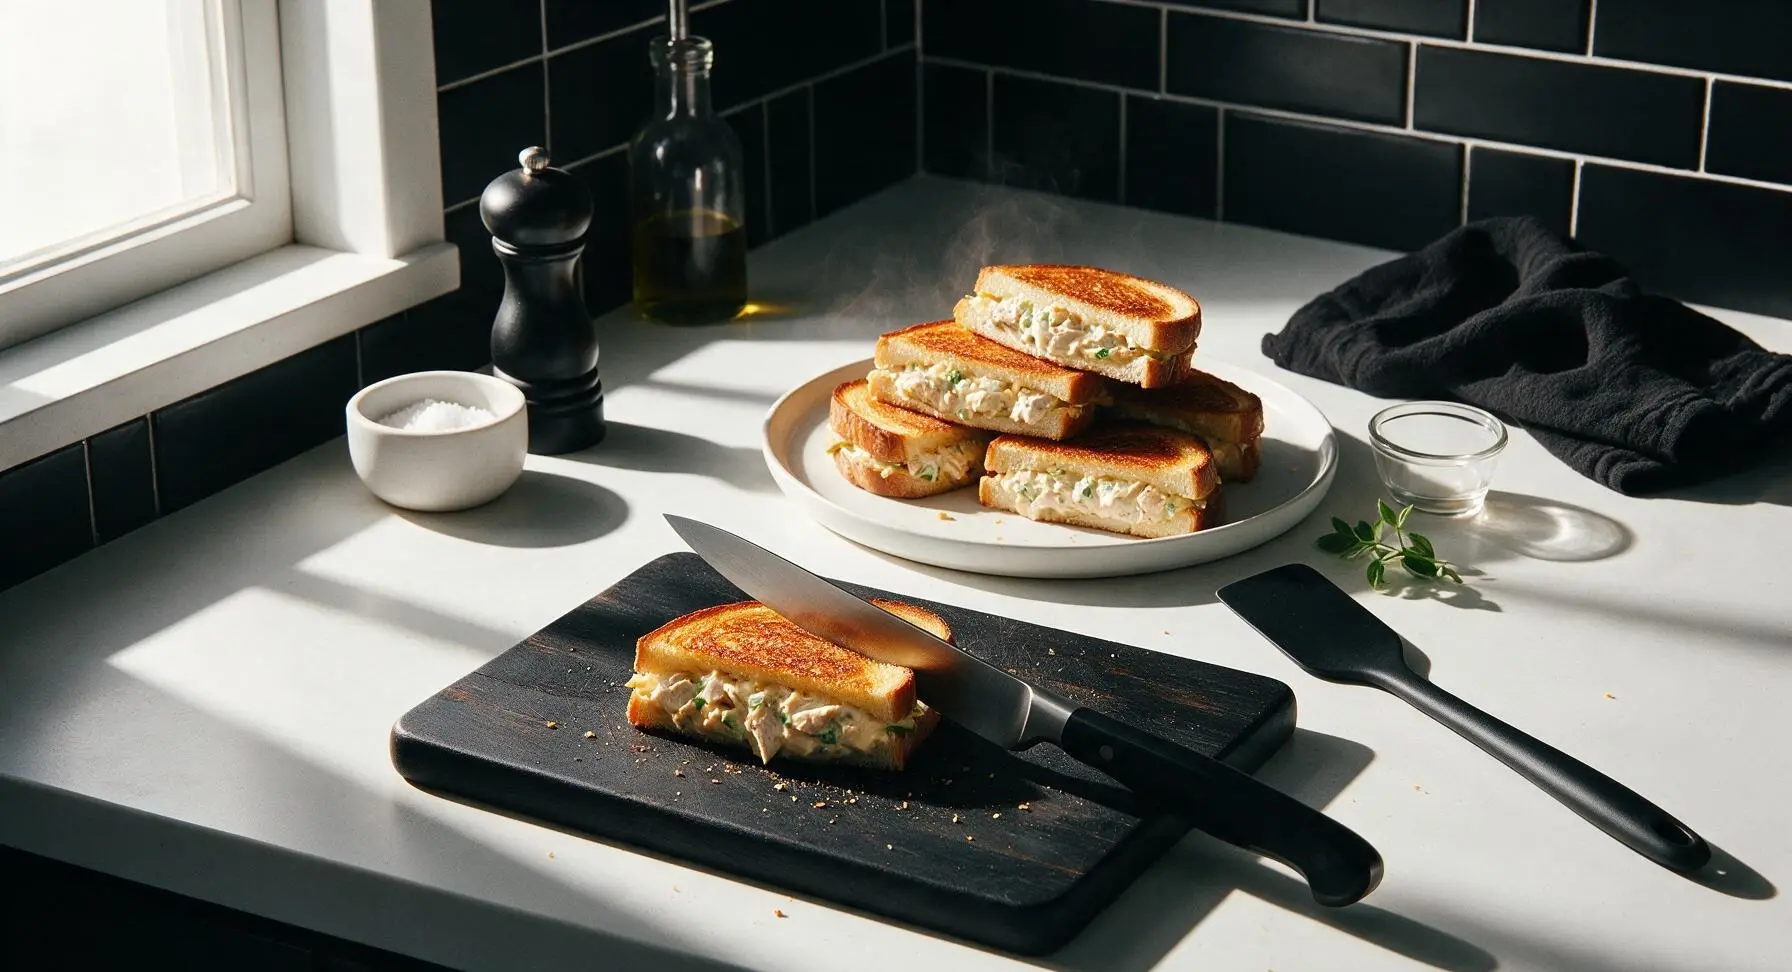
Transfer the cooked melts from the skillet to the matte cream ceramic dinner plate (the top plate from the stack at the far right counter) as they finish cooking, letting them rest for 2 minutes to allow the cheese to set slightly so the filling does not slide out when cut. Once rested, place one melt at a time back on the acacia wood cutting board, and use the chef’s knife to cut each sandwich diagonally into two triangular halves, returning cut pieces to the plate as you work.
Garnish and Serve Warm
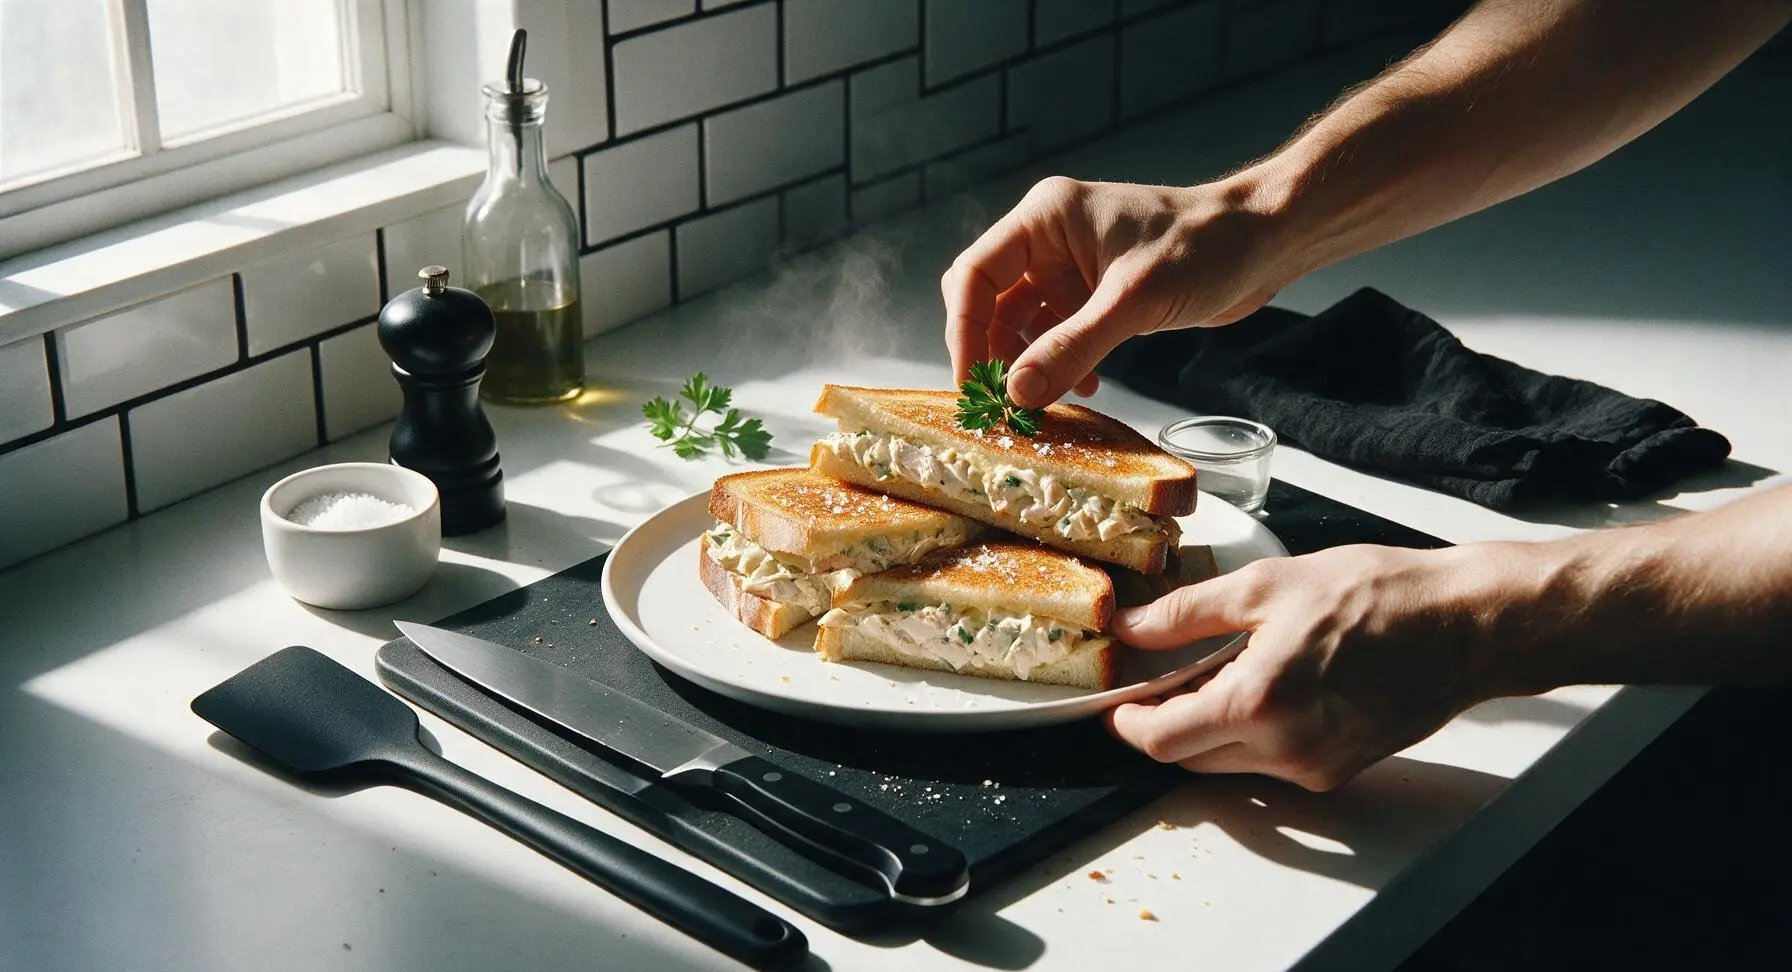
Arrange the cut melt halves in a casual, overlapping stack on the matte cream ceramic dinner plate, leaning triangles against each other for height. Tuck a small sprig of fresh curly parsley from the bud vase at the edge of the plate for a bright color contrast, and sprinkle a tiny pinch of flaky sea salt over the toasted crusts for extra flavor depth. Serve immediately while the cheese is still stretchy and the bread is crisp.
Tips
2.Cook melts over medium-low heat, rather than high heat. High temperatures will burn the bread crust to a dark char before the cheese in the center of the sandwich has time to fully melt, leading to burnt bread and a cold, un-melted filling.
3.Let the cooked melts rest for 2 full minutes after removing them from the skillet. This short rest allows the melted cheese to set slightly, so it does not gush out and make a mess when you cut or bite into the sandwich, and gives the hot filling time to cool to a safe, pleasant eating temperature.






OMG this chicken salad melt is a total game changer for my weekday lunch prep! I used leftover rotisserie chicken so it came together in literally 10 minutes like the recipe says, and my whole family fought over the last bite at dinner last night. Even my super picky 7 year old asked for seconds! 10/10 will be making this every week.
Really solid melt! I added a little extra dill to the chicken salad because I love that tang, and used sourdough bread instead of white. Only reason it’s not 5 stars is I think it could use a tiny bit more celery for crunch, but otherwise SO good. Perfect quick weeknight meal when I don’t feel like cooking for an hour.
Meal prep win! I made a big batch of the chicken salad on Sunday, then assembled the melts for lunch all week long. So much better than the sad takeout sandwiches I usually grab at work, and my coworkers kept asking where I got the recipe! Cook time really is only 10 minutes, no joke.
I’ve been making chicken salad melts for 40 years and this recipe is hands down the best version I’ve ever tried! The ratio of mayo to mustard is perfect, no soggy bread if you toast it right under the broiler like the instructions say. Made these for my grandkids when they visited this weekend and they all asked for the recipe to take back to college.
Bro I made this last night after the gym and it hit DIFFERENT. High protein, super cheesy, didn’t take forever to make. I tossed in a little hot sauce on mine for a kick and wow, 10/10 will be a staple in my rotation now.
Made these for our lazy Sunday football watch party and they were such a hit! I cut them into little sliders so people could grab them easily during commercial breaks, and not a single one was left by the end of the first quarter. So easy to throw together even when you’re busy yelling at the TV.
Taste was great but I burned the cheese the first time I made it because I walked away for 2 minutes while it was under the broiler! Don’t be like me, stand there and watch it, it cooks so fast. Will definitely try again now that I know not to leave it unattended.
Game changer for when I’m working from home and don’t have a long lunch break! I keep canned chicken in my pantry for days I don’t have leftover rotisserie, and this recipe works just as well with it. Cheap, fast, and way more satisfying than a microwave meal.
My husband is the pickiest eater on the planet and he went back for THIRDS. I didn’t even tell him I used Greek yogurt instead of half the mayo to make it a little lighter, he had zero clue. Will absolutely be adding this to our monthly dinner rotation!
Really good! I used pepper jack cheese instead of cheddar because that’s what I had in the fridge, and it added such a nice little spicy kick. Only wish the recipe had a note about what sides pair best with it, I ended up serving it with potato chips but would love other ideas.
SO good!!! I made these for my book club potluck earlier this week and every single person asked for the recipe. The bread gets perfectly crispy, the chicken salad is creamy without being watery, and the melted cheese on top just takes it to the next level. Zero notes, this is a new go-to.
I pack these for my lunch on job sites and they hold up way better than I thought they would! I wrap them in foil after toasting so they stay warm for a couple hours, and they’re way more filling than the fast food I used to grab on my break. Easy to make before work too, even when I’m up at 5am.
I swapped the chicken for mashed chickpeas to make this vegetarian for my roommate, and it still slapped! The seasoning ratio is perfect even with the swap, and the melted cheddar on top made it feel so indulgent. My meat-eating boyfriend even stole half my sandwich and said he couldn’t tell it wasn’t chicken. Super versatile recipe!
I’m literally just learning how to cook and this was the first recipe I didn’t mess up! The instructions are so straightforward, cook time is really 10 minutes like it says, and my roommate said it tasted like something from a fancy deli. Total confidence boost, I’m going to try more recipes from this site now!
My three teen boys eat like absolute linebackers and this recipe actually filled them up! I doubled the batch and served it with dill pickles and kettle chips for dinner last night, and there were zero complaints. It’s so nice to have a quick, affordable meal that doesn’t require a million ingredients and doesn’t leave me with a sink full of dishes.