
chicken thigh recipes air fryer

title 1
chicken thigh recipes air fryer
⏱️ cook time 20 minutes
🍽️ servings 4
⚡ Difficulty easy

intro

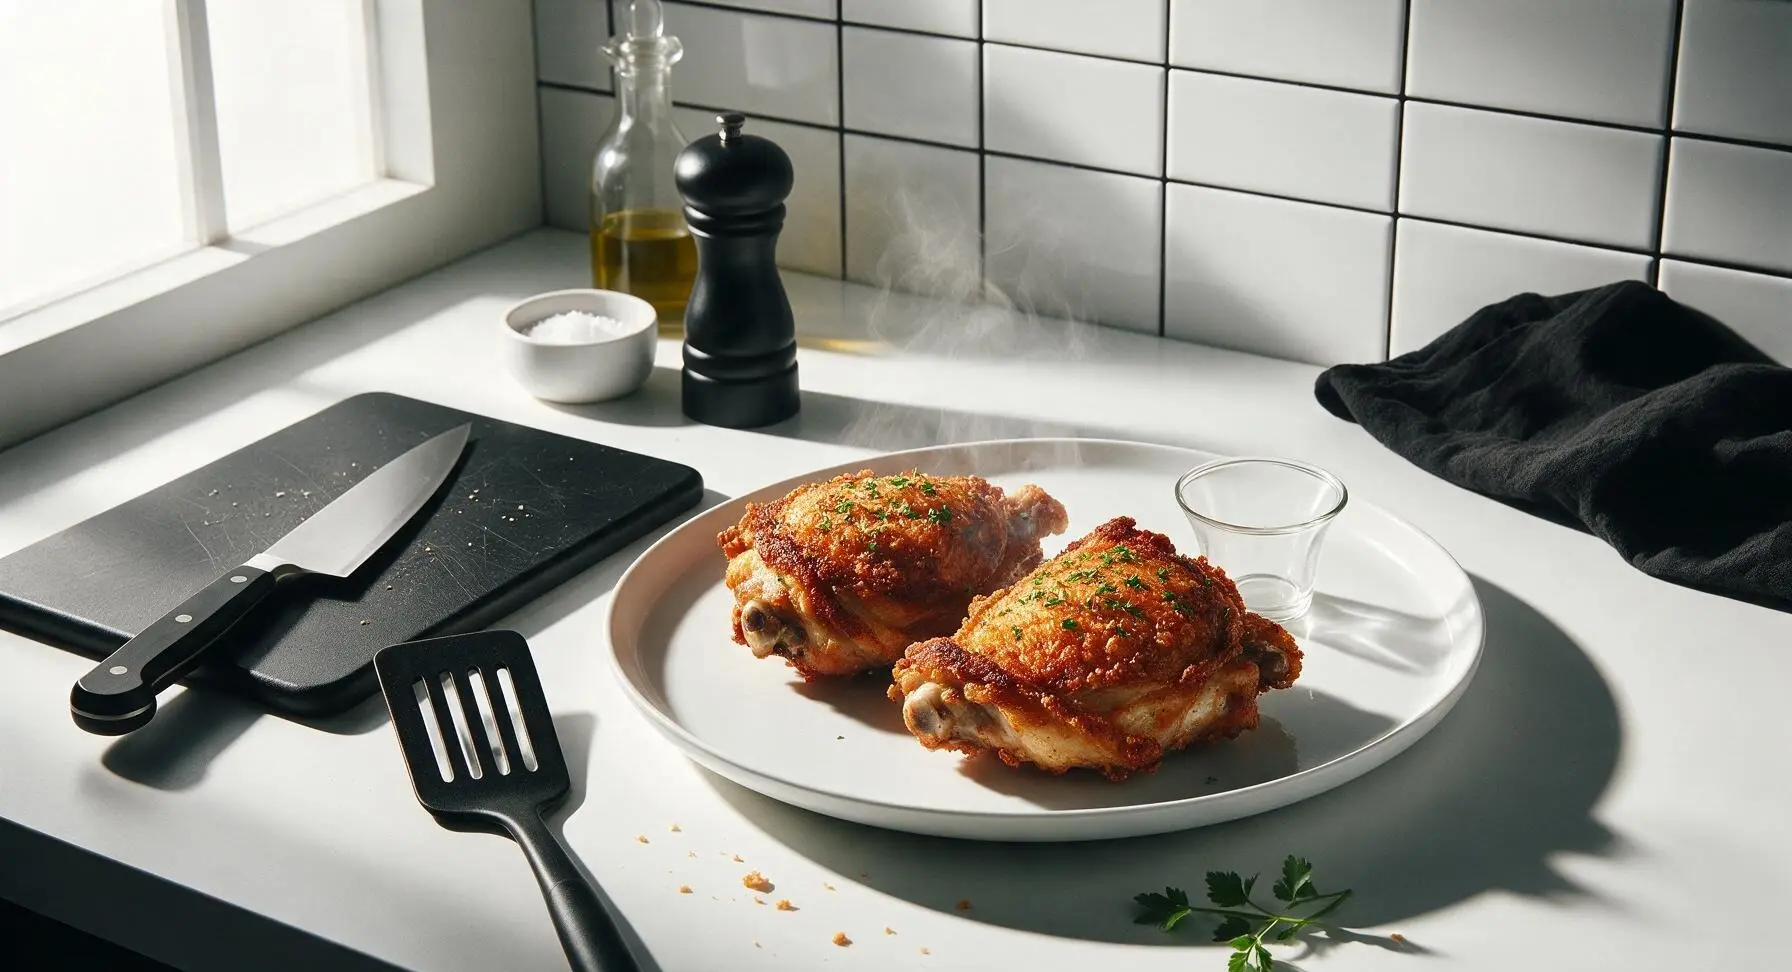
Shatteringly crisp, juicy bone-in chicken thighs made in the air fryer, with deep golden skin and tender meat, ready in 30 minutes for easy weeknight meals.

Ingredients
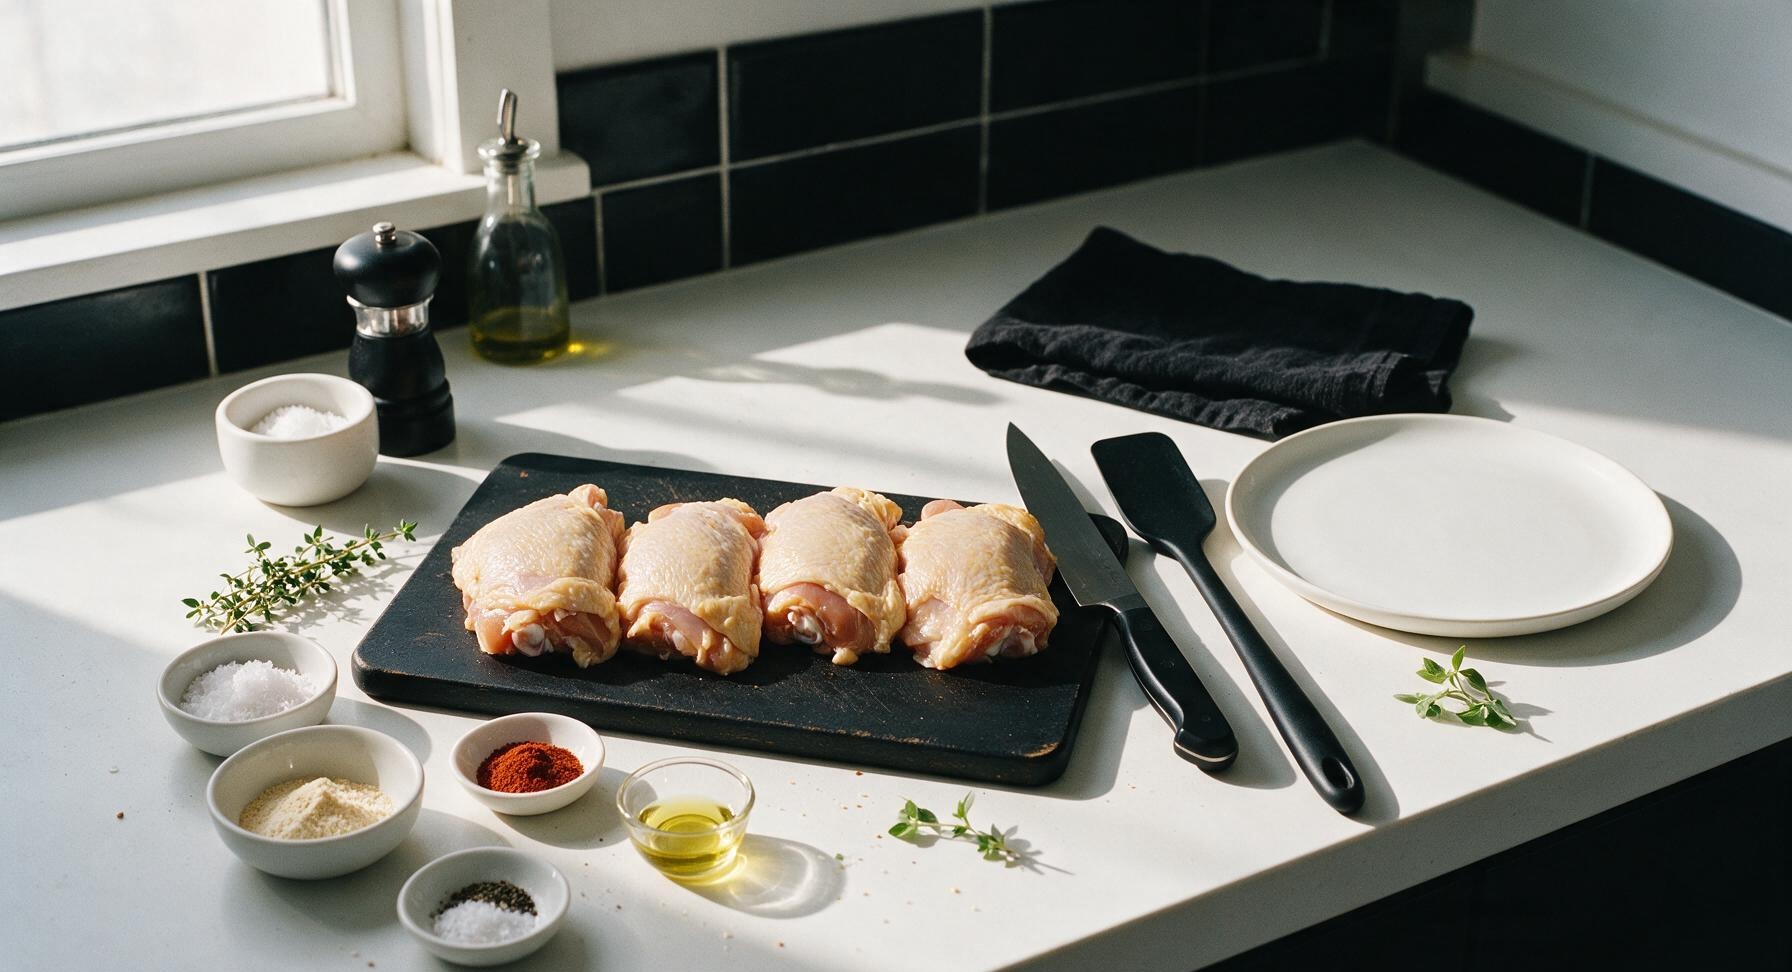
Bone-in, skin-on chicken thighs 4 pieces (approx 1.1kg / 2.4lbs total)
Kosher salt 1.5 teaspoons
Smoked paprika 1 teaspoon
Garlic powder 1 teaspoon
Onion powder ½ teaspoon
Freshly ground black pepper ½ teaspoon
Avocado oil 1 teaspoon
Fresh thyme 2 sprigs
Flaky sea salt (optional) ¼ teaspoon

Steps

1

Pat Chicken Dry

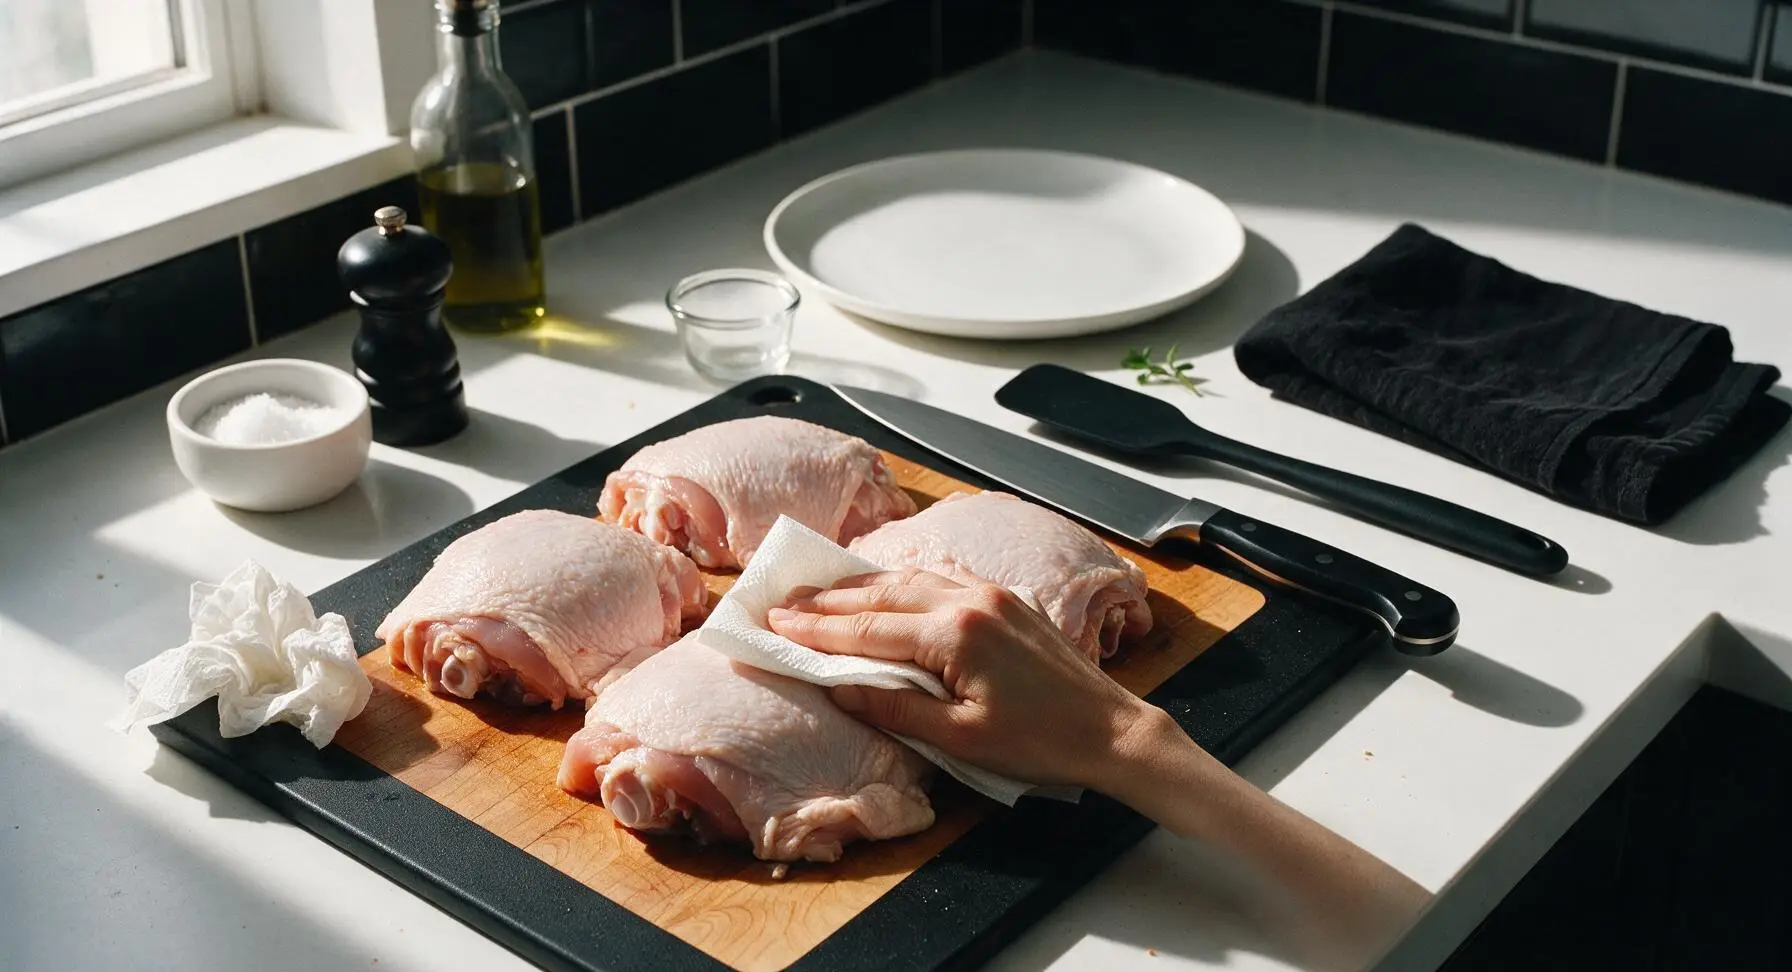
Remove 4 bone-in, skin-on chicken thighs from packaging and arrange them on the honey-toned maple cutting board. Tear sheets from the unbleached paper towel roll to firmly pat every surface of the chicken—paying extra attention to the skin side—until completely dry. Discard damp used paper towels off-frame; properly dried chicken skin will feel matte and non-slippery to the touch, with no visible surface moisture.
Step 1
step1:Pat Chicken Dry
2

Mix Spice Blend

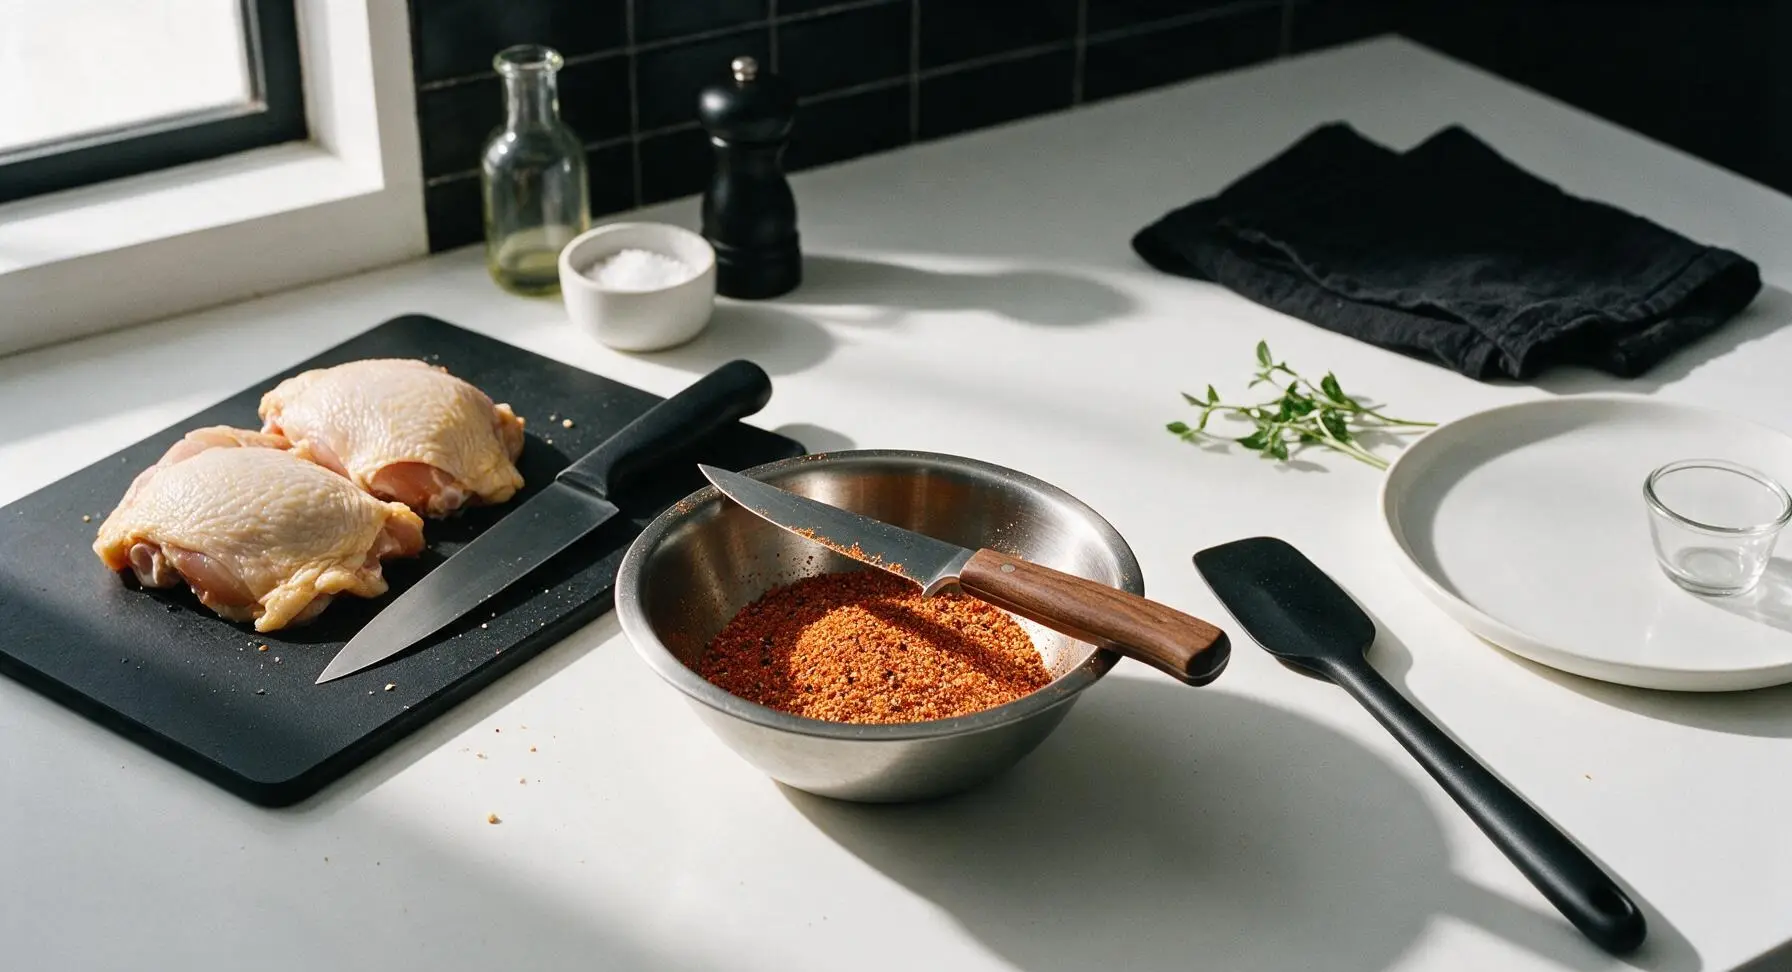
In the small brushed stainless steel mixing bowl, combine 1.5 teaspoons kosher salt, 1 teaspoon smoked paprika, 1 teaspoon garlic powder, ½ teaspoon onion powder, and ½ teaspoon freshly ground black pepper. Use the tip of the boning knife to stir the spices until fully blended, with a uniform reddish-tan color and no visible clumps of individual spices.
Step 2
step2:Mix Spice Blend
3

Coat Chicken Evenly

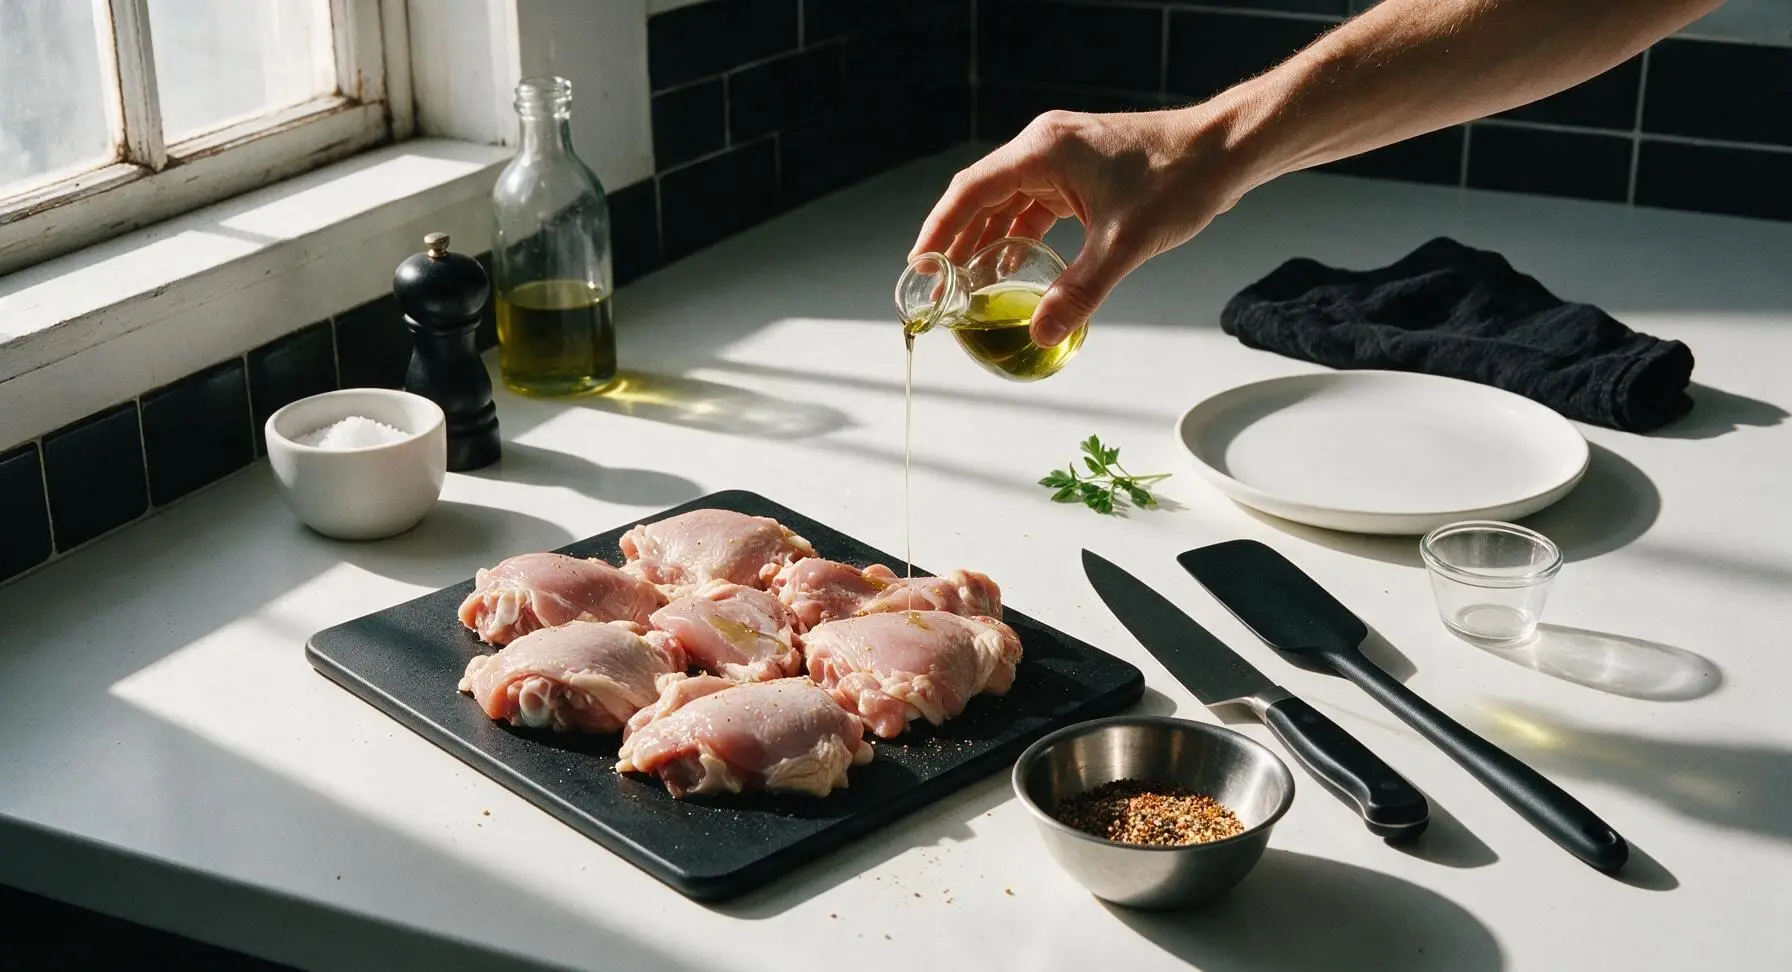
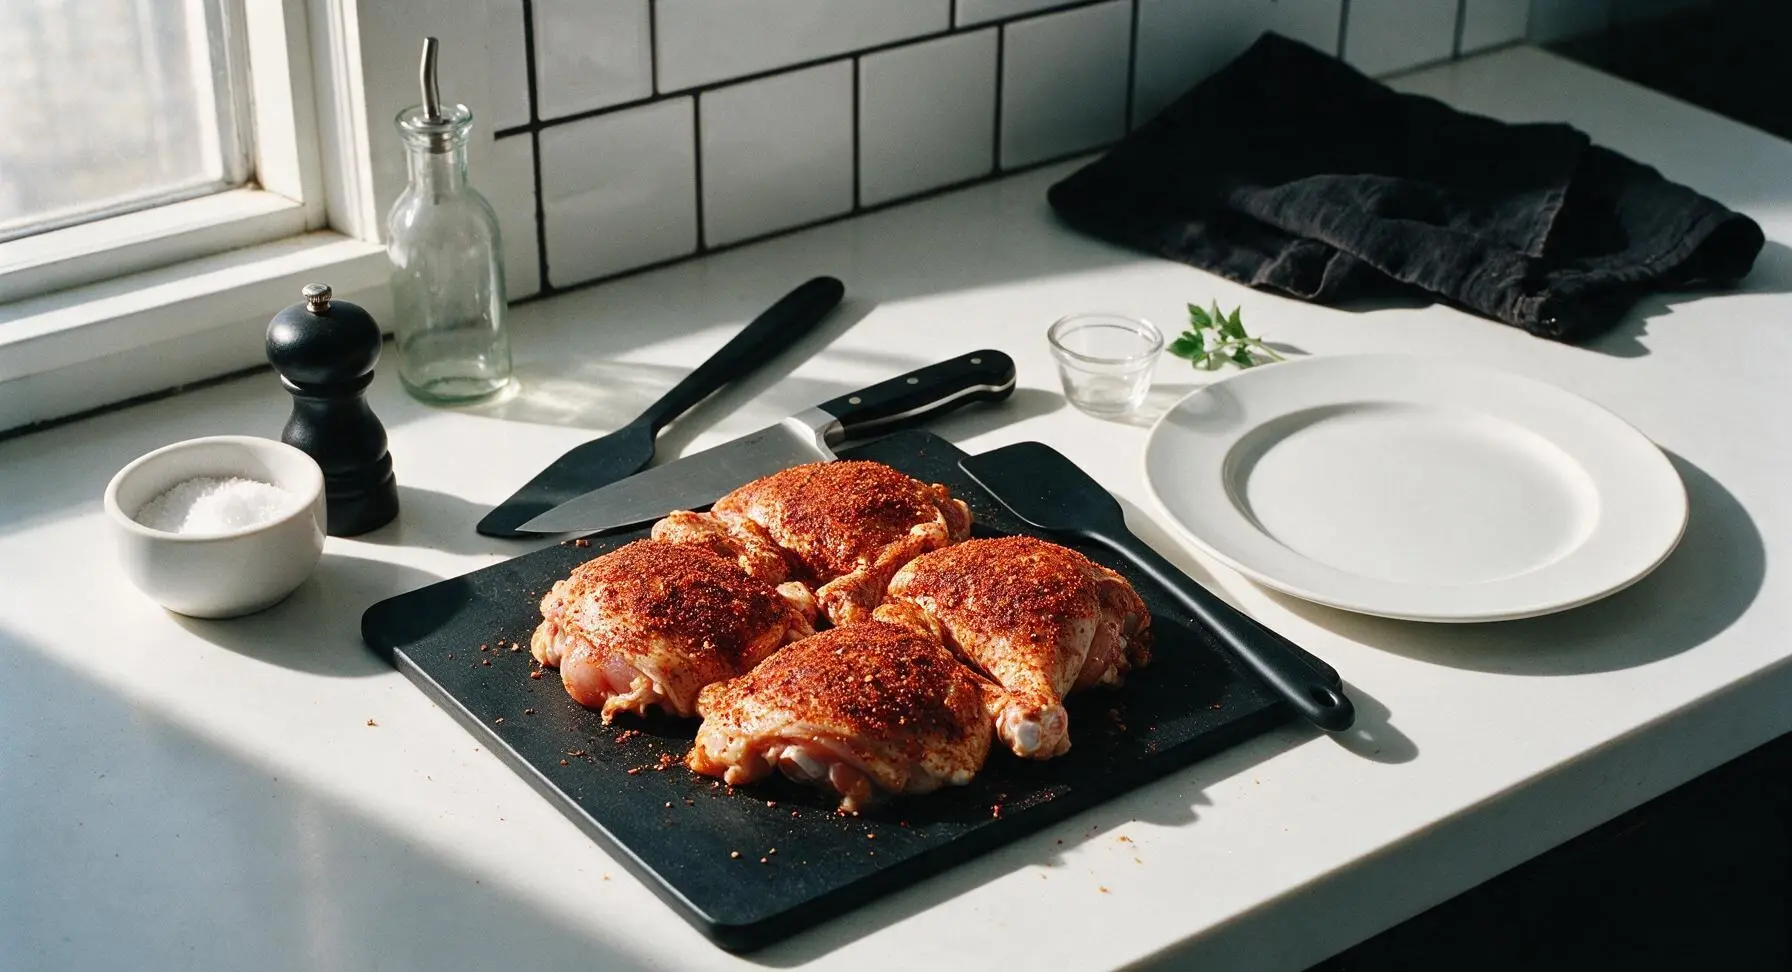
Drizzle 1 teaspoon of avocado oil over the dried chicken thighs, then use clean hands to rub the oil across every surface, working a small amount under loose edges of skin where it separates easily from the meat. Sprinkle the entire spice blend evenly over all sides of the thighs, pressing spices gently into the skin to ensure they adhere. Fully seasoned thighs will have no bare, uncoated patches of skin or meat visible.
Step 3
step3:Coat Chicken Evenly
Step 3
step3:Coat Chicken Evenly
4

Preheat Air Fryer

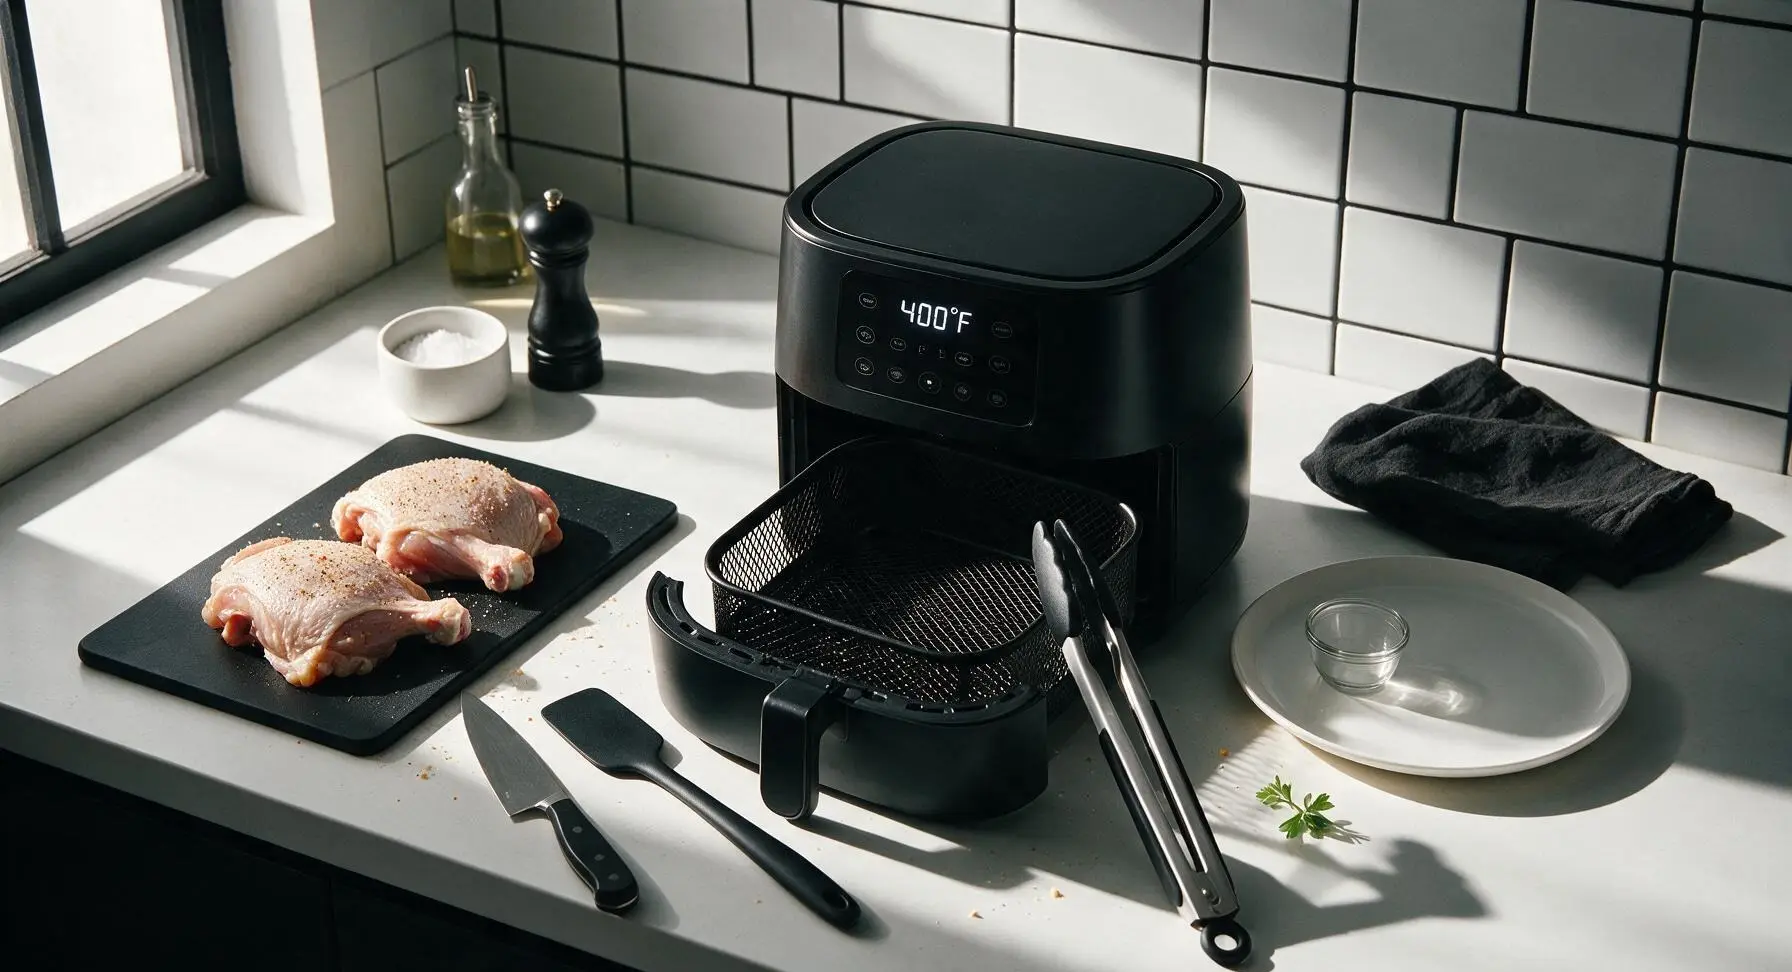
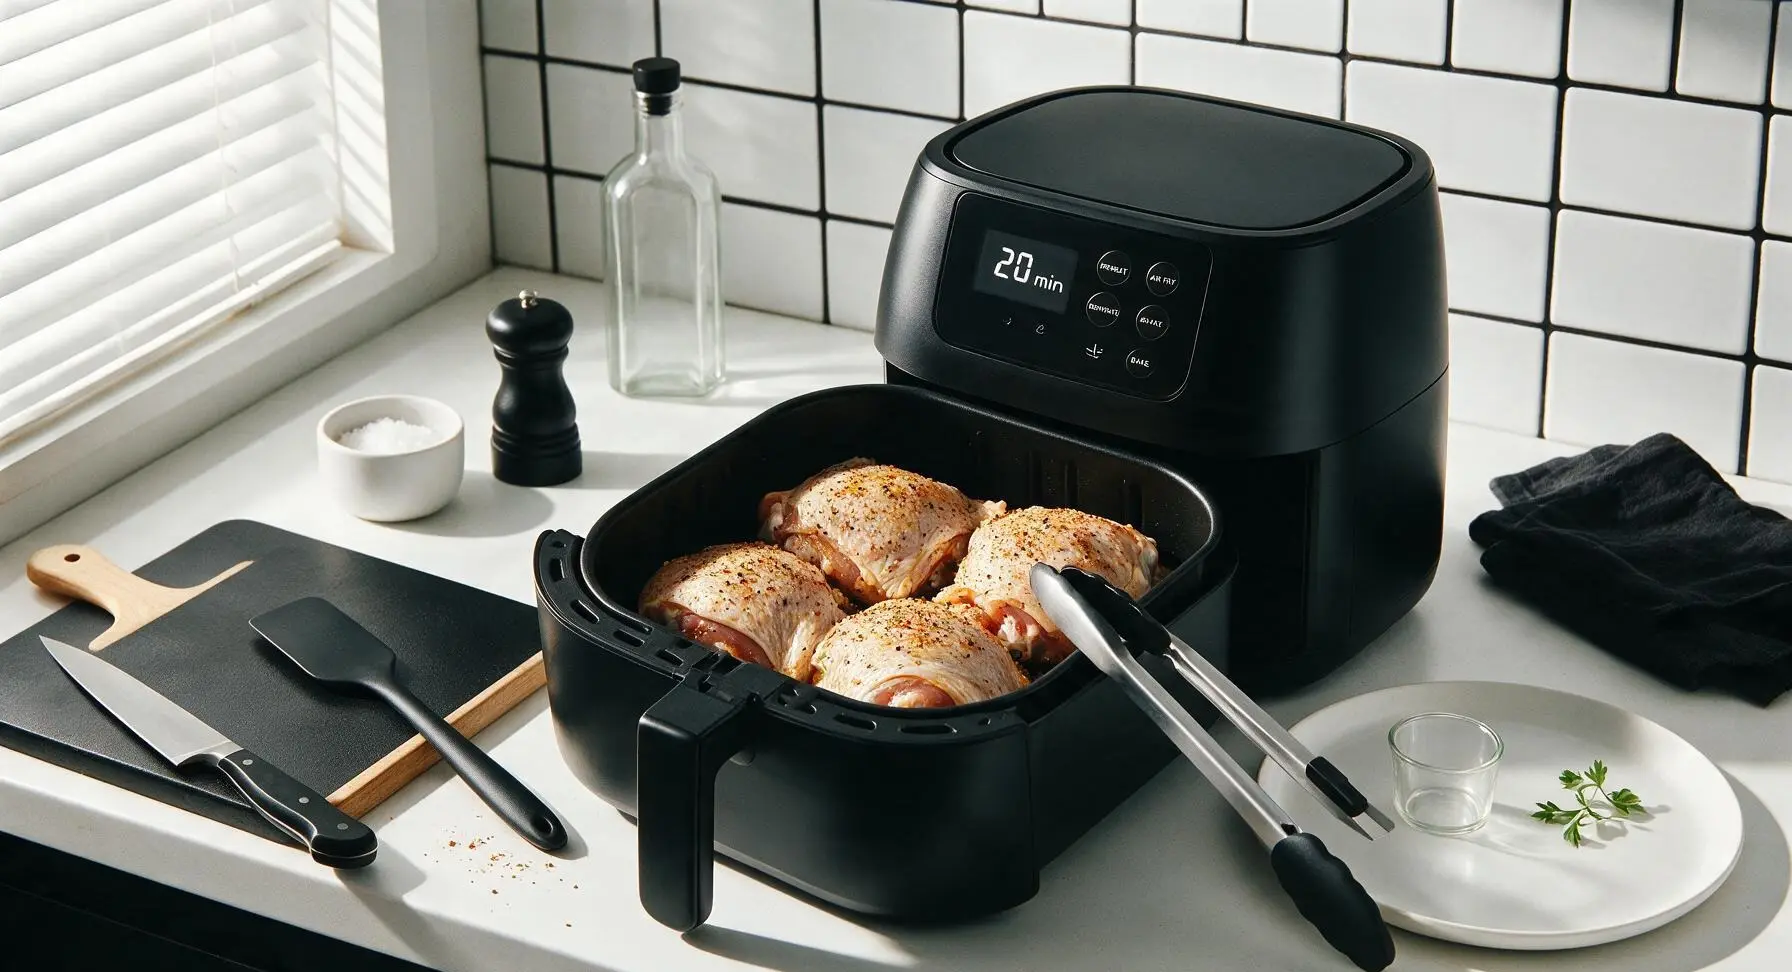
Set the matte black 6-quart air fryer to 400°F (200°C) and preheat for 3 minutes. Do not apply aerosol cooking spray to the basket, as the thin oil coating on the chicken and the basket’s non-stick surface will prevent sticking. Wait for the preheat cycle to fully complete before adding chicken to ensure immediate crisping.
Step 4
step4:Preheat Air Fryer
5

Load Chicken in Basket

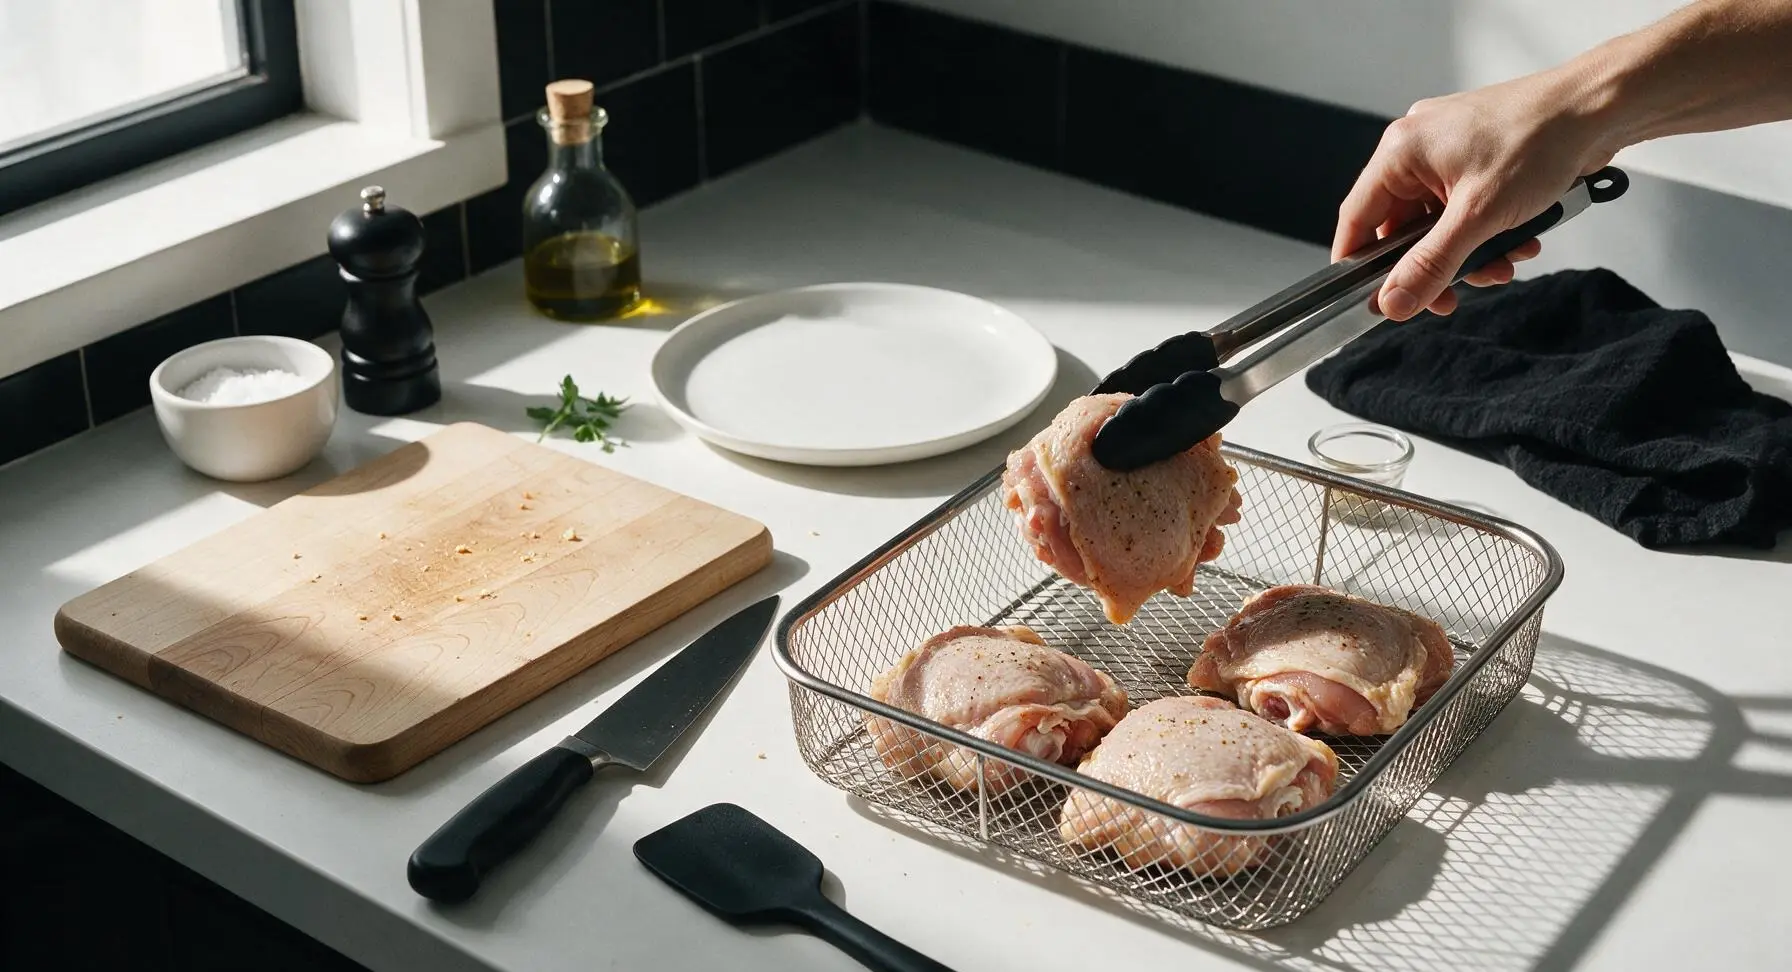
Use the silicone-tipped tongs to transfer seasoned chicken thighs to the preheated air fryer basket, arranging them in a single layer skin-side up. Leave ¼ inch of open space between each thigh to allow unobstructed hot air circulation; do not stack or overlap thighs, as this will cause steaming and soggy skin.
Step 5
step5:Load Chicken in Basket
6

Air Fry Until Crisp

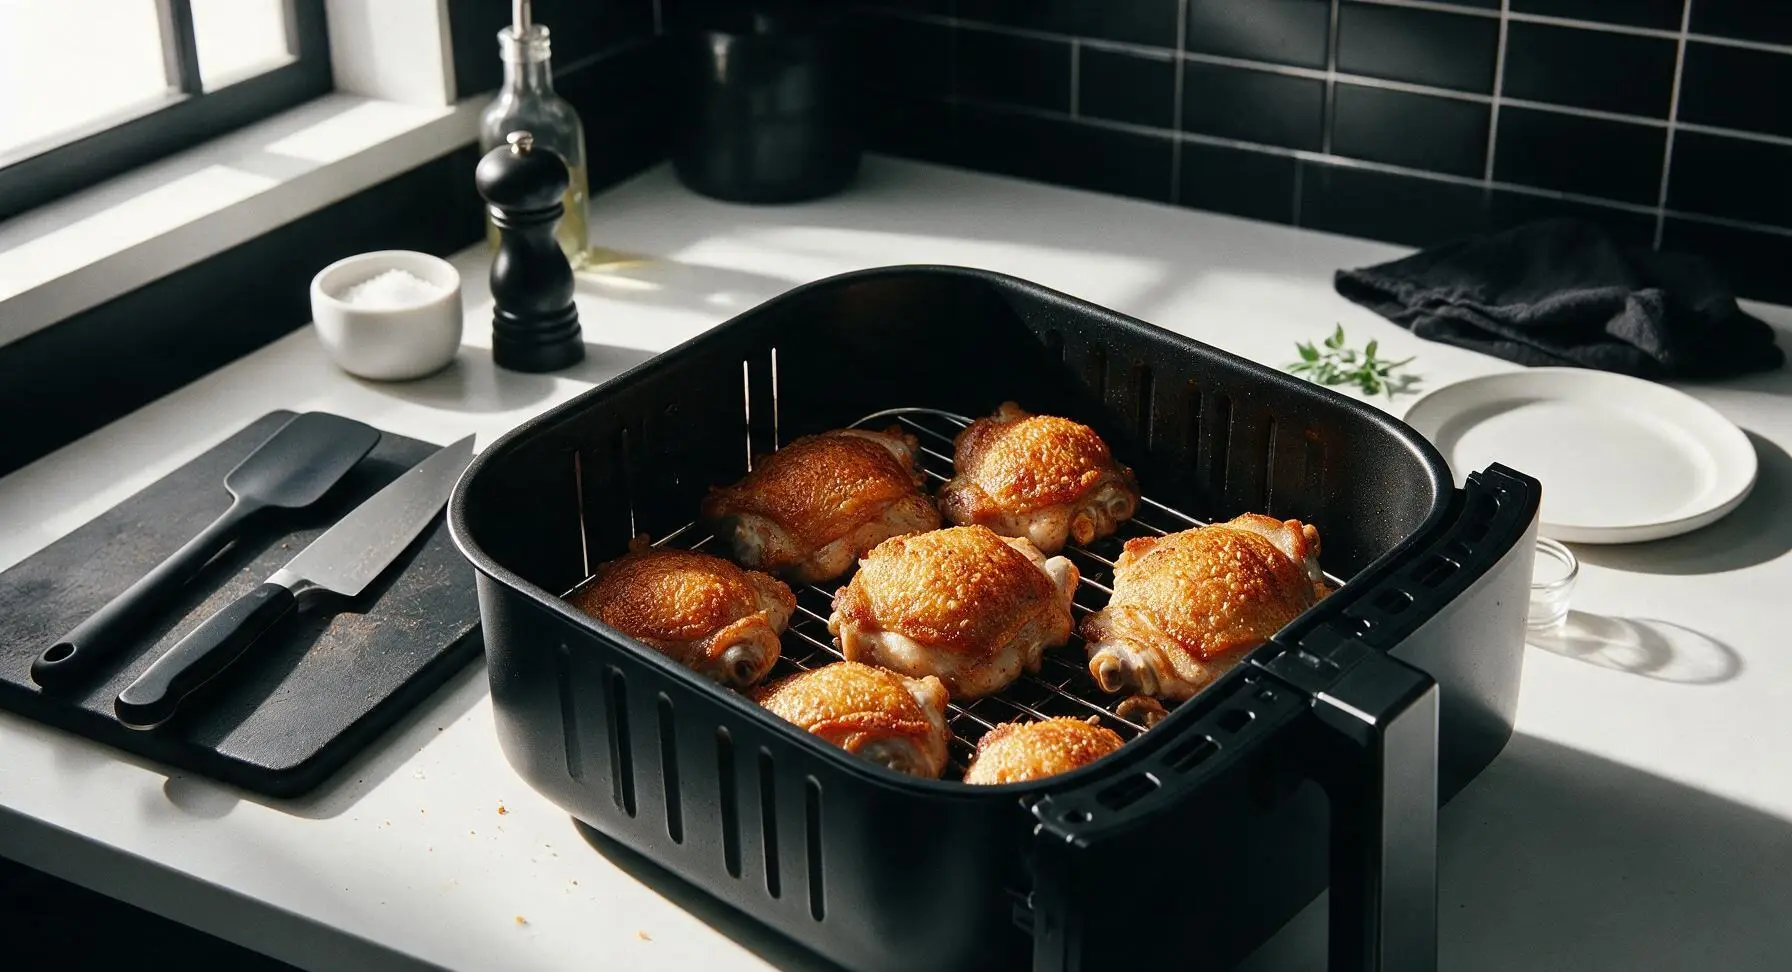
Slide the air fryer basket fully into the unit and cook at 400°F (200°C) for 20 minutes. Do not open the basket or flip the thighs during cooking, as this will release heat and disrupt the skin crisping process. The chicken is fully cooked when the skin is deep golden and crackly, and an instant-read thermometer inserted into the thickest part (next to the bone, not touching bone) reads 165°F (74°C).
Step 6
step6:Air Fry Until Crisp
Step 6
step6:Air Fry Until Crisp
7

Rest Cooked Chicken

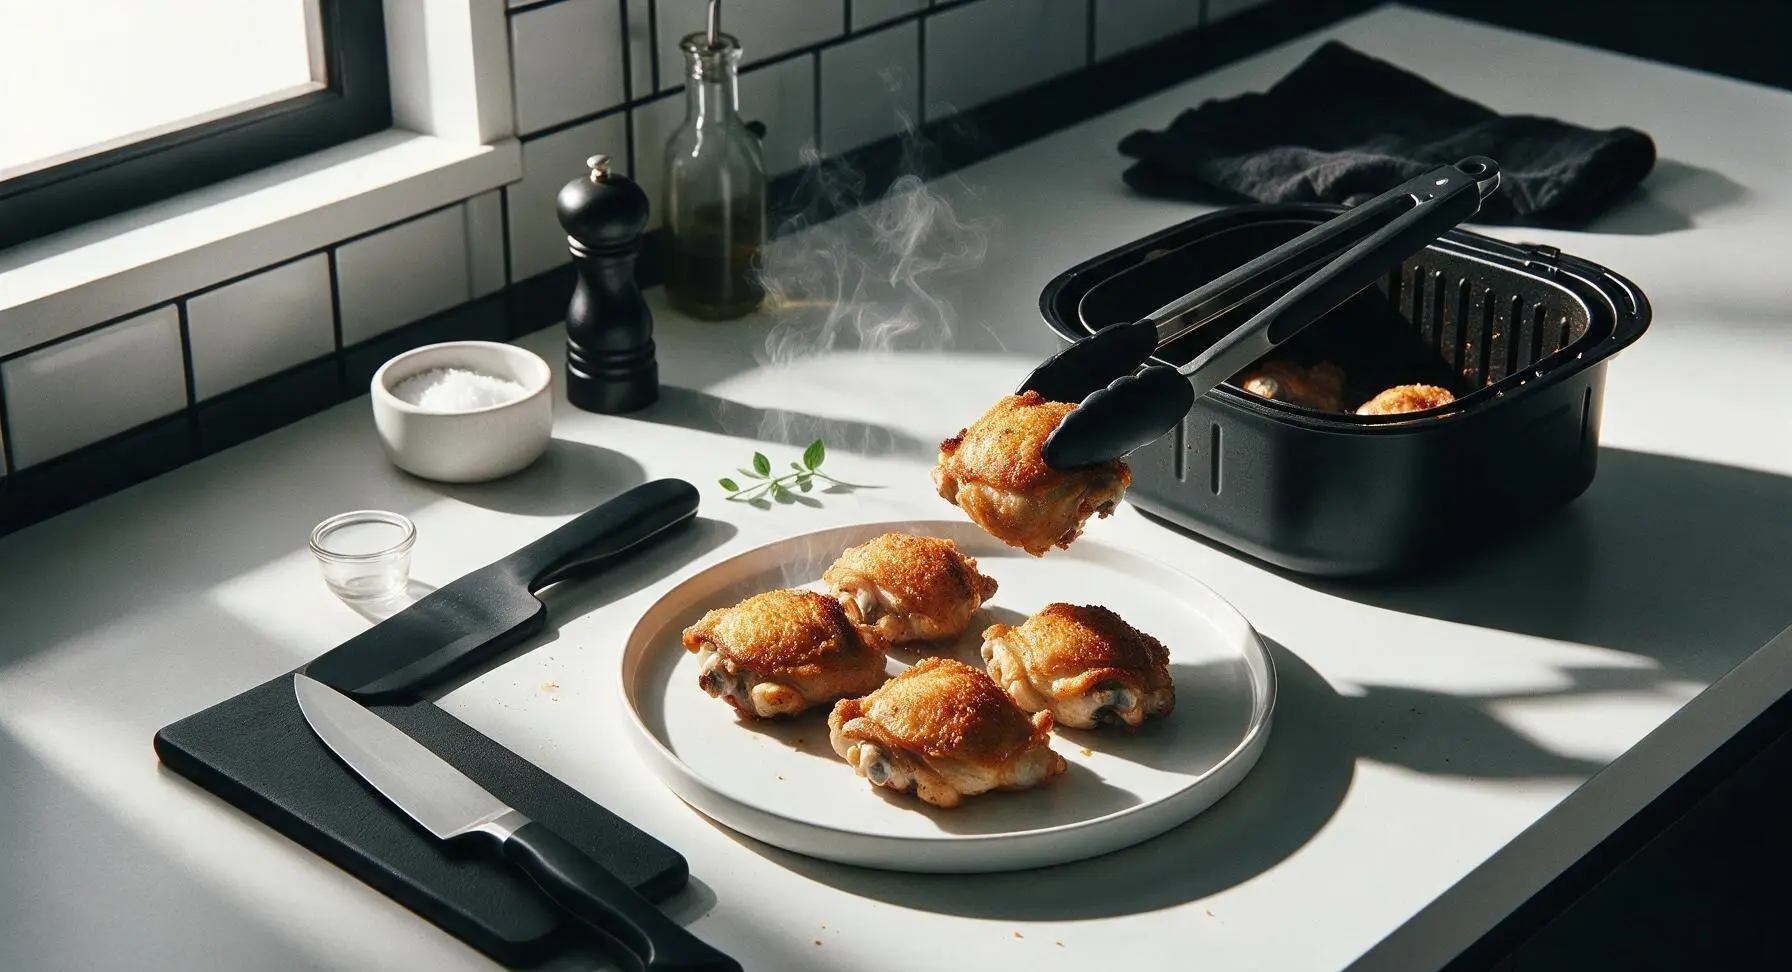
Use the silicone-tipped tongs to transfer cooked chicken thighs from the air fryer basket to the center-front oatmeal beige stoneware dinner plate. Let the chicken rest for 3 minutes to allow internal juices to redistribute through the meat, which prevents juice runoff when cutting or biting into the thighs.
Step 7
step7:Rest Cooked Chicken
8

Garnish and Serve

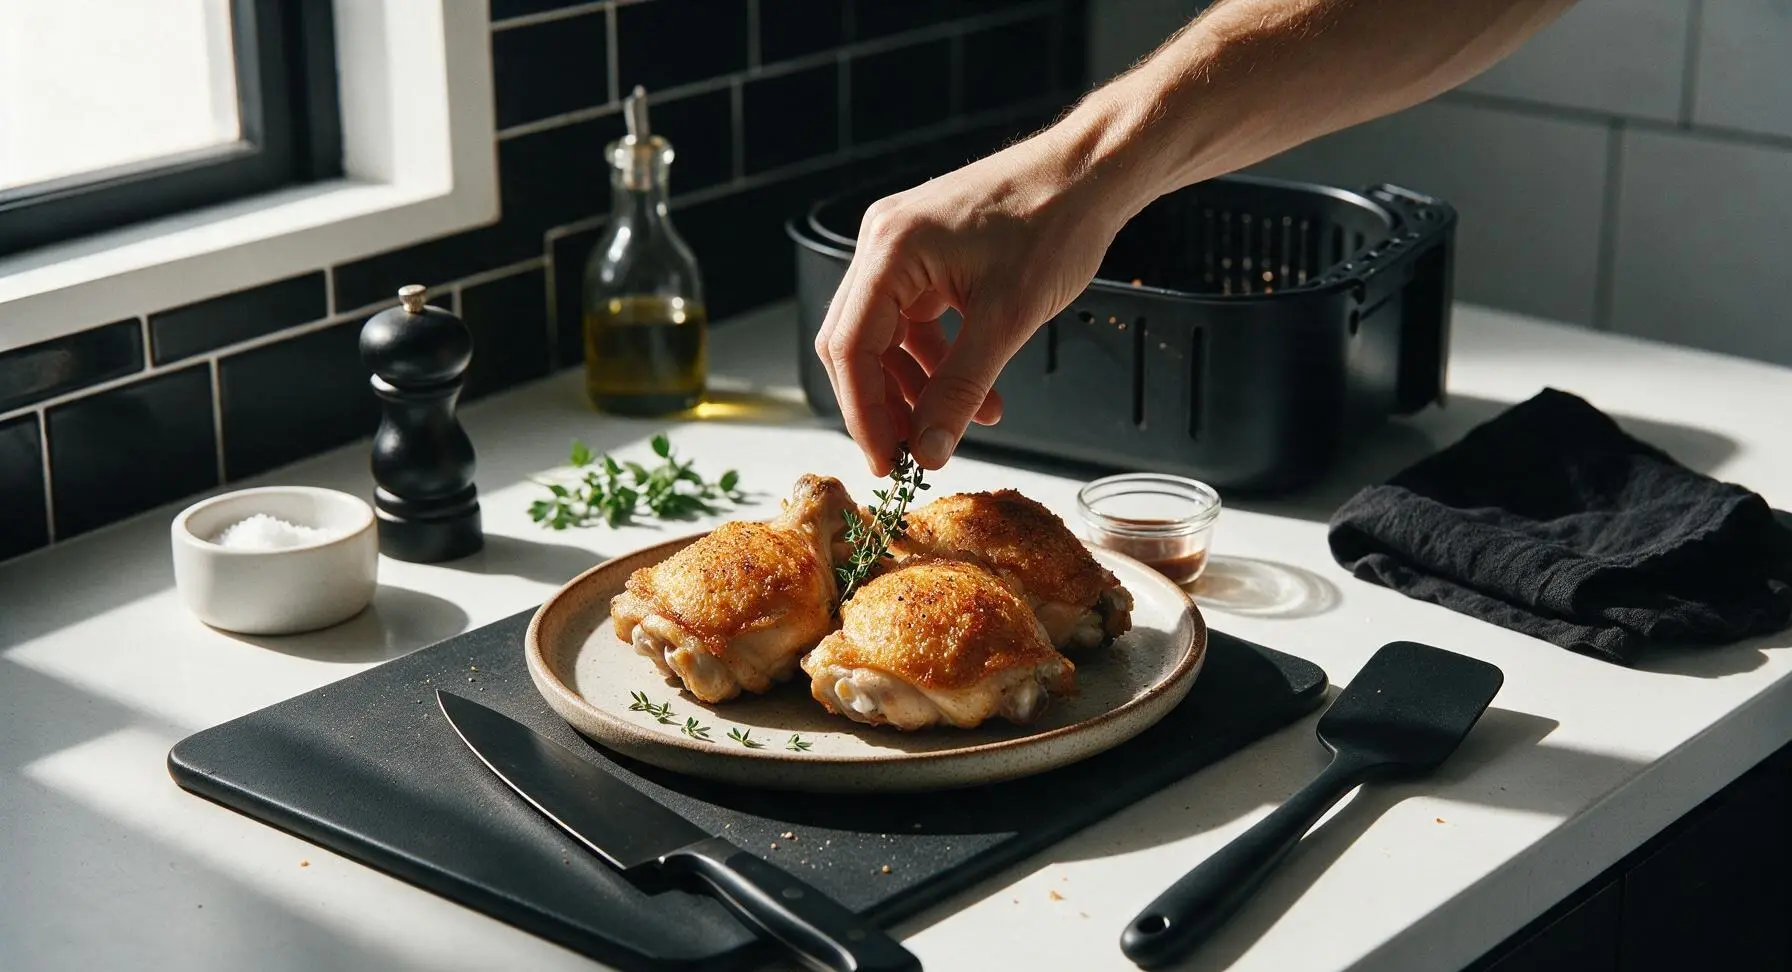
After resting, tuck 2 fresh thyme sprigs between the chicken thighs for a bright pop of color, and sprinkle with an optional ¼ teaspoon flaky sea salt for extra texture and flavor. Serve immediately while the skin remains shatteringly crisp.
Step 8
step8:Garnish and Serve

Tips

1.Always pat chicken skin completely dry before seasoning: Any remaining surface moisture from packaging will turn to steam in the air fryer, leading to soft, rubbery skin instead of the desired shatteringly crisp texture.
2.Do not overcrowd the air fryer basket: Leaving ¼-inch gaps between thighs allows hot air to circulate fully around every piece, ensuring even crisping rather than soggy, steamed spots where thighs touch.
3.Avoid aerosol cooking sprays: Most aerosol sprays contain propellants and additives that can break down and damage the non-stick coating of your air fryer basket over time; the 1 teaspoon of avocado oil rubbed directly on the chicken provides enough non-stick protection and crisping power.


✨ You May Also Like

Main Course
🍜 United Kingdom

A showstopping classic of tender seared beef, savory mushroom duxelles, and crisp prosciutto wrapped in flaky golden puff pastry, baked to juicy perfection.

⏱️ 2 hours 1Main Course ★ 4.7
Main Course
🍜 India

Tender charred marinated chicken simmered in a rich, spiced creamy tomato sauce, this iconic Anglo-Indian curry pairs perfectly with basmati rice or warm naan.

⏱️ 50 minuteMain Course ★ 4.6
Main Course
🍜 Thailand

Classic tangy, sweet, and savory Thai stir-fried rice noodles with shrimp, tofu, and crunchy garnishes, balancing all five core Thai flavor profiles.

⏱️ 30 minuteMain Course ★ 4.5
Main Course
🍜 United Kingdom

Crispy golden beer-battered cod and fluffy double-fried chips, served with tangy tartar sauce and malt vinegar: the timeless, beloved British pub comfort classic.

⏱️ 45 minuteMain Course ★ 4.7
Main Course
🍜 Mexico

Smoky, chile-marinated pork tacos with caramelized pineapple, fresh cilantro, and lime: a beloved classic Mexican street food perfect for casual summer gatherings.

⏱️ 1 hour 45Main Course ★ 4.8
Main Course
🍜 United States

Crunchy Fritos corn chips layered with savory beef chili and melted cheddar, topped with cool, zesty fixings for a beloved, cozy Tex-Mex comfort food.

⏱️ 35 minuteMain Course ★ 4.8

chicken thigh recipes air fryer:Frequently Asked Questions

1.Why isn’t my chicken thigh skin getting shatteringly crisp in the air fryer? ▾
The #1 culprit is excess moisture on the skin—pat thighs completely dry with paper towels before seasoning, since any surface water will steam instead of crisp. Don’t overcrowd the basket (leave ½ inch between pieces) and skip heavy oil coatings; the skin renders plenty of its own fat for that golden crunch.
2.What temperature and total cook time works best for these bone-in thighs? ▾
Cook at 400°F for 22 to 25 minutes total, flipping thighs halfway through cooking. Verify doneness with a meat thermometer inserted into the thickest part (not touching bone) — it should read 165°F. From prep to plate, this lands right at 30 minutes, ideal for busy weeknight meals.
3.Do I need to add extra oil to the chicken or air fryer basket? ▾
You won’t need extra oil on the chicken itself—the skin renders enough natural fat as it cooks to build a crisp crust. A quick, light spritz of neutral oil on the air fryer basket before adding thighs prevents sticking, but heavy oil coatings will make skin soggy instead of crunchy.
4.Can I use boneless, skinless chicken thighs with this recipe? ▾
You can, but adjust cook time to 12 to 15 minutes at 400°F, since boneless thighs cook much faster. Note that you won’t get that signature crispy skin without the skin-on cut, and meat may be slightly less juicy, as the bone helps lock in moisture during high-heat air frying.
5.Is it necessary to flip the chicken thighs while air frying? ▾
Yes, flip them once at the halfway mark (around 12 minutes for a 24-minute total cook time) to ensure even crisping and uniform cooking. Flipping also prevents the bottom skin from sticking to the basket and turning soggy from pools of rendered chicken fat under the thighs.
6.How far in advance can I prep the seasoned thighs before cooking? ▾
You can pat thighs dry and apply the dry rub of kosher salt, smoked paprika, garlic powder, and onion powder up to 24 hours ahead, stored uncovered on a wire rack in the fridge. This pre-chill actually dries skin out more for extra crisp and lets seasoning penetrate deeper for better flavor.
7.Why do my air fryer chicken thighs come out dry sometimes? ▾
The most common causes are overcooking, or using too high a temperature that burns the exterior before the interior cooks through. Stick to 400°F, use a meat thermometer to pull thighs the second they hit 165°F, and opt for bone-in cuts, which hold moisture far better than boneless options.
8.Can I mix extra seasonings into the base rub for this recipe? ▾
Absolutely! The base blend of kosher salt, smoked paprika, garlic powder, and onion powder is extremely versatile. Add a pinch of cayenne for heat, dried thyme for herby depth, or a light sprinkle of brown sugar for sweet-smoky notes—just skip wet seasonings that will soften crisp skin.
9.How do I keep the skin crispy if I can’t serve the thighs right away? ▾
Never stack hot thighs in a closed container or cover them with foil, as trapped steam will turn crisp skin soggy in minutes. Set cooked thighs on a wire rack over a baking sheet in a 200°F oven for up to 30 minutes until you’re ready to serve to hold that perfect crunch.
10.How many chicken thighs can I cook in my air fryer at once? ▾
This depends on your air fryer size, but never stack or overcrowd the basket—thighs need ½ inch of space between them for hot air to circulate and crisp skin evenly. For a standard 5-quart air fryer, that’s 4 to 5 medium thighs; cook in batches if you’re serving a crowd.

Comments (4)

3 days ago

OMG these came out SO crispy I could not believe it! I’ve tried so many air fryer chicken thigh recipes that end up soggy no matter what I do, but this 20 minute cook time is chef’s kiss. My kids devoured 3 thighs each at dinner last night, even my picky 7 year old asked for seconds. Total game changer for weeknight meals!

2 days ago

Wait did you pat the chicken dry first? I always skip that step and wonder why mine turn out soggy lmao

yesterday

Great question! Patting the chicken completely dry with paper towels before seasoning is one of the biggest secrets to getting that perfect crispy skin in the air fryer — don’t skip that step!

1 week ago

This recipe is so easy it’s become my go-to Sunday meal prep staple! I make a big batch on Sunday, toss them in the fridge, and they reheat perfectly in the air fryer in 3 minutes for lunch all week. The skin stays crispy even after reheating? Wild. I added a little extra smoked paprika because I love that warm, smoky kick, and it was chef’s kiss. 10/10, will make every week for the foreseeable future.

5 days ago

Love that you made this work for your weekly meal prep! The extra smoked paprika addition sounds absolutely delicious — we’re all for customizing the seasoning blend to match your taste preferences. So glad the thighs hold up well for reheating too!

2 days ago

I brought these to my neighborhood block party potluck last weekend and people were practically begging me for the recipe! Everyone thought I spent an hour slow roasting them in the oven, nope — 20 minutes in the air fryer and done. I had to cook them in two batches since my air fryer is on the smaller side, but it was 100% worth the extra 10 minutes. Zero leftovers, that’s how you know it’s a hit!

yesterday

Oh this is so good to know about batch cooking! I have a tiny 2-quart air fryer so I was worried I’d mess this up when I make it for my book club potluck next week. Can’t wait to give it a try, your review sold me!

30 minutes ago

Made these for dinner tonight and the chicken was so juicy and tender, no complaints there! My only small issue is that half my dry rub slid off the skin while cooking, so some bites were a little under-seasoned. I’ll definitely be making this again though — next time I’m gonna pat the skin extra dry and maybe spritz a tiny bit of olive oil to help the rub stick better. Super easy recipe even for a total beginner like me!



