
chicken thighs and rice

title 1
chicken thighs and rice
⏱️ cook time 40 minutes
🍽️ servings 4
⚡ Difficulty easy

intro

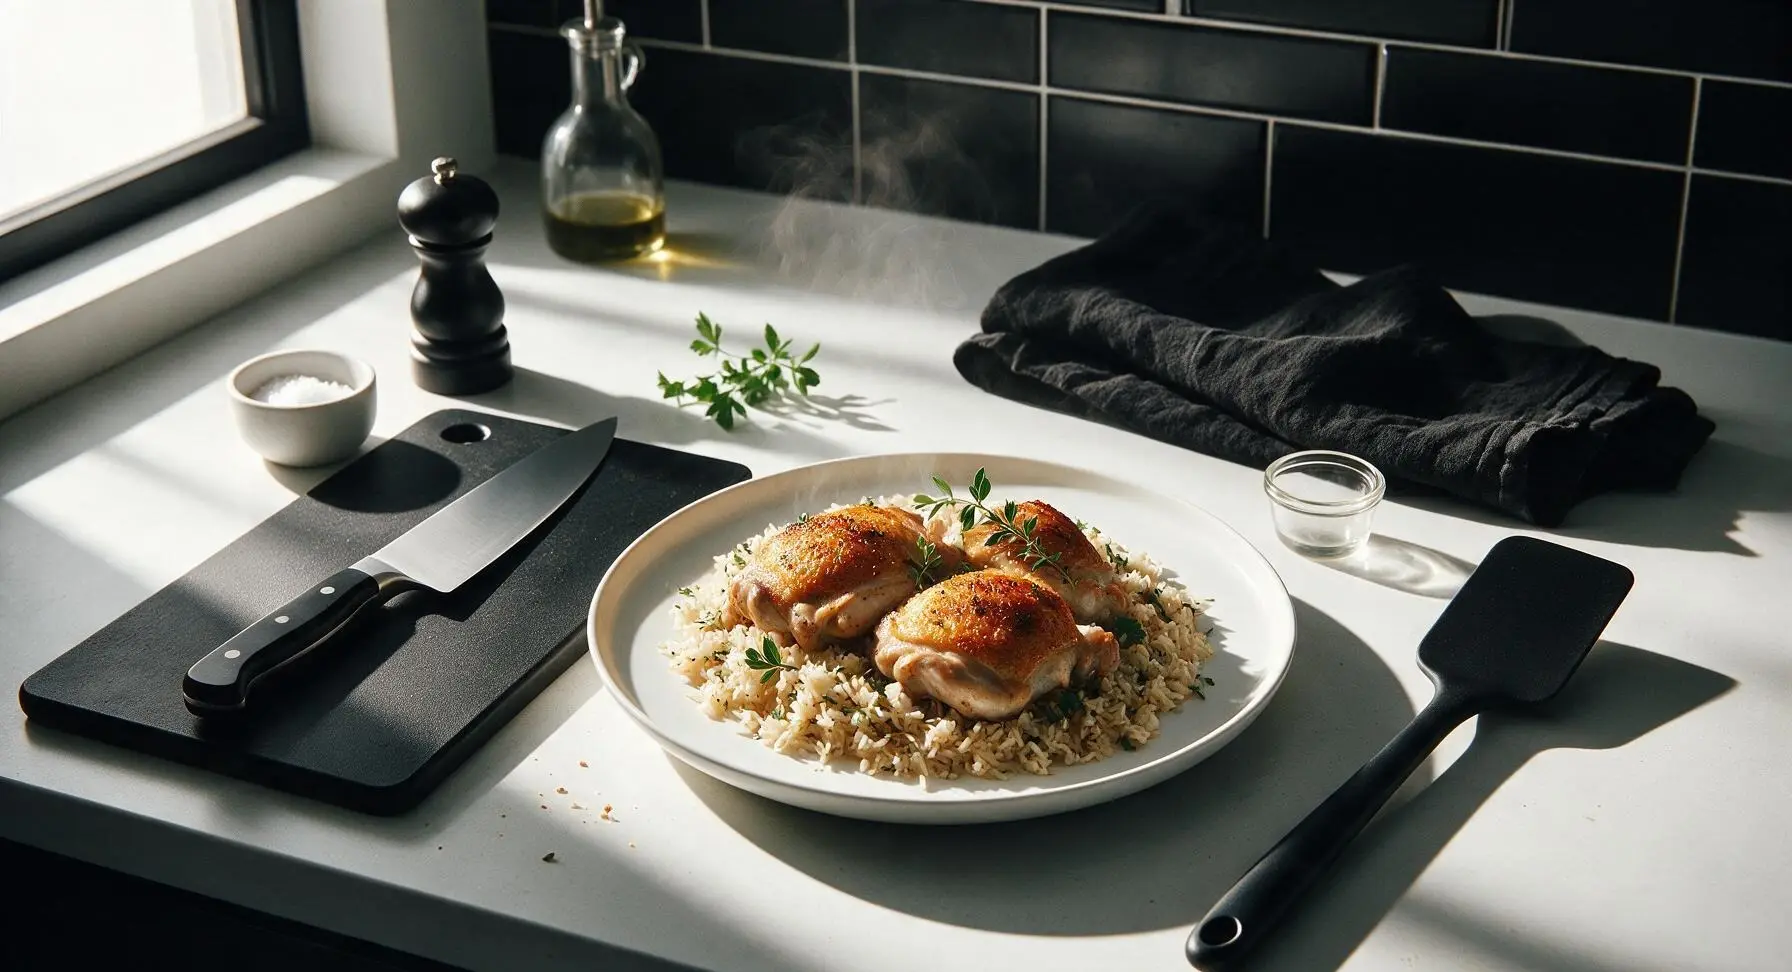
Juicy, crispy-skinned chicken thighs baked over fluffy garlic-herb rice, all made in one pan for minimal cleanup and maximum cozy, savory comfort.

Ingredients
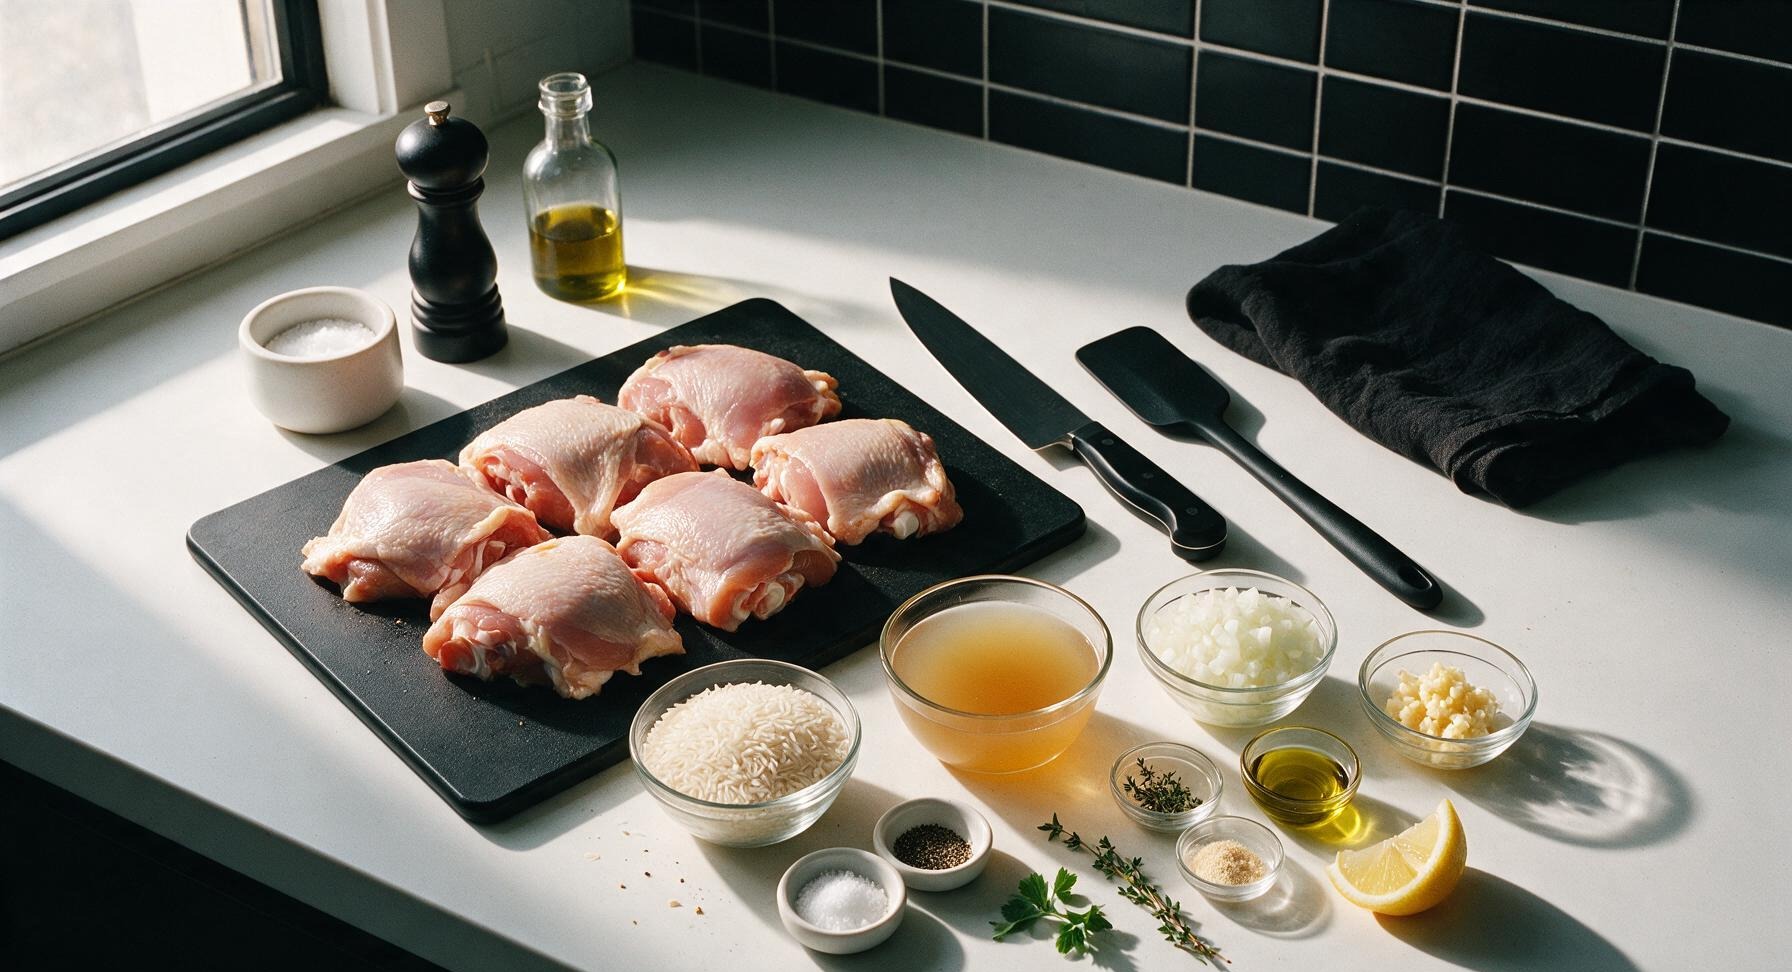
Bone-in skin-on chicken thighs 6 pieces (approx 900g total)
Long-grain white rice (uncooked) 1 cup (185g)
Low-sodium chicken broth 2 cups (480ml)
Yellow onion 1 small (110g, finely diced)
Garlic cloves 4 (12g, minced)
Extra-virgin olive oil 1 tablespoon (15ml)
Kosher salt 1 teaspoon (5g)
Freshly ground black pepper ½ teaspoon (1g)
Dried thyme 1 teaspoon (1g)
Garlic powder ½ teaspoon (1.5g)
Fresh thyme sprigs 2 (for garnish)
Lemon 1 small (cut into wedges for serving)

Steps

1

Season the Chicken Thighs

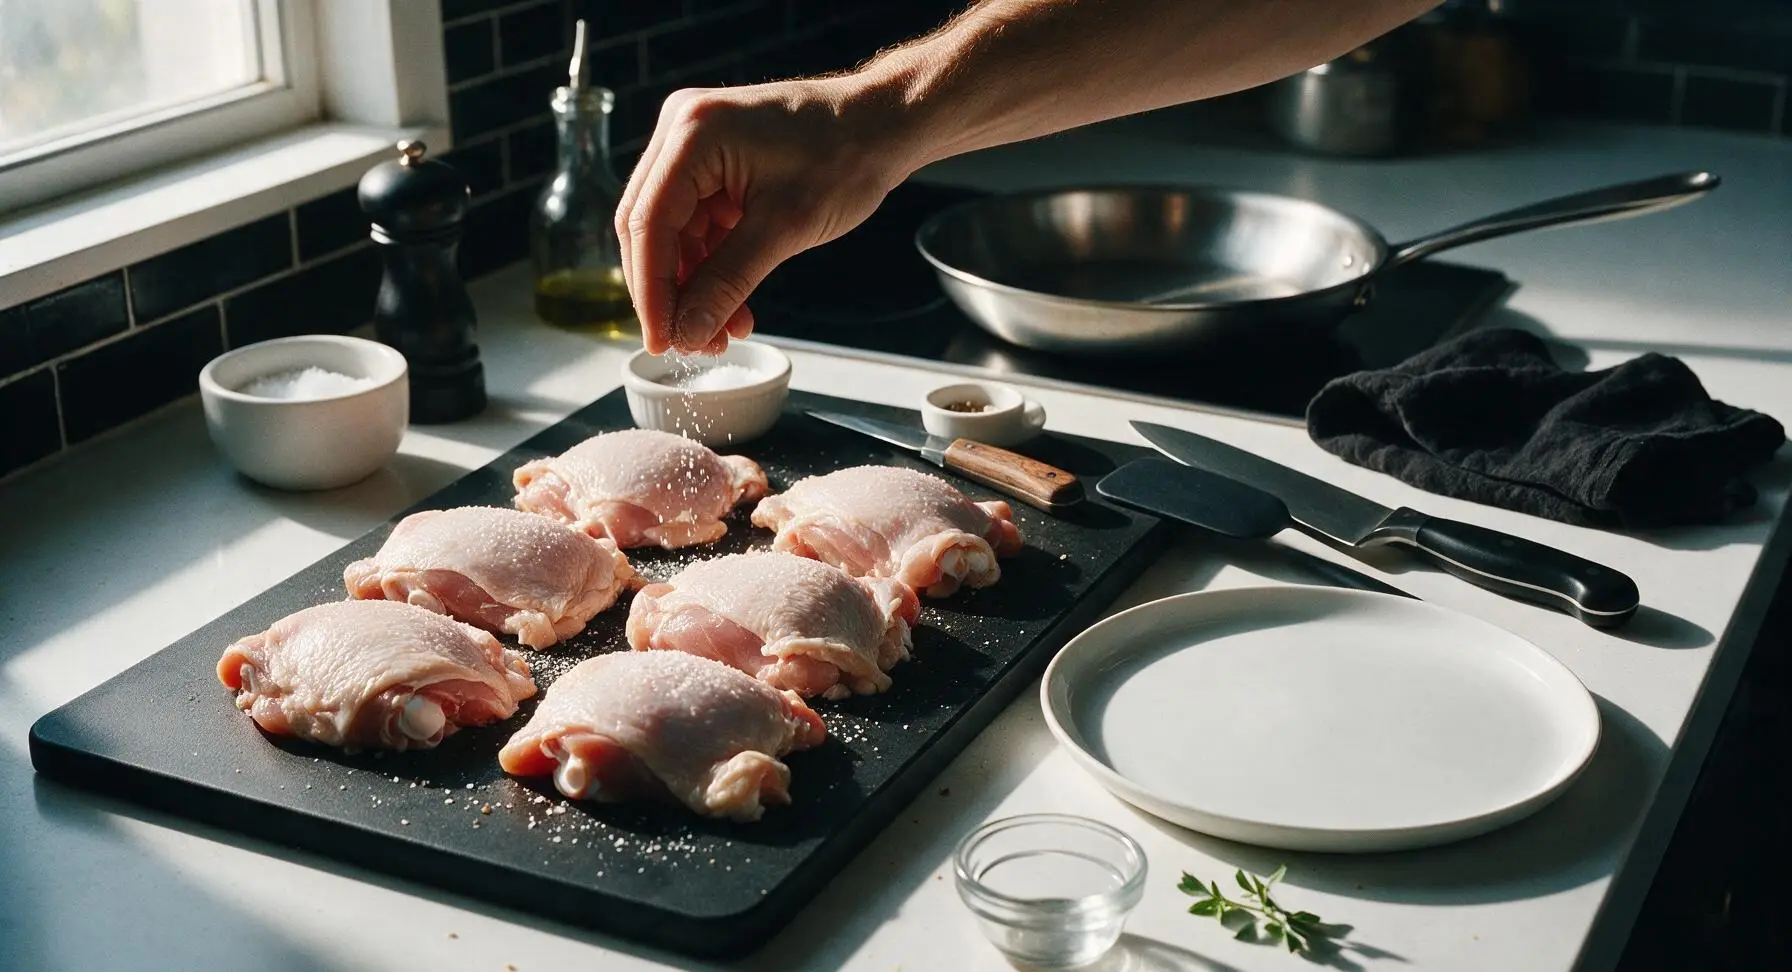
Pat the 6 bone-in, skin-on chicken thighs completely dry with paper towels (this is critical for crispy skin). Season all sides evenly with ¾ teaspoon kosher salt, ½ teaspoon black pepper, and ½ teaspoon garlic powder, rubbing the spices gently into the skin and meat. Set aside at room temperature for 5 minutes while you prep remaining ingredients.
Step 1
step1:Season the Chicken Thighs
2

Sear Chicken Skin Crisp

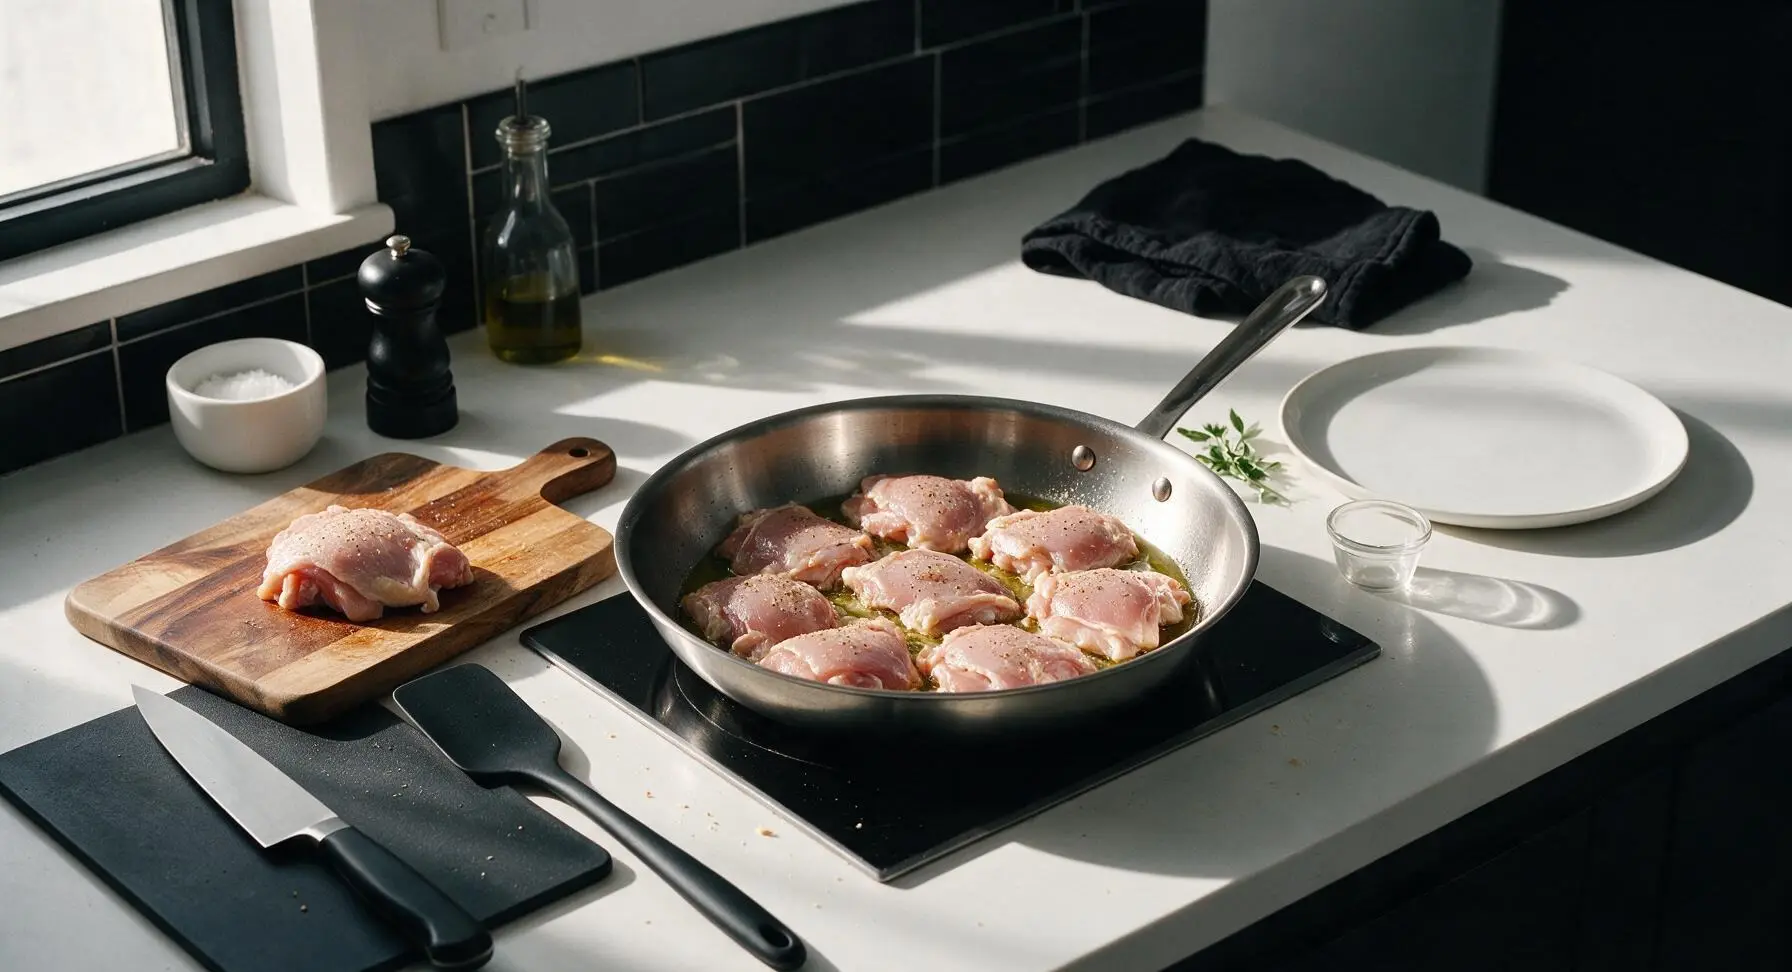
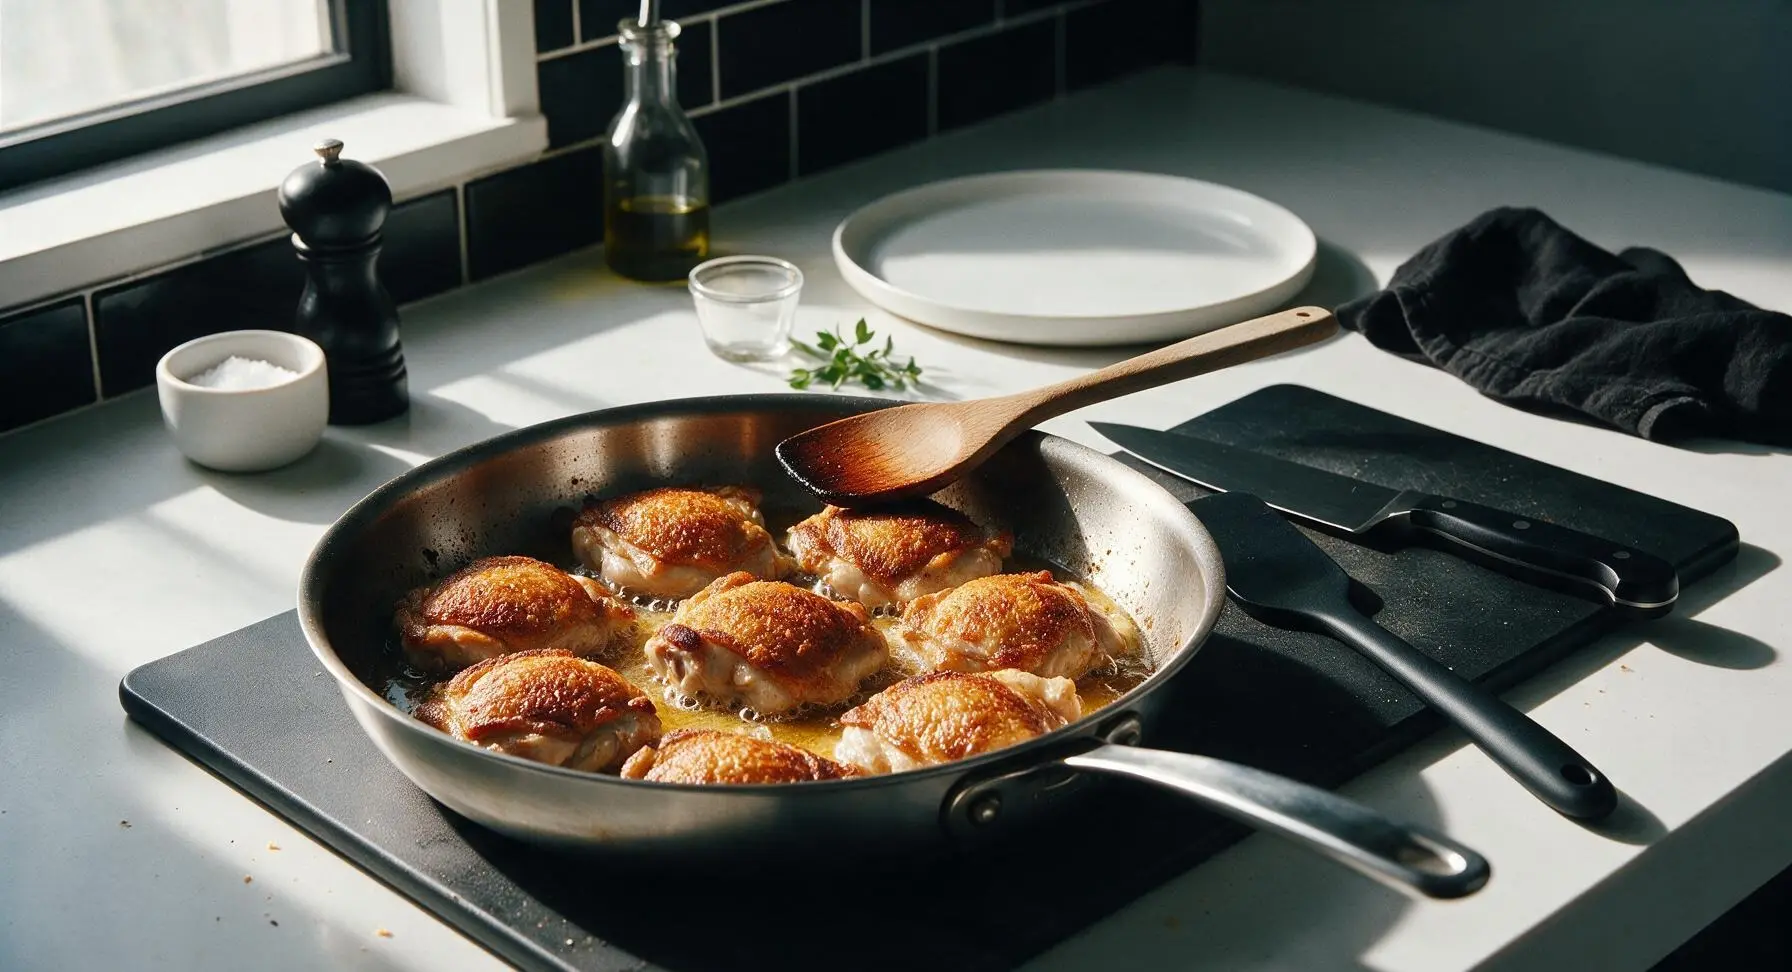
Heat 1 tablespoon olive oil in the stainless steel skillet over medium heat (350°F / 175°C). Once the oil shimmers, place the chicken thighs skin-side down in the skillet, working in a single layer without crowding. Sear for 6-7 minutes without moving, until the skin is deep golden brown and crispy, releasing easily from the pan. Flip the thighs and sear the meat side for 2 additional minutes, then transfer the chicken to a clean stoneware plate and set aside.
Step 2
step2:Sear Chicken Skin Crisp
Step 2
step2:Sear Chicken Skin Crisp
3

Sauté Aromatic Vegetables

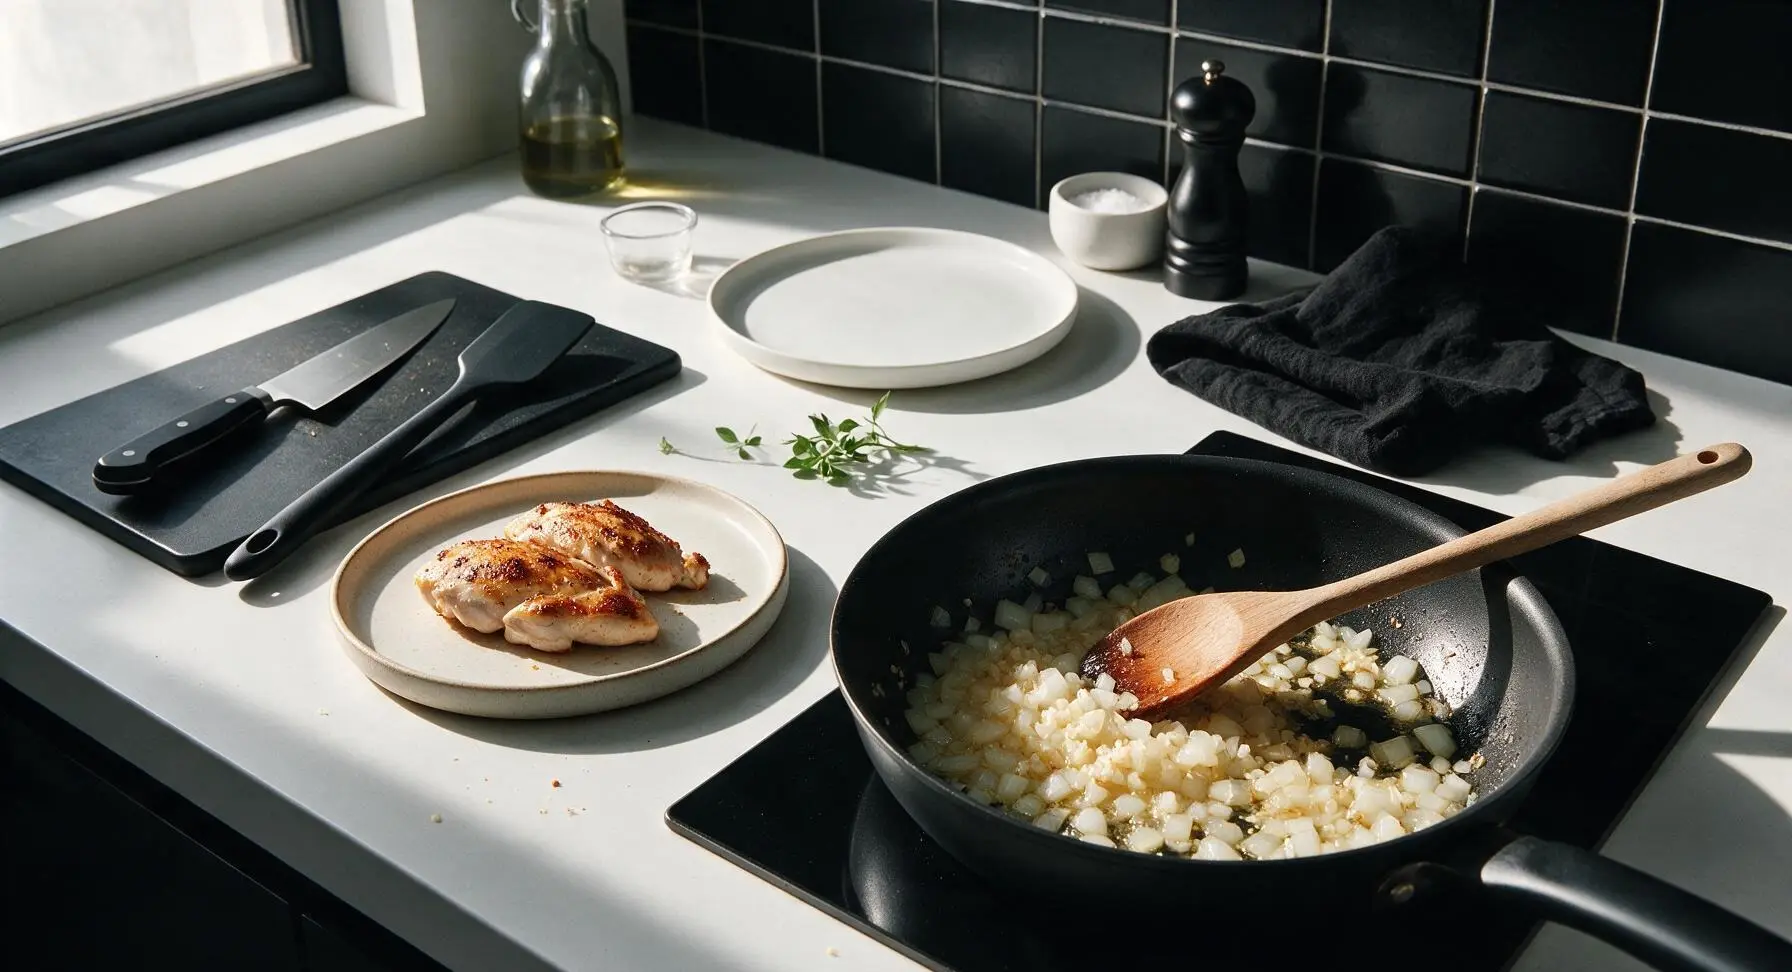
Leave 2 tablespoons of the rendered chicken fat in the skillet, discarding any excess. Reduce heat to medium-low, add the finely diced yellow onion to the pan, and sauté for 3 minutes until soft and translucent. Add the minced garlic and remaining ½ teaspoon dried thyme, and ¼ teaspoon kosher salt, cooking for 30 seconds until fragrant, taking care not to burn the garlic.
Step 3
step3:Sauté Aromatic Vegetables
4

Toast Rice for Nuttiness

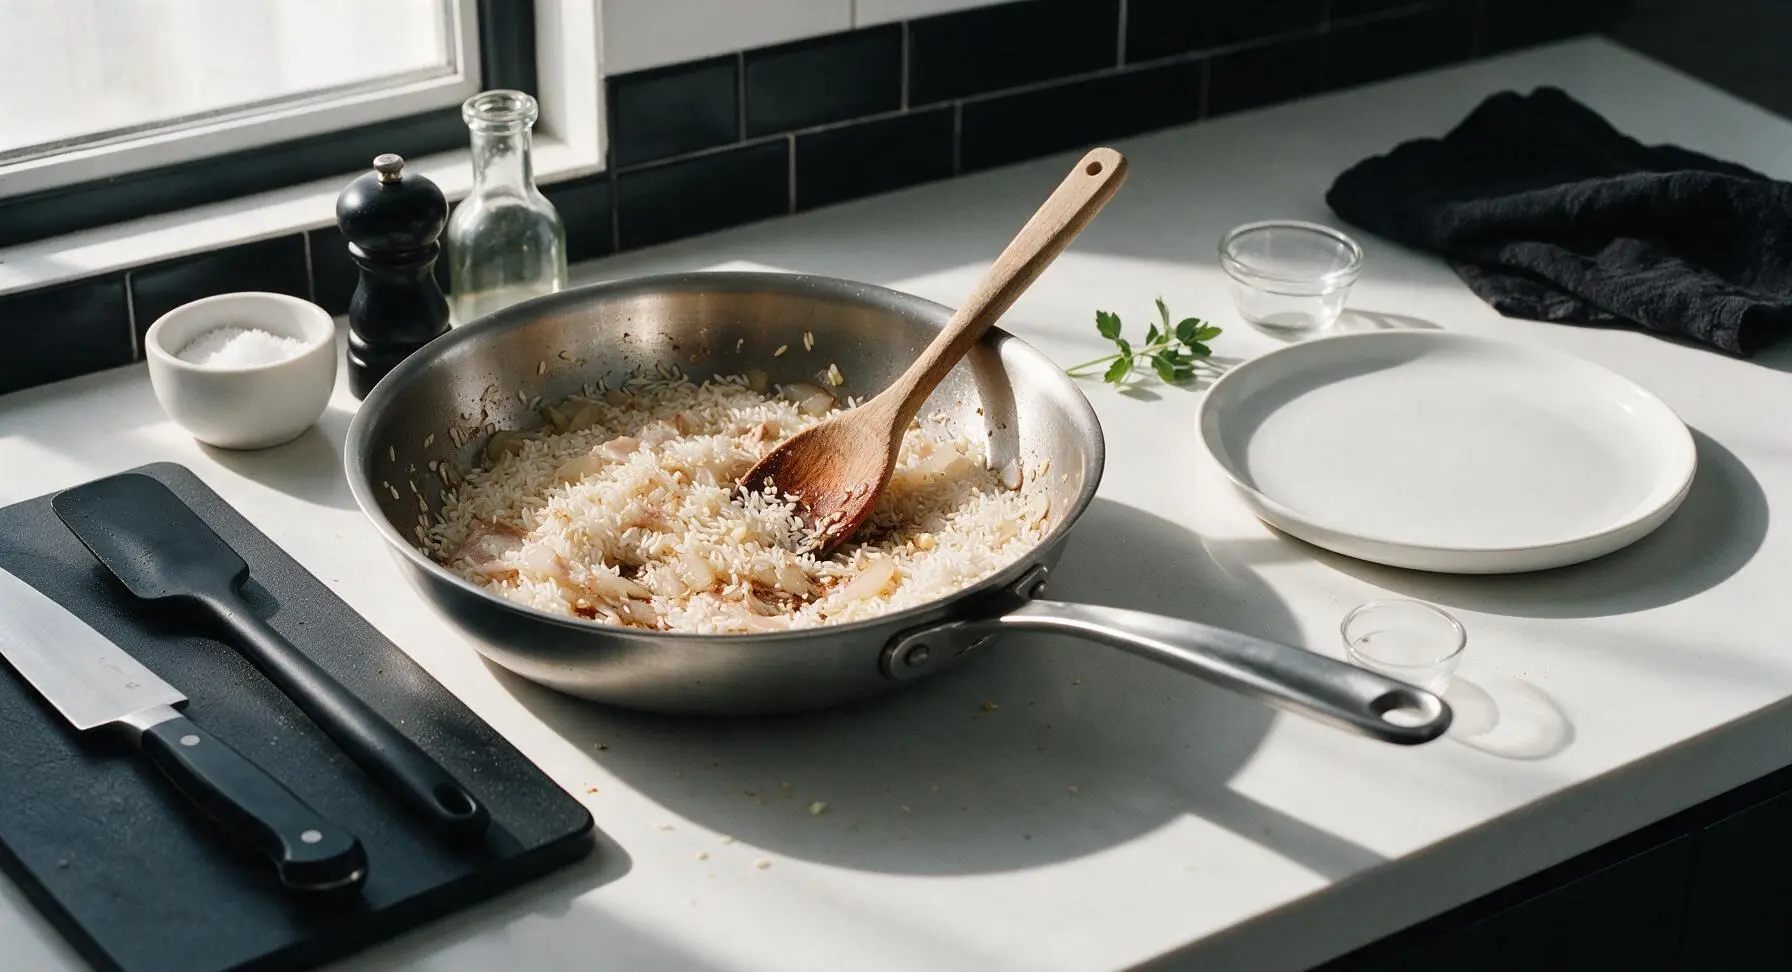
Add the uncooked long-grain white rice to the skillet with the sautéed aromatics, stirring constantly with the beech wood spoon for 2 minutes to toast the rice grains. The rice will turn slightly translucent at the edges and develop a light nutty aroma, picking up all the browned bits (fond) from the bottom of the pan.
Step 4
step4:Toast Rice for Nuttiness
5

Add Broth and Nestle Chicken

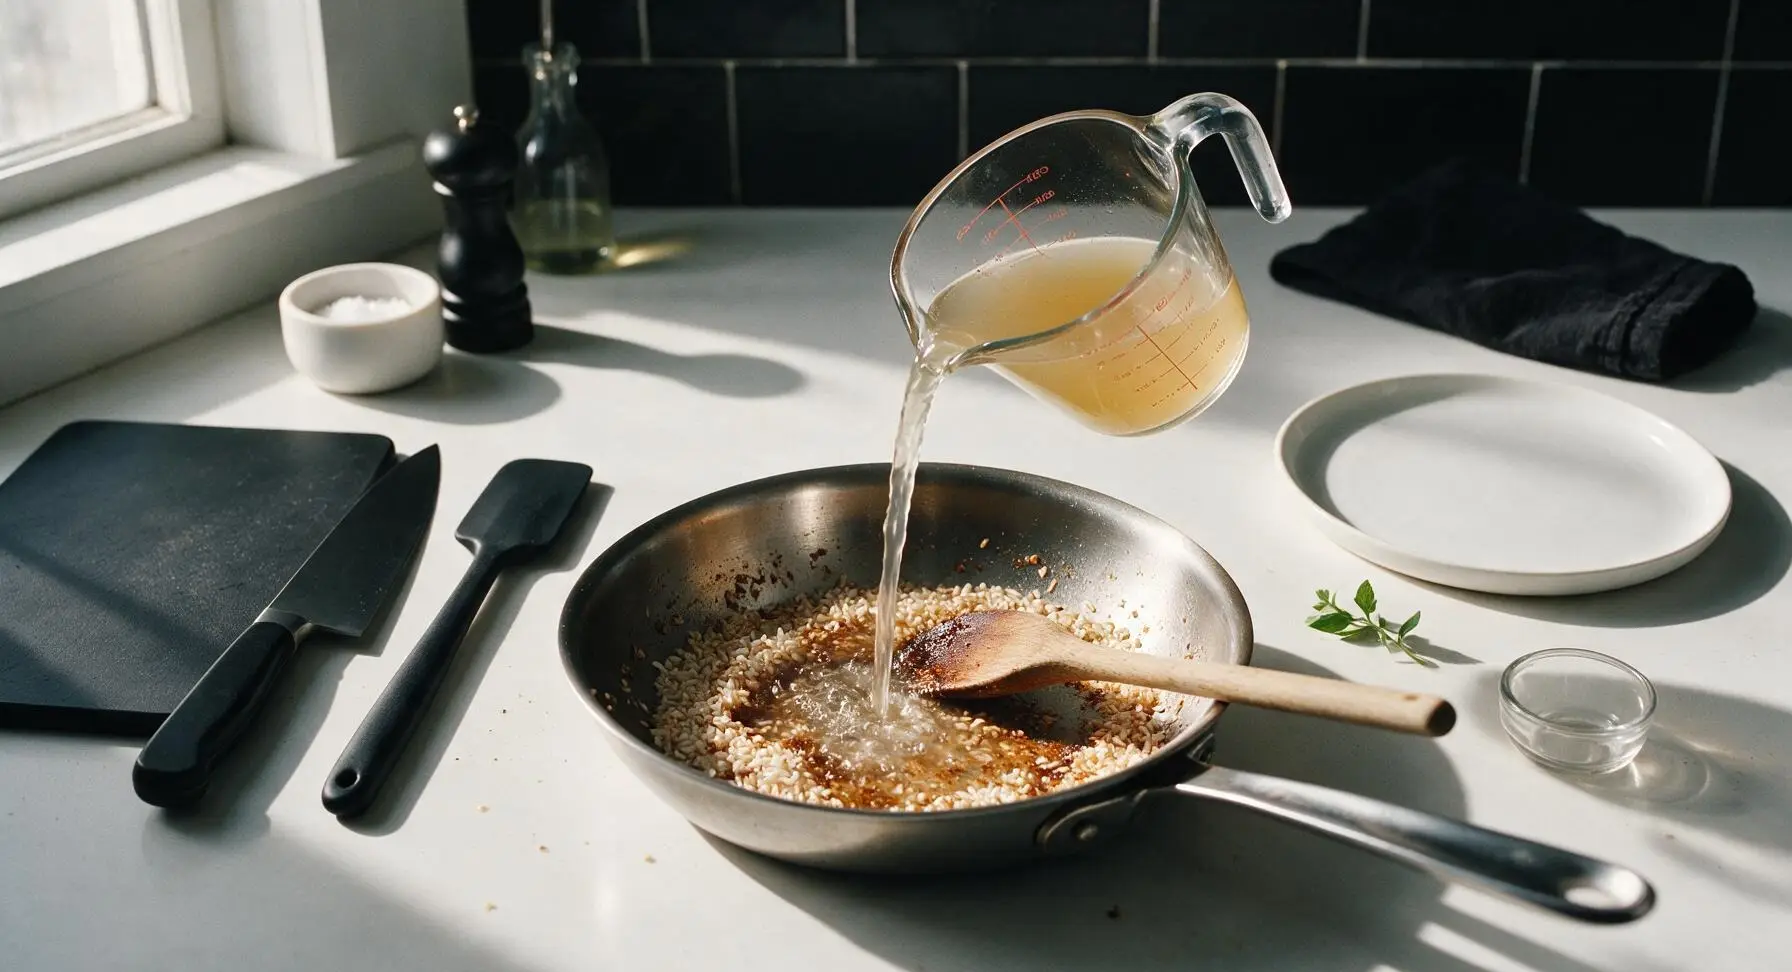
Pour the 2 cups of low-sodium chicken broth into the skillet, stirring gently to scrape up any remaining browned bits from the pan bottom. Bring the liquid to a gentle simmer, then nestle the seared chicken thighs skin-side up on top of the rice and liquid, making sure the skin stays above the liquid level to stay crispy.
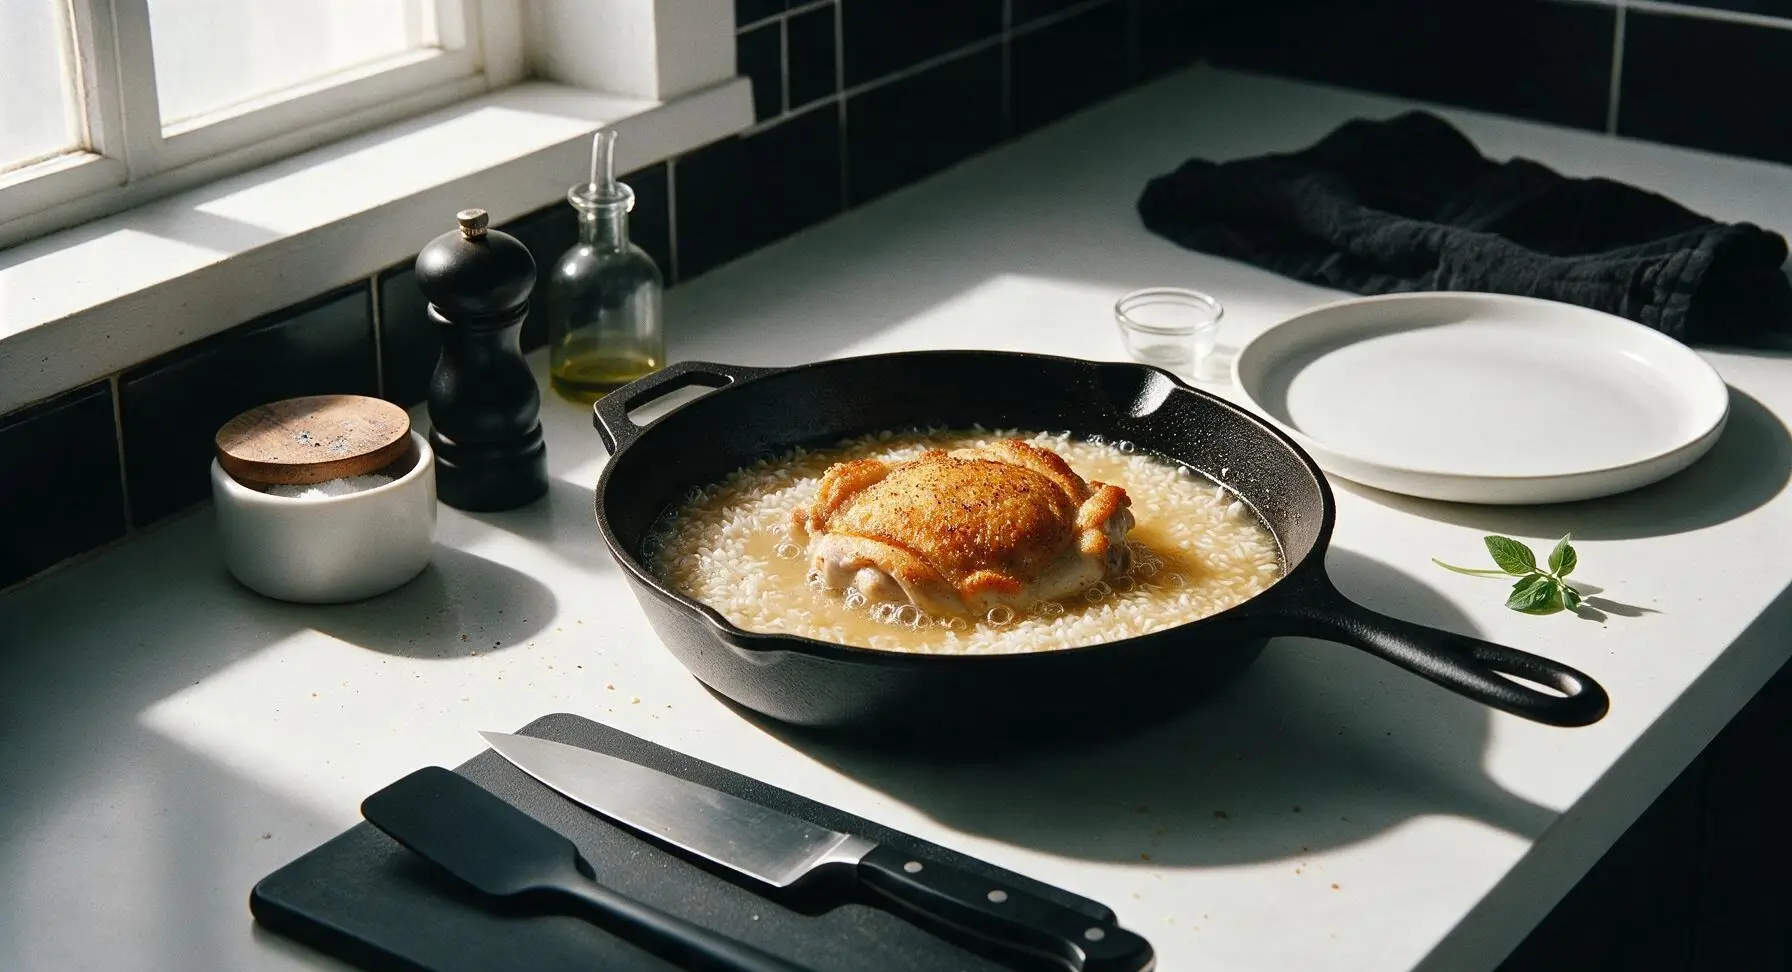
Step 5
step5:Add Broth and Nestle Chicken
Step 5
step5:Add Broth and Nestle Chicken
6

Bake Until Rice Tender

Carefully transfer the skillet to a preheated 375°F (190°C) oven, uncovered. Bake for 22-25 minutes, until all the liquid is fully absorbed by the rice, the rice is tender and fluffy, and the chicken reaches an internal temperature of 165°F (74°C) at the thickest part.
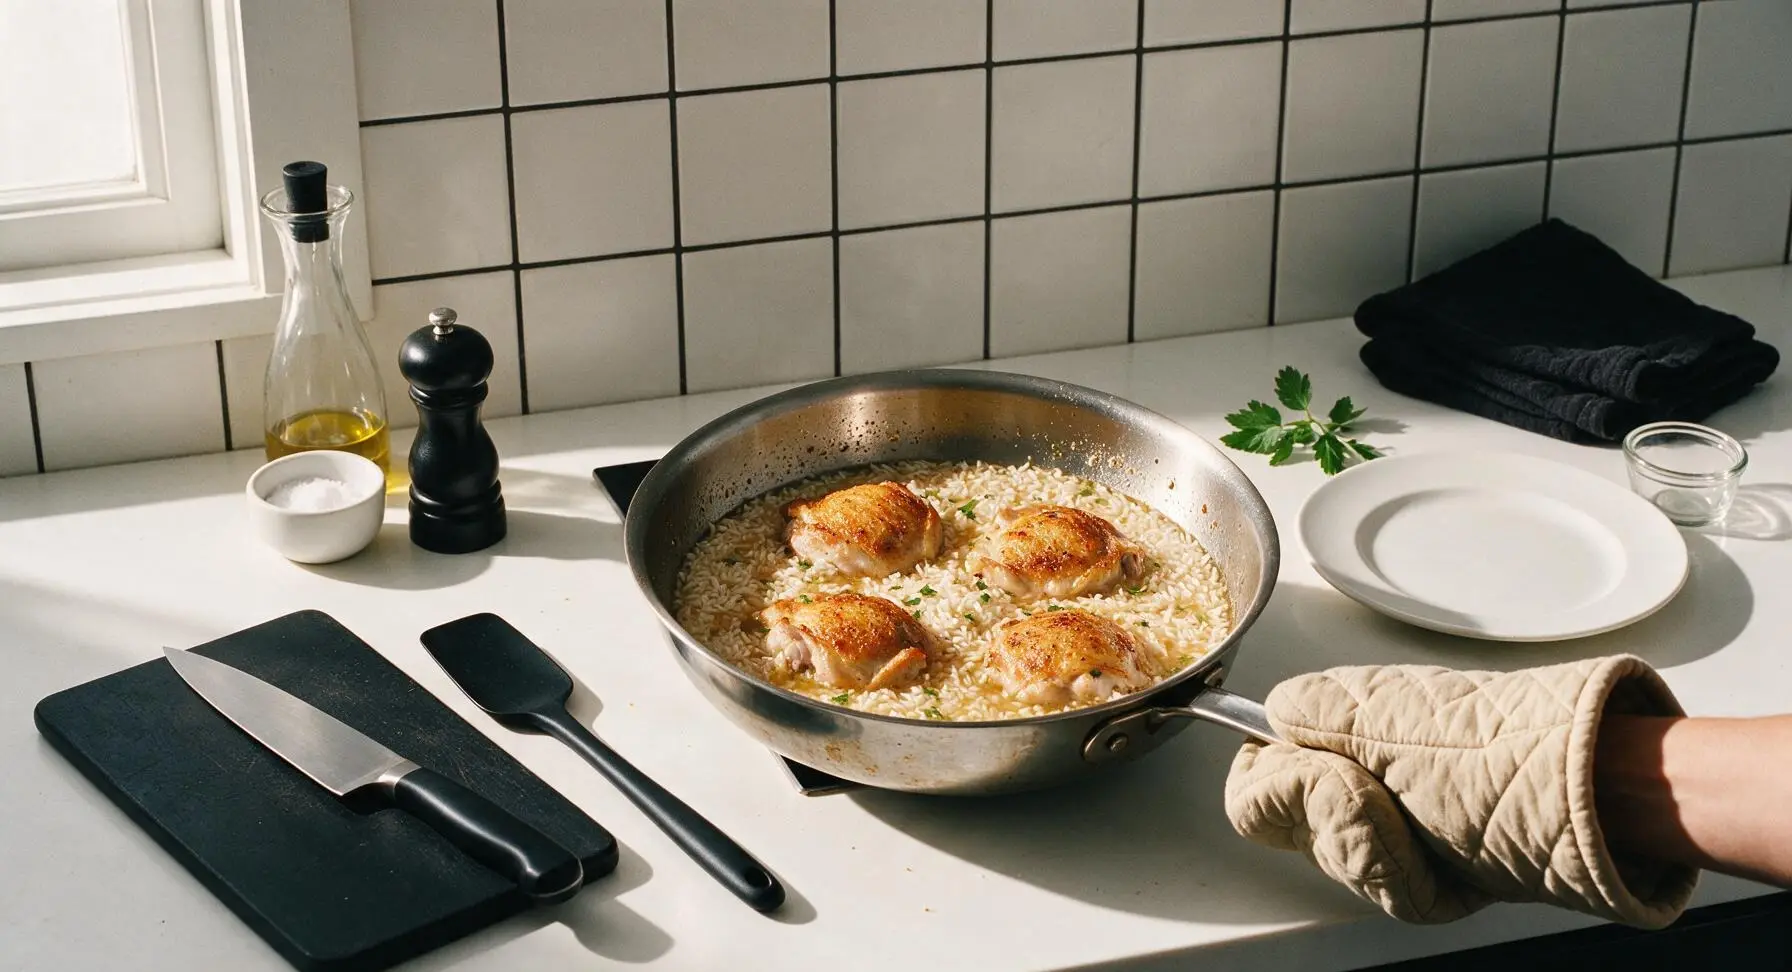
Step 6
step6:Bake Until Rice Tender
7

Rest and Fluff Rice

Once baked, remove the skillet from the oven and let it rest, uncovered, for 5 minutes. This allows the rice to absorb any remaining steam and the chicken juices to redistribute. Use the beech wood spoon to gently fluff the rice around the chicken, taking care not to tear the crispy chicken skin.
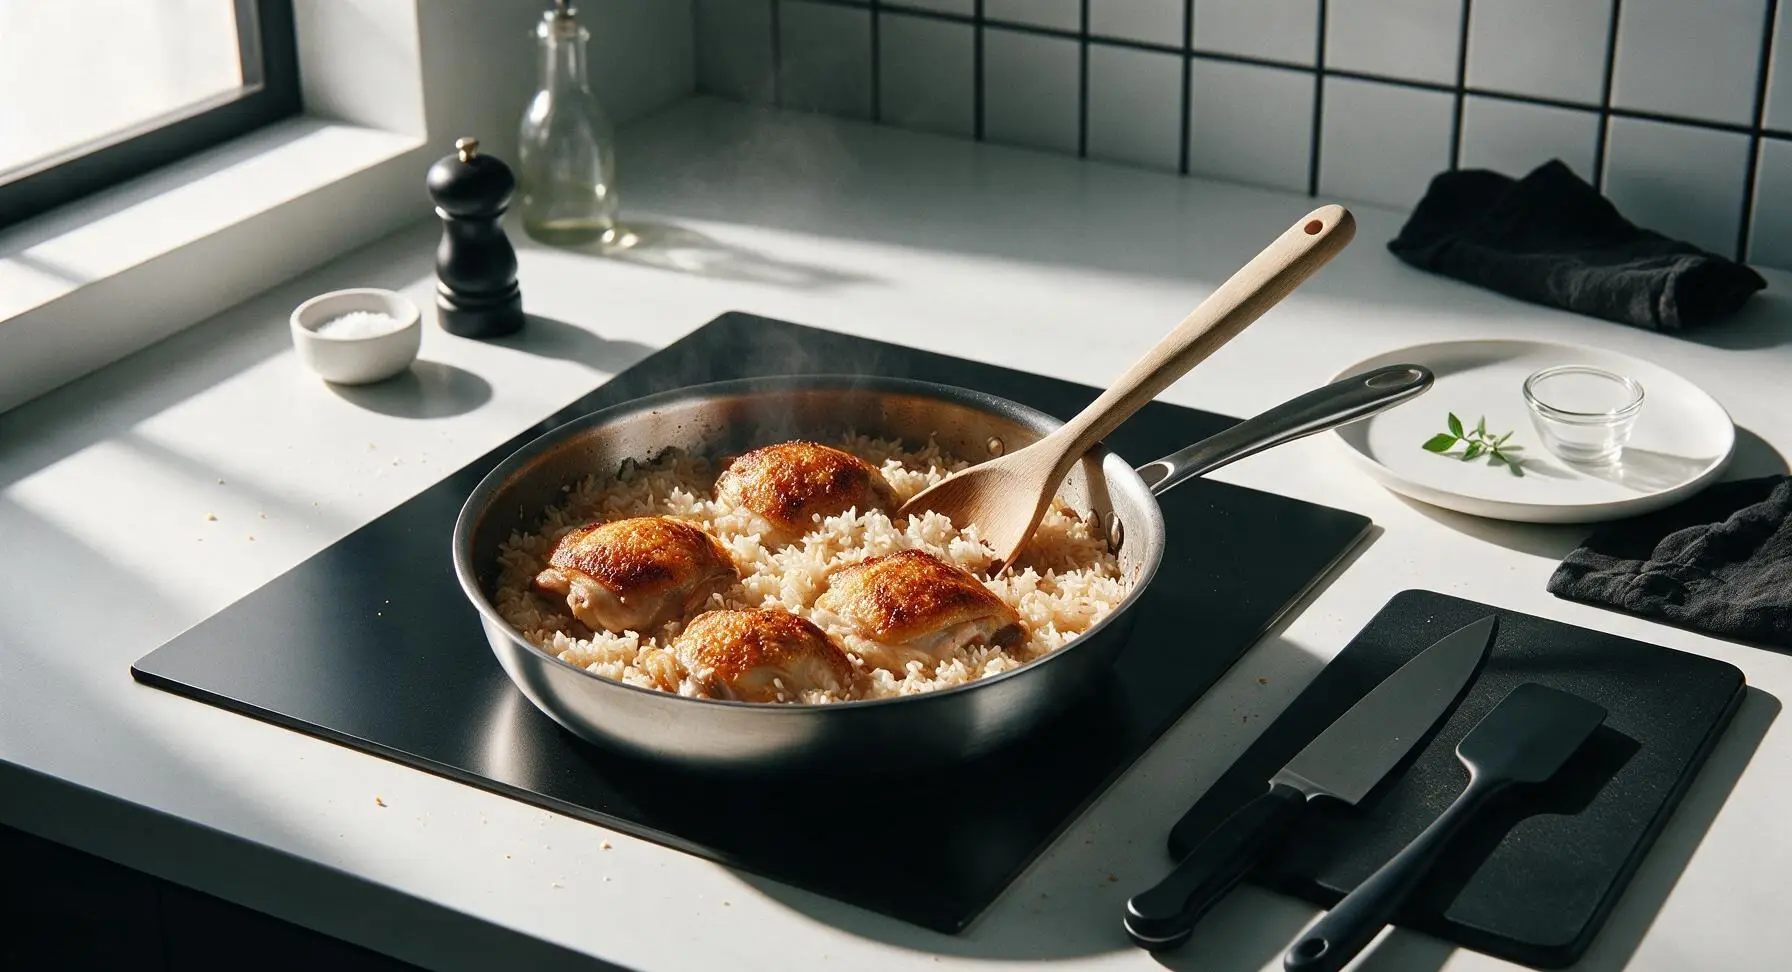
Step 7
step7:Rest and Fluff Rice
8

Plate and Garnish to Serve

Scoop a generous portion of fluffy rice onto each warm matte warm white stoneware dinner plate, top with 1-2 chicken thighs per serving. Garnish with fresh thyme leaves, a crack of fresh black pepper, and a lemon wedge on the side for squeezing over top.
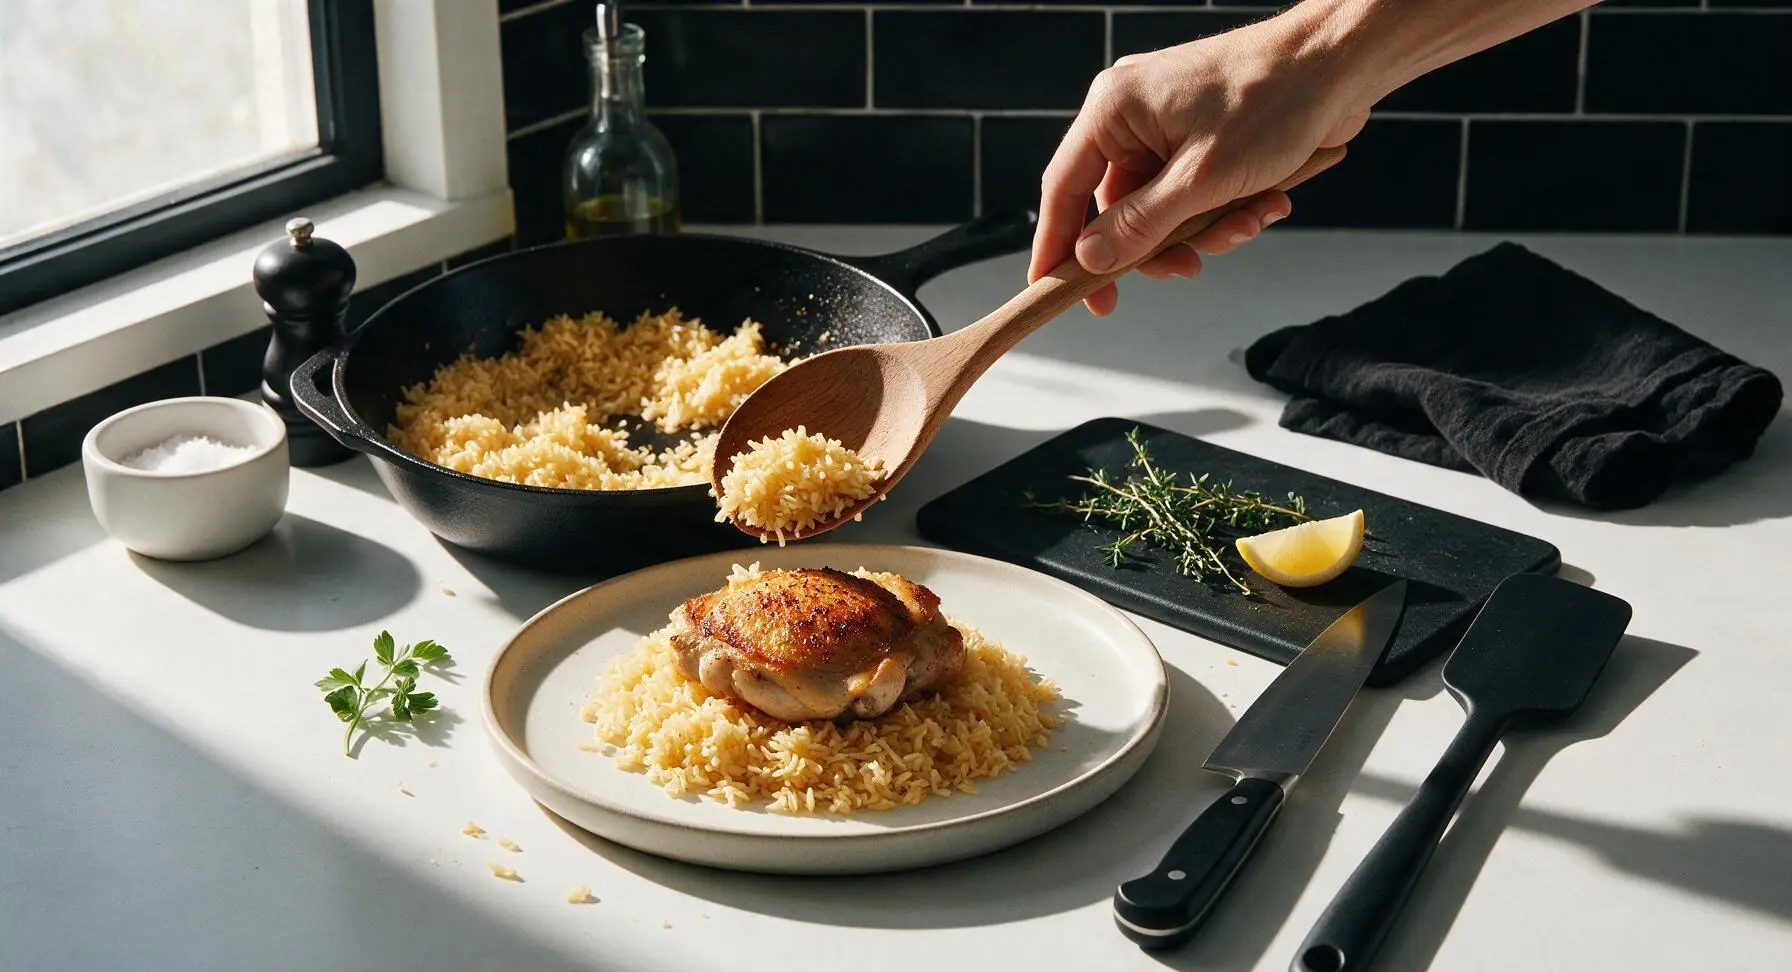
Step 8
step8:Plate and Garnish to Serve

Tips

1.Pat chicken completely dry with paper towels before seasoning and searing: excess surface moisture will cause the chicken to steam instead of sear, preventing the shatteringly crisp golden skin that is the signature of this dish.
2.Keep chicken skin above the liquid line when nestling thighs into the rice before baking: submerged skin will turn soft and soggy during cooking, wasting all the crisp texture built during the initial sear.
3.Resist the urge to stir the rice while it bakes: stirring releases excess starch from the rice grains, which will result in a gummy, sticky texture instead of light, fluffy, separate rice grains.


✨ You May Also Like

Main Course
🍜 United Kingdom

A showstopping classic of tender seared beef, savory mushroom duxelles, and crisp prosciutto wrapped in flaky golden puff pastry, baked to juicy perfection.

⏱️ 2 hours 1Main Course ★ 4.7
Main Course
🍜 India

Tender charred marinated chicken simmered in a rich, spiced creamy tomato sauce, this iconic Anglo-Indian curry pairs perfectly with basmati rice or warm naan.

⏱️ 50 minuteMain Course ★ 4.6
Main Course
🍜 Thailand

Classic tangy, sweet, and savory Thai stir-fried rice noodles with shrimp, tofu, and crunchy garnishes, balancing all five core Thai flavor profiles.

⏱️ 30 minuteMain Course ★ 4.5
Main Course
🍜 United Kingdom

Crispy golden beer-battered cod and fluffy double-fried chips, served with tangy tartar sauce and malt vinegar: the timeless, beloved British pub comfort classic.

⏱️ 45 minuteMain Course ★ 4.7
Main Course
🍜 Mexico

Smoky, chile-marinated pork tacos with caramelized pineapple, fresh cilantro, and lime: a beloved classic Mexican street food perfect for casual summer gatherings.

⏱️ 1 hour 45Main Course ★ 4.8
Main Course
🍜 United States

Crunchy Fritos corn chips layered with savory beef chili and melted cheddar, topped with cool, zesty fixings for a beloved, cozy Tex-Mex comfort food.

⏱️ 35 minuteMain Course ★ 4.8

chicken thighs and rice:Frequently Asked Questions

1.Can I substitute boneless, skinless chicken thighs for the bone-in, skin-on version the recipe calls for? ▾
You absolutely can, though you’ll miss out on the rich, rendered fat and crispy skin that adds so much depth to the rice. If you go this route, pat thighs very dry, add 1 extra tablespoon of olive oil to the pan before searing, and cut total chicken cook time by 5-7 minutes to avoid tough, dry meat.
2.Why does my rice turn out mushy or undercooked when I make one-pan rice dishes like this? ▾
This almost always comes down to incorrect liquid ratios or uneven pan heat. Stick to the standard 2:1 liquid-to-rice ratio for long-grain white rice, make sure your broth is fully simmering before you cover the pan to bake, and avoid lifting the lid mid-cook—escaping steam drops pan temp fast and leads to uneven, gummy rice.
3.Can I use brown rice instead of long-grain white rice for this recipe? ▾
You can, but you’ll need to adjust cook time and liquid to get tender, fluffy results. Brown rice needs a 2.5:1 liquid-to-rice ratio, and requires 15-20 extra minutes of covered bake time before adding seared chicken back, otherwise your chicken will overcook long before the rice is tender enough to eat.
4.Do I really need to sear the chicken first before baking it with the rice? ▾
I strongly recommend it! Searing over medium-high heat renders excess fat from the chicken skin, creates that craveable crispy golden crust, and leaves browned bits (called fond) in the pan that infuse the rice with deep, savory, roasted flavor you can’t get from un-seared chicken baked straight through.
5.Can I use vegetable broth instead of chicken broth for a dietary swap? ▾
You can swap low-sodium vegetable broth for chicken broth with zero texture issues, just pick a low-sodium, non-tomato based veggie broth to keep the warm garlic-herb flavor profile balanced. If you want a fully vegetarian version, swap chicken thighs for thick-cut portobello caps, seared the same way as the chicken.
6.How do I keep the chicken skin crispy instead of getting soggy on top of the rice? ▾
The trick is two-fold: first, pat the chicken skin completely dry with paper towels before searing, and season the skin right before it hits the hot pan. Second, nestle seared chicken on top of the rice mixture instead of submerging it, so skin stays exposed to dry oven heat the whole bake time, never sitting in pooling liquid.
7.What size and type of pan works best for this recipe to avoid overflow or uneven cooking? ▾
Reach for a 12-inch heavy-bottomed oven-safe skillet, preferably cast iron or stainless steel, with a tight-fitting lid. Pans smaller than 12 inches crowd the rice and chicken, leading to mushy spots and overflow, while thin, lightweight pans cause bottom-layer rice to burn before the top layer cooks through.
8.Can I add extra vegetables to this one-pan meal without messing up the rice cook time? ▾
Absolutely! Stick to quick-cooking, low-moisture veggies to avoid throwing off the rice’s liquid ratio. Diced bell pepper, sliced mushrooms, or frozen peas and carrots work great—sauté them with the onion and garlic before adding rice and broth, and you won’t need to adjust cook time or liquid amounts at all.
9.My rice always burns on the pan bottom when I make baked one-pan meals—what am I doing wrong? ▾
This usually happens for one of two reasons: your oven rack is positioned too low, putting the pan too close to the bottom heating element, or you’re using a thin, lightweight pan that doesn’t distribute heat evenly. Move your rack to the middle position, and line thin pans with a sheet of parchment to cut down on scorching if needed.
10.Can I use chicken breasts instead of thighs if that’s what I already have in my fridge? ▾
You can, but chicken breasts are far leaner than thighs, so they’re much more prone to drying out during the longer bake time. If you use breasts, pound them to an even 1.5-inch thickness, sear for 2 minutes per side, and cut total bake time by 8-10 minutes, checking for a 165°F internal temp before serving.
11.How should I store leftovers, and how long will this dish keep in the fridge? ▾
Let the dish cool completely to room temperature within 2 hours of cooking, then transfer it to an airtight, sealed container and stash it in the fridge for up to 4 days. Reheat portions in the microwave with a tablespoon of extra broth splashed on top to fluff rice back up, since rice absorbs moisture as it chills.
12.What herbs work best to get that classic garlic-herb flavor for this dish? ▾
My go-to blend is a mix of fresh thyme, rosemary, and a pinch of dried oregano, though you can absolutely swap in what you have on hand. If using dried herbs, use 1/3 the amount you’d use of fresh, since dried herbs are far more concentrated, and add them when you sauté garlic to bloom their flavor.
13.Do I need to rinse the uncooked long-grain rice before adding it to the pan? ▾
For long-grain white rice, I do recommend a quick rinse under cold water until the water runs clear, to remove excess surface starch. That extra starch is what makes rice gummy and sticky when baked, so a 30-second rinse will give you lighter, fluffier separate rice grains without washing away pan flavor.
14.What can I use if I don’t have a tight-fitting lid for my oven-safe skillet? ▾
No problem at all—you don’t need a fancy matching lid to trap the steam that cooks the rice evenly. Cut a piece of heavy-duty aluminum foil large enough to cover the pan top, crimp it tightly around the pan edges to make a steam-tight barrier, and bake exactly as the recipe directs for perfect rice.

Comments (11)

2 days ago

OMG this was SO good for last night’s family dinner! My 3 kids all went back for seconds, even my super picky 7 year old who refuses to eat anything green! The rice soaked up all the garlic herb butter perfectly and I didn’t have a mountain of dishes to wash after. Total game changer for busy weeknights.

2 weeks ago

Tossed this on the grill side burner last weekend when we had friends over for a football watch party. Used bone-in skin-on thighs like the recipe said, got that crispy skin everyone raves about, and the rice was chef’s kiss, no mushy mess at all – total upgrade from my first try where I burned the bottom and had crunchy rice the whole way through. Will be making this for tailgates all fall.

1 week ago

As someone who burns 90% of the rice I make and dries out chicken half the time, I was shocked this turned out perfect on my second go! First try I messed up and used boneless skinless thighs that got too dry, but this time I followed the recipe exactly with bone-in thighs. 40 minutes total, one pan, barely any effort? I added a little extra parmesan at the end because I’m obsessed with cheese, 10/10 would make again.

3 days ago

Made a big batch of this for my weekly meal prep on Sunday. Portioned it out into 5 containers, held up great all week in the fridge! Only question – can I swap white rice for brown rice without messing up the cook time?

2 days ago

So glad this worked for your meal prep! If you swap for brown rice, you’ll need to add about 10 minutes extra cook time and an extra ¼ cup of chicken broth, since brown rice absorbs more liquid and takes longer to soften. Hope that helps!

5 minutes ago

I’m so excited to make this, I’ve heard nothing but good things! Only issue is I only have a tiny dorm room hot plate and a baking sheet, do you think I can make this in the oven instead of on the stovetop? I don’t have an oven-safe skillet :(

just now

I did this last week! I seared the chicken for a few minutes in my regular non-stick pan then dumped everything into a 9x13 baking dish, covered with foil, baked at 375 for 35 minutes and it came out perfect! No oven-safe skillet needed.

yesterday

Double checked all the ingredients to make sure this is gluten free, and it is! So happy to find a one-pan meal I don’t have to modify for my celiac. The garlic herb flavor is so bright, didn’t taste bland at all like a lot of easy GF recipes.

2 hours ago

That makes us so happy to hear! We intentionally keep this recipe free of hidden gluten so it works for as many dietary needs as possible. If you ever want to mix it up, you can toss in some roasted broccoli or bell peppers in the last 10 minutes for extra veggies!

2 hours ago

Tried making this last night, followed the recipe exactly but my rice came out a little crunchy on the bottom? Did I have the heat too high? Flavor was incredible though, my wife raved about it, I just want to nail the texture next time.

30 minutes ago

I had that happen the first time too! Turn your burner down to medium-low once you add the rice and broth, and make sure your lid is fitting super tight so steam doesn’t escape. Fixed it for me on my second try!

1 week ago

Brought this to my neighborhood potluck last week and people were begging me for the recipe before I even left! I did add a squeeze of fresh lemon and a sprinkle of parsley at the end for a little pop of color, it looked so pretty on the serving table. 10/10, zero leftovers.

2 days ago

Oh the lemon squeeze idea is genius! I made this for my family dinner last night and my kids went crazy for it, I’m making it again tomorrow for my kid’s soccer team potluck, I’ll definitely steal that tip. Did you leave the chicken thighs whole or shred them for serving?

yesterday

Love the fresh lemon addition! That bright acid cuts through the rich garlic butter so well. For potlucks, a lot of folks tell us shredding the chicken and mixing it into the rice makes it easier for guests to serve, but leaving them whole looks beautiful too!

5 days ago

Wait, I used boneless skinless thighs because that’s what I had in the freezer, and it was still good but the chicken was a little dry? Did I overcook it? I thought boneless would be faster!

3 days ago

Boneless skinless dries out way faster! Next time take them out 5 minutes earlier than the recipe says for bone-in, and let them rest a few minutes before digging in. I made that mistake too my first go!

2 days ago

Great question! Boneless skinless thighs do cook about 5-7 minutes faster than bone-in skin-on, so they can dry out if left on the full cook time. We recommend checking the internal temp at 30 minutes if using boneless – it should hit 165°F and be perfectly juicy!

30 minutes ago

Okay I was skeptical that rice would cook all the way through in the same pan as the chicken without getting mushy, but I stand corrected!! This is going into my permanent weeknight rotation, I can’t believe how little cleanup there is. I tossed in some frozen peas and carrots with the rice to get some veggies in, my husband didn’t even complain.

5 minutes ago

The frozen veggie addition is such a good call! I’m always looking for ways to sneak more veggies into my meals without extra dishes, I’ll have to try that next time I make this. Did you just toss them in frozen or thaw them first?

just now

Frozen mixed veggies are such an easy add! You can toss them straight in frozen when you add the rice – they’ll thaw and cook perfectly in the steam from the broth, no extra prep needed. So glad you loved the recipe!

just now

Just made this for my date night in, and my boyfriend thought I spent hours cooking!!! He kept saying how restaurant quality it was, little did he know it took me 40 minutes total and only one pan to clean up before he got here. Win win.

just now

Omg date night hack for real!!! I’m making this for my new roommate next week to trick her into thinking I’m a good cook, lol. Did you use any extra spices or stick exactly to the recipe?

just now

That’s our favorite kind of weeknight win! No need to tell anyone how easy it is, we won’t spill 😉 If you want to make it feel extra fancy for date night, a sprinkle of fresh thyme or a pinch of red pepper flakes adds a nice little elevated touch without extra work.



