
chicken tot casserole
intro
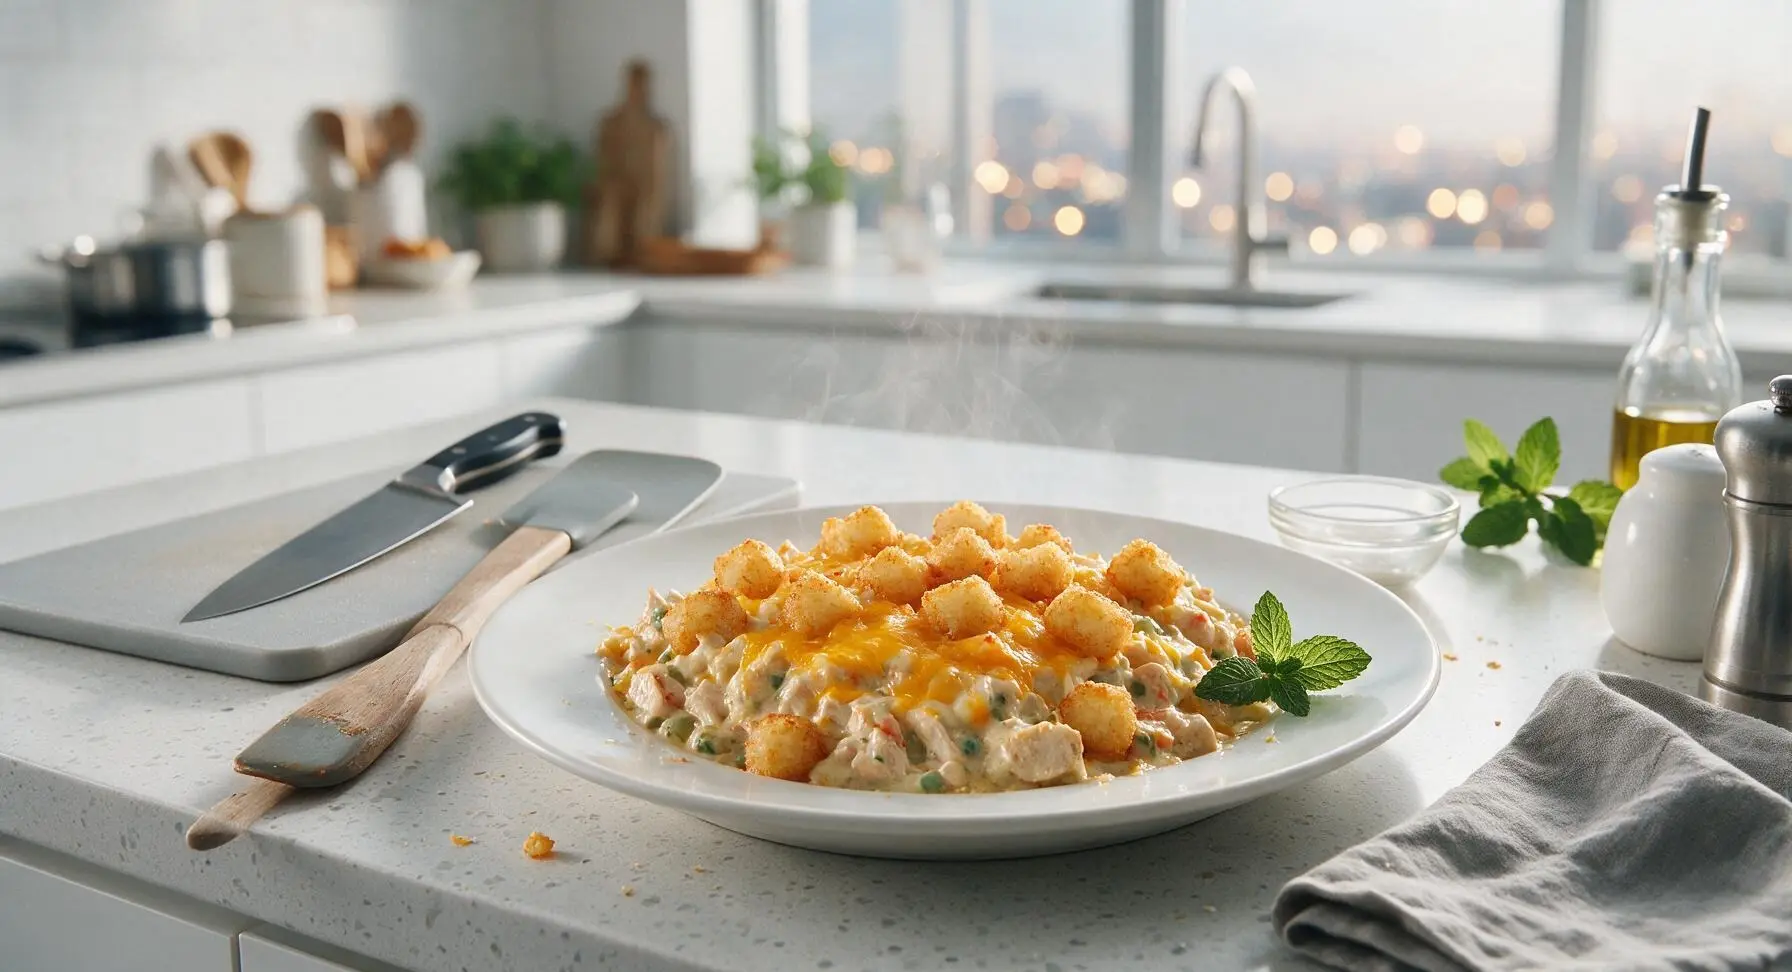
Creamy savory chicken and vegetable filling, gooey melted cheddar, and crispy golden tater tots come together in this nostalgic, cozy comfort food perfect for easy weeknights.
Ingredients
Steps
Preheat Oven and Prep Dish
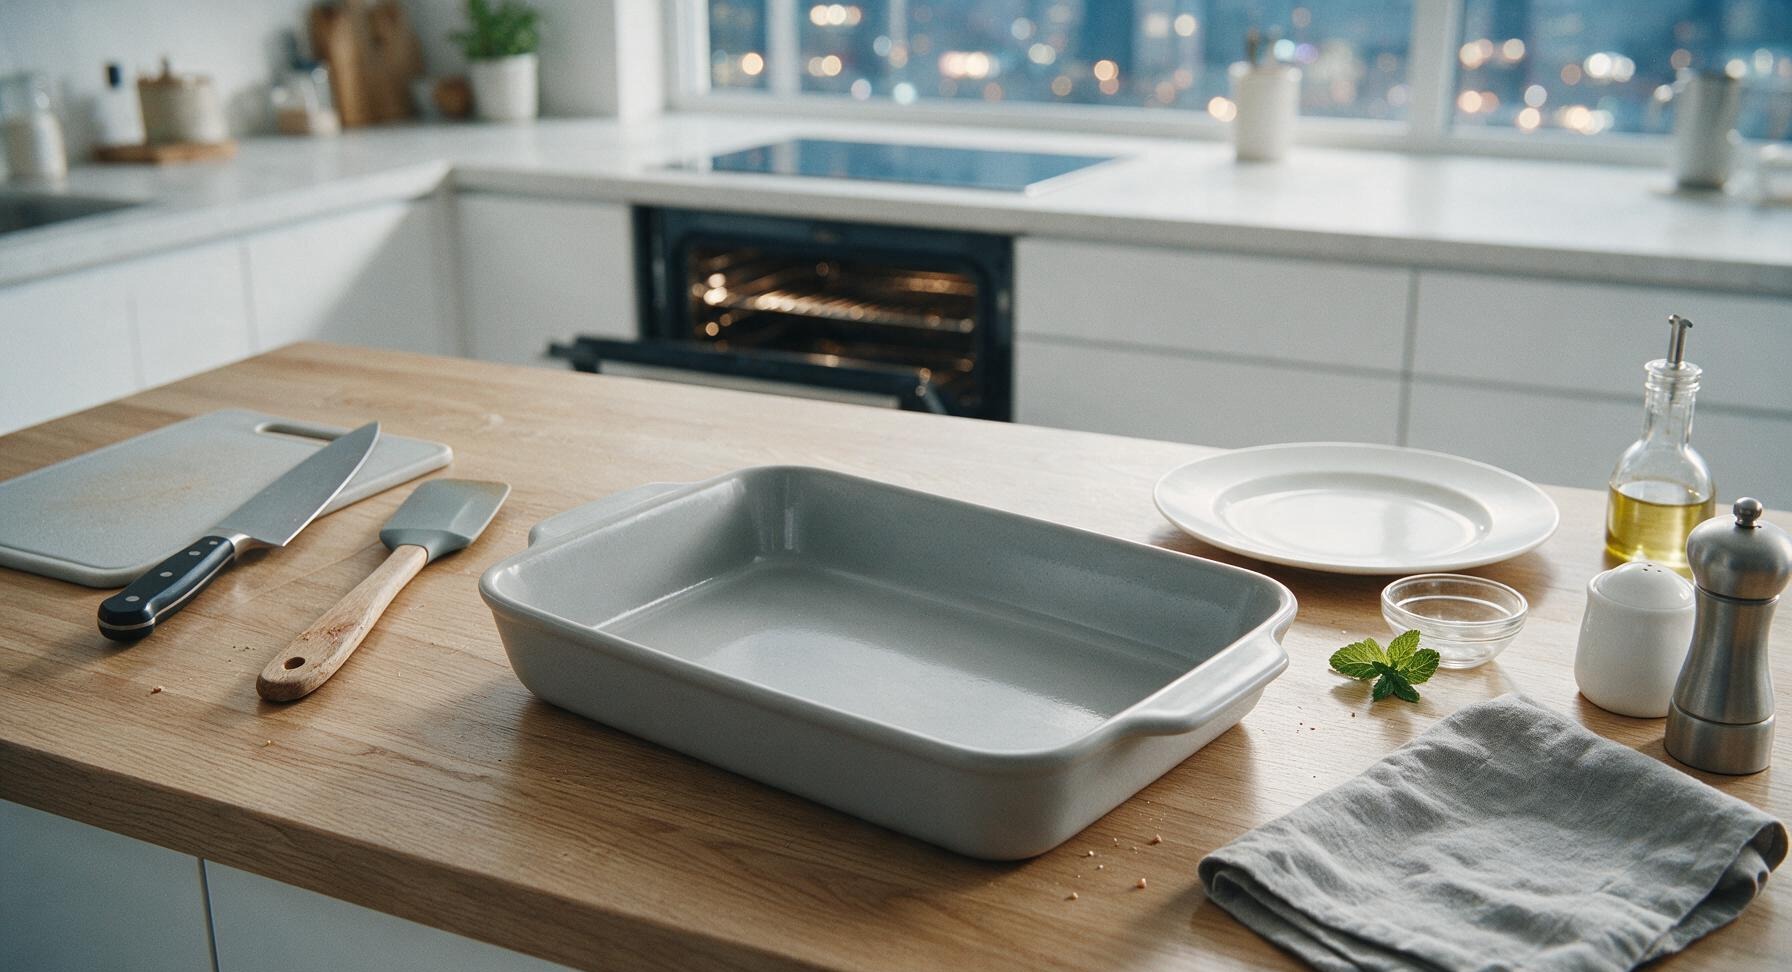
Adjust your oven rack to the middle position, then preheat the oven to 400°F (200°C). Retrieve the 9x13 inch matte light gray ceramic casserole dish, wipe it clean with a dry paper towel (no extra greasing is needed, as the filling contains enough fat to prevent sticking), and set it at the center of your work area.
Combine Filling Ingredients
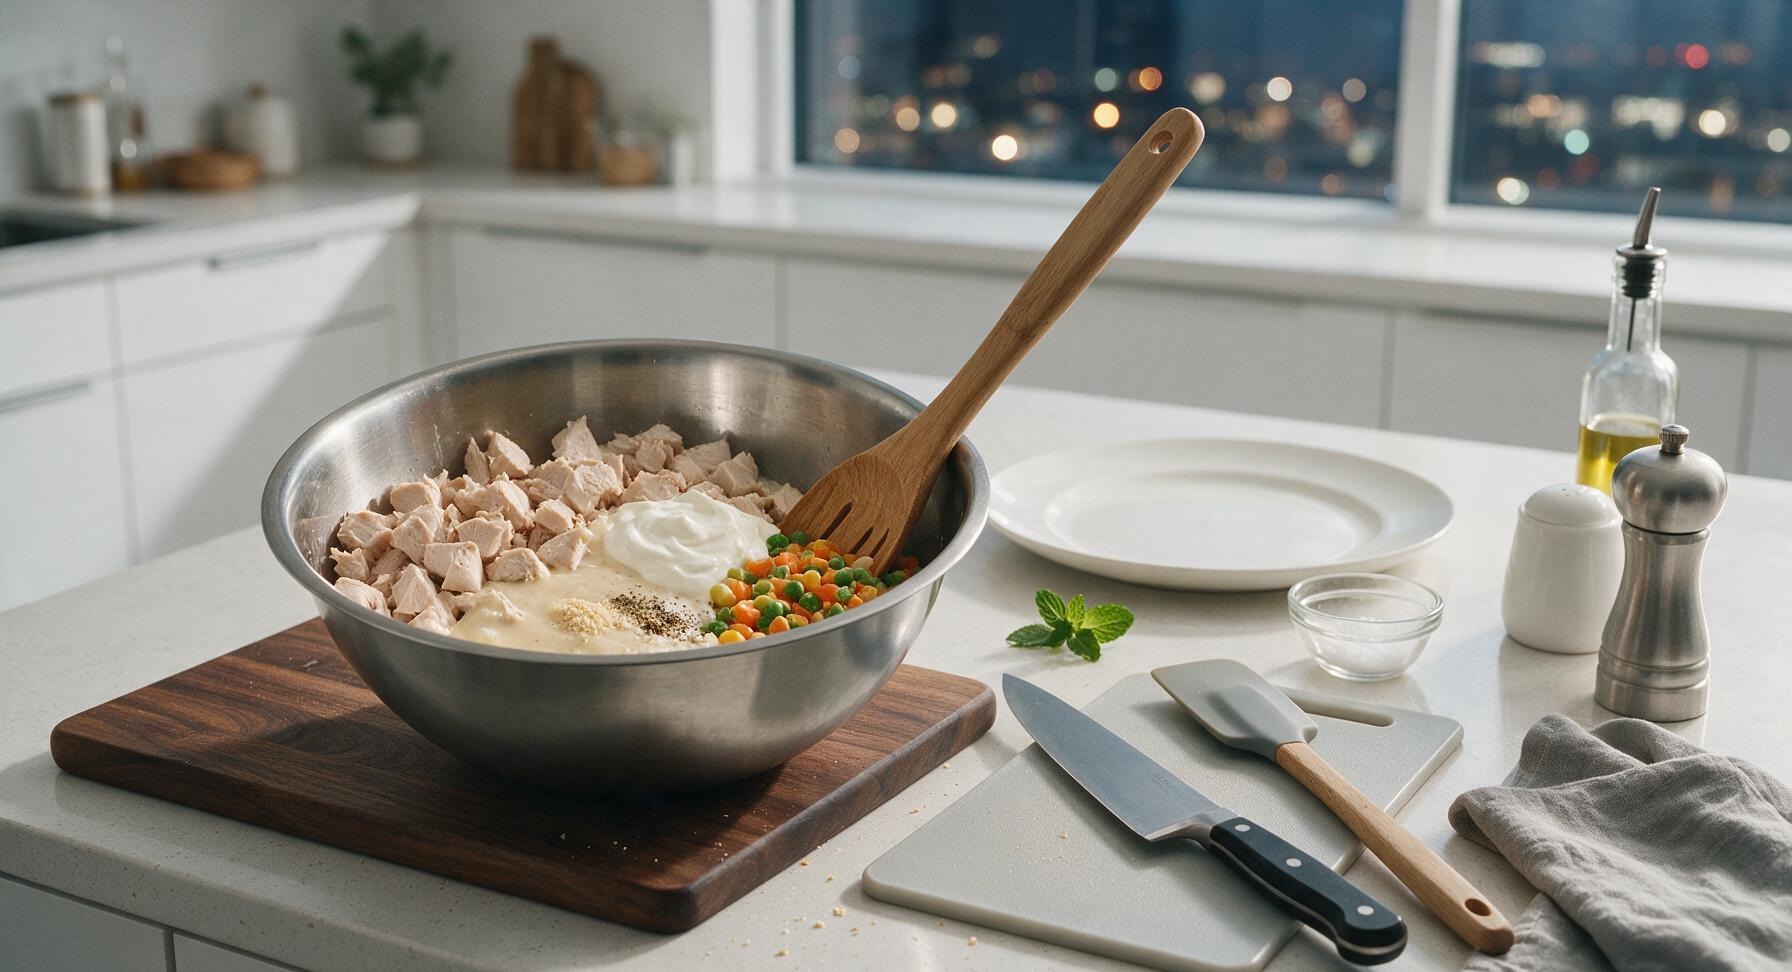
Set the dark walnut cutting board at center-left on the counter, then place the medium brushed stainless steel mixing bowl on top of the board. Add 2 cups diced cooked chicken, 1 (10.5oz) can condensed cream of chicken soup, 1/2 cup full-fat sour cream, 1 cup frozen mixed vegetables (no need to thaw), 1 teaspoon garlic powder, 1/2 teaspoon onion powder, 1/2 teaspoon ground black pepper, and 1/4 teaspoon kosher salt to the bowl. Stir thoroughly with the 30cm carved maple wooden spoon until every ingredient is evenly coated in thick, creamy sauce, with no clumps of dry spice remaining.
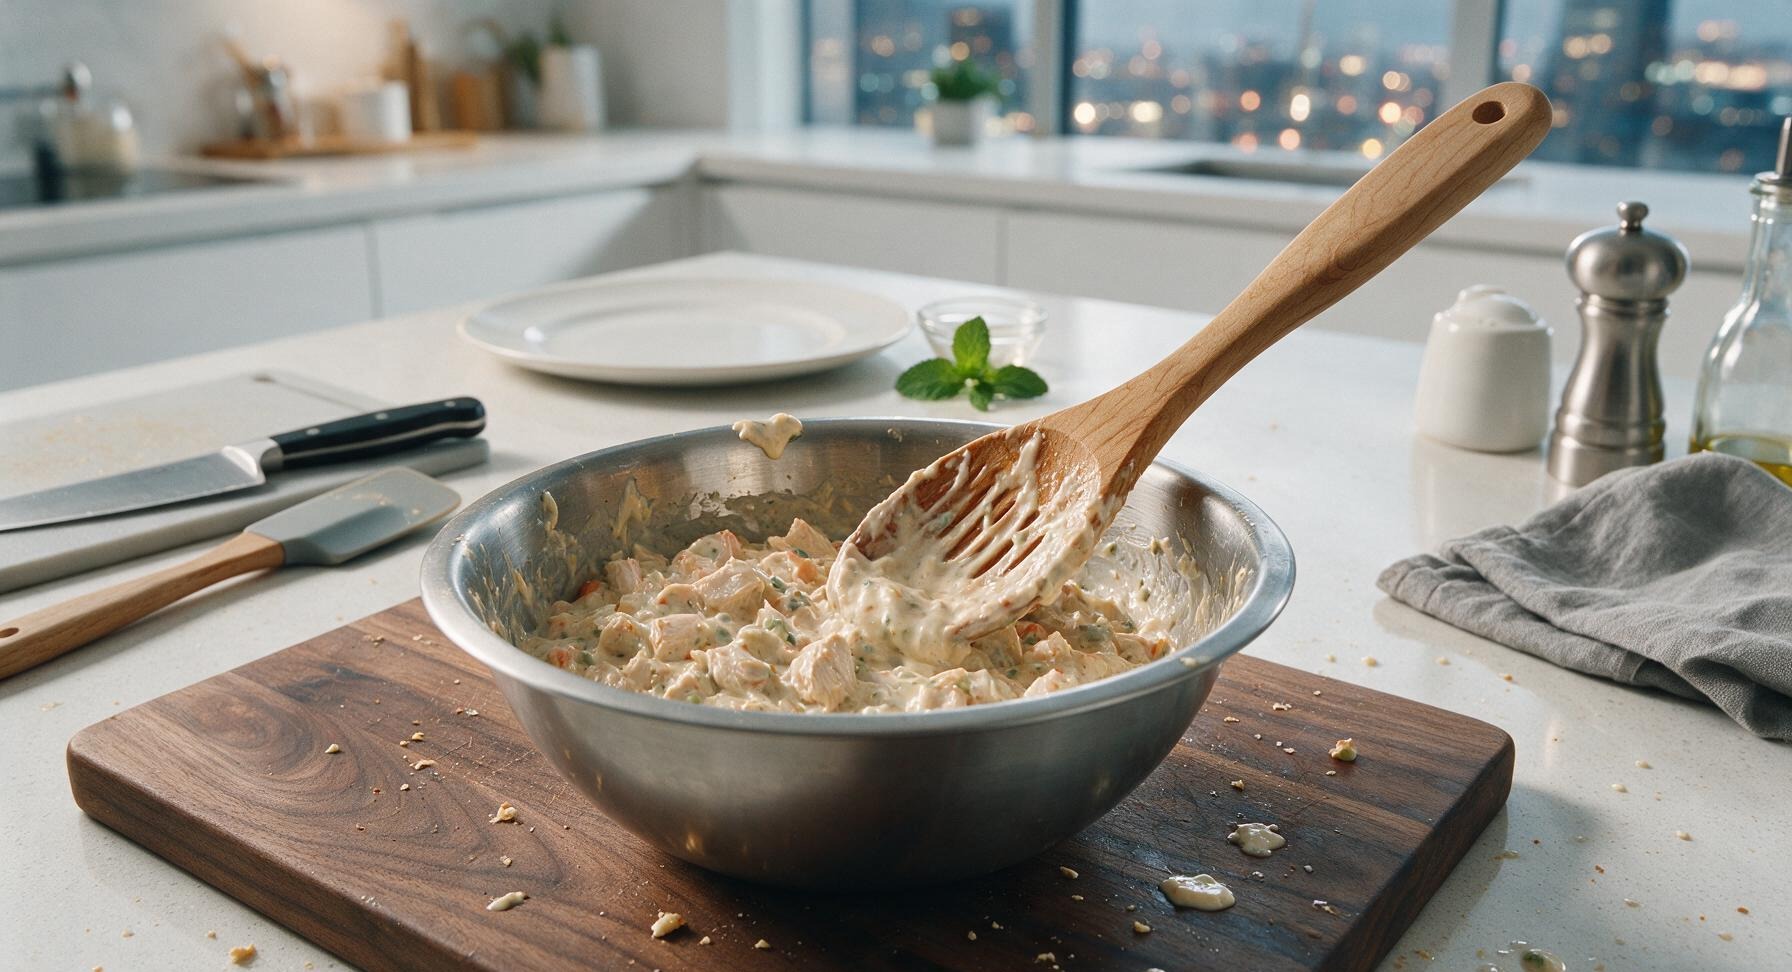
Spread Filling in Casserole
Pour the entire mixed filling from the stainless steel bowl into the prepared ceramic casserole dish. Use the flat back of the maple wooden spoon to press and spread the filling into a uniform, flat 1/2-inch thick layer across the entire bottom of the dish, ensuring no thin spots that would burn during baking.
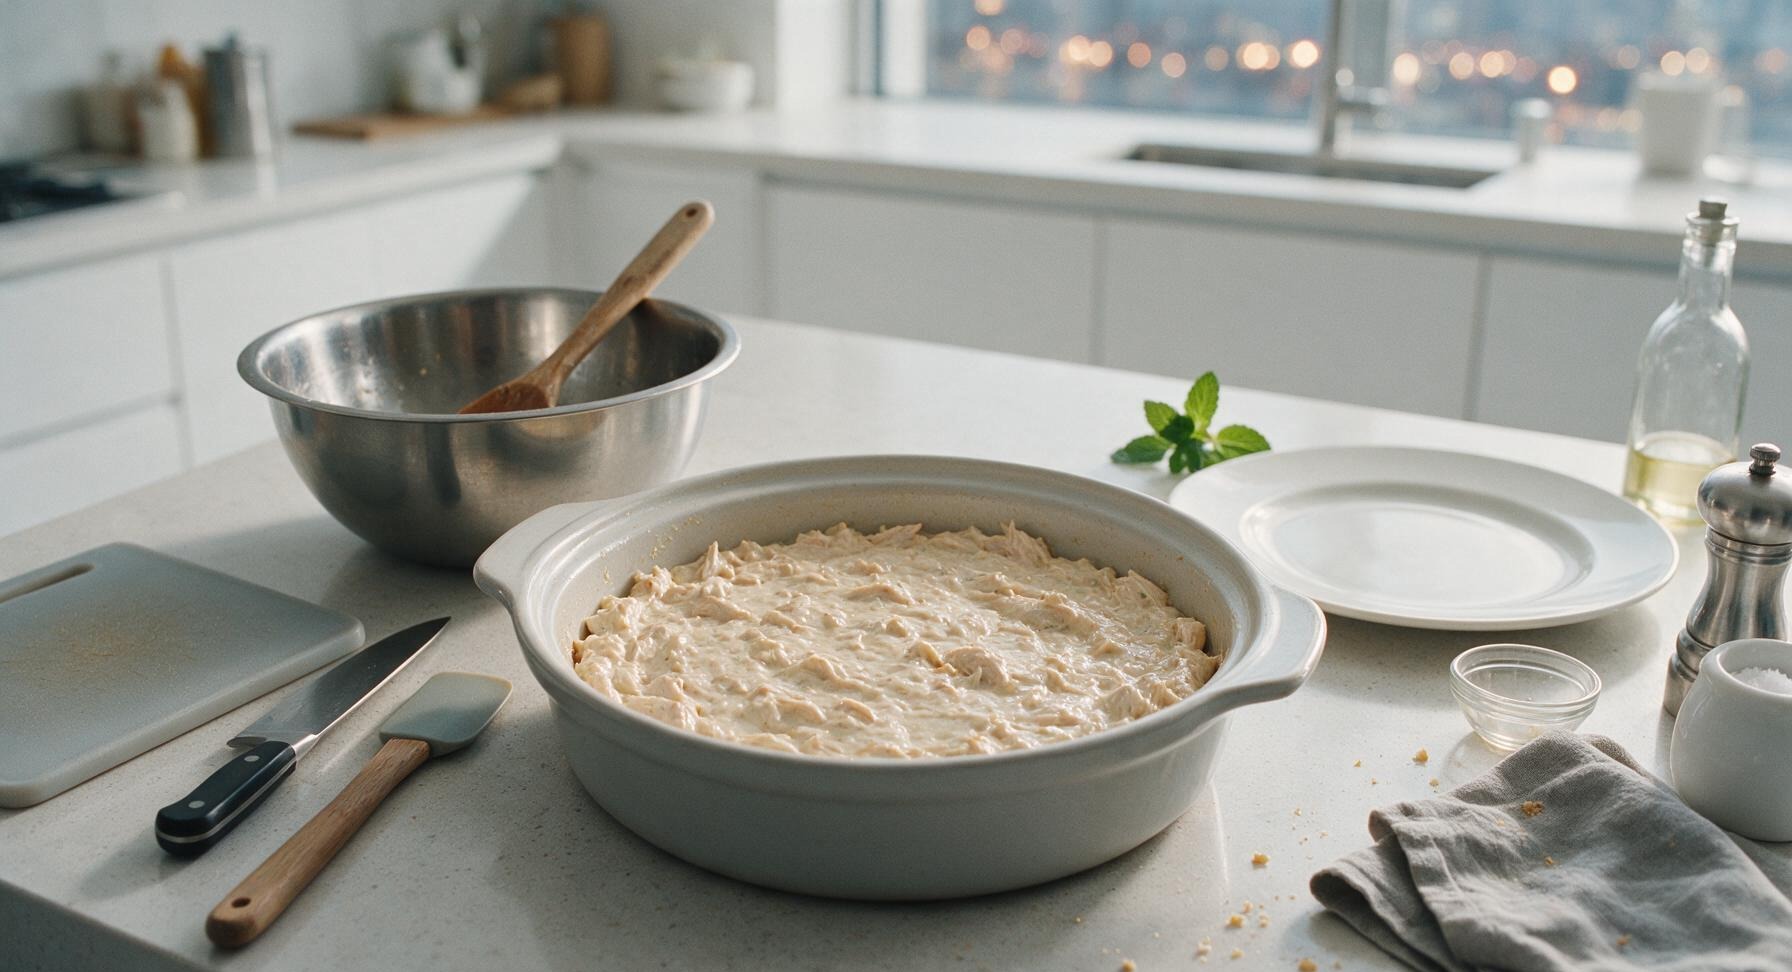
Sprinkle Cheddar Layer
Evenly sprinkle 1 cup of shredded sharp cheddar cheese across the entire surface of the chicken filling, covering every spot with no large gaps. This cheese layer acts as a moisture barrier to keep the tater tots crispy instead of soggy as the casserole bakes.
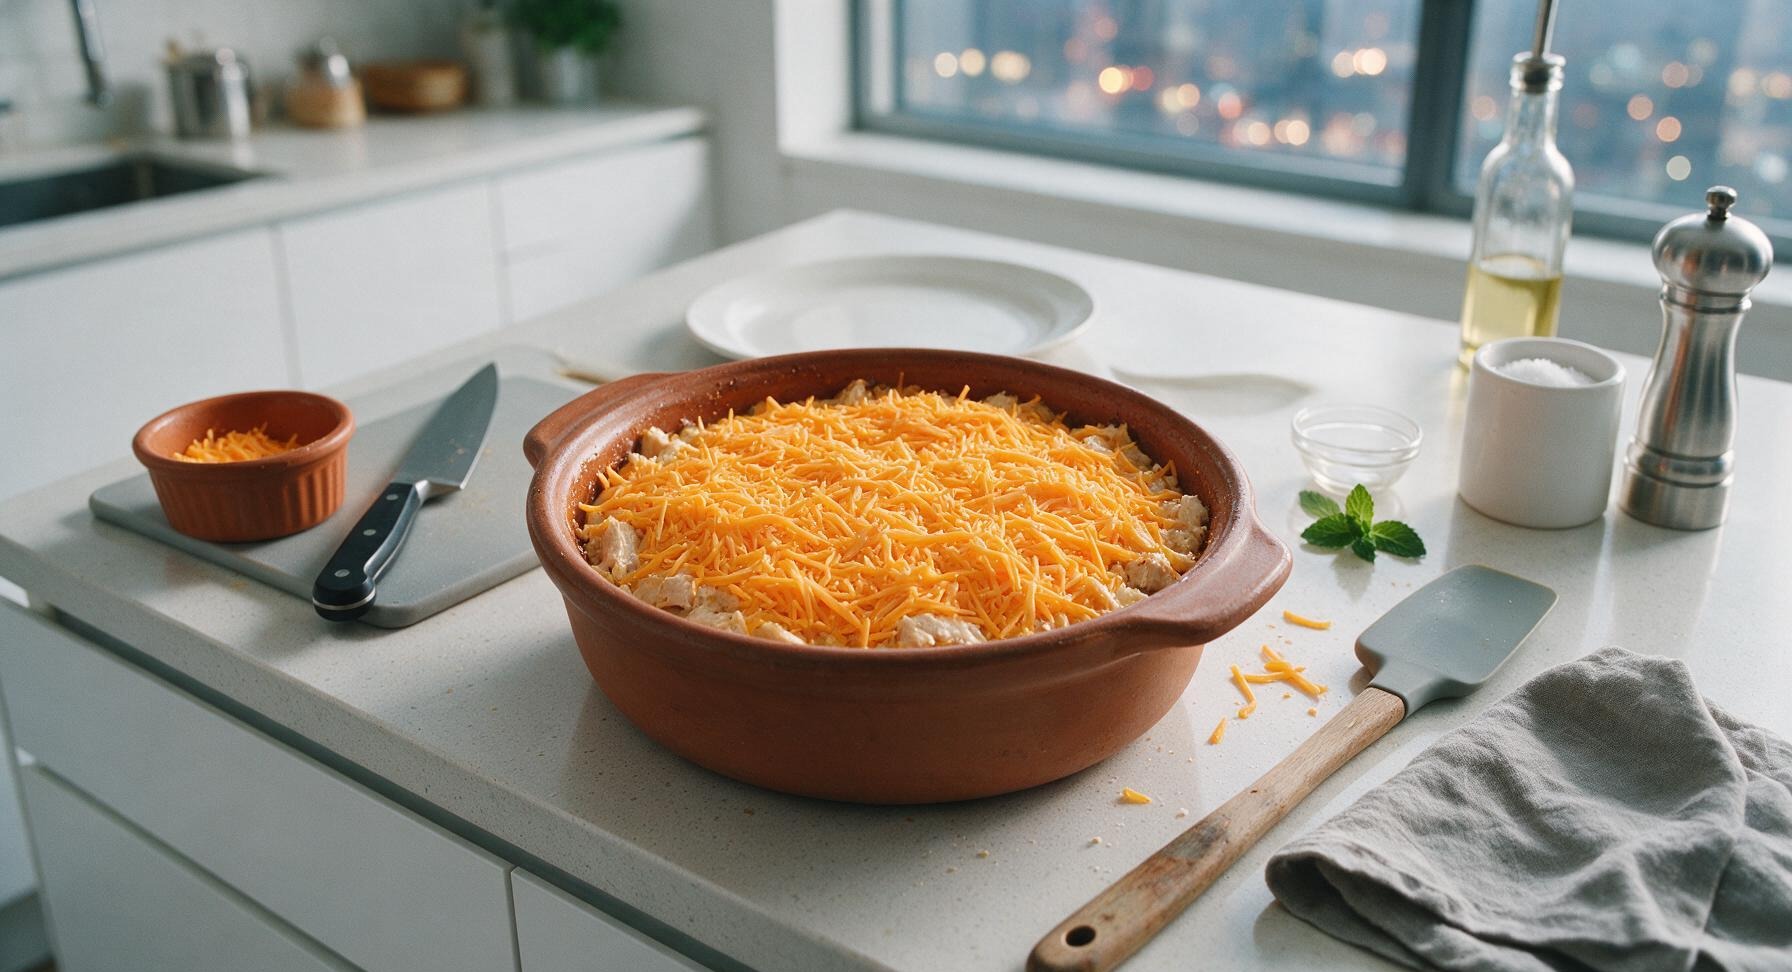
Top with Tater Tots
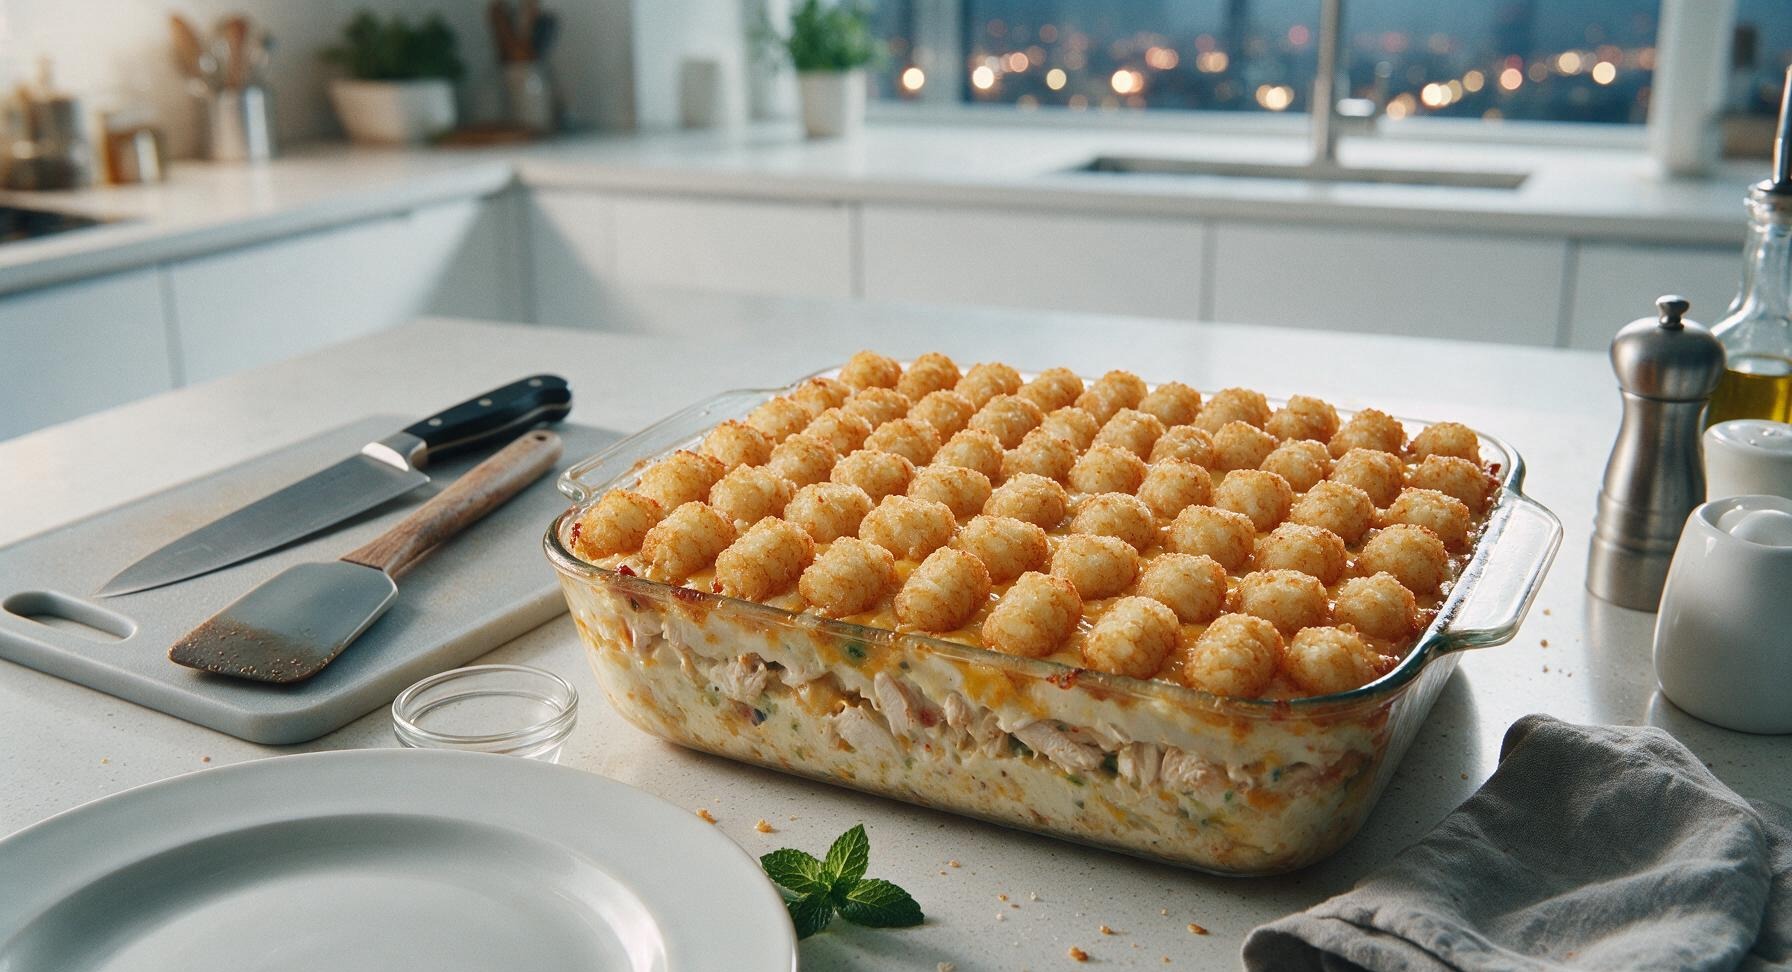
Remove the frozen tater tots from their bag (do not thaw first—frozen tots crisp far better than thawed ones). Arrange the tots in tight, neat rows across the top of the cheese layer, flat side down, until the entire cheese surface is covered with no gaps larger than a dime between tots.
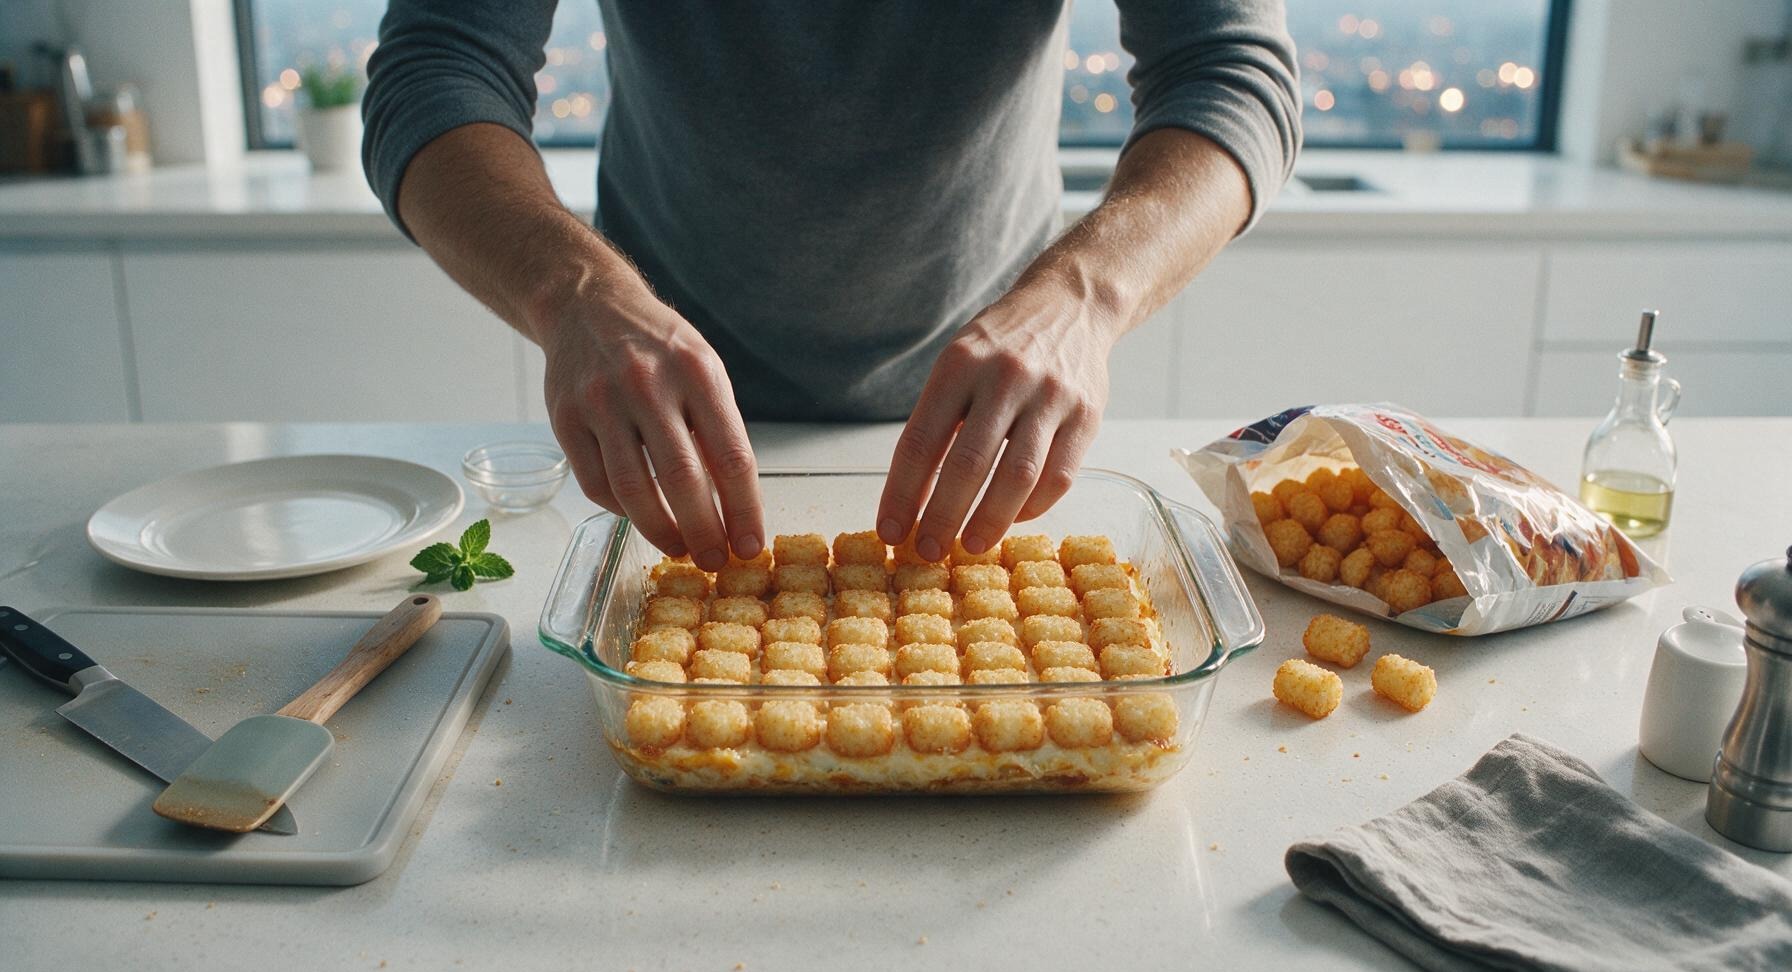
Bake Until Golden Bubbly
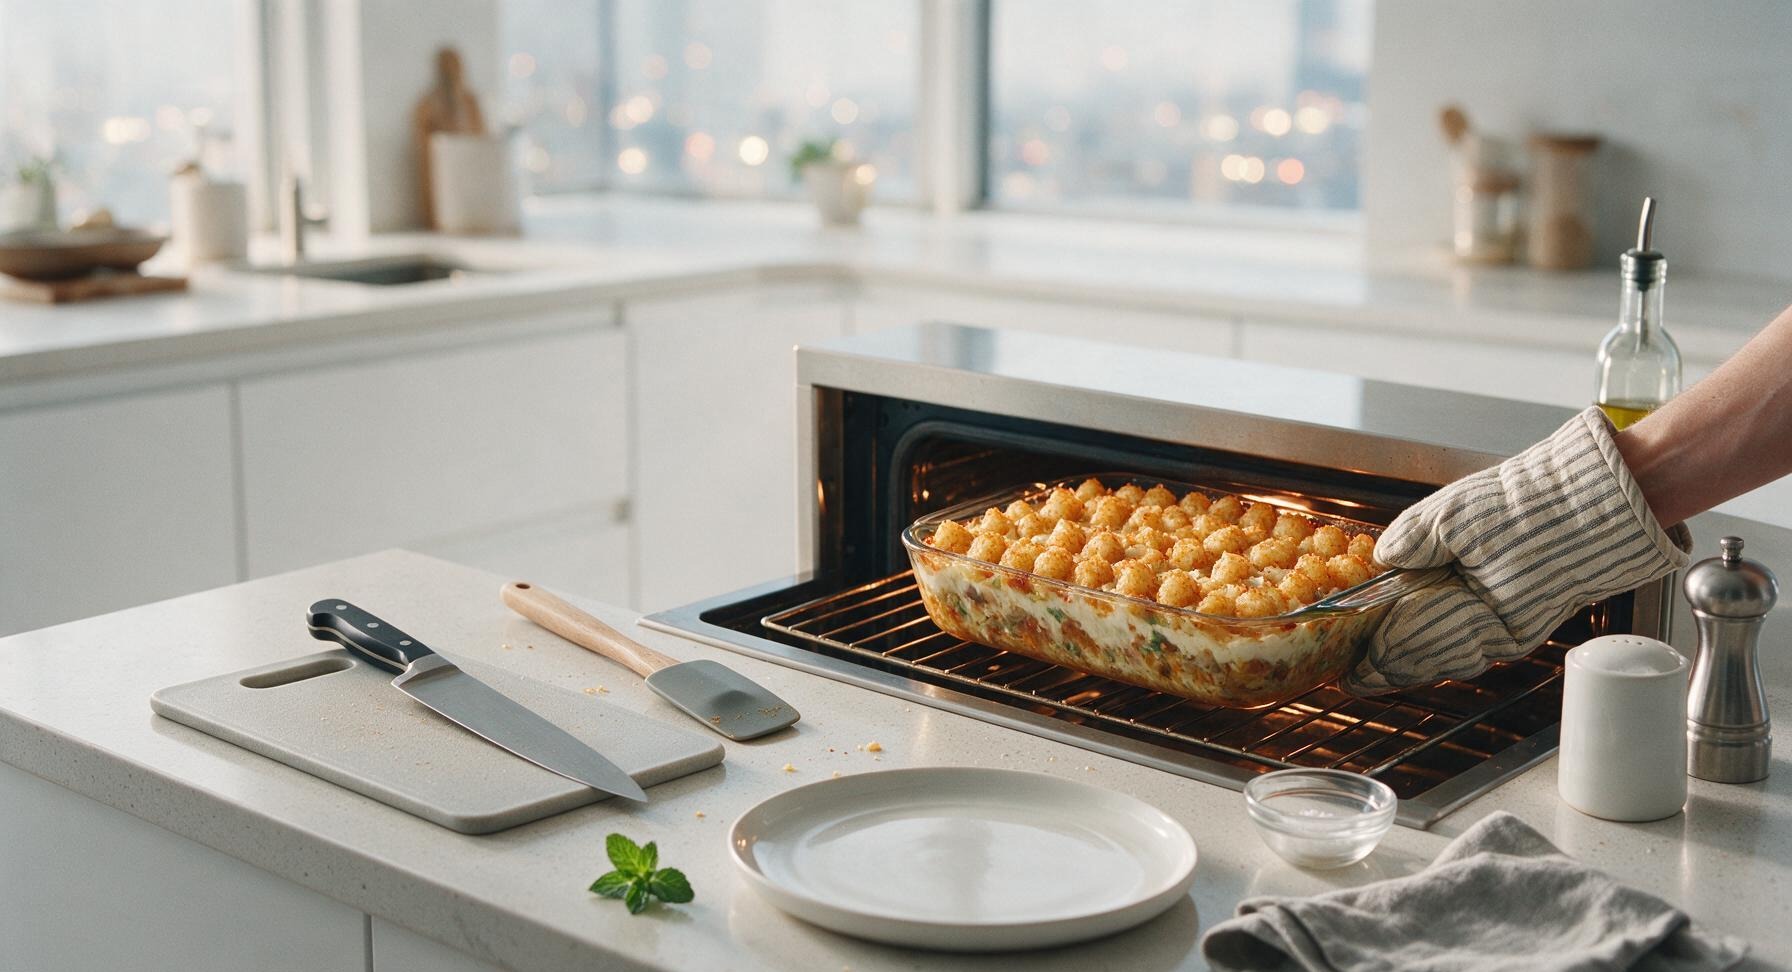
Carefully lift the assembled casserole and place it on the middle oven rack. Bake for 35 minutes at 400°F (200°C). You will know it is done when the creamy filling is visibly bubbling up around the edges of the dish, and the tater tots are a deep, even golden brown with crispy edges. If the tots darken too quickly after 25 minutes of baking, loosely tent a sheet of aluminum foil over the top for the remaining cook time to prevent burning.
Rest and Garnish Casserole
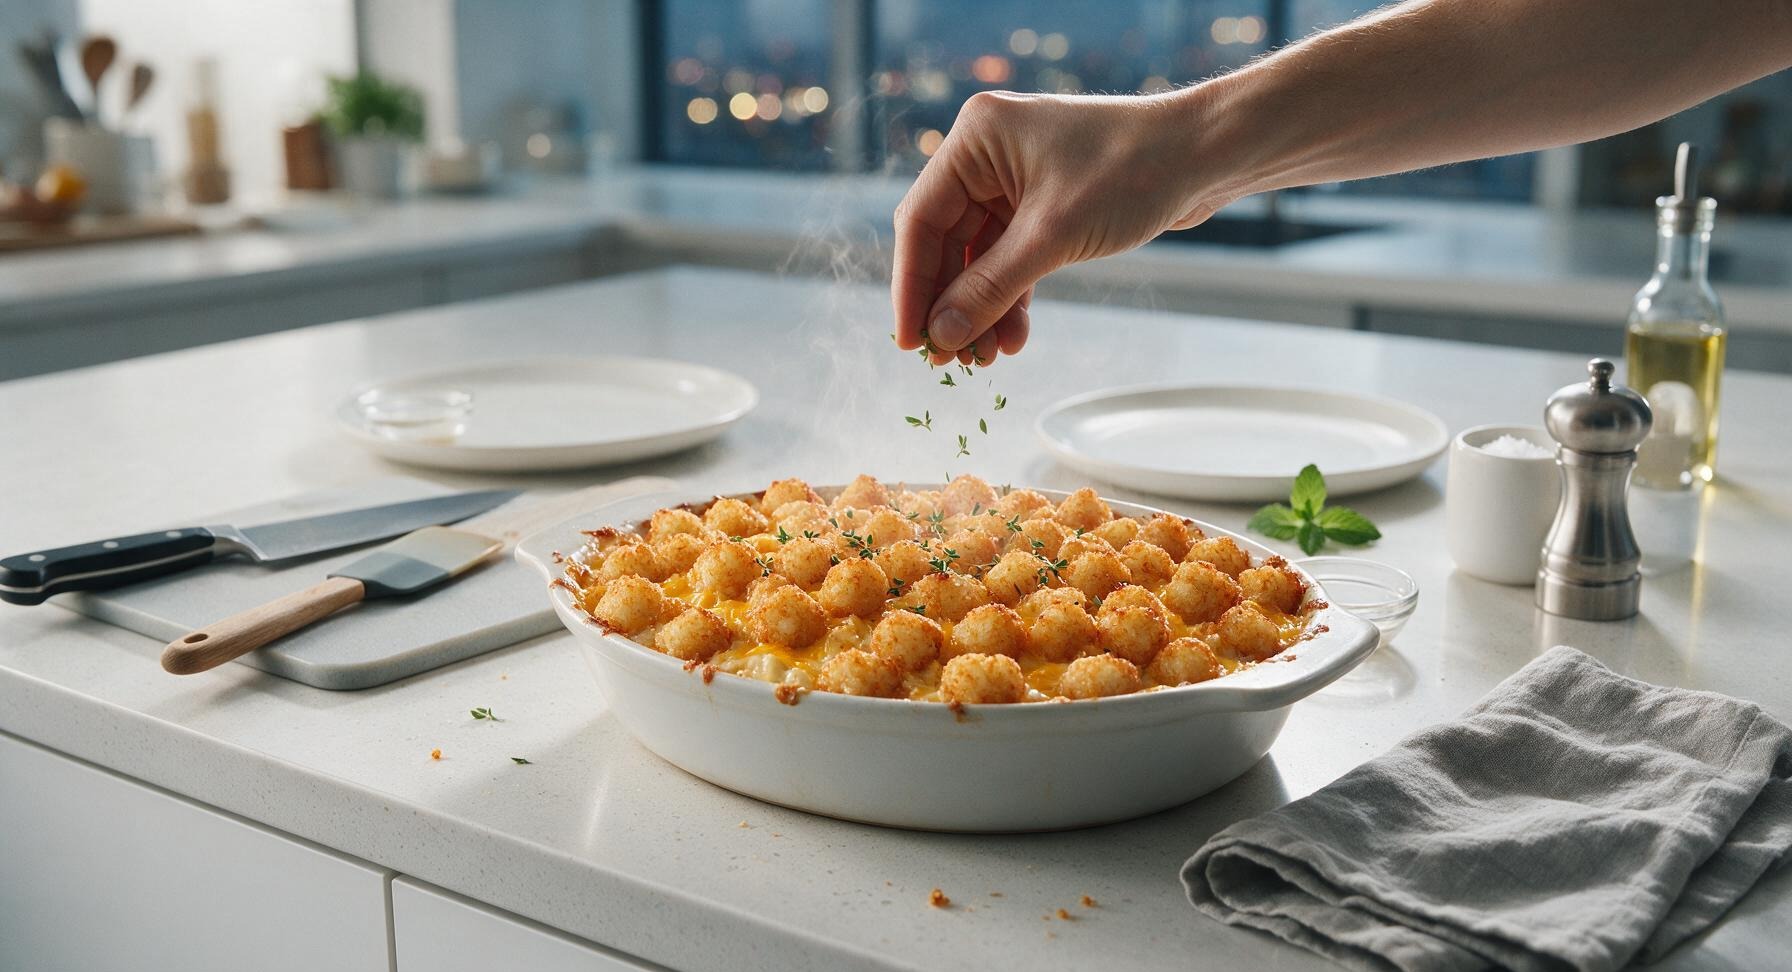
Use cotton oven mitts to remove the finished casserole from the oven, and set it back on the counter to rest for 5 full minutes. This resting period lets the creamy filling set so it holds its shape when scooped, rather than running across the plate. While it rests, pluck the leaves from 2 fresh thyme sprigs and sprinkle them lightly across the crispy tater tot top for a bright, fresh flavor contrast.
Tips
2.Never thaw your frozen tater tots or mixed vegetables before adding them to the casserole: thawing releases excess moisture that will make tots soggy and the filling watery, while frozen ingredients hold their texture and crisp up perfectly during baking.
3.For extra crispy tater tot tops, broil the casserole for the last 1-2 minutes of baking, watching constantly to avoid burning—this creates a crunchy golden exterior that contrasts perfectly with the rich, creamy filling below.






OMG I made this for last night’s family dinner and my kids actually cleared their plates??? No complaints about veggies, no pushing food around, they asked for SECONDS. Total game changer for weeknights, 35 minutes is exactly how much time I have between school pickup and soccer practice. I did add a little extra shredded cheddar on top because my crew is cheese obsessed, 10/10 will be in our regular rotation.
Brought this to my neighborhood block party potluck this weekend and people were asking me for the recipe before I even set the dish down! It’s so easy to throw together, travels well, and that crispy tot top hits every single time. I mixed in a handful of crumbled bacon for a little extra savoriness and chef’s kiss.
Made a big batch of this on Sunday for my weekly meal prep and it held up perfectly all week in the fridge! Even reheated in the microwave the tots still had a little crunch, I was shocked. Super affordable, minimal cleanup, way better than the sad frozen lunches I used to bring to work. Only note: I used leftover grilled chicken from the weekend instead of canned and it worked great.
Wait this is SO good??? I’m a total beginner in the kitchen and I didn’t mess this up at all? The directions are super straightforward, I didn’t need any fancy equipment, and my roommates all thought I ordered takeout lmao. 10/10 for broke college students who don’t want to eat ramen every night.
Super easy swap to make this gluten free! I used GF cream of chicken soup and gluten free tater tots, and you literally couldn’t tell the difference. My whole family (none of whom are GF) devoured it. This is going to be our new go-to quick dinner on nights we have late basketball games for the kids.
Eh, this was fine. I followed the recipe exactly but the tots on top got a little more burnt than I wanted, and the middle was a little soupy? Maybe my oven runs hot? Probably won’t make it again, there are other tot casserole recipes I like better.
Y’all I cannot stress enough how much of a lifesaver this recipe is. I work 10 hour shifts and the last thing I want to do when I get home is spend an hour cooking and a million dishes to clean. One dish, 35 minutes, hearty, comforting, tastes like the casseroles my grandma used to make but 10x faster. Obsessed.
I snuck a whole bag of finely chopped mixed veggies (carrots, peas, corn, even a little diced broccoli) into this and my husband and toddler had ZERO idea. They just kept talking about how good the chicken and tots were lmao. This is my new secret weapon for getting veggies into my family without a fight.
Made this for my girlfriend when she came over for dinner last night and she was so impressed she thought I’d been practicing cooking for weeks lmao. Little does she know it was literally 5 minutes of prep and tossing stuff in a pan. 10/10, will be using this recipe for date nights for the foreseeable future.
Added a big dollop of hot honey and a sprinkle of red pepper flakes to the top before baking and wow, that sweet heat kick takes this whole casserole to the next level. If you love a little spice like I do, do not sleep on that addition. It cuts through the rich creaminess so well.