1.Do I really only need one pot to make this entire chili mac recipe?
▾
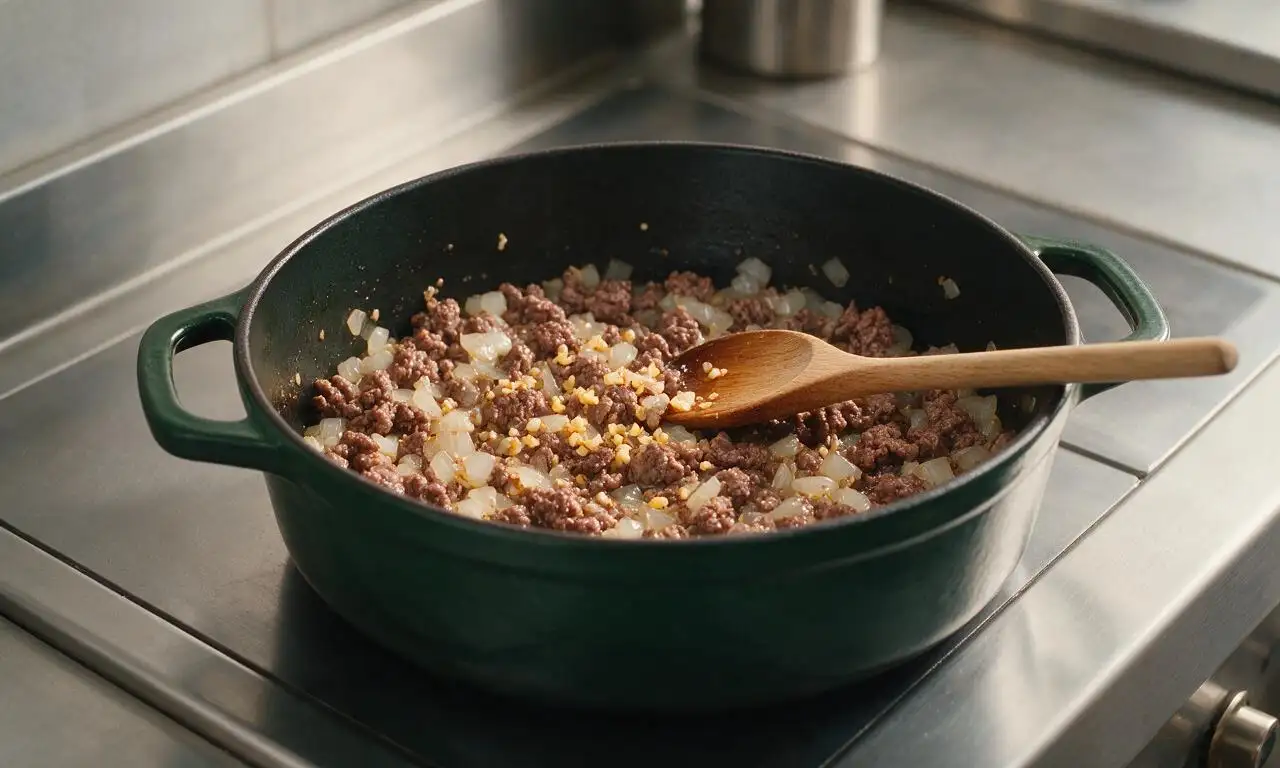
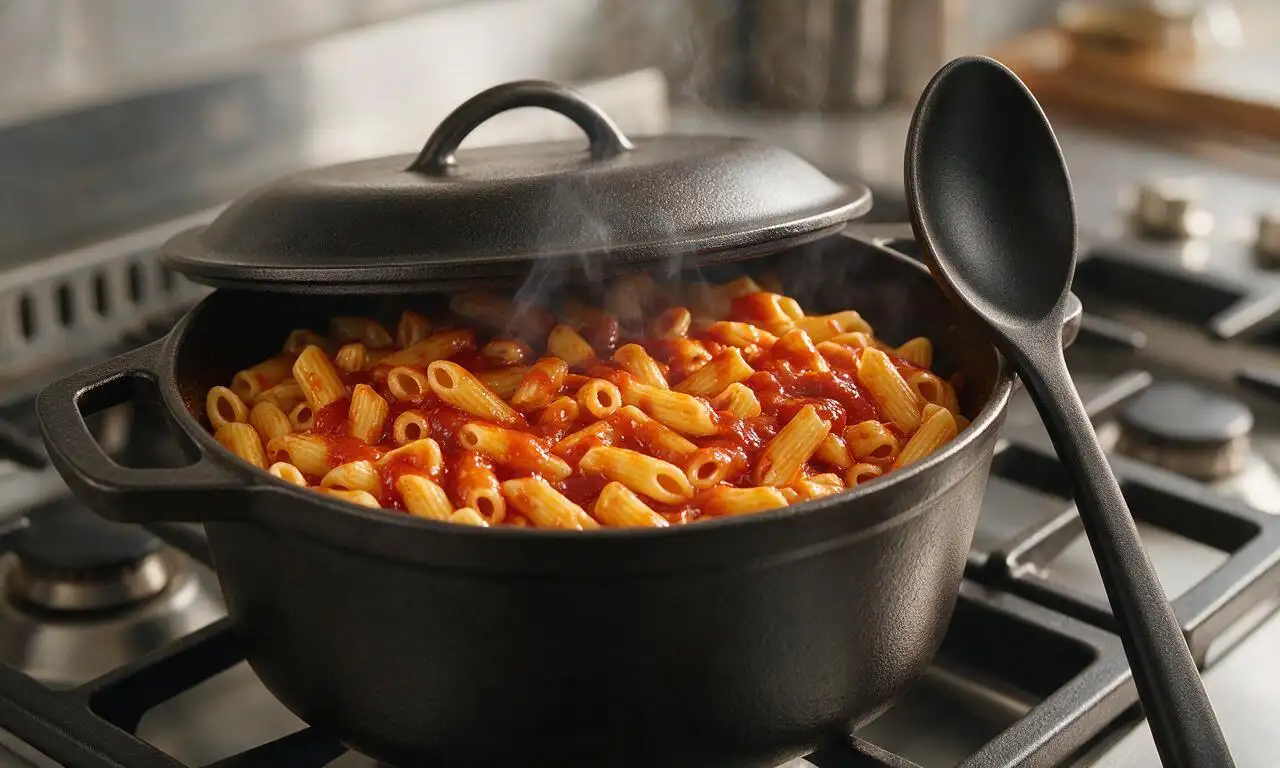
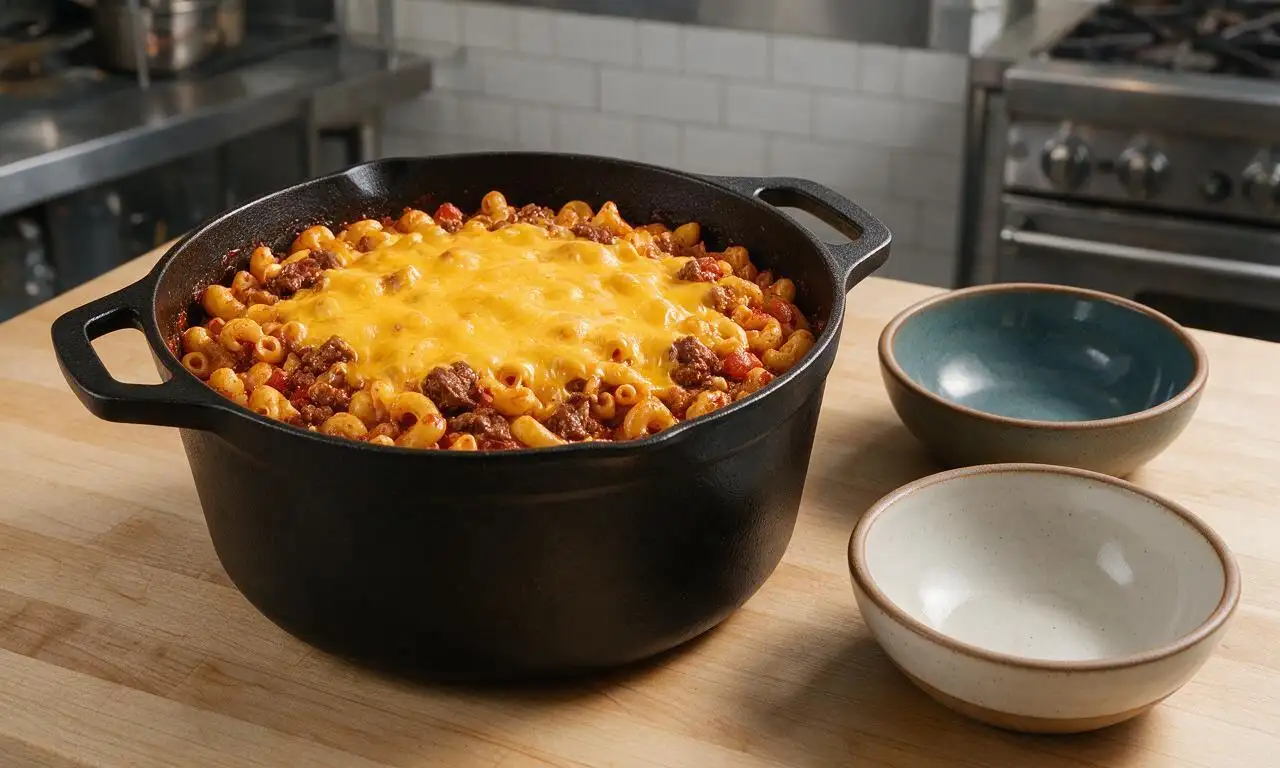
Absolutely—that’s the core design of this dish! Use a 6-quart or larger heavy-bottomed pot or Dutch oven to brown the beef, simmer the macaroni with tomatoes and beans, and melt the cheese all in the same vessel. Give it the occasional stir while simmering to prevent sticking, and you’ll only have one dish to clean after dinner.
2.Why do you recommend 80/20 ground beef instead of a leaner blend?
▾
The 20% fat content in 80/20 ground beef adds rich, deep savoriness to the dish without extra oil, and keeps the beef tender instead of dry as it simmers. Leaner blends like 90/10 will work if that’s what you have, but you may need to add a tablespoon of olive oil when browning, and the final flavor will be slightly less rich.
3.Can I use a different shape of pasta if I don’t have elbow macaroni?
▾
Definitely! Small, sturdy pasta shapes work best here—think rotini, small shells, ditalini, or cavatappi, all of which hold onto the creamy, savory sauce really well. Avoid long, delicate pasta like spaghetti or angel hair, as it will clump and won’t mix evenly with the beans, beef, and cheese in the one-pot format.
4.Do I need to drain the canned fire-roasted diced tomatoes for this recipe?
▾
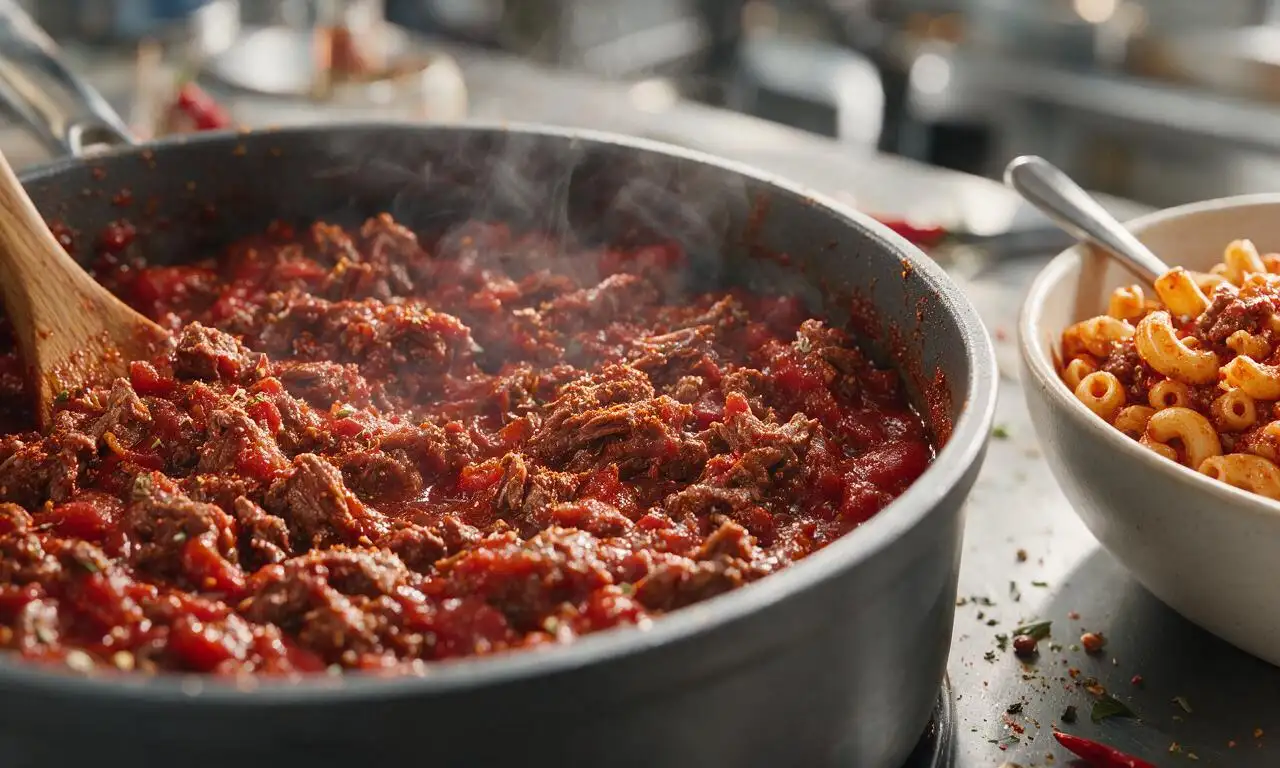
No, don’t drain them! The flavorful, lightly smoky tomato juice in the can is part of the cooking liquid that softens the macaroni as it simmers, and it adds bright, concentrated tomato flavor to the sauce. Draining the tomatoes will leave you with too little liquid, leading to undercooked pasta and a dry, thick final dish.
5.Why do I need to rinse and drain the canned kidney beans?
▾
Rinsing and draining canned kidney beans washes away the thick, starchy, slightly briny canning liquid that can give your chili mac an odd, metallic, overly salty aftertaste. It also removes excess surface starch that would make the final sauce feel gummy instead of smooth and creamy, so don’t skip this quick 30-second step.
6.Can I make this recipe without meat for a vegetarian version?
▾
Of course! Swap the 80/20 ground beef for an equal amount of plant-based ground crumble, or add an extra can of drained black beans and a cup of frozen corn for extra heartiness. Use vegetable broth instead of beef-based cooking liquid, and double check your shredded cheddar is vegetarian-friendly if that’s a priority.
7.My pasta came out undercooked and crunchy—what went wrong?
▾
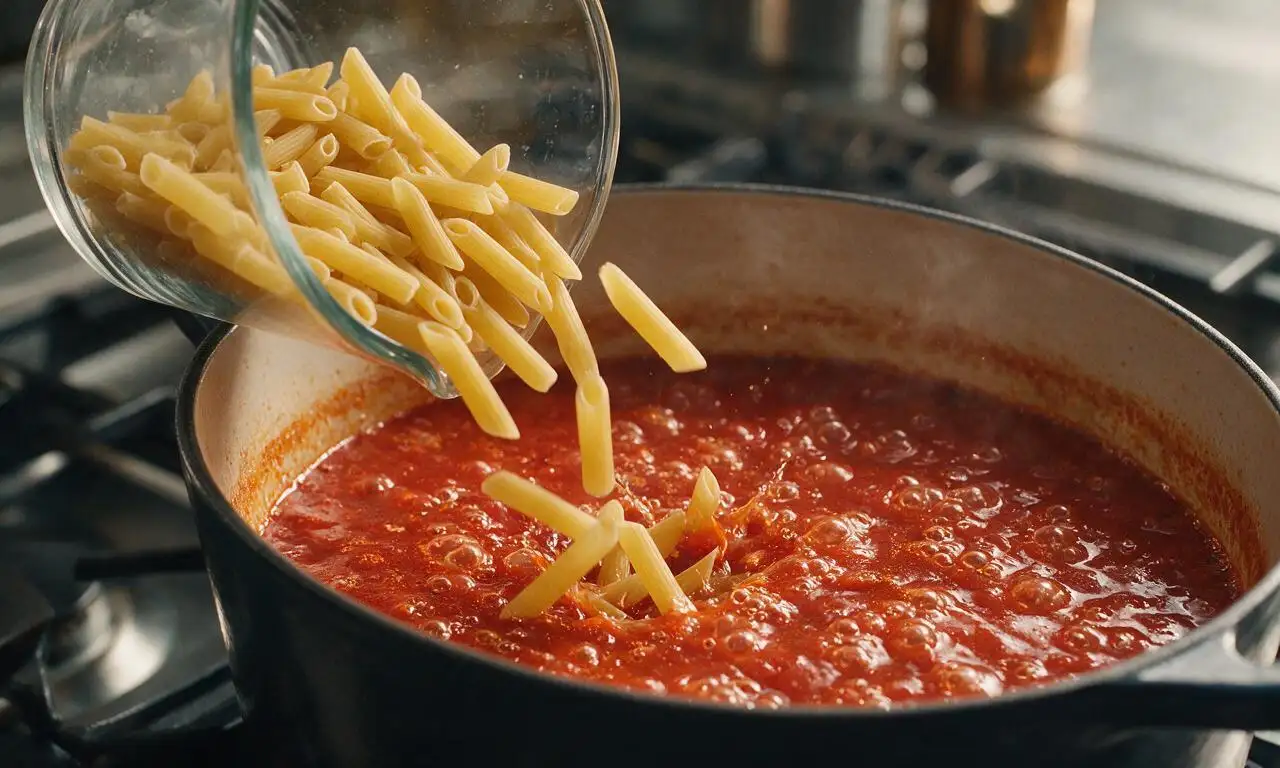
This almost always happens when you don’t add enough simmering liquid, or you cook the pot on too high of heat so liquid evaporates before the pasta softens. Next time, keep the pot at a gentle, steady simmer (not a rolling boil) and cover it between stirs, adding a ¼ cup splash of warm water if the liquid absorbs before the pasta is al dente.
8.When do I add the shredded sharp cheddar so it doesn’t get grainy?
▾
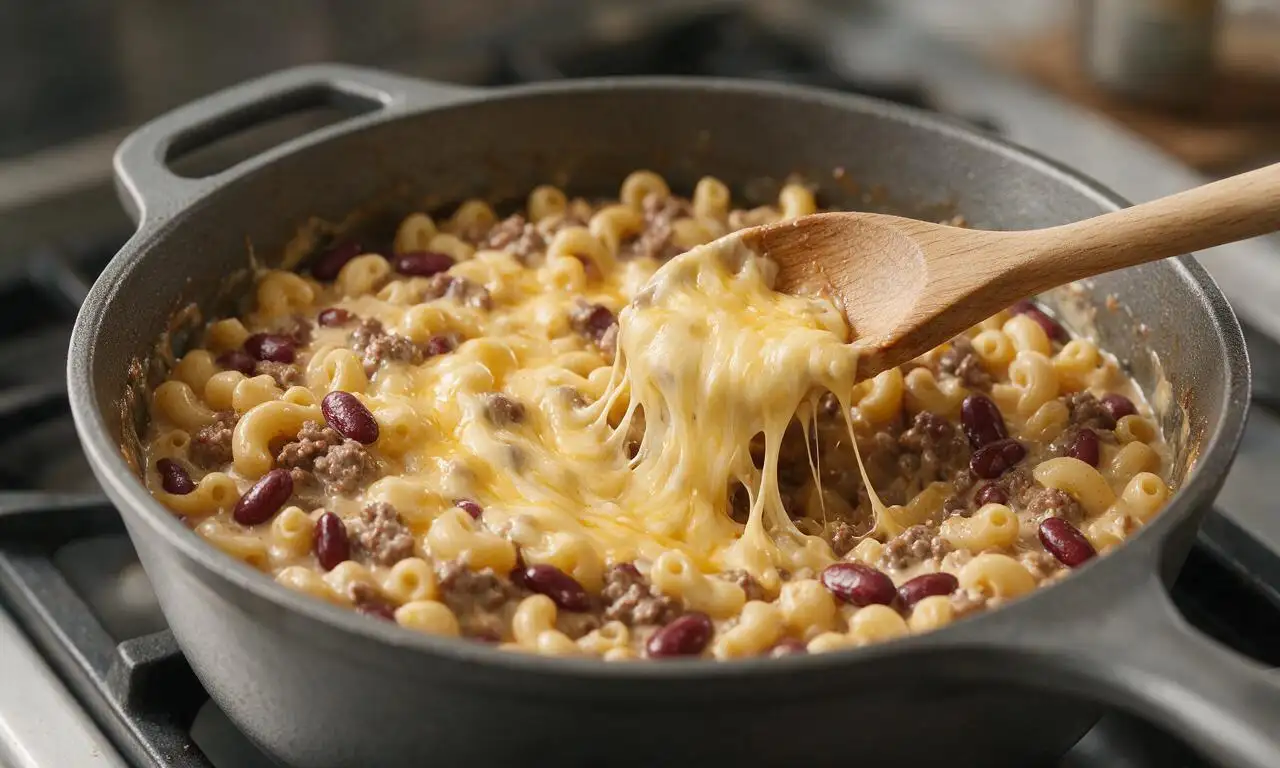
Add the cheese once you’ve taken the pot completely off the heat, after the pasta is perfectly tender and you’ve stirred in the beans to warm them through. Residual heat from the pot will melt the cheddar into a smooth, creamy coating without the high heat that causes cheese proteins to seize up and turn grainy or greasy.
9.Can I make this chili mac ahead of time for meal prep?
▾
Absolutely! It stores really well for meal prep. Let the finished chili mac cool completely, then portion it into airtight containers and keep it in the fridge for up to 4 days. When you reheat servings in the microwave or on the stovetop, add a tablespoon of milk or water per serving to loosen the sauce back up, as it thickens when chilled.
10.Is there a way to make this dish less spicy if I’m serving it to kids?
▾
Definitely! If you’re adding chili powder, paprika, or red pepper flakes to your spice blend, cut the amount in half, and skip any added hot sauce entirely. Set out extra hot sauce, red pepper flakes, and diced jalapeños on the table for people who want a spicier serving, so everyone can customize their bowl to their taste.
11.Can I freeze leftover chili mac for later?
▾
Yes, it freezes really well for up to 3 months. Let the dish cool fully, then pack it into freezer-safe, airtight containers, leaving a half-inch of headspace for expansion as it freezes. Thaw it in the fridge overnight before reheating, and stir in a splash of broth or milk when warming to bring back the creamy texture.
12.What’s the benefit of using fire-roasted diced tomatoes instead of regular canned diced tomatoes?
▾
Fire-roasted tomatoes are lightly charred during processing, which adds a subtle smoky, deep, rounded flavor that pairs perfectly with the savory beef, beans, and cheddar without needing extra smoked paprika or bacon. Regular canned diced tomatoes work fine as a swap, but you’ll miss that extra cozy, smoky depth.
13.My cheese ended up greasy instead of smooth—what did I do wrong?
▾
That happens when you add the cheese while the pot is still at a full, high simmer, which causes the milk fat in the cheddar to separate out. Next time, pull the pot completely off the burner before stirring in the cheese, adding it a handful at a time and stirring constantly so it melts gently into the warm sauce.
14.What are good extra mix-ins or toppings to serve with this chili mac?
▾
There are tons of great ways to customize your bowl! Tasty mix-ins include diced green chiles, frozen sweet corn, or diced bell pepper added while the pasta simmers. For toppings, try a dollop of sour cream, sliced green onions, pickled jalapeños, crushed tortilla chips, diced avocado, or an extra sprinkle of sharp cheddar.

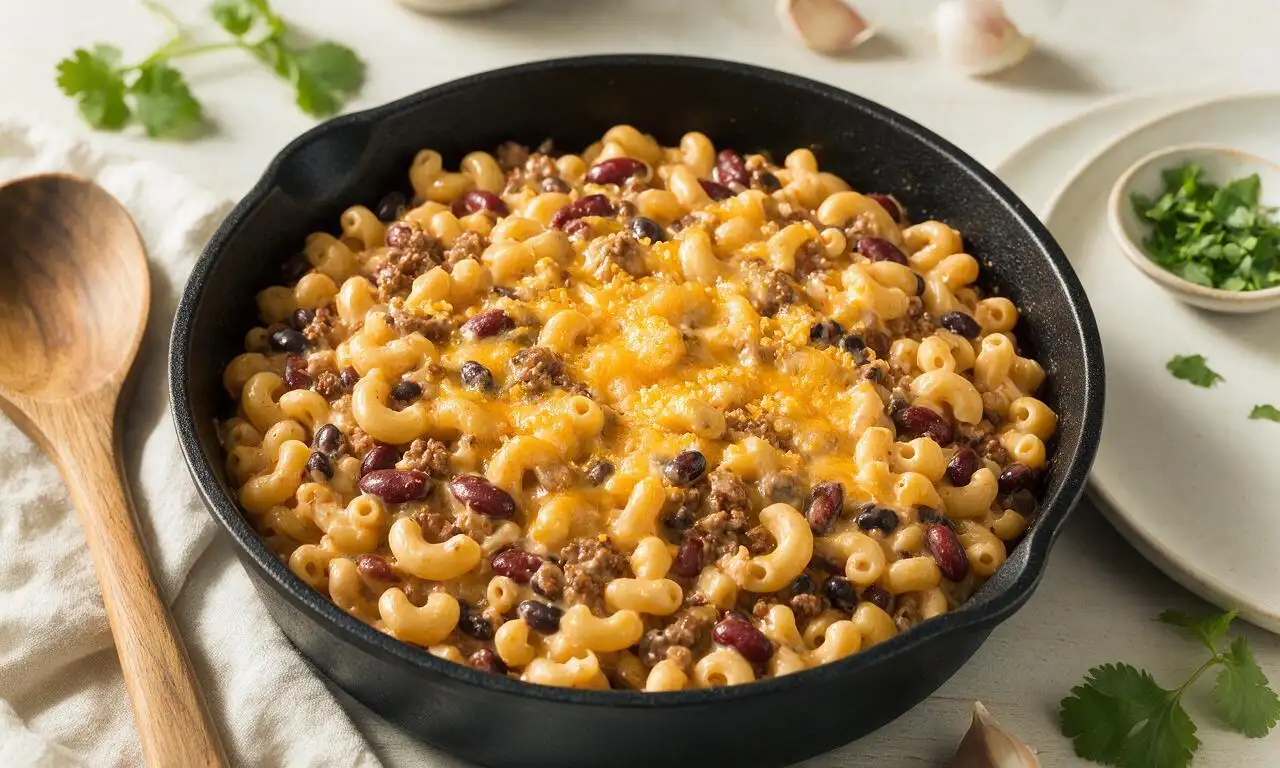






OMG this chili mac is a total weeknight game changer! I threw it together after soccer practice last night and my three kids practically licked their bowls clean. Only one pot to wash? Sign me up forever. Added a little extra shredded cheddar on top, chef’s kiss.
Made this for our neighborhood potluck last weekend and people were coming back for thirds! It’s hearty, perfectly spiced, and doesn’t get all mushy even when it sits in the serving dish on warm for a couple hours. 10/10 will be making this monthly for meal prep too.
Super easy to make, though I thought it was a little light on the chili powder for my taste. Next time I’ll add an extra tablespoon plus a dash of smoked paprika for more depth. Otherwise, great base recipe!
Wait, has anyone tried making this with plant-based ground beef? My partner is vegan and I’m always looking for easy one-pot meals we can both enjoy, this looks so good!
As someone who can barely boil pasta without messing it up, this recipe was foolproof! Took me exactly 35 minutes like it said, I didn’t have to buy any fancy ingredients, and it tastes way better than the boxed chili mac I used to eat in the dorms. Already sent the link to my whole dorm group chat.
I added a can of drained black beans and a handful of frozen corn to mine and it turned out SO good! Perfect way to sneak in a couple extra veggies for my picky toddler who refuses to eat anything that’s not mac and cheese.
This holds up so well in the fridge for meal prep! I made a big batch on Sunday and ate it for lunch all week, it didn’t get soggy at all even after 4 days. Pro tip: wait to add the cheese until you reheat it, it’s way creamier that way.
Wait, is it weird that I topped mine with a dollop of sour cream and a handful of crushed Fritos? Because it was life changing. No notes, 10/10, would make again for our next game night.
Made this when we were snowed in last week and it was the perfect cozy meal. Warm, filling, and the whole house smelled amazing while it was cooking. My husband already asked when I’m making it again.
I was worried this would be too bland for my taste, so I added a teaspoon of cayenne and a diced jalapeño, and it was perfect! Great base, super forgiving if you want to crank up the heat. Only complaint is I wish I made a double batch, we ate the whole thing in one sitting.
Help! I tried making this last night and my pasta came out really undercooked? Did I use too high heat? I followed the liquid measurements exactly but it still had a crunch to it.
Made this for our Sunday family dinner last night and it was a hit across three generations! My 82-year-old dad said it tasted just like the chili mac his mom used to make when he was a kid, and my 7-year-old niece asked for seconds. Total winner.
This recipe is so budget-friendly! I already had most of the ingredients in my pantry, only had to pick up ground beef and cheese, and it cost me under $12 to make enough for 6 servings. Way cheaper than takeout, and tastes better too.
Made this for our tailgate before the big game last weekend and it was gone in 20 minutes flat. I kept it warm in a dutch oven on the portable stove and people kept coming over to ask what smelled so good. Will absolutely be on my tailgate rotation from now on.
I swapped the regular elbow macaroni for gluten-free chickpea pasta and it turned out amazing! I was worried the GF pasta would get mushy but it held up perfectly, even with all the chili and tomato sauce. Great recipe for anyone with gluten sensitivities!
Wait can you freeze this? I want to make a big batch to stash in the freezer for busy nights when I don’t have time to cook, but I’m worried the pasta will get weird when I thaw it.
I used a mix of sharp cheddar and pepper jack for the cheese and it was so flavorful! My roommate walked in while I was making it and thought I ordered takeout from our favorite local chili place. Will 100% be using that cheese combo every time I make this now.
Has anyone made this over a camp stove? My family and I go camping a lot and I’m always looking for easy one-pot meals that don’t require a ton of prep or cleanup, this seems perfect.