
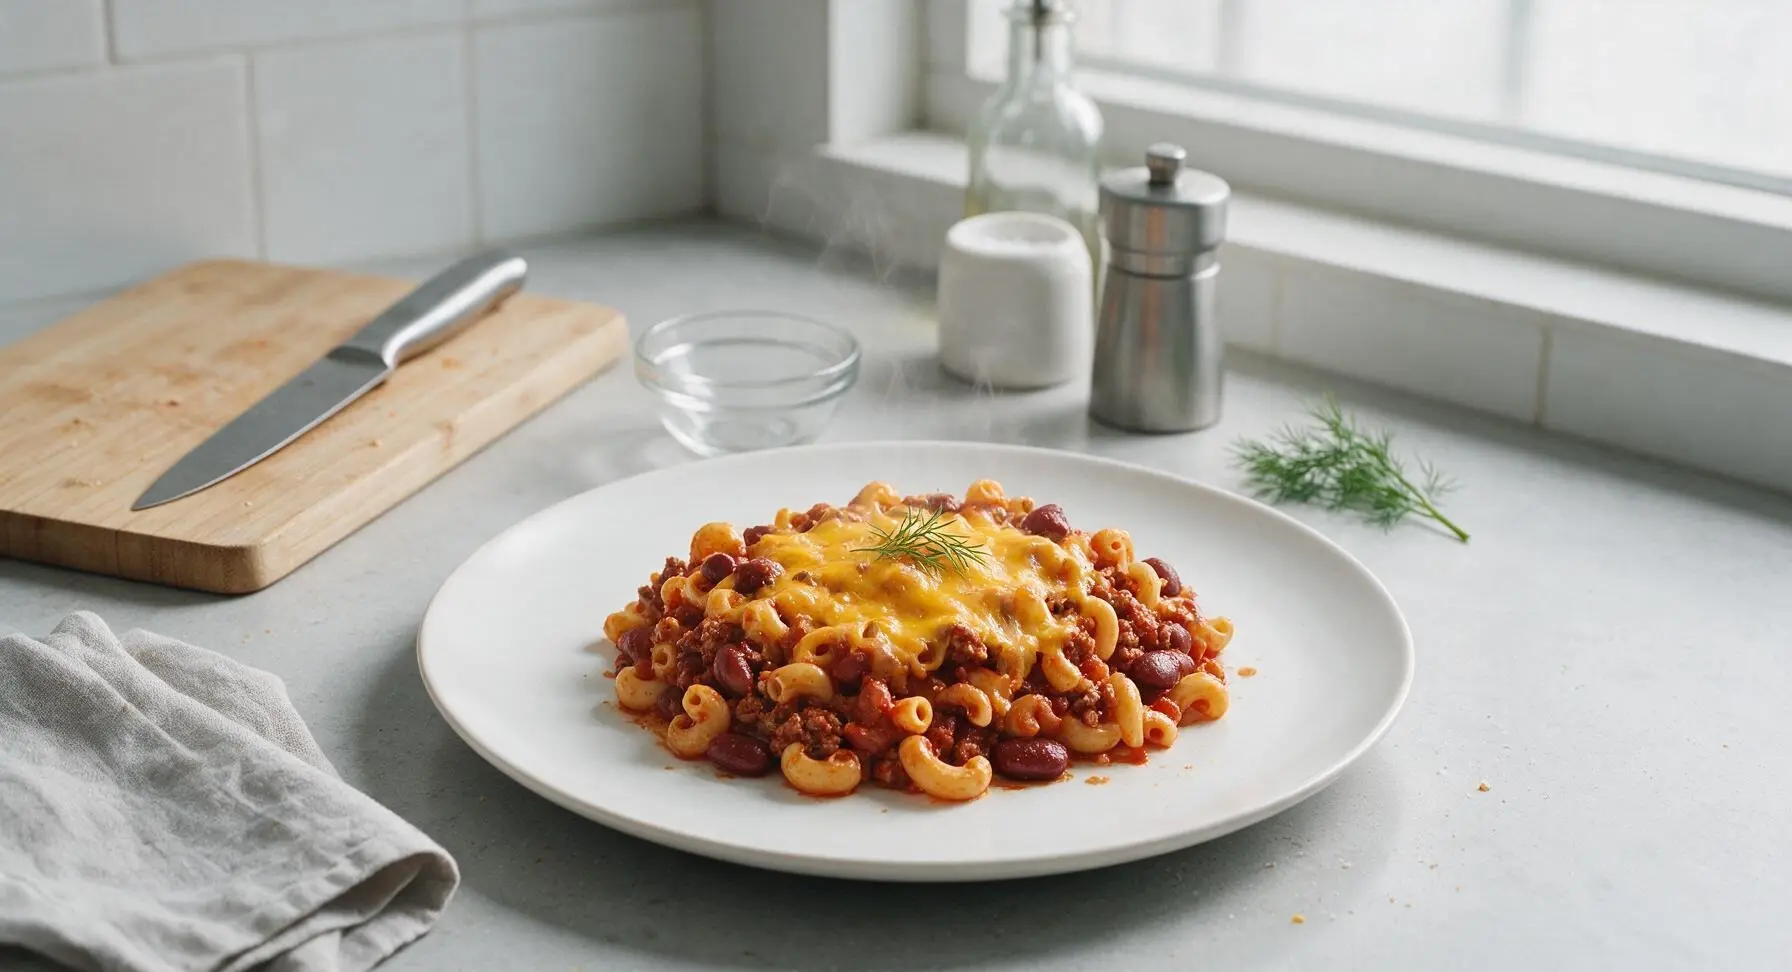
chili mac casserole

title 1
chili mac casserole
⏱️ cook time 35 minutes
🍽️ servings 6
⚡ Difficulty easy

intro

Warm, cheesy, and hearty, this classic chili mac casserole combines spiced ground beef, tender beans, and elbow pasta in a rich tomato sauce, topped with bubbly melted cheddar for the ultimate cozy weeknight meal.

Ingredients
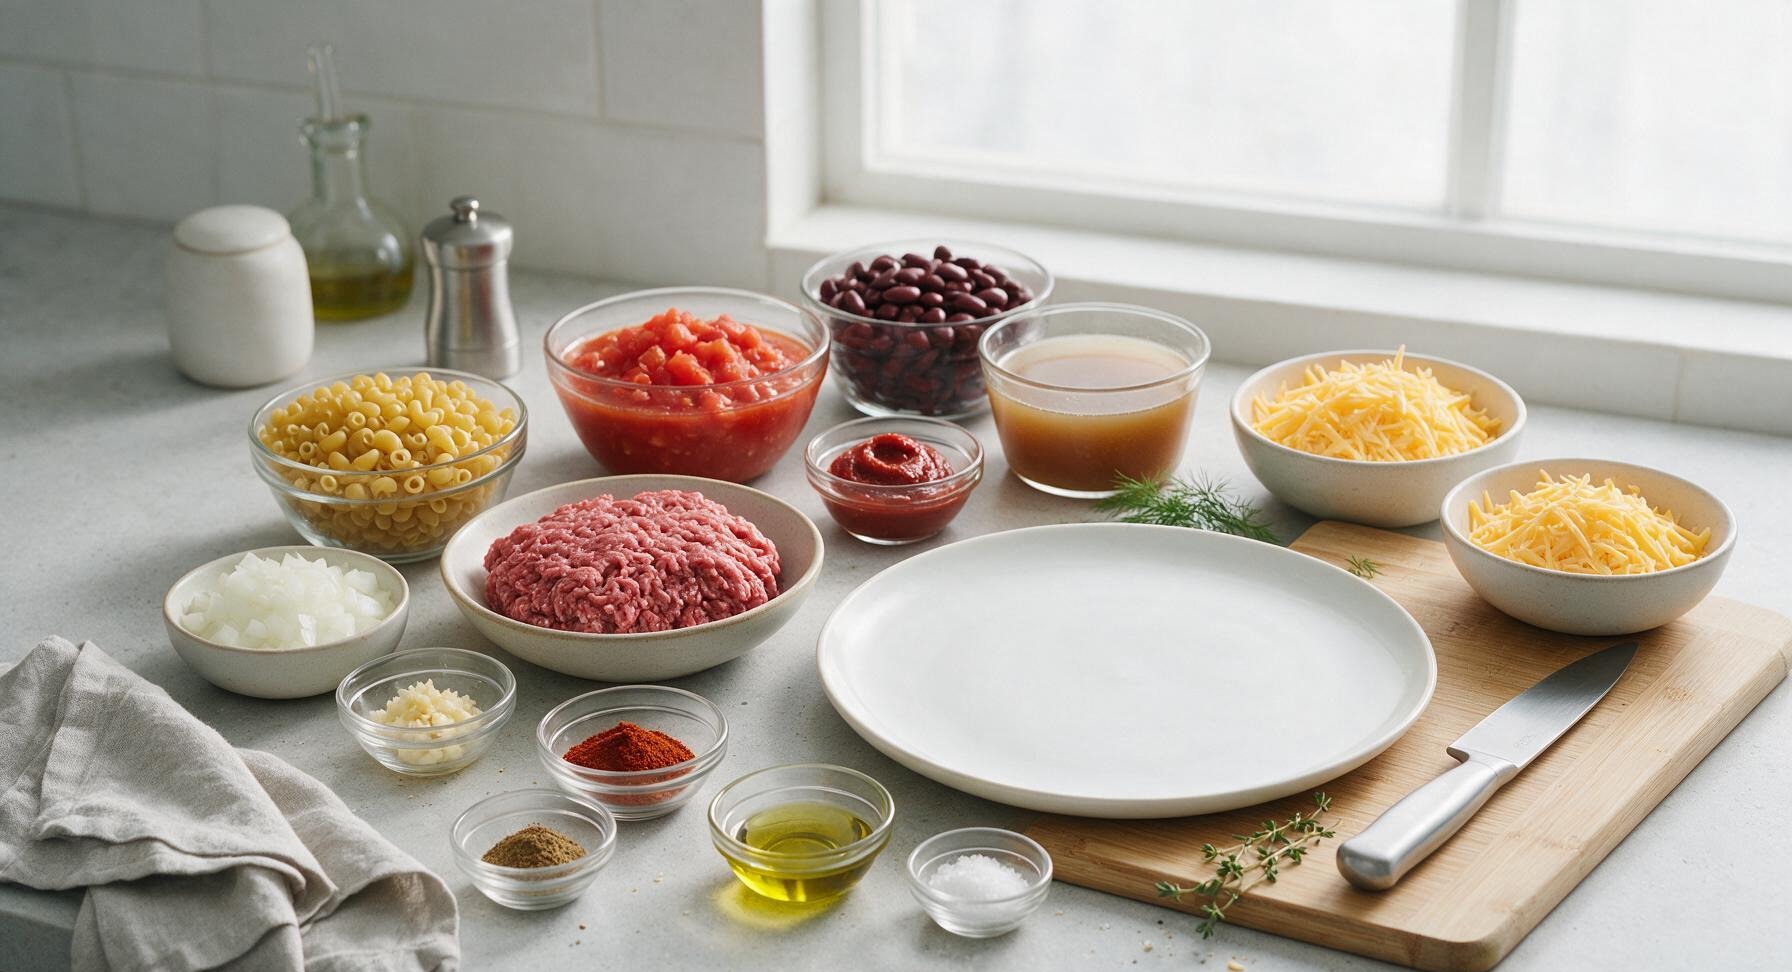
Dry elbow macaroni 225g (8oz)
Lean ground beef (90/10) 450g (1lb)
Yellow onion 1 medium (150g, diced)
Garlic 3 cloves (10g, minced)
Small red bell pepper 1 (100g, diced)
Canned diced tomatoes (no salt added, with juices) 1 can (400g)
Canned dark red kidney beans (rinsed, drained) 1 can (425g)
Tomato paste 2 tbsp (30g)
Low-sodium beef broth 240ml (1 cup)
Sharp cheddar cheese (shredded, divided) 225g (2 cups)
Chili powder 2 tbsp (15g)
Ground cumin 1 tsp (2g)
Smoked paprika 1 tsp (2g)
Kosher salt 1 tsp (5g)
Freshly ground black pepper 1/2 tsp (1g)
Extra virgin olive oil 1 tbsp (15ml)
Fresh thyme sprigs 2 (for garnish)

Steps

1

Cook Pasta Al Dente

Bring 3 liters of heavily salted water to a rolling boil over high heat. Add 225g dry elbow macaroni, stir once to prevent sticking, and cook for 6 minutes (2 minutes shorter than the package’s al dente recommendation) so pasta remains firm and won’t turn mushy when baked. Drain fully in the stainless steel colander set on the far left counter, and set aside without rinsing (residual starch helps the sauce cling).
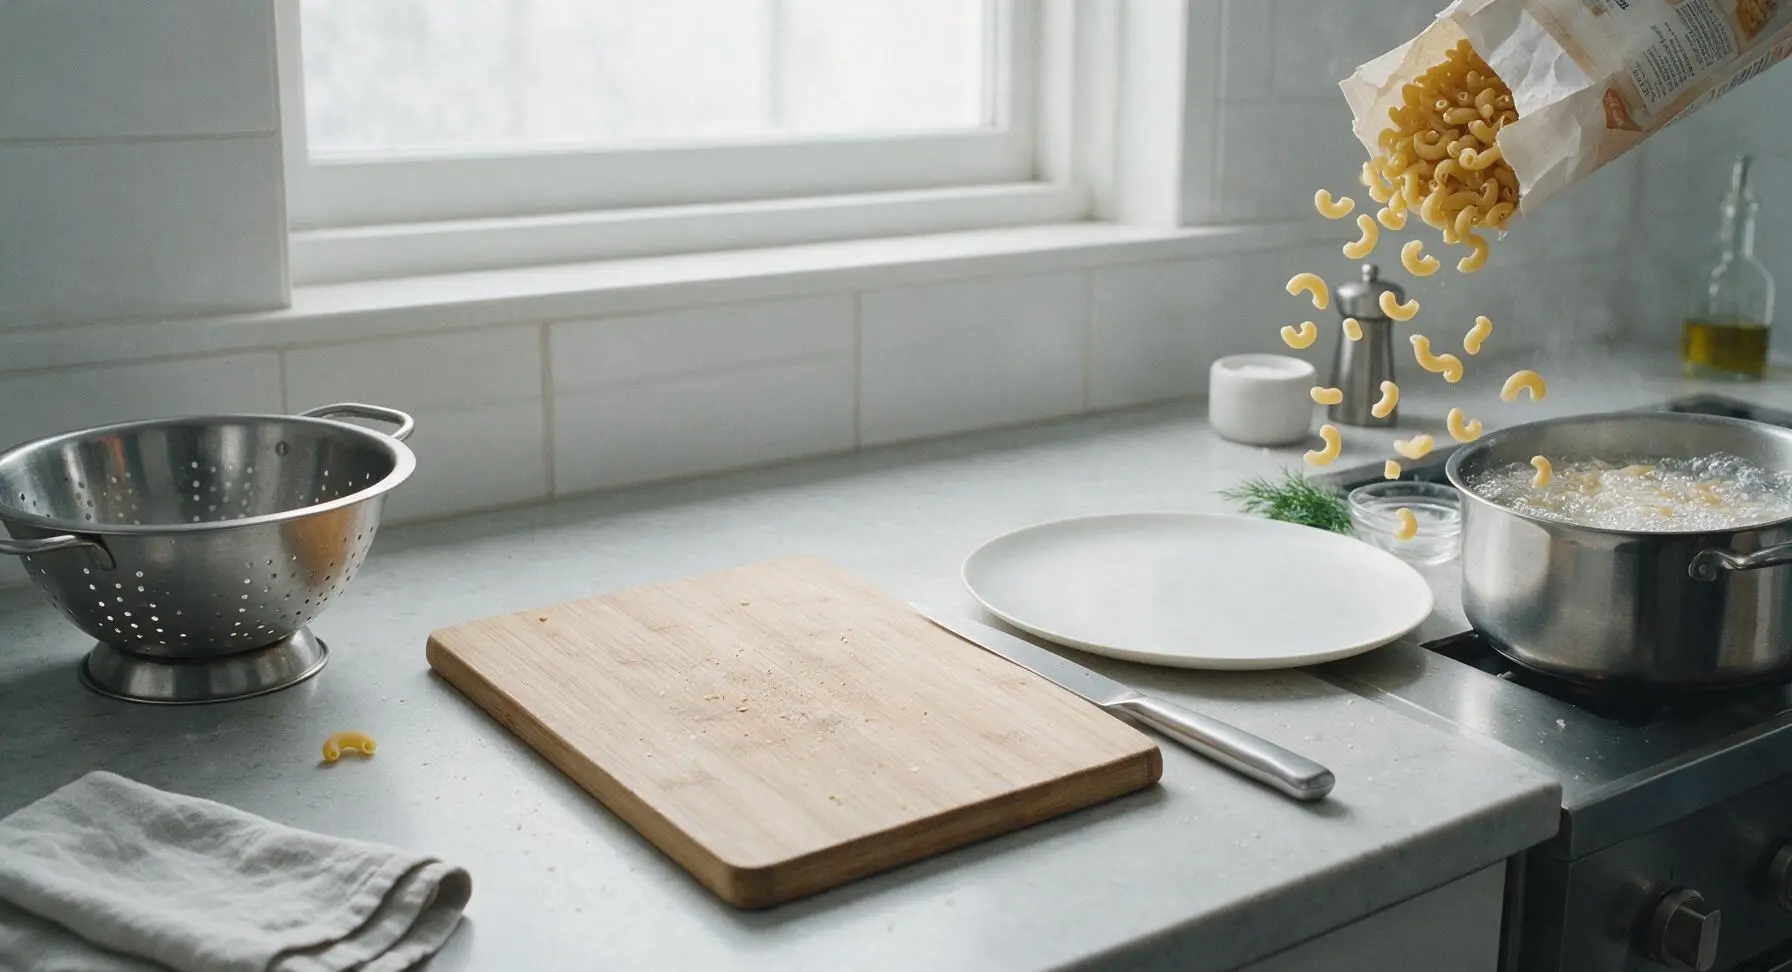
Step 1
step1:Cook Pasta Al Dente
2

Sauté Aromatic Vegetables

Heat 1 tablespoon olive oil in the 10-inch carbon steel skillet over medium heat. Dice the yellow onion and red bell pepper into 1cm pieces, mince the 3 garlic cloves, and add onion and bell pepper to the skillet. Sauté for 4 minutes until soft and translucent, then add garlic and cook 30 seconds more until fragrant, being careful not to burn the garlic.
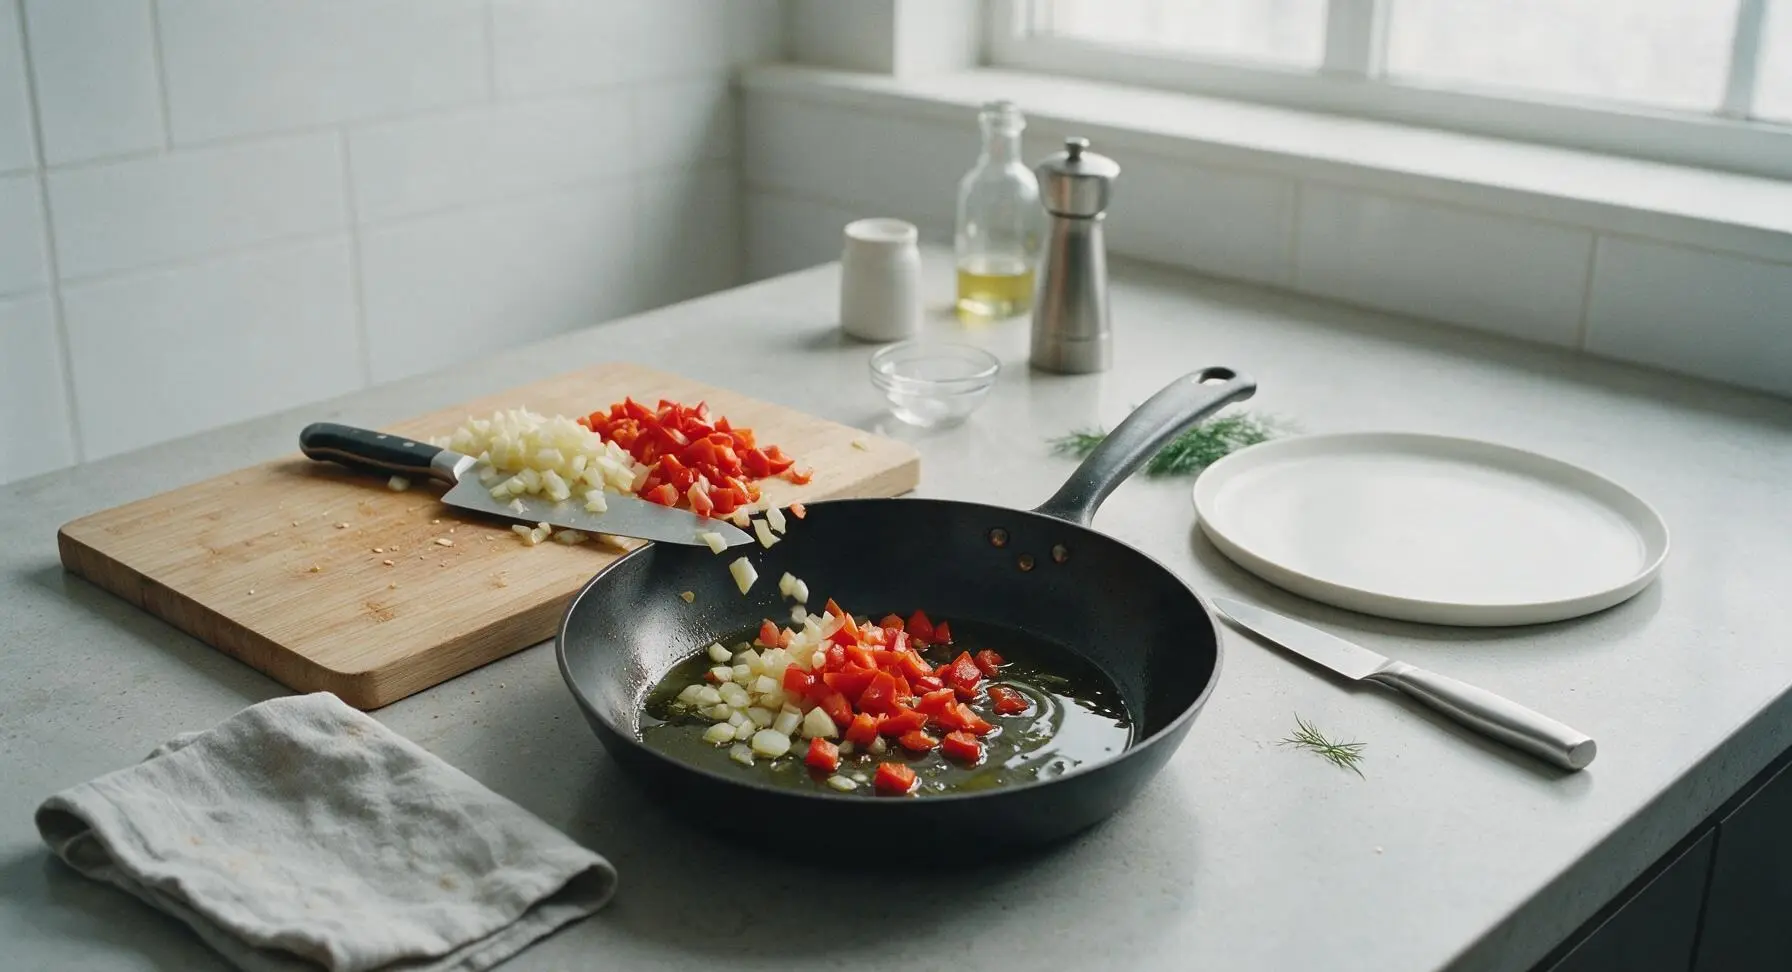
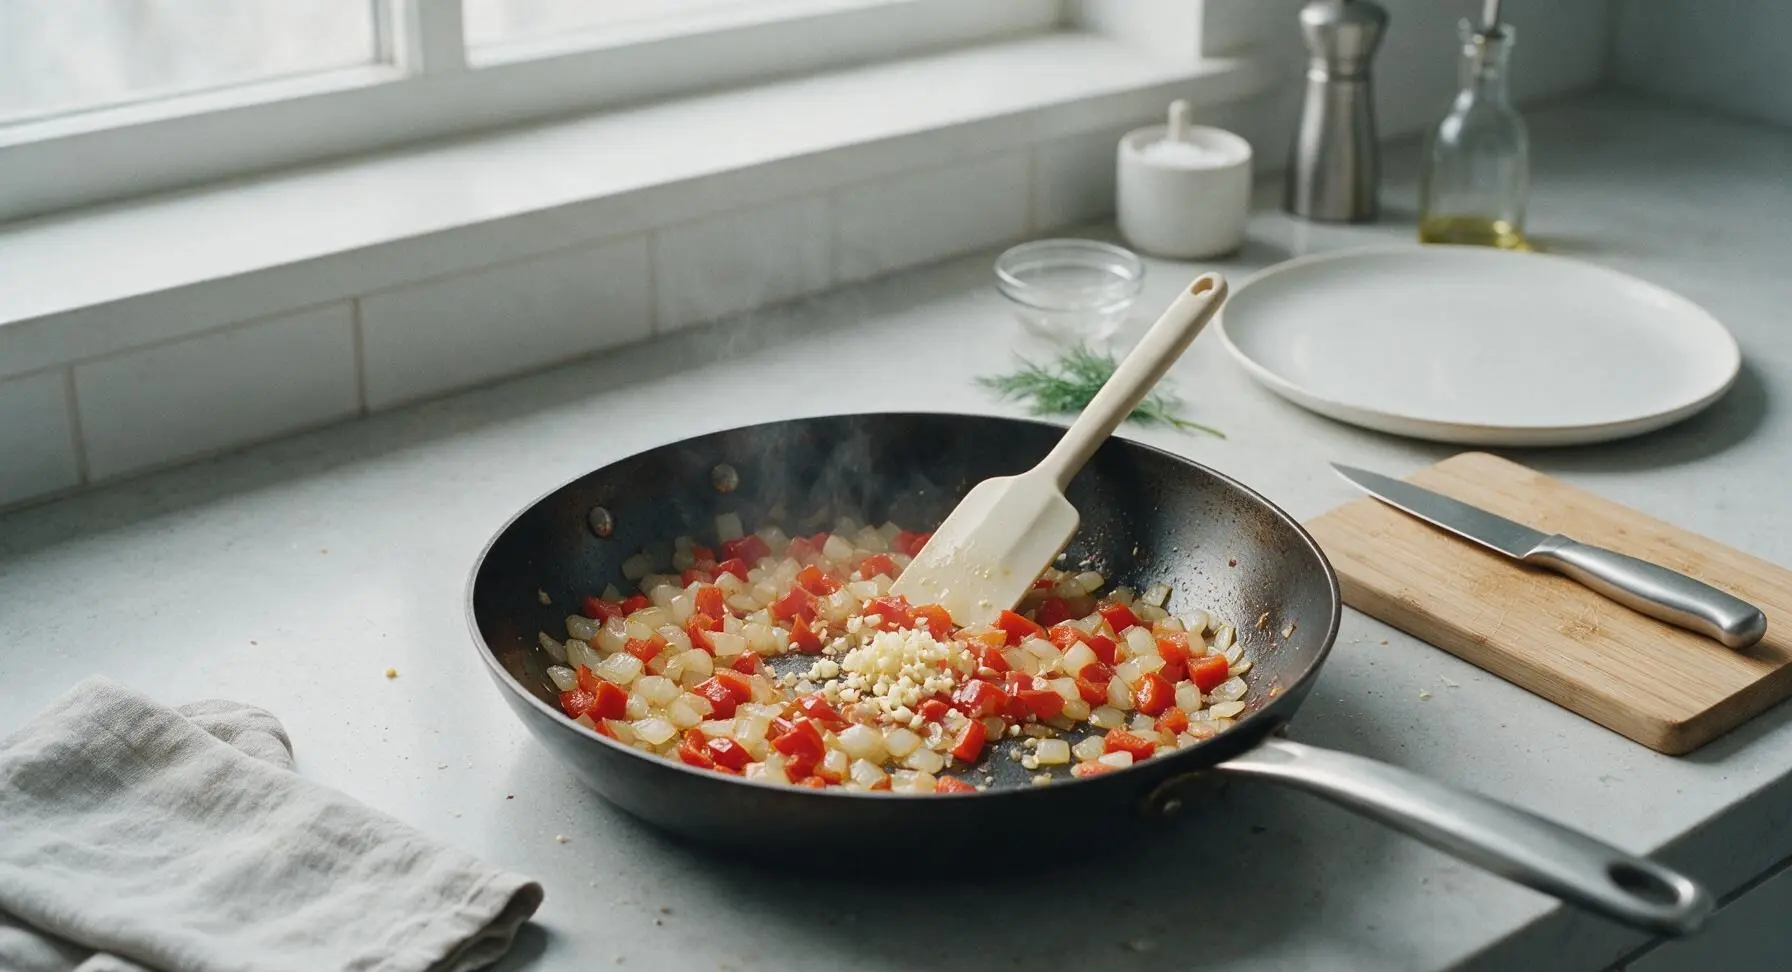
Step 2
step2:Sauté Aromatic Vegetables
Step 2
step2:Sauté Aromatic Vegetables
3

Brown Ground Beef

Add 450g lean ground beef to the skillet with the sautéed aromatics, breaking it apart into small crumbles with the silicone spatula. Cook for 5-6 minutes over medium heat until the beef is fully browned with no pink remaining, draining any excess rendered fat if needed to keep the dish from being greasy.
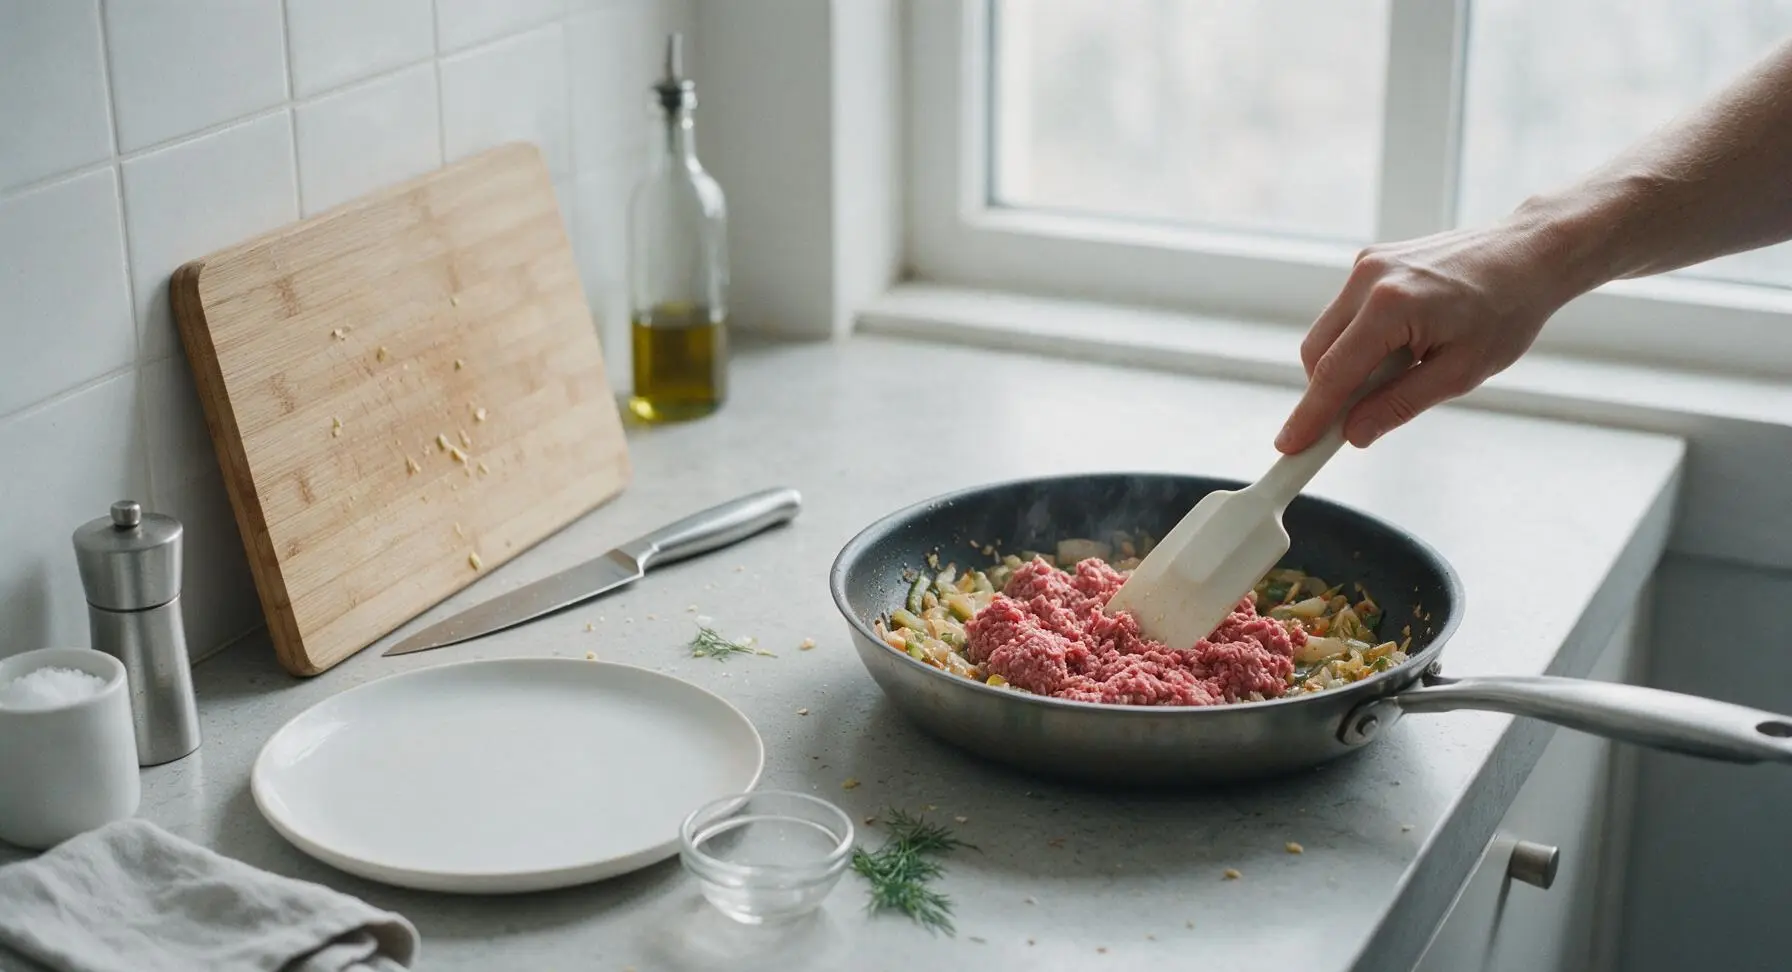
Step 3
step3:Brown Ground Beef
4

Build Chili Sauce Base

Stir 2 tablespoons tomato paste into the browned beef, cooking for 1 minute until it darkens slightly and coats the beef crumbles. Add 2 tablespoons chili powder, 1 teaspoon ground cumin, 1 teaspoon smoked paprika, 1 teaspoon kosher salt, and 1/2 teaspoon black pepper, stirring to toast the spices for 30 seconds. Pour in 400g diced tomatoes (with their juices), 425g rinsed drained kidney beans, and 240ml low-sodium beef broth, stirring to combine. Bring the mixture to a gentle simmer, then cook for 5 minutes until sauce thickens slightly.
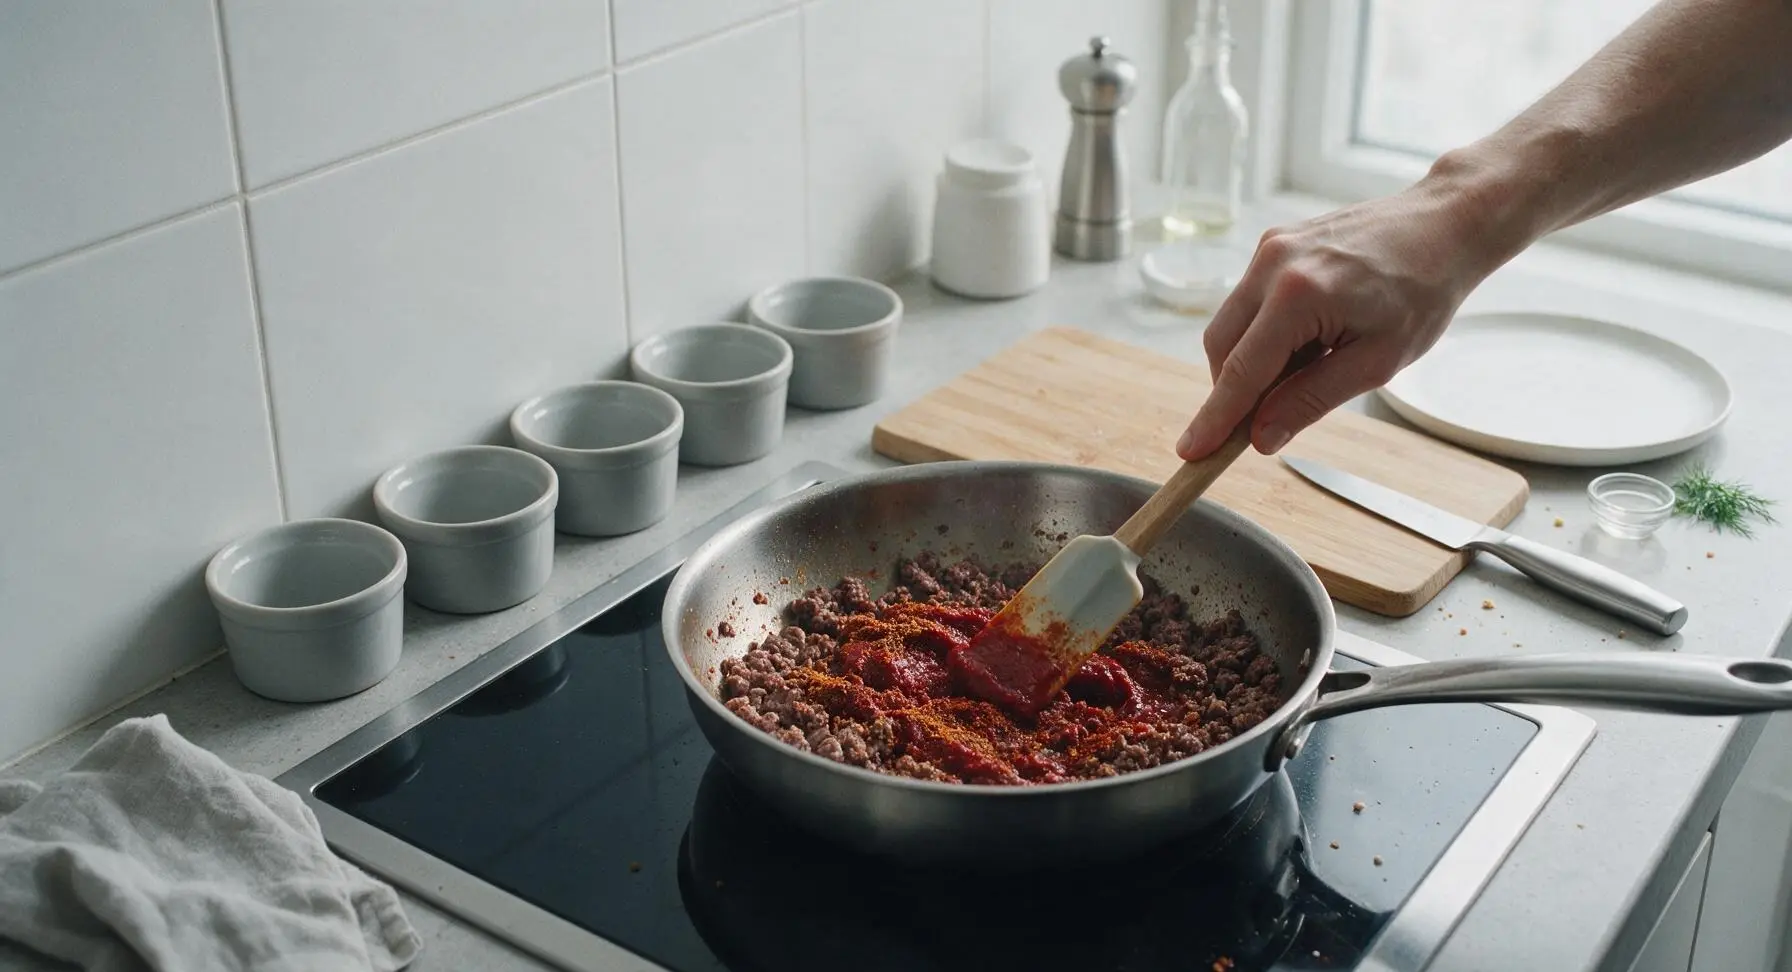
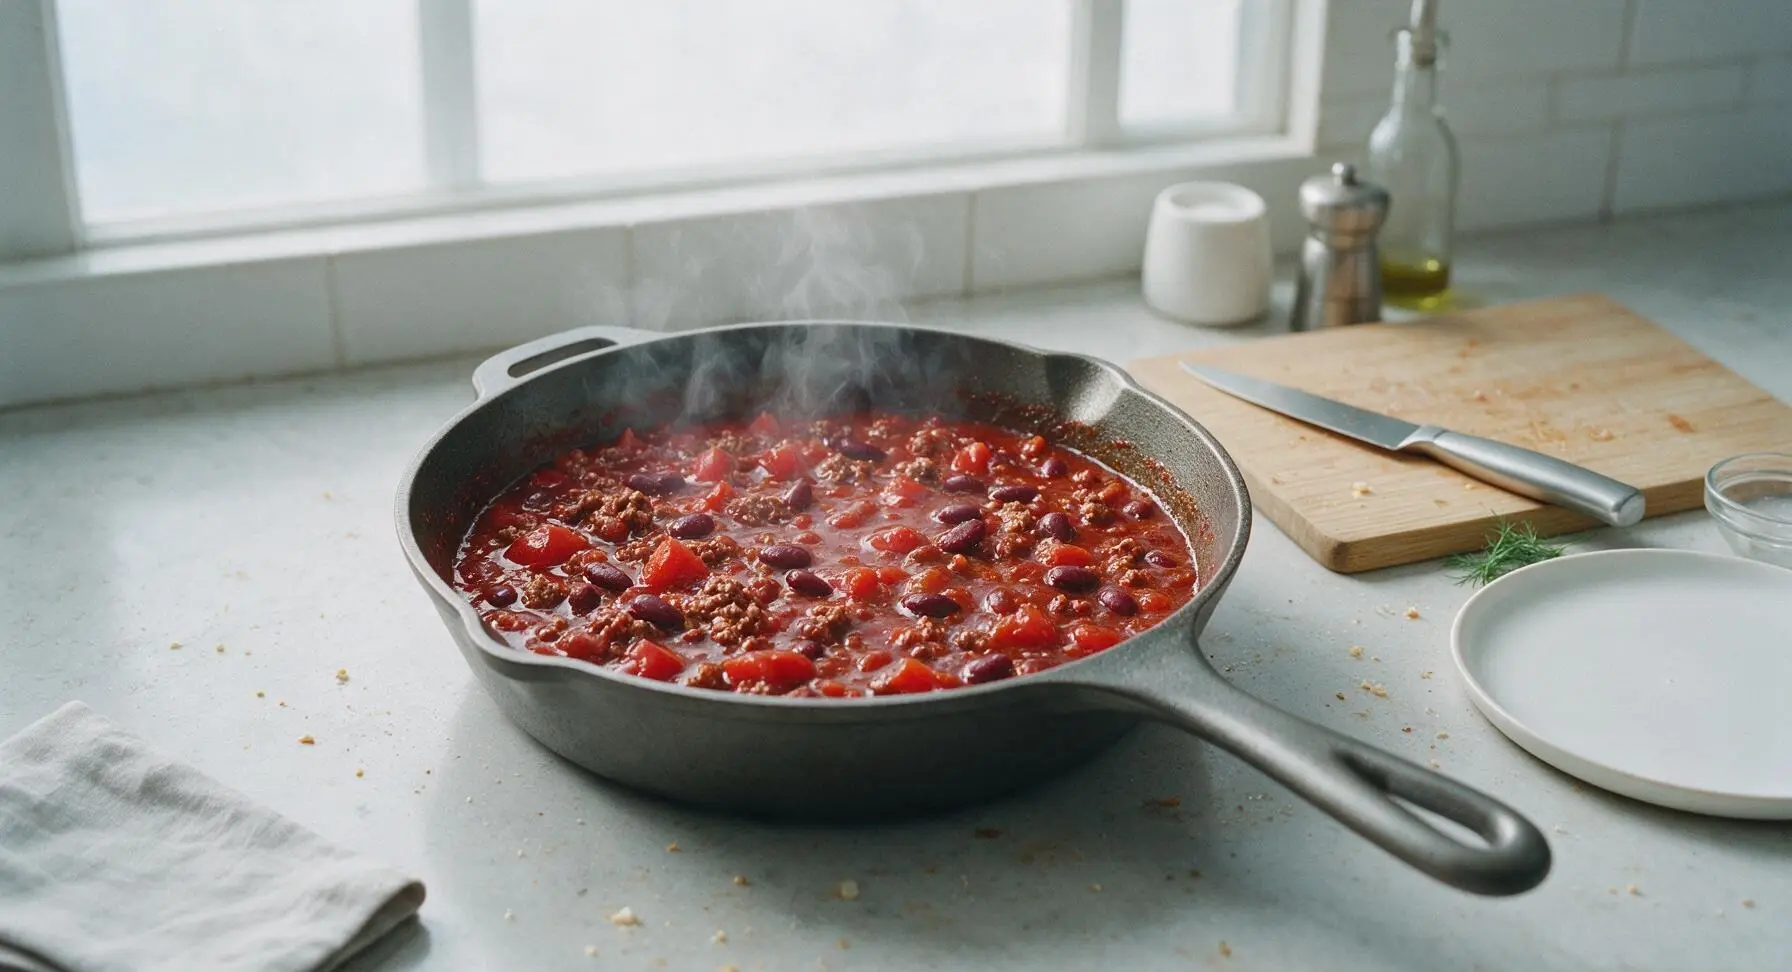
Step 4
step4:Build Chili Sauce Base
Step 4
step4:Build Chili Sauce Base
5

Combine Pasta and Cheese

Remove the skillet from heat. Add the drained cooked elbow macaroni and 1.5 cups (170g) of the shredded sharp cheddar cheese to the chili mixture, stirring thoroughly with the silicone spatula until every macaroni noodle is evenly coated in sauce and cheese is fully melted. Transfer the entire mixture to the 9x13 inch cream stoneware casserole dish, spreading it into an even layer with the spatula.
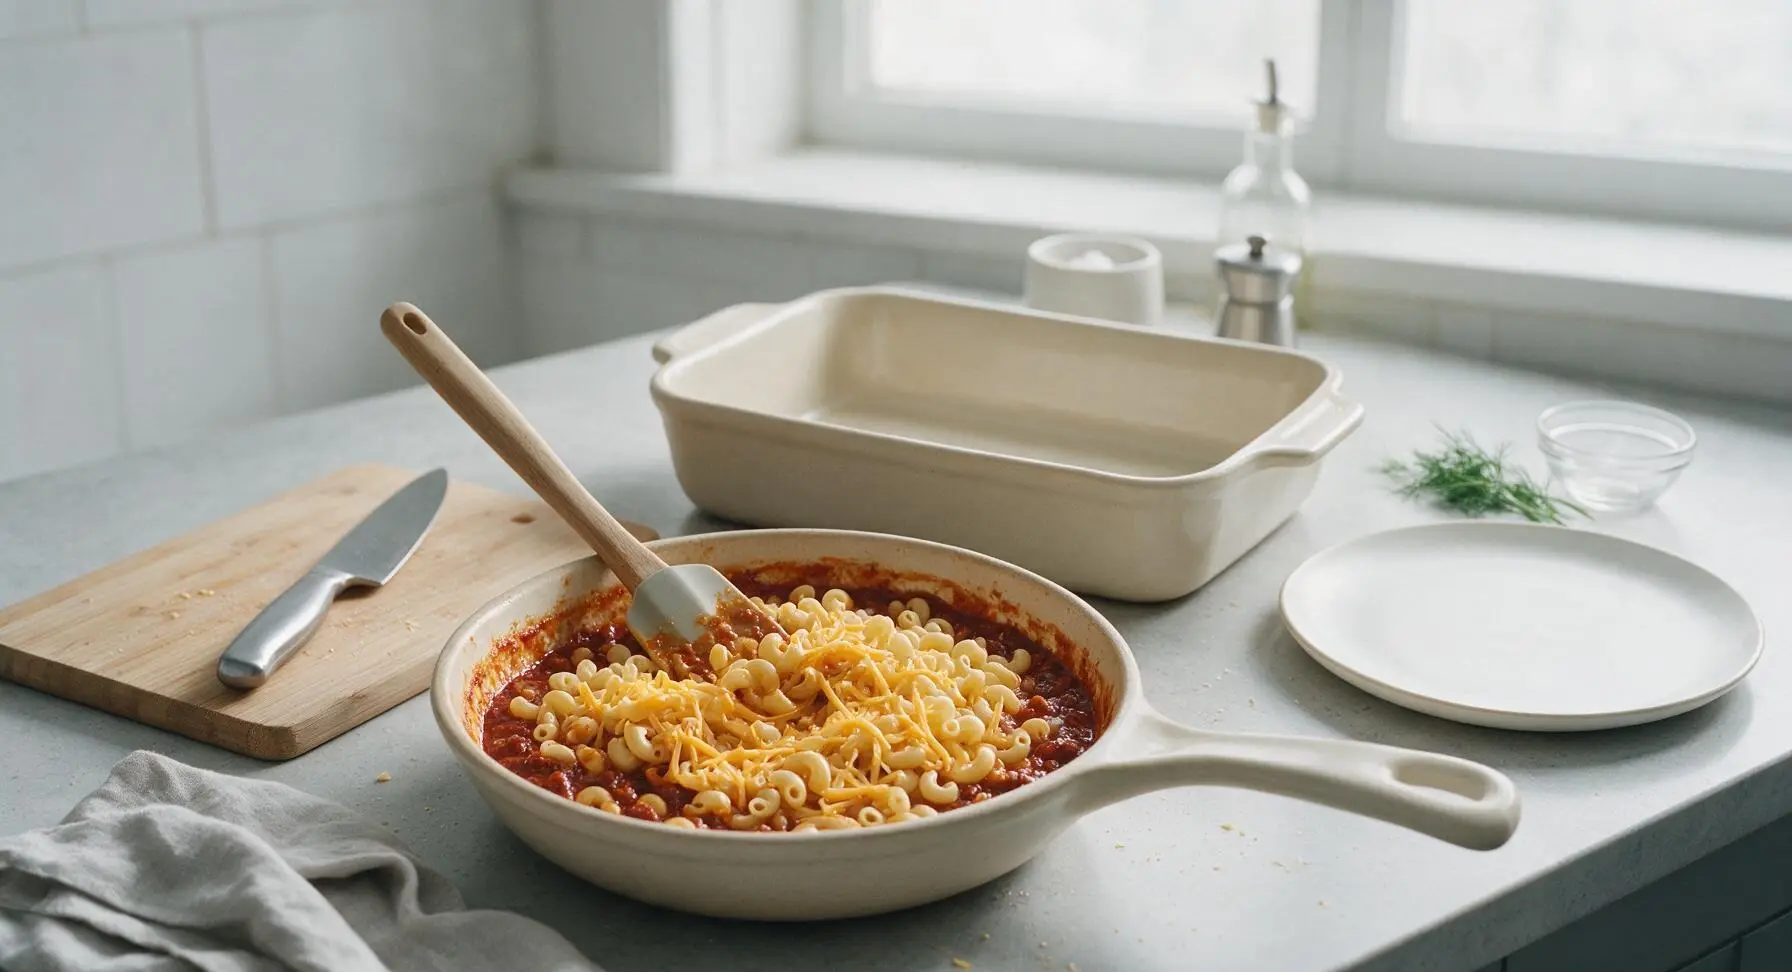
Step 5
step5:Combine Pasta and Cheese
6

Top and Bake Casserole

Sprinkle the remaining 0.5 cup (55g) of shredded cheddar cheese evenly over the top of the casserole mixture. Place the casserole dish on the middle rack of the preheated 375°F (190°C) oven, and bake for 20 minutes until the cheese is fully melted, bubbly around the edges, and lightly golden brown in spots.
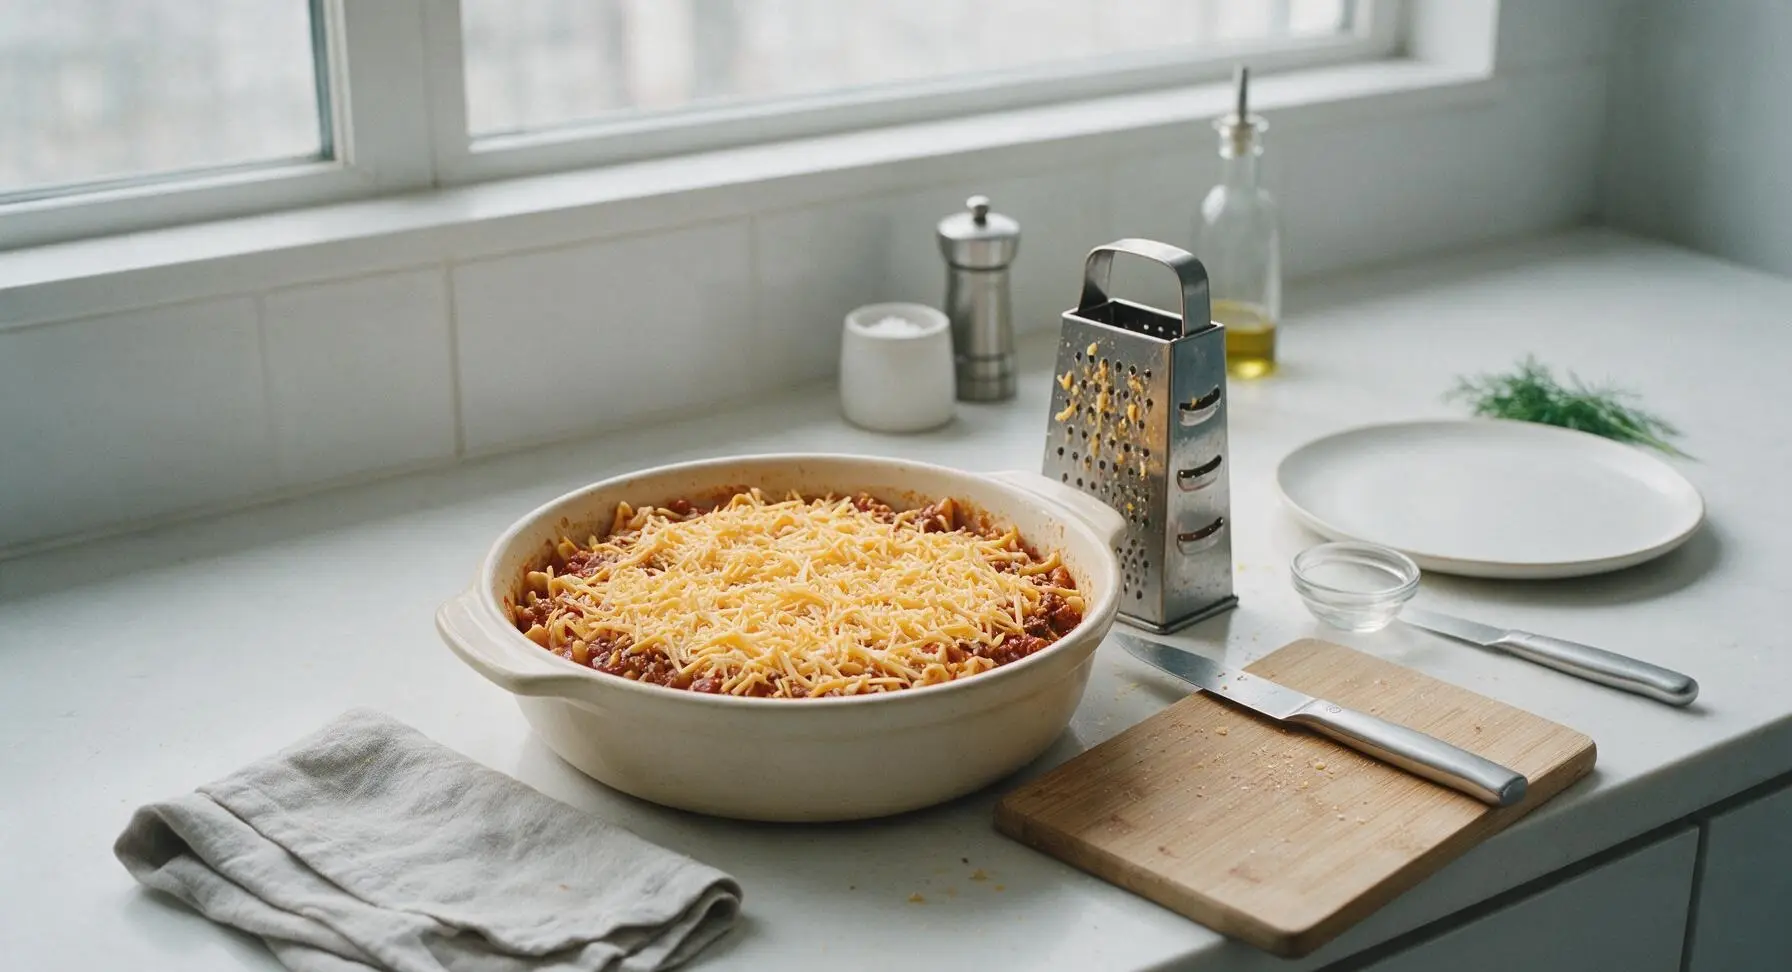
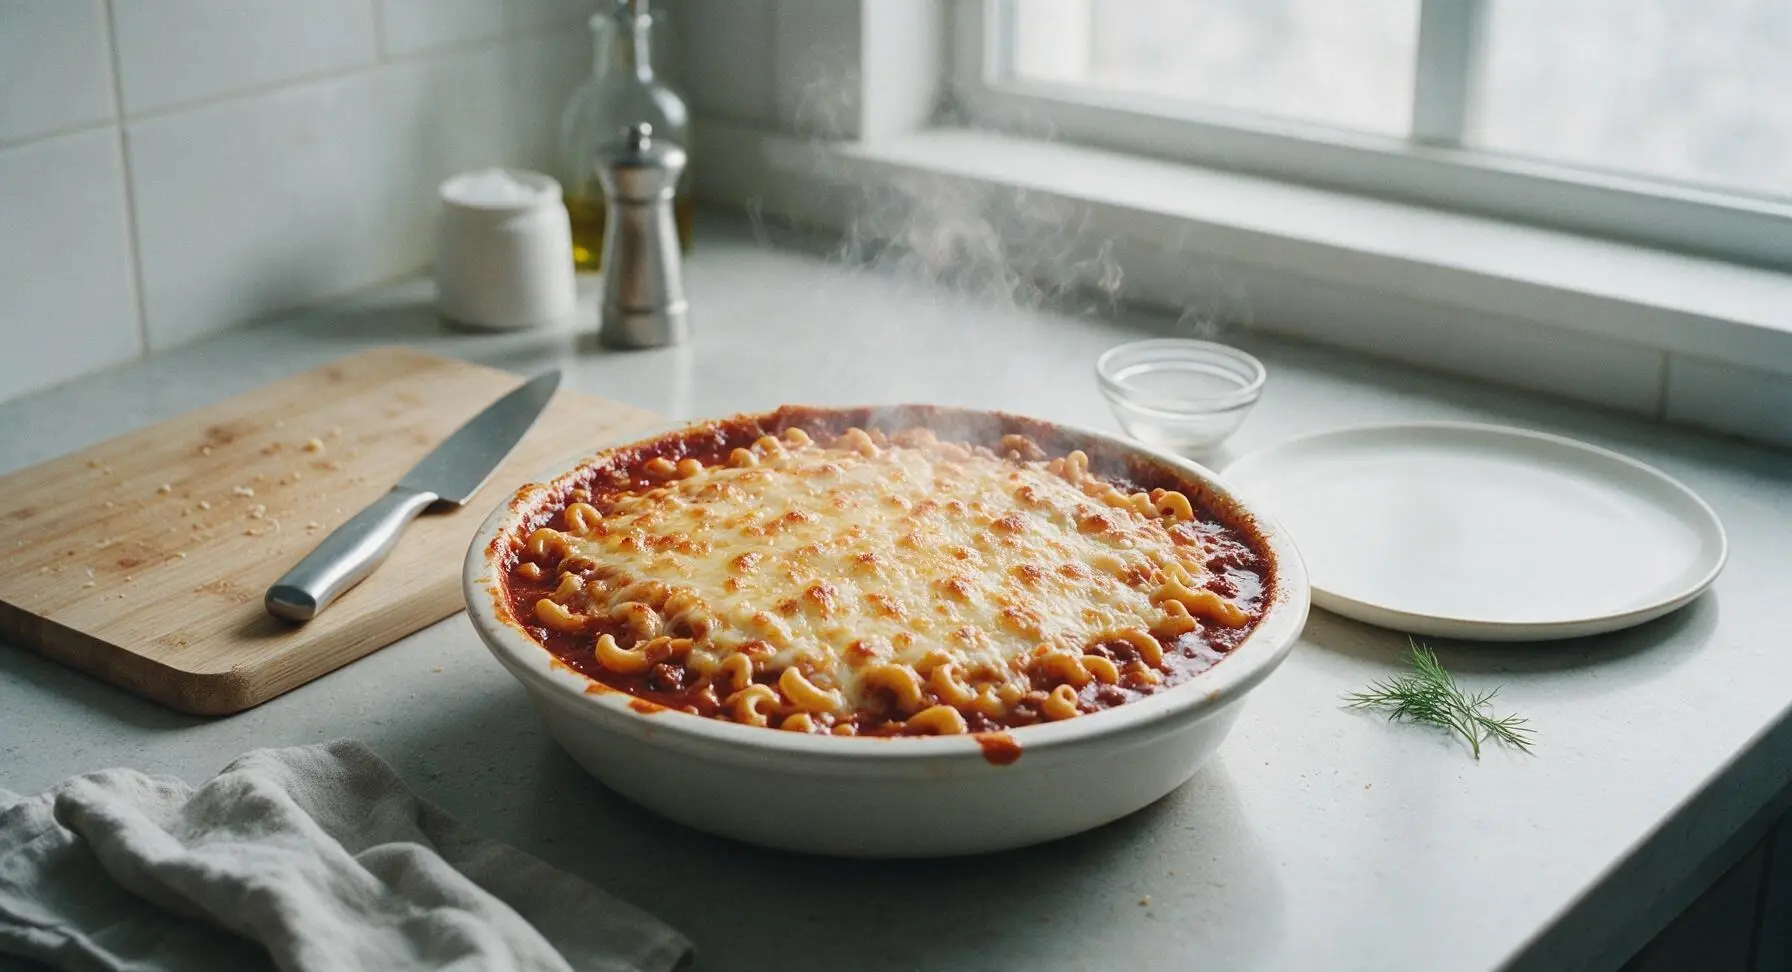
Step 6
step6:Top and Bake Casserole
Step 6
step6:Top and Bake Casserole
7

Rest and Garnish

Remove the baked casserole from the oven and transfer it back to the center counter. Let it rest for 5 minutes at room temperature to allow the sauce to thicken and set, which prevents runny servings. Pluck 2 fresh thyme sprigs from the potted plant on the counter and tuck them into the cheesy top for a bright, fresh garnish.
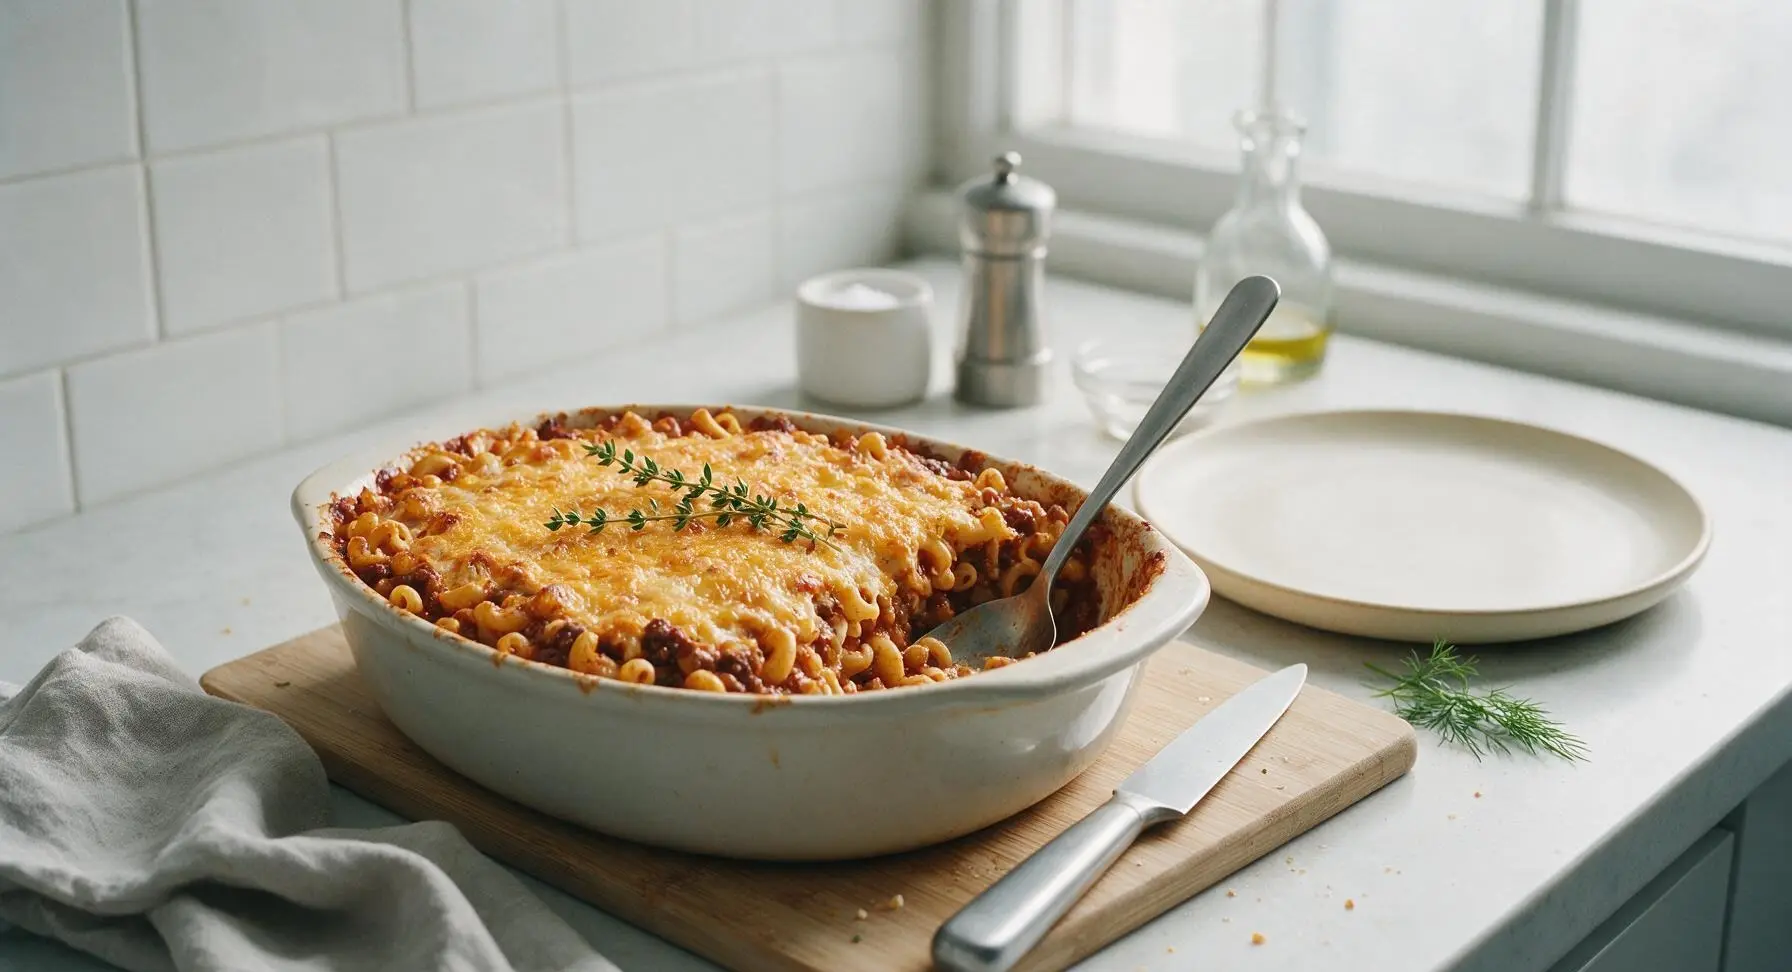
Step 7
step7:Rest and Garnish

Tips

1.Cook pasta 2 minutes short of package directions: The pasta will continue to cook and absorb flavorful sauce while the casserole bakes, so undercooking it initially prevents mushy, over-soft noodles in the finished dish.
2.Skip rinsing drained pasta: The thin starchy coating on cooked macaroni helps the melted cheese and chili sauce cling tightly to each noodle, creating a cohesive, less watery casserole with better texture.
3.Let the casserole rest 5 minutes after baking: This short rest allows the molten cheese and hot tomato sauce to thicken and set, so scooped servings hold their neat shape instead of sliding apart on the plate.


✨ You May Also Like

Main Course
🍜 United Kingdom

A showstopping classic of tender seared beef, savory mushroom duxelles, and crisp prosciutto wrapped in flaky golden puff pastry, baked to juicy perfection.

⏱️ 2 hours 1Main Course ★ 4.7
Main Course
🍜 India

Tender charred marinated chicken simmered in a rich, spiced creamy tomato sauce, this iconic Anglo-Indian curry pairs perfectly with basmati rice or warm naan.

⏱️ 50 minuteMain Course ★ 4.6
Main Course
🍜 Thailand

Classic tangy, sweet, and savory Thai stir-fried rice noodles with shrimp, tofu, and crunchy garnishes, balancing all five core Thai flavor profiles.

⏱️ 30 minuteMain Course ★ 4.5
Main Course
🍜 United Kingdom

Crispy golden beer-battered cod and fluffy double-fried chips, served with tangy tartar sauce and malt vinegar: the timeless, beloved British pub comfort classic.

⏱️ 45 minuteMain Course ★ 4.7
Main Course
🍜 Mexico

Smoky, chile-marinated pork tacos with caramelized pineapple, fresh cilantro, and lime: a beloved classic Mexican street food perfect for casual summer gatherings.

⏱️ 1 hour 45Main Course ★ 4.8
Main Course
🍜 United States

Crunchy Fritos corn chips layered with savory beef chili and melted cheddar, topped with cool, zesty fixings for a beloved, cozy Tex-Mex comfort food.

⏱️ 35 minuteMain Course ★ 4.8

chili mac casserole:Frequently Asked Questions

1.Can I prep this Classic Chili Mac Casserole ahead of time for busy weeknights? ▾
Absolutely! You can assemble the fully cooled, cheese-free base up to 2 days in advance, stored tightly covered in the refrigerator. When you’re ready to bake, top with the shredded cheddar, and add 5 to 7 minutes to the standard bake time to account for the cold dish, until the center is bubbly and cheese is fully melted.
2.What’s a good substitute for the 90/10 lean ground beef if I don’t have it on hand? ▾
You can swap in ground turkey, ground chicken, or plant-based ground crumbles for a lighter or meat-free version. If you use fattier 80/20 ground beef instead of the recommended 90/10 blend, be sure to fully drain all rendered grease after browning to keep the casserole from turning greasy and soggy as it bakes.
3.Do I need to fully cook the dry elbow macaroni before adding it to the casserole? ▾
No, only cook the elbow macaroni to al dente, about 2 minutes less than the package’s directed cook time. The pasta will continue to cook and absorb rich flavor from the tomato sauce as the casserole bakes; fully pre-cooking it will lead to mushy, overly soft pasta in the finished dish.
4.Can I freeze leftover Classic Chili Mac Casserole for future quick meals? ▾
Yes! Let the baked casserole cool completely, then portion it into airtight, freezer-safe containers, or wrap the whole baking dish tightly in two layers of plastic wrap and one layer of foil. It will keep well for up to 3 months; thaw overnight in the fridge before reheating in a 350°F oven until warmed through.
5.I don’t like beans—can I leave them out without ruining the recipe? ▾
Totally! You can omit the beans entirely if you prefer, or swap them for mix-ins like sweet corn, diced zucchini, or extra red bell pepper to keep the same hearty texture. Just keep the total volume of add-ins consistent so the sauce-to-pasta ratio stays balanced and the casserole doesn’t turn out overly saucy.
6.How do I get that perfectly bubbly, slightly golden melted cheddar top? ▾
Sprinkle your shredded cheddar evenly over the casserole during the last 10 minutes of baking, rather than adding it at the start when it can overcook. For an extra crispy, golden finish, broil it for 1 to 2 minutes at the very end—just watch closely to make sure the cheese doesn’t burn or turn bitter.

Comments (3)

2 days ago

OMG this was such a game changer for our weeknight family dinner! I was scrambling to find something quick that didn’t require a million ingredients, and this easy 35-minute recipe hit so hard. My kids went back for seconds, even my super picky 7-year-old who turns his nose up at anything with beans. I added a little extra shredded sharp cheddar on top before baking and it was *chef’s kiss*. Already added this to our regular meal prep rotation for busy school nights!

1 day ago

Wait a second, did you bring this to the neighborhood block party potluck last month? I swear I had a chili mac casserole that tasted exactly like this and I begged whoever made it for the recipe! SO good, I can confirm the extra sharp cheddar move is absolutely elite.

1 day ago

That makes me so happy to hear! The extra sharp cheddar addition is such a smart call – that melty, tangy cheese crust on top makes every single bite better. We’re thrilled it’s earned a spot in your regular weeknight rotation!

yesterday

Made this for my weekly apartment meal prep and it’s way better than the sad frozen microwave meals I was surviving on last semester. Super easy to follow, no fancy tools needed, and it reheats perfectly in the microwave all week long. The only swap I made was tossing a handful of crushed nacho cheese tortilla chips on top right before baking for a little extra crunch, 10/10 would make again.

2 hours ago

Love that tortilla chip crunch hack! That adds such a fun, salty textural element I never would have thought of – I’m definitely testing that out on my next batch. So glad this recipe is making your weekly meal prep way more delicious!

1 week ago

I whipped this up for my son’s high school football team dinner after practice last night and the whole group devoured it! I doubled the recipe because teenage boys can put away food like you wouldn’t believe, and there was barely a spoonful left at the end of the line. Wish I’d remembered to snap a pic, it looked so good bubbling golden around the edges of the casserole dish. Already got three texts from other parents asking for the recipe, so I’ll be passing this link right along! Will absolutely be making this again for future church potlucks and Sunday family suppers.



