
chili relleno casserole

title 1
chili relleno casserole
⏱️ cook time 40 minutes
🍽️ servings 6
⚡ Difficulty easy

intro

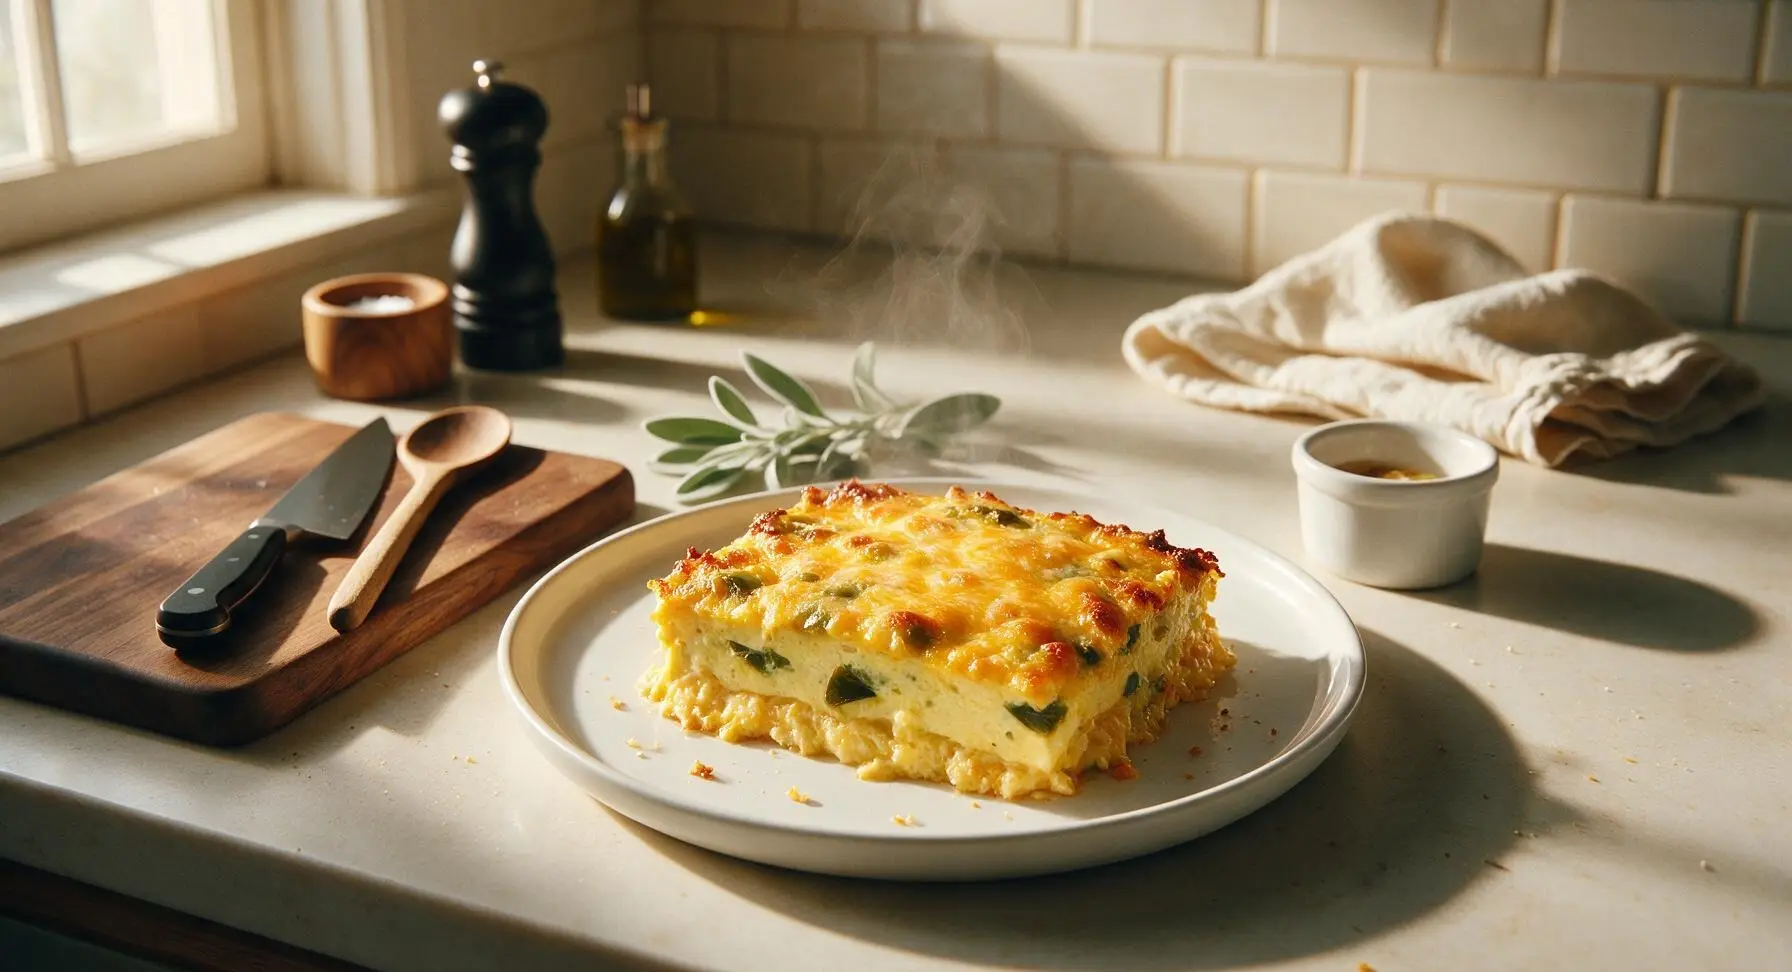
This cozy, cheesy chili relleno casserole swaps labor-intensive fried peppers for easy layered baked goodness, with fluffy egg custard, melted cheese, and mild roasted chiles for classic Tex-Mex comfort.

Ingredients
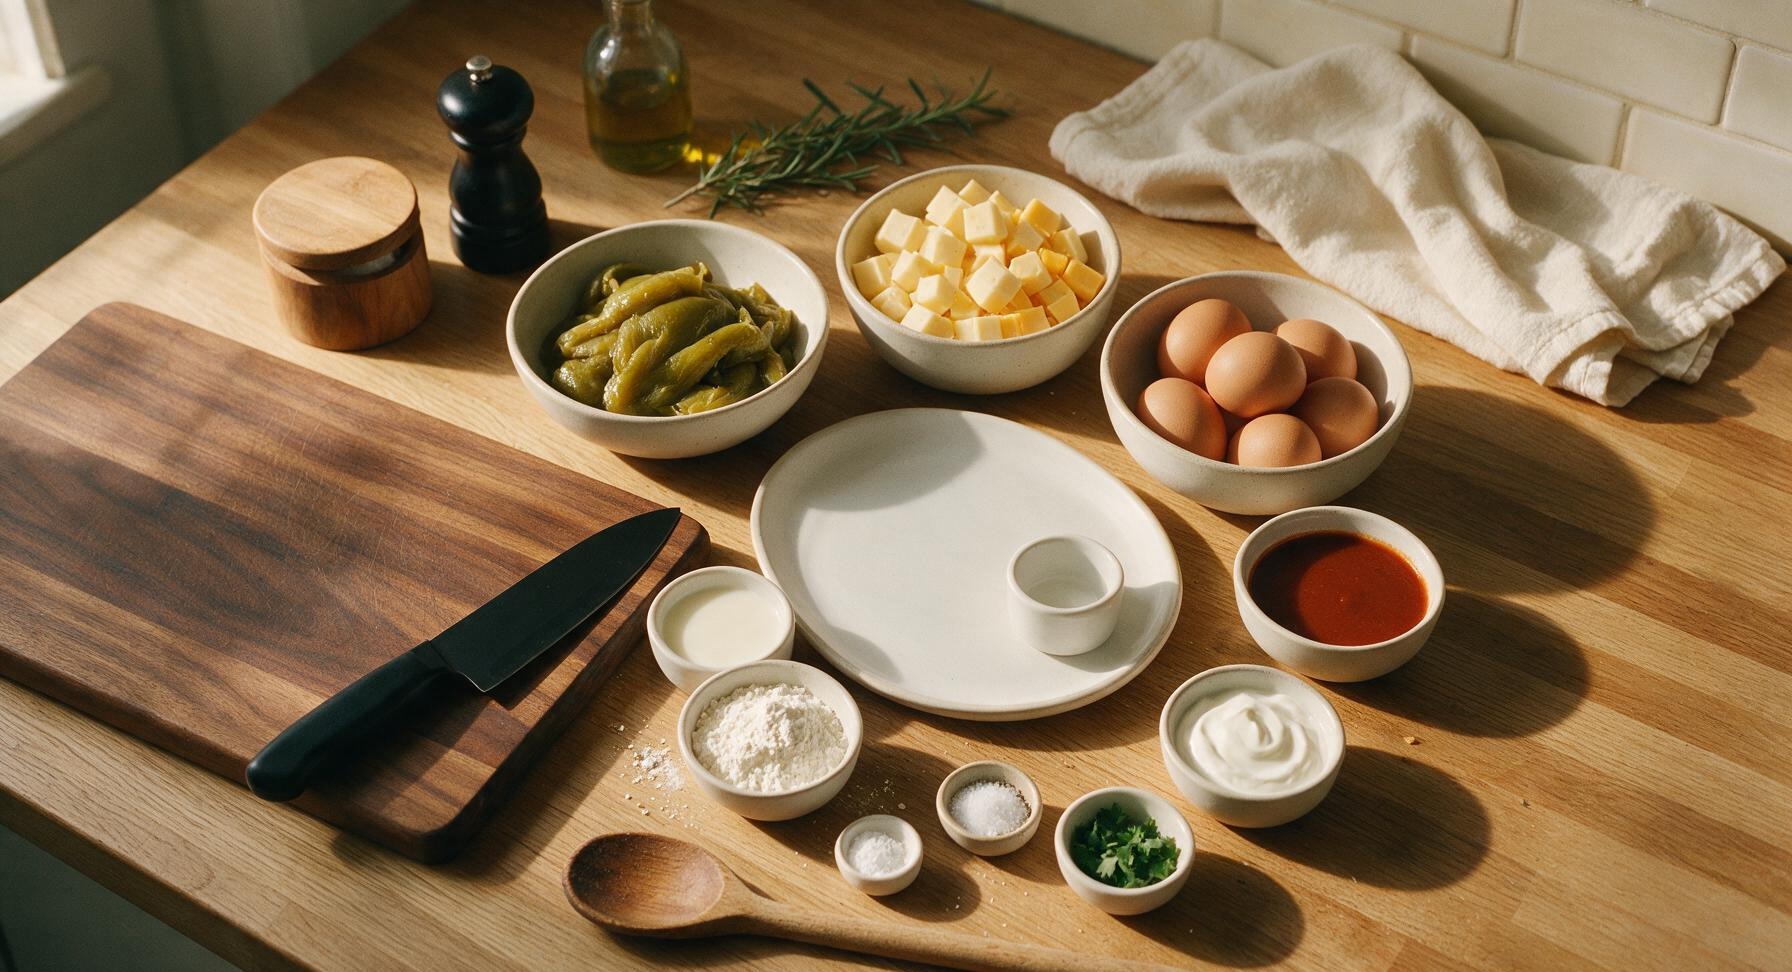
Canned whole roasted green chiles, drained 2 (7oz) cans
Monterey Jack cheese 8oz (225g)
Sharp cheddar cheese 4oz (115g)
Large eggs 6 each
Whole milk 1/2 cup (120ml)
All-purpose flour 1/4 cup (30g)
Baking powder 1/2 tsp
Kosher salt 1 tsp
Ground black pepper 1/4 tsp
Mild red enchilada sauce 1/2 cup (120ml)
Sour cream (for serving) 1/4 cup (60g)
Fresh cilantro (for garnish) 2 tbsp, chopped

Steps

1

Prep Chiles and Cheese

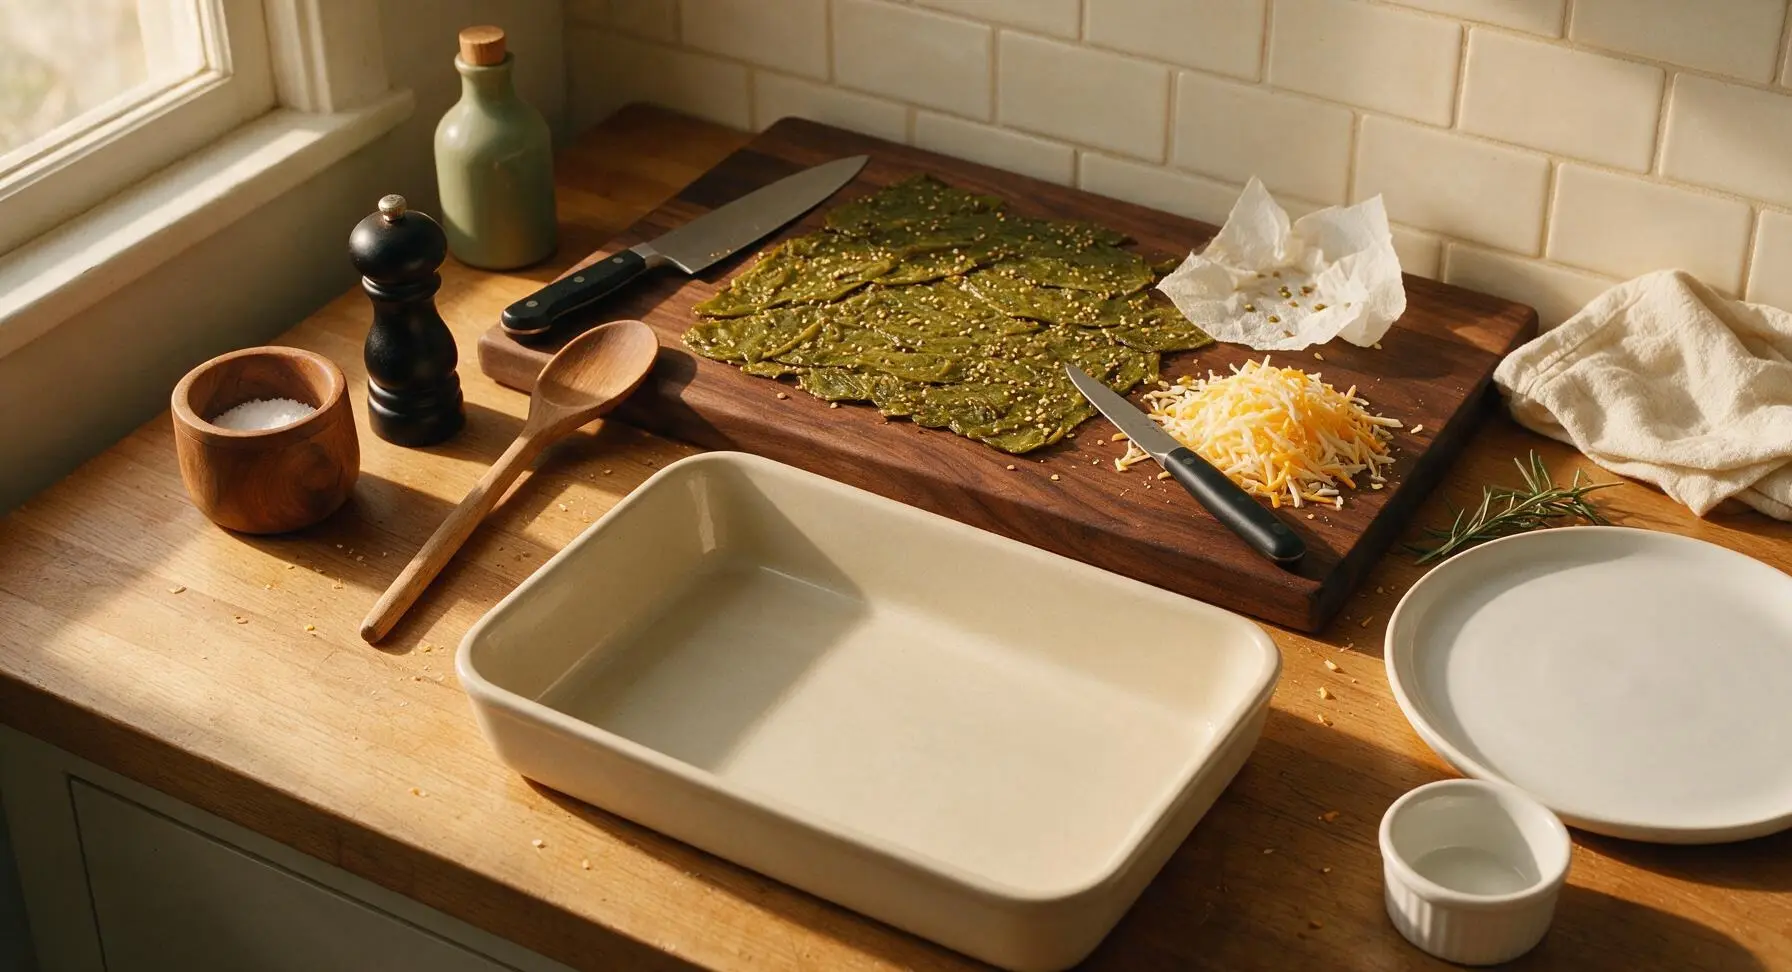
Preheat your oven to 375°F (190°C). Drain both 7oz cans of whole roasted green chiles, then lay them flat on the birch cutting board. Use the paring knife to slice each chile open lengthwise, gently scraping out any remaining seeds and inner membranes to leave large, flat chile sheets. Pat the chiles lightly with a paper towel to remove excess brine and moisture. Shred both the Monterey Jack and sharp cheddar cheese, tossing them together in a loose pile on the corner of the cutting board.
Step 1
step1:Prep Chiles and Cheese
2

Layer Chiles and Cheese

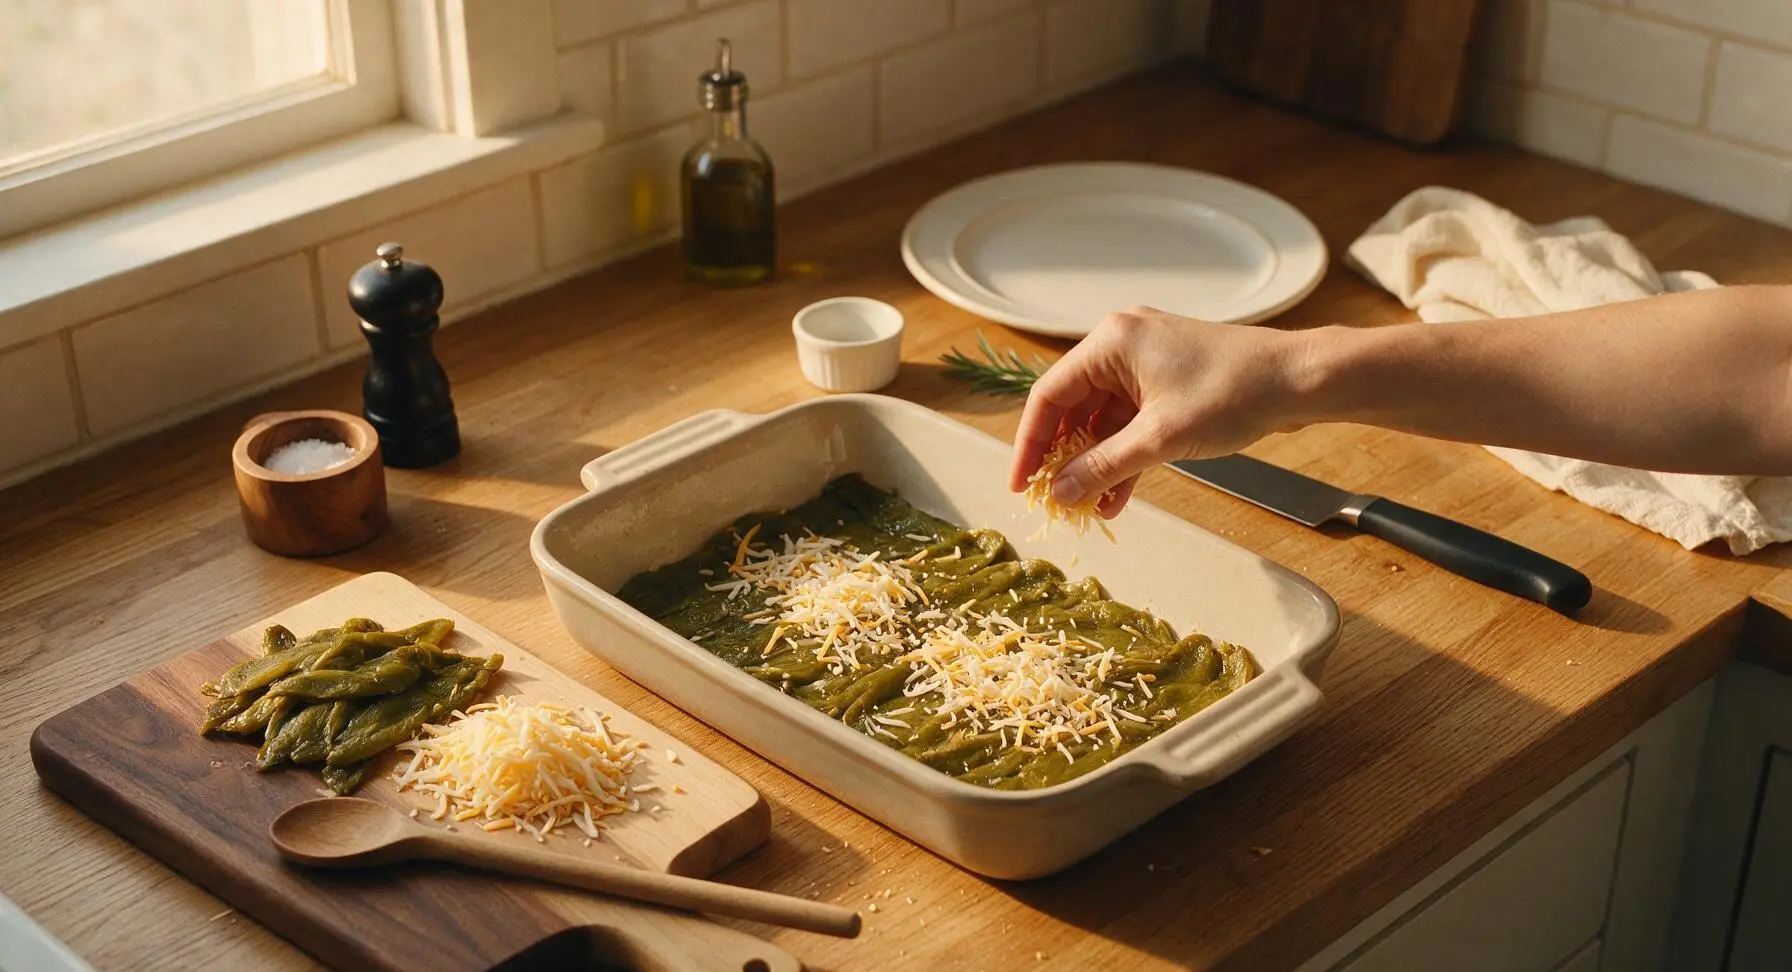
Arrange half of the flattened green chile sheets in a single, even layer across the bottom of the 9x13 ceramic baking dish, overlapping slightly as needed to cover the entire dish base. Top this first chile layer with two-thirds of the mixed shredded cheese, spreading it evenly to cover every section of chile. Arrange the remaining half of the chile sheets in a single flat layer over the cheese, pressing gently with your palm to create a level, even surface.
Step 2
step2:Layer Chiles and Cheese
3

Mix Egg Custard Base

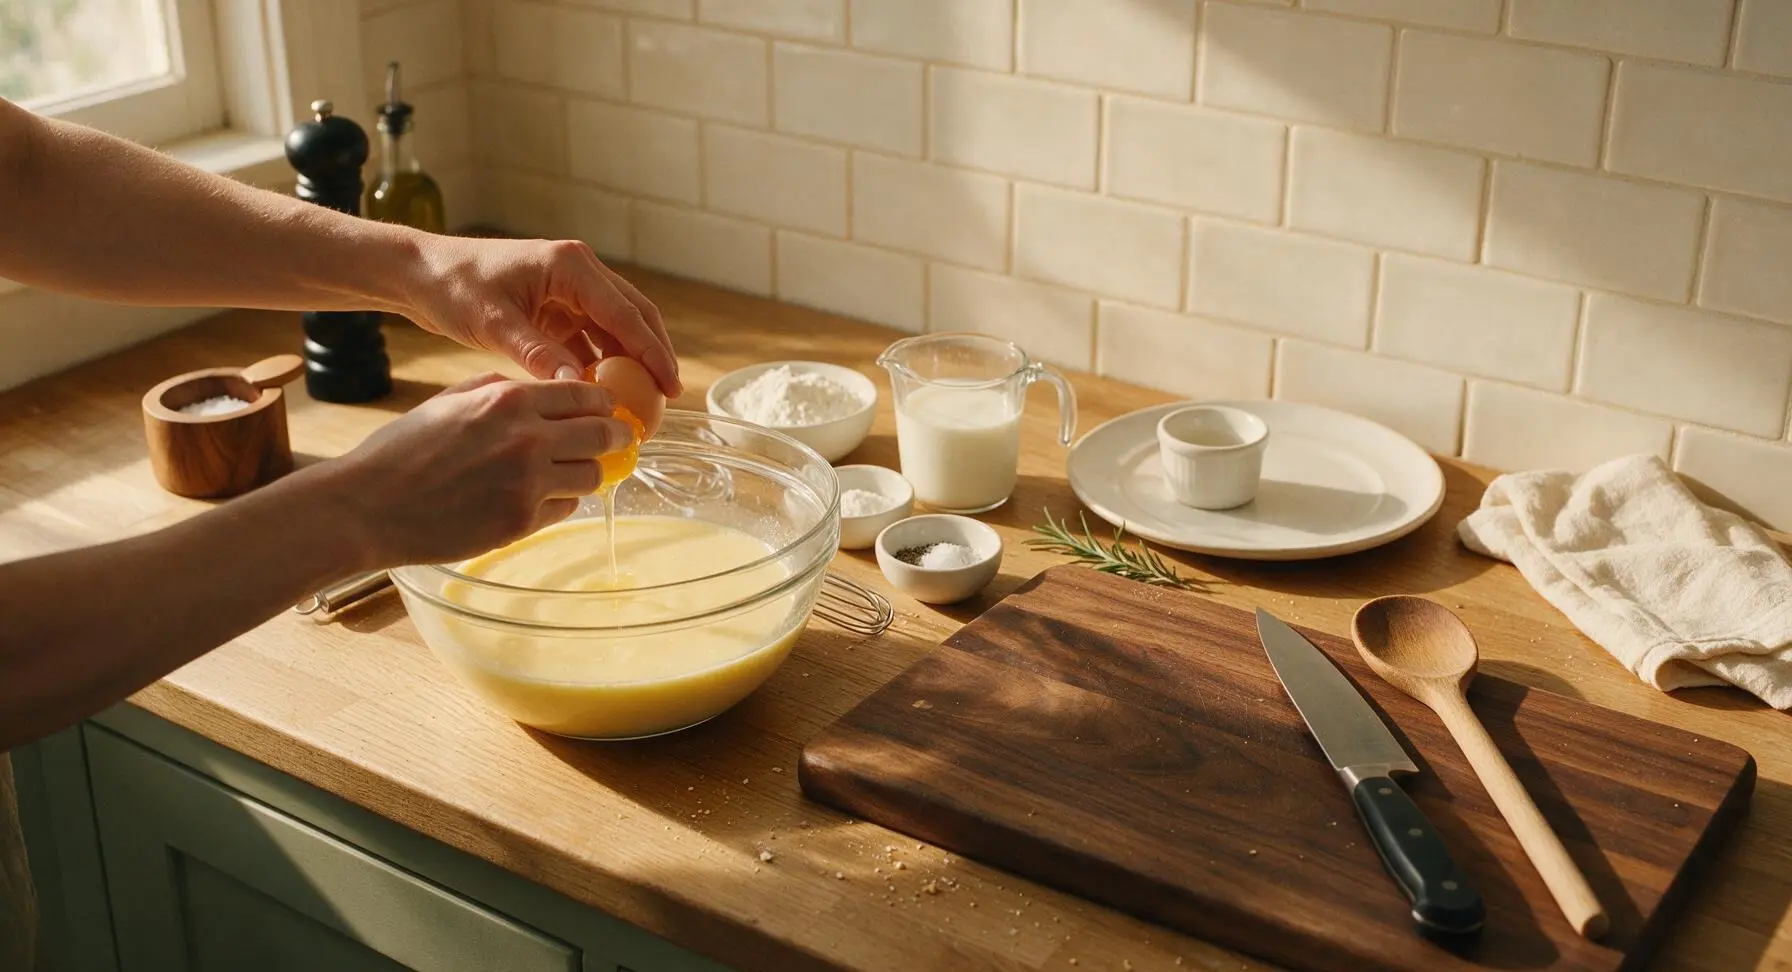
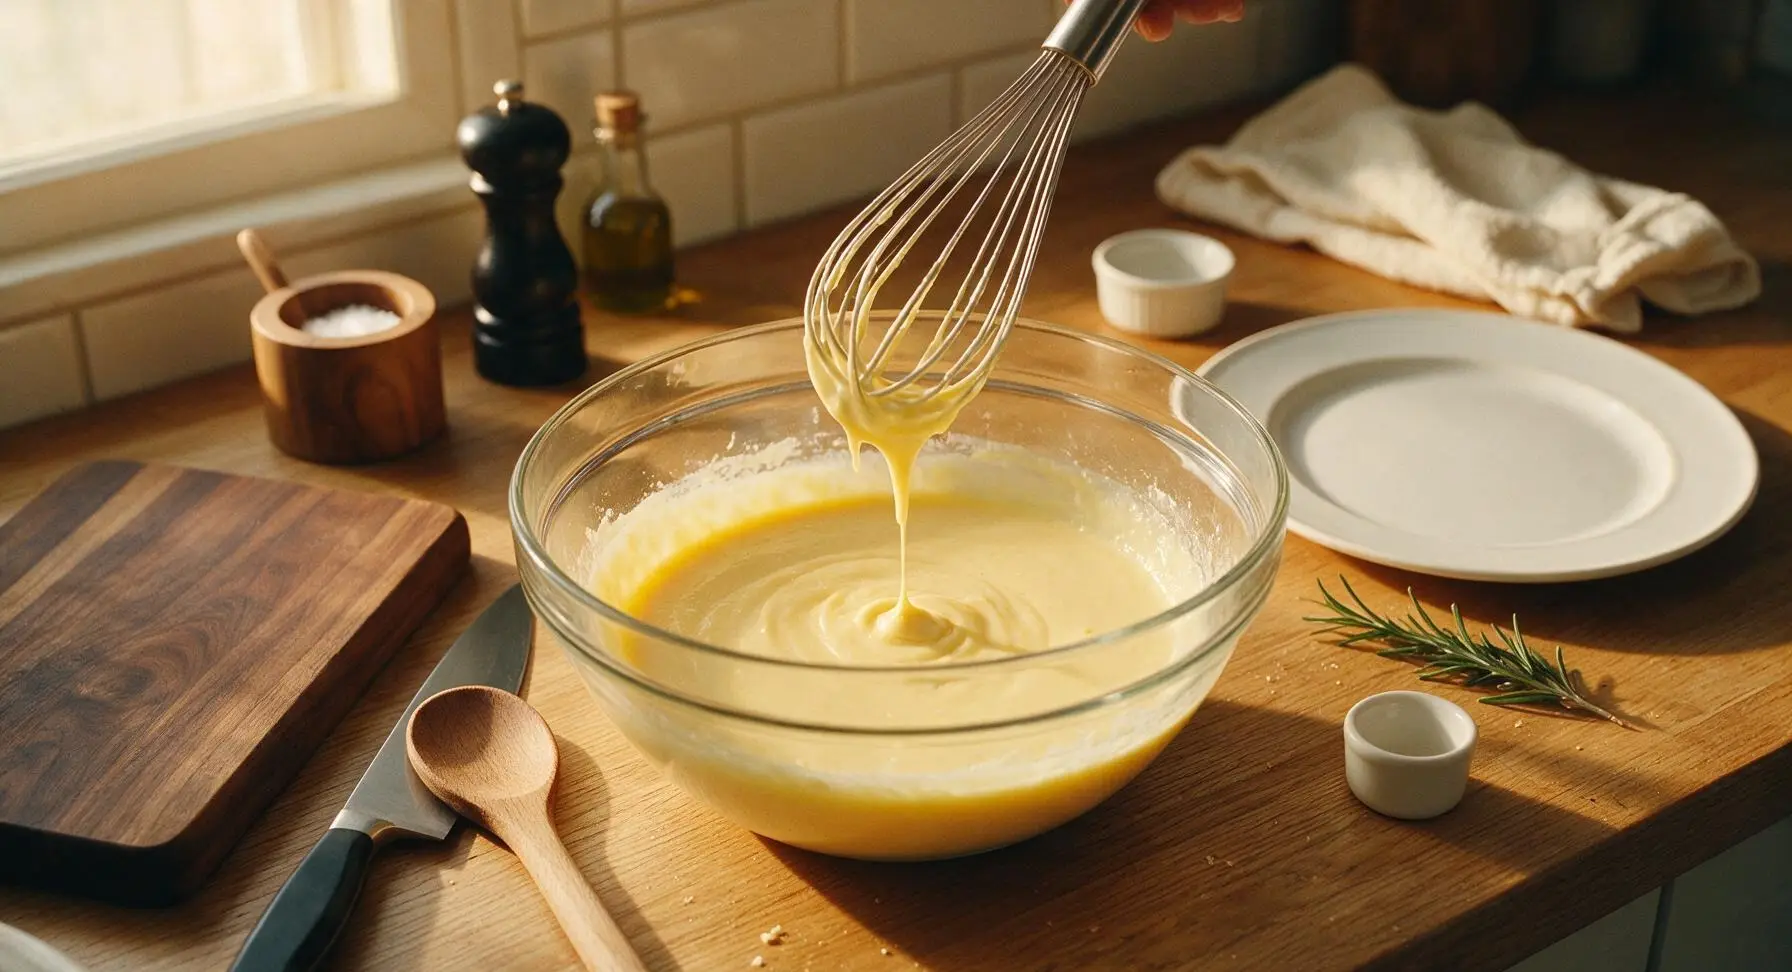
Crack all 6 large eggs into the 2L clear glass mixing bowl. Add the 1/2 cup whole milk, 1/4 cup all-purpose flour, 1/2 teaspoon baking powder, 1 teaspoon kosher salt, and 1/4 teaspoon ground black pepper to the bowl. Use the stainless steel whisk to beat the mixture vigorously for 60 seconds, until it is completely smooth with no visible lumps of flour, and a uniform pale light yellow color.
Step 3
step3:Mix Egg Custard Base
Step 3
step3:Mix Egg Custard Base
4

Pour Custard Over Layers

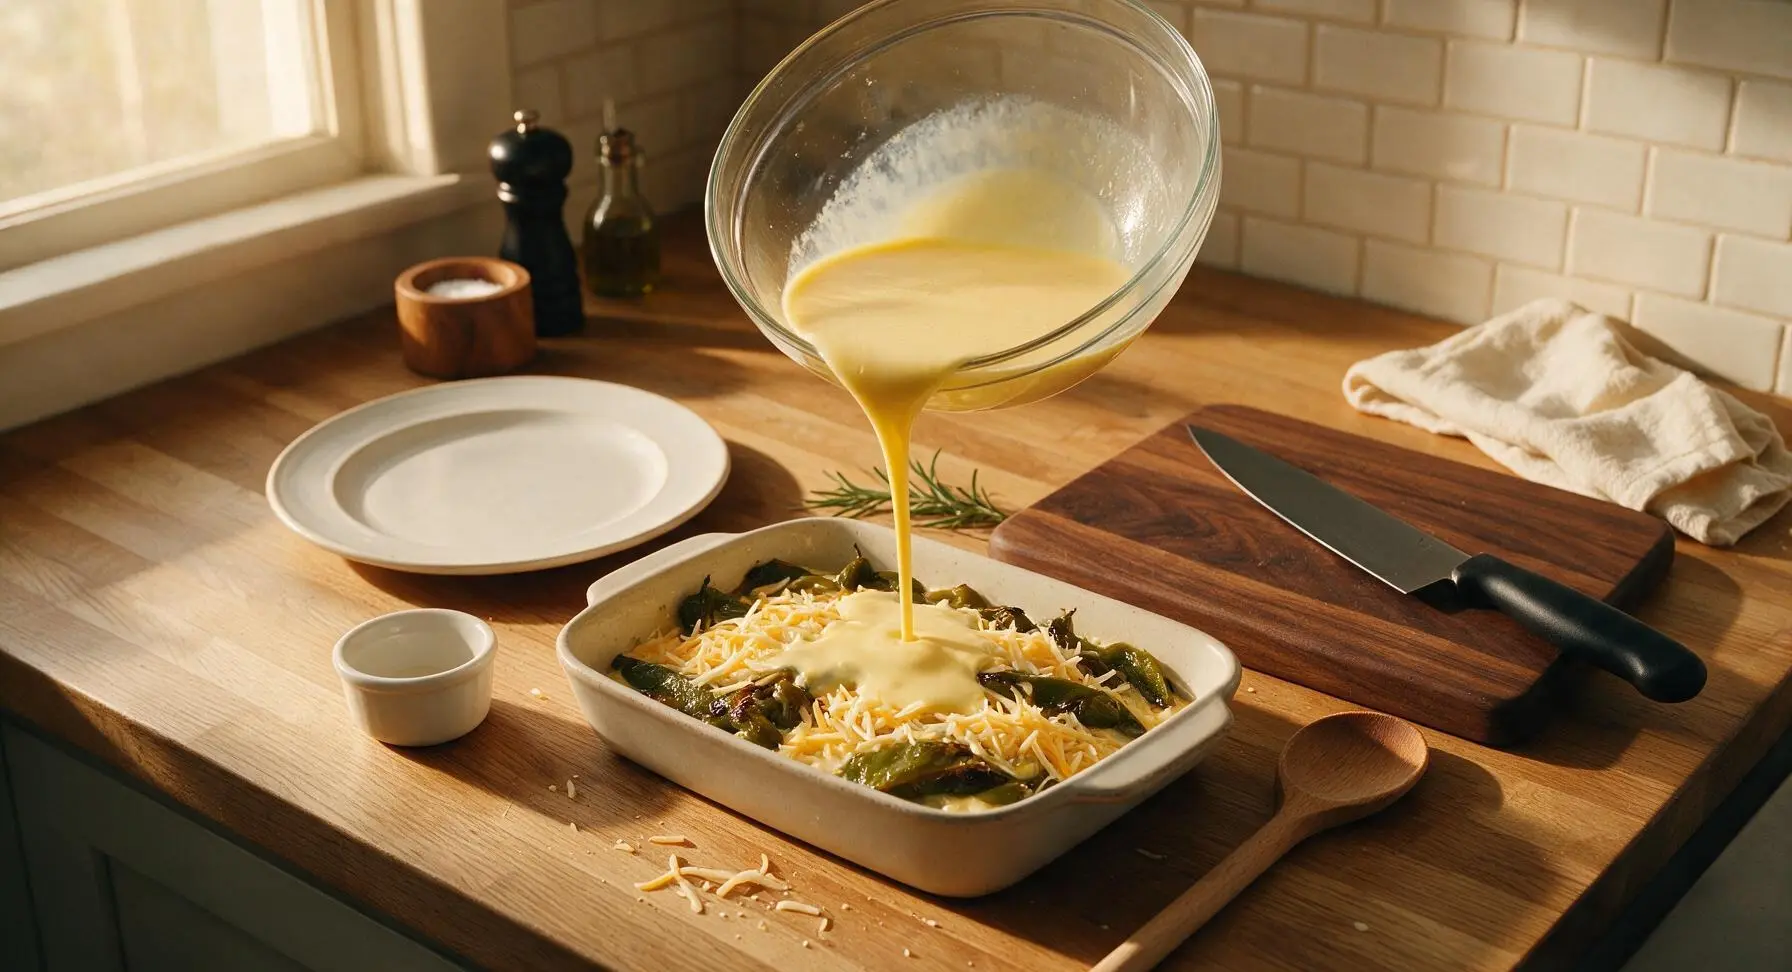
Slowly pour the entire smooth egg custard mixture evenly over the layered chiles and cheese in the baking dish. Gently jiggle the dish from side to side to help the custard seep down between all the layers, ensuring no dry pockets of cheese or chiles are left uncovered. Sprinkle the remaining one-third of the shredded cheese evenly across the top of the casserole.
Step 4
step4:Pour Custard Over Layers
5

Bake and Rest Casserole

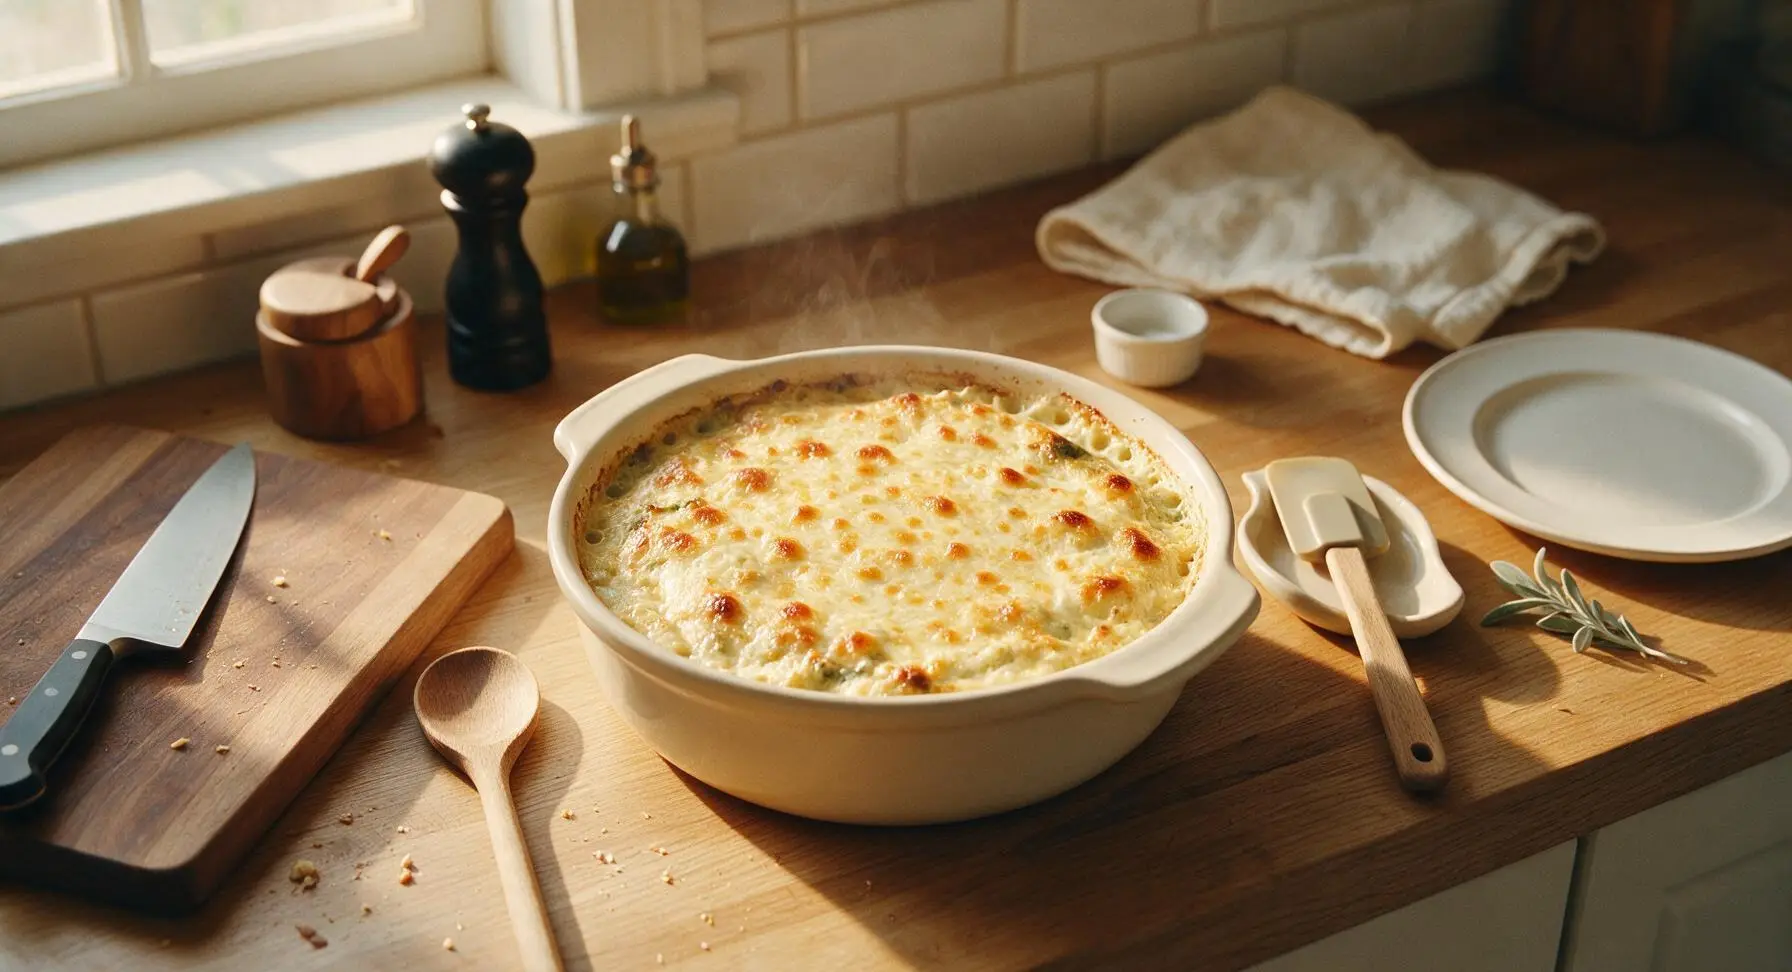
Carefully transfer the filled baking dish to the middle rack of the preheated 375°F (190°C) oven. Bake for 38 to 42 minutes, until the top is dotted with light golden brown spots, the edges are bubbling gently, and the center is fully set with no liquid jiggle when the dish is nudged. Remove the casserole from the oven and let it rest on the counter for 10 full minutes to allow the layers to set before slicing.
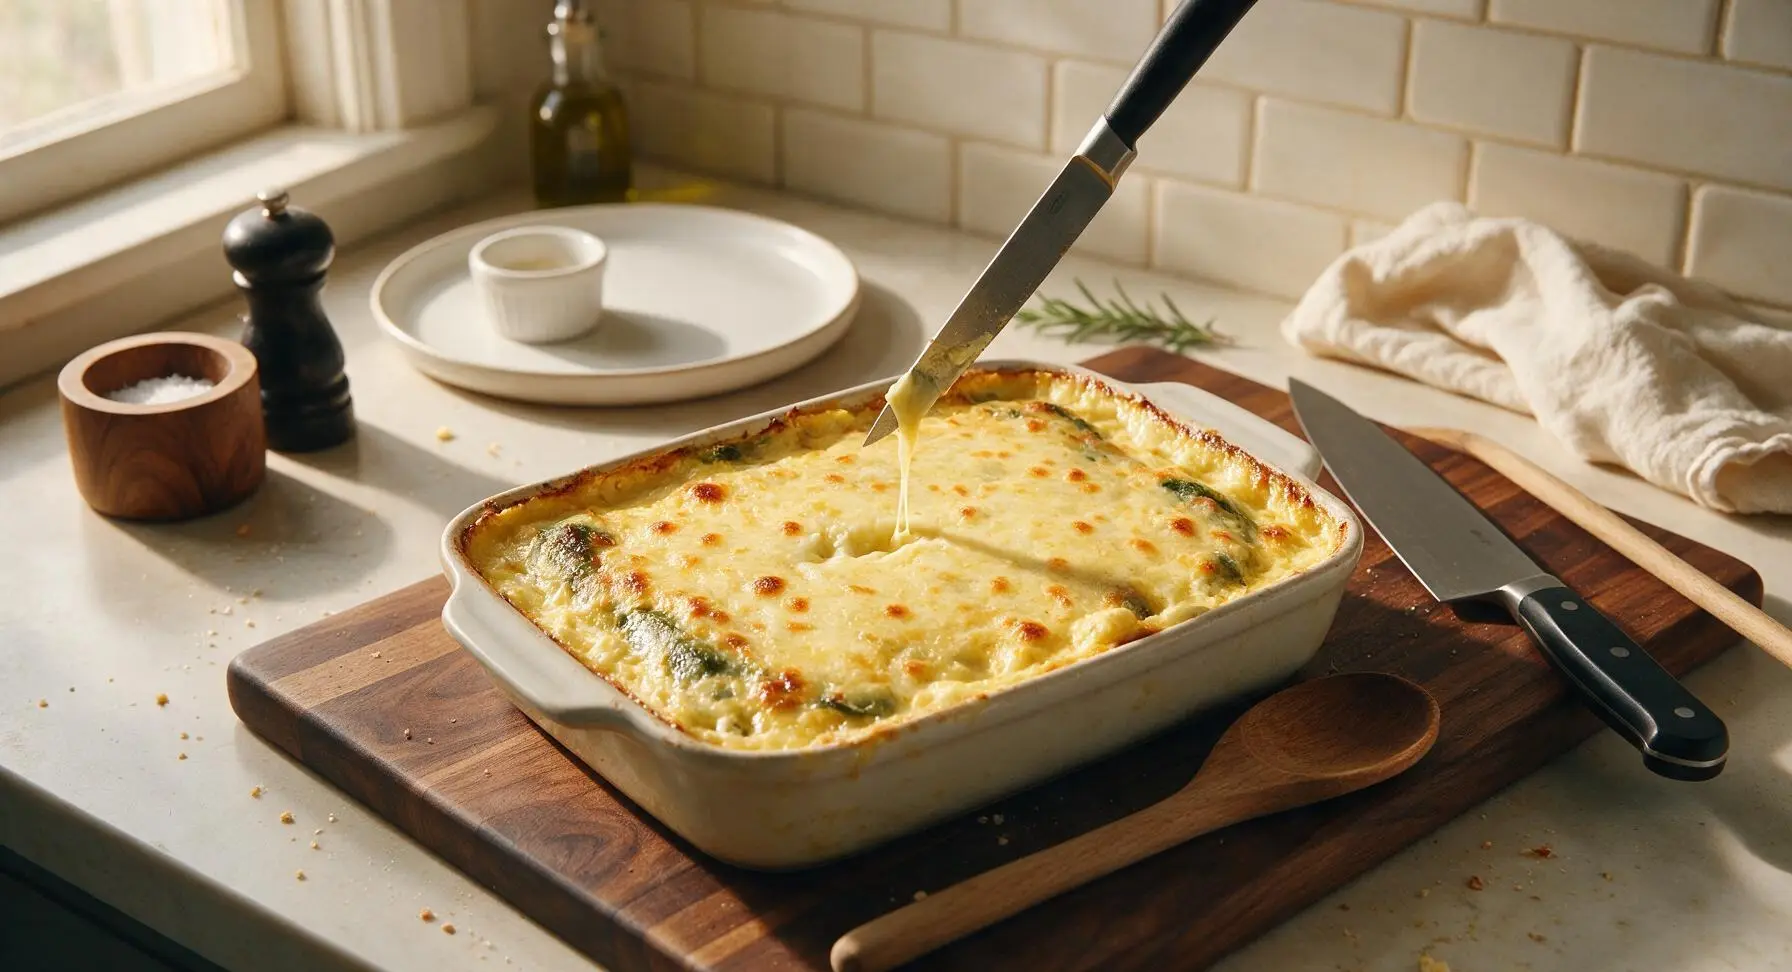
Step 5
step5:Bake and Rest Casserole
Step 5
step5:Bake and Rest Casserole
6

Plate and Garnish

After the 10-minute rest, cut the casserole into 6 equal square slices. Use the silicone spatula to lift one clean slice onto the off-white matte ceramic dinner plate. Drizzle 1 tablespoon of warm red enchilada sauce over the slice, add a small dollop of sour cream, and garnish with a few fresh cilantro leaves. Serve warm.
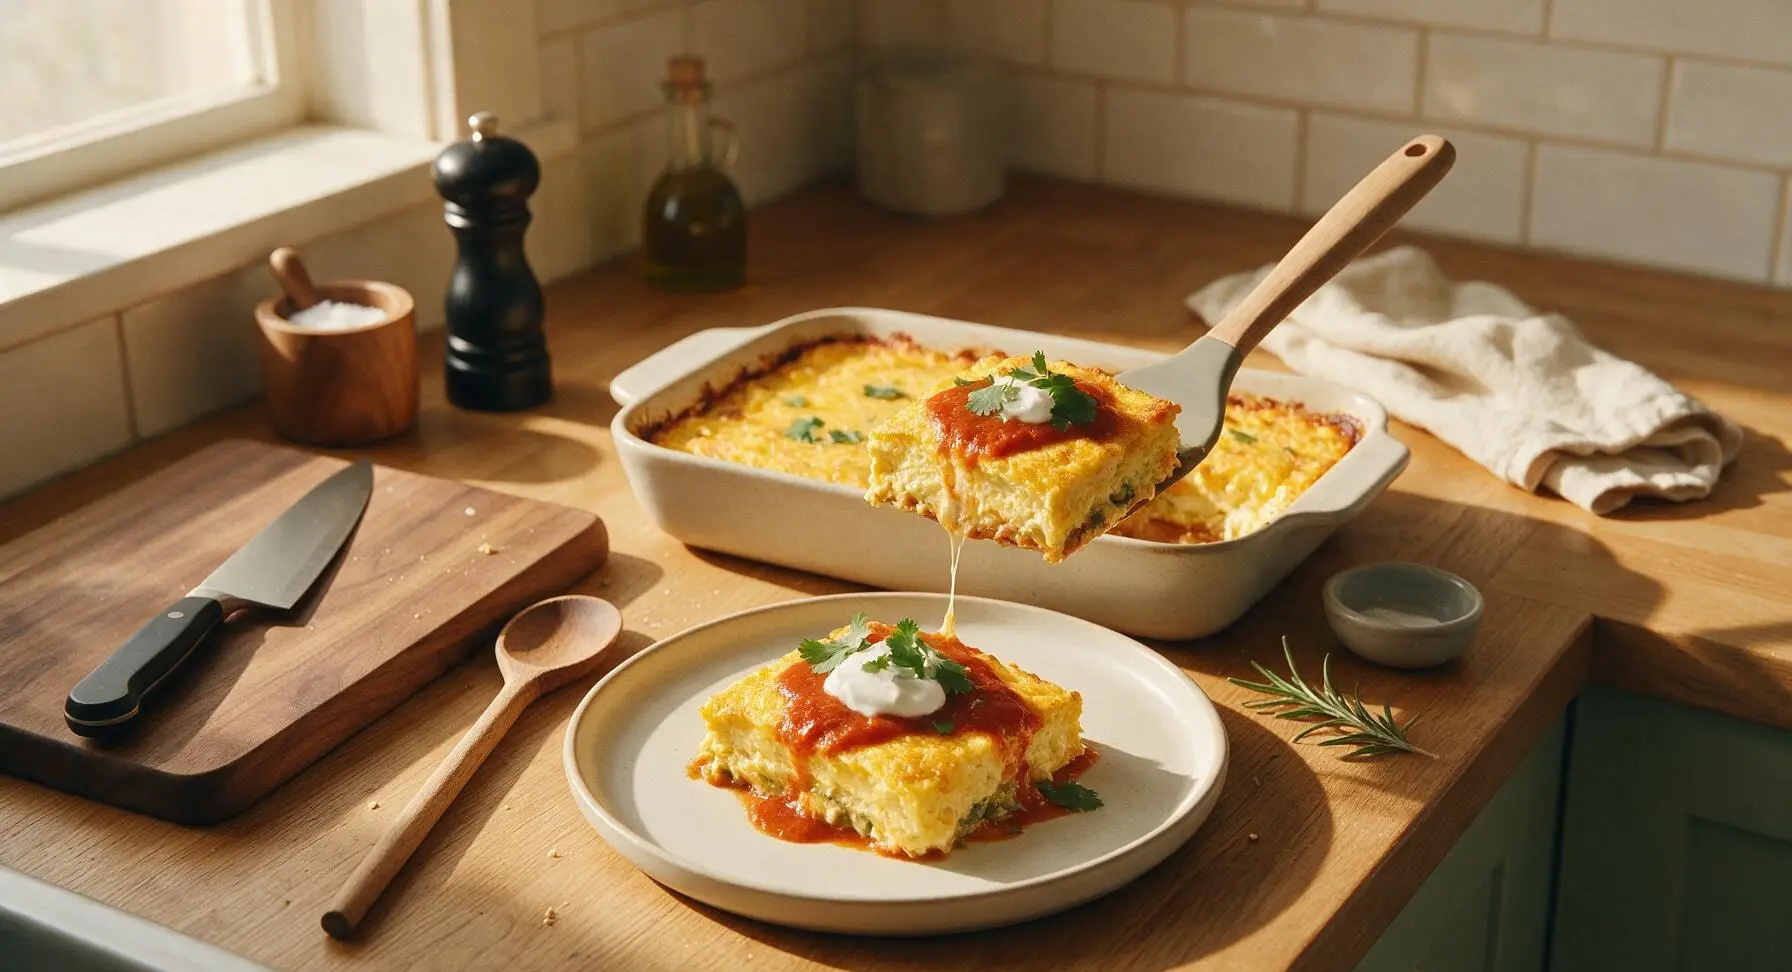
Step 6
step6:Plate and Garnish

Tips

1.Pat canned chiles completely dry before layering: excess can brine trapped on chile surfaces will seep into the egg custard during baking, creating a soggy, watery texture instead of a firm, sliceable casserole.
2.Wait the full 10-minute rest time after baking: the egg custard and melted cheese are very soft right out of the oven, and the resting period lets them set firmly so slices hold their neat shape instead of oozing apart when served.
3.For a more traditional smoky flavor, swap canned chiles for 6 fresh poblano peppers: char them under the broiler for 8 minutes until blackened all over, seal in a bowl to steam for 10 minutes, then peel off skins, remove seeds, and use as you would the canned chiles.


✨ You May Also Like

Main Course
🍜 United Kingdom

A showstopping classic of tender seared beef, savory mushroom duxelles, and crisp prosciutto wrapped in flaky golden puff pastry, baked to juicy perfection.

⏱️ 2 hours 1Main Course ★ 4.7
Main Course
🍜 India

Tender charred marinated chicken simmered in a rich, spiced creamy tomato sauce, this iconic Anglo-Indian curry pairs perfectly with basmati rice or warm naan.

⏱️ 50 minuteMain Course ★ 4.6
Main Course
🍜 Thailand

Classic tangy, sweet, and savory Thai stir-fried rice noodles with shrimp, tofu, and crunchy garnishes, balancing all five core Thai flavor profiles.

⏱️ 30 minuteMain Course ★ 4.5
Main Course
🍜 United Kingdom

Crispy golden beer-battered cod and fluffy double-fried chips, served with tangy tartar sauce and malt vinegar: the timeless, beloved British pub comfort classic.

⏱️ 45 minuteMain Course ★ 4.7
Main Course
🍜 Mexico

Smoky, chile-marinated pork tacos with caramelized pineapple, fresh cilantro, and lime: a beloved classic Mexican street food perfect for casual summer gatherings.

⏱️ 1 hour 45Main Course ★ 4.8
Main Course
🍜 United States

Crunchy Fritos corn chips layered with savory beef chili and melted cheddar, topped with cool, zesty fixings for a beloved, cozy Tex-Mex comfort food.

⏱️ 35 minuteMain Course ★ 4.8

chili relleno casserole:Frequently Asked Questions

1.Can I use fresh roasted green chiles instead of canned for this recipe? ▾
Absolutely! Fresh roasted Hatch or Anaheim chiles work beautifully if you have them—roast over a gas flame or under the broiler until blackened, steam 10 minutes in a sealed bag, then peel, seed, and press out all excess moisture before layering. Canned chiles are ideal for quick, low-fuss prep, but fresh adds a bright, extra smoky flavor you’ll love.
2.Why does my chili relleno casserole turn out soggy in the middle? ▾
Sogginess almost always traces back to excess moisture in your chiles! Be sure to drain canned chiles fully and pat them dry with paper towels before layering. Don’t overbake, either—pull the casserole out when the custard is just set (it jiggles slightly when you nudge the pan) and let it rest 5 minutes to firm up before slicing.
3.Can I assemble this casserole ahead of time to bake later? ▾
This is one of the best make-ahead Tex-Mex dishes out there! Layer your chiles and cheese in the baking dish, pour the whisked egg and milk custard over top, cover tightly, and refrigerate for up to 24 hours. When ready to bake, let it sit on the counter 15 minutes while the oven preheats, then add 5-10 minutes to the bake time to account for the cold pan.
4.What cheese swaps work if I don’t have Monterey Jack or sharp cheddar? ▾
Stick to well-melting, mild-to-medium strength cheeses to keep that classic creamy, gooey texture. Pepper Jack makes a zesty swap for Monterey Jack if you want extra heat, and Colby, mild cheddar, or stretchy Oaxaca cheese work great in place of sharp cheddar. Skip crumbly cheeses like feta as your main layer, since they won’t melt into that smooth, cohesive texture.
5.Is this casserole spicy, and how do I adjust the heat level? ▾
The base recipe made with standard canned mild roasted green chiles is very approachable, with barely any heat—great for kids and spice-averse eaters. To turn up the heat, swap in Pepper Jack for some of the Monterey Jack, add a few diced pickled jalapeños between layers, or stir ¼ teaspoon cayenne into the egg custard. For zero heat, double-check your chiles are labeled “mild.”
6.Can I add meat or extra mix-ins to make this casserole more filling? ▾
Definitely! This flexible base works with tons of add-ins to make it a full, hearty meal. Layer in fully cooked, well-drained crumbled chorizo, ground beef, or shredded chicken for extra protein, or add patted-dry black beans, sautéed corn, or diced bell pepper for more veggie power. Always drain or pat mix-ins dry to keep the custard from turning watery.

Comments (16)

1 week ago

Brought this to my neighborhood block party potluck last weekend and people were begging for the recipe before I even set the dish down! I added a little extra shredded pepper jack on top for a kick, 10/10 will make again.

5 days ago

Wait the extra pepper jack sounds chef’s kiss! Did you use whole green chiles or the diced ones? I’m making this for my book club next week!

3 days ago

So glad it was a potluck hit! Both whole and diced chiles work great — whole ones give a more classic stuffed pepper texture, diced is extra easy for no-fuss prep. Enjoy your book club!

2 days ago

Meal prepped this on Sunday for weekday lunches and it held up perfectly all week! Super filling, not too heavy, way easier than making individual rellenos which I always mess up. Only thing is I wish I’d added a side of sour cream to pack with it, next time for sure.

yesterday

Love this for meal prep! It reheats like a dream in the microwave, right? A dollop of sour cream or a scoop of pico de gallo on top when you reheat makes it feel extra fresh. So glad it worked for your week!

3 days ago

This was solid! I used fire roasted chiles instead of regular for extra smoky flavor and tossed in a handful of corn, paired it with margaritas for our Friday night dinner. Only reason it’s not 5 stars is I wish it had a little more inherent heat, but that’s an easy fix with extra jalapeños next time. Perfect easy meal, will definitely rotate this into our regular lineup.

2 weeks ago

My granddaughter is vegetarian so I was looking for a meatless main that the whole family would eat for our Sunday dinner, and this hit the spot! Even my meat-and-potatoes husband went back for a second helping. So simple to throw together too, no weird ingredients.

1 week ago

That’s so sweet! Did you use the traditional Monterey Jack or did you swap for a different cheese? I’m making this for my vegan cousin and wondering if a dairy free jack would melt okay.

5 days ago

This makes me so happy to hear! Dairy-free pepper jack or jack style cheeses melt really well in this recipe — just make sure you shred it fresh if you can, pre-shredded dairy free can sometimes have a weird texture. Enjoy your family dinner!

30 minutes ago

Wait why have I been spending hours frying individual chili rellenos when this casserole exists? Tastes exactly like the restaurant version I order every time we go out for Mexican, minus all the mess and oil. Game. Changer.

5 minutes ago

Right?! I made this last week and I’m already craving it again. I topped mine with a little cilantro and lime juice right out of the oven and it was *chef’s kiss*

yesterday

Super new to cooking and I was so nervous to make this for my boyfriend’s birthday dinner, but it came out perfect! The steps were so straightforward, I didn’t mess anything up even when I forgot to preheat the oven for 5 minutes. He said it’s better than his mom’s, don’t tell her lol.

2 hours ago

Yay, that’s such a win! Forgetting to preheat for a few minutes happens to all of us, no stress. We won’t tell his mom — your secret’s safe with us! 😊

5 days ago

Made this before our early morning day hike last weekend, cut it into squares, wrapped them in foil, and they were the perfect post-hike snack. Hearty, cheesy, not messy to eat on the trail. 10/10, will be a staple for our outdoor trips from now on.

3 days ago

So happy this recipe is naturally gluten free! I have celiac and I’m always hunting for easy weeknight meals that don’t require a ton of fancy GF substitutes. I served it with a side of cilantro lime rice and it was a perfect dinner.

2 days ago

Wait do you use a specific brand of canned chiles? I’ve accidentally bought ones with hidden gluten before so I’m always paranoid!

yesterday

Great question! Most canned whole green chiles are gluten free, but I always recommend double checking the label if you’re highly sensitive — the ones I use just have chiles, salt, and citric acid, no hidden additives. So glad you enjoyed the recipe!

1 week ago

Made this for my son’s soccer team potluck after their big win last weekend, and every single parent asked for the recipe. I added a layer of crumbled chorizo in the middle because my boys love extra protein, and it was chef’s kiss.

5 days ago

The chorizo addition sounds incredible! Spicy or mild? I want to try that for my partner’s birthday dinner next week, he’s obsessed with chorizo.

2 hours ago

Made this at 10pm last night when I had a random craving for Mexican food, and it came together so fast I was eating before my show even came back from commercial break. Cheesy, perfectly savory, exactly what I needed. Even better cold straight from the fridge for breakfast this morning, don’t judge me.

2 weeks ago

This recipe is so budget friendly! I already had most of the ingredients in my pantry/fridge, only had to grab the chiles and cheese from the store. Fed my family of 5 for under $10 total, which is unheard of these days. Tasted way fancier than the cost would suggest.

1 week ago

Wait that’s such a good point! I’ve been making way too many expensive meals lately, this is going on next week’s menu for sure. Do you think it freezes well?

5 days ago

Love that it’s budget friendly — good food doesn’t have to break the bank! This freezes really well for up to 3 months, just let it cool completely, wrap tightly, and reheat in the oven when you’re ready to eat. Perfect for stocking the freezer!

just now

I don’t even have a working oven right now so I baked this in my countertop convection oven and it turned out perfect! Got that nice cheesy bubbly top just like the recipe says, no issues at all. Cook time was almost exactly 40 minutes just like listed, no adjustments needed.

2 days ago

Took this up a notch by adding a diced jalapeño and a sprinkle of tajin on top before baking, and wow — perfect amount of heat! I was worried it would be too bland since it’s a casserole, but it had so much flavor even without the extra stuff I added. Will make again.

yesterday

The tajin addition is genius! I love the little zing of lime and mild heat it adds. I’ll have to try that next time I make it for my family — thanks for the great tip!

3 days ago

Made this in my tiny dorm kitchen with just a toaster oven and minimal supplies, and it was so easy! My roommates all gathered around when they smelled it cooking, and we ate the whole pan in one sitting. Way better than the dining hall food, that’s for sure.

yesterday

Wait this is perfect! I’ve been looking for recipes I can make in my dorm without a full kitchen, adding this to my list for next week. Did you use the canned chiles that are already peeled?

1 week ago

Who says casseroles are only for dinner? I made this for a weekend brunch with friends, served it with avocado slices, scrambled eggs, and mimosas, and it was such a hit. Everyone thought I spent way more time on it than I did, which is my favorite kind of recipe.

yesterday

I usually hate leftovers because they get soggy and taste nothing like the fresh meal, but this casserole somehow tastes even better the next day? The flavors meld together so much overnight, I was shocked. I’m intentionally making a double batch from now on so I have leftovers.

2 hours ago

RIGHT?! I thought I was the only one! I made a double batch last week and ate it for breakfast, lunch, and dinner for three days straight, no regrets.

30 minutes ago

I totally agree — the flavors get better as they sit! It’s one of my go-to recipes to make ahead for busy weeks because I know the leftovers will be just as delicious, if not better, than the first night. So glad you loved it!



