
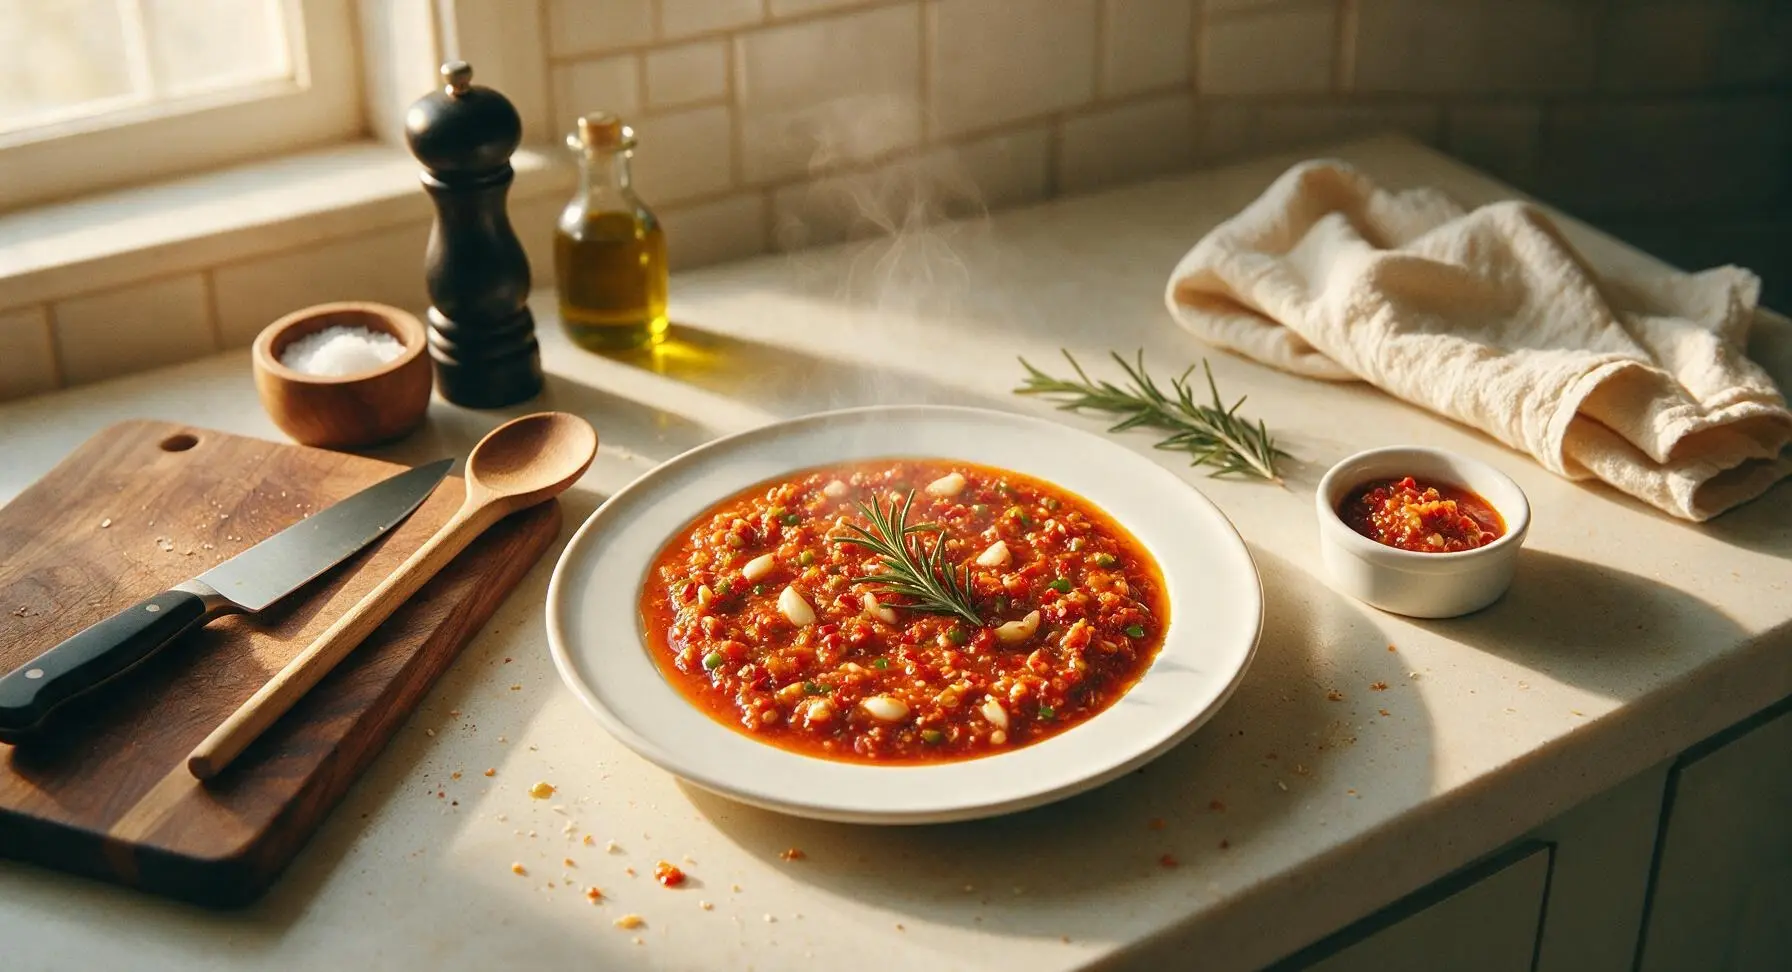
chilli garlic sauce

title 1
chilli garlic sauce
⏱️ cook time 12 minutes
🍽️ servings 12
⚡ Difficulty easy

intro

Fiery, garlicky, umami-packed homemade chilli garlic sauce, perfect for glazing grilled meats, dipping dumplings, or tossing noodles. Balances bright heat, tang, and savory depth.

Ingredients
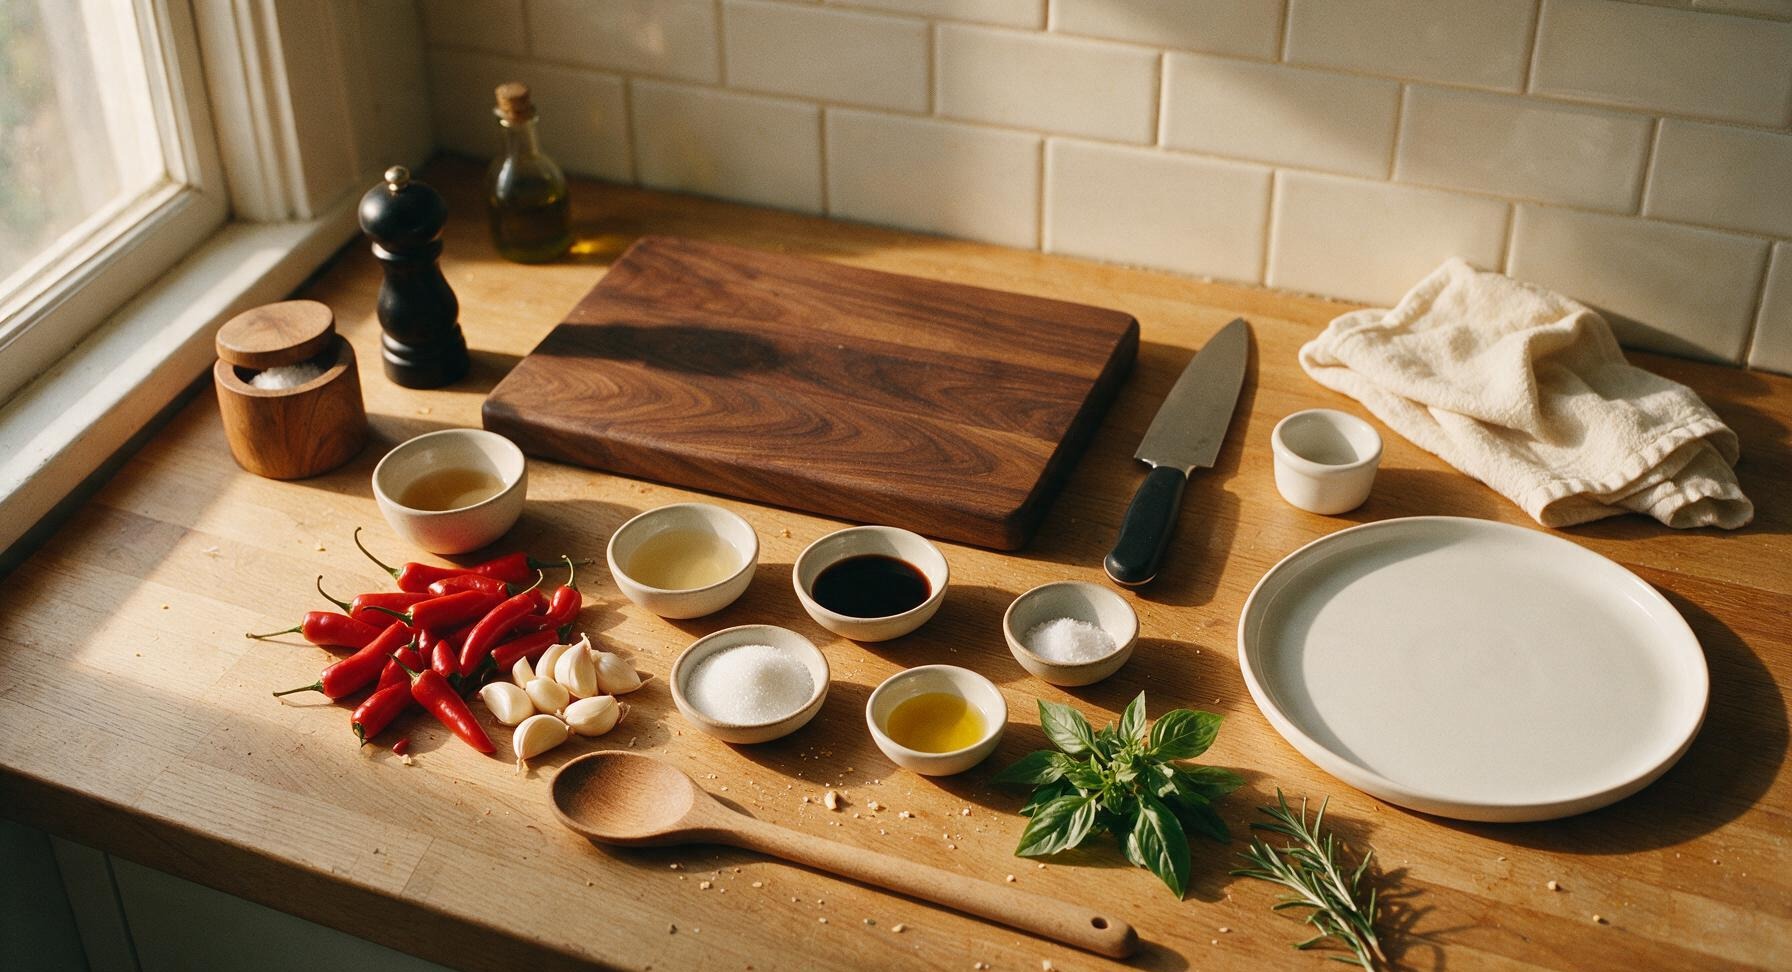
Fresh red Fresno chilis 225g (8oz)
Garlic cloves 60g (≈12 cloves, 1 small head)
Unseasoned rice vinegar 80ml (1/3 cup)
Light soy sauce 30ml (2 tbsp)
Granulated white sugar 25g (2 tbsp)
Fine sea salt 5g (1 tsp)
Neutral canola oil 15ml (1 tbsp)
Toasted sesame oil 5ml (1 tsp)
Fresh Thai basil (for garnish) 1 small bunch

Steps

1

Prep chilis and garlic

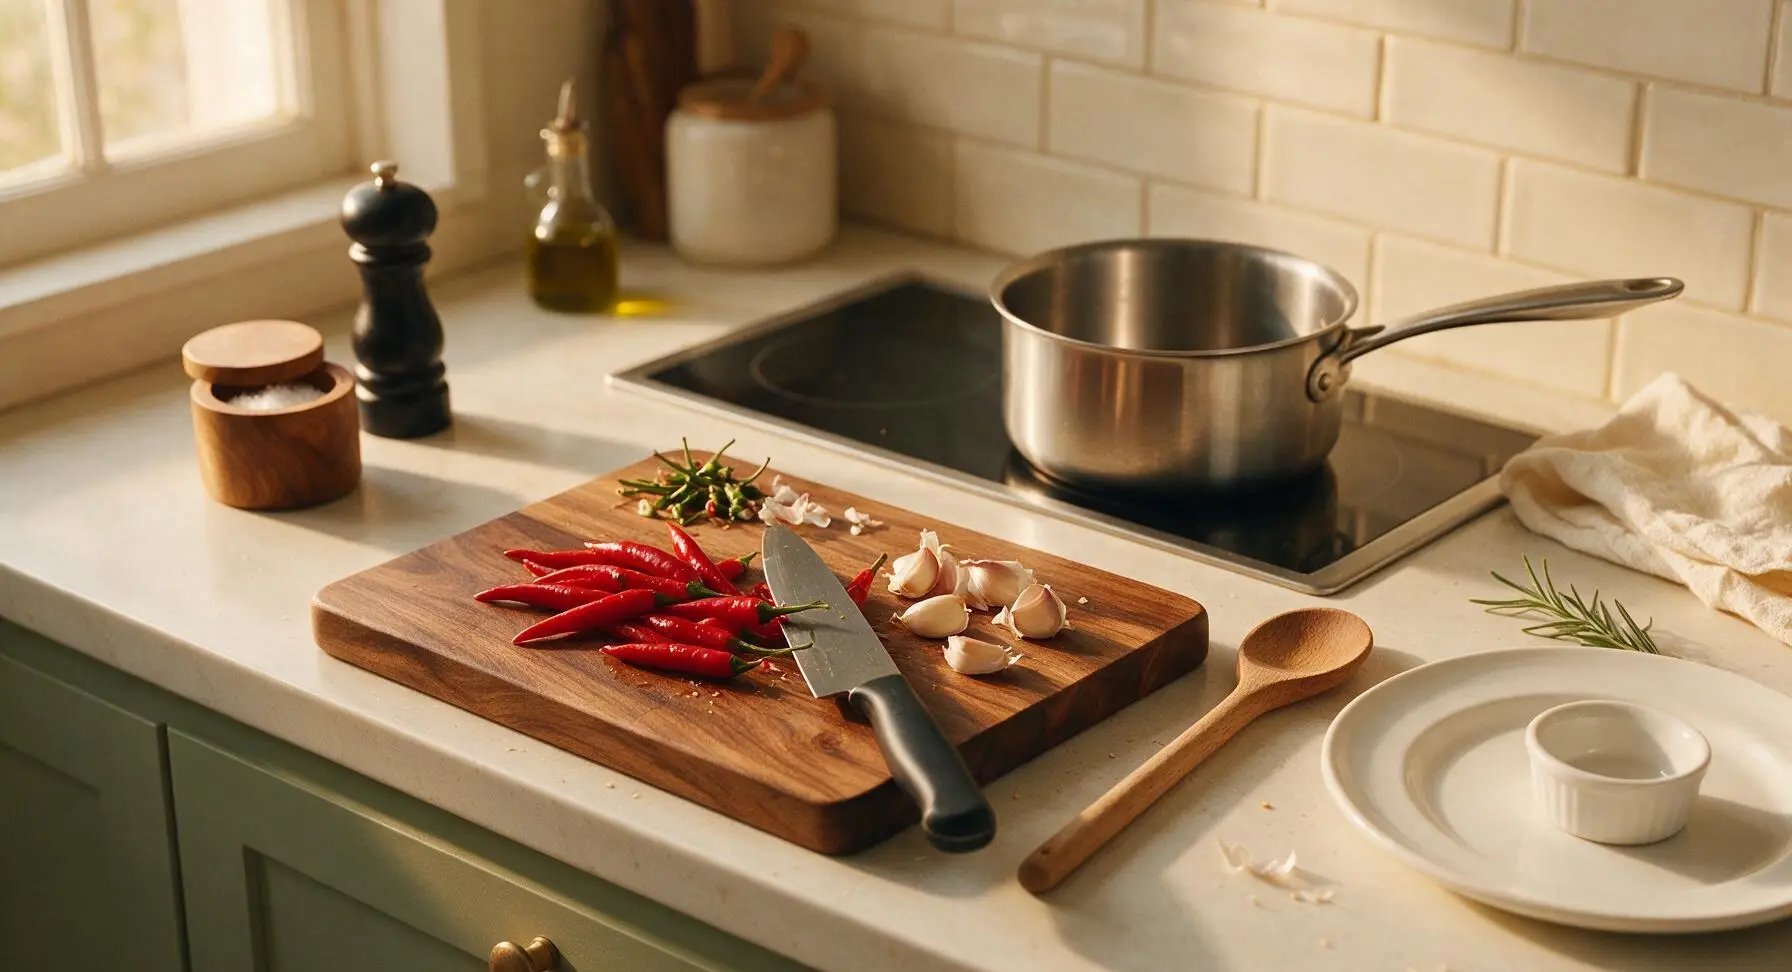
Rinse fresh Fresno chilis under cool running water, pat dry with the corner of the indigo kitchen towel. Set chilis on the acacia cutting board, use the chef's knife to trim off and discard green stems. For medium heat, leave seeds and inner membranes intact; for mild sauce, scrape out seeds with the knife tip. Peel all garlic cloves, discarding papery skins, then roughly chop chilis and garlic into 1/4-inch uneven pieces—no fine mince required, as the mixture will be pulsed next.
Step 1
step1:Prep chilis and garlic
2

Blend coarse chili base

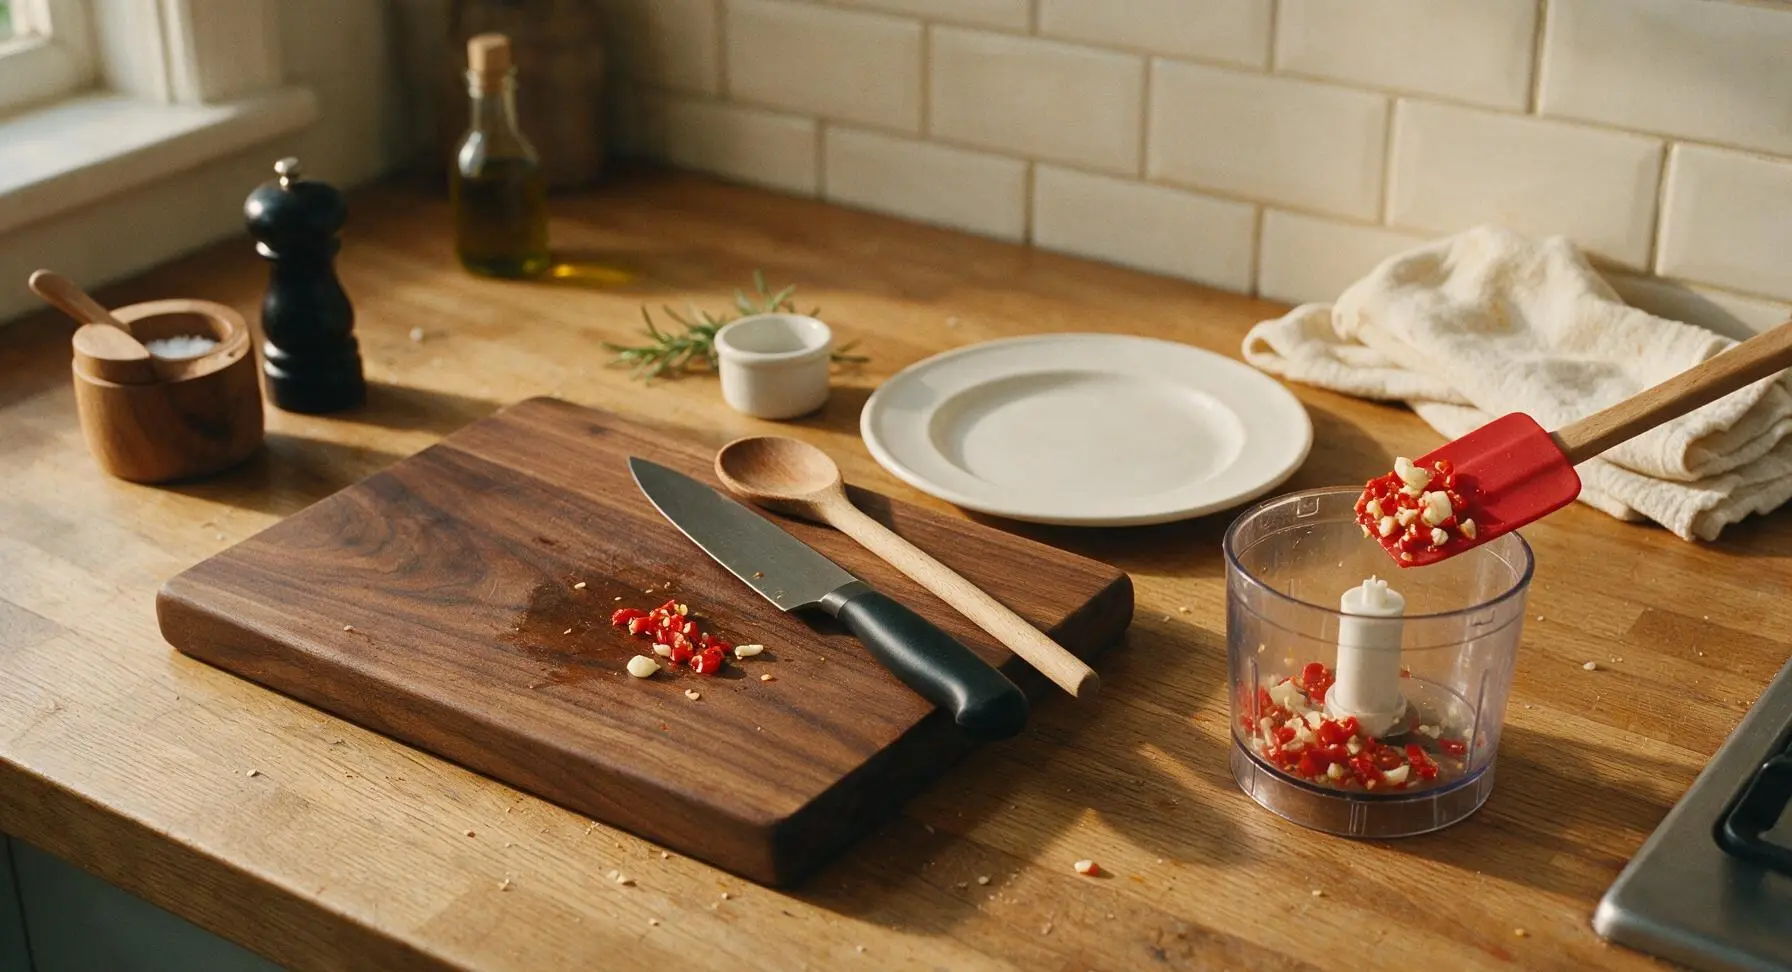
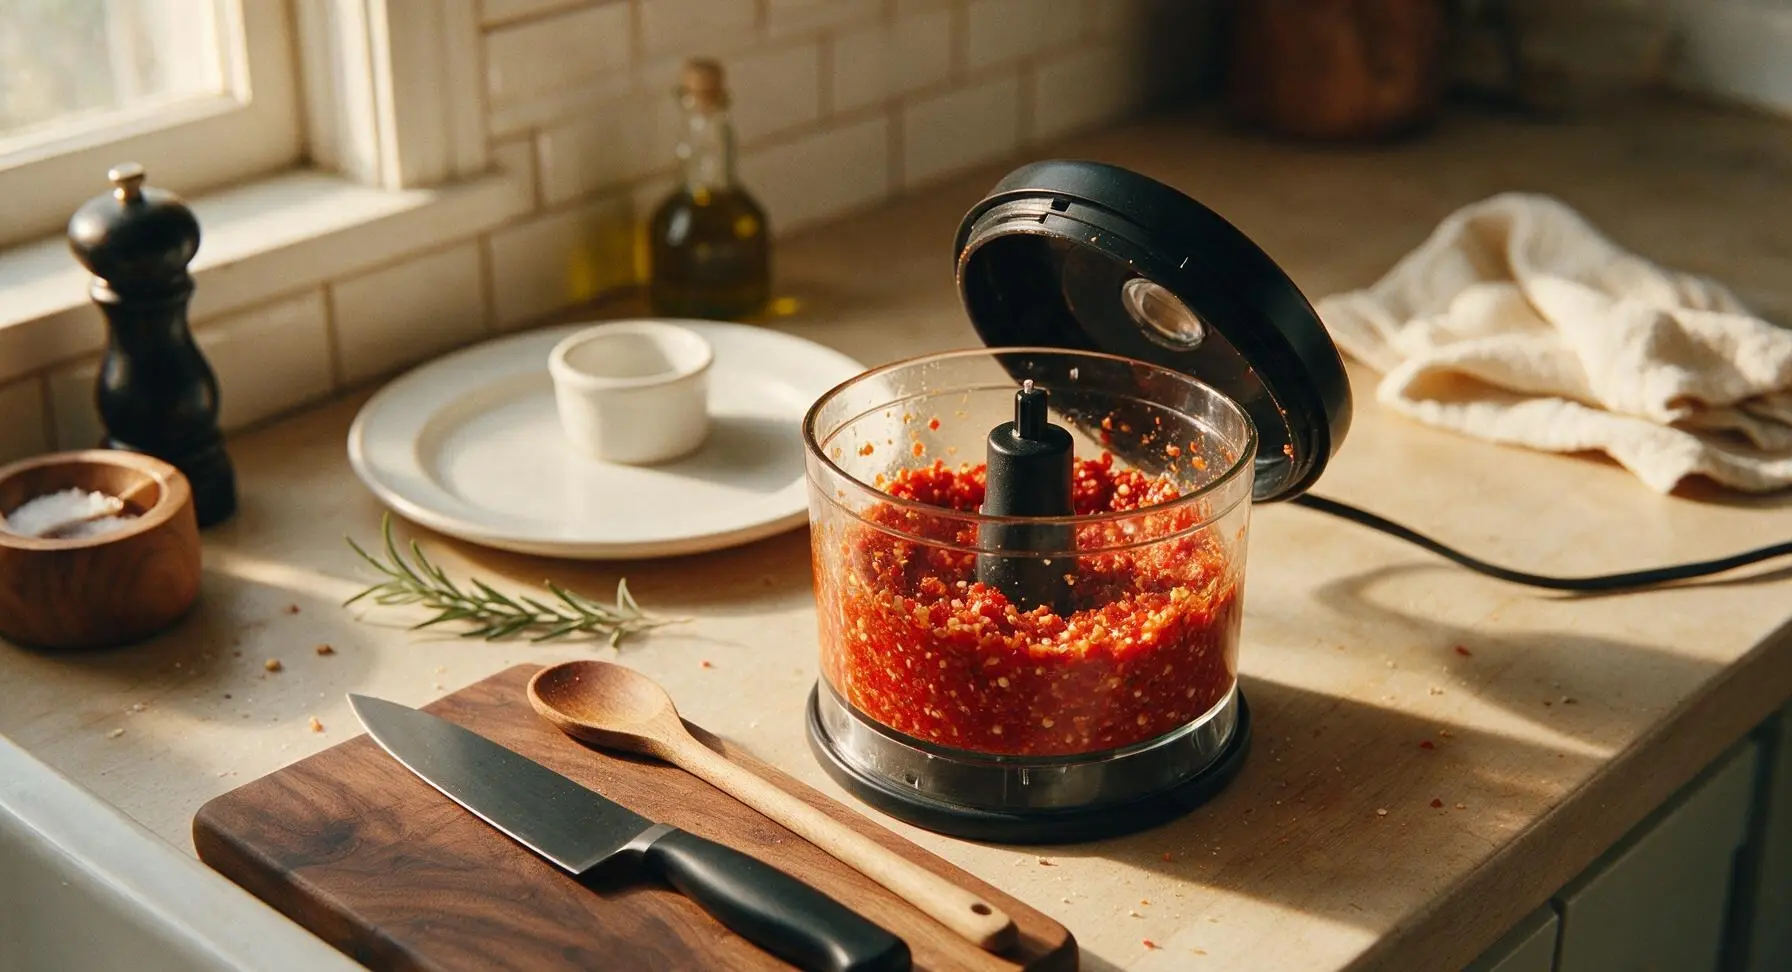
Transfer all chopped chilis and garlic from the cutting board to the clear bowl of the mini food processor. Pulse 5 to 7 times in 1-second bursts, stopping to scrape down the sides of the bowl with the red silicone spatula as needed, until the mixture forms a coarse, crumbly paste with visible tiny flecks of chili skin and garlic. Do not blend to a completely smooth puree, as the rustic texture is a key feature of the sauce.
Step 2
step2:Blend coarse chili base
Step 2
step2:Blend coarse chili base
3

Warm cooking oil

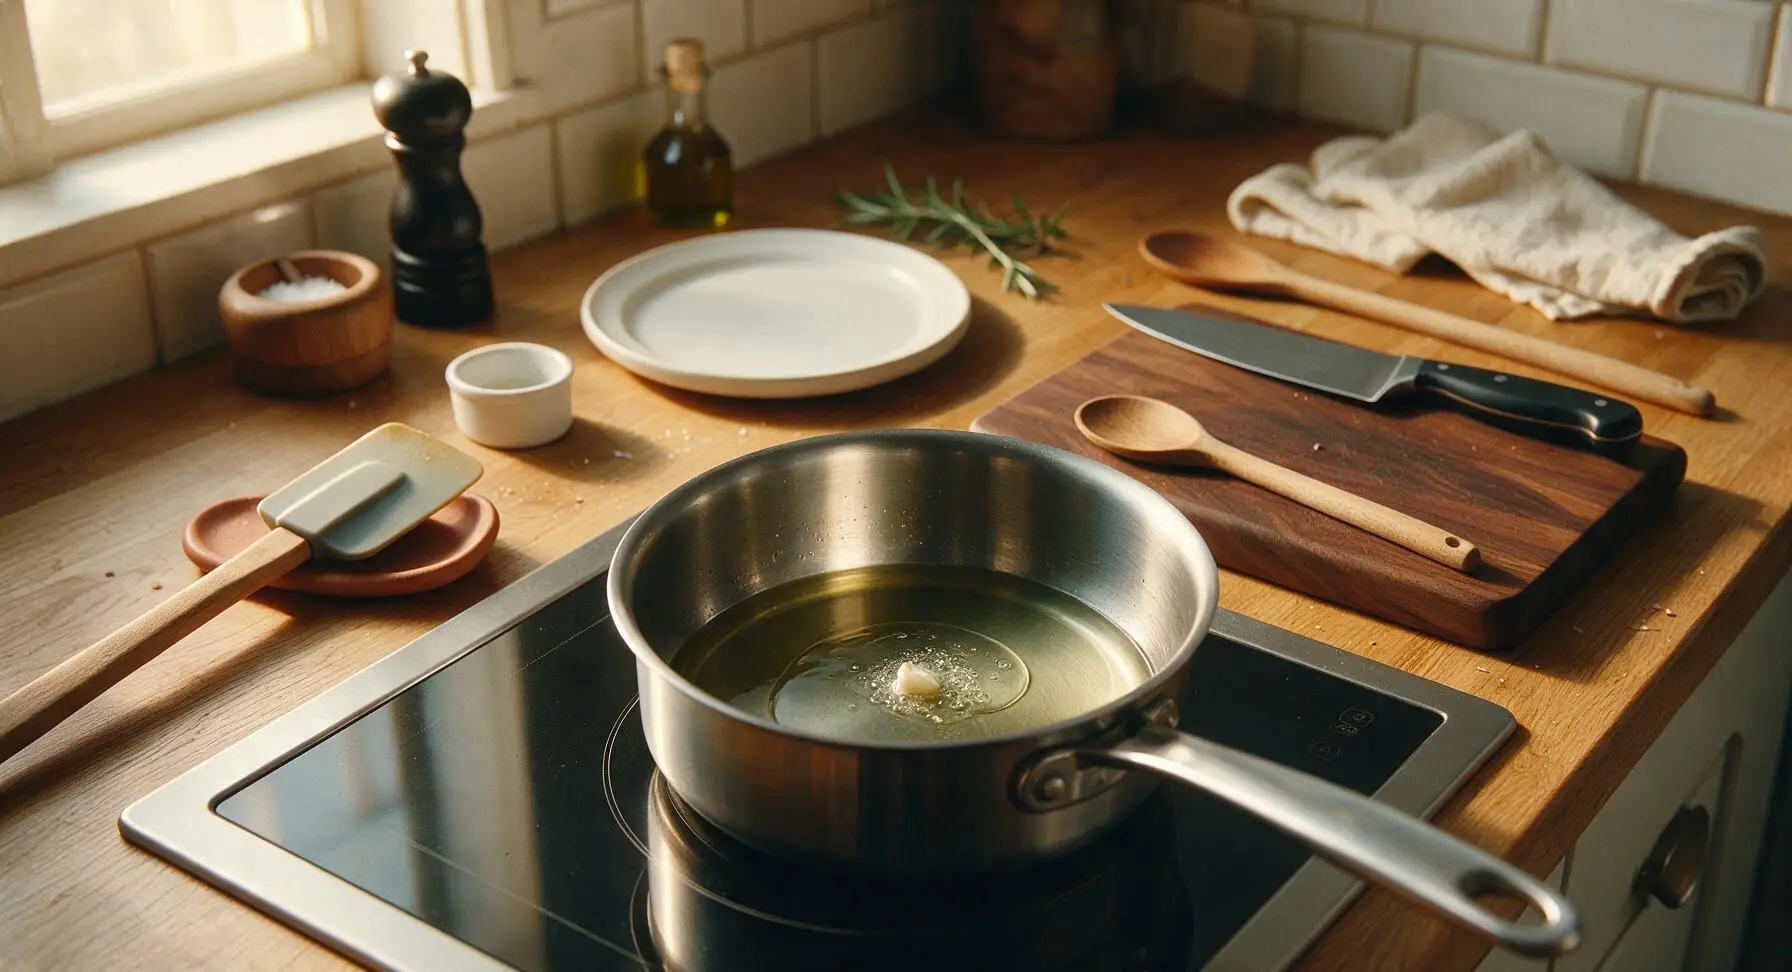
Turn the induction cooktop to medium-low heat, add 1 tablespoon neutral canola oil to the stainless steel saucepan. Heat for 1 minute until the oil shimmers gently but does not smoke. Test temperature by dropping one small piece of chopped garlic into the oil: it should produce soft, steady sizzles immediately, not brown or pop violently, which indicates the oil is too hot.
Step 3
step3:Warm cooking oil
4

Sauté aromatic paste

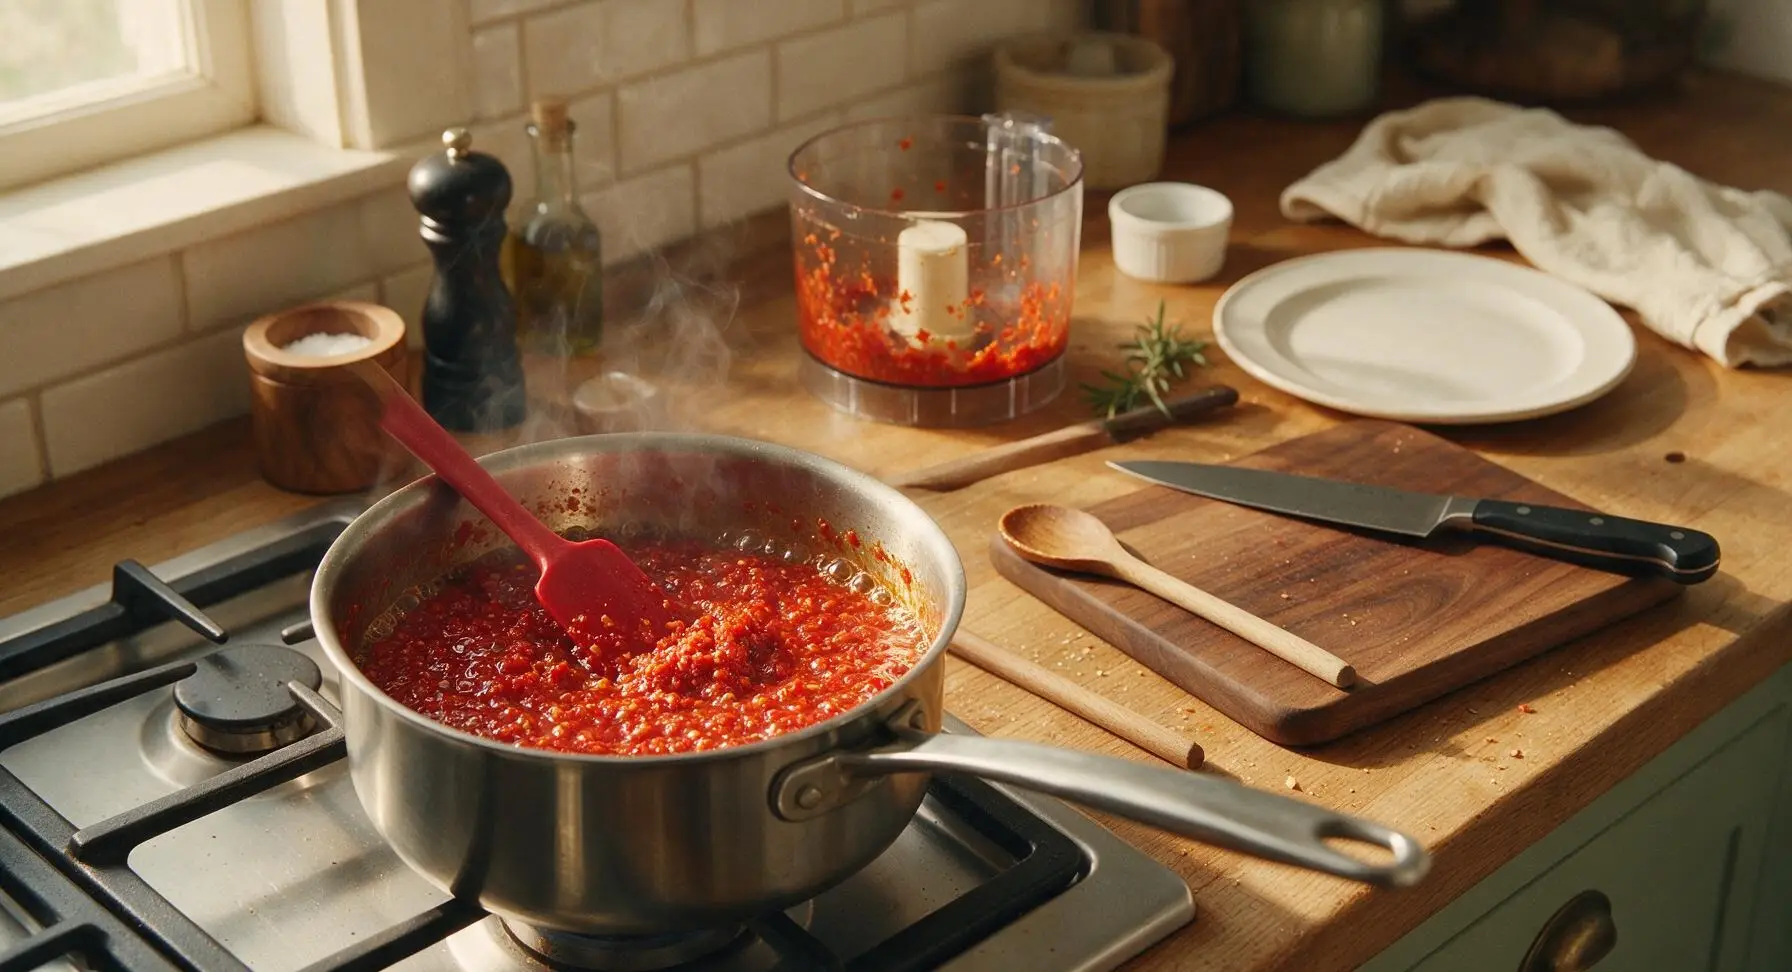
Carefully scrape all of the coarse chili-garlic paste from the food processor into the warm oil in the saucepan. Stir constantly with the silicone spatula for 2 minutes over medium-low heat, until the garlic releases a bright, fragrant aroma and softens slightly. Watch closely to ensure the garlic does not turn golden brown, as burnt garlic will add a harsh, bitter flavor to the finished sauce.
Step 4
step4:Sauté aromatic paste
5

Add liquid seasonings

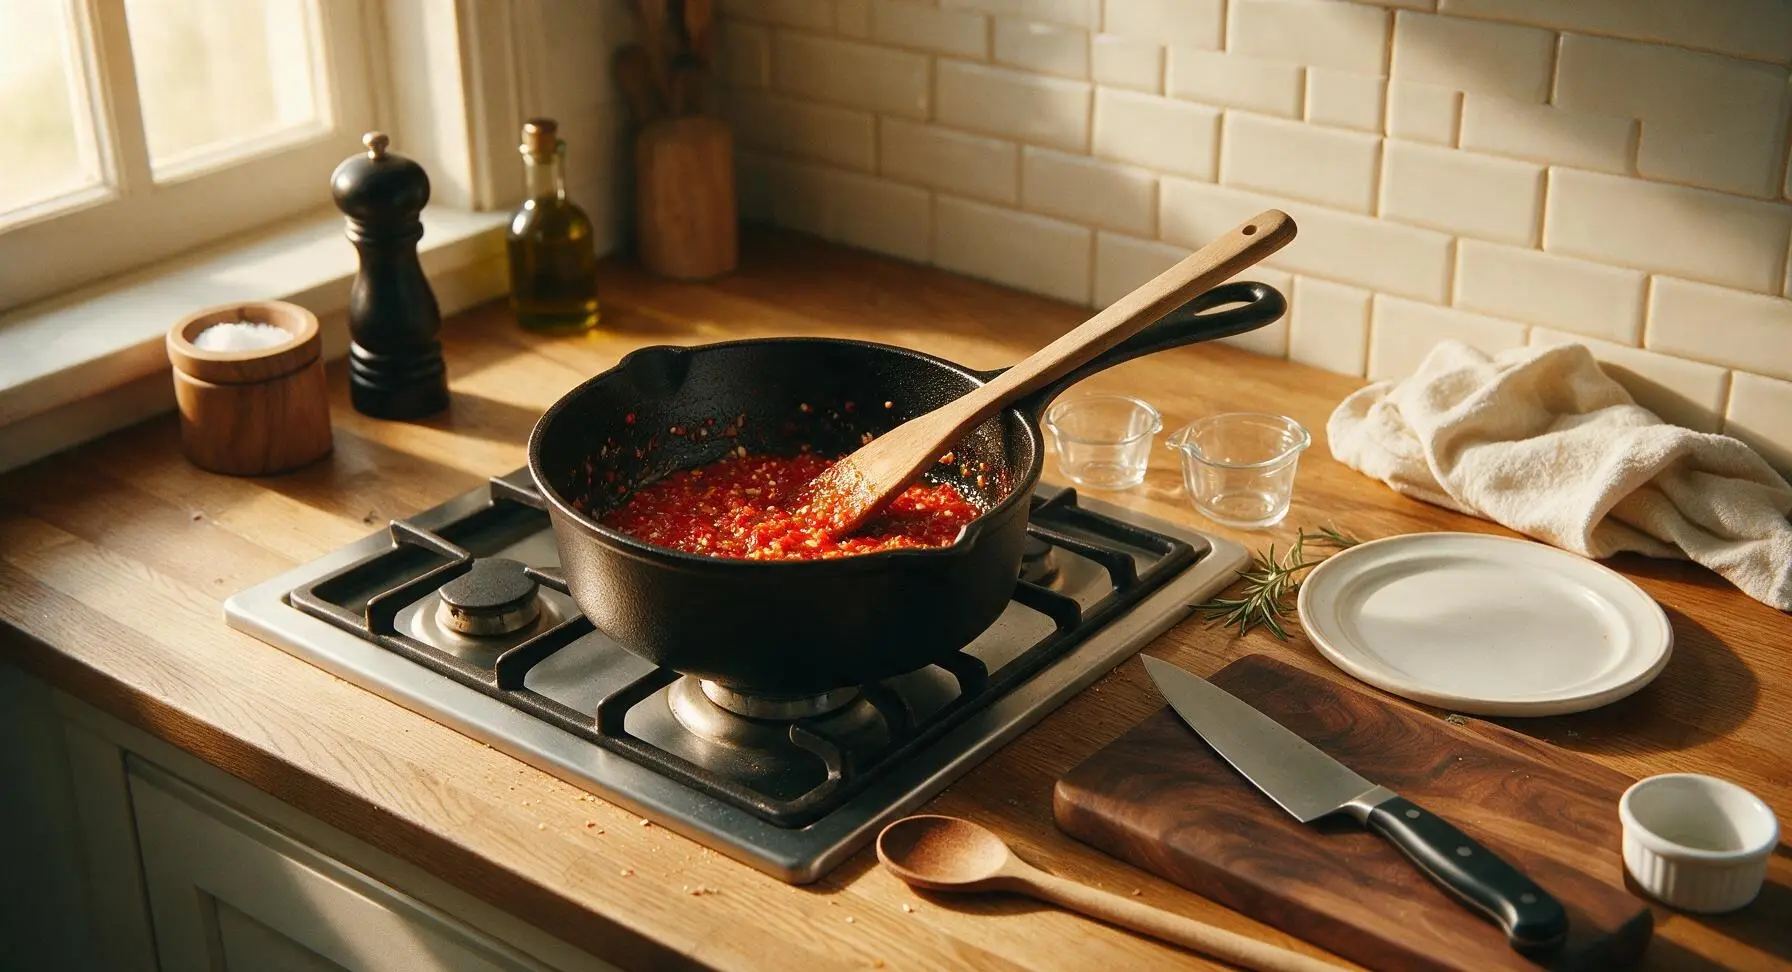
Pour the pre-measured rice vinegar and light soy sauce from the small glass measuring cups into the saucepan, stirring continuously with the spatula to fully combine the liquids with the sautéed chili paste. Scrape the bottom of the pan thoroughly to lift any bits of chili or garlic that may have stuck during sautéing.
Step 5
step5:Add liquid seasonings
6

Simmer to meld flavors

Stir the granulated sugar and fine sea salt from the fixed pinch bowls into the sauce until fully dissolved. Reduce heat to low, let the sauce simmer gently for 8 minutes, stirring every 2 minutes with the spatula to prevent sticking. The sauce will reduce slightly, thickening to a syrupy consistency that coats the back of a spoon, with the sharp raw heat of the chilis mellowing into a rounded, warm flavor.
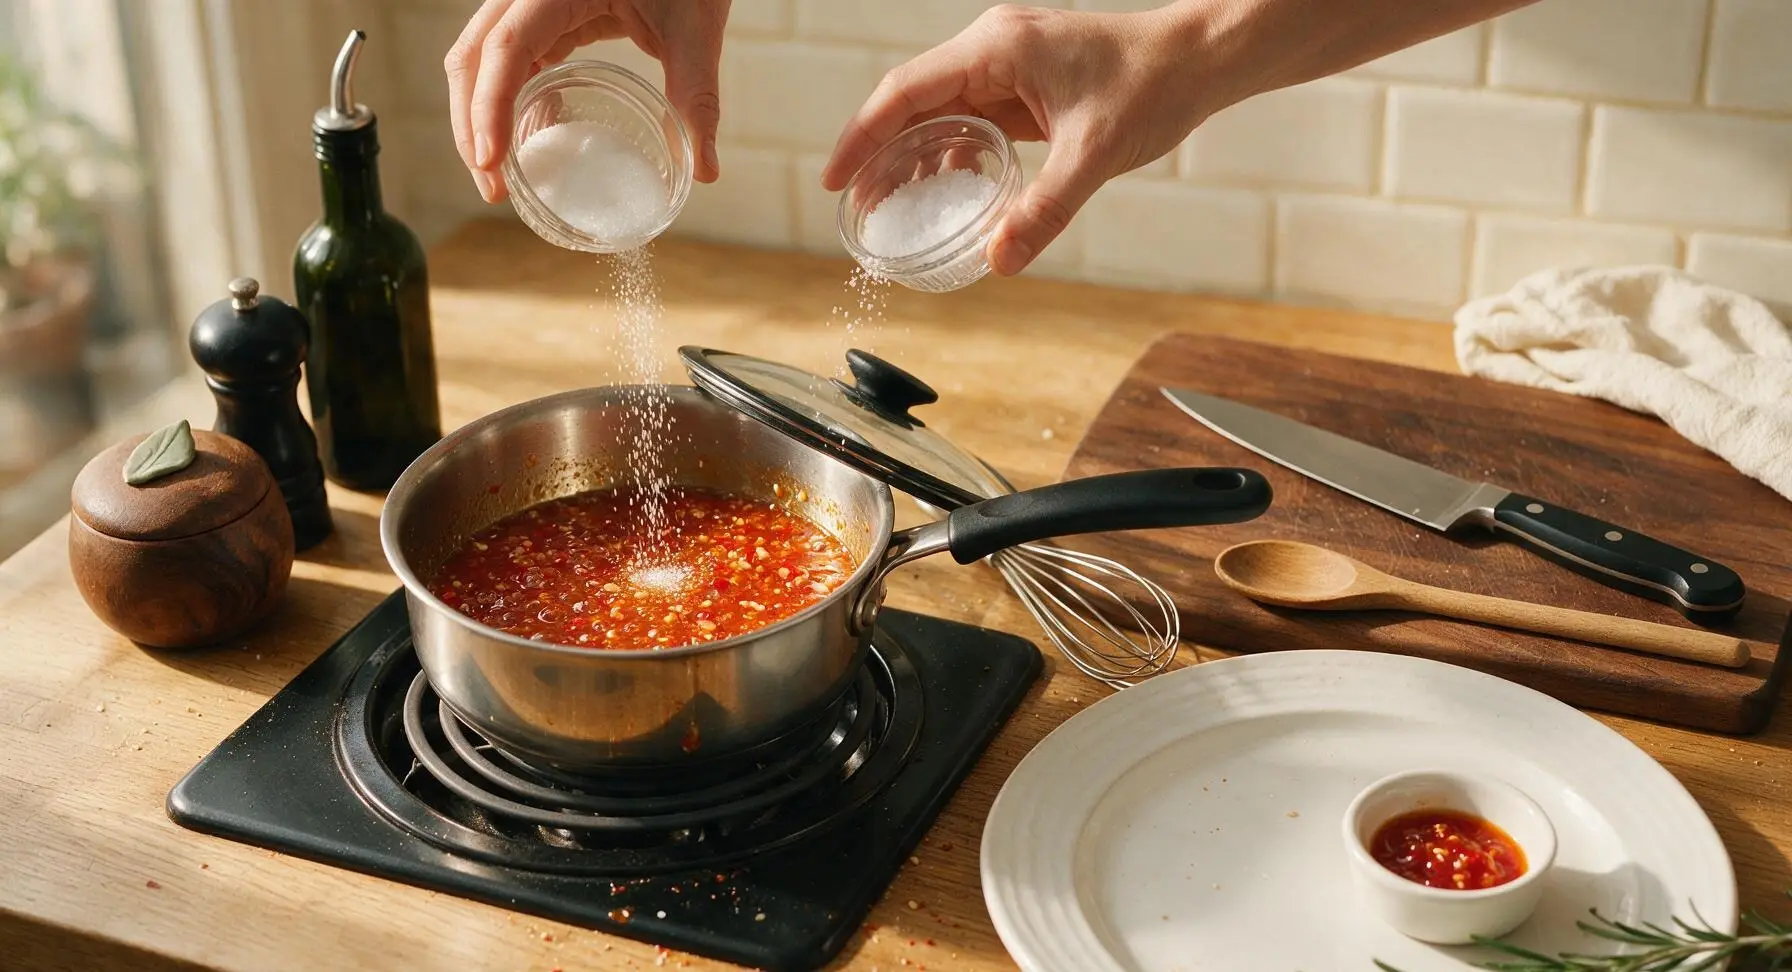
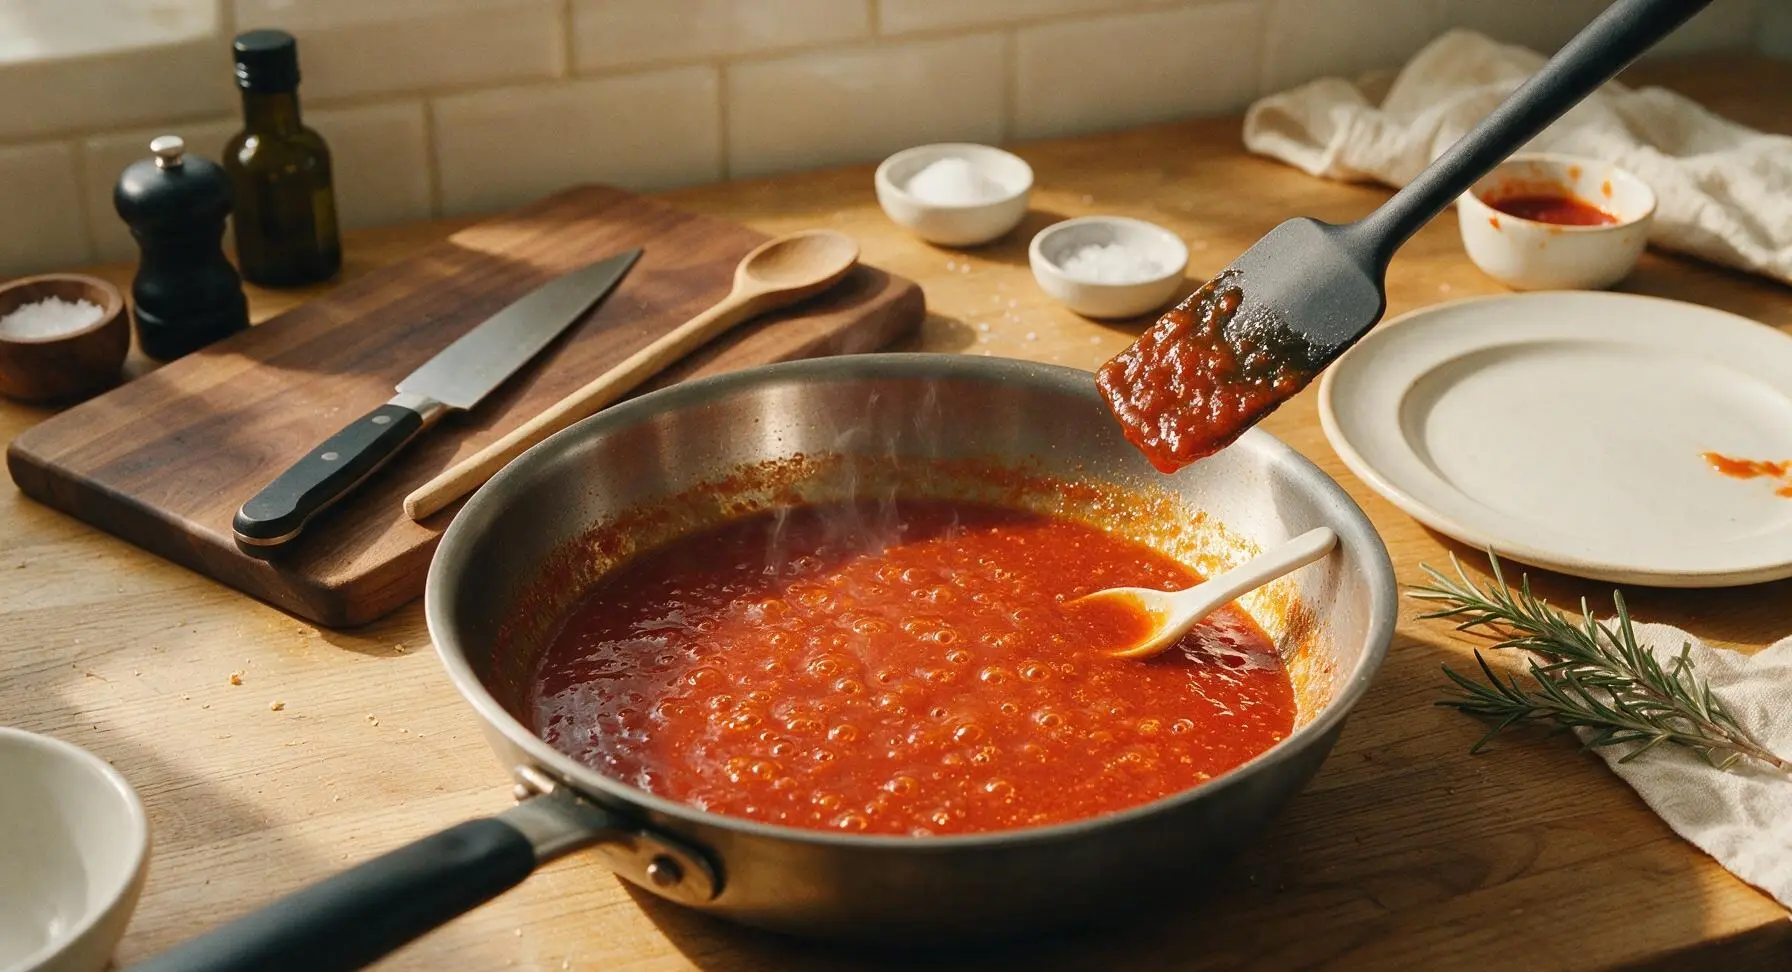
Step 6
step6:Simmer to meld flavors
Step 6
step6:Simmer to meld flavors
7

Finish with sesame oil

Turn off the induction cooktop once the sauce reaches the correct thickened consistency. Stir in the 1 teaspoon of toasted sesame oil, mixing thoroughly to incorporate the nutty flavor throughout the sauce. Let the sauce rest in the pan for 2 minutes to let the flavors meld before cooling.
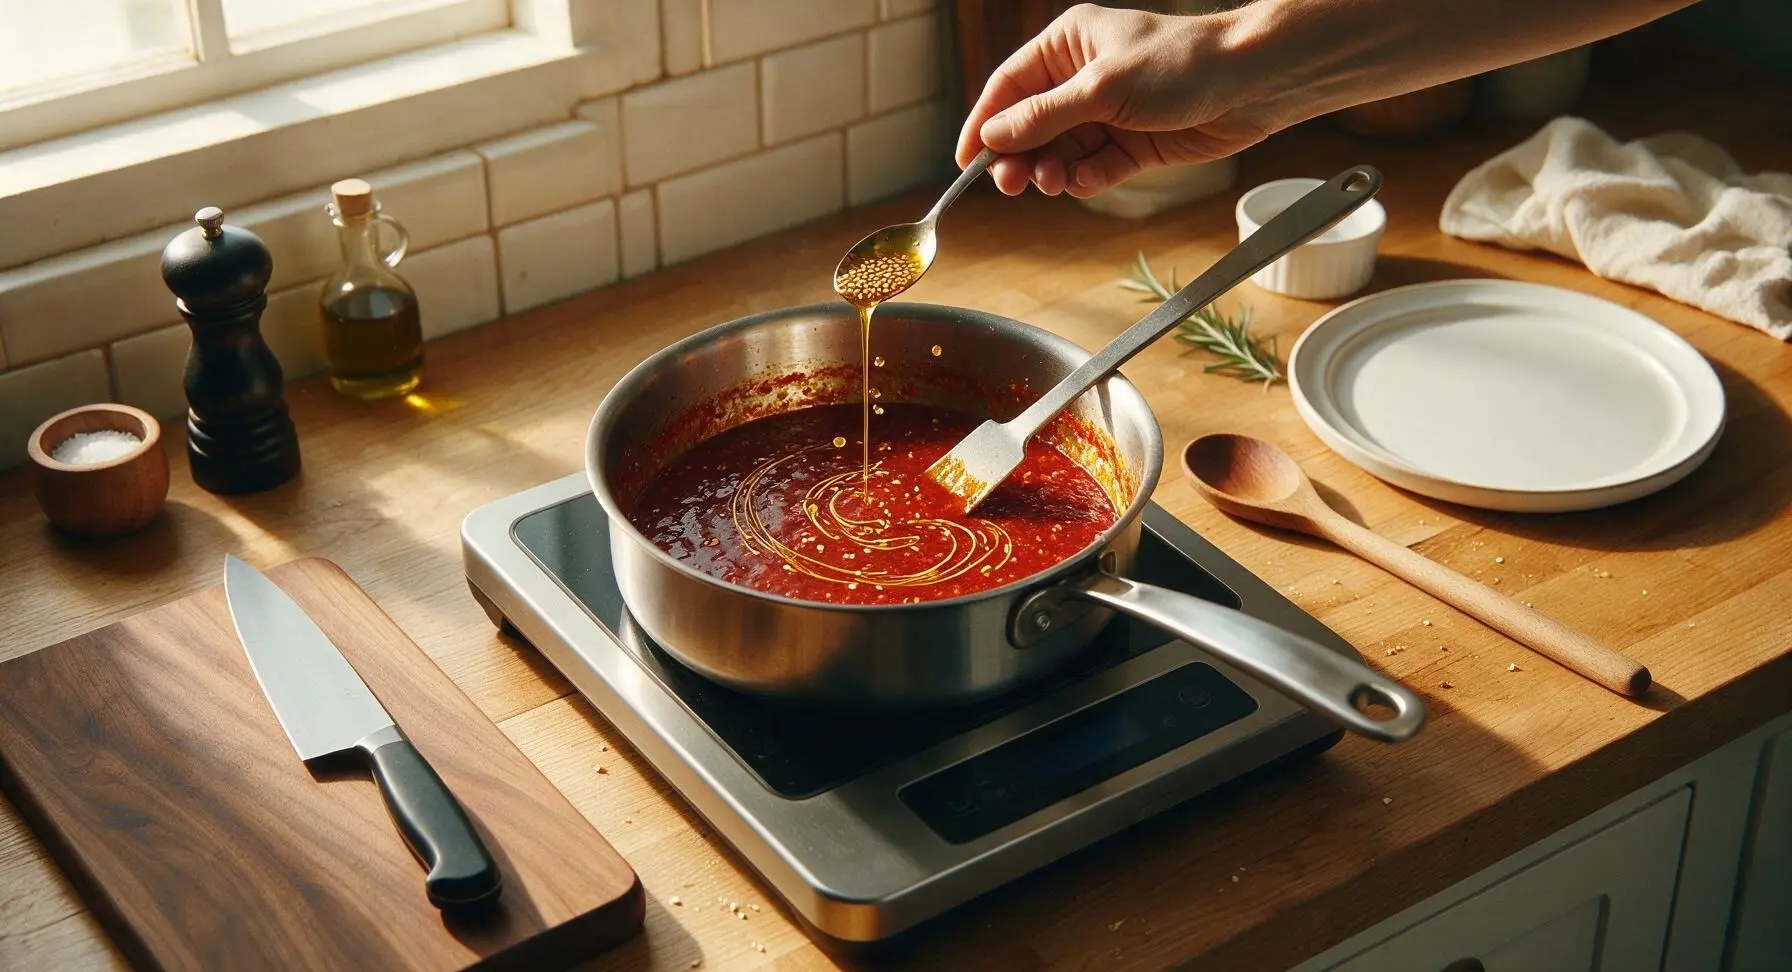
Step 7
step7:Finish with sesame oil
8

Cool and jar sauce

Let the sauce cool completely in the saucepan for 20 minutes at room temperature. Once cooled, pour the majority of the sauce into the fixed 8oz glass mason jar, screwing on the silver metal lid tightly for refrigerator storage. Spoon a 2-tablespoon portion of the sauce into the front matte white ceramic ramekin for immediate serving, topped with a single Thai basil leaf.
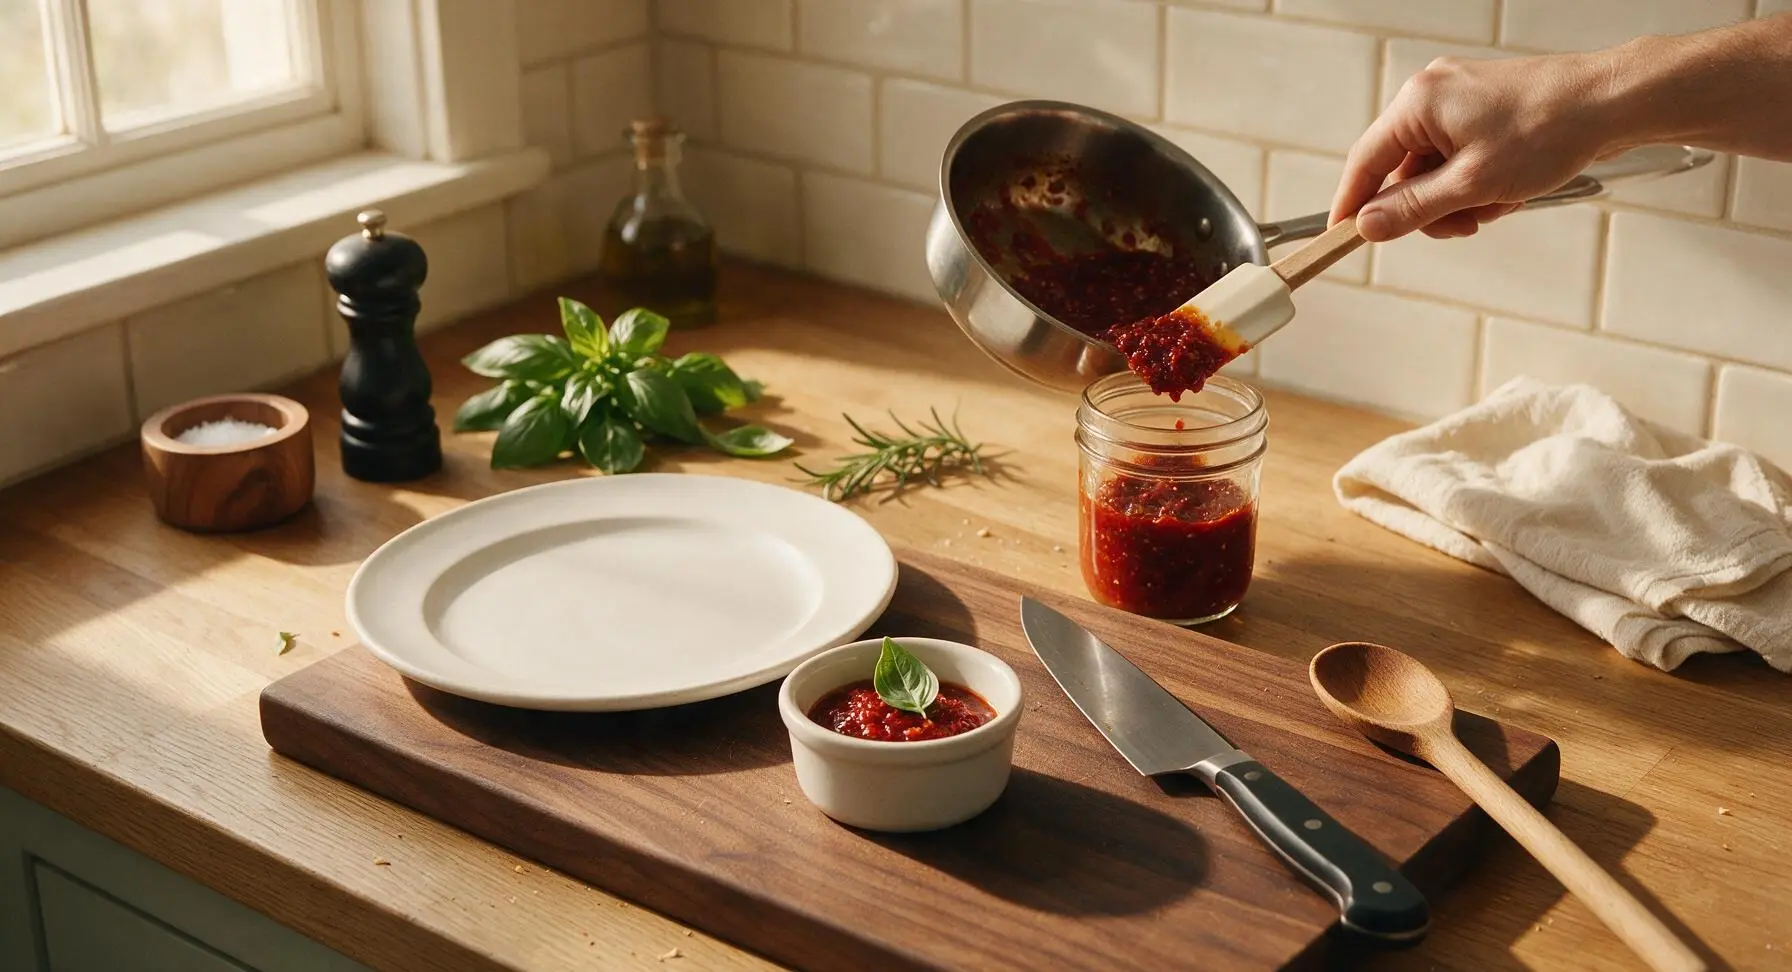
Step 8
step8:Cool and jar sauce

Tips

1.Customize heat level to your preference: Leave all chili seeds and inner membranes for an extra-fiery sauce, or remove 75% of seeds for a mild, family-friendly version—seeds and white membranes hold 80% of the capsaicin that creates chilli heat, so removing them is the easiest way to adjust spice without losing flavor.
2.Never let garlic brown during the sauté step: Garlic can burn in as little as 30 seconds over medium-high heat, and burnt garlic adds a harsh, acrid bitterness that will overpower the bright, fresh chili flavor. Keep heat at medium-low and stir constantly for the full 2-minute sauté.
3.Store sauce properly for maximum shelf life: Keep cooled sauce in a sealed glass mason jar in the refrigerator for up to 3 weeks, as the high vinegar content acts as a natural preservative. Avoid storing in plastic containers, as chili oils can permanently stain plastic and absorb off-flavors from the material over time.


✨ You May Also Like

BBQ & Grilling
🍜 United States

Tender, melt-in-your-mouth beef brisket with a crisp, spiced bark, slow-smoked to deep smoky perfection, the iconic centerpiece of Texas backyard barbecue.

⏱️ 12 hours BBQ & Grilling ★ 4.4
BBQ & Grilling
🍜 Korea

Tender, sweet-savory marinated beef short ribs, a beloved Korean BBQ staple with caramelized, slightly charred edges and deep umami flavor, perfect for outdoor summer gatherings.

⏱️ 4 hours 2BBQ & Grilling ★ 4.8
BBQ & Grilling
🍜 United States

Juicy grilled beef patties topped with smoky homemade chili, melted cheddar, and tangy pickles on toasted brioche buns for a hearty, flavor-packed handheld meal.

⏱️ 40 minuteBBQ & Grilling ★ 4.7
BBQ & Grilling
🍜 United States

A sweet, smoky, tangy BBQ sauce brightened with peak-season dark cherries, ideal for glazing grilled ribs, chicken, pork, or summer roasted veggies.

⏱️ 35 minuteBBQ & Grilling ★ 4.7
BBQ & Grilling
🍜 United States

Rich, smoky, slightly sweet homemade bourbon BBQ sauce with deep caramel notes, ideal for glazing grilled ribs, chicken, and burgers at cookouts.

⏱️ 25 minuteBBQ & Grilling ★ 4.7
BBQ & Grilling
🍜 United States

Iconic Alabama-style BBQ featuring tender hickory-smoked chicken slathered in tangy creamy white sauce, a beloved regional Southern cookout staple.

⏱️ 3 hoursBBQ & Grilling ★ 5

chilli garlic sauce:Frequently Asked Questions

1.Can I use a different type of chili if I can’t find fresh red Fresno chilis? ▾
Absolutely! If Fresno chilis are hard to track down, swap in fresh red jalapeños for nearly identical bright, mild-to-medium heat. For extra fire, use fresh red serranos; for a milder sauce, mix 2 parts seeded red bell pepper with 1 part cayenne pepper. Skip dried chilis here, as they create a smokier profile instead of the fresh, bright heat this recipe is designed for.
2.How long does this homemade chili garlic sauce last in the fridge? ▾
Stored in a tightly sealed, sterilized glass jar, this sauce will stay fresh for 3 to 4 weeks in the refrigerator. The rice vinegar and soy sauce act as natural preservatives, but always use a clean, dry spoon to scoop sauce from the jar to avoid introducing bacteria that causes spoilage. Toss it immediately if you spot mold, off odors, or unexpected bubbling.
3.Do I need to cook this sauce, or can I make a no-cook version? ▾
You can make a quick no-cook version by pulsing all ingredients until coarse, but a quick 2 to 3 minute simmer over low heat mellows the sharp raw garlic bite, helps the sugar fully dissolve, and extends the sauce’s fridge life by about a week. Just avoid a hard rolling boil, as that will cook off the bright, tangy notes from the rice vinegar.
4.How do I adjust the heat level to make the sauce milder or spicier? ▾
For a milder sauce, fully remove all seeds and white inner pith from the Fresno chilis before chopping—those parts hold most of the capsaicin that creates heat. For a spicier sauce, leave seeds and pith intact, add 1 to 2 extra chilis, or a pinch of red pepper flakes for extra fire. Always taste as you go to hit your perfect heat level.
5.Can I substitute unseasoned rice vinegar if I don’t have it on hand? ▾
You can, as long as you pick the right swap to keep flavors balanced. The closest stand-in is seasoned rice vinegar—just cut the recipe’s added sugar by 1 teaspoon to account for sugar already in the seasoned version. If you only have white distilled vinegar, dilute it 3 parts vinegar to 1 part water to mellow its harsher, sharper bite.
6.What’s the best texture for this sauce—smooth or chunky? ▾
That’s totally up to your preference and how you plan to use it! For a dumpling or egg roll dipping sauce, pulse ingredients to a coarse, chunky texture with small visible bits of chili and garlic. For a grilled meat glaze or noodle toss, blend a little longer for a smoother, pourable consistency that coats food evenly.
7.Can I freeze this sauce to make it last longer? ▾
Definitely! Freeze the sauce in silicone ice cube trays, then pop the frozen cubes out and store them in a labeled zip-top freezer bag for up to 6 months. Thaw individual cubes in the fridge overnight as needed, or toss a frozen cube directly into stir-fries or noodle dishes while cooking. The texture stays nearly identical to fresh after thawing.
8.Why do you use light soy sauce instead of dark soy sauce here? ▾
Light soy sauce has a saltier, brighter, less syrupy savoriness that lets fresh chili and garlic flavors shine, rather than overpowering them with dark soy’s deep, caramelized, thick profile. If you only have dark soy, use half the called-for amount and add a pinch of extra salt to make up for lower salinity, so your sauce doesn’t turn too sweet or dark.
9.Is there a sugar-free substitute for the granulated white sugar? ▾
Yes! The sugar balances vinegar tang and chili heat, so you don’t want to skip sweetener entirely. Swap in an equal amount of granulated erythritol or monk fruit sweetener for a zero-sugar version, or use 1 tablespoon of honey (which adds a subtle floral note) if you prefer unrefined sweetener. Skip brown sugar, as it adds heavy molasses flavor.
10.My sauce turned out way too salty—how can I fix it? ▾
If your sauce tastes overly salty, stir in an extra 1 tablespoon of rice vinegar, 1 teaspoon of sugar, and 2 tablespoons of filtered water a little at a time, tasting as you go, to dilute and rebalance flavors. This usually happens if you used higher-salt regular light soy instead of low-sodium, or if you accidentally over-poured soy while measuring.
11.Can I add other ingredients to customize the sauce? ▾
Absolutely! Popular add-ins include a 1-inch knob of peeled fresh ginger for extra zing, a teaspoon of toasted sesame oil for nutty depth, a pinch of Sichuan peppercorn powder for tingly numbing heat, or a tablespoon of rinsed fermented black beans for extra umami. Add small amounts at first to avoid overpowering the core chili-garlic flavor.
12.Do I need to peel the chilis before making the sauce? ▾
No, you don’t need to peel fresh Fresno chilis! Their skins are thin and tender enough that they break down completely when blended or simmered, adding bright red color without any tough, chewy texture. The only time you need to peel chilis is if you use thicker-skinned varieties like Anaheim chilis, which have papery, tough skins when raw.
13.Why does my raw garlic taste bitter in the finished sauce? ▾
Bitter raw garlic usually happens when you over-process garlic in a high-speed blender, which breaks down too many of its harsh, bitter sulfur compounds, or when you use old, sprouted garlic past its prime. Fix it by simmering the sauce for 3 minutes over low heat to mellow bitter notes, and next time pulse garlic gently instead of blending on high too long.
14.Is this sauce the same as store-bought chili garlic sauce from Asian grocery stores? ▾
It’s very close, but brighter and fresher tasting! Most commercial chili garlic sauces include added preservatives and sometimes fermented chili or soy components that create a deeper, slightly funkier flavor. This homemade version has a zippier, more vibrant chili and garlic punch, no odd additives, and lets you tweak salt, sugar, and heat exactly to your taste.
15.What are the best ways to use this sauce beyond dumpling dip and meat glaze? ▾
There are tons of creative uses! Stir a spoonful into scrambled eggs, mix it with mayo for a spicy sandwich or French fry spread, toss it with roasted veggies right out of the oven, stir it into ramen or soup broth for extra heat, or mix it with melted butter to toss popcorn for a zesty, umami-rich, spicy kick.

Comments (4)

2 days ago

OMG this chili garlic sauce is such a game changer! I whipped it up last night for taco night with my family and even my super picky 8 year old was drizzling it on everything. 12 minute cook time is no joke, it came together so fast even when I was juggling helping with homework. 10/10 will be making a double batch for meal prep this Sunday!

yesterday

Wait did you use it on tacos too?? I’ve only been putting mine on stir fry and eggs, need to try that for our next taco Tuesday! So glad your kid liked it, mine turn their nose up at anything spicy so I might tone down the chili flakes a touch for them.

2 hours ago

So happy your family loved it! If you’re making it for kids who don’t love spice, just swap half the fresh chilis for roasted red bell pepper — it keeps that great garlicky depth without too much heat, works perfectly for taco night too!

1 week ago

Brought a jar of this to our neighborhood potluck last weekend and people were begging me for the recipe before I even finished setting up my dish! I added a tiny splash of rice vinegar like I do with all my hot sauces and it cut the richness so nicely. SO good on grilled chicken, roasted veggies, literally everything.

30 minutes ago

Super easy recipe, turned out great first try! Quick question — how long does this keep in the fridge? I made a big batch and want to make sure it doesn’t go bad before I get through all of it. Tasted amazing on my breakfast burrito this morning by the way!

5 minutes ago

Great question! If you store it in a clean, airtight glass jar it will keep for up to 3 weeks in the fridge — just make sure to use a clean spoon every time you scoop some out to avoid introducing bacteria. So stoked it worked for your breakfast burrito, that’s one of my favorite ways to use it too!

yesterday

I’ve been buying store-bought chili garlic sauce for years and I can’t believe how much better this homemade version tastes! It was so easy even after a long day at work when I don’t have the energy for complicated recipes. My husband said it’s better than the stuff we get at our local Chinese takeout spot, high praise coming from him.

2 hours ago

Right??? My partner said the exact same thing! I used to drop $6 a bottle on the name brand stuff at the grocery store and this costs like pennies to make at home, total game changer for weekly meal prep.



