
Chitterlings
intro
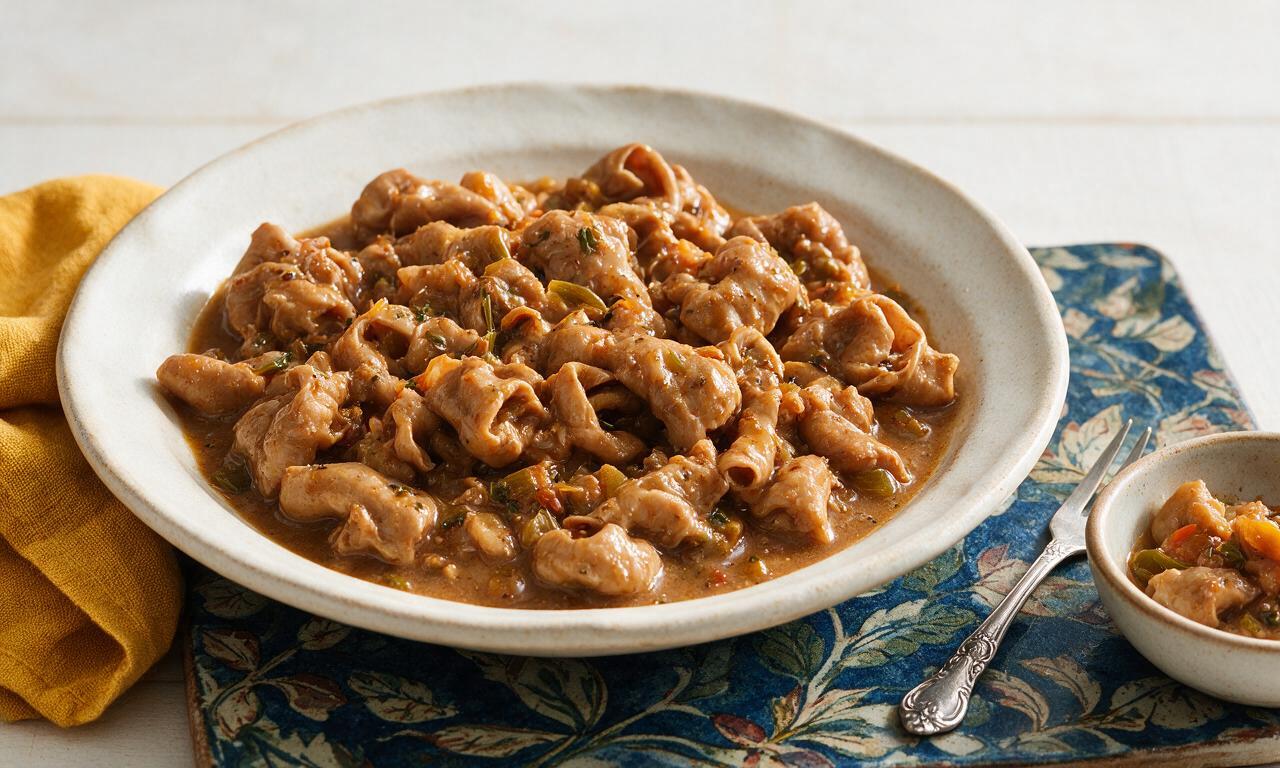
Tender, slow-simmered chitterlings, a classic Southern soul food staple seasoned with aromatics and warm spices, perfect for cozy shared family meals.
Ingredients
Steps
Deep clean the chitterlings
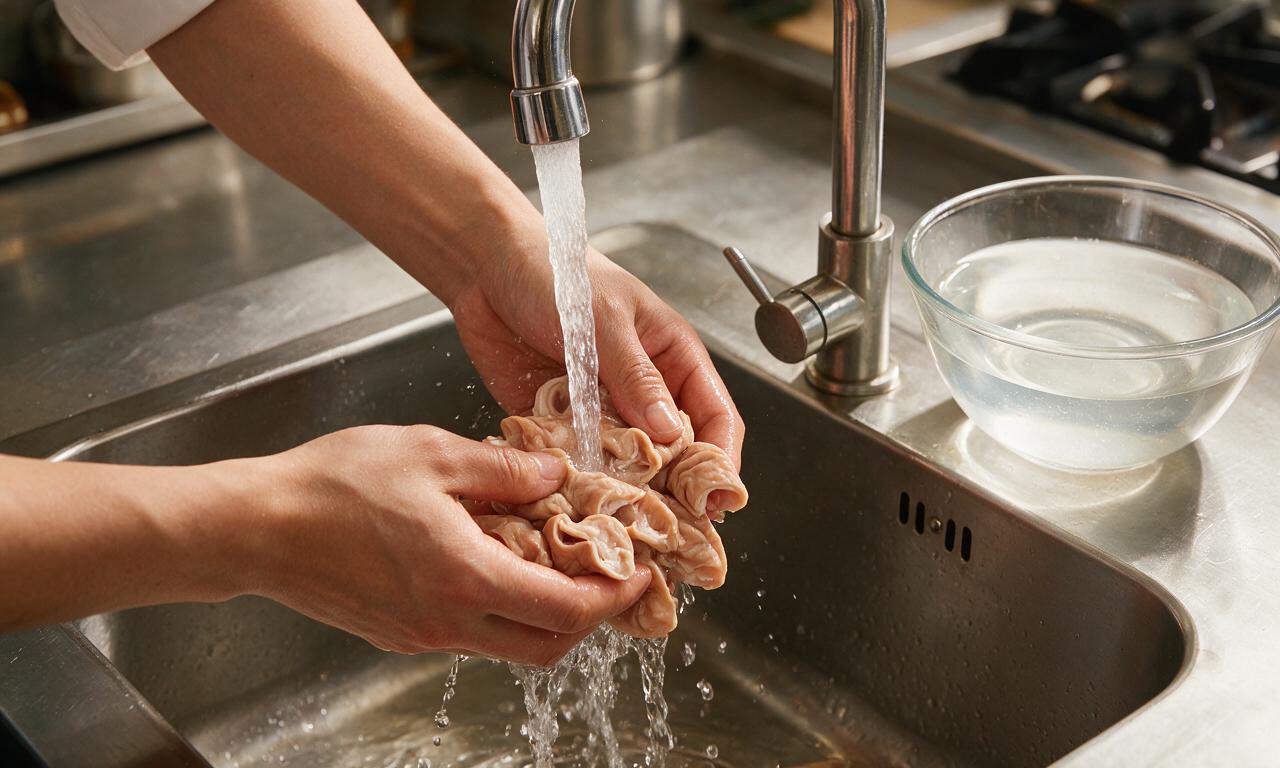
Even if purchasing pre-washed chitterlings, complete a full deep clean to remove grit and mellow strong flavor. Place 907g raw chitterlings in a large non-reactive bowl, cover with unmeasured cold tap water, add 120ml (1/2 cup) white vinegar and 1 tablespoon kosher salt. Soak for 15 minutes at room temperature, then pull each individual piece under cold running water, scrape away all remaining fat, connective membrane, and trapped debris with your fingernail or a small paring knife, cut into 5cm (2-inch) pieces, and rinse 3 additional times until the water runs completely clear with no cloudiness or particles.
Parboil to reduce odor
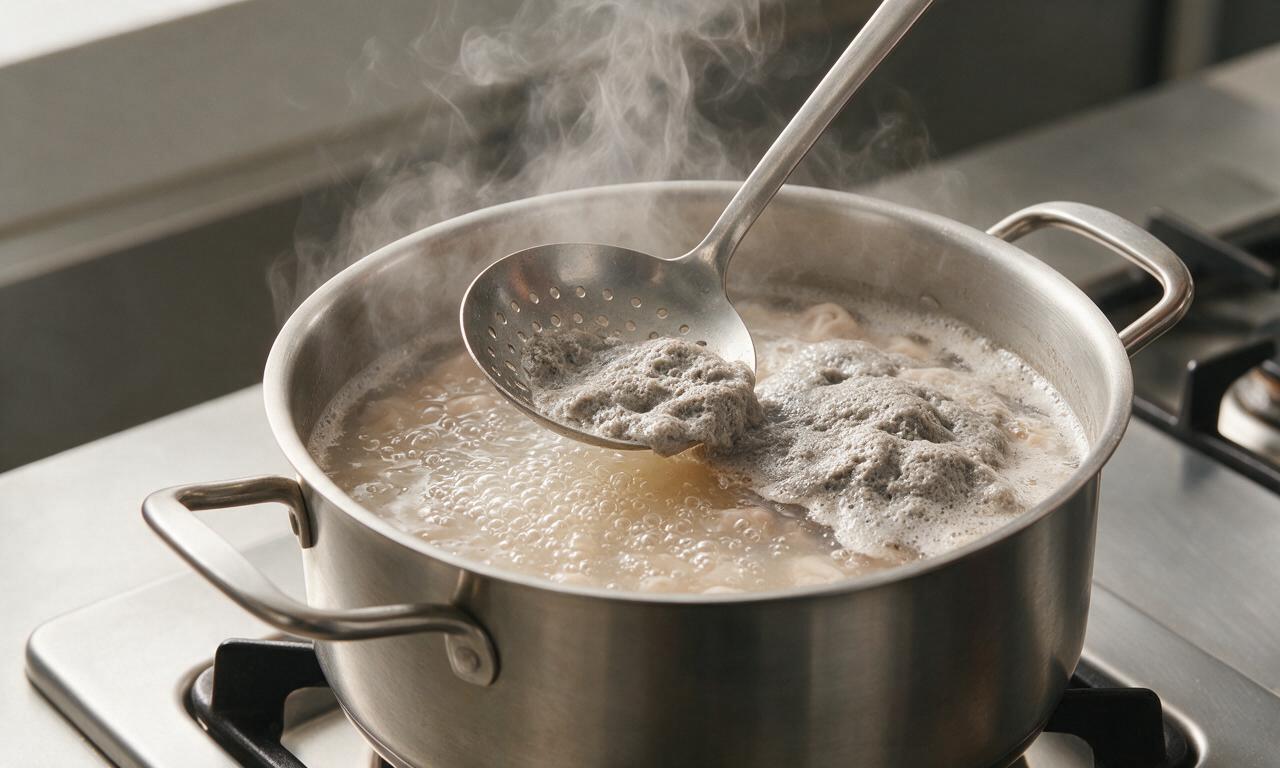
Transfer the cleaned, cut chitterlings to an 8L (8.5 quart) stockpot, add 1L (4.2 cups) cold water, the remaining 120ml (1/2 cup) white vinegar, and 1 tablespoon kosher salt. Bring to a rolling boil over high heat, then adjust heat to medium-high to maintain a constant, vigorous boil for 25 minutes, skimming all gray, foamy residue that rises to the surface with a slotted spoon as it forms. Once parboiling is complete, drain chitterlings fully in a colander, and rinse both the chitterlings and the stockpot thoroughly with hot water to remove all leftover foam residue.
Combine with aromatic seasonings
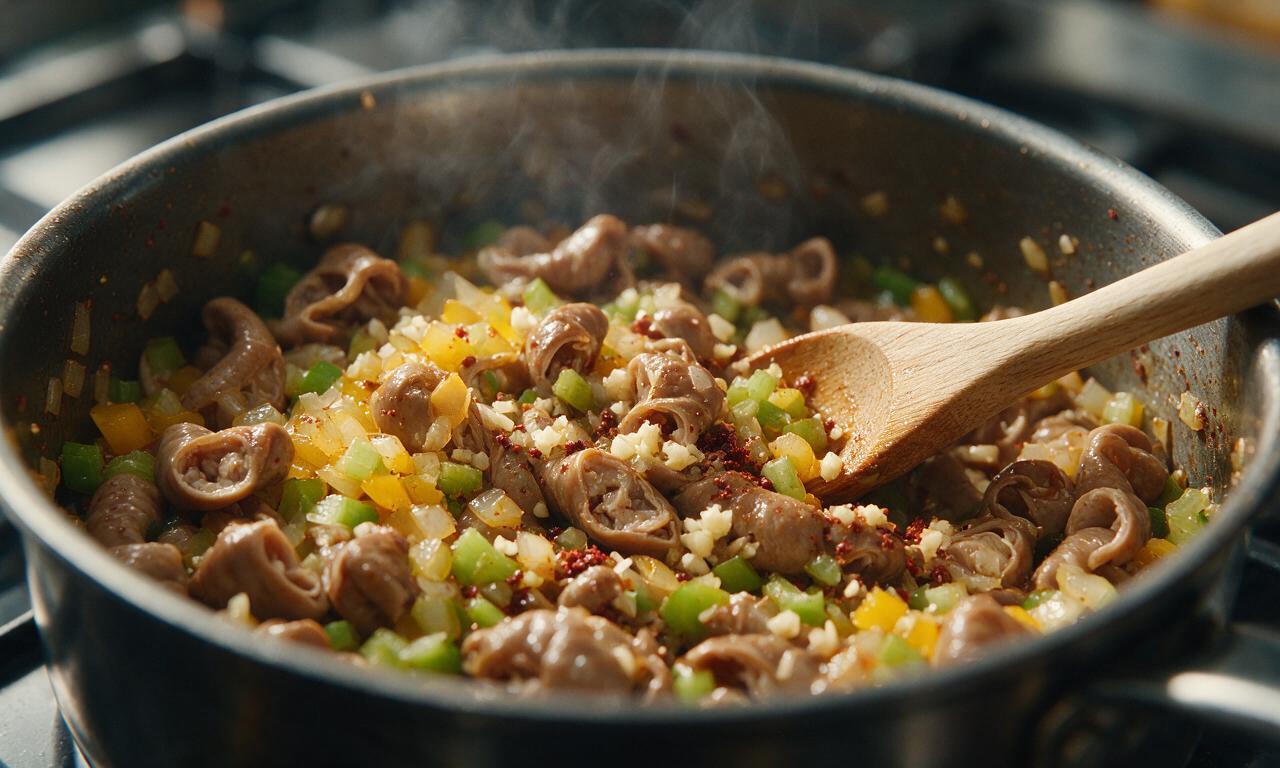
Return the clean stockpot to the stovetop over medium heat, add the drained parboiled chitterlings, diced 200g yellow onion, 120g chopped celery, 150g diced green bell pepper, 18g minced garlic, 1 teaspoon crushed red pepper flakes, 1 teaspoon whole black peppercorns, 2 bay leaves, 1 tablespoon smoked paprika, and the remaining 1 tablespoon kosher salt. Stir continuously for 1 minute to evenly coat the chitterlings in spices, until the bright aroma of garlic and smoked paprika is noticeable.
Slow simmer until tender
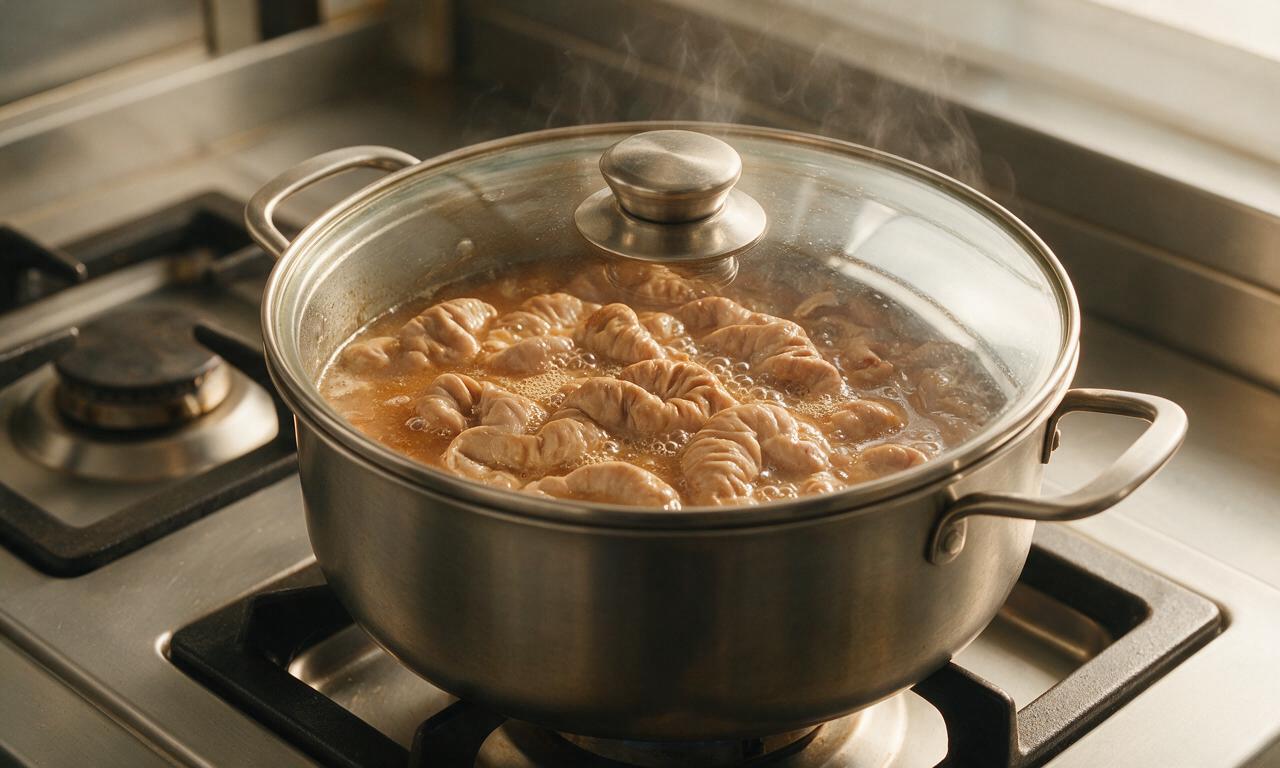
Pour 2L (8.5 cups) cold water into the pot to cover all ingredients by 2.5cm (1 inch). Bring the liquid to a gentle boil over high heat, then immediately turn heat to the lowest setting, cover the pot with a tight-fitting lid, and maintain a soft, steady simmer (no rapid, rolling bubbles) for 3 hours. Check the pot every 30 minutes, adding 120ml (1/2 cup) extra hot water if the liquid level drops below the top of the chitterlings; avoid vigorous stirring to prevent breaking the tender pieces.
Test for proper doneness
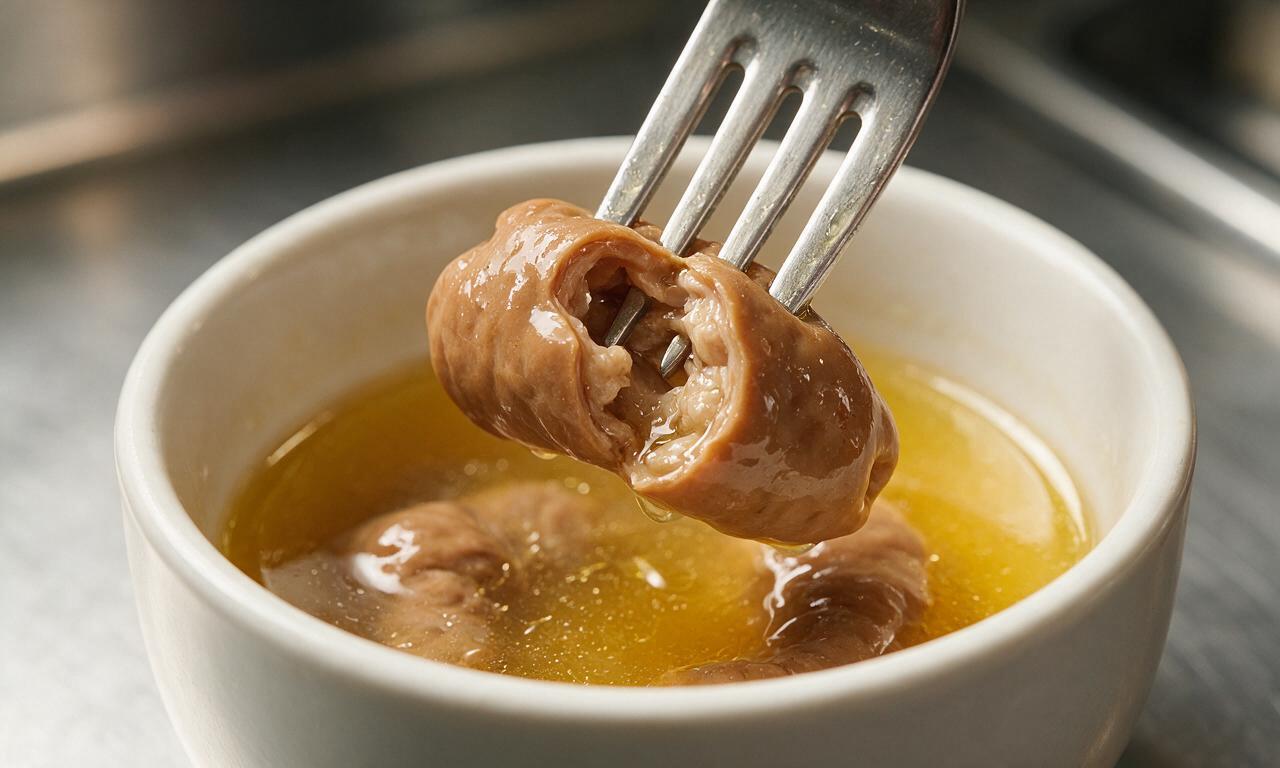
After 3 hours of simmering, turn off the heat, tilt the lid away from your face to avoid steam burns, and pierce the thickest chitterling piece with a dinner fork. The fork should slide through the meat with zero resistance, and the piece should pull apart easily with no chewy, rubbery tough spots. If the chitterlings are still firm, replace the lid, return to low heat, and simmer for an extra 15-20 minutes before retesting.
Adjust seasoning and serve
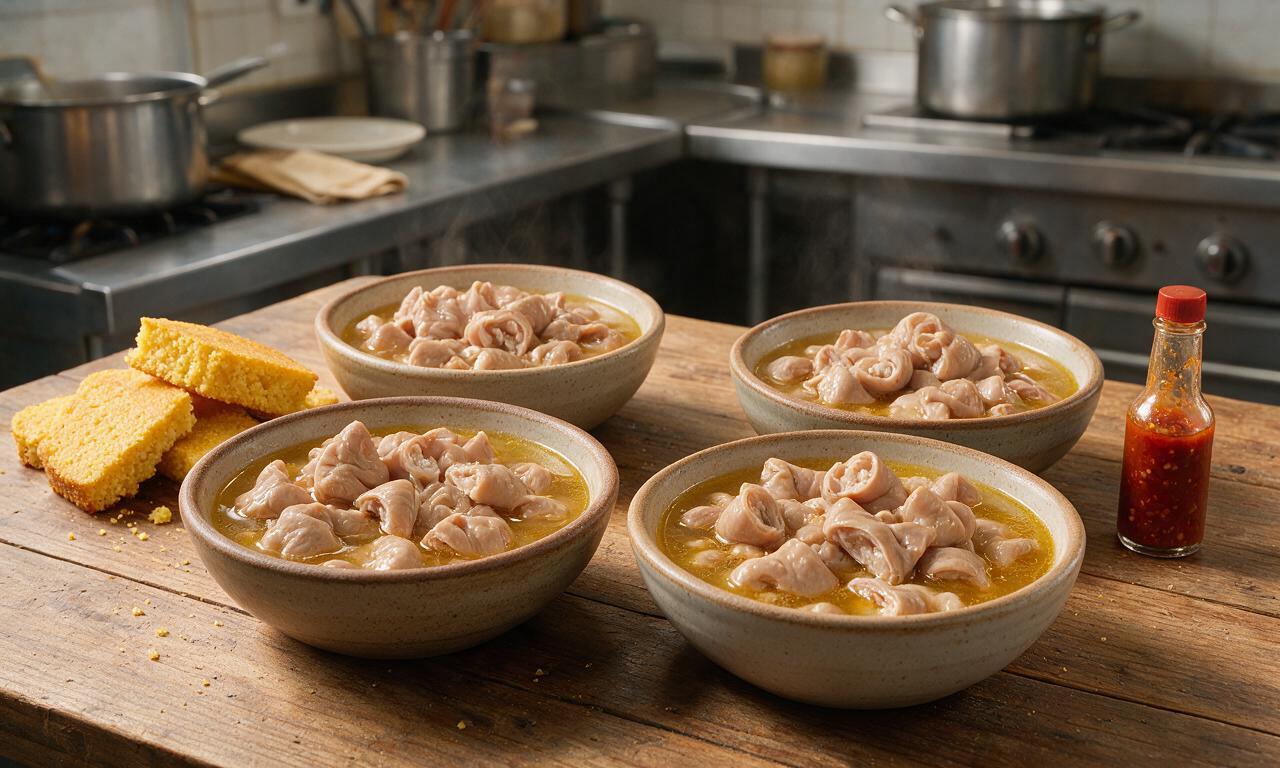
Fish out and discard the 2 bay leaves from the pot, taste the cooking broth, and add an extra 1/2 teaspoon kosher salt or 1/4 teaspoon crushed red pepper flakes if you prefer more savoriness or heat. Ladle 375ml (1.5 cups) of chitterlings and broth into each of 4 warm serving bowls, and serve hot alongside buttery cornbread or braised collard greens as desired.
Tips
2.Maintain a very low simmer during cooking, as a rolling boil will turn chitterlings tough and rubbery instead of melt-in-your-mouth tender.
3.Turn on your stovetop exhaust fan or open kitchen windows while cooking, as chitterlings have a distinct, strong cooking aroma that can linger on soft surfaces without proper ventilation.






Y'all, I've been making chitlins for my family's Thanksgiving and New Year's spreads for 40+ years and this slow-simmered recipe is hands down the best one I've ever followed! I was worried 3+ hours simmering would make them mushy but they came out perfectly tender, zero rubbery bits, and the apple cider vinegar + onion + red pepper flake ratio is exactly the classic southern flavor I grew up on. My grandkids usually turn their noses up at chitlins and beg for mac and cheese instead, but they went back for SECONDS this year. Total game changer—don't let the long cook time or prep work scare you off, it's 100% worth every minute!
Tried these for my first ever chitlin cookout with my buddies last weekend and they were a HIT. Full transparency: I messed up the first clean and had to re-rinse twice, and I burned the first batch of onions because I stepped away to grab a beer, but once I got it right? SO good. Tasted exactly like the ones my grandma used to make when I was a kid visiting her in Alabama. Will definitely be making these again for the next game day.
Okay, full transparency: I had no idea how much prep chitlins take before I tried this recipe! I almost gave up halfway through cleaning them because it felt like forever, but I stuck it out and wow. I portioned these out for my weekly meal prep with collard greens and cornbread and they held up perfectly all week in the fridge. Only knock is I wish the recipe noted how much the smell travels while they simmer—my whole apartment building hallway smelled like chitlins for 2 days lmao. Still 5 stars though, worth the funny looks from my neighbors!
OMG I brought these to our neighborhood block party last Saturday and people were lined up for seconds before I even finished setting up my table! I followed the recipe exactly, added a little extra hot sauce on the side for dipping, and everyone was asking me for the recipe by the end of the night. Even my picky 8 and 10 year olds ate two servings each! My husband said these are better than the ones his favorite soul food spot in Houston serves, which is the highest possible praise I could get. 10/10, will be making these for every family gathering from now on!
Tried these for Father's Day dinner per my dad's request (he grew up eating chitlins in North Carolina) and I was so nervous I’d mess them up. The recipe’s step-by-step cleaning instructions were a lifesaver, I never would’ve known to remove all that extra membrane without it! They came out so tender my dad teared up a little, said they tasted exactly like his mom’s cooking. Only reason I’m not giving 5 stars is the cook time is way longer than I expected—carved out 4 hours like the recipe said and ended up needing almost 5 total between prep and simmer, but that’s on me for taking my time cleaning. So worth it to see my dad happy.
First time ever making chitlins and I was so intimidated by how hard everyone says they are to make! This recipe walked me through every single step, from the initial rinse all the way to the final simmer. I served them with hot sauce, collards, and cornbread for my first Sunday dinner at my new apartment and my roommates lost their minds. SO good, I get the hype now! Already planning to make a bigger batch for my mom’s birthday next month.