
Chitterlings (Chitlins)
intro
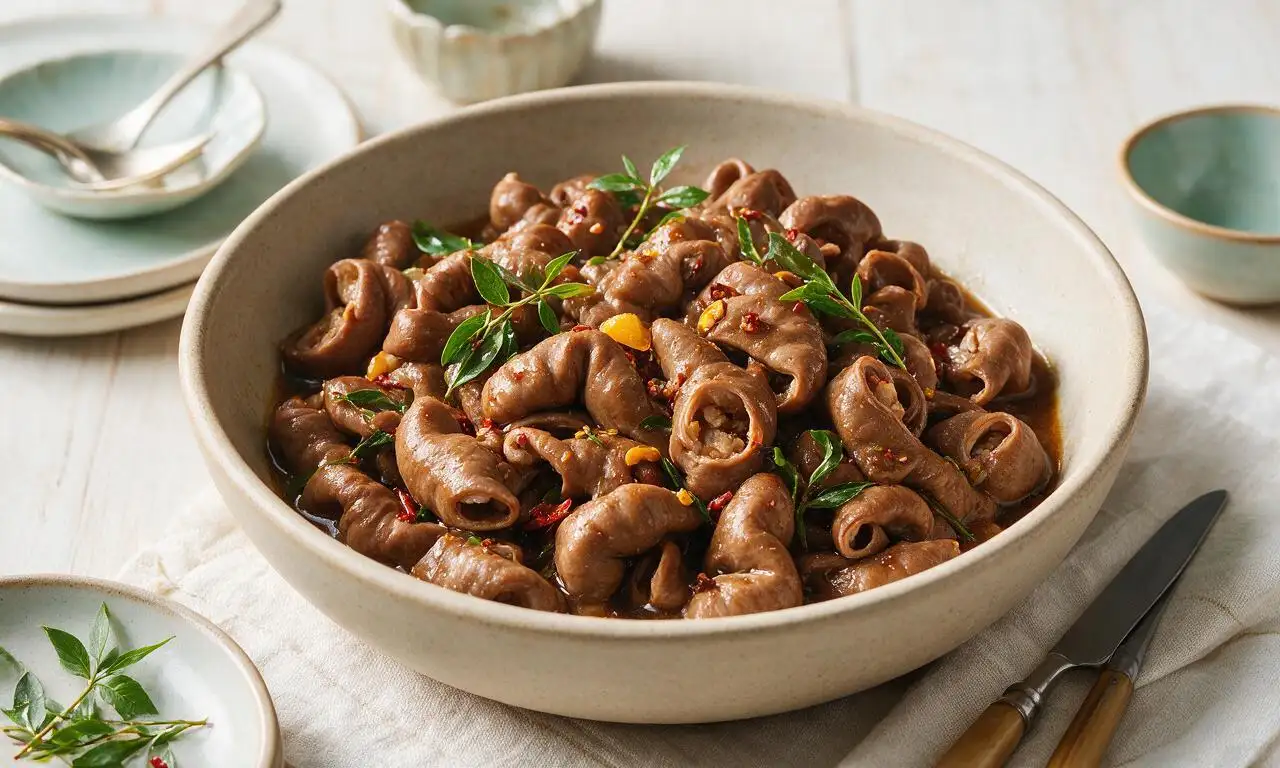
Tender, deeply flavorful slow-simmered pork chitterlings, a classic soul food staple seasoned with aromatics and spices for rich, cold-weather comfort.
Ingredients
Steps
Clean chitterlings thoroughly
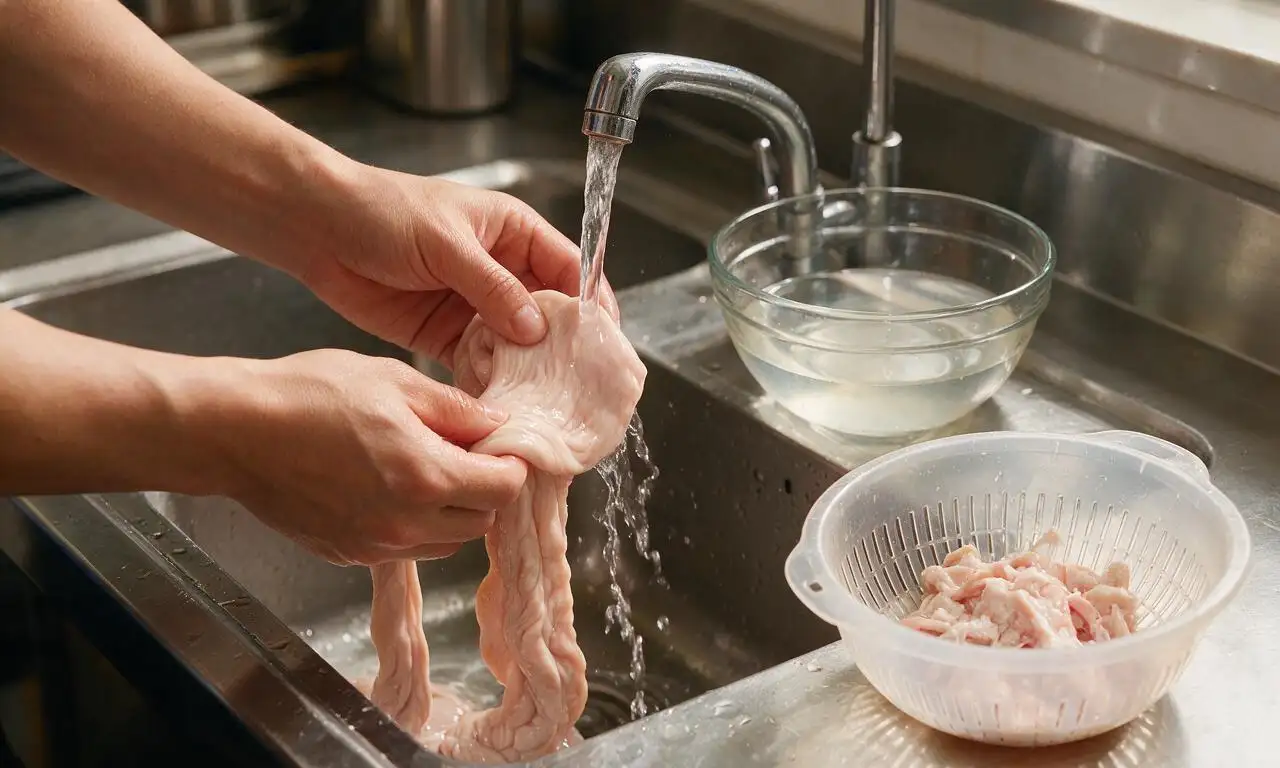
Place raw chitterlings in a large non-reactive bowl filled with cold water and 120ml (1/2 cup) white vinegar. Working one piece at a time, peel off all excess fat, thin translucent membrane, and any visible undigested debris under cool running water. Rub each cleaned piece with 1 tablespoon kosher salt, rinse repeatedly until the water draining off runs completely clear with no cloudiness or grit, then cut chitterlings into uniform 2-inch pieces.
Pre-boil to reduce odor
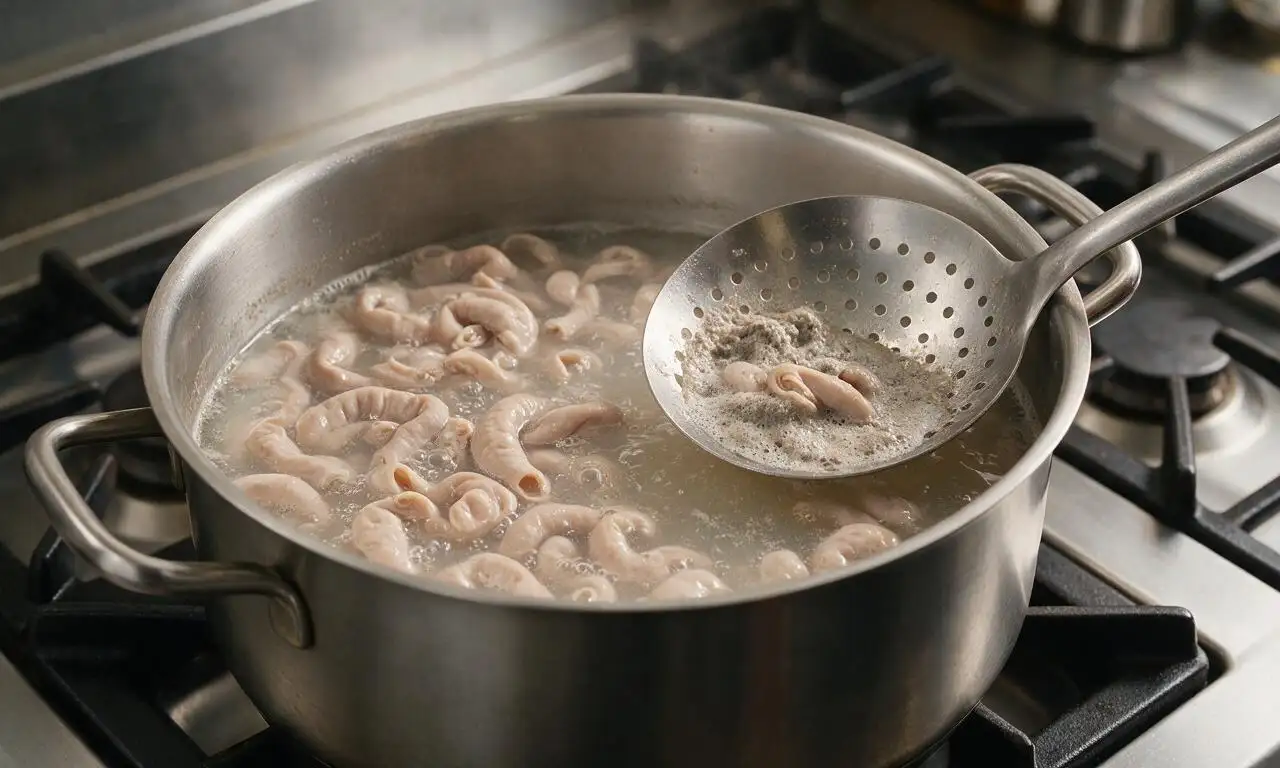
Transfer cleaned, cut chitterlings to a large 8-quart stockpot, cover with 2 liters (8 cups) cold water, add 1 teaspoon baking soda and 1 tablespoon kosher salt. Bring to a rolling boil over medium-high heat (8-10 minutes), then reduce heat to medium-low to maintain a steady, gentle simmer. Cook uncovered for 45 minutes, skimming any gray foamy scum that rises to the surface every 10 minutes with a metal skimmer. Drain chitterlings and rinse thoroughly under hot running water, then wipe the stockpot completely clean of all residue to prevent off-flavors.
Prep aromatic base
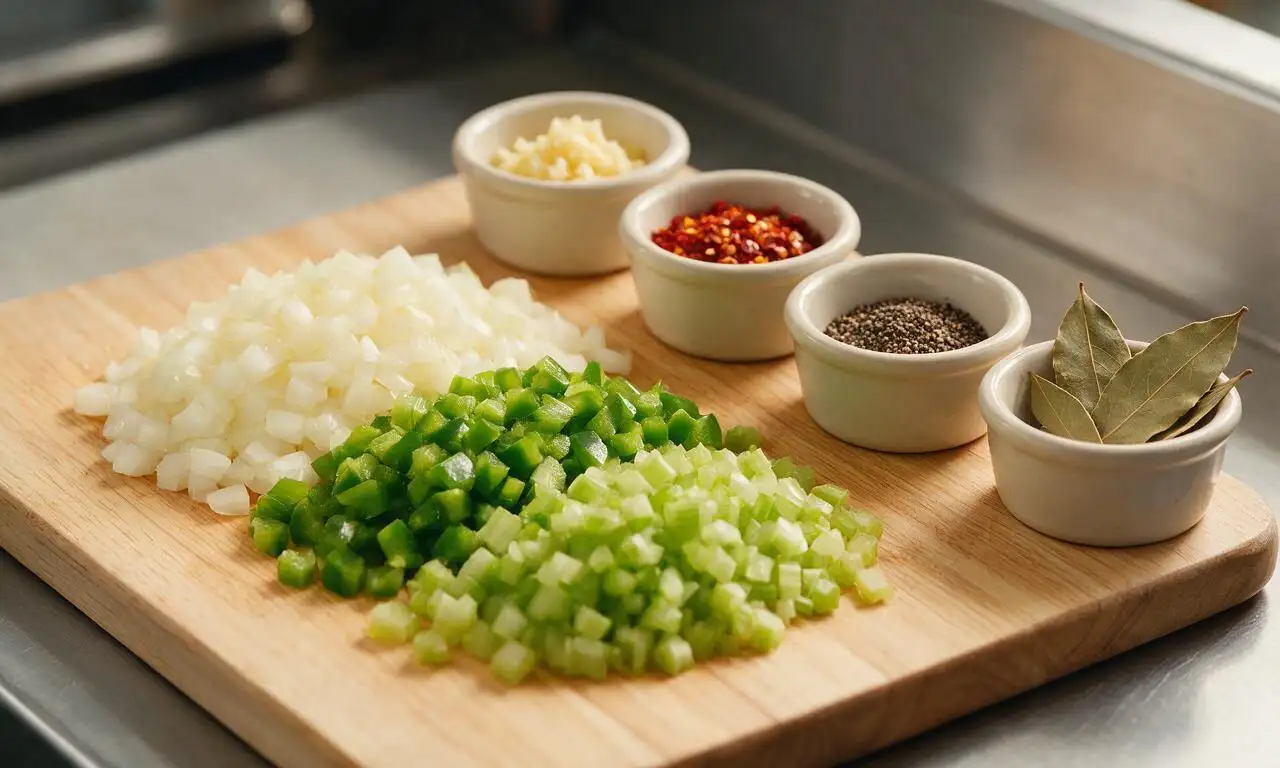
While chitterlings complete their pre-boil, dice 1 large yellow onion, 2 celery stalks, and 1 medium green bell pepper into uniform 1/4-inch pieces, and mince 4 garlic cloves finely. Measure out 1 teaspoon crushed red pepper flakes, 1 teaspoon ground black pepper, and 2 whole bay leaves, and set all prepped ingredients in small bowls within easy reach of the stovetop.
Combine for slow simmer
Return the rinsed pre-boiled chitterlings to the fully cleaned stockpot, add the prepped diced vegetables, minced garlic, measured spices, bay leaves, remaining 1 tablespoon kosher salt, and 1.5 liters (6 cups) of fresh hot tap water. Stir all ingredients thoroughly with a wooden spoon to combine, bring to a low boil over medium heat (5-7 minutes), then immediately turn heat to the lowest stovetop setting to maintain a very soft, barely bubbling simmer.
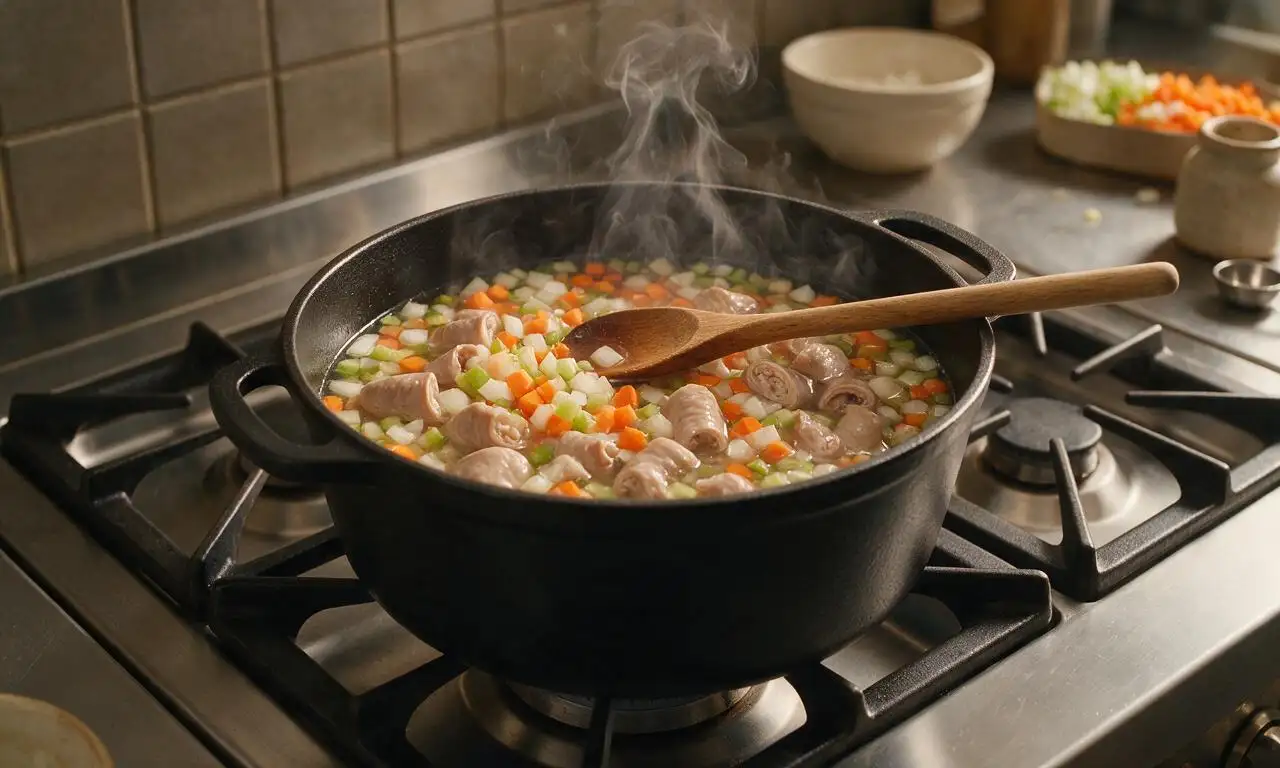
Simmer until tender
Cover the pot with a tight-fitting lid, leaving a 1/4-inch gap along one edge to allow excess steam to escape and prevent boil-overs. Let chitterlings simmer for 2 hours and 30 minutes, stirring gently every 30 minutes to prevent pieces from sticking to the pot bottom. Test for doneness at the 2-hour mark: chitterlings are fully cooked when a fork pierces a piece easily with no tough, rubbery resistance.
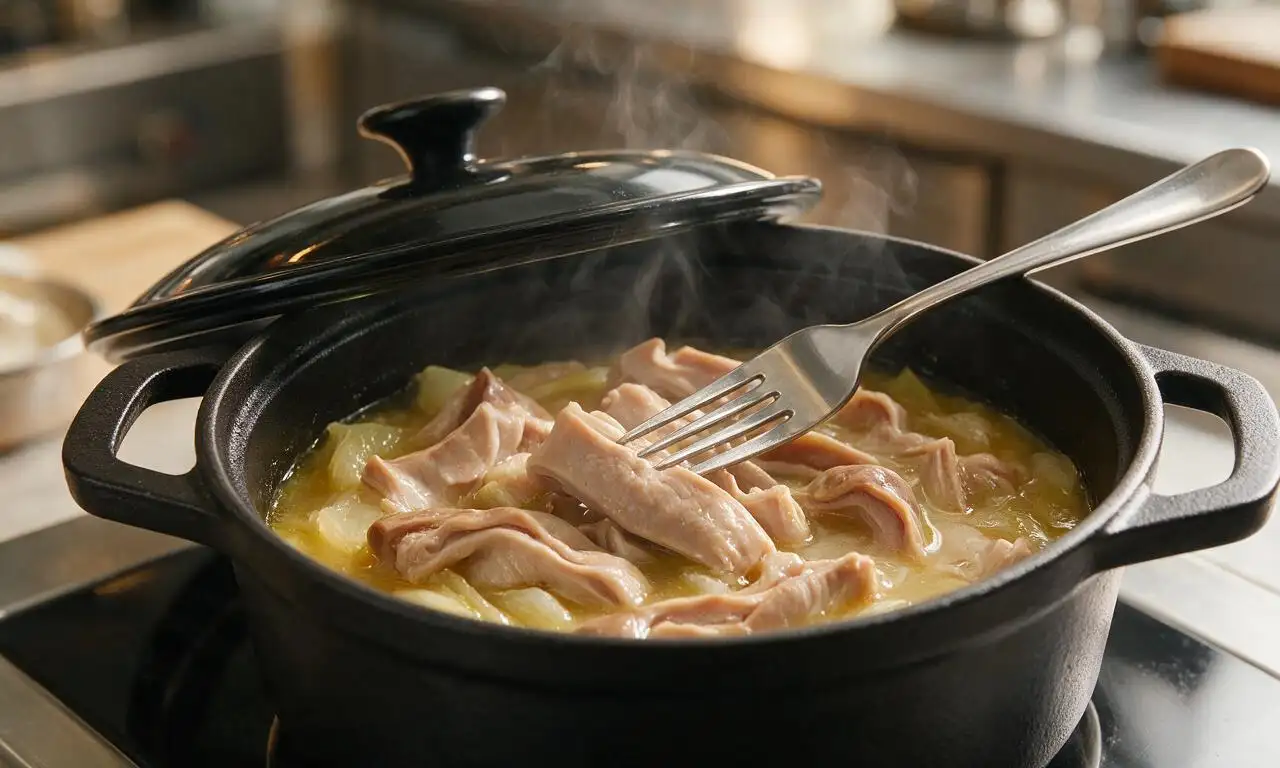
Season and serve hot
Use tongs to fish out and discard the 2 bay leaves from the pot. Taste the broth and chitterlings, adding extra pinches of salt or black pepper if needed to balance flavor. Serve hot in shallow bowls, paired with traditional sides like collard greens, buttery cornbread, and vinegar-based hot sauce as desired.
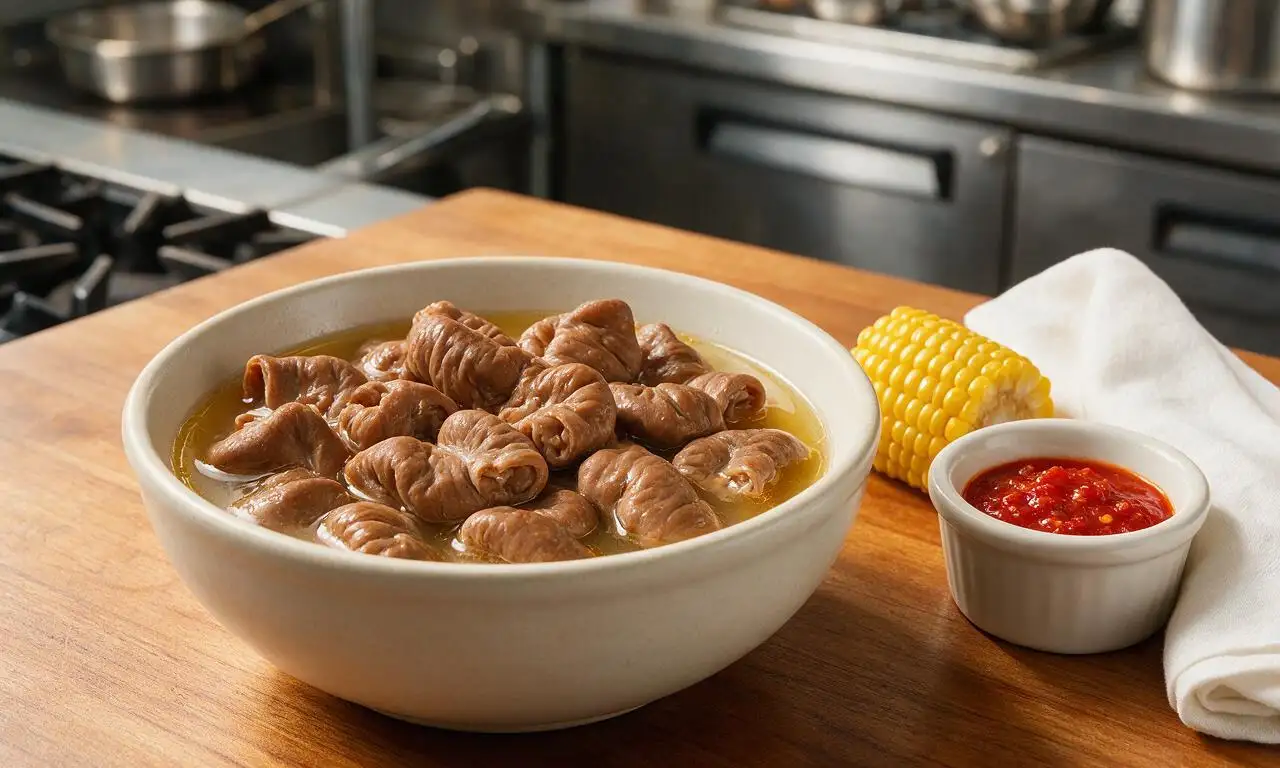
Tips
2.Avoid boiling chitterlings rapidly during the final simmer; high heat will cause the meat to seize up and turn tough and rubbery instead of becoming soft and tender.
3.To reduce strong cooking smells lingering in your home, set a small bowl of undiluted white vinegar on the counter near the stovetop while chitterlings cook to absorb airborne odors effectively.






OMG y’all, I’ve been making chitlins for my family’s Sunday dinners for 40+ years and this recipe is an absolute game changer! The slow simmer with the vinegar and onion cuts that strong gamey taste so much, even my picky teen grandson ate a whole helping without complaining. Cooked ‘em for our church potluck last weekend and folks were coming back for thirds! Only note is make sure you clean ‘em REAL good, that step is non-negotiable, don’t rush it. Worth every single minute of the 3.5 hour cook time, SO good.
First time making chitlins for my husband’s birthday cookout, and they turned out way better than I expected! Flavor was spot on, had that classic deep Southern taste his grandma used to make. Knocked a star off because I definitely underestimated how long the cleaning step took — added almost 2 hours of prep time on top of the simmer, so total day-of time was way longer than I planned. Definitely recommend prepping and cleaning them the night before if you’re making these for a crowd!
I grew up eating chitlins at my great-aunt’s house in Mississippi but never had the guts to make them myself because I heard how hard they are. This recipe walked me through every single step, no guesswork! The spice blend (bay leaf, crushed red pepper, garlic) was perfect, not too overpowering. Served them with hot sauce and cornbread, and my roommate who’d never even heard of chitlins went back for seconds. 10/10 will be making these for our Thanksgiving spread this year!
Tried making this last weekend and it was chef’s kiss, but I’m wondering two things for next time: has anyone tried making these in a slow cooker instead of simmering on the stovetop? I work 10 hour shifts so I love being able to set it and forget it for days I don’t have time to stand over the stove. Also, do these freeze well? I’m cooking for one so I’d love to portion them out for quick meals over the next month.
Y’all I messed up BAD on my first go at these. I skipped the extra rinse step after cleaning because I was in a hurry, and they were so gritty I had to throw the whole batch out. Took my time on the second round, followed every step to a T, and they were perfect! Served them with collard greens, mac and cheese, and cornbread for my son’s graduation party, and everyone said they were better than the ones we get at the local soul food spot. Don’t rush the cleaning, people! That’s the secret.
SO good! Made these for my family dinner last night and my kids loved it, even the one who swears he hates all ‘old people food’. The smell wasn’t nearly as bad as I thought it would be as long as you have the vent on and a little pot of cinnamon and water simmering on the back burner like my mom taught me. Will definitely be adding this to our regular rotation!
I was so intimidated to try this since it’s marked hard difficulty, but the step-by-step instructions made it totally doable! The 3.5 hour simmer time felt long, but my whole house smelled amazing by the end, not that harsh chitlin smell I remember from my uncle’s house growing up. Only thing I added was a little extra cayenne because we like our food spicy. 10/10, don’t let the hard rating scare you off!