
Chitterlings/Chitlins
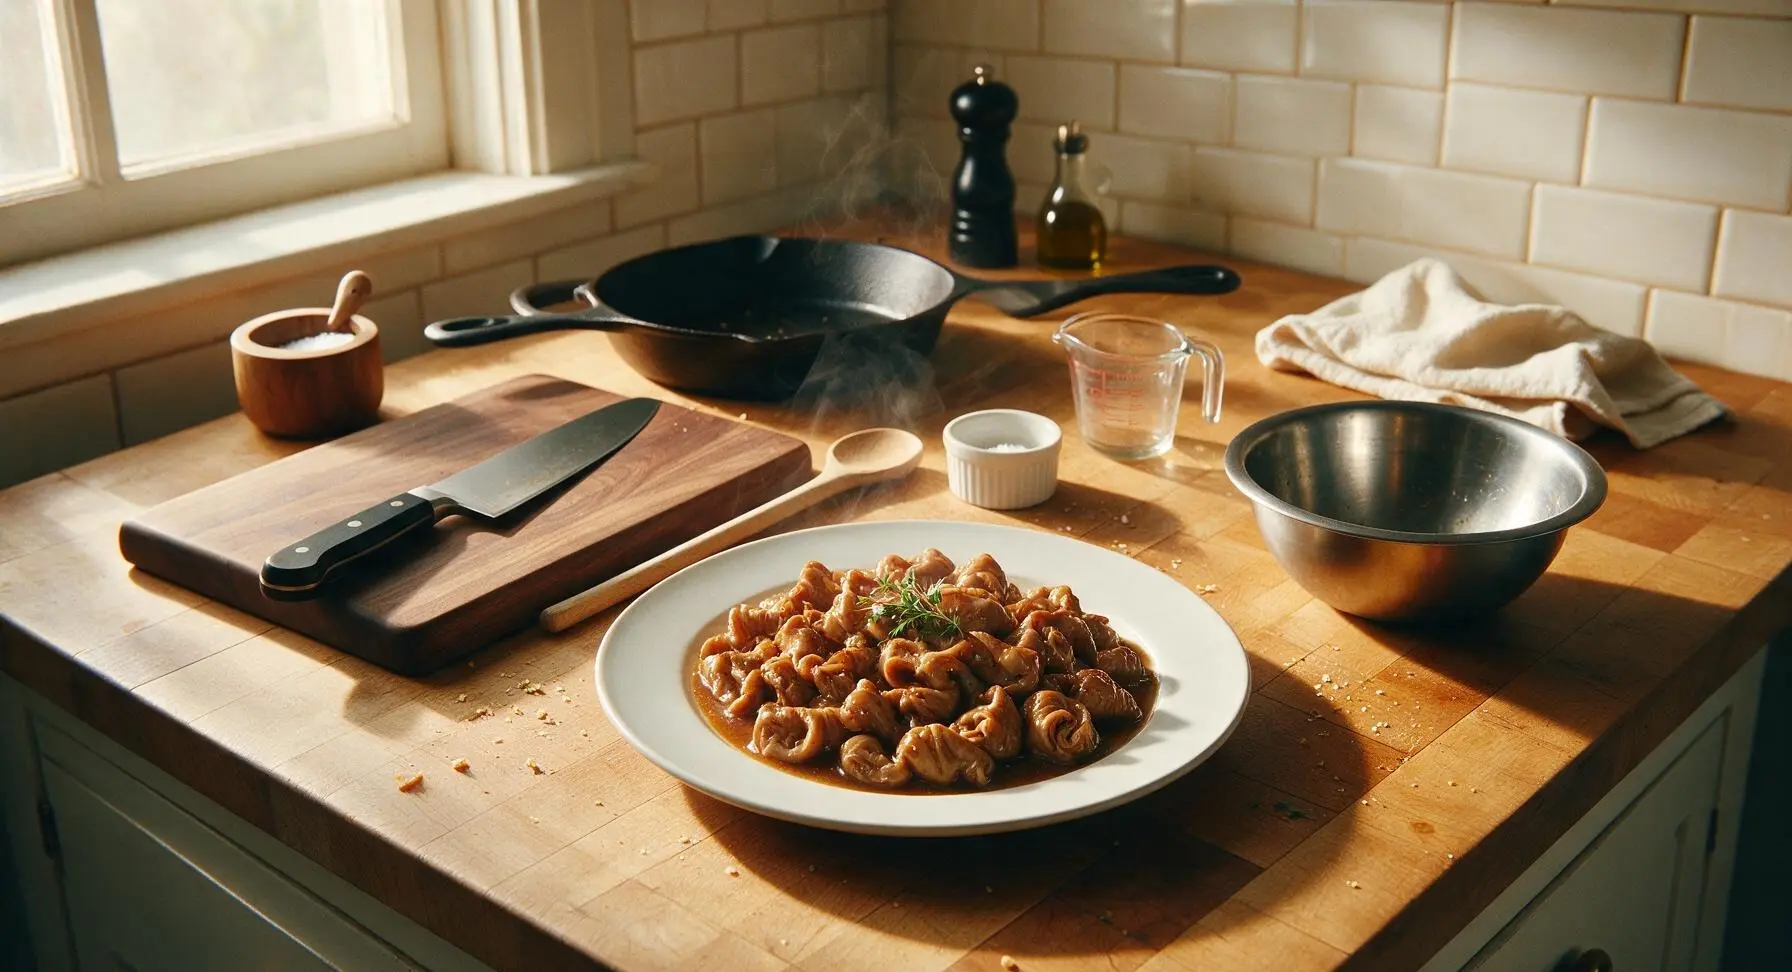
intro
Slow-simmered to melt-in-your-mouth tenderness, classic Southern chitterlings (chitlins) are a beloved soul food staple, seasoned with aromatic vegetables and spices for rich, deep, comforting flavor.
Ingredients
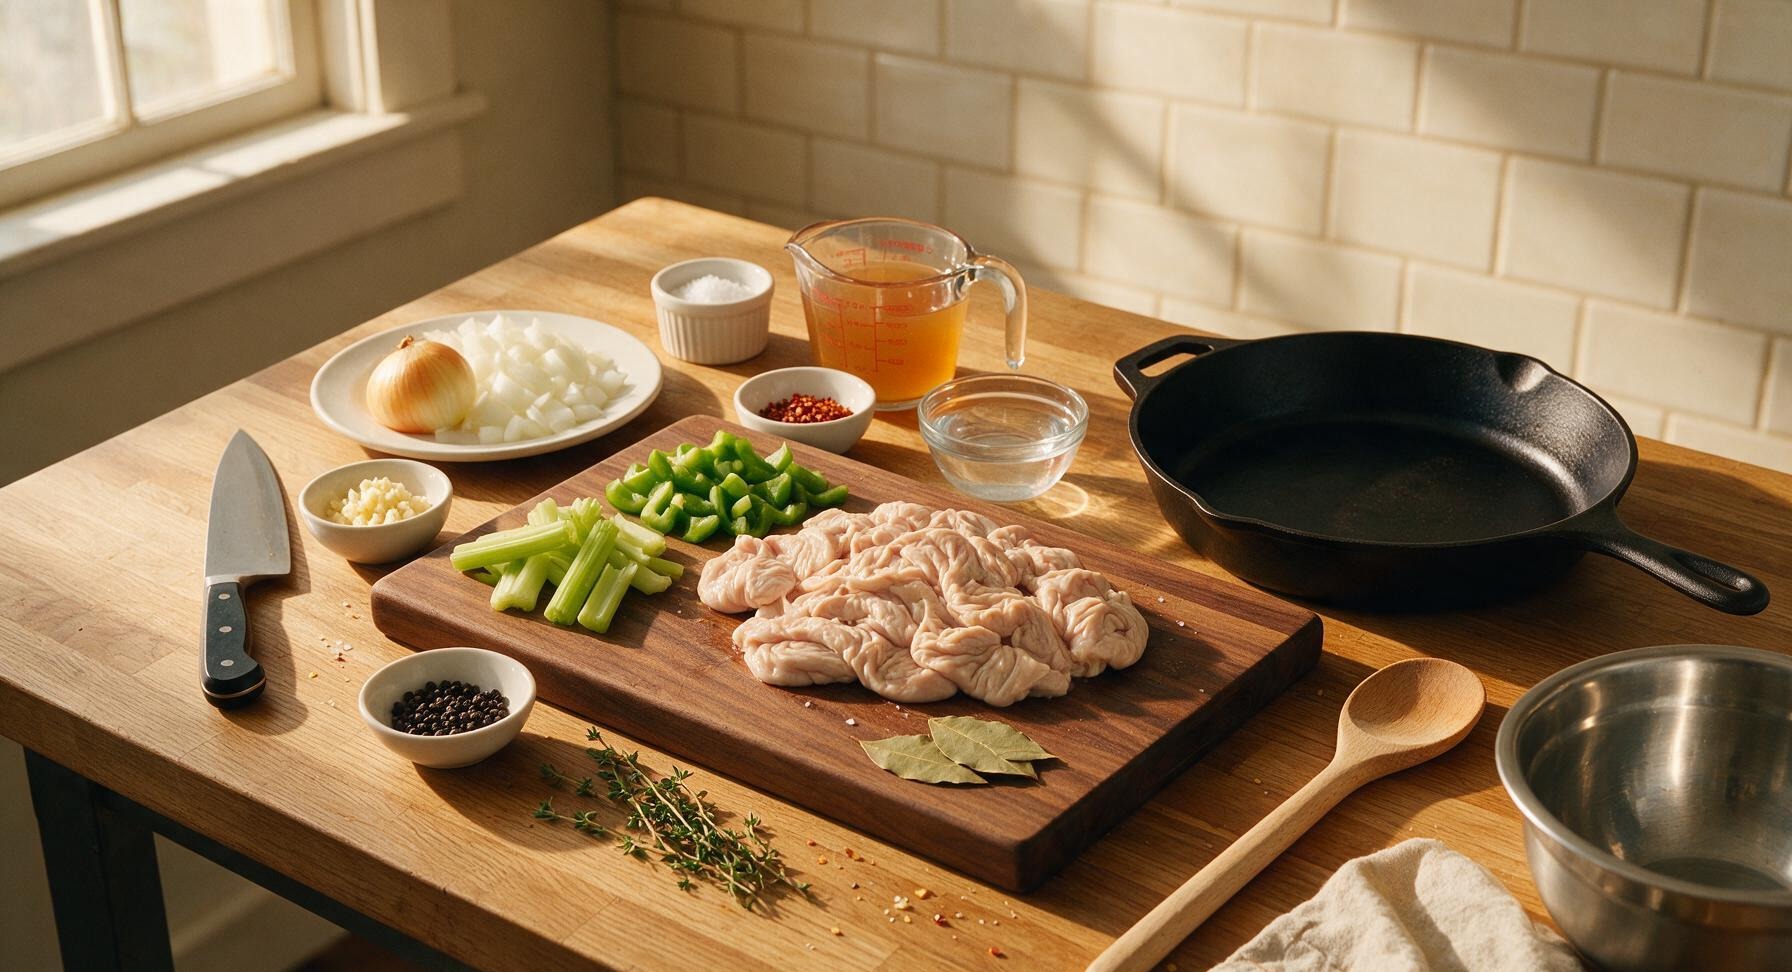
Steps
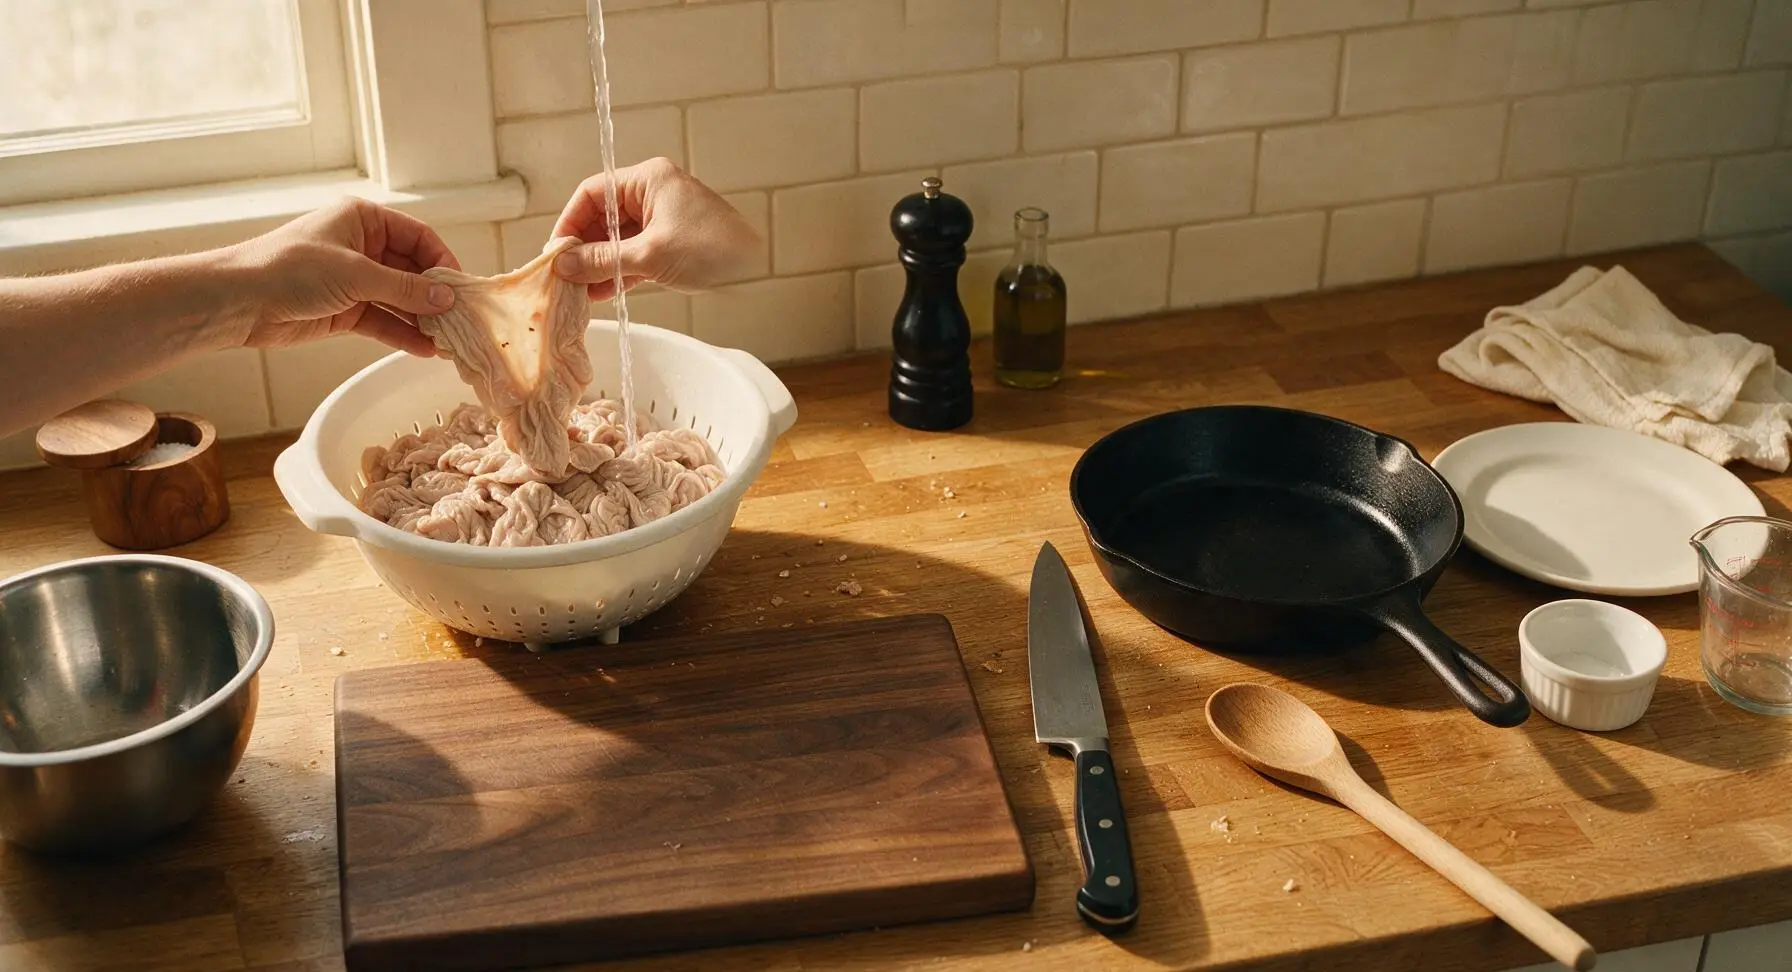
Rinse and Inspect Chitlins
Empty the 5 lbs of raw chitterlings into the white plastic colander. Rinse thoroughly under cold running water for 5 minutes, gently pulling apart folded sections to inspect for any remaining undigested food particles, excess tough fat, or discolored membrane. Discard any discolored, tough pieces as you rinse, until all visible surface debris is washed away.
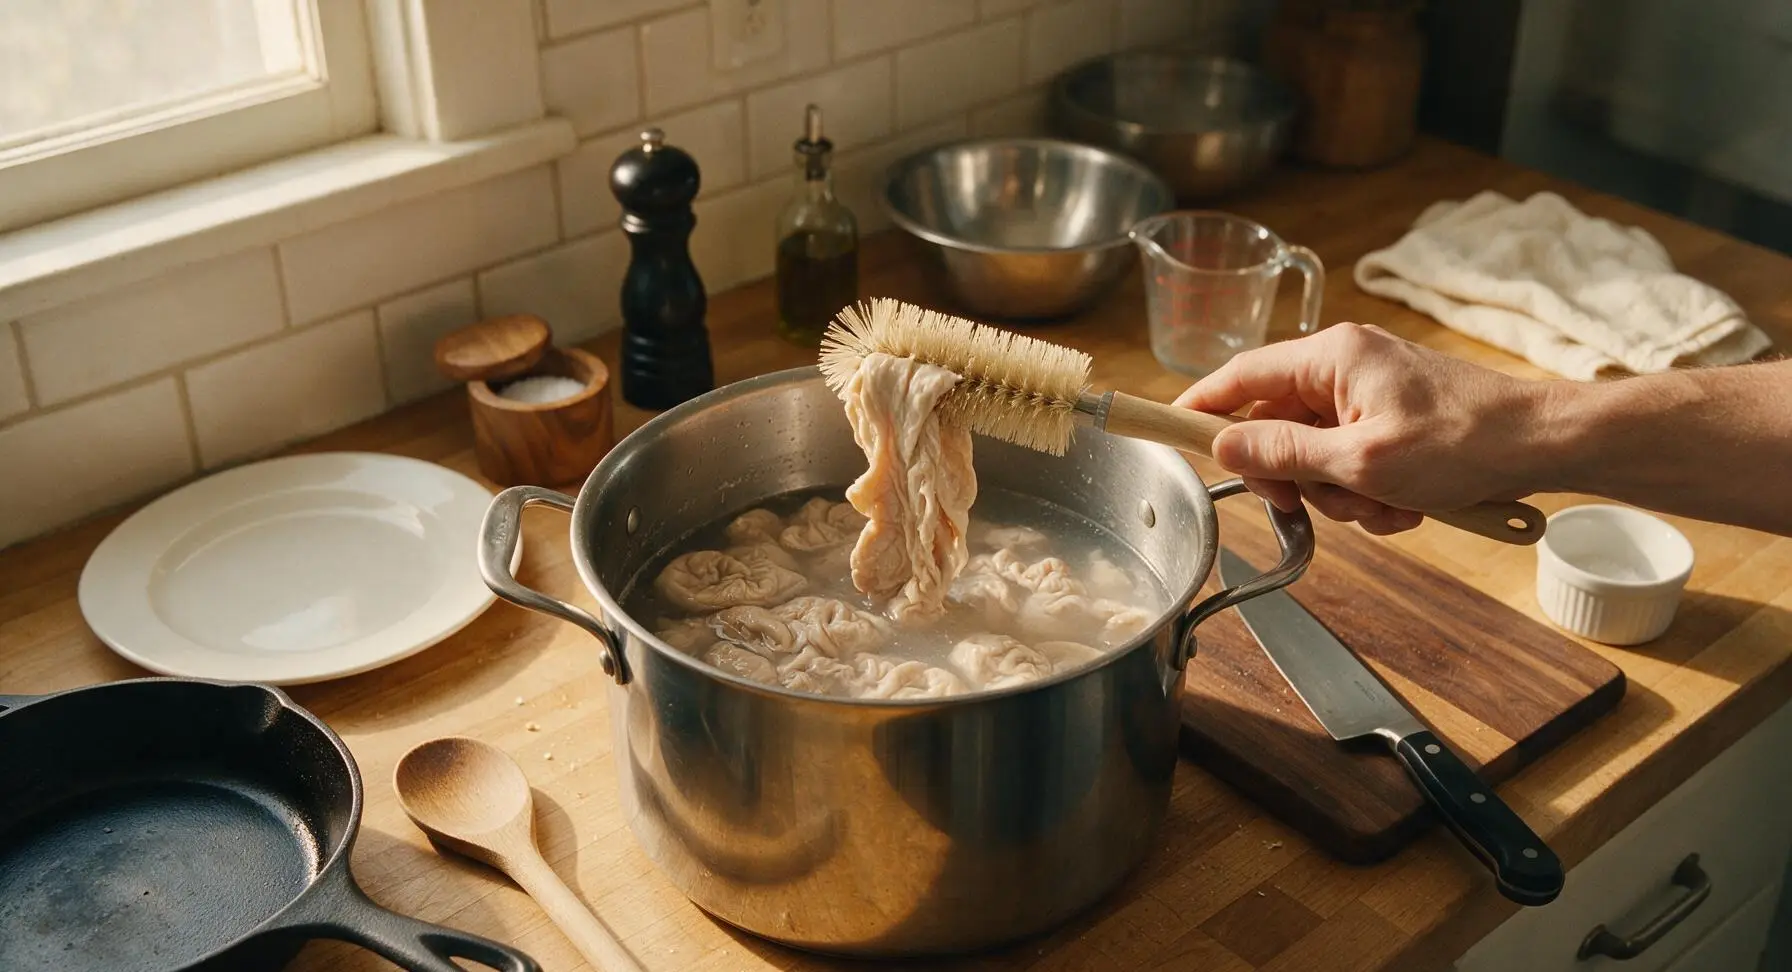
Scrub and Soak Chitlins
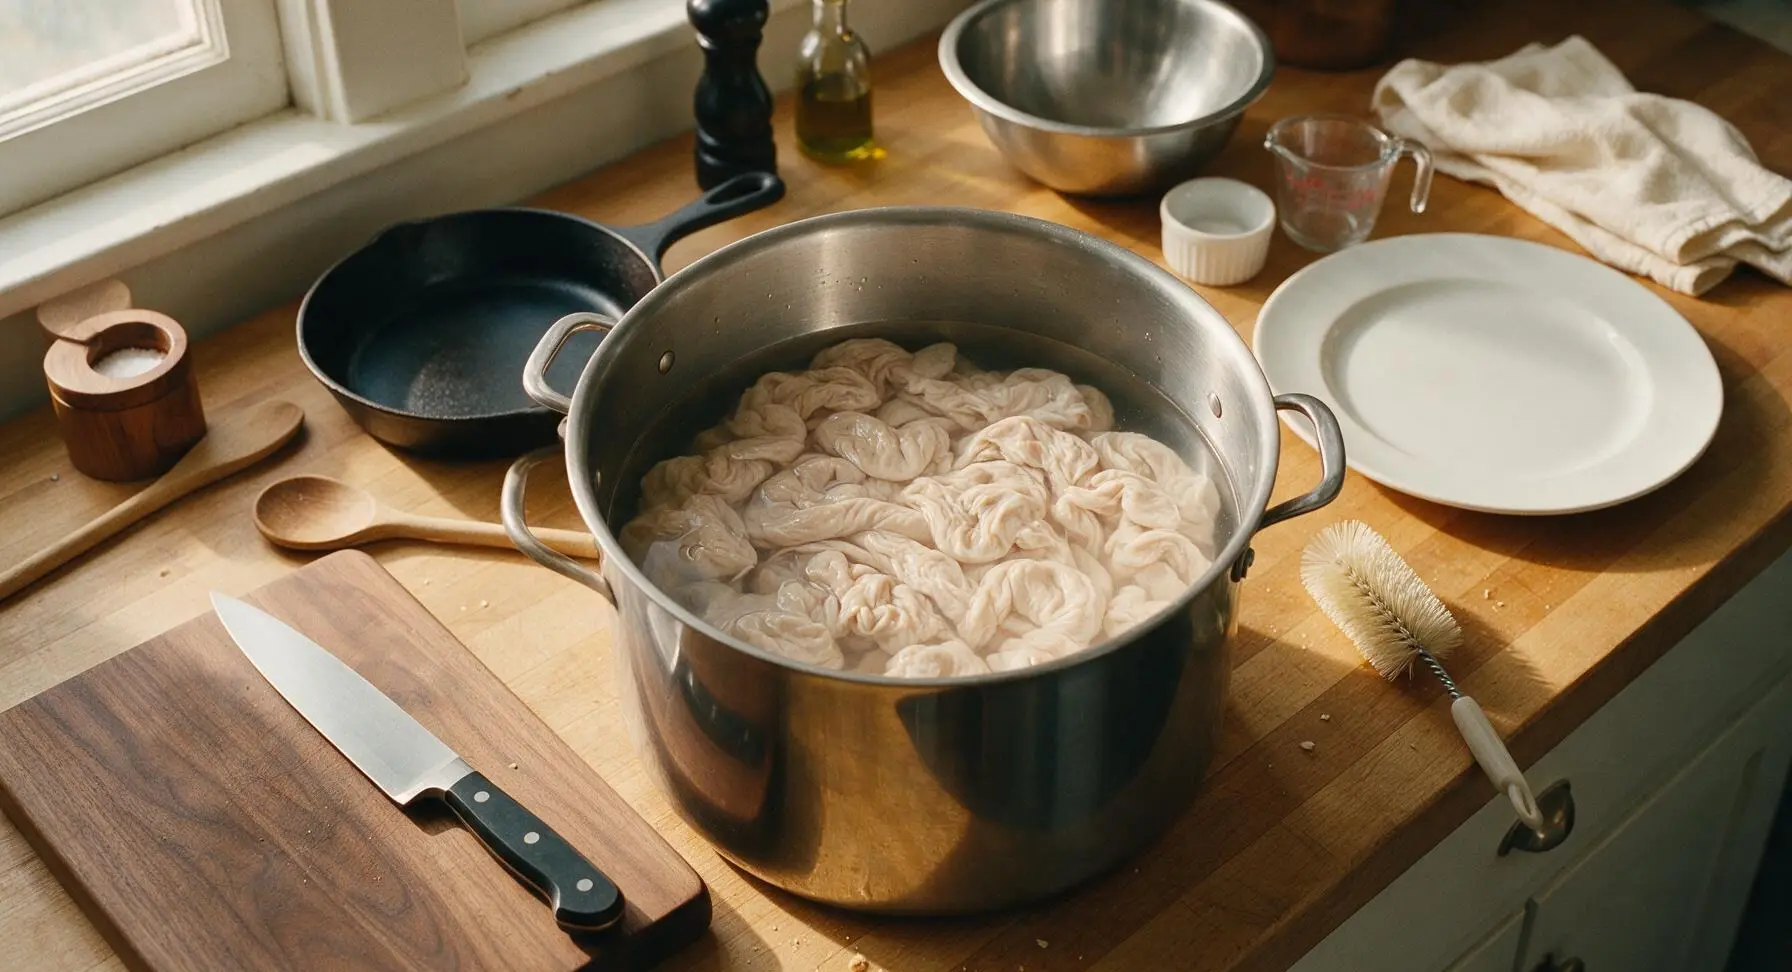
Transfer rinsed chitterlings to the 12-quart stainless steel stock pot. Add 1/4 cup apple cider vinegar and enough cold water to fully cover the chitlins by 2 inches. Use the stiff nylon cleaning brush to gently scrub the interior and exterior of each chitlin section, working in small batches to ensure every surface is cleaned. Let chitlins soak for 2 hours in cold water, draining and replacing the water every 30 minutes, until the soaking water runs completely clear with no cloudiness or floating debris.
Cut Chitlins to Size
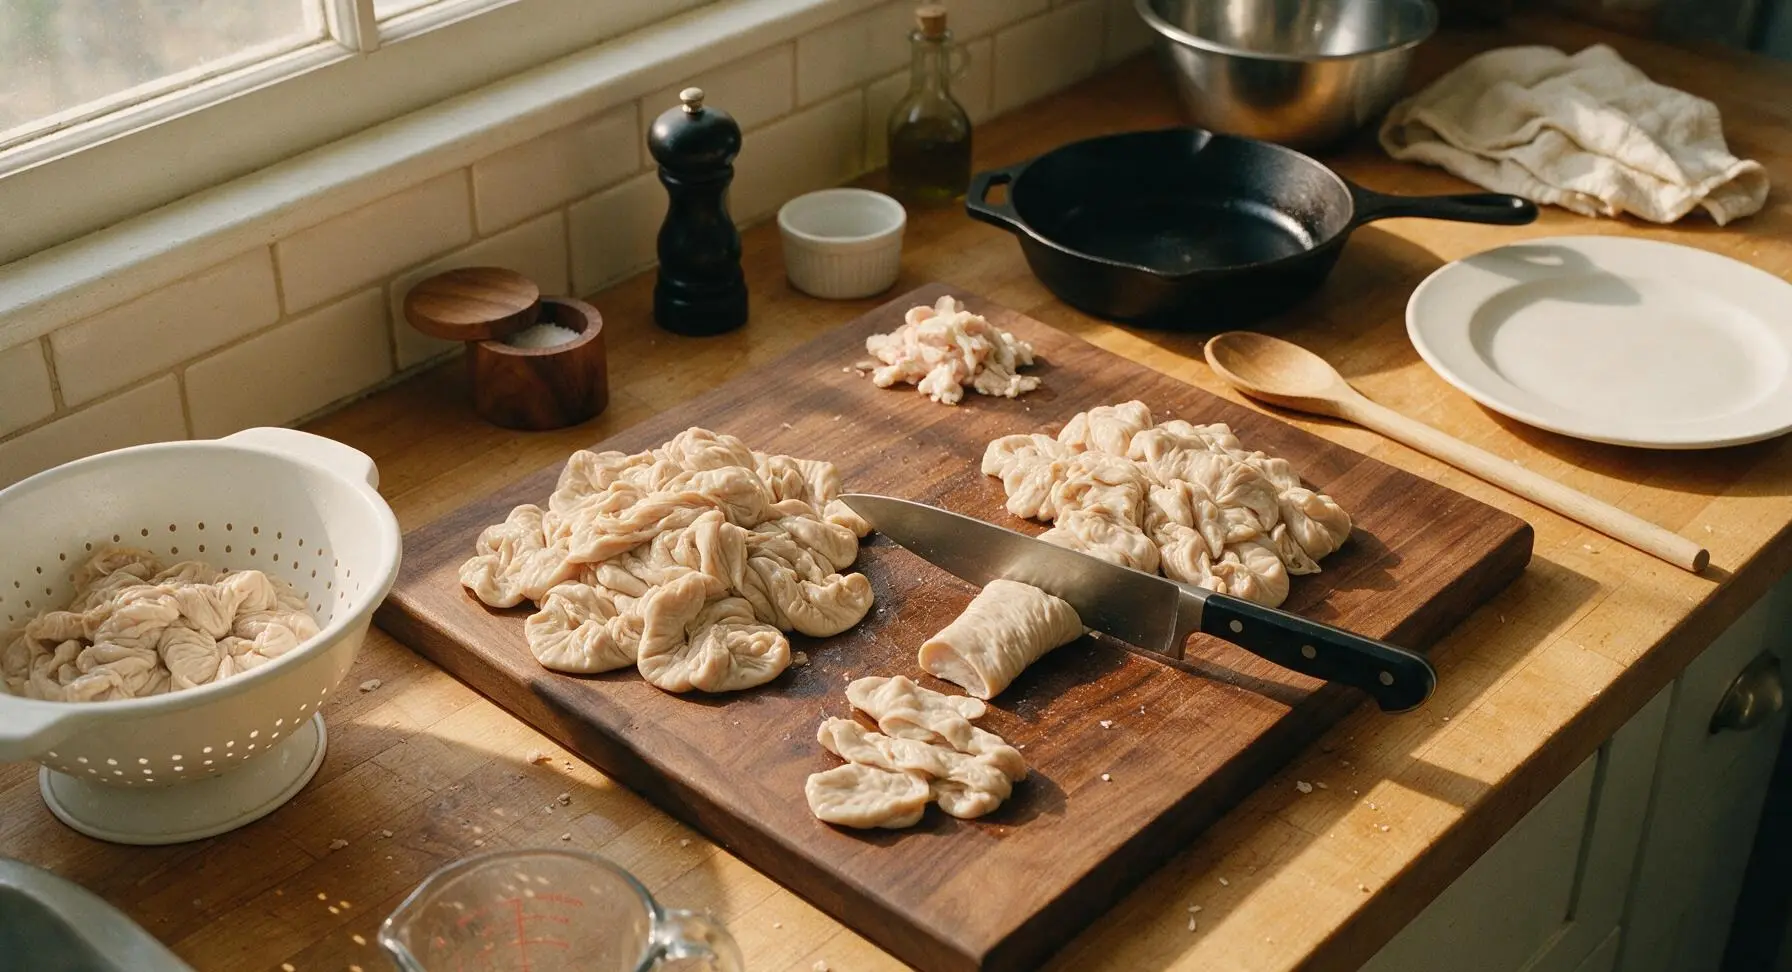
Drain the fully soaked chitlins back into the white plastic colander, shaking off excess water. Transfer clean chitlins to the bamboo cutting board. Use the walnut-handle chef knife to cut chitlins into uniform 2-inch bite-sized pieces, trimming away and discarding any remaining patches of tough membrane or thick excess fat as you cut.
Prep Aromatic Vegetables
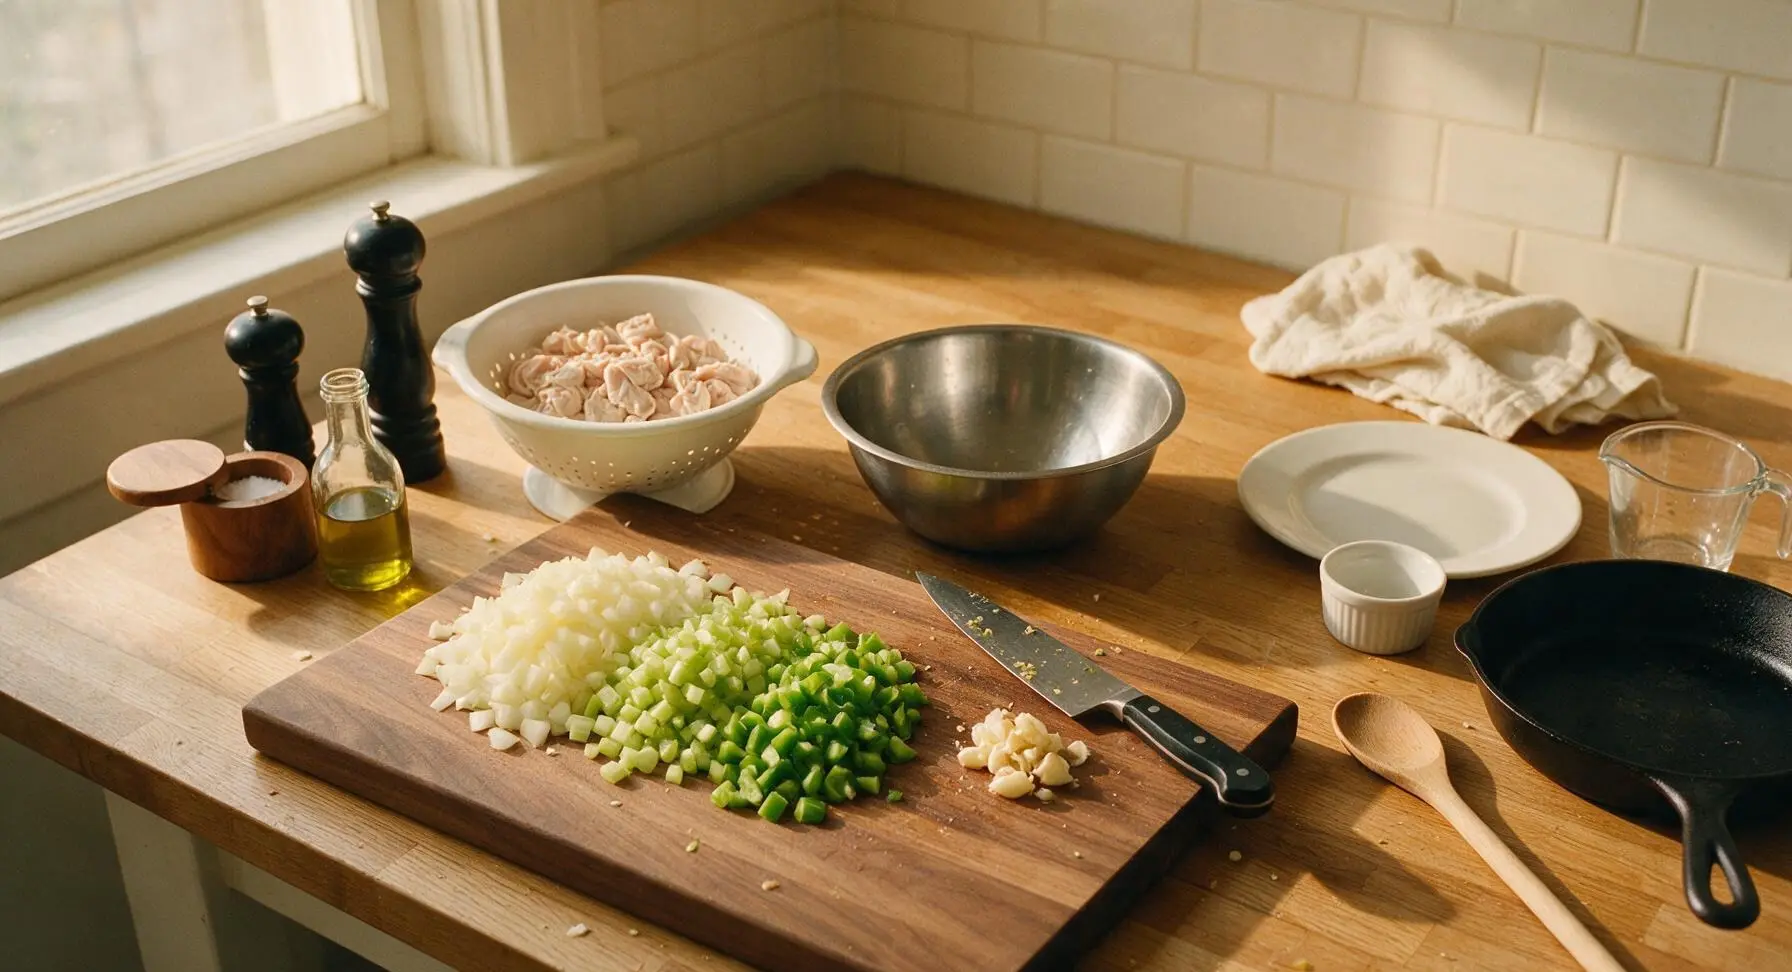
Move the cut chitlins from the cutting board back into the colander set to the side. Place the yellow onion, celery stalks, green bell pepper, and garlic cloves on the bamboo cutting board. Use the chef knife to chop the onion, celery, and bell pepper into uniform 1/2-inch dice, then crush garlic cloves with the flat of the knife, remove papery skins, and roughly chop. Collect all chopped vegetables in the medium stainless steel mixing bowl.
Combine All Ingredients
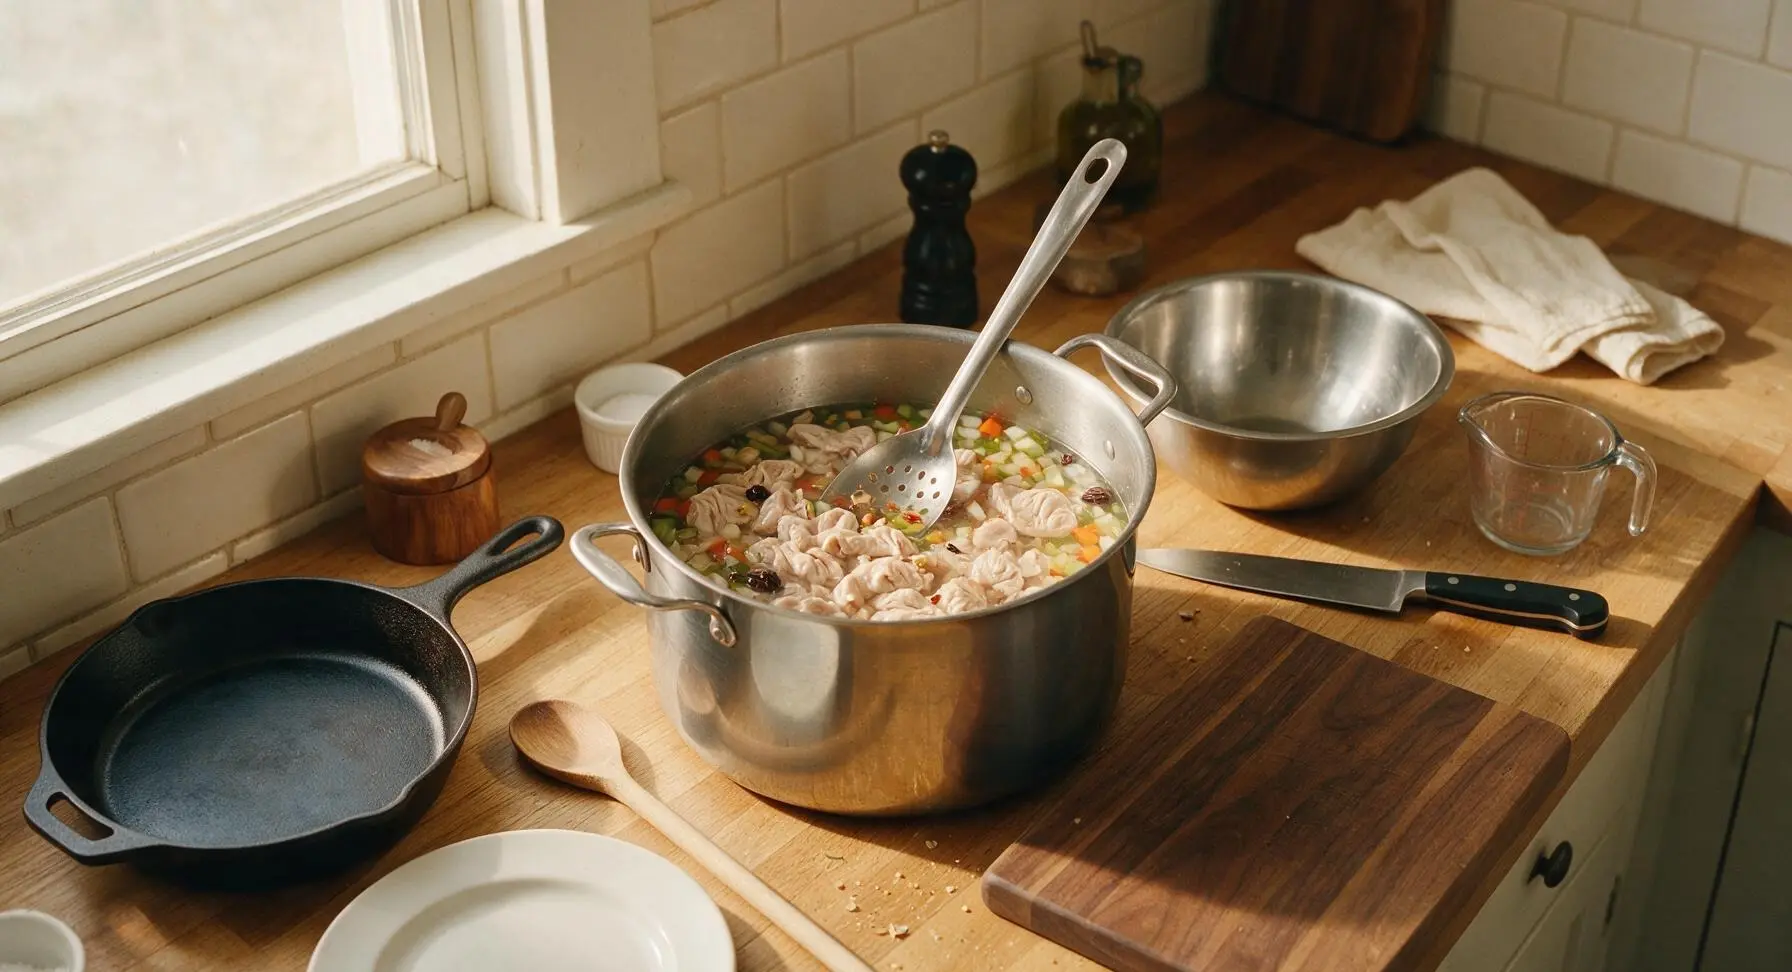
Return the cut chitlins to the now-clean 12-quart stainless steel stock pot set on the counter. Add the chopped aromatic vegetables, remaining 1/4 cup apple cider vinegar, kosher salt, whole black peppercorns, crushed red pepper flakes, bay leaves, and fresh thyme sprigs. Use the 1-liter glass measuring cup to pour 8 cups of cold water over the ingredients, then stir with the long slotted stainless steel spoon to fully combine all ingredients evenly.
Slow Simmer Until Tender
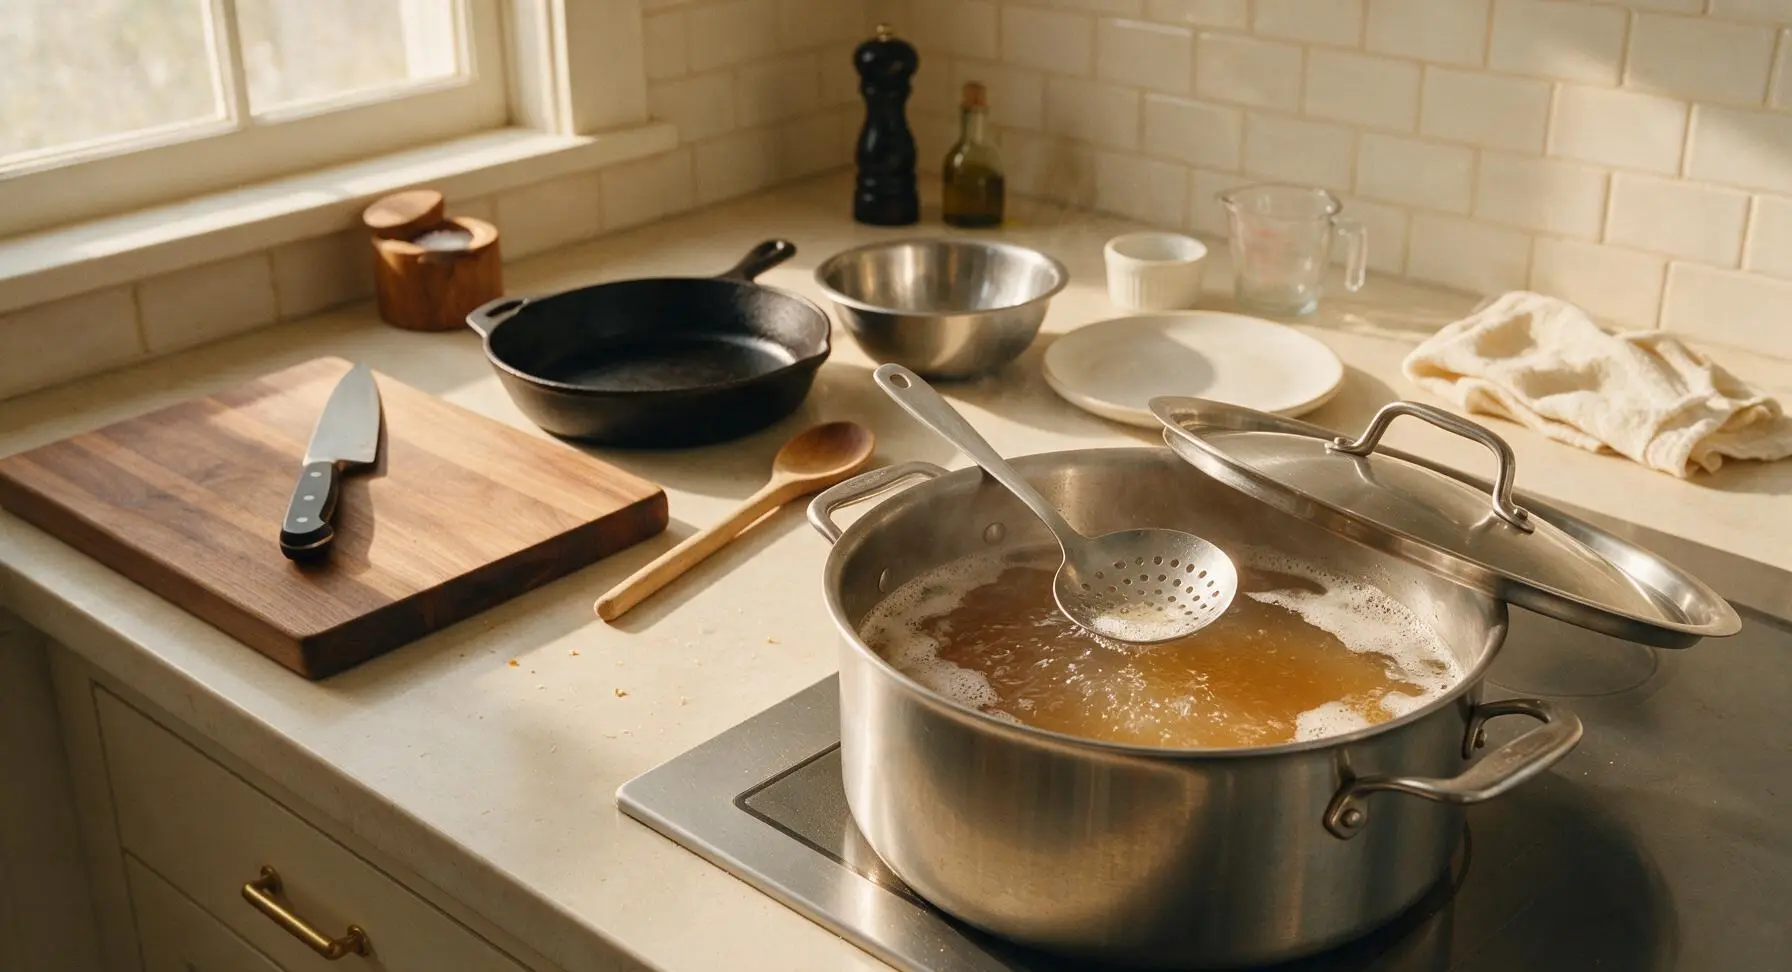
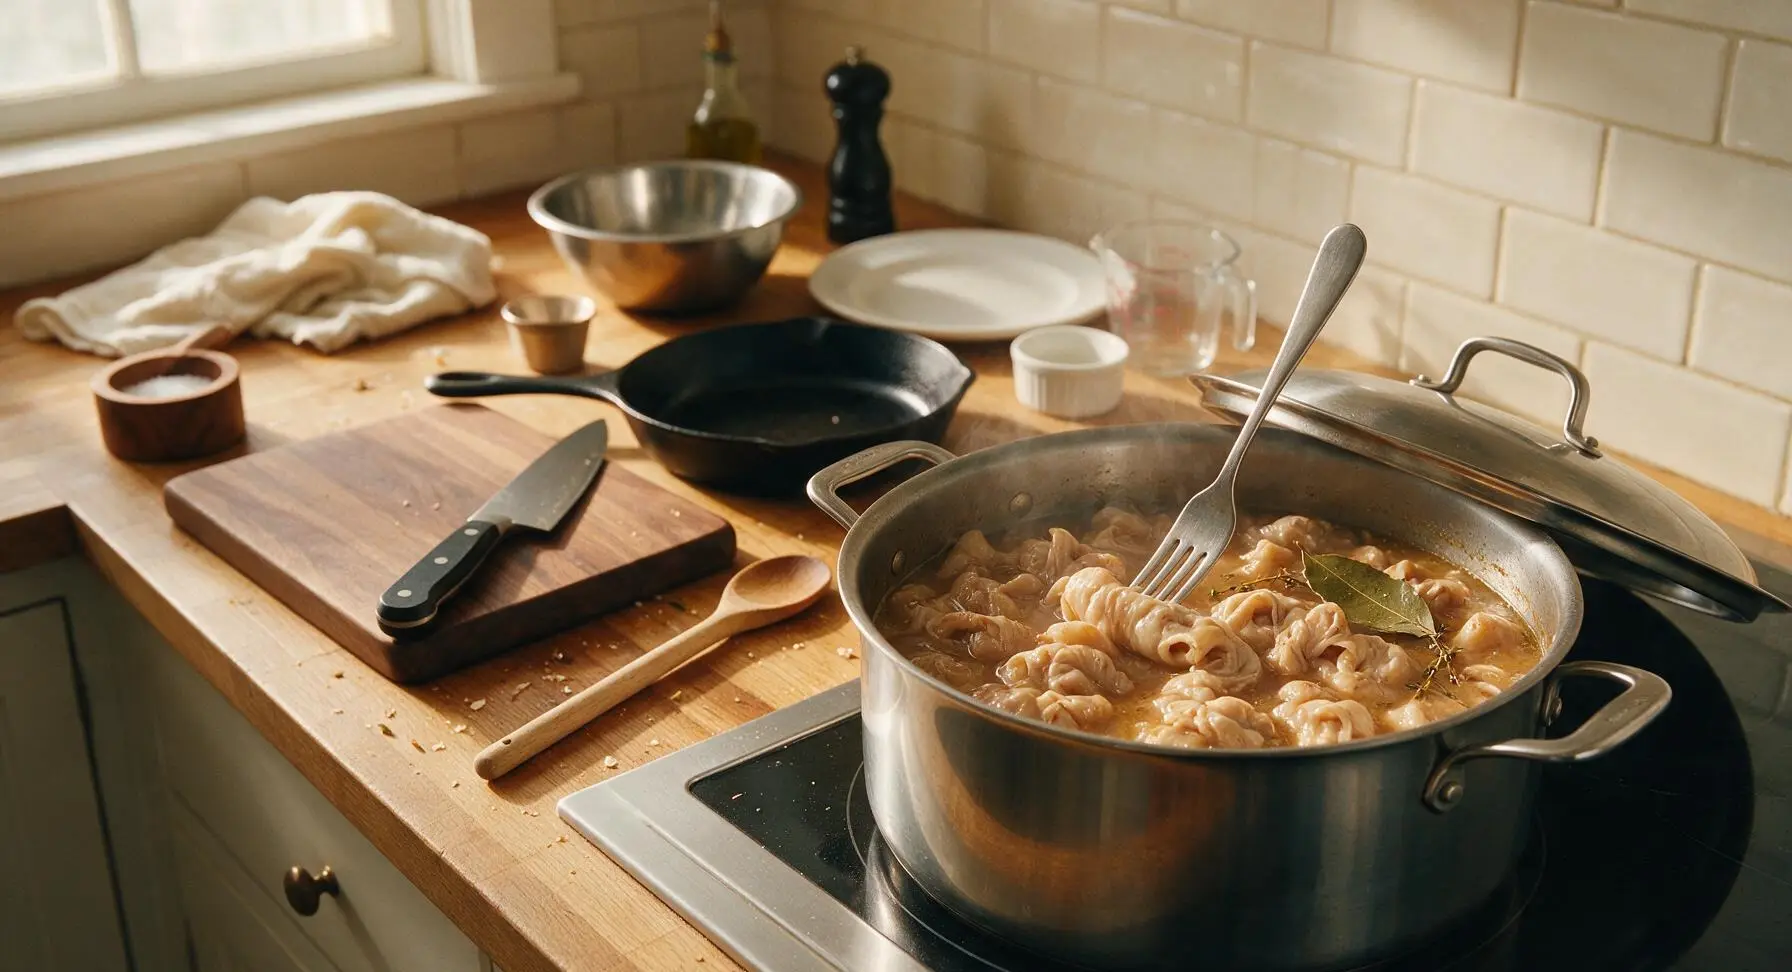
Move the stock pot to the flush induction cooktop set into the right section of the counter. Turn heat to medium-high to bring the liquid to a rolling boil, then immediately reduce heat to the lowest setting. Partially cover the pot with its stainless steel lid, and let chitlins simmer gently for 3 hours, stirring every 30 minutes with the slotted spoon. Skim any white foam that rises to the surface during the first 30 minutes of cooking. Chitlins are done when they pierce easily with a fork with no rubbery resistance, and the cooking broth has turned a rich light amber color.
Season and Plate Chitlins
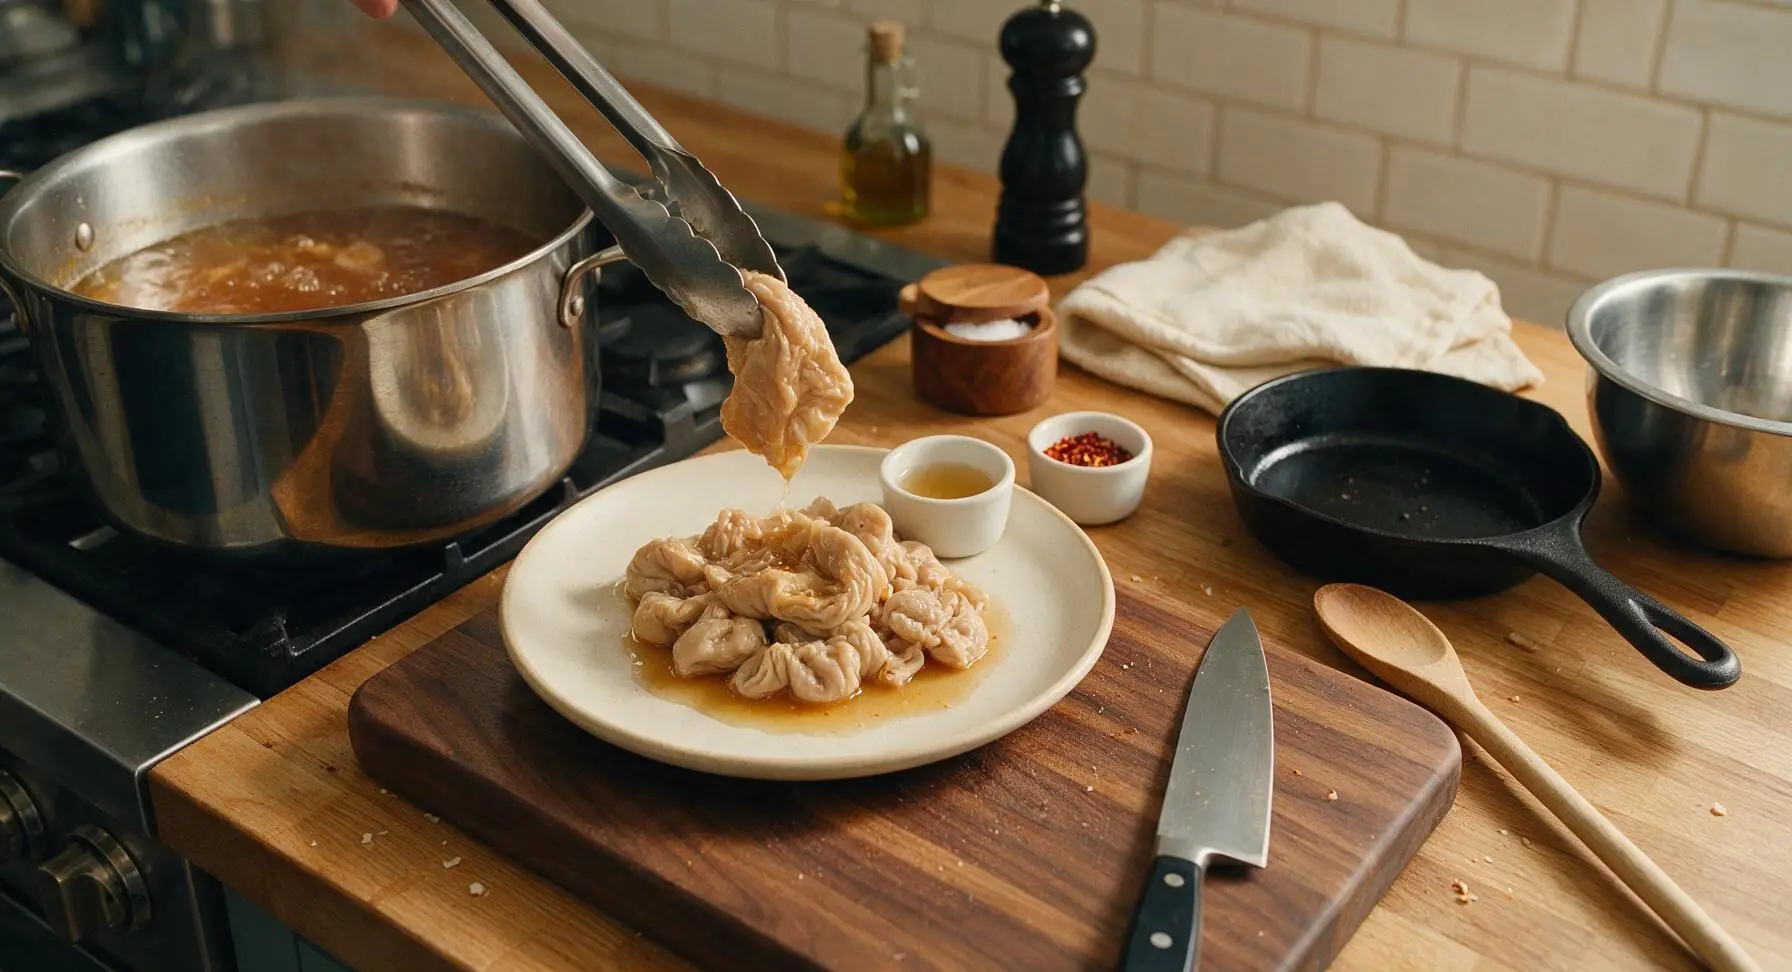
Turn off the heat, then use the slotted spoon to fish out and discard the bay leaves and woody thyme stems. Taste the broth, adding extra salt or red pepper flakes if desired. Use the stainless steel tongs and slotted spoon to transfer tender chitlins and 1/4 cup of the amber broth to the matte cream ceramic dinner plate. Set out small ramekins of extra apple cider vinegar and red pepper flakes on the side for diners to add to taste.
Tips
2.Maintain a gentle, low simmer at all times: A hard, rolling boil will cause chitlins to shrink, toughen, and become rubbery instead of melt-in-your-mouth tender. Adjust heat as needed so only small, slow bubbles break the broth surface, and skim surface foam in the first 30 minutes for a clear, clean-tasting broth.
3.To reduce strong cooking odors in your home, simmer a small saucepan of water with a cinnamon stick and fresh orange peel on a nearby burner while chitlins cook; this natural air freshener neutralizes the distinct, strong scent of simmering chitlins without altering the flavor of the dish.






OMG y’all, I’ve been making chitlins for Thanksgiving every year for 27 years and this recipe is a GAME CHANGER. The slow simmer with the onion, vinegar, and a little crushed red pepper? No more weird bitter aftertaste I used to get when I rushed the cook time. My whole family fought over the last serving at dinner yesterday!
Full transparency: I was terrified to make chitlins for the first time because everyone talks about how much work they are and how easy it is to mess them up. This recipe walked me through every single cleaning step so clearly! Mine came out tender, perfectly seasoned, no off smell at all. Made them for my roommate’s birthday potluck and everyone was asking for the recipe. SO good.
Brought these to our church potluck last Sunday and people were lined up for seconds before I even set the dish down! I added a little extra hot sauce on the side per my grandma’s tip, and it paired perfectly with the slow simmered flavor. Will absolutely be making these again for our Christmas dinner.
Grew up eating my auntie’s chitlins every Christmas in the city and I swear this recipe tastes exactly like hers. I was worried I’d never get the flavor right now that she’s gone, but the 3 hour slow simmer is exactly what she used to do. Tasted like home, I cried a little when I took the first bite.
My kids are so picky, I was fully expecting them to turn their noses up at chitlins when I made these for Sunday dinner. Y’all. They asked for SECONDS. Even my 8 year old who hates everything except chicken nuggets dipped them in hot sauce and ate a whole plate. 10/10, will be on our monthly dinner rotation from now on.
Made these on my camp stove during our fall road trip stop in Tennessee. Took a little extra time to clean them properly at the campsite, but the slow simmer over low campfire heat was unreal. Ate them with cornbread and collards, best camp meal I’ve ever made hands down.
I upped the cayenne and added a handful of chopped jalapeños the last hour of simmering, and WOW. If you like a little extra kick, that tweak is chef’s kiss. The base recipe is perfect, super easy to adjust to your heat preference.
Had chitlins at every family gathering growing up down south, and this recipe holds up. The only thing I do different is add a couple bay leaves to the simmer pot, but the seasoning ratios here are spot on. No complaints from my crew when I made these for Mardi Gras pre-gaming last weekend.
Uh, help? I think I messed up the cleaning step? My whole house smelled like chitlins for two days after I made these, and they had that strong funky taste I was trying to avoid. Did I not rinse them enough? I only did like 3 rinses instead of the 6 the recipe said, oops.
Made a big batch of these on Sunday for meal prep, portioned them out with collards and mac and cheese for the work week. They reheated so well in the microwave, didn’t get rubbery at all like I was worried they would. Saved me so much money on takeout this week!
Made these for our college football tailgate last weekend, set them up in the slow cooker to keep warm, and they were gone in 20 minutes. Even my buddies from up north who said they’d never try chitlins were raving about them. Total touchdown of a recipe.
So happy this recipe is naturally gluten free! I’ve been missing chitlins since I went GF because so many pre-made seasoning packets have hidden wheat, but making them from scratch with this recipe let me control every ingredient. Tasted just like the ones my dad used to make before I had to switch my diet.
I’ve been making chitlins for 40+ years and I’ll admit, I was skeptical of an online recipe telling me how to do it. But I tried this method for my grandson’s graduation cookout, and I gotta hand it to ya, it’s solid. The low and slow simmer makes them so much more tender than my old higher-heat method. Tip for new cooks: don’t rush the cook time, it’s worth every minute.
Tested these with 4 different hot sauces from my collection: vinegar-based, habanero, garlic, and even a mango habanero. All of them slapped. The mild, rich flavor of the slow simmered chitlins is the perfect base for whatever hot sauce you love. 10/10, will be making these for my next hot sauce tasting night with friends.
I was in charge of the soul food spread for our family Kwanzaa celebration this year, and these chitlins were the star of the show. I served them with cornbread, collard greens, candied yams, and fried chicken, and every single person asked if I’d make them again next year. So worth the 3 hour cook time, I promise.
Wait, mine came out really rubbery? I followed the cook time exactly, 3 hours, but maybe my stove was too high? I had it on medium instead of the lowest simmer like the recipe said, oops. Flavor was great but texture was off, anyone else have this issue?
Moved from Georgia to Seattle two years ago and have been craving good chitlins so bad I could cry. None of the restaurants out here make them right, so I decided to make them myself with this recipe. Y’all, I almost cried when I took the first bite, it tasted exactly like home. Even my Seattle-native partner who had never tried chitlins before loved them!
I added a little smoked turkey leg to the pot while they simmered, just like my mom used to do, and it added the best depth of smoky flavor. This recipe is the perfect base to add your own family touches to, I can’t recommend it enough. Don’t let the hard difficulty rating scare you off, take your time and it’s so worth it.
My grandpa used to make chitlins every Sunday after church, and he always said the secret was to cook them slow while you watch the football game. This recipe is exactly his vibe – 3 hours of low simmer, no rush, perfect flavor. Made these for my grandpa’s 82nd birthday last weekend and he said they were better than his. Win of the century for me.