
Chive Mac and Cheese

title 1
Chive Mac and Cheese
⏱️ cook time 20 minutes
🍽️ servings 4
⚡ Difficulty easy

intro

Velvety stovetop mac and cheese brightened with fresh, grassy spring chives—rich, perfectly creamy, and ready in 30 minutes for no-fuss, cozy weeknight eating.

Ingredients
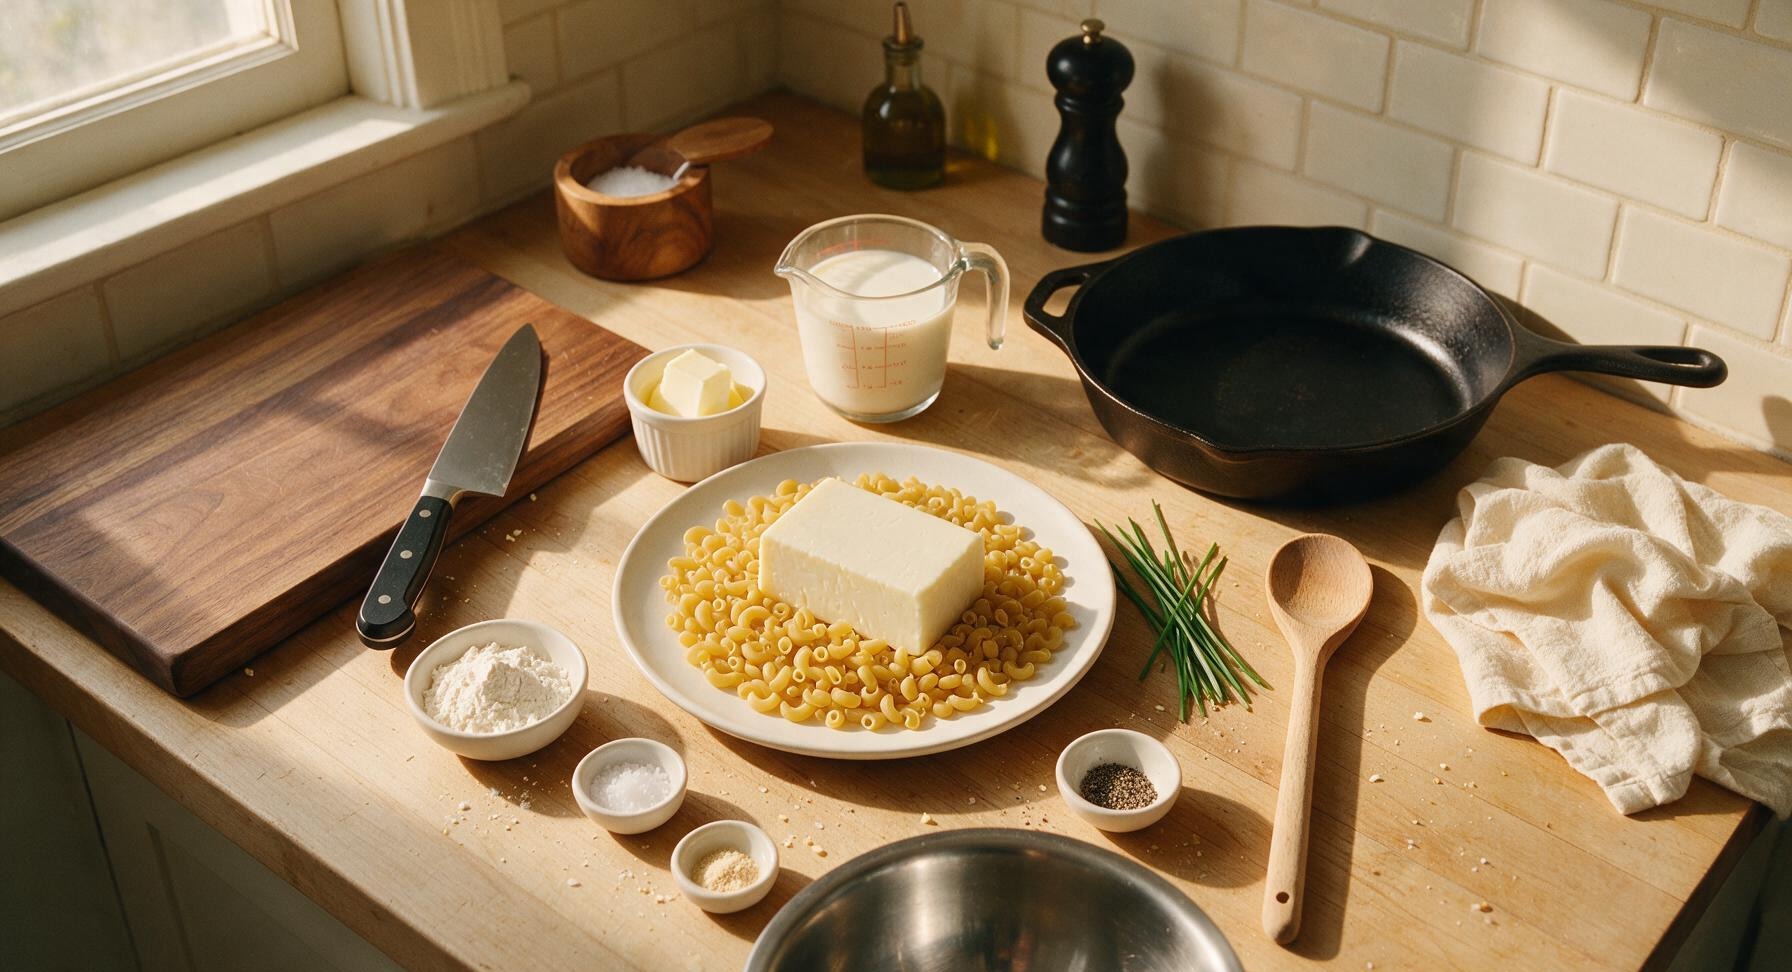
Elbow macaroni 225g (8oz, dry)
Sharp white cheddar cheese 200g (block, not pre-shredded)
Whole milk 360ml (1.5 cups)
Fresh chives 15g (1 small bunch)
Unsalted butter 30g (2 tbsp)
All-purpose flour 16g (2 tbsp)
Flaky sea salt 1 tsp, plus extra for pasta water
Freshly ground black pepper 1/2 tsp, plus extra for garnish
Garlic powder 1/4 tsp

Steps

1

Prep Cheese and Chives

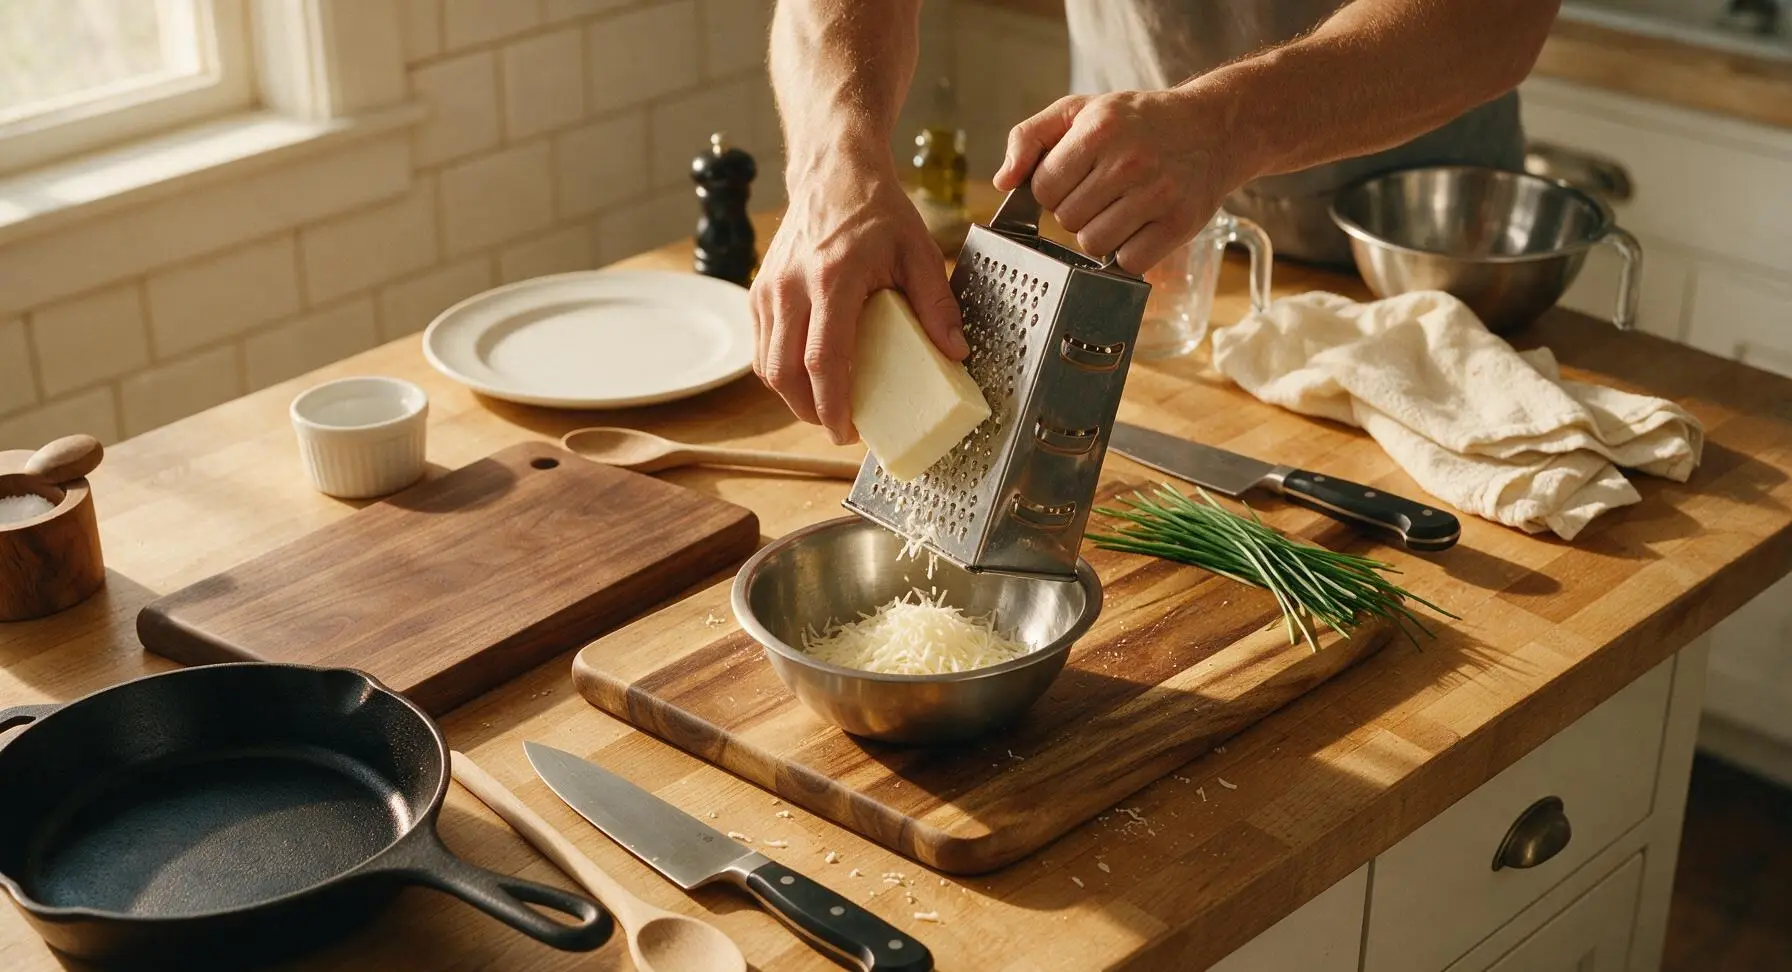
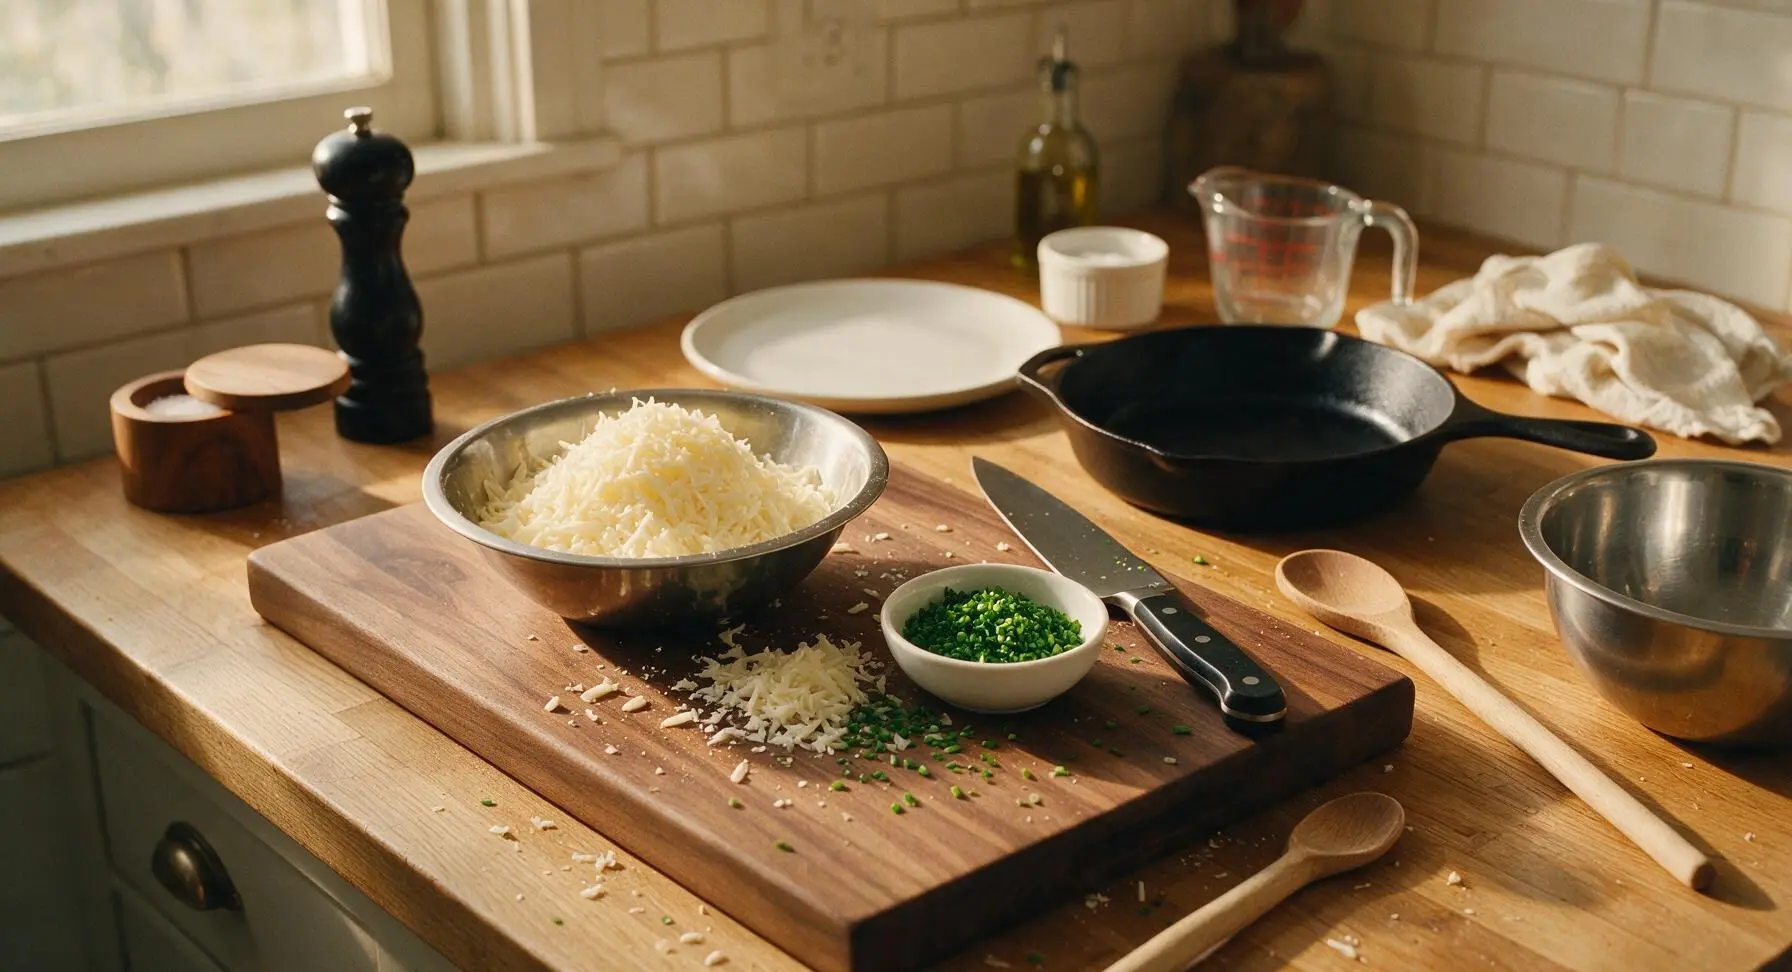
Set the acacia cutting board on the center of the counter. Use the stainless steel box grater on the coarse setting to shred the sharp white cheddar into the medium stainless prep bowl; do not use pre-shredded cheese, as it contains anti-caking agents that create grainy sauce. Gather the fresh chives, rinse under cool water, pat dry with the edge of the sage linen towel, then use the santoku knife to finely chop them into 3mm pieces, placing 3/4 of the chopped chives in the small prep bowl and reserving the remaining 1/4 for garnish. This step takes approximately 8 minutes.
Step 1
step1:Prep Cheese and Chives
Step 1
step1:Prep Cheese and Chives
2

Boil Pasta Water

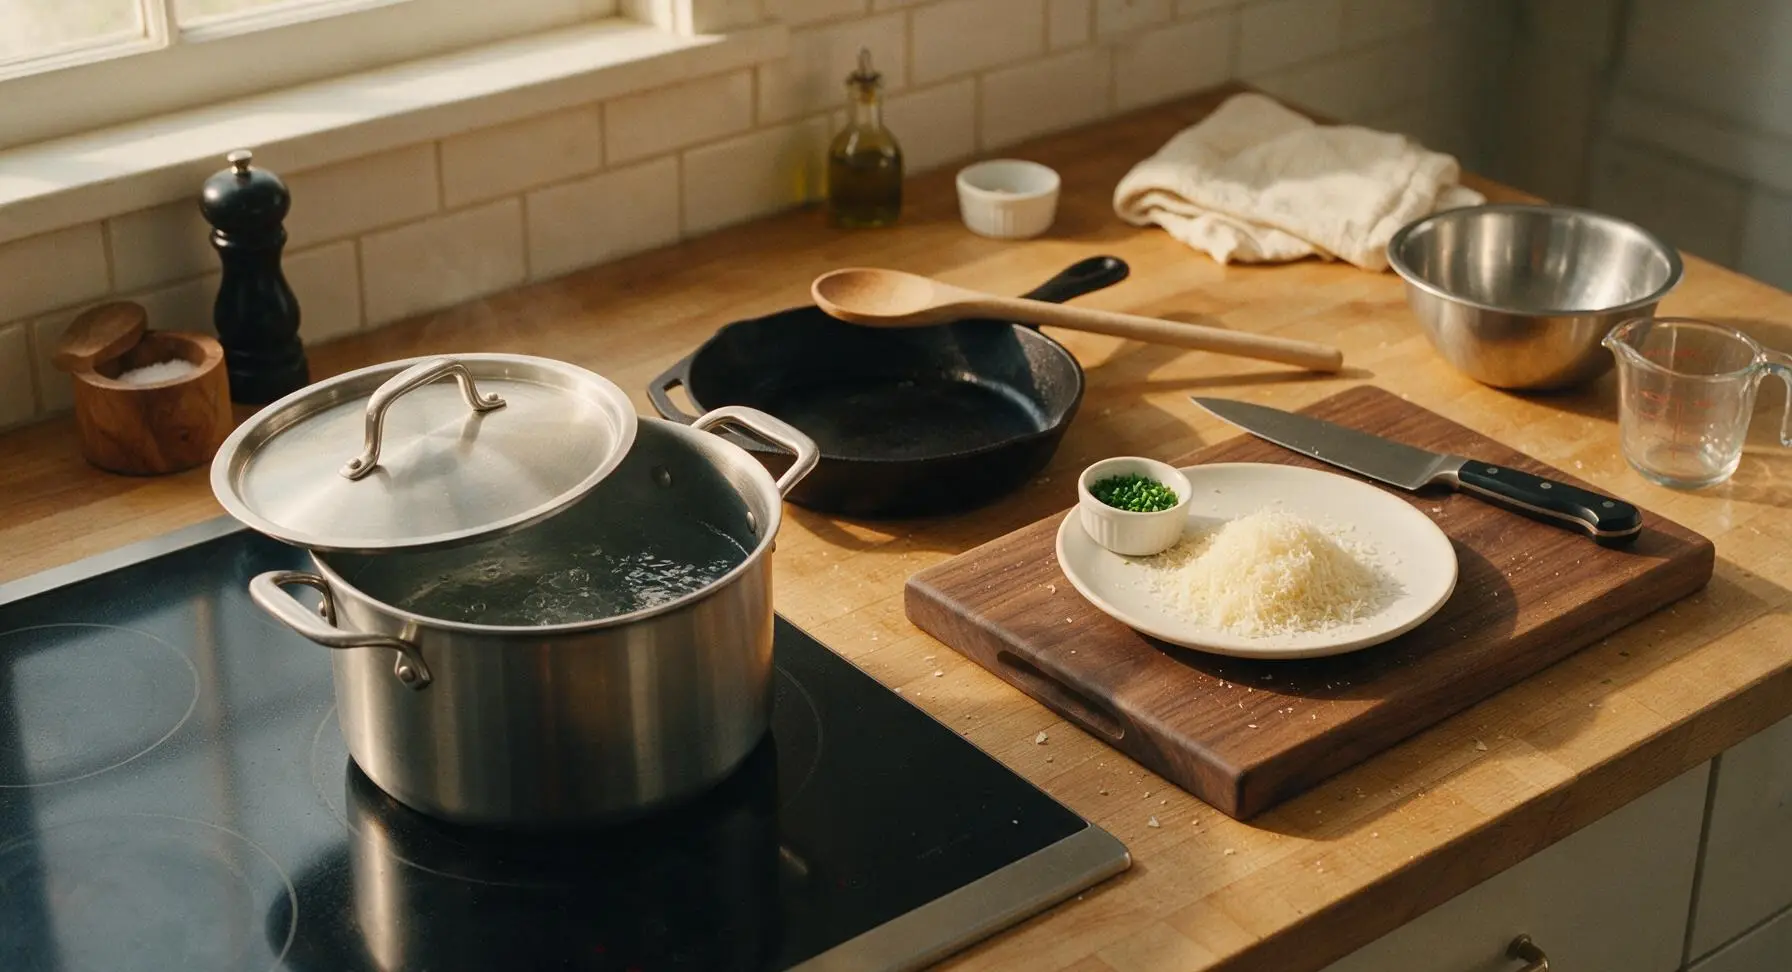
Place the 4-quart brushed stainless steel stock pot on the left section of the matte black induction stovetop, fill with 2 liters of cold water, add 1 teaspoon of flaky sea salt, and bring to a rolling boil over high heat (approximately 6 minutes). The water should taste as salty as seawater to properly season the pasta.
Step 2
step2:Boil Pasta Water
3

Cook Elbow Macaroni

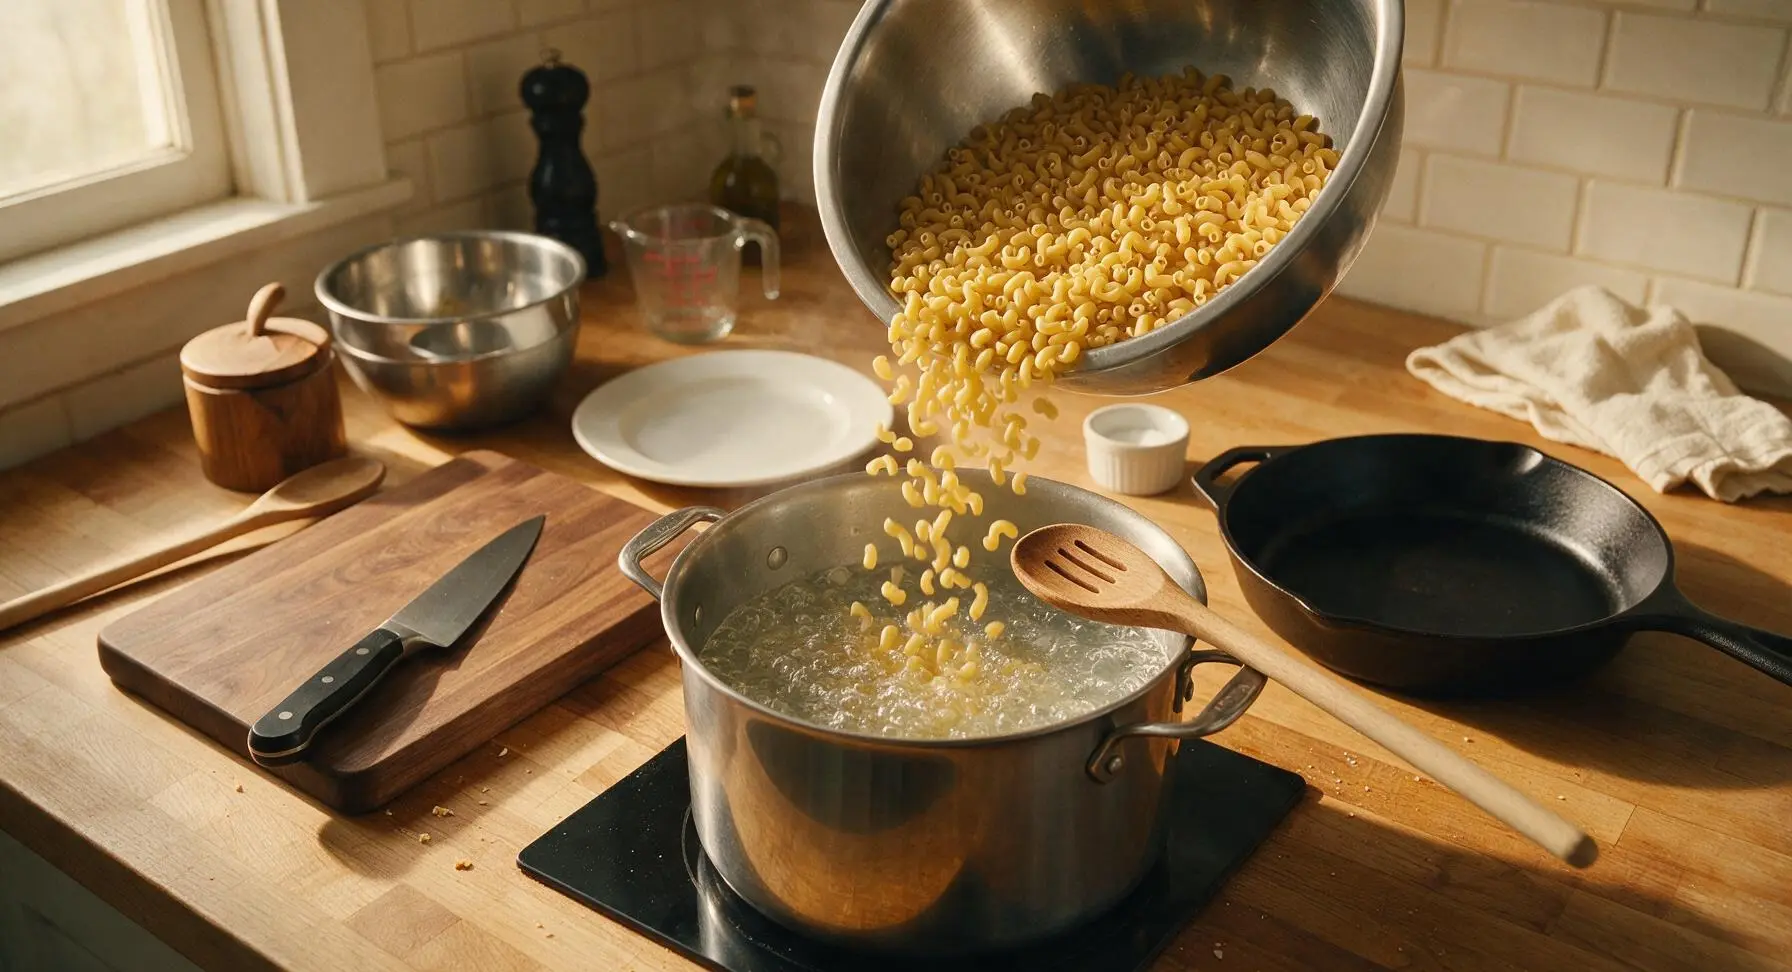
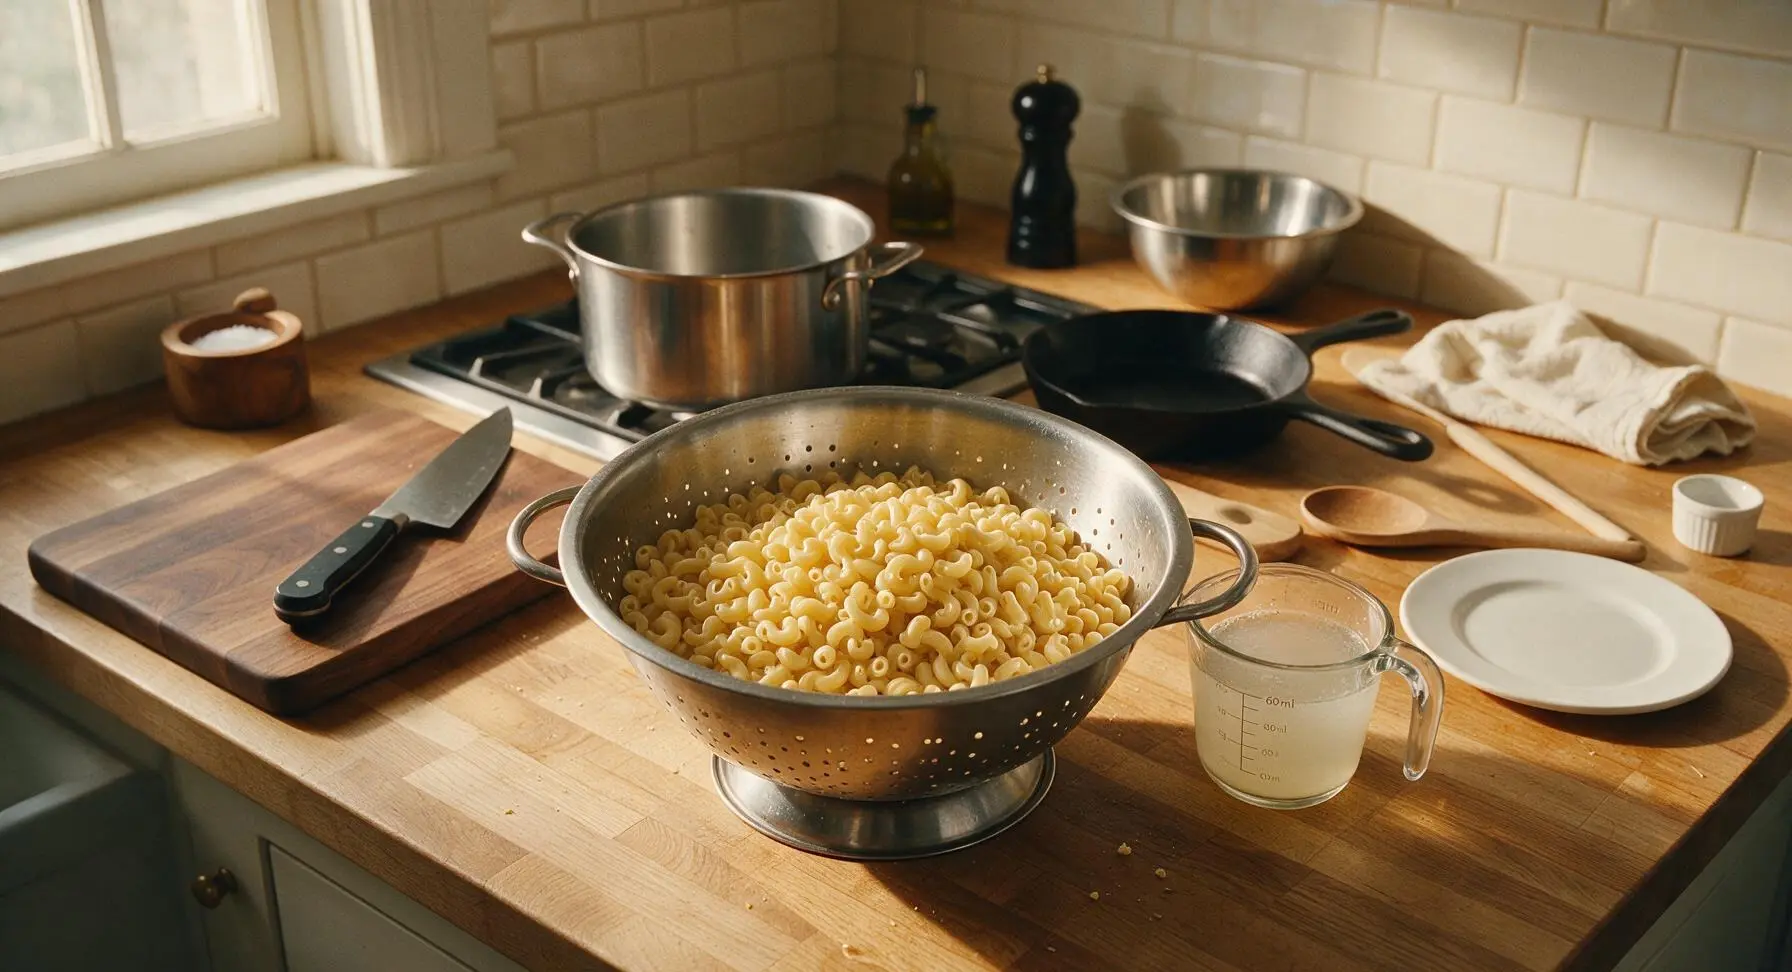
Once the water reaches a rolling boil, remove the pot lid, pour in the 225g of dry elbow macaroni, and stir immediately with the slotted beech wood spoon to prevent sticking. Cook for 8 minutes, stirring occasionally, until the pasta is al dente: it should have a slight firm bite at the center, no raw white core. Before draining, reserve 60ml (1/4 cup) of starchy pasta water in the clear glass measuring cup, then pour the pasta and remaining water into the stainless steel colander set in the sink to drain fully; do not rinse the pasta, as surface starch helps cheese sauce adhere.
Step 3
step3:Cook Elbow Macaroni
Step 3
step3:Cook Elbow Macaroni
4

Make Roux Base

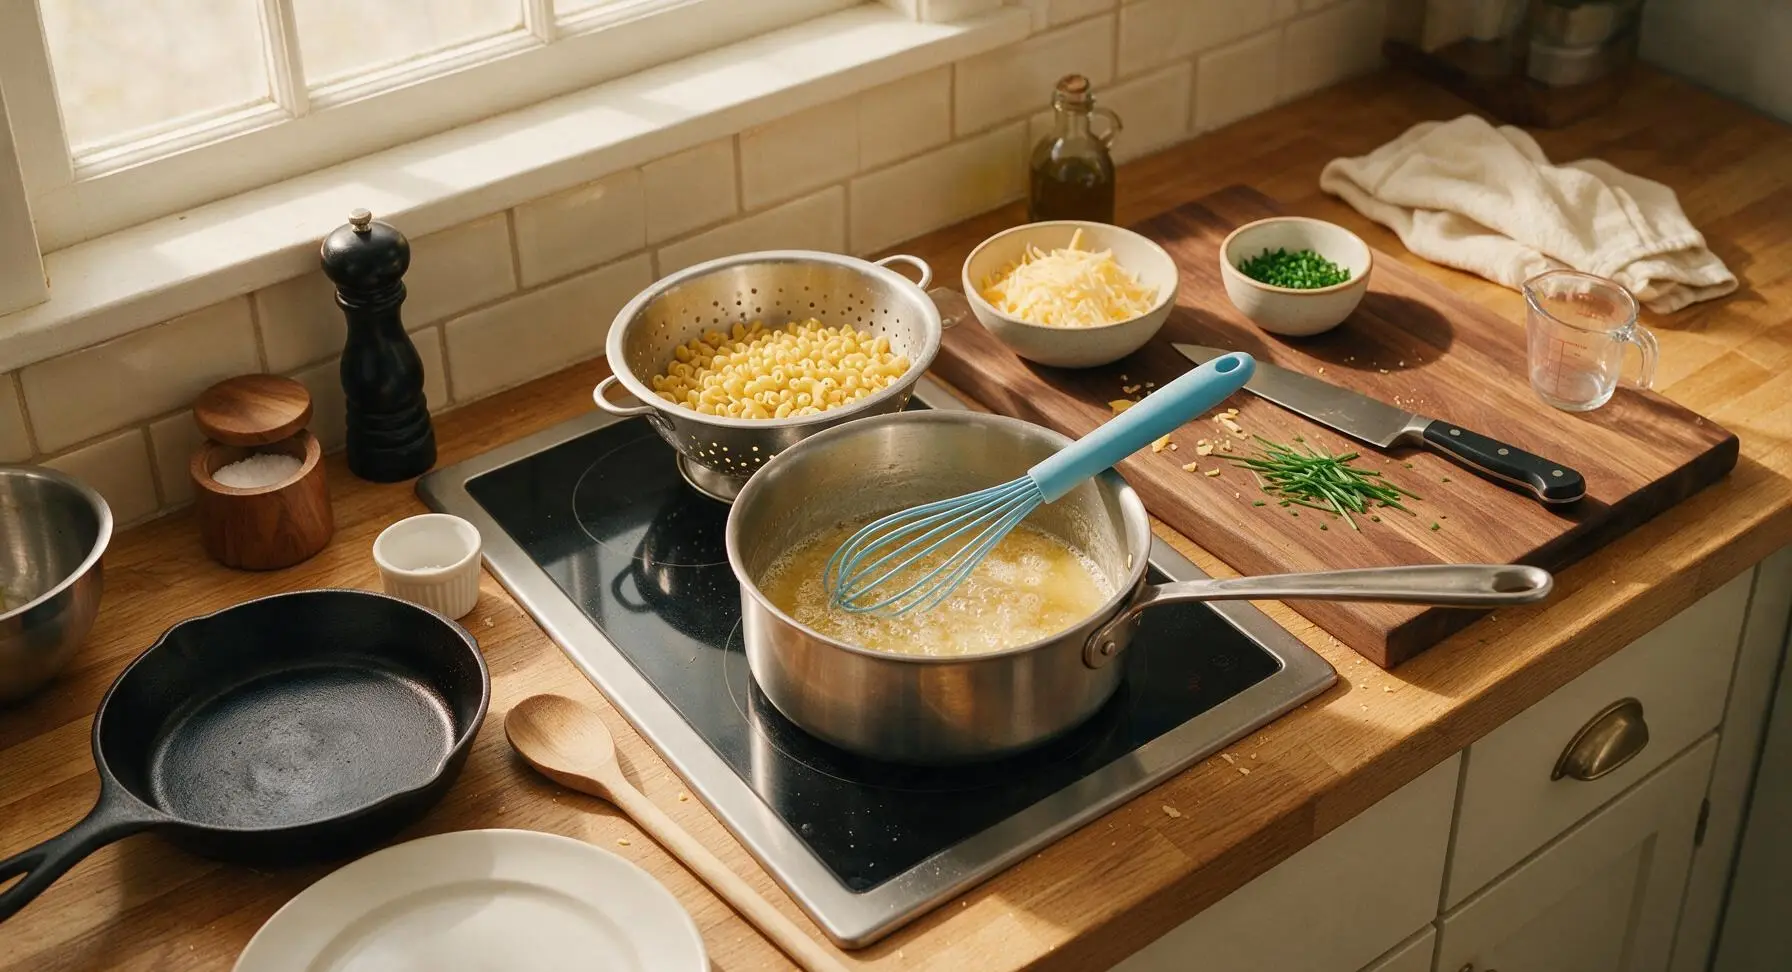
Return the stovetop burner to medium heat, place the 2-quart heavy-bottomed stainless steel saucepan on the burner, add the 30g of unsalted butter, and melt until foamy (about 1 minute). Add the 2 tablespoons of all-purpose flour to the melted butter, whisking constantly with the sky-blue handled silicone whisk for 2 minutes, until the roux turns a pale golden color and smells lightly nutty, with no raw flour taste remaining. Do not let the roux turn dark brown, as this will create bitter sauce.
Step 4
step4:Make Roux Base
5

Build Cheese Sauce

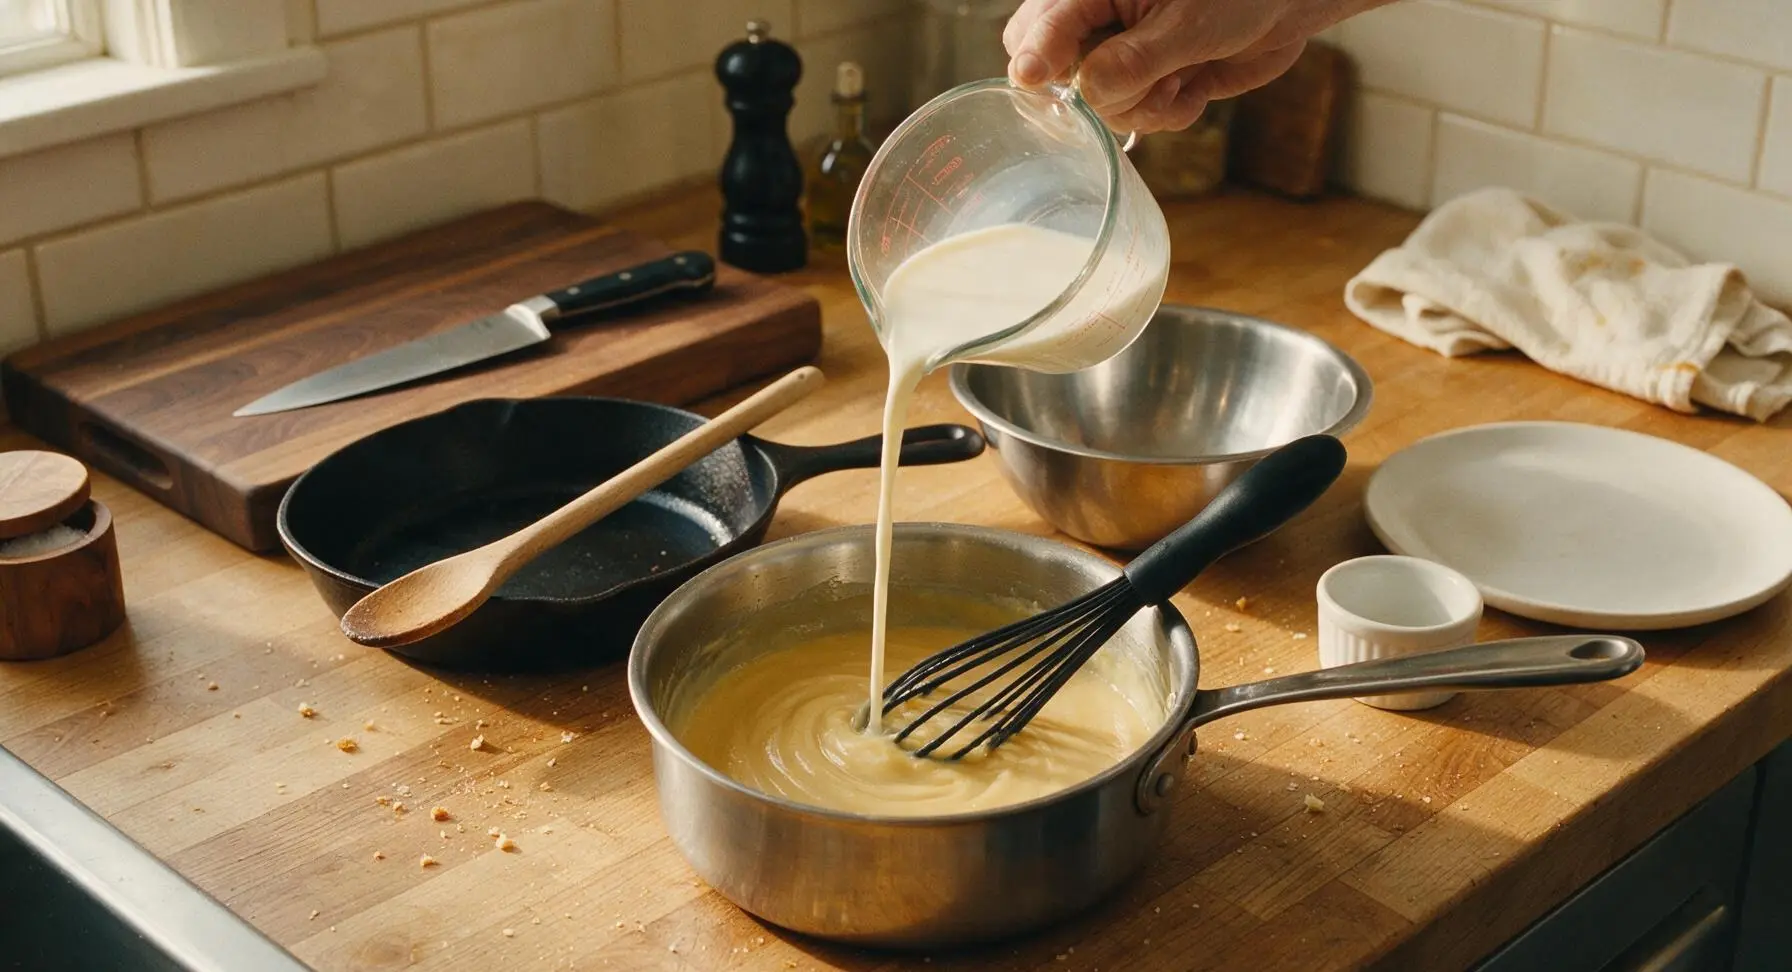
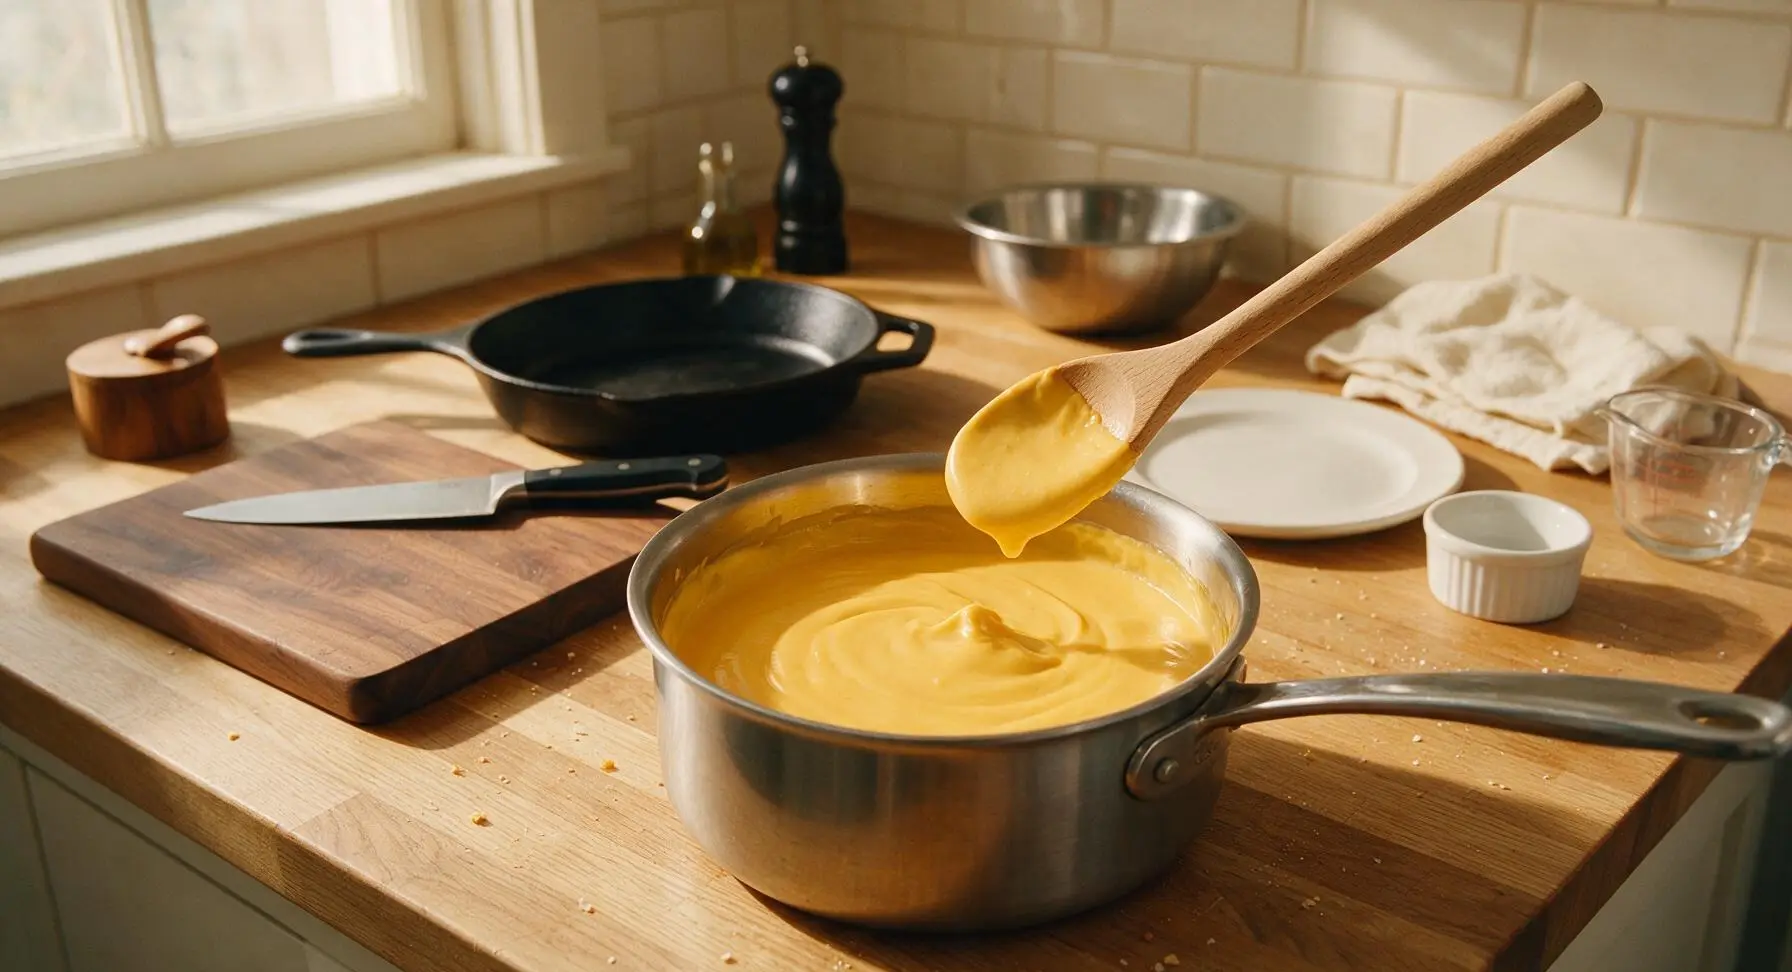
Slowly pour the 360ml of whole milk into the roux, whisking constantly to eliminate lumps, until the mixture thickens to a smooth, velvet-like consistency (3-4 minutes), coating the back of a spoon so a line drawn with your finger holds its shape. Reduce heat to low, add the garlic powder, remaining 1/2 teaspoon flaky salt, and black pepper, then add the grated sharp white cheddar one handful at a time, stirring with the beech wood slotted spoon until fully melted and smooth. If the sauce is too thick, stir in 1-2 tablespoons of the reserved pasta water to thin to a pourable, creamy consistency.
Step 5
step5:Build Cheese Sauce
Step 5
step5:Build Cheese Sauce
6

Toss Pasta and Chives

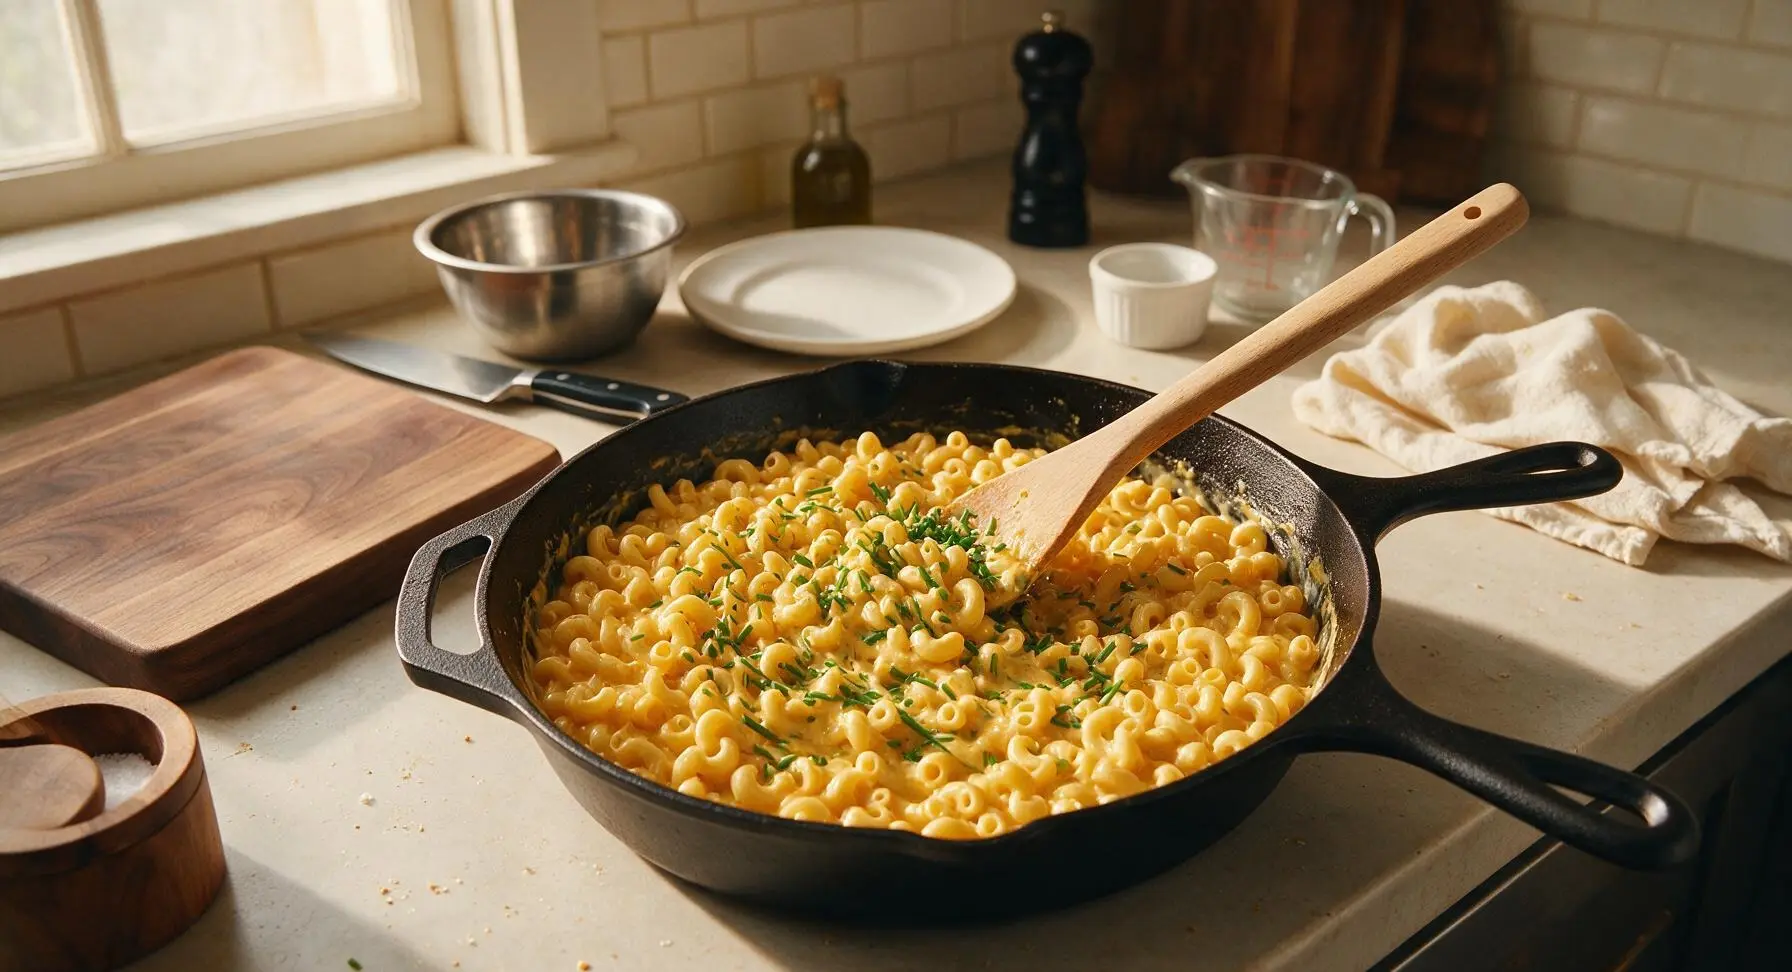
Add the fully drained al dente elbow macaroni to the saucepan of cheese sauce, stirring gently with the slotted beech wood spoon until every pasta noodle is evenly coated in sauce. Add 3/4 of the finely chopped chives to the pan, stirring for 30 seconds to distribute the chives evenly throughout the mac and cheese, taking care not to over-stir which can break the pasta noodles. Taste and adjust seasoning with extra black pepper if needed.
Step 6
step6:Toss Pasta and Chives
7

Plate and Garnish

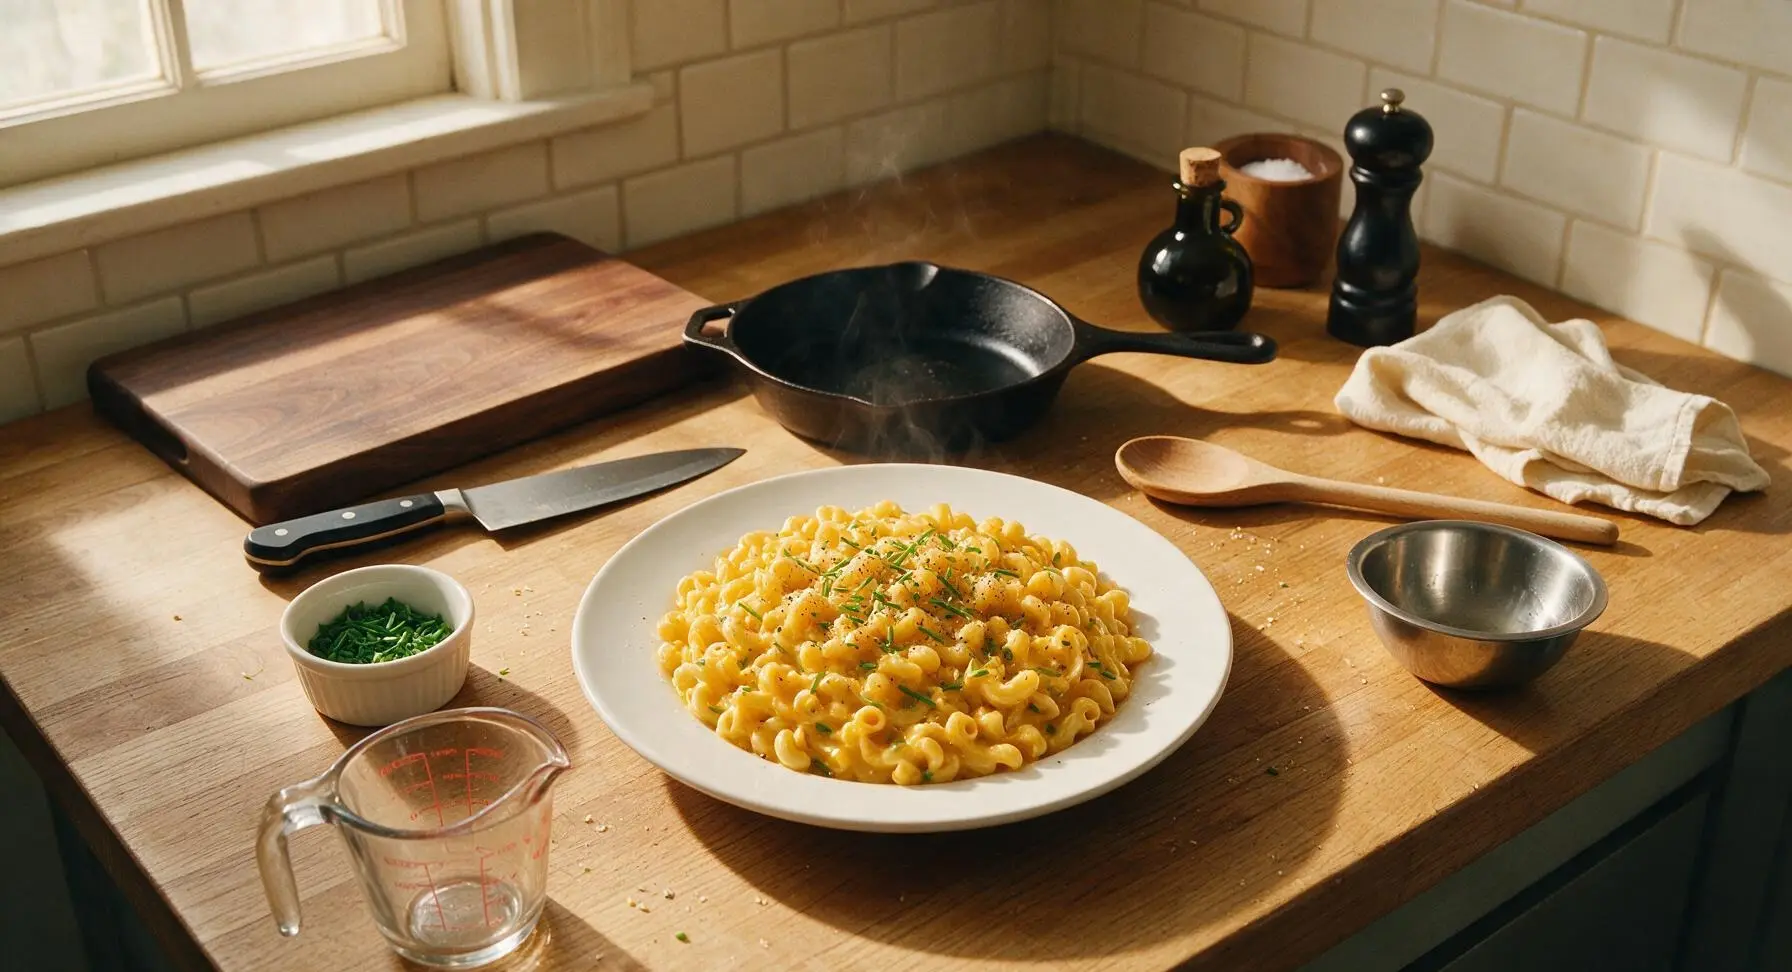
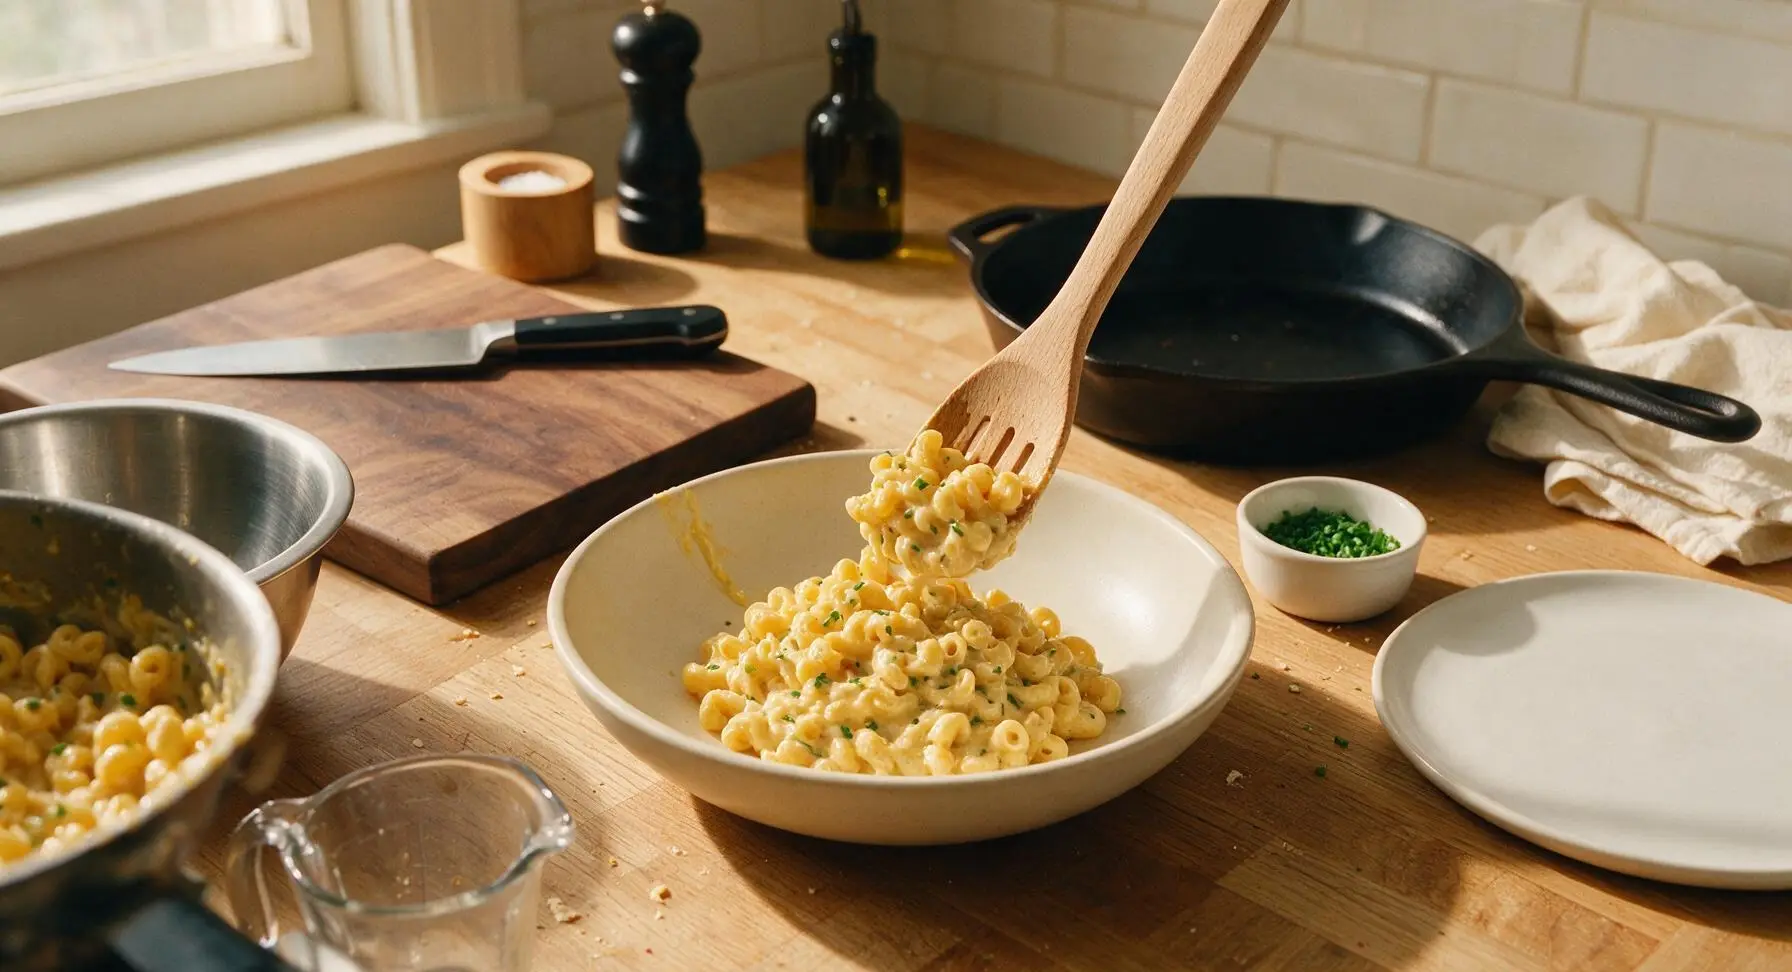
Scoop a generous portion of the chive mac and cheese into the matte cream ceramic shallow pasta bowl, mounding it slightly in the center. Sprinkle the reserved finely chopped chives evenly across the top, add a light crack of fresh black pepper, and let rest for 2 minutes before serving to allow the sauce to set slightly. Serve immediately while warm.
Step 7
step7:Plate and Garnish

Tips

1.Skip pre-shredded store-bought cheddar: Pre-shredded cheese is coated in potato starch and anti-caking agents that prevent smooth melting, leading to a gritty, uneven sauce. Grating cheese fresh from a block takes 2 extra minutes and produces a perfectly velvety, cohesive cheese sauce that clings to every noodle.
2.Reserve starchy pasta water to thin sauce: Instead of adding extra milk (which can dilute cheese flavor), use the starchy, salty reserved pasta water to adjust sauce consistency. The starch emulsifies with the cheese to create a silky, clingy texture; add 1 tablespoon at a time until you reach your preferred thickness.
3.Add chives at the final minute: Chives have a delicate, grassy onion flavor that breaks down quickly with high heat. Stirring most chives in right before plating preserves their bright, fresh taste and vivid green color, preventing them from turning mushy, dull, or bitter from prolonged cooking.


✨ You May Also Like

Main Course
🍜 United Kingdom

A showstopping classic of tender seared beef, savory mushroom duxelles, and crisp prosciutto wrapped in flaky golden puff pastry, baked to juicy perfection.

⏱️ 2 hours 1Main Course ★ 4.7
Main Course
🍜 India

Tender charred marinated chicken simmered in a rich, spiced creamy tomato sauce, this iconic Anglo-Indian curry pairs perfectly with basmati rice or warm naan.

⏱️ 50 minuteMain Course ★ 4.6
Main Course
🍜 Thailand

Classic tangy, sweet, and savory Thai stir-fried rice noodles with shrimp, tofu, and crunchy garnishes, balancing all five core Thai flavor profiles.

⏱️ 30 minuteMain Course ★ 4.5
Main Course
🍜 United Kingdom

Crispy golden beer-battered cod and fluffy double-fried chips, served with tangy tartar sauce and malt vinegar: the timeless, beloved British pub comfort classic.

⏱️ 45 minuteMain Course ★ 4.7
Main Course
🍜 Mexico

Smoky, chile-marinated pork tacos with caramelized pineapple, fresh cilantro, and lime: a beloved classic Mexican street food perfect for casual summer gatherings.

⏱️ 1 hour 45Main Course ★ 4.8
Main Course
🍜 United States

Crunchy Fritos corn chips layered with savory beef chili and melted cheddar, topped with cool, zesty fixings for a beloved, cozy Tex-Mex comfort food.

⏱️ 35 minuteMain Course ★ 4.8

Chive Mac and Cheese:Frequently Asked Questions

1.Can I use pre-shredded cheddar instead of grating my own for this recipe? ▾
I strongly recommend grating your own sharp white cheddar right before making the sauce! Pre-shredded bagged cheese is coated in potato starch and anti-caking agents that prevent it from melting smoothly, leading to a grainy, clumpy sauce instead of that velvety texture we want. Grating a block takes 2 minutes max, and makes a huge difference in final creaminess.
2.Do I have to use whole milk, or can I swap in lower-fat milk? ▾
Whole milk gives this sauce the rich, creamy body that doesn’t break or turn thin without extra heavy cream. If you only have 2% on hand, you can use it, but mix in 2 tablespoons of extra melted butter to make up for missing fat to keep the sauce smooth. Skim milk is not recommended, as it will result in a watery, bland sauce.
3.How do I keep my mac and cheese sauce from turning grainy? ▾
Grainy sauce almost always comes from overheating the cheese once it’s added! After you melt your butter and warm your milk for the sauce base, turn the heat to low before stirring in grated cheddar a handful at a time, stirring constantly until just melted. Never let the sauce boil once cheese is in, as high heat makes cheese proteins seize up and turn grainy.
4.Can I add extra mix-ins to this chive mac and cheese? ▾
Absolutely! This recipe is a perfect cozy base. Crispy crumbled bacon, a pinch of smoked paprika, a handful of steamed sweet peas, a dash of hot sauce, or sautéed garlic all pair beautifully with the bright chive and sharp cheddar flavors. Just stick to ½ cup total of add-ins so you don’t weigh down the creamy sauce or overpower the fresh chive note.
5.What’s the best way to store leftover chive mac and cheese? ▾
Store cooled leftovers in an airtight container in the fridge for up to 4 days. The sauce will thicken as it chills, so when you reheat it, stir in a splash of whole milk (1 to 2 tablespoons per serving) over low stovetop heat, or in 30-second microwave bursts, stirring between each, to bring back that silky, smooth texture.
6.Can I use dried chives instead of fresh for this recipe? ▾
Fresh chives are really the star here, with their bright, grassy, mild onion flavor that cuts through the rich cheese. Dried chives have a much duller, more muted flavor and slightly papery texture, so they aren’t a 1:1 swap. If you have no fresh chives, use ⅓ the amount of dried, stirred in while the sauce is warm to help rehydrate.
7.Do I need to bake this mac and cheese, or is it strictly stovetop? ▾
This recipe is designed to be a fast, 30-minute stovetop dish, no baking required! That said, if you love a crispy top, you can transfer the finished mac to an oven-safe dish, top with buttered panko breadcrumbs, and broil for 2 to 3 minutes until golden—just keep a close eye on it so the crumbs don’t burn.
8.How do I avoid making this too salty when using sharp white cheddar? ▾
Sharp white cheddar has a bold, nutty flavor without the artificial orange dye found in many yellow cheddars, but salt levels can vary a little between brands. I recommend holding off on adding extra salt to the sauce until after you’ve stirred in all the cheese, then taste and adjust with a tiny pinch if needed.
9.Can I make this recipe gluten-free? ▾
You can easily make this gluten-free with one simple swap: use your favorite gluten-free elbow macaroni, cooked just to al dente per the package directions. Double check that your sharp white cheddar is free of hidden gluten-containing anti-caking agents, and reserve a little extra starchy pasta water to thin the sauce if needed for that perfect silky texture.
10.How do I make sure the pasta doesn’t turn out mushy? ▾
Mushy mac comes from overcooking the noodles! Cook your elbow macaroni 1 minute less than the package directs for al dente, since it will keep cooking for a minute or two when you toss it with the hot cheese sauce. Always salt your pasta water heavily (it should taste like sea water) to season the noodles all the way through, too.
11.Can I use a different type of cheese if I don’t have sharp white cheddar? ▾
Sharp white cheddar gives this dish its signature tangy, bold flavor that pairs so well with fresh chives, but you can swap in other melting cheeses if needed. Gruyere, fontina, or mild yellow cheddar all work well—just avoid crumbly, non-melting cheeses like feta or halloumi, which won’t create that smooth sauce texture.
12.When should I add the fresh chives so they don’t get wilted or bitter? ▾
Add your finely chopped fresh chives at the very last minute, right after you take the pan off the heat and right before you serve! Tossing them in with the hot, off-heat mac and cheese warms them just enough to release their bright, grassy aroma without cooking them so long that they turn slimy, wilted, or bitter.
13.Can I make this recipe ahead of time for weekly meal prep? ▾
This mac and cheese holds up great for meal prep! Let the finished dish cool completely, then portion into airtight containers and refrigerate for up to 4 days. When you’re ready to eat, reheat portions in the microwave or on the stovetop with a splash of whole milk to loosen the sauce, and top with a little extra fresh chive for brightness.
14.Why is my cheese sauce separating or looking greasy, and how do I fix it? ▾
A greasy, separated sauce usually means you used too high of heat when melting the cheese, or used cheese with added oils or fillers (like cheap pre-shredded cheese). To fix it, take the pan completely off the heat, add a teaspoon of cold whole milk, and stir vigorously in small circles until the sauce emulsifies back to a smooth, velvety texture.
15.Can I freeze leftover chive mac and cheese for later? ▾
You can freeze leftovers for up to 3 months, though the sauce may be slightly less creamy once thawed. Portion into freezer-safe, airtight containers, leaving a little room at the top for expansion. Thaw overnight in the fridge, then reheat low and slow with an extra splash of milk, stirring often, to bring the sauce back together.
16.Is there a way to make this a little lighter without losing that signature creaminess? ▾
You can cut a little of the richness without ruining the texture by swapping ¼ cup of the whole milk for unsweetened plain oat milk, or stirring in a handful of steamed, pureed cauliflower to the sauce for extra body. Don’t skip the butter entirely, though—you need that fat to keep the cheese melted smoothly and prevent a rubbery texture.
17.What should I serve with chive mac and cheese for a full weeknight meal? ▾
This rich, creamy mac pairs perfectly with simple, bright sides to cut through the richness. Try it alongside a crisp green salad tossed in lemon vinaigrette, roasted broccoli, pan-seared chicken thighs, or crispy baked tofu. A dash of hot sauce on the mac itself also adds a nice zing to balance the cheese and butter.
18.Can I use salted butter instead of unsalted butter for this recipe? ▾
You can use salted butter if that’s what you have on hand, just cut back on any extra salt you add to the pasta water or sauce! Salt levels vary widely between salted butter brands, so be sure to taste the sauce as you go to avoid over-salting. Unsalted butter gives you full control over final seasoning, which is why it’s the default pick.
19.My sauce is too thick once I toss it with the pasta—how do I fix that? ▾
That’s an easy fix! Before you drain your pasta, reserve ½ cup of the starchy, salty pasta cooking water. Stir in 1 to 2 tablespoons of that reserved water at a time into your finished mac and cheese, tossing constantly, until the sauce thins to that perfect, silky consistency that coats every noodle without clumping.

Comments (17)

2 days ago

OMG this chive mac and cheese was a total hit at family dinner last night! 20 minutes cook time is perfect for my chaotic weeknights, my kids practically licked their plates. The chives add such a bright little kick that regular boxed mac is totally missing now. SO good.

3 days ago

Super easy to make in my tiny dorm kitchen! I didn’t even have to drag out a million pots, used pre-shredded cheese to make it even faster. Tastes way fancier than it has any right to for how little effort it takes. 10/10 would make again for my roommates.

1 week ago

Made this as a side for our weekend cookout and it went faster than the burgers! Everyone was asking for the recipe, I told them I found it here obviously. The chive flavor pairs so well with smoked brisket, game changer for summer sides.

5 days ago

Meal prepped this for my work lunches this week and it reheats like a dream! I added a tiny sprinkle of breadcrumbs on top for a little crunch, would definitely recommend that little hack. So creamy even after 3 days in the fridge.

just now

I am terrible at cooking, like burn toast level bad, and even I nailed this! No fancy ingredients, straightforward steps, done in 20 minutes exactly like the recipe says. My partner thought I ordered takeout lmao.

yesterday

Has anyone made this ahead for a potluck? I’m bringing a side to my neighbor’s block party this weekend and wondering if it holds up in a crockpot on warm for a couple hours?

30 minutes ago

Great question! It holds up really well in a crockpot on the low warm setting for 2-3 hours — just give it a quick stir every 45 minutes or so and add a tiny splash of milk if it starts to thicken too much. Hope it’s a hit at the block party!

2 hours ago

Wait, can I use frozen chives instead of fresh? My grocery store was out of fresh chives this week and I already bought all the other ingredients.

30 minutes ago

I used frozen chives last week when I made this and it worked totally fine! Just thaw them first and pat them dry a little so you don’t add extra water to the cheese sauce. Turned out delicious!

3 days ago

Is there a way to lighten this up a little? I’m trying to cut back on heavy cream but still crave that creamy mac texture, would half and half work instead?

2 days ago

Absolutely! Half and half works perfectly as a 1:1 swap for heavy cream here, it just makes the sauce a touch lighter without losing that rich, cheesy texture. You could even use 2% milk if that’s what you have on hand, just simmer it a minute or two longer to thicken up.

5 minutes ago

My cat tried to steal a bite off my plate while I was eating this, that’s how good it smells lmao. Didn’t let him obviously, cheese is bad for kitties, but 10/10 cat approved aroma.

just now

LMAO same! My golden retriever was parked right at my feet the whole time I was eating this, he kept giving me those big sad eyes begging for a bite. Totally get the pet approval thing.

2 weeks ago

This reminds me so much of the mac and cheese my mom used to make when I was a kid! She always added fresh chives from her garden, I haven’t had it that way in years. What a lovely, simple recipe that feels like a hug.

1 week ago

This makes my day to hear! There’s nothing quite like those nostalgic, simple recipes that take you right back to childhood. So glad this one lived up to those sweet memories for you.

1 week ago

I added a dash of cayenne and a handful of crispy bacon bits to this last night and oh my GOD it was next level. The chive flavor cuts through the richness so perfectly, 100% making this my go-to mac recipe from now on.

3 days ago

The cayenne and bacon addition sounds insane! I’m making this tonight, I’m definitely stealing that idea. Thanks for the tip!

30 minutes ago

How many servings does this make, exactly? I’m trying to portion out lunches for me and my partner for the week and want to make sure I make enough!

5 minutes ago

This recipe makes 4 generous main dish servings, or 6 side dish servings! If you’re prepping for two people for weekday lunches, I’d recommend making 1.5x the batch to make sure you have enough all week.

2 days ago

Can I make this gluten free? I have a gluten sensitivity and I’m dying to try this, would swapping regular pasta for GF chickpea pasta work okay?

yesterday

I made this with brown rice GF pasta last week and it was awesome! Just make sure you don’t overcook the pasta, keep it al dente so it doesn’t get mushy when you mix it with the cheese sauce.

2 hours ago

Great tip from GFGroceryGal! Any short cut GF pasta works beautifully here, I’ve tested it with both chickpea and brown rice pasta and the results are just as creamy and delicious as the regular version. Just hold a little extra pasta water aside to thin the sauce if needed, since GF pasta can release a bit more starch.

5 days ago

Wait I don’t have a box grater? Is the pre-shredded cheese in the bag going to make the sauce weird? I know it has that anti-caking coating, just wondering if anyone has tried it.

3 days ago

I used pre-shredded sharp cheddar when I made this last week because I also don’t have a grater in my dorm! It turned out totally fine, the sauce was still super creamy, I didn’t notice any weird texture at all.

2 days ago

I did pre-shredded once too, just toss it with a tiny bit of cornstarch before adding it to the sauce? Wait no, actually it already has that, I just found that warming the milk a little before adding the cheese helps it melt smoother if you’re using pre-shredded. Worked like a charm for me!

1 week ago

Help! I made this last night and my cheese sauce was all grainy? What did I do wrong? It tasted good but the texture was off, I want to make it again for my friend’s birthday dinner and get it right.

5 days ago

Oh no, sorry the sauce turned out grainy! That almost always happens when the heat is too high when you add the cheese — it makes the cheese proteins seize up and get gritty. Next time, turn the heat all the way down to low before you stir in the cheese a handful at a time, and don’t let the sauce boil once the cheese is added. That should give you that perfectly smooth, creamy sauce!

3 days ago

I did the exact same thing my first time making this! Took the chef’s tip about low heat the second time around and it was perfect, zero grainy texture. You got this, your friend is gonna love it!

2 weeks ago

Made this for my beach potluck last weekend and everyone was raving! I stirred in a little lump crab meat at the end for a fancy twist and it paired so nicely with the chive flavor. 10/10, will be making this all summer long.

1 week ago

Crab in mac and cheese is such an elite combo! I usually do lobster mac but chive + crab sounds way brighter and less heavy for summer, I need to try that ASAP.

5 days ago

That crab addition sounds absolutely incredible! The brininess of lump crab pairs so perfectly with the mild oniony chive flavor and sharp cheese, I might have to test that variation myself to share soon. So glad it was a hit at the beach potluck!

yesterday

My 7 year old begged to help make dinner tonight so we picked this recipe since it was easy enough for her to help stir! She was so proud of herself when it was done, and even ate two whole servings. Win win for mom life.

2 hours ago

That’s so sweet! I need to make this with my twin boys this weekend, they love helping in the kitchen and mac and cheese is their absolute favorite. Easy recipes that are kid-friendly to make AND eat are the best.

30 minutes ago

This makes my heart so happy! This recipe is perfect for little kitchen helpers because there aren’t a ton of complicated steps, and getting to stir the cheesy sauce feels like such a fun job. Hope your twins love making (and eating!) it as much as your daughter did.



