
Chocolate Almond Milk Homemade Plant Milk
intro
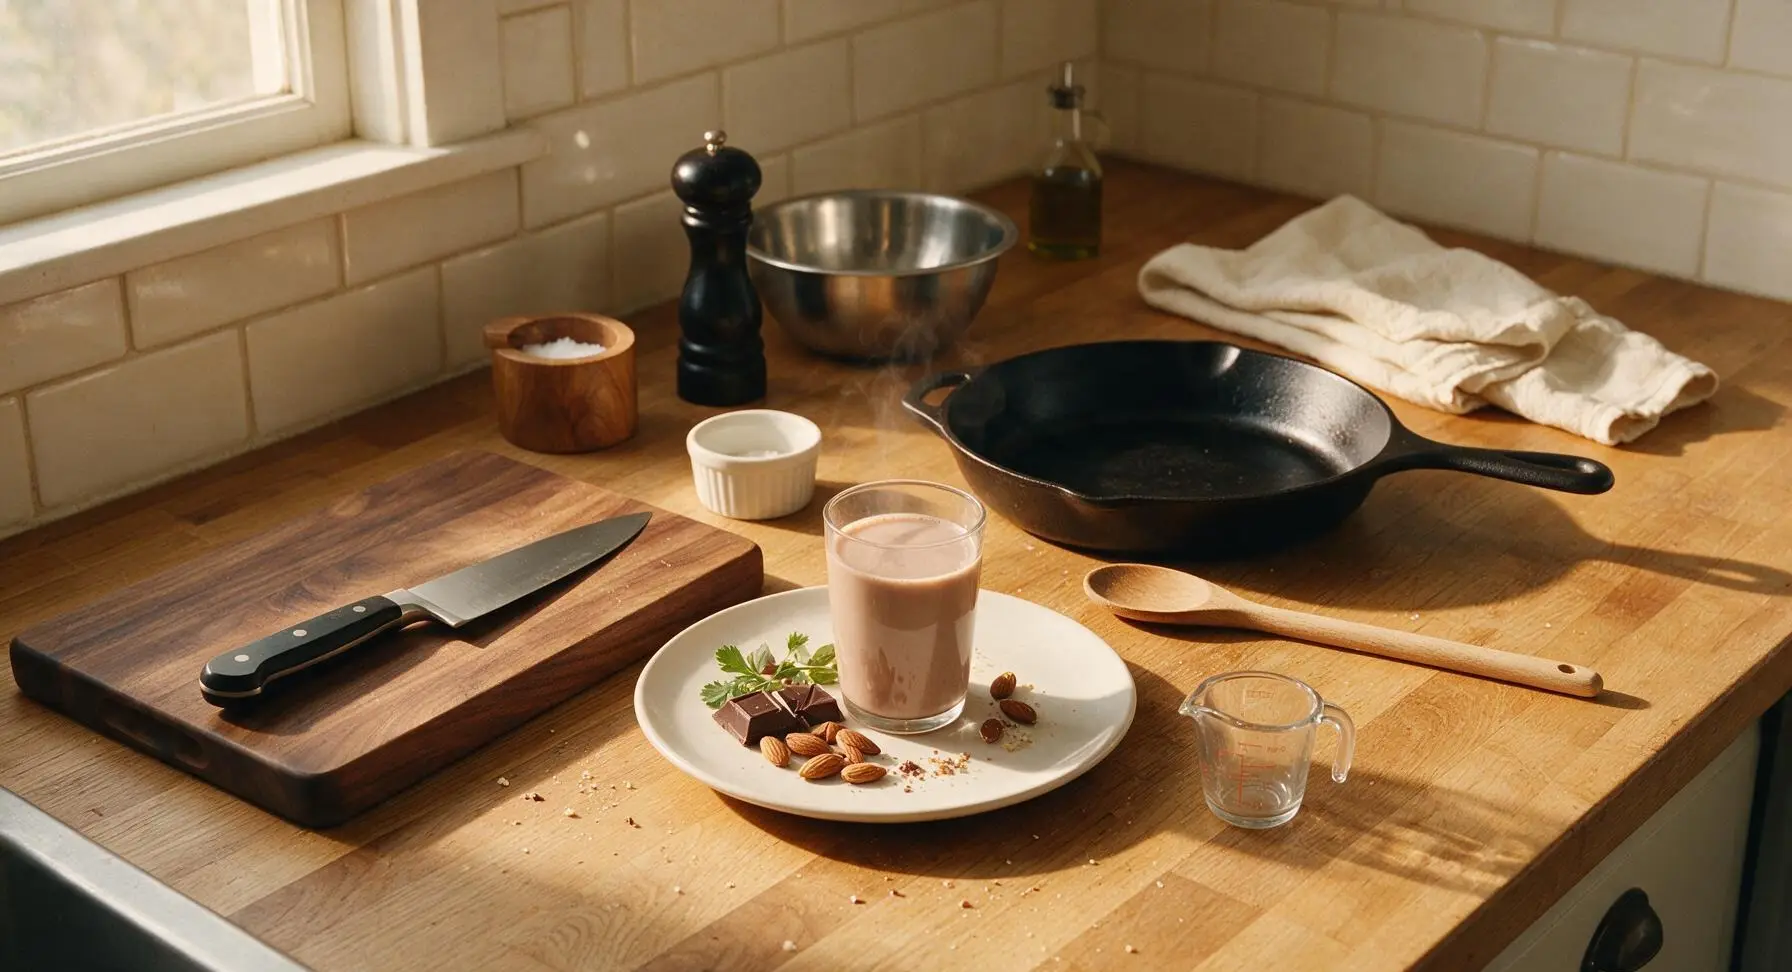
Rich, creamy dairy-free chocolate almond milk with deep cocoa flavor, lightly sweetened, free of additives—perfect for sipping cold, adding to coffee, or blending into smoothies.
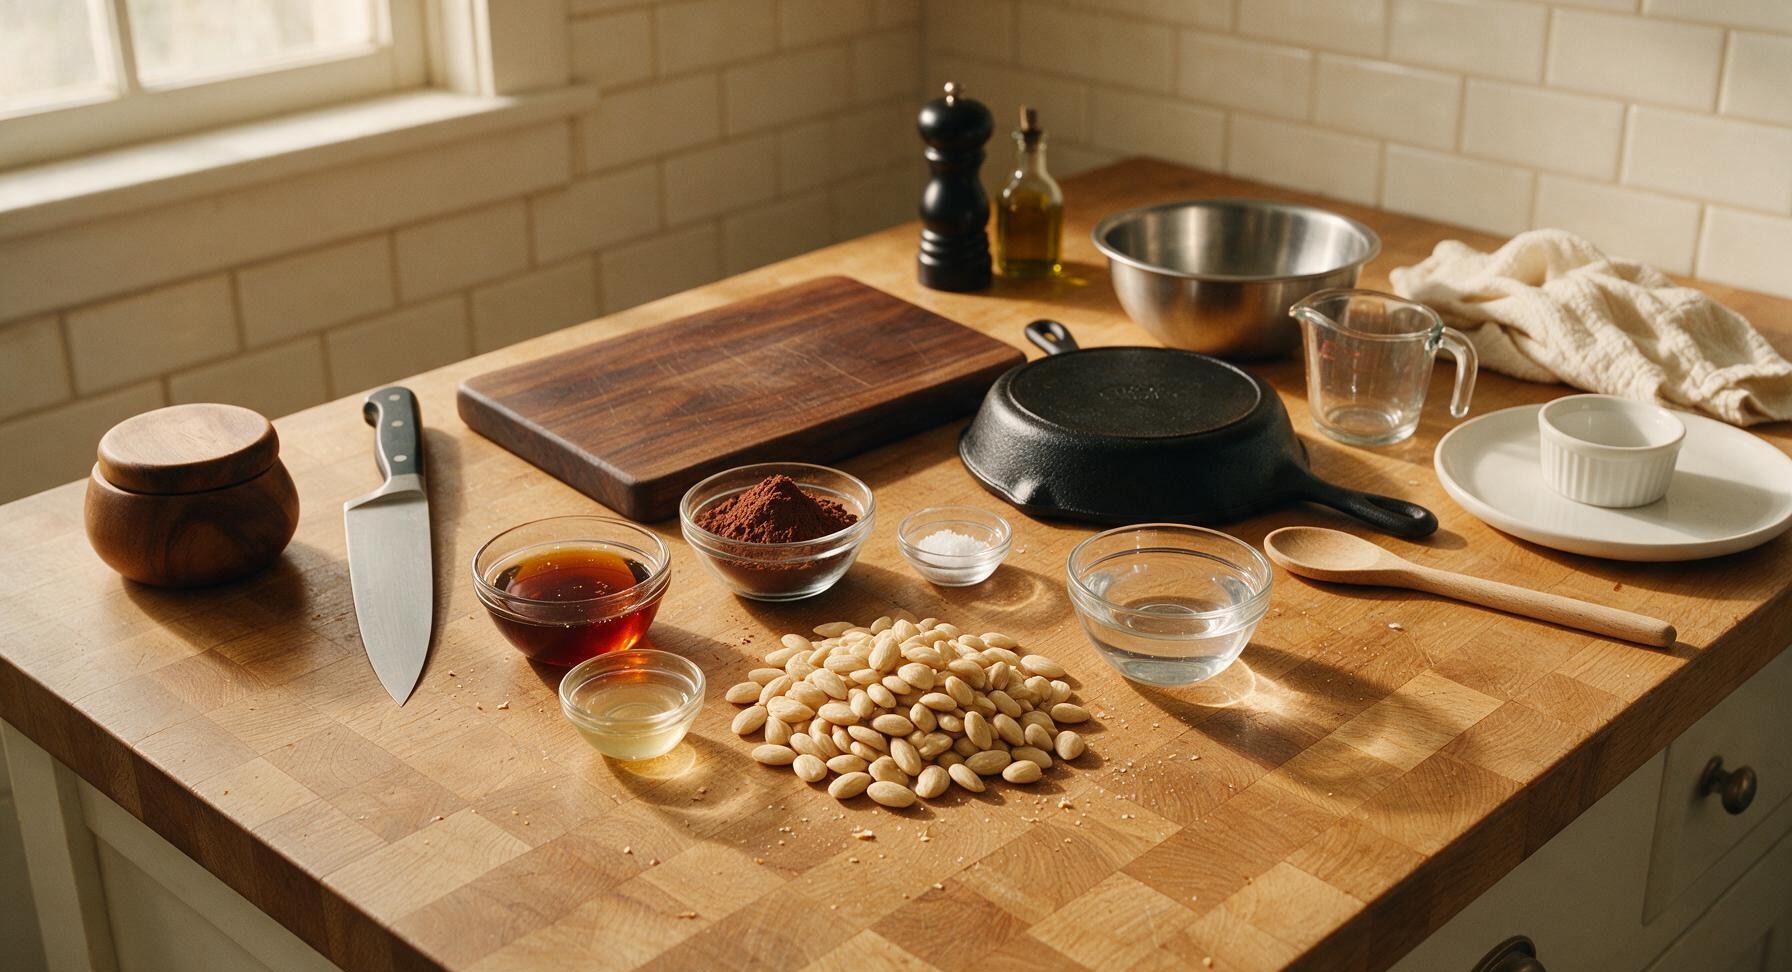
Ingredients
Steps
Soak Almonds Overnight
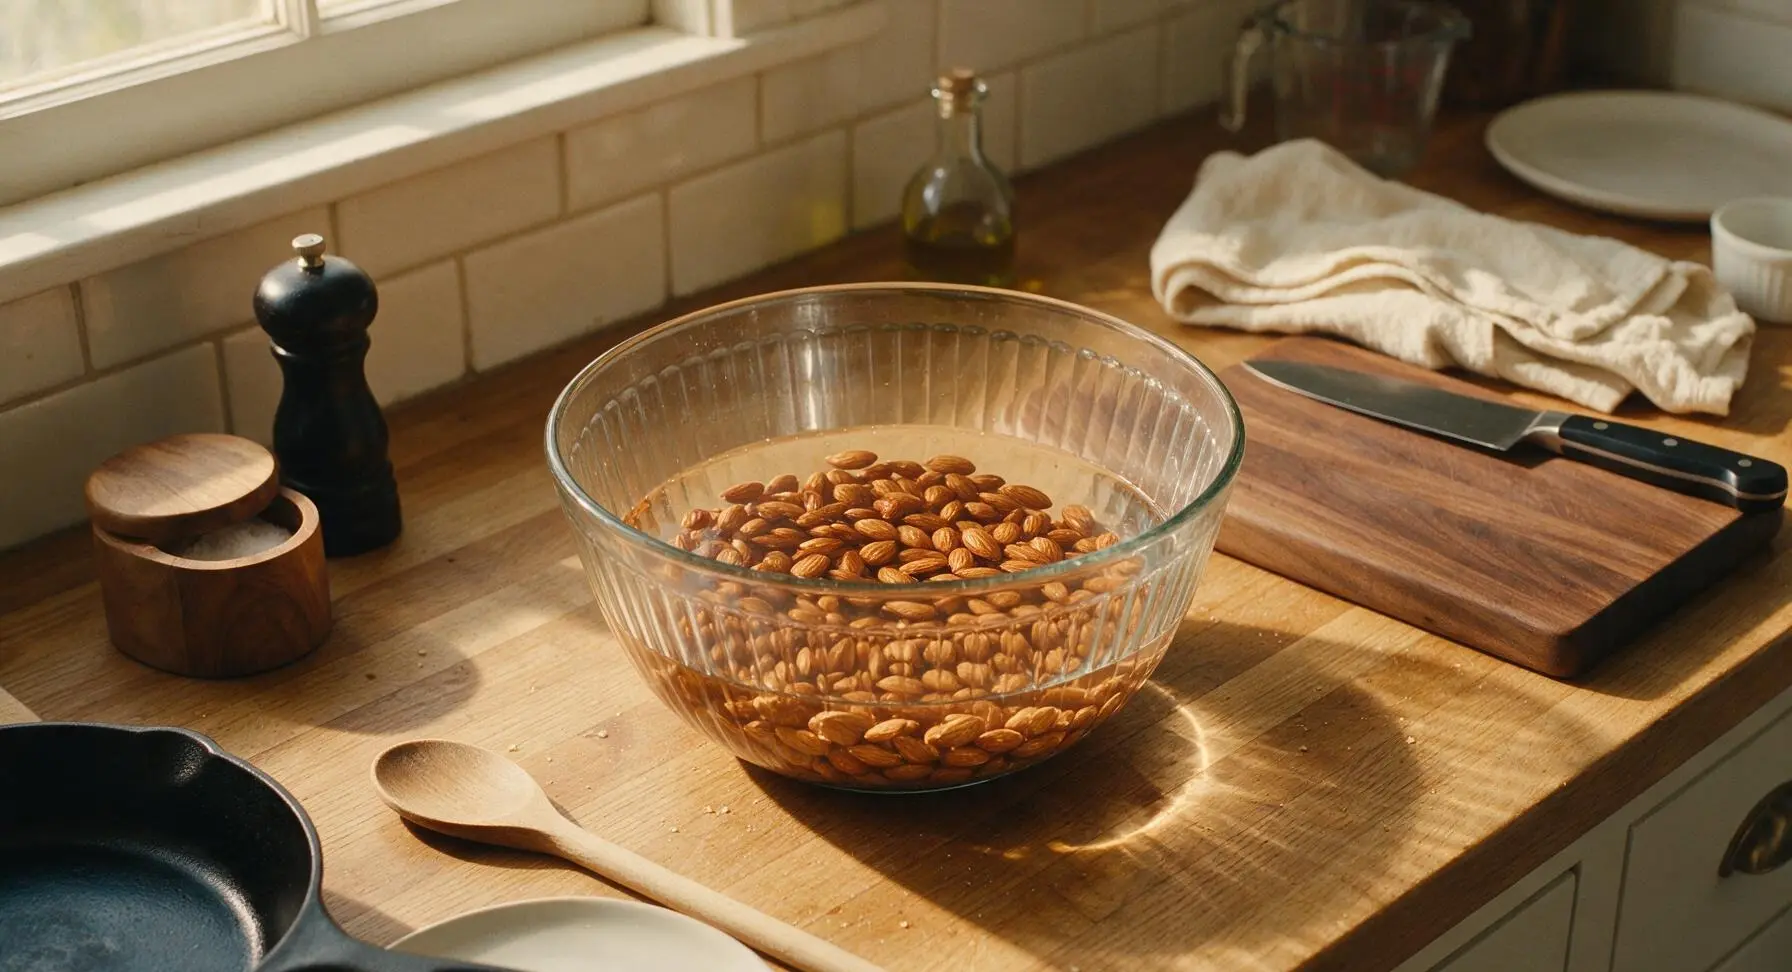
Place 1 cup raw unsalted almonds in the large 2L ribbed glass mixing bowl. Cover with 2 cups of filtered cold water, ensuring almonds are fully submerged by at least 2cm of water. Leave the bowl uncovered on the counter, and leave to soak at room temperature for 8–12 hours (or up to 24 hours in the refrigerator for warmer climates). Soaking softens the almonds for creamier milk and reduces bitter enzyme coatings on the nut skins.
Drain and Rinse Almonds
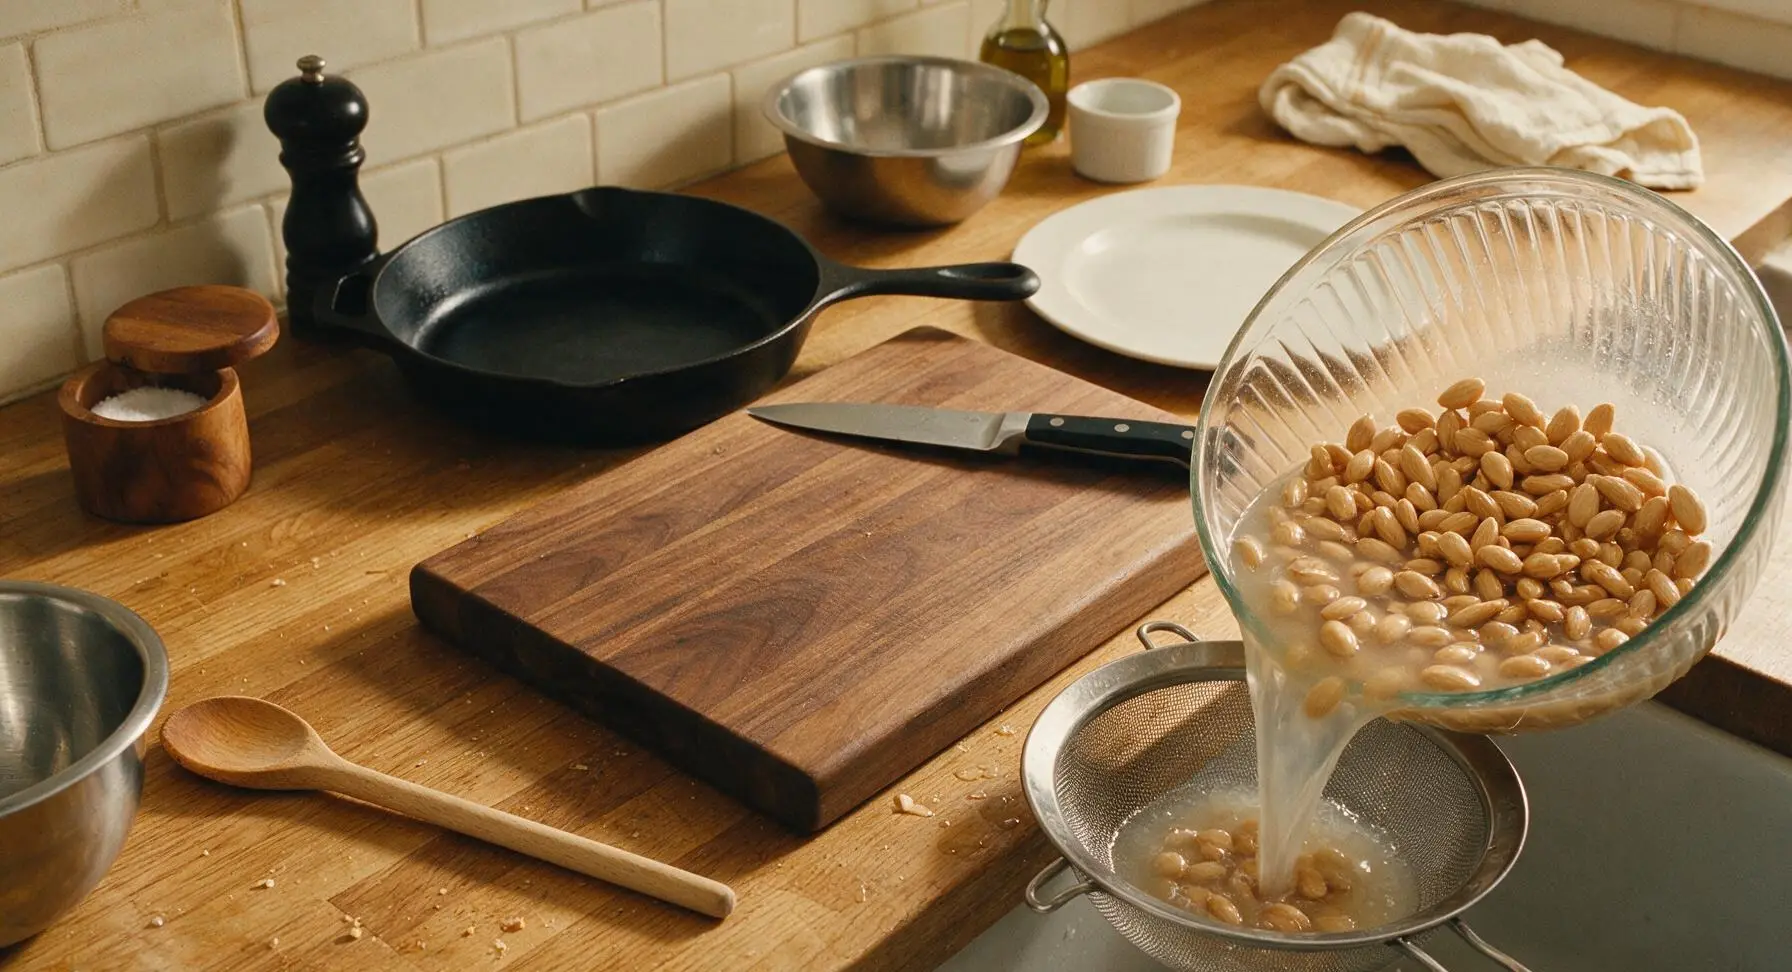
After soaking is complete, place the fine-mesh stainless steel sieve over the sink (just off frame), pour the soaked almonds and water into the sieve to drain. Rinse the almonds thoroughly under cool running water until the water runs clear, discarding any discolored or mushy almonds. The soaked almonds will feel plump and soft to the touch, with slightly slipped skins.
Load Blender with Ingredients
Transfer the rinsed, drained almonds to the 1.5L blender pitcher. Add the remaining 2 cups of filtered cold water, 3 tbsp Dutch-processed cocoa powder, 2 tbsp maple syrup, 1 tsp vanilla extract, and 1/8 tsp fine sea salt. Secure the blender lid tightly, ensuring the center fill cap is locked in place to prevent splatters.
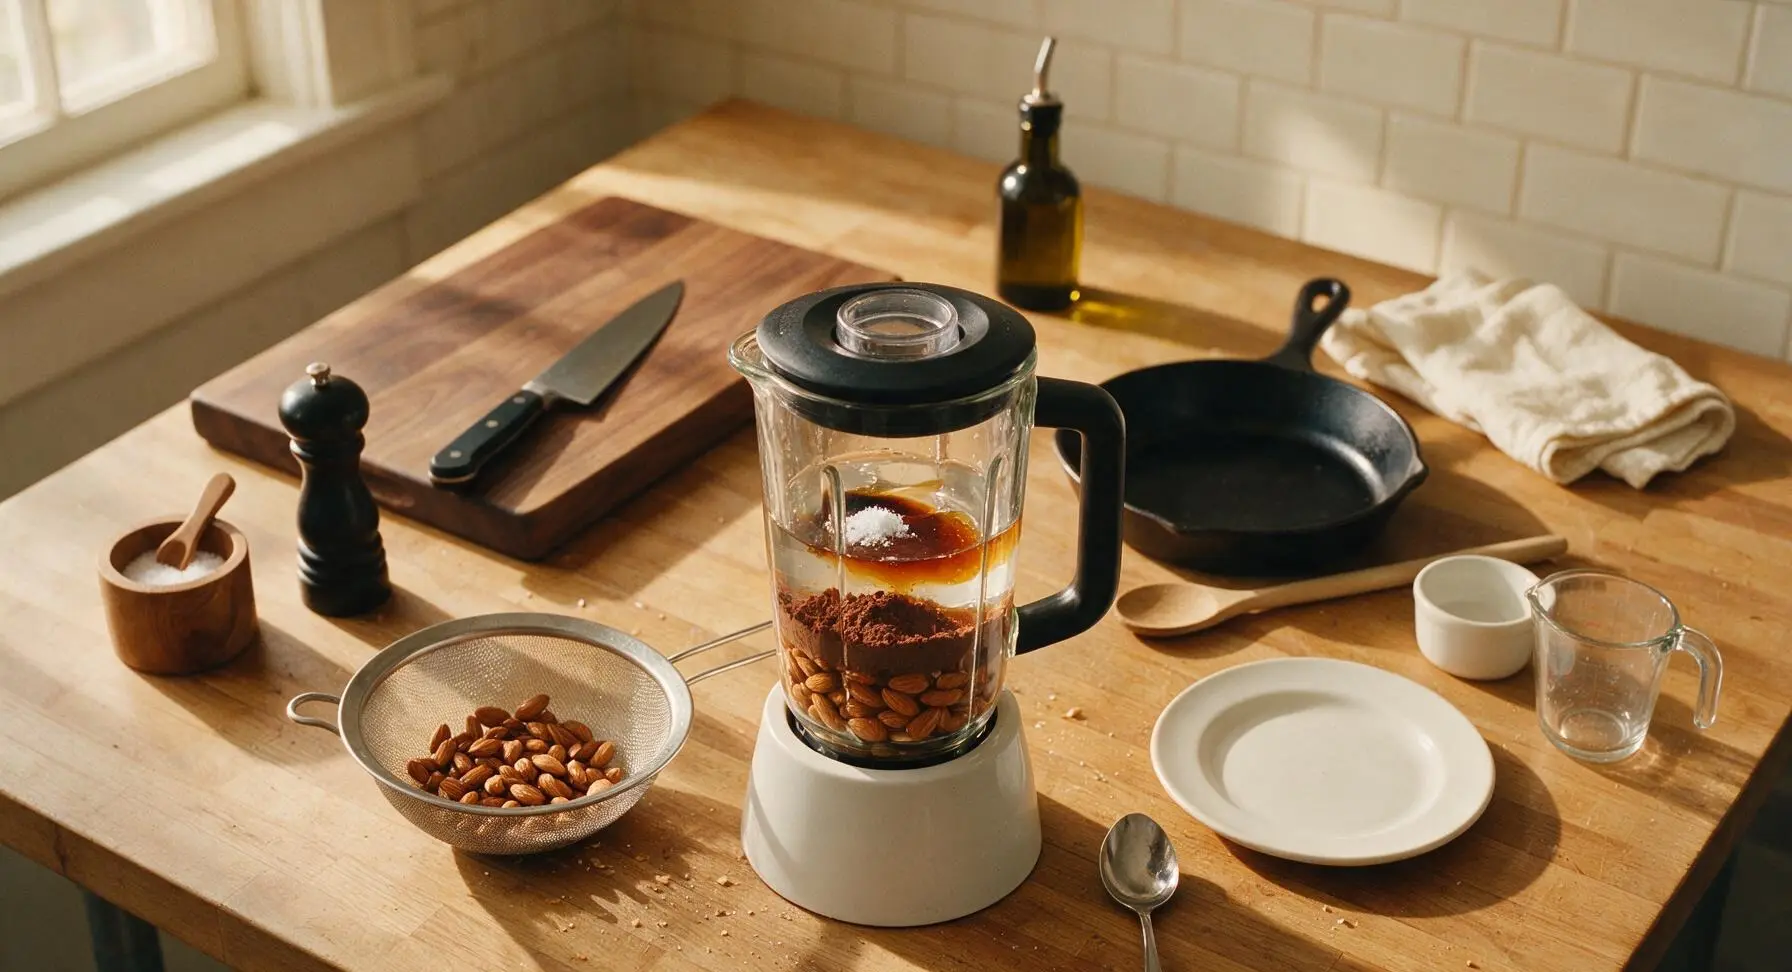
Blend Until Creamy
Start the blender on low speed for 10 seconds to break down the almonds, then increase to high speed and blend for 60–90 seconds. Stop and scrape down the sides of the pitcher with the charcoal silicone spatula if needed, then blend for another 30 seconds. The mixture will be thick, frothy, and uniform dark brown, with no large visible almond chunks remaining.
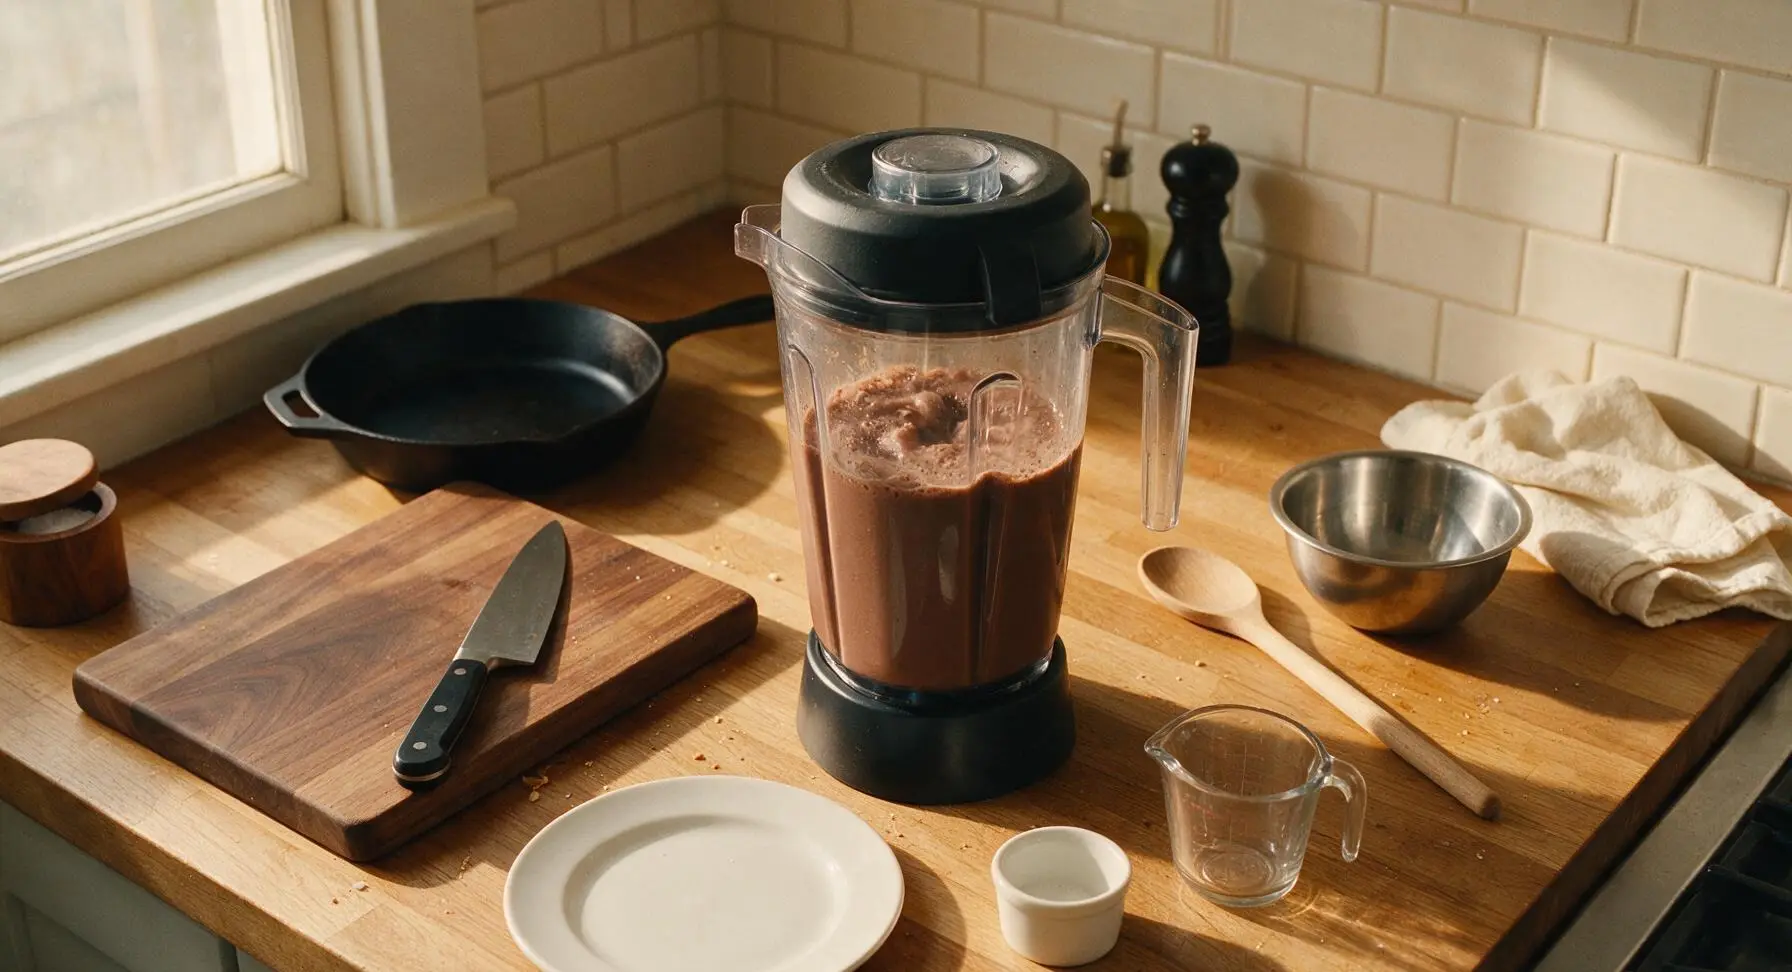
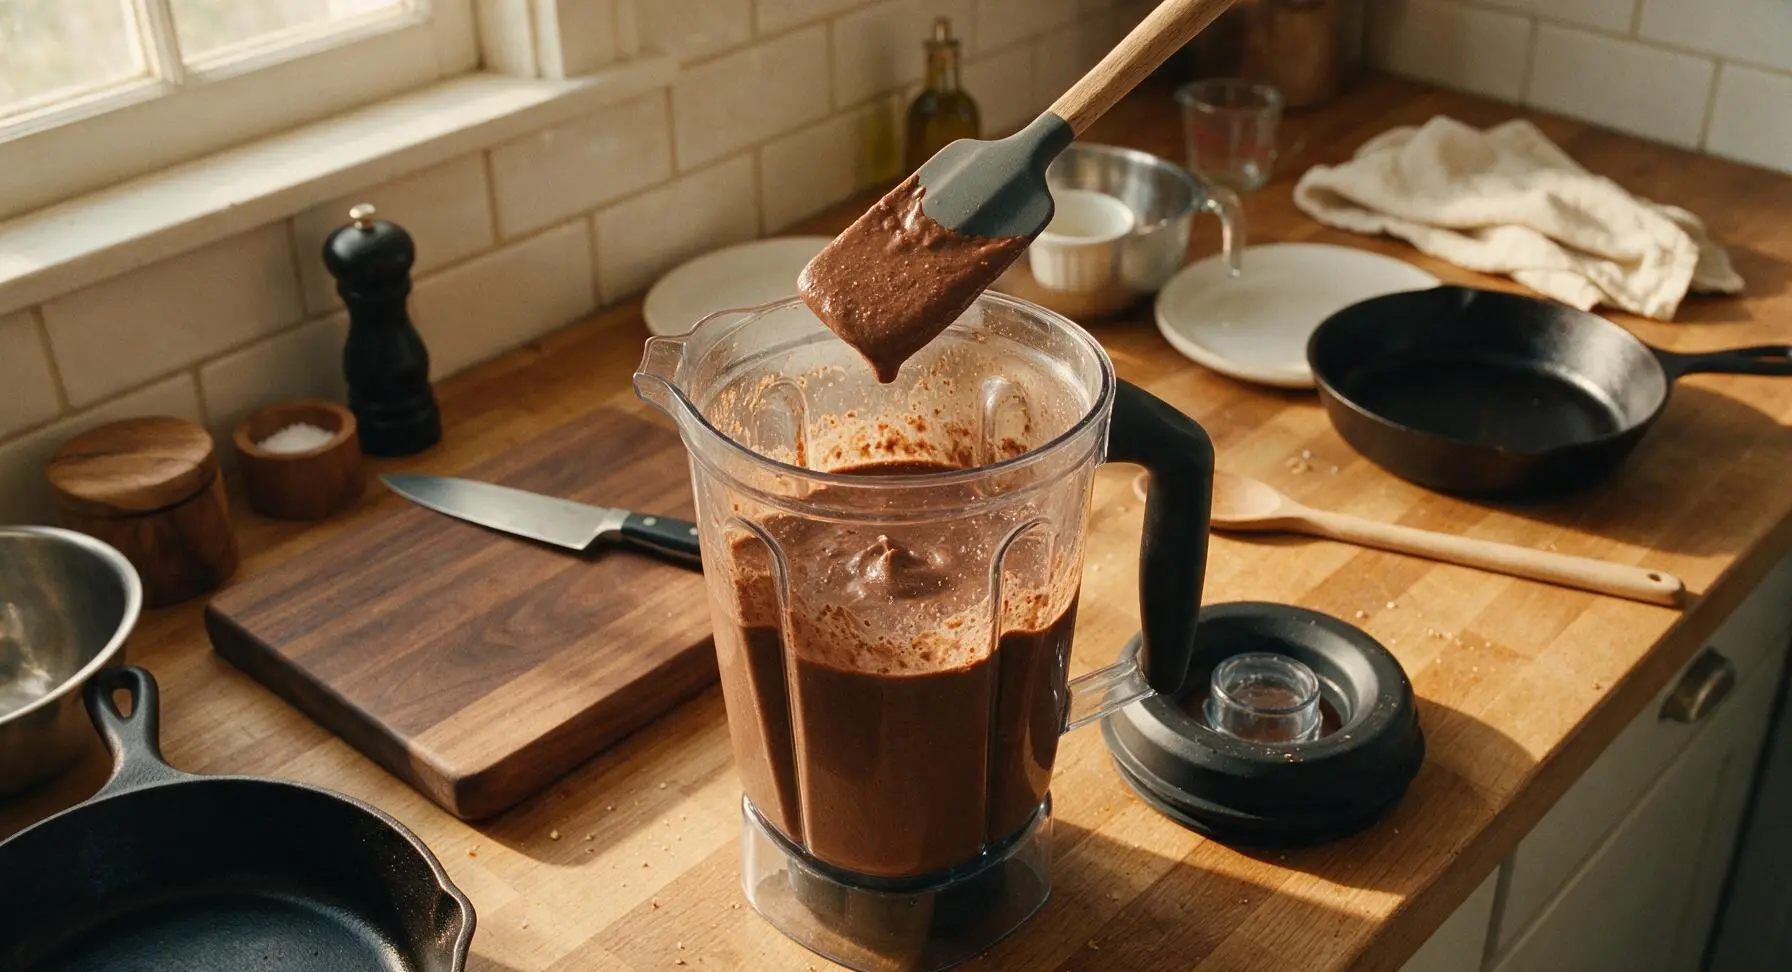
Strain Through Nut Bag
Place the unbleached cotton nut milk bag over the 1.5L smooth-walled glass mixing bowl, folding the top edge of the bag over the bowl rim to hold it securely. Slowly pour the blended almond-cocoa mixture from the blender pitcher into the nut milk bag. Lift the bag by its drawstring, and gently squeeze the bag from the top down to press all the liquid through into the bowl below. Continue squeezing until only dry, crumbly almond pulp remains in the bag (this takes 2–3 minutes of gentle pressing; do not squeeze so hard that pulp pushes through the bag weave). Reserve pulp for baking or smoothies if desired.
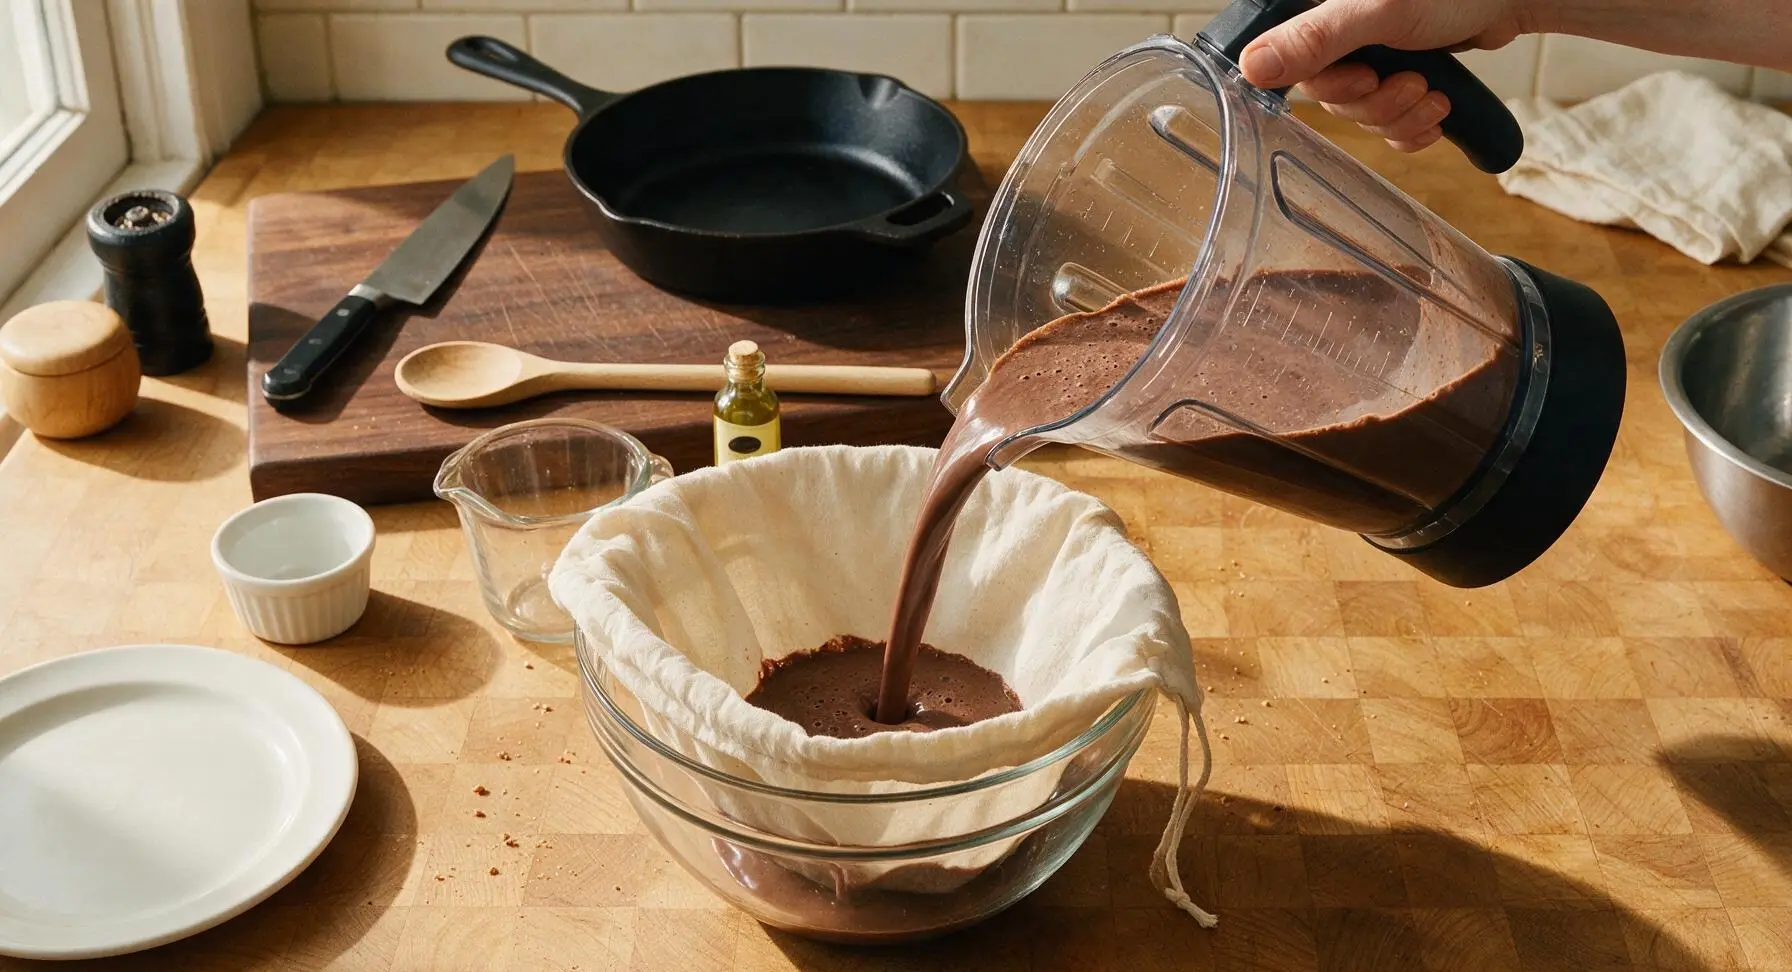
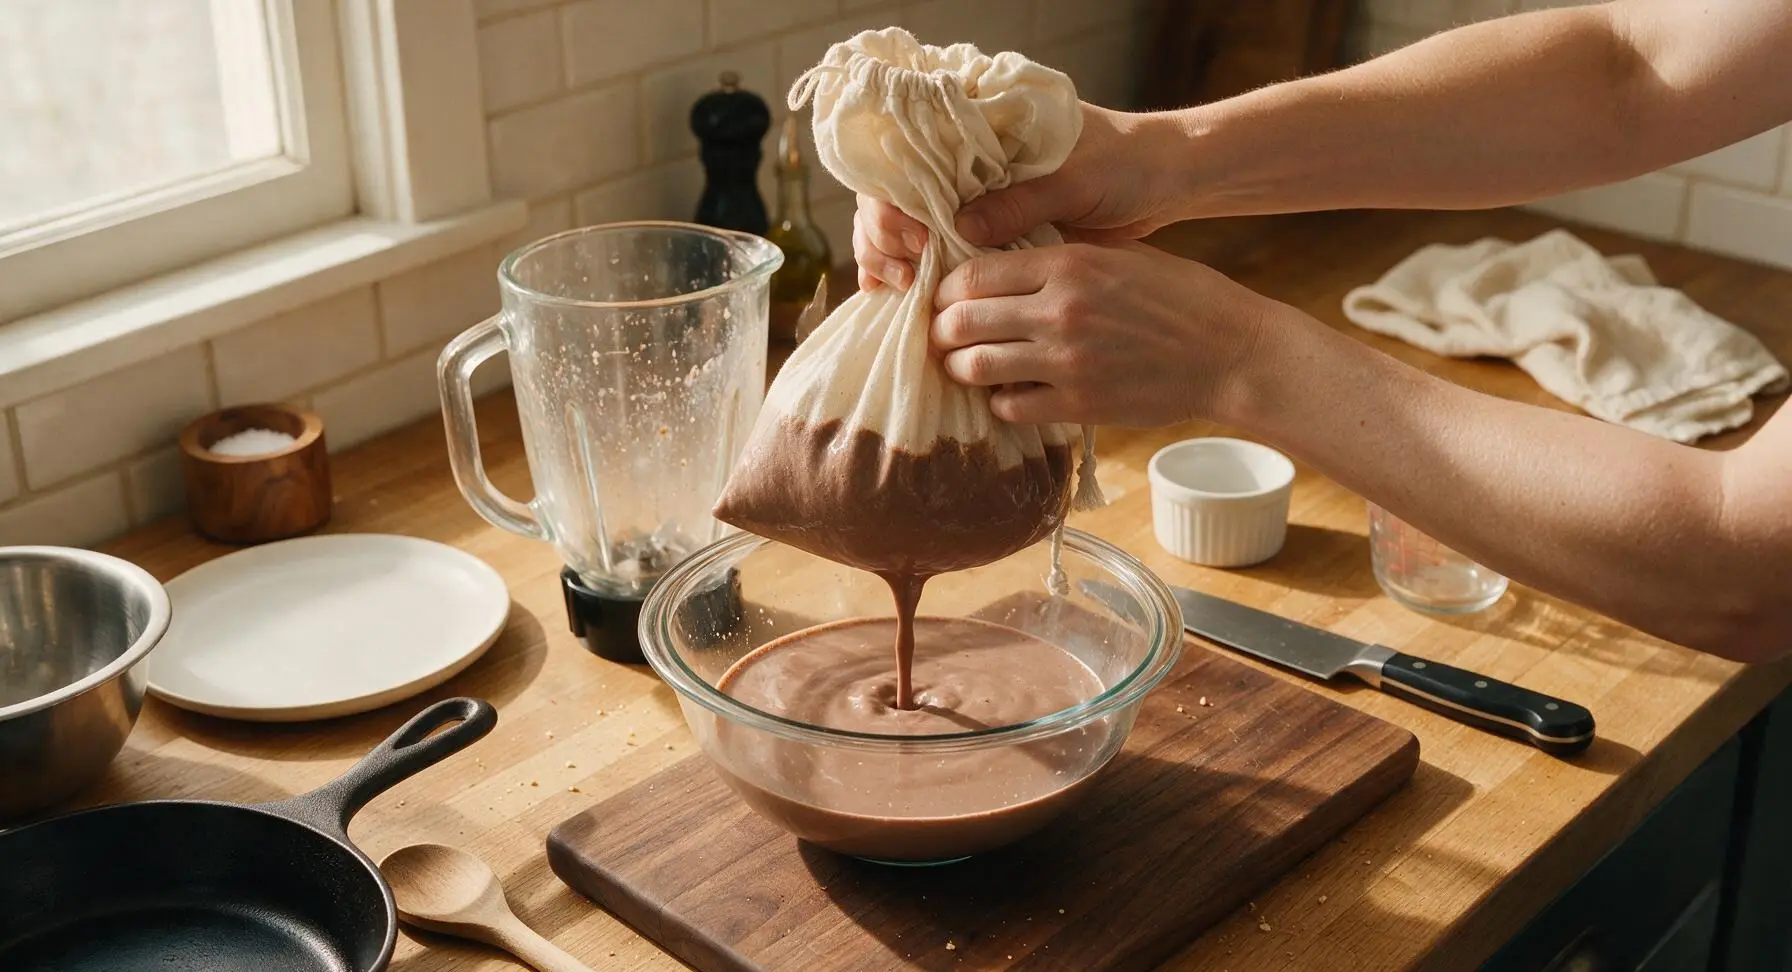
Stir Milk Until Uniform
Remove the nut milk bag with the remaining almond pulp. Use the polished stainless steel spoon to stir the strained chocolate almond milk in the glass bowl for 20–30 seconds, ensuring any lighter froth is fully mixed in, and the cocoa is completely incorporated with no streaks. The milk will be smooth, silky, and uniform deep chocolate brown.
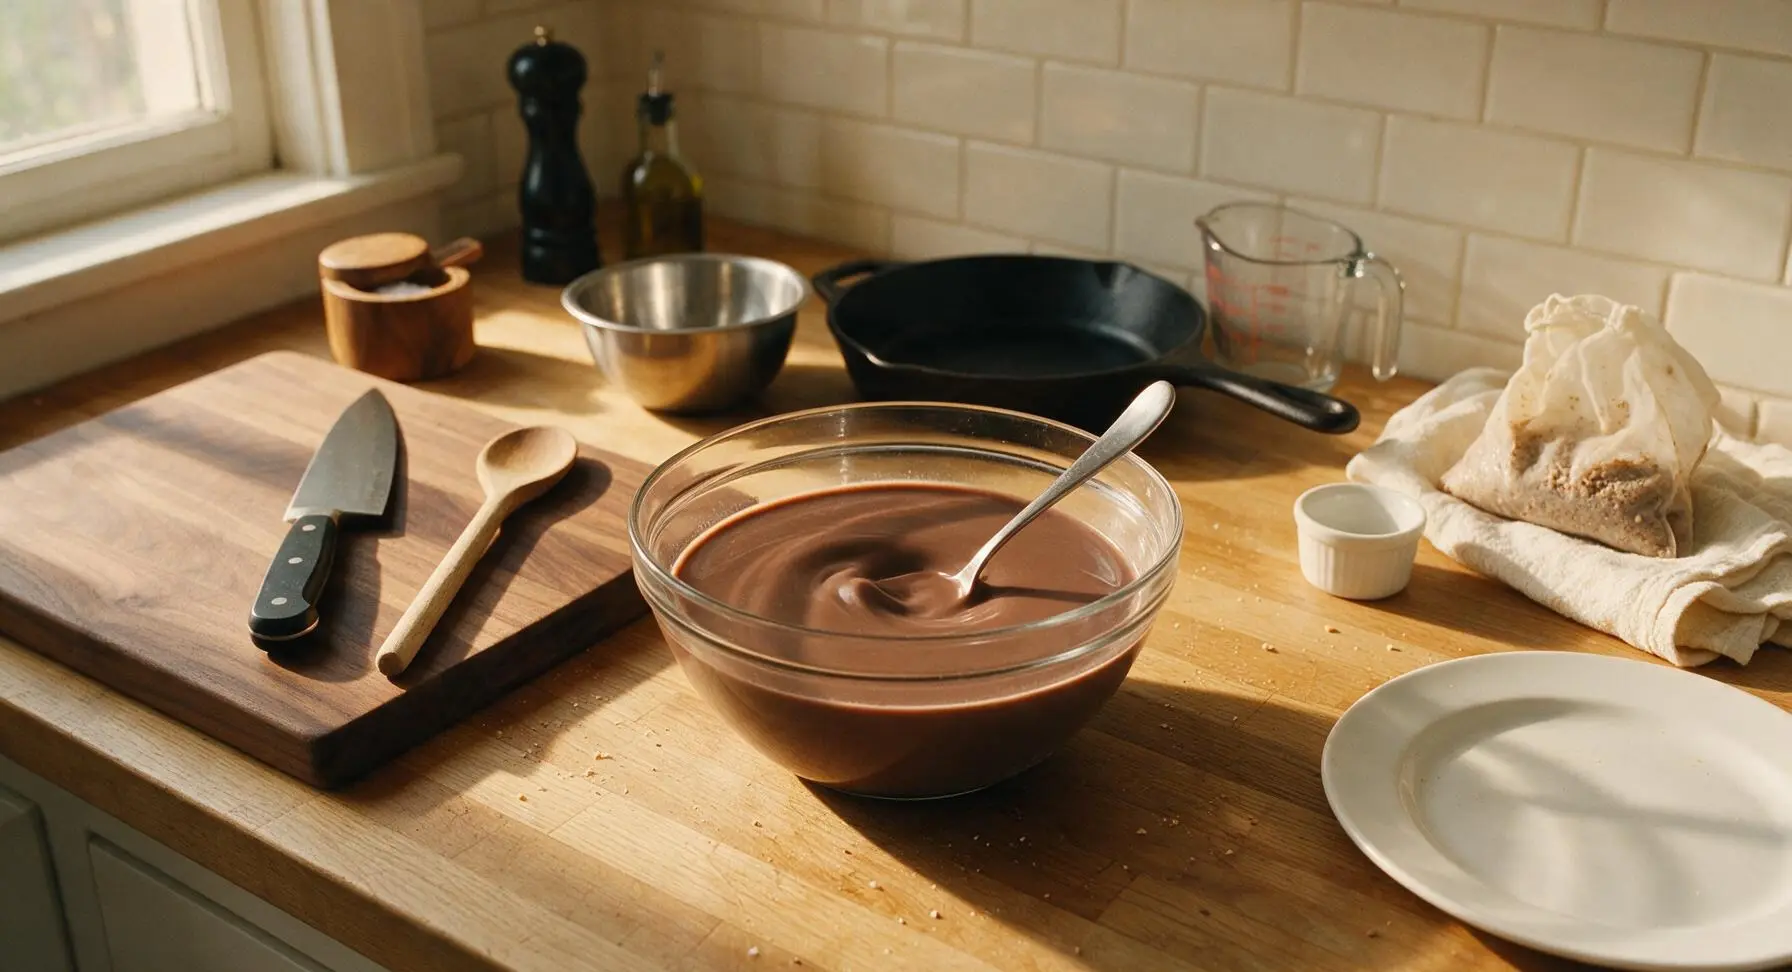
Pour Into Storage Carafe
Place the fine-mesh sieve over the opening of the 1L clear glass carafe (for an extra-smooth result, optional but recommended). Slowly pour the stirred chocolate almond milk from the mixing bowl through the sieve into the carafe. Seal the carafe with its glass stopper, and chill for at least 1 hour before serving for best flavor.
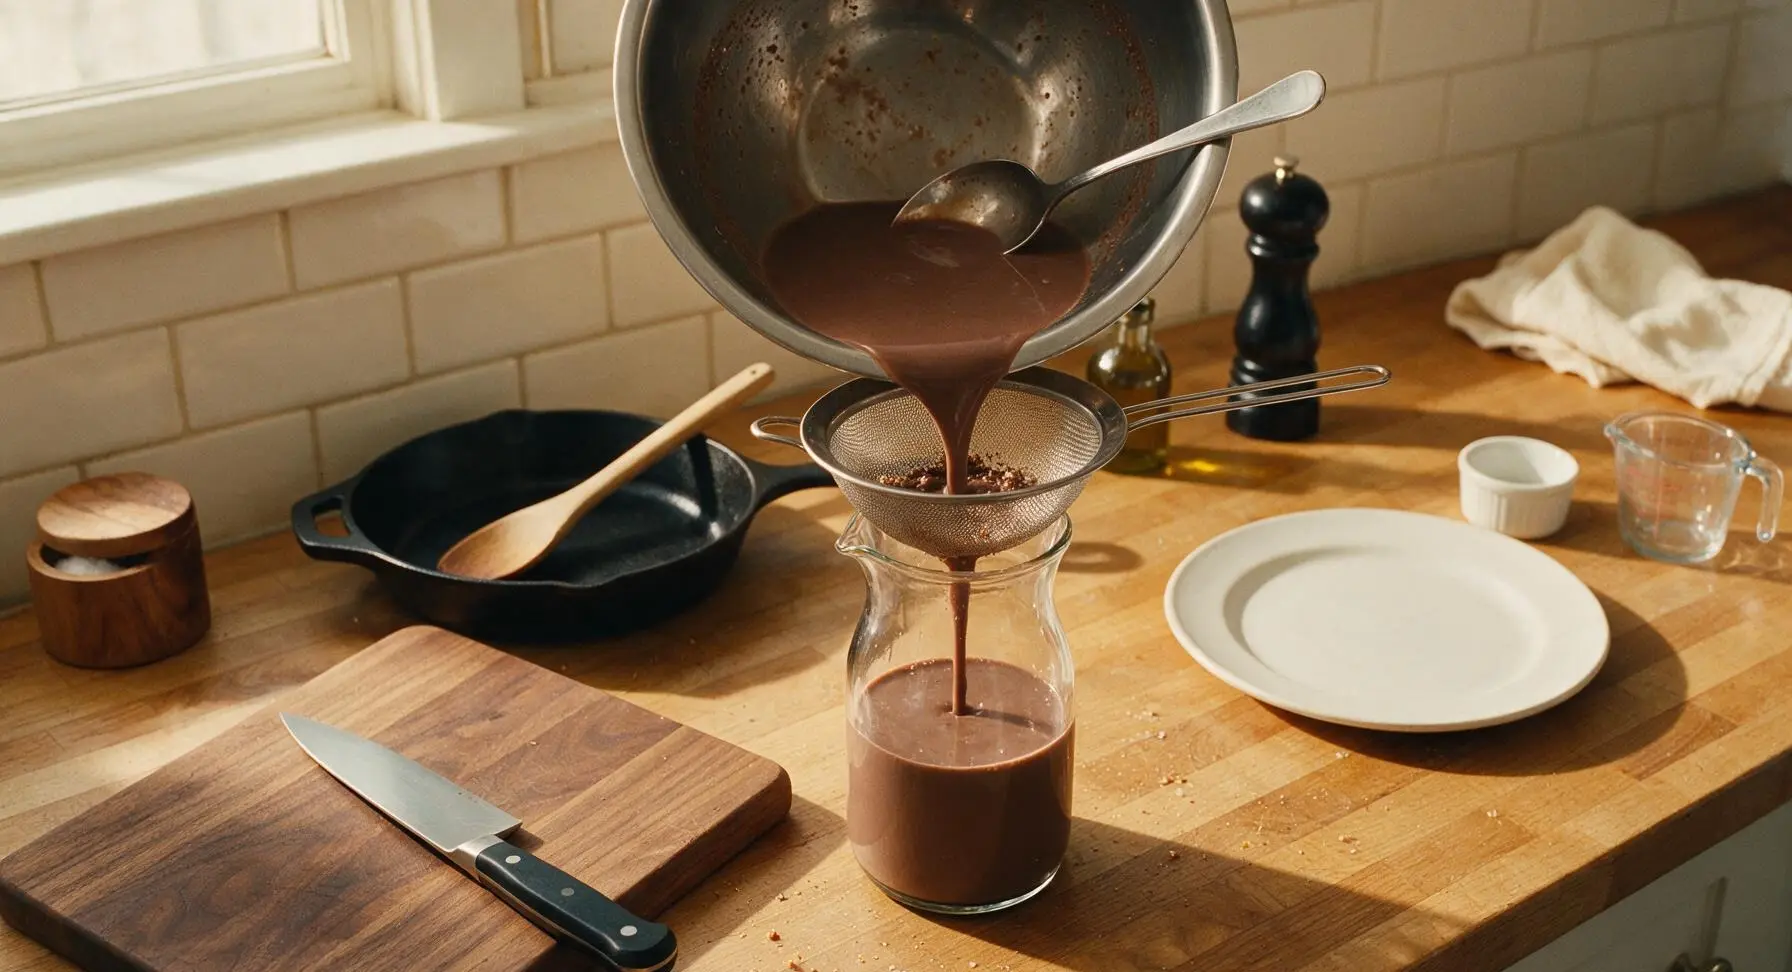
Tips
2.Avoid over-squeezing the nut milk bag: Pressing too hard forces fine almond pulp through the cotton weave, resulting in gritty, textured milk instead of a silky smooth finish. Stop squeezing when only damp, crumbly pulp remains in the bag and no more liquid drips out with gentle pressure.
3.Store finished milk properly: Keep sealed chocolate almond milk in the refrigerator for up to 4 days, and shake vigorously before each pour—natural separation of cocoa and almond solids is normal and not a sign of spoilage. Do not freeze the milk, as it will break the emulsion and become grainy when thawed.






OMG this is SO much better than the store-bought chocolate almond milk! I’ve been wasting so much money on cartons loaded with weird gums and additives, and this takes 10 minutes total to throw together? Total game changer for my morning smoothies, I’ll never go back.
Made this for my kids’ after-school snack yesterday, and they went crazy for it! Usually they turn their noses up at anything “homemade and healthy” but they begged me to make a second batch before the first was even gone. Quick question — can I swap the almonds for hazelnuts to make it taste like that fancy chocolate spread milk?
This is perfect for my weekly meal prep! I make a big batch every Sunday, pour it into glass mason jars, and it lasts all week for my lattes and overnight oats. So creamy I don’t even need to add extra coffee creamer to my morning brew. 10/10, no notes.
Tried this last minute for a neighborhood potluck when I realized a couple of our friends are vegan, and everyone was hounding me for the recipe! Even the guys who swear they hate “that hippie plant milk” went back for seconds. The chocolate flavor is rich but not cloyingly sweet, exactly what I wanted.
I was worried this would taste gritty like other homemade nut milks I’ve tried, but if you strain it really well through a nut milk bag it’s so smooth! I added a tiny extra pinch of flaky sea salt and it made the chocolate flavor pop so much, highly recommend that hack.
Love that this has no added weird preservatives! I drink this post-workout with a scoop of vanilla protein powder and it hits so much better than regular dairy chocolate milk. Only thing is I wish it was a little higher in protein, but that’s just nut milk for you I guess.
Wait a second, zero cook time? That’s exactly what I need as someone who burns toast on a regular basis. I’ve been scared to try homemade plant milk because I thought it would be super complicated and require fancy tools, but this looks totally doable for me.
SO good. I drank a whole tall glass straight after blending it, zero regrets. I used dark Dutch cocoa powder instead of regular and it was rich, decadent, and didn’t leave that weird artificial chemical aftertaste that shelf-stable store bought chocolate milk has. This is going to be a staple in my fridge from now on.
This is a total lifesaver for my house! My youngest has a dairy allergy and a soy allergy, so finding affordable, safe chocolate milk he actually likes has been such a months-long struggle. He says this tastes “better than the birthday party milk” which is the highest possible praise from a 7 year old.
Tried this in my iced mocha this morning instead of my usual creamer and I’m never going back. It’s perfectly chocolatey, not watery at all, and it didn’t curdle in my cold coffee the way some other homemade nut milks do. Total win.
I did the math, and this costs less than half of what I pay for the organic chocolate almond milk at the grocery store. Plus I can control how much sweetener goes in, so I can make it less sweet for me and a little sweeter for my partner. Absolute staple recipe now.
Quick question — do I *have* to soak the almonds first? I forgot to prep them last night and I’m craving this for my breakfast today. Will it still turn out okay if I skip the soak?
Love that I can make this with zero packaging waste! I buy bulk almonds and bulk cocoa powder, so no plastic cartons to throw away every week. The only thing I wish I knew earlier is that you can save the leftover almond pulp to make energy bites, so absolutely nothing goes to waste!
Made this last night when I was rummaging through the pantry for a late night snack, and it hit the spot so hard. I added a little extra vanilla extract and it tasted like a melted chocolate milkshake, but way healthier. Didn’t even feel guilty going back for a second glass.
My tween daughter is going through a super picky phase where she only wants sugary cereals and soda, so I was shocked when she tried this and asked if she could have it in her school lunch every day. Massive win for mom over here!
I’ve tried every homemade plant milk recipe out there, and this is by far the creamiest chocolate one. It makes my post-gym smoothies so thick and rich, I don’t even need to add frozen banana to get that perfect milkshake texture.
I used this as the base for chocolate chia pudding last night and it was *chef’s kiss*. The creaminess of the milk made the chia pudding so much better than when I use regular thin oat milk, it felt like I was eating a fancy restaurant dessert instead of a weekday breakfast.
Love that I don’t need any fancy equipment to make this! I have a tiny cheap drugstore blender and a regular fine mesh sieve (no fancy nut milk bag) and it still turned out totally smooth after a couple rounds of straining. Perfect for people with tiny city kitchens like me.
Wait, how much maple syrup do you all usually add? I made my first batch and added 2 tablespoons like the recipe says, but I have a huge sweet tooth and wanted it a little sweeter. Is 3 tablespoons too much, or will that mess up the texture?
I heated a mug of this up last night when it was freezing out, added a couple tiny marshmallows on top, and it was the coziest hot chocolate ever. Way creamier than the powdered hot cocoa mix I usually make, and I didn’t have to boil any water. Obsessed.