
chocolate belgian waffles
intro
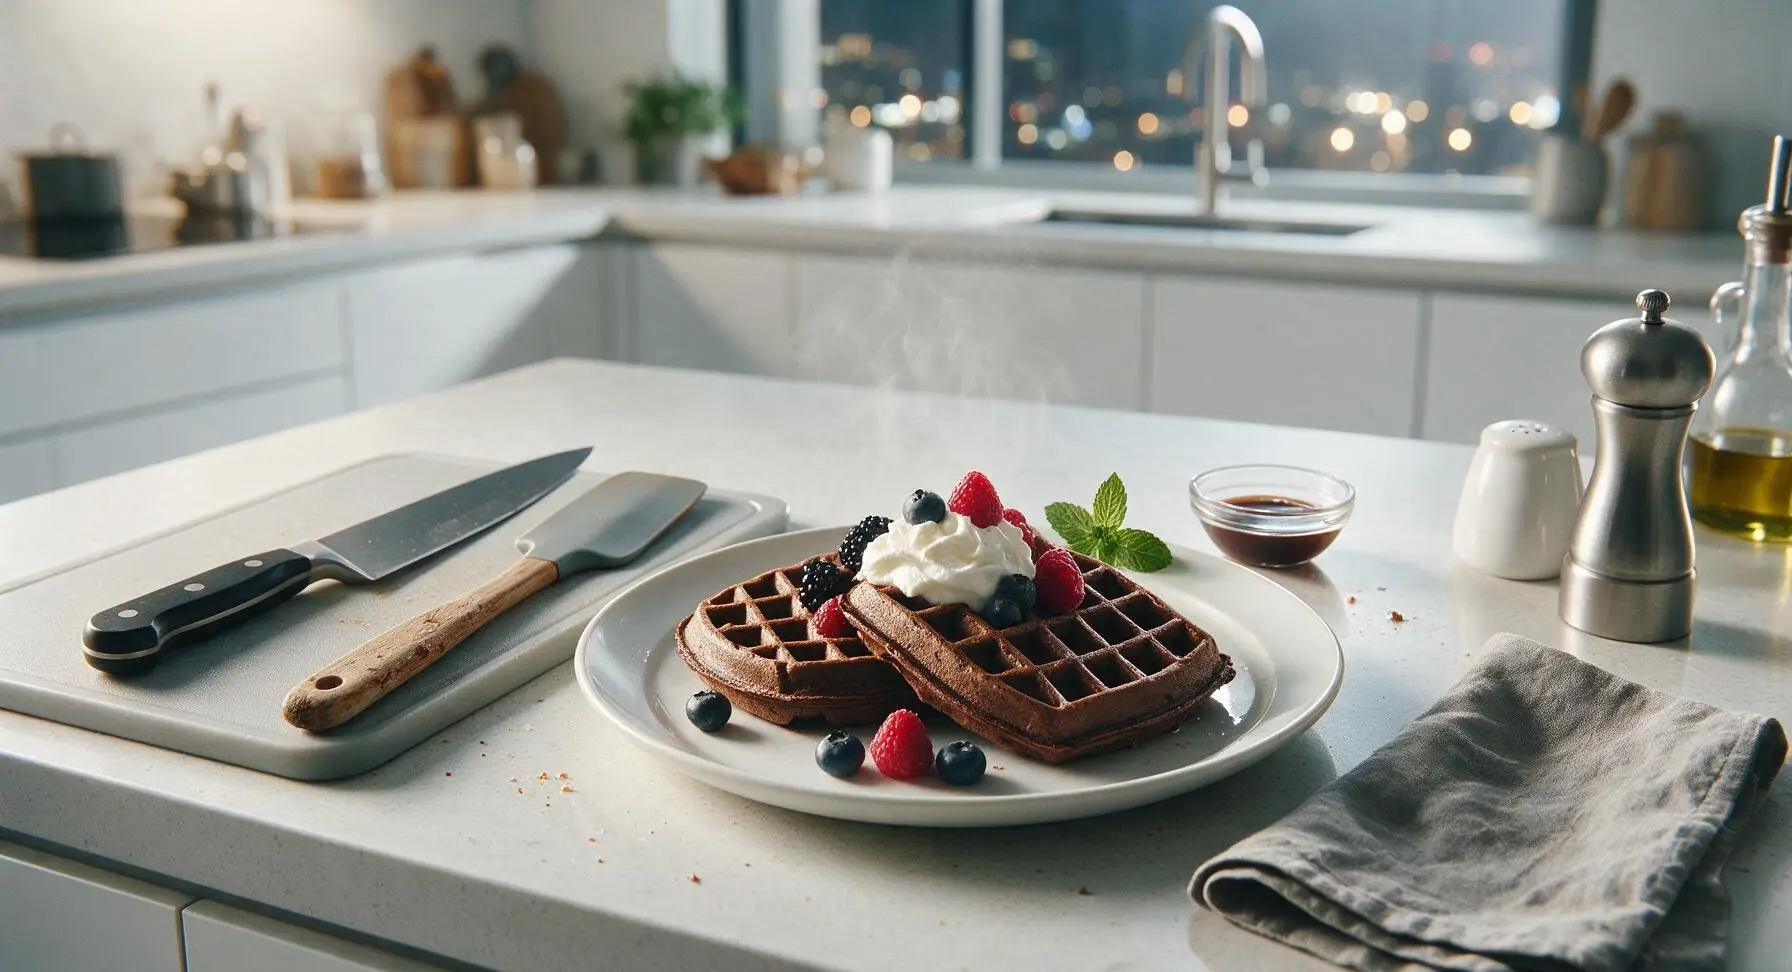
Crisp, deep-grooved chocolate Belgian waffles with a fluffy, rich center, perfect for a cozy Winter Valentines Day breakfast, topped with whipped cream and fresh berries.
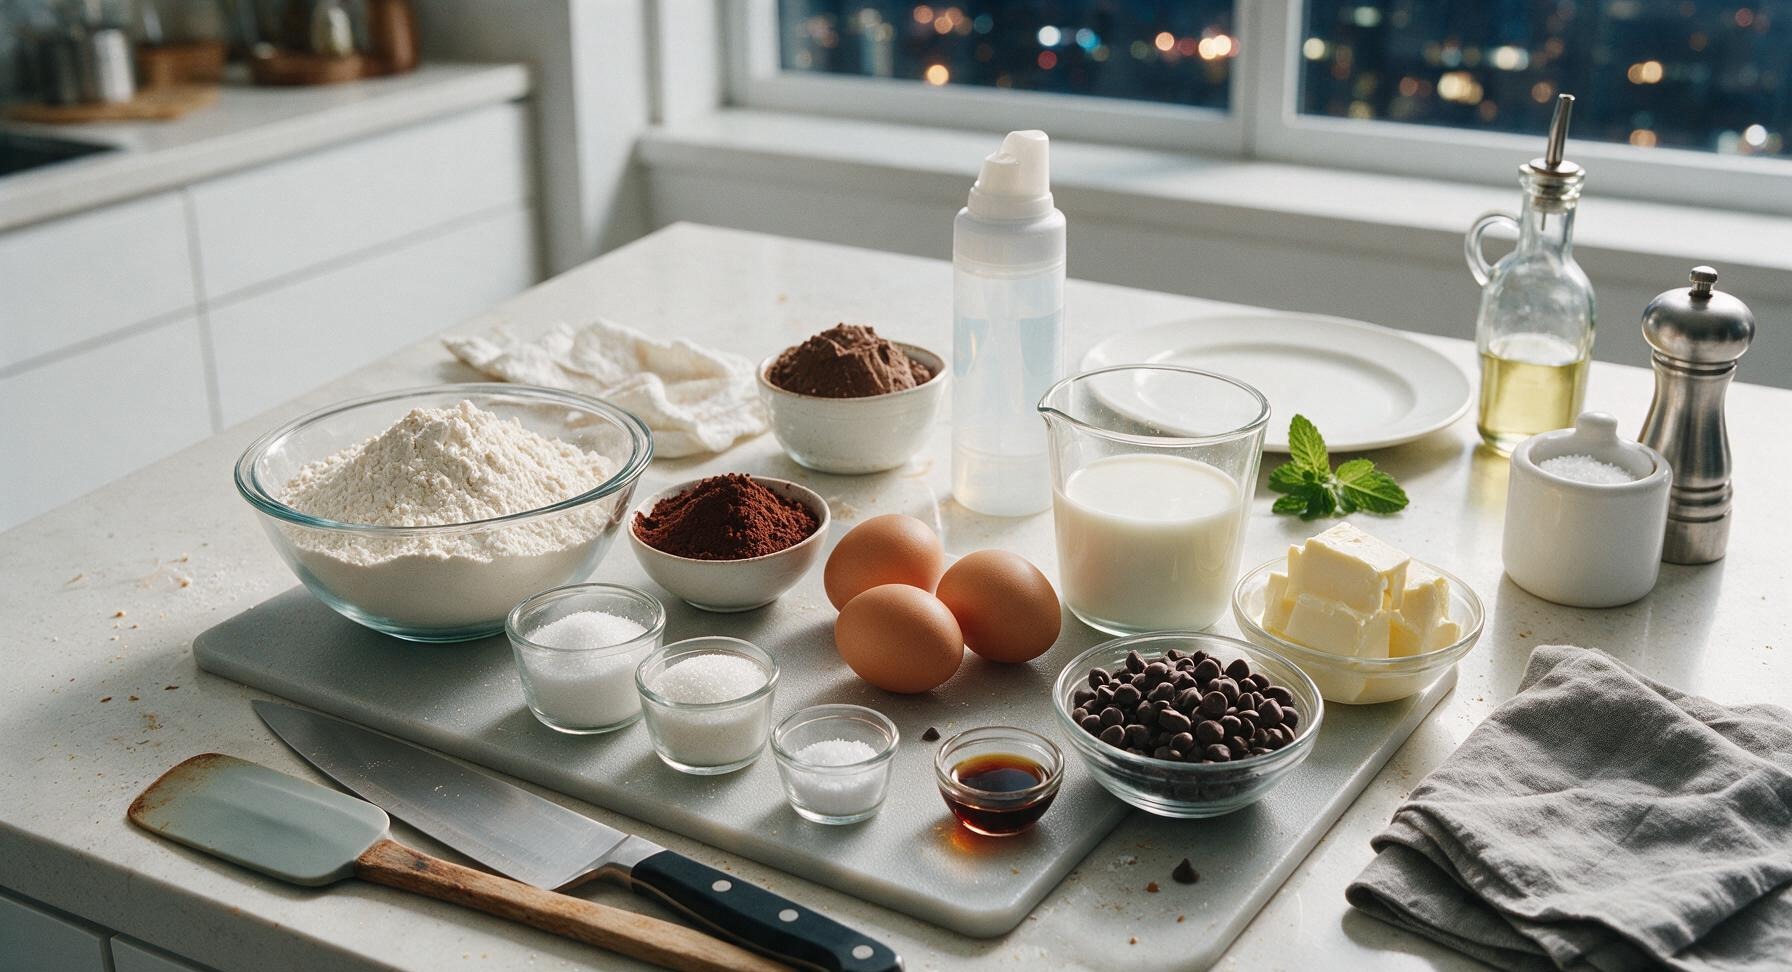
Ingredients
Steps
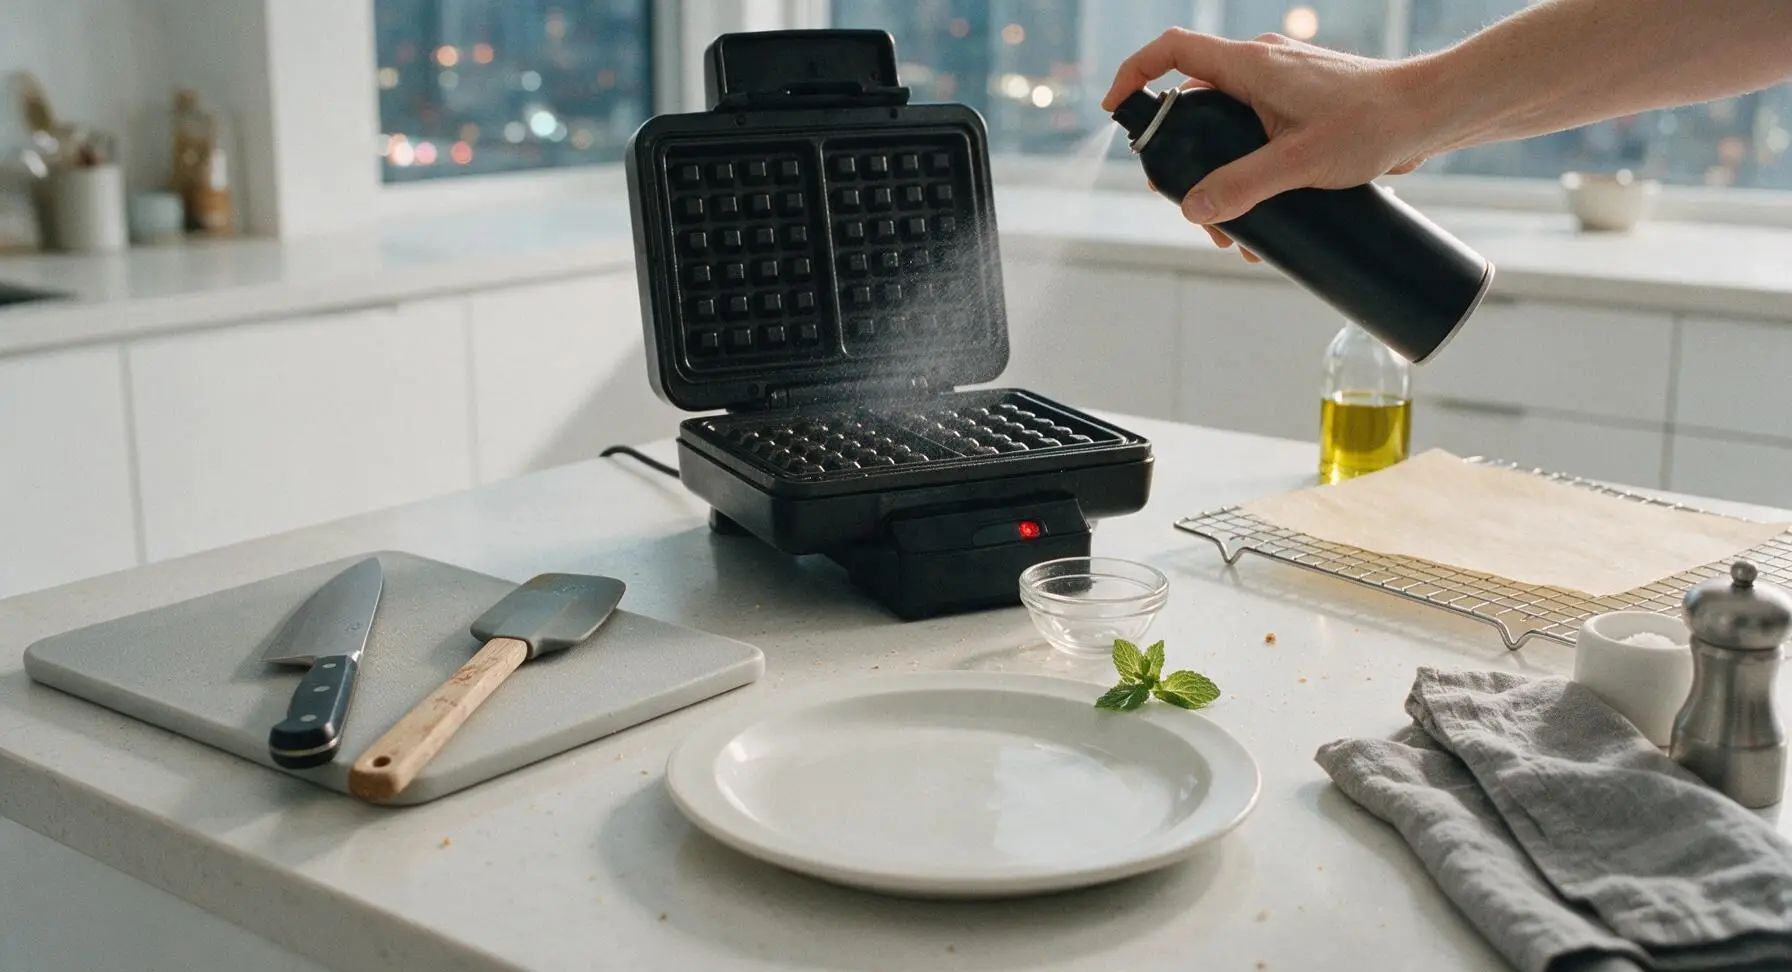
Preheat the Waffle Iron
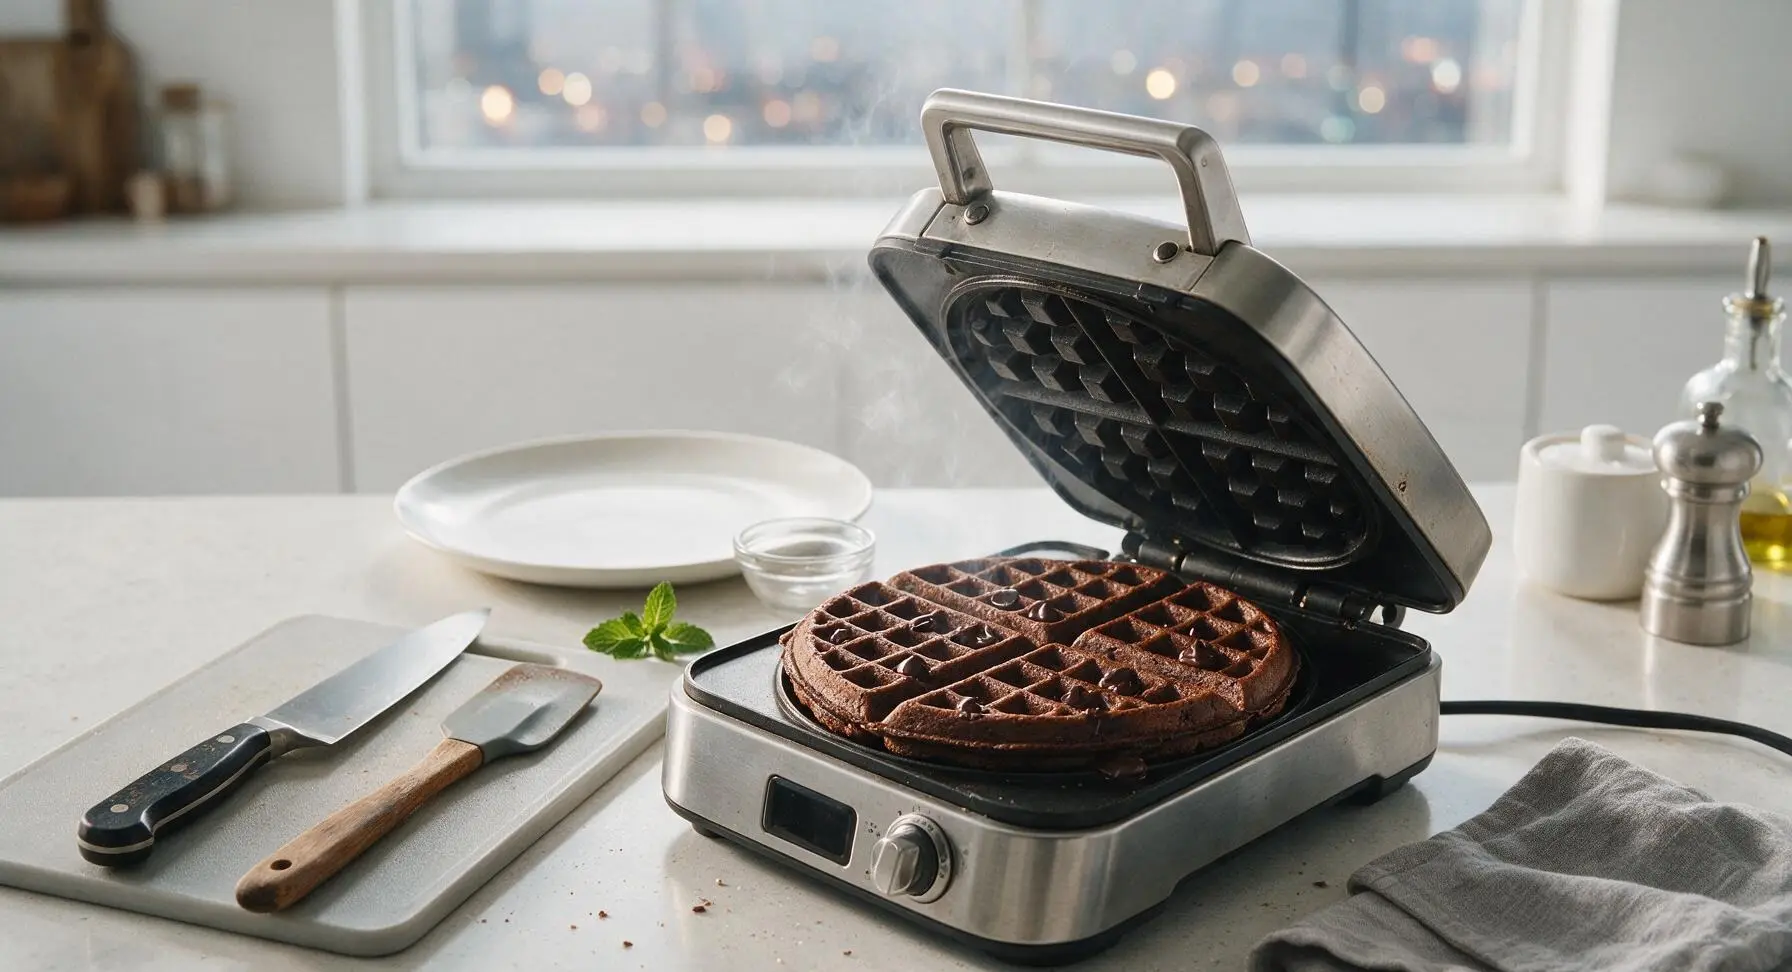
Plug in the matte black Belgian waffle iron and preheat to medium-high setting (375°F/190°C). Lightly coat the cooking grids with non-stick cooking spray once the iron reaches temperature. The indicator light will turn off when the iron is fully preheated and ready for batter; this takes approximately 5 minutes. Line the far-right chrome wire cooling rack with unbleached parchment paper to hold finished waffles.
Whisk Dry Ingredients
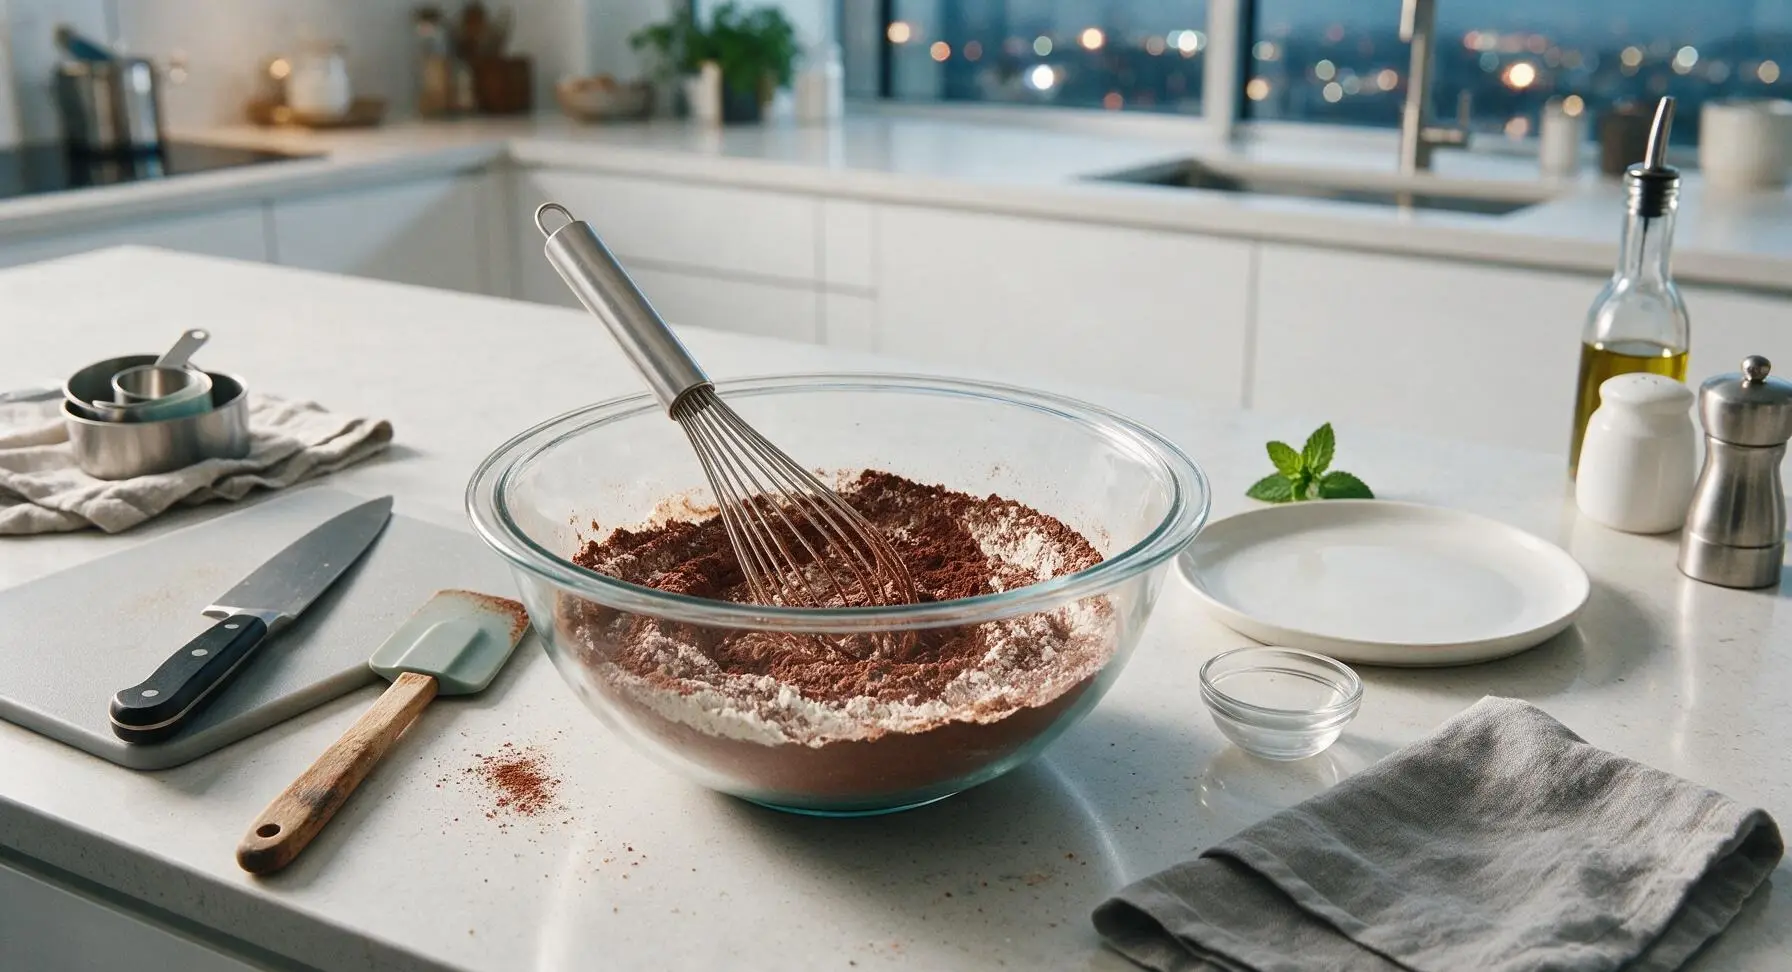
In the 2.5-quart clear glass mixing bowl, combine 1 3/4 cups all-purpose flour, 1/3 cup Dutch-process cocoa powder, 2 tbsp granulated sugar, 2 tsp baking powder, and 1/4 tsp fine sea salt. Use the 10-inch stainless steel whisk to stir the dry ingredients for 30 seconds until fully combined, with no visible clumps of cocoa powder remaining. The mixture should be a uniform deep brown color.
Combine Wet Ingredients
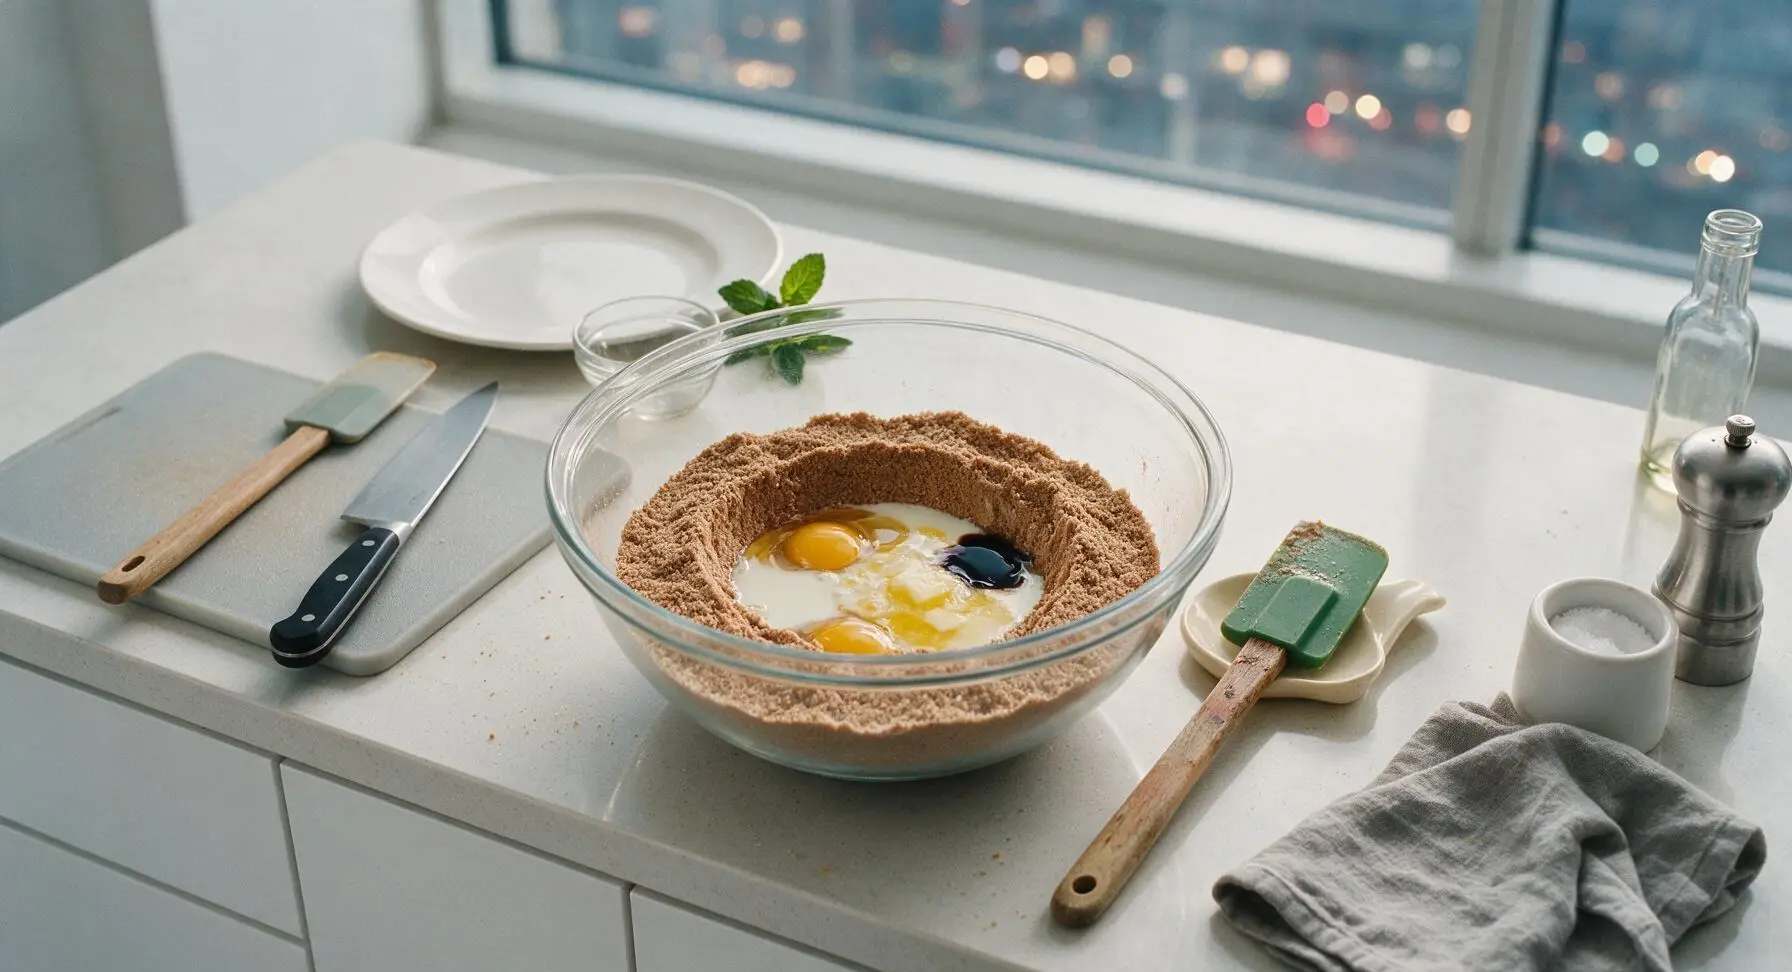
Make a small well in the center of the dry ingredient mixture. Crack the 2 large eggs into the well, then add 1 1/2 cups whole milk, 1/3 cup melted cooled unsalted butter, and 1 tsp pure vanilla extract. Do not overmix at this stage to avoid tough waffles.
Fold in Chocolate Chips
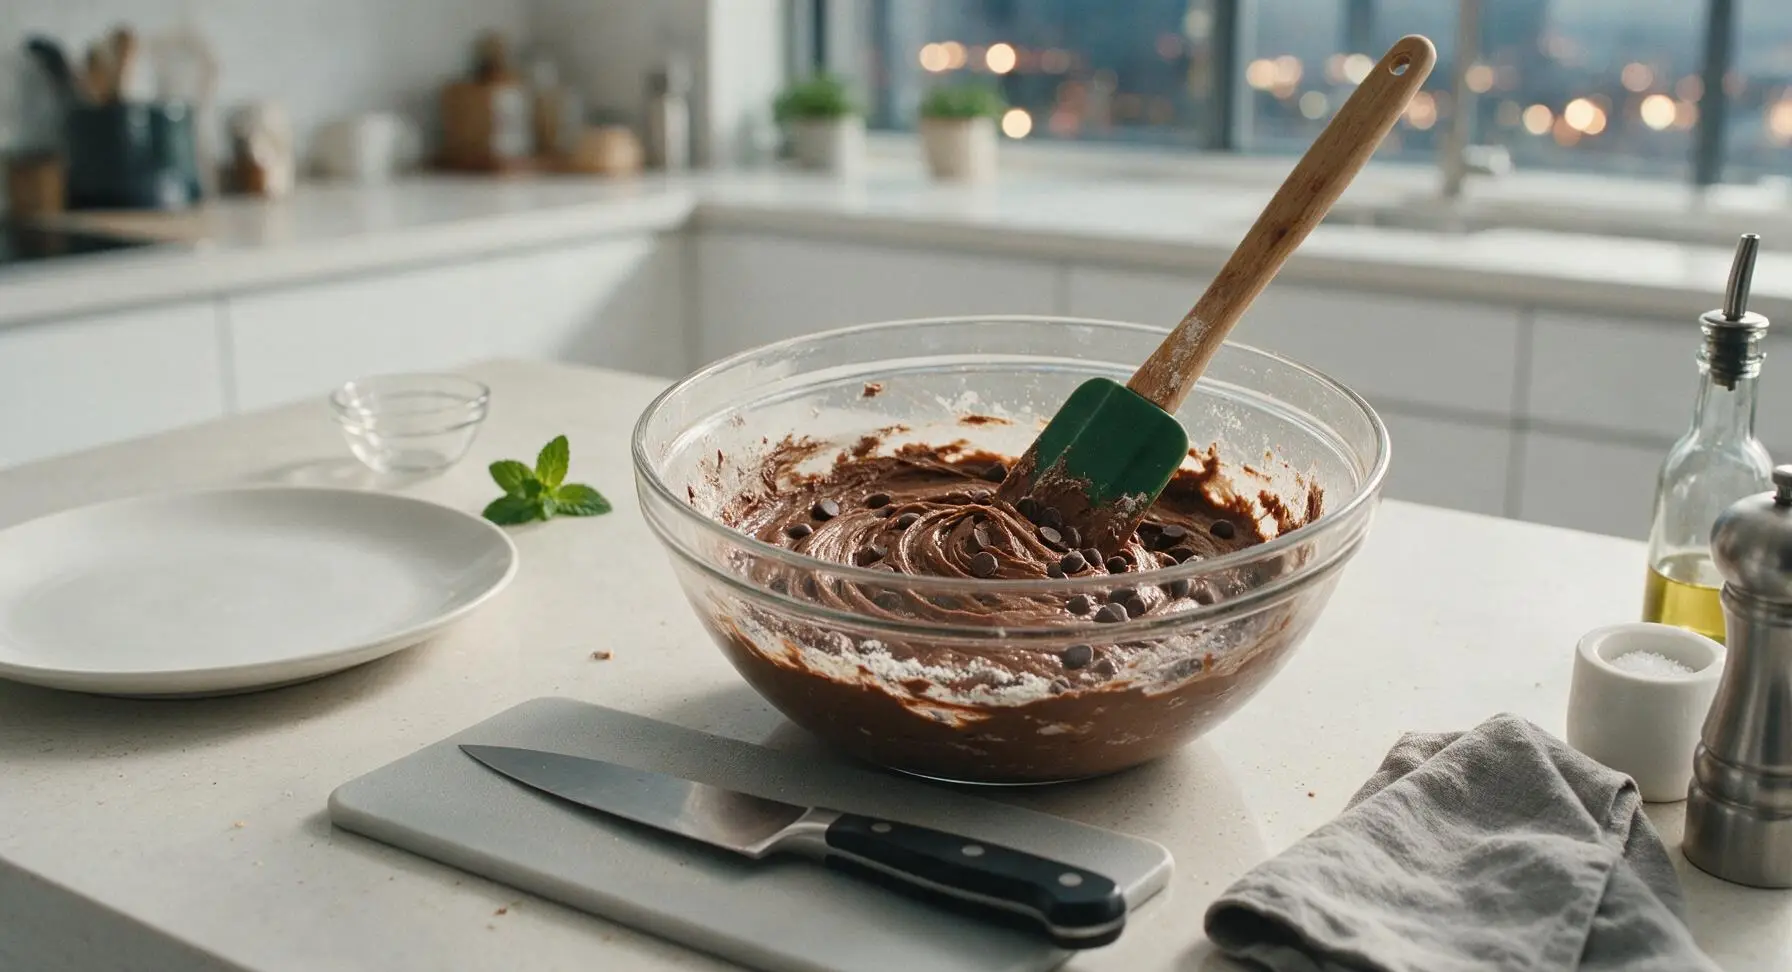
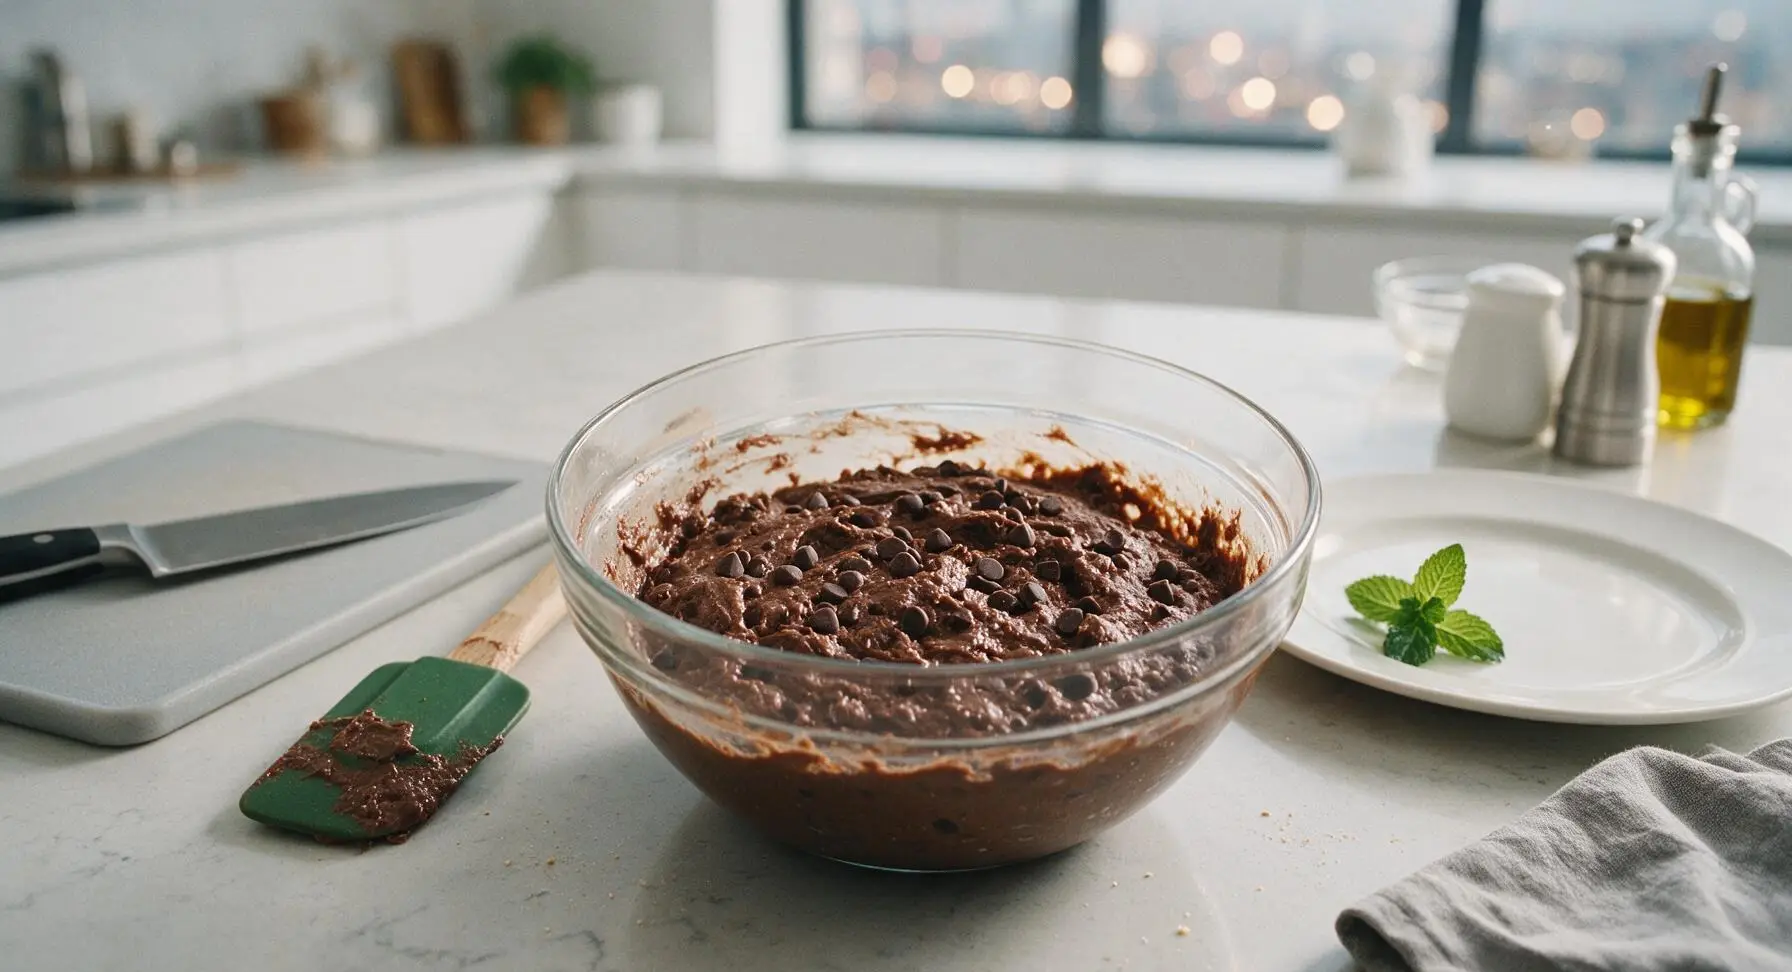
Use the forest green-handled silicone spatula to gently fold the wet and dry ingredients together, stirring just until no large dry flour streaks remain; the batter will be slightly lumpy, which is ideal. Gently fold in 1/2 cup semi-sweet chocolate chips, taking care not to overstir—overmixing will develop gluten and result in dense, tough waffles instead of light, crisp ones.
Cook Waffles Until Crisp
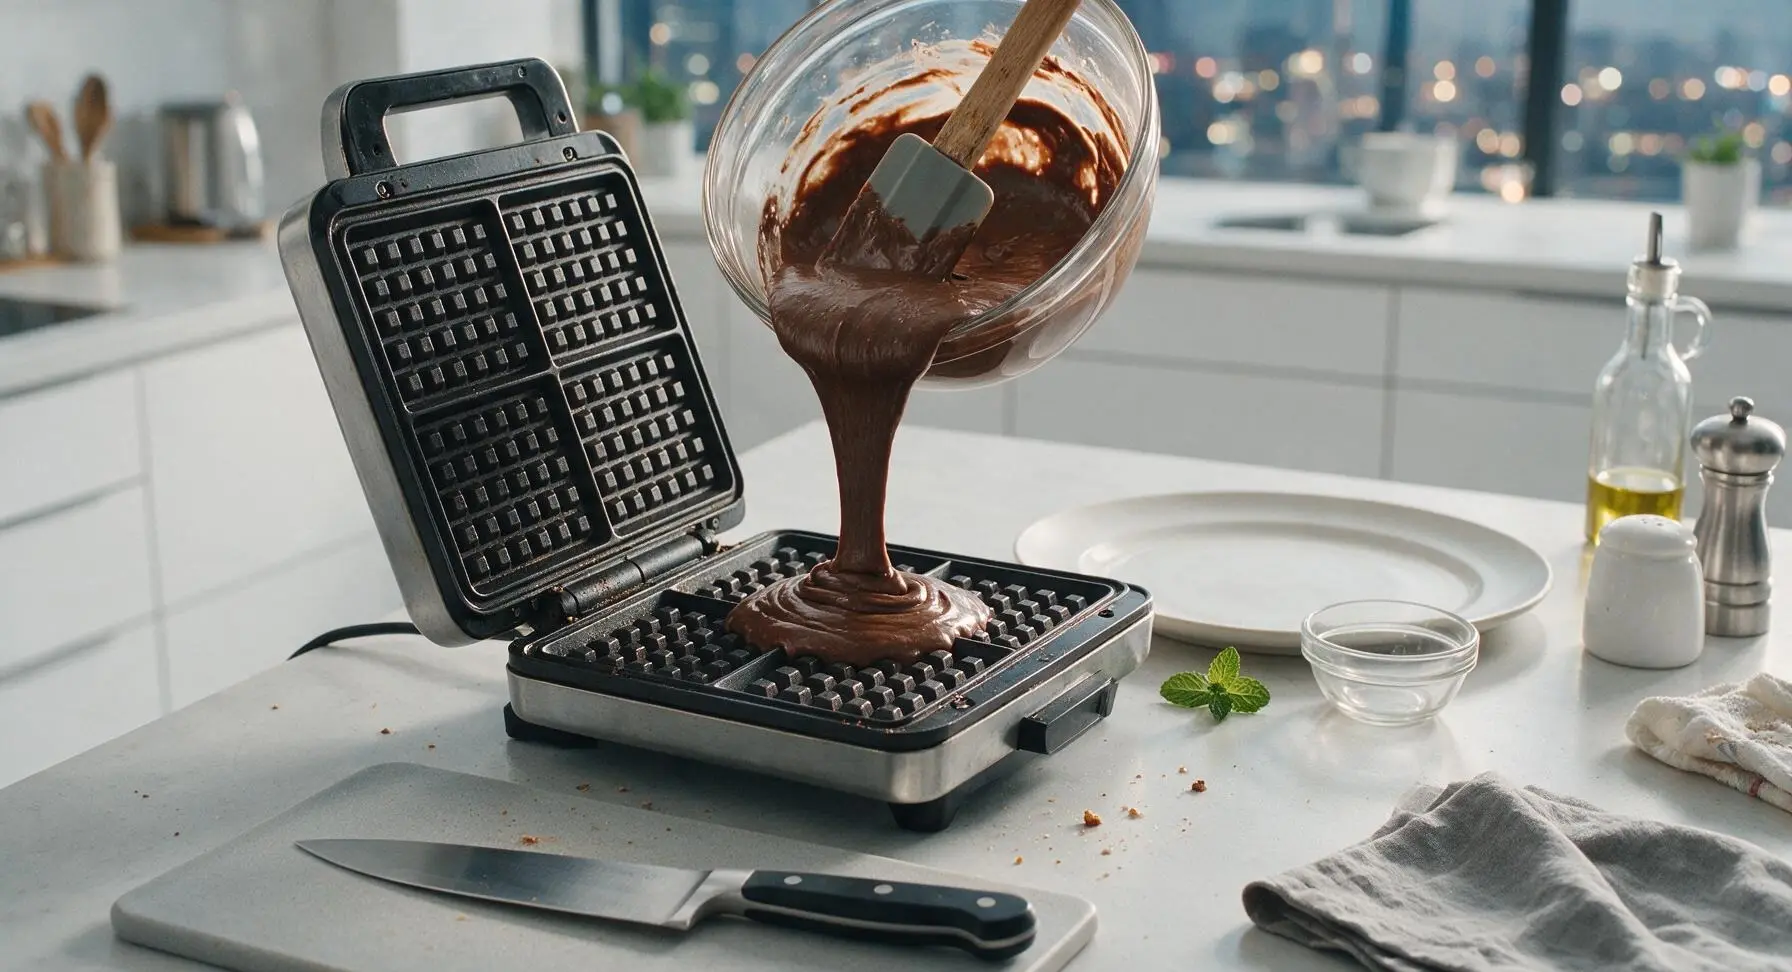
Pour 3/4 cup of batter onto the center of the preheated waffle iron grid, close the lid, and cook for 4 to 5 minutes. Do not open the lid for the first 3 minutes of cooking, as this will cause the waffle to split and stick. The waffle is done when steam stops escaping from the edges of the iron, and the waffle is deep rich brown with crisp, set edges and no raw batter in the grid pockets. This yields 4 total waffles, one per serving.
Rest Waffles on Rack
Use the silicone spatula to carefully lift the cooked waffle from the iron, and transfer it to the parchment-lined chrome wire cooling rack on the far right of the counter. Do not stack waffles directly on top of each other while hot, as this will trap steam and make the crisp edges soggy. Repeat the cooking process with the remaining batter.
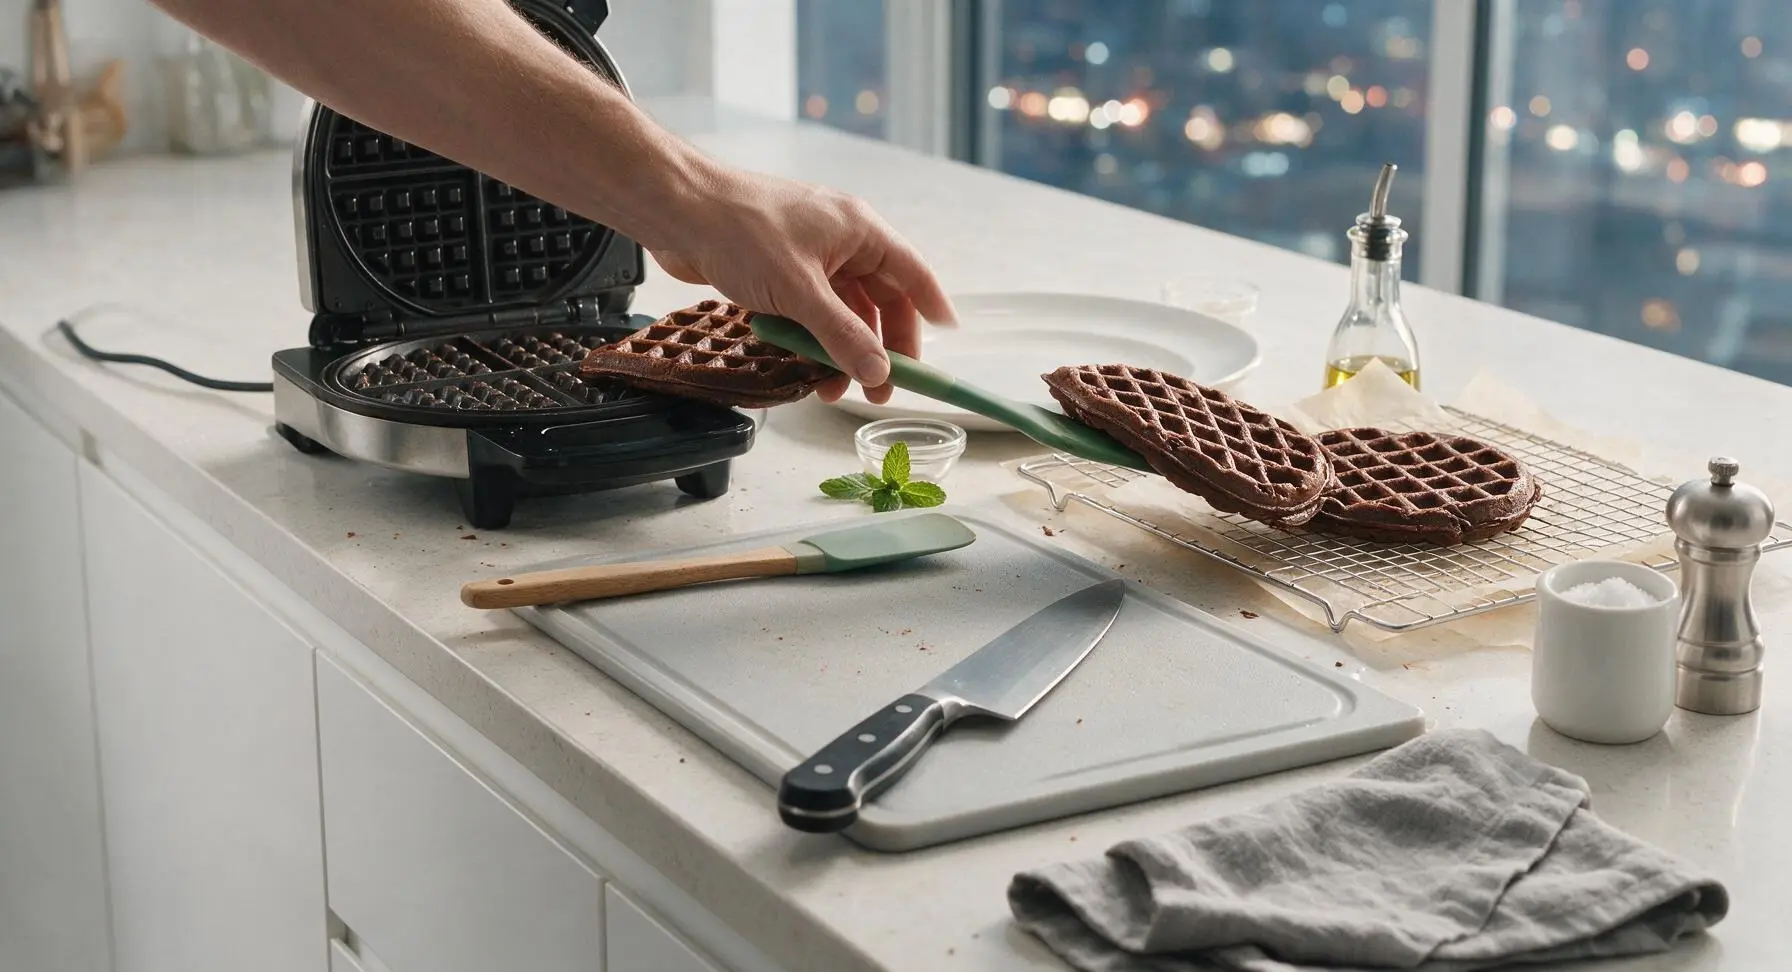
Plate and Garnish Waffles
Place one warm chocolate waffle centered on the matte cream white ceramic dinner plate. Top with a 2-tablespoon dollop of fluffy freshly whipped cream, drizzle 1 tablespoon of pure maple syrup over the top so it runs into the waffle grid pockets, and scatter a small handful of fresh raspberries and sliced strawberries from the terracotta berry bowl around the edge of the plate. Add a light dusting of extra cocoa powder if desired.

Tips
2.Wait a full 3 minutes before opening the waffle iron lid after adding batter: peeking early breaks the waffle’s rising structure, causing it to split, stick to the grids, and lose its signature crisp, fluffy texture.
3.Rest cooked waffles on the wire cooling rack instead of a solid plate: placing hot waffles on a flat surface traps steam against the waffle, turning crisp edges soft and soggy in under a minute. For batch cooking, hold finished waffles on the rack in a 200°F (93°C) oven to keep them crisp until serving.






OMG these chocolate Belgian waffles are a total game changer for our Sunday brunch! I added a handful of mini chocolate chips on top right before closing the waffle iron, and served them with fresh strawberries and whipped cream. My kids devoured theirs in 5 minutes flat and asked for seconds before I even sat down to eat. So easy to throw together too, I was worried they’d be fussy but the whole thing took 20 minutes just like the recipe says! 10/10
Made these for my camping trip crew last weekend (I pre-mixed the dry ingredients at home for easy meal prep!) and everyone went crazy for them. We topped them with marshmallow fluff and crushed graham crackers for a s’mores vibe. SO good, even the guy who swears he ‘doesn’t like sweet breakfast’ had two. Super easy recipe, no weird fancy ingredients required. Will be making these every camp trip from now on.
Tried these last night for a quick weeknight dessert waffle night with my roommates, and they turned out perfect! Only issue I had was my waffle iron ran a little hot, so the first one came out a touch crispier than I wanted, but I adjusted the temp and the rest were flawless. The chocolate flavor is rich but not overly sweet, which I love.
Brought these to my neighborhood potluck yesterday and they were the first dish gone! I cut them into smaller bite-sized squares so people could grab them easily, set out little cups of syrup, Nutella, and powdered sugar for dipping. Multiple neighbors asked for the recipe before I even left. Can’t believe how simple these are for how impressive they taste!
These are my new go-to weekend waffles! I swapped half the all purpose flour for whole wheat to make them a tiny bit heartier, and added a dash of espresso powder to make the chocolate flavor pop even more. Chef’s kiss, tastes like something you’d pay $15 for at a fancy brunch spot.
Made these for my daughter’s birthday breakfast this morning and I’m officially the ‘best dad ever’ according to her, so that’s a win in my book. We piled on rainbow sprinkles, chocolate syrup, and a scoop of vanilla ice cream (don’t judge, it’s a birthday!) and she said they were better than the waffles we get at our favorite diner. Super straightforward recipe even for a guy who burns toast half the time. 10/10, will be making again for special occasions.