
chocolate chip waffles near me

title 1
chocolate chip waffles near me
⏱️ cook time 15 minutes
🍽️ servings 4
⚡ Difficulty easy

intro

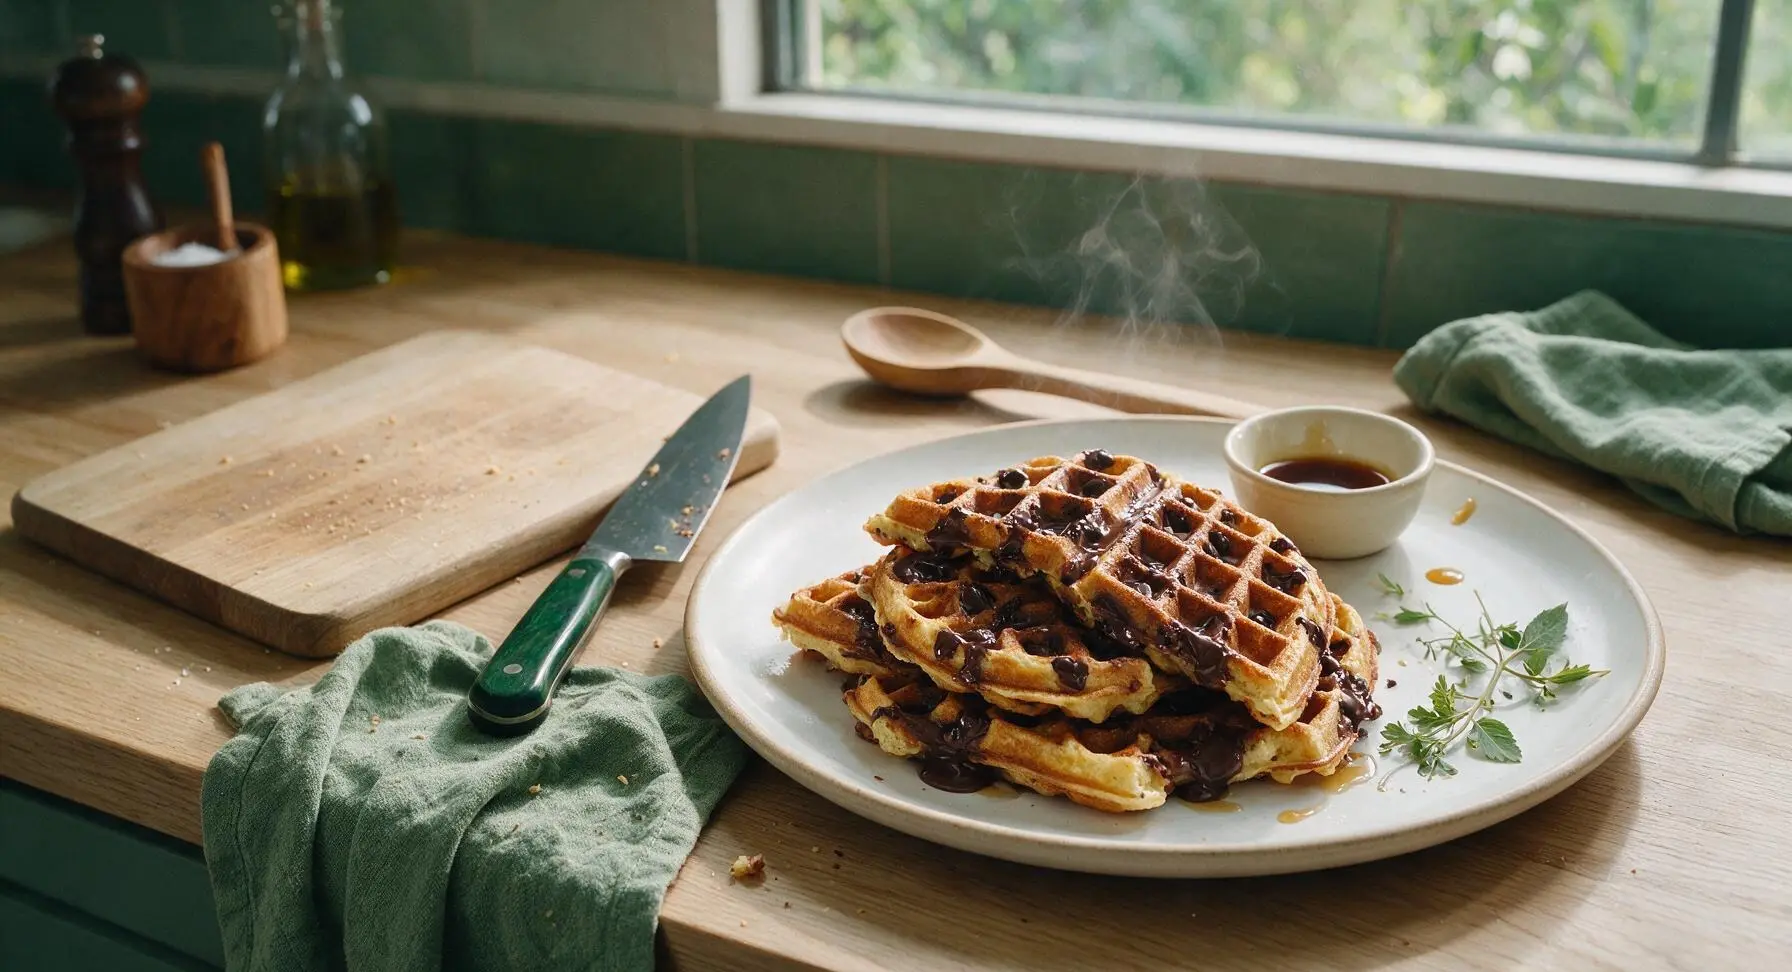
Crisp-edged, fluffy inside, oozing with melty chocolate—these diner-style chocolate chip waffles taste exactly like the beloved local spot you search for nearby.

Ingredients
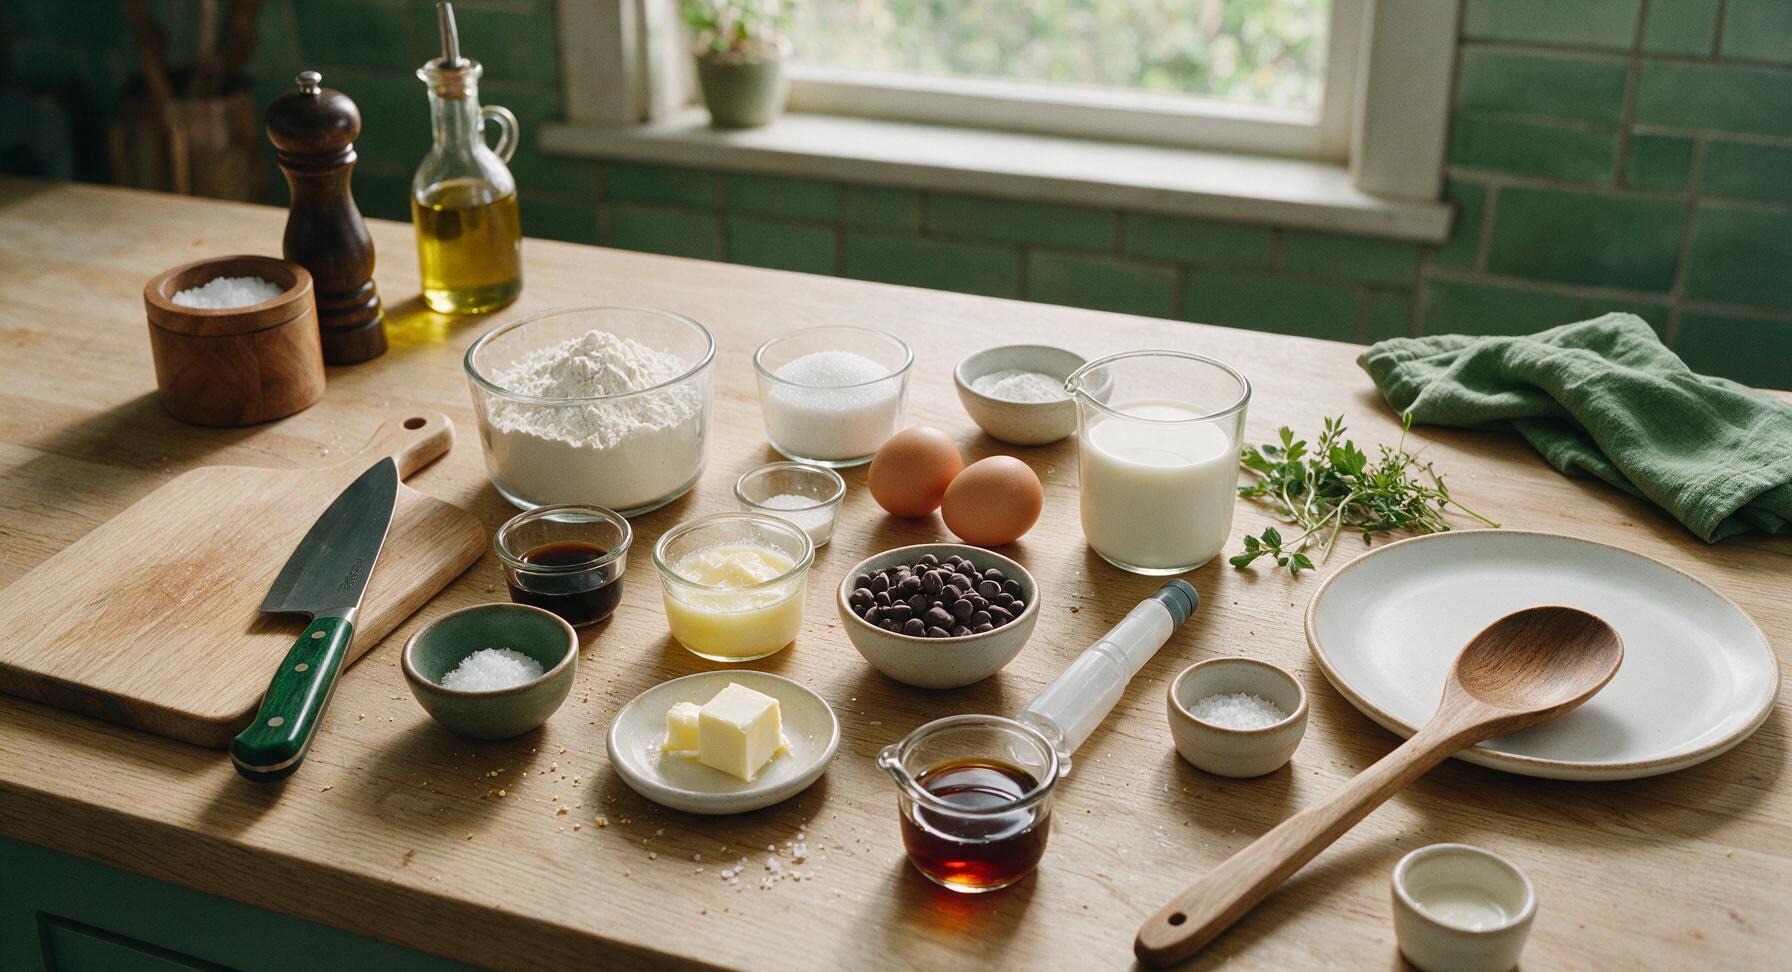
All-purpose flour 2 cups (240g)
Granulated sugar 2 tablespoons
Baking powder 1 tablespoon
Fine sea salt 1/2 teaspoon
Large eggs (room temperature) 2 count
Whole milk 1 3/4 cups (414ml)
Unsalted butter (melted, cooled) 1/3 cup (76g)
Pure vanilla extract 1 teaspoon
Semi-sweet chocolate chips 3/4 cup (135g)
Non-stick cooking spray As needed (2-second burst per waffle)
Salted butter (for topping) 4 tablespoons (1 per serving)
Pure maple syrup (for serving) 1/2 cup
Flaky sea salt (optional topping) 1/4 teaspoon

Steps

1

Whisk Dry Ingredients

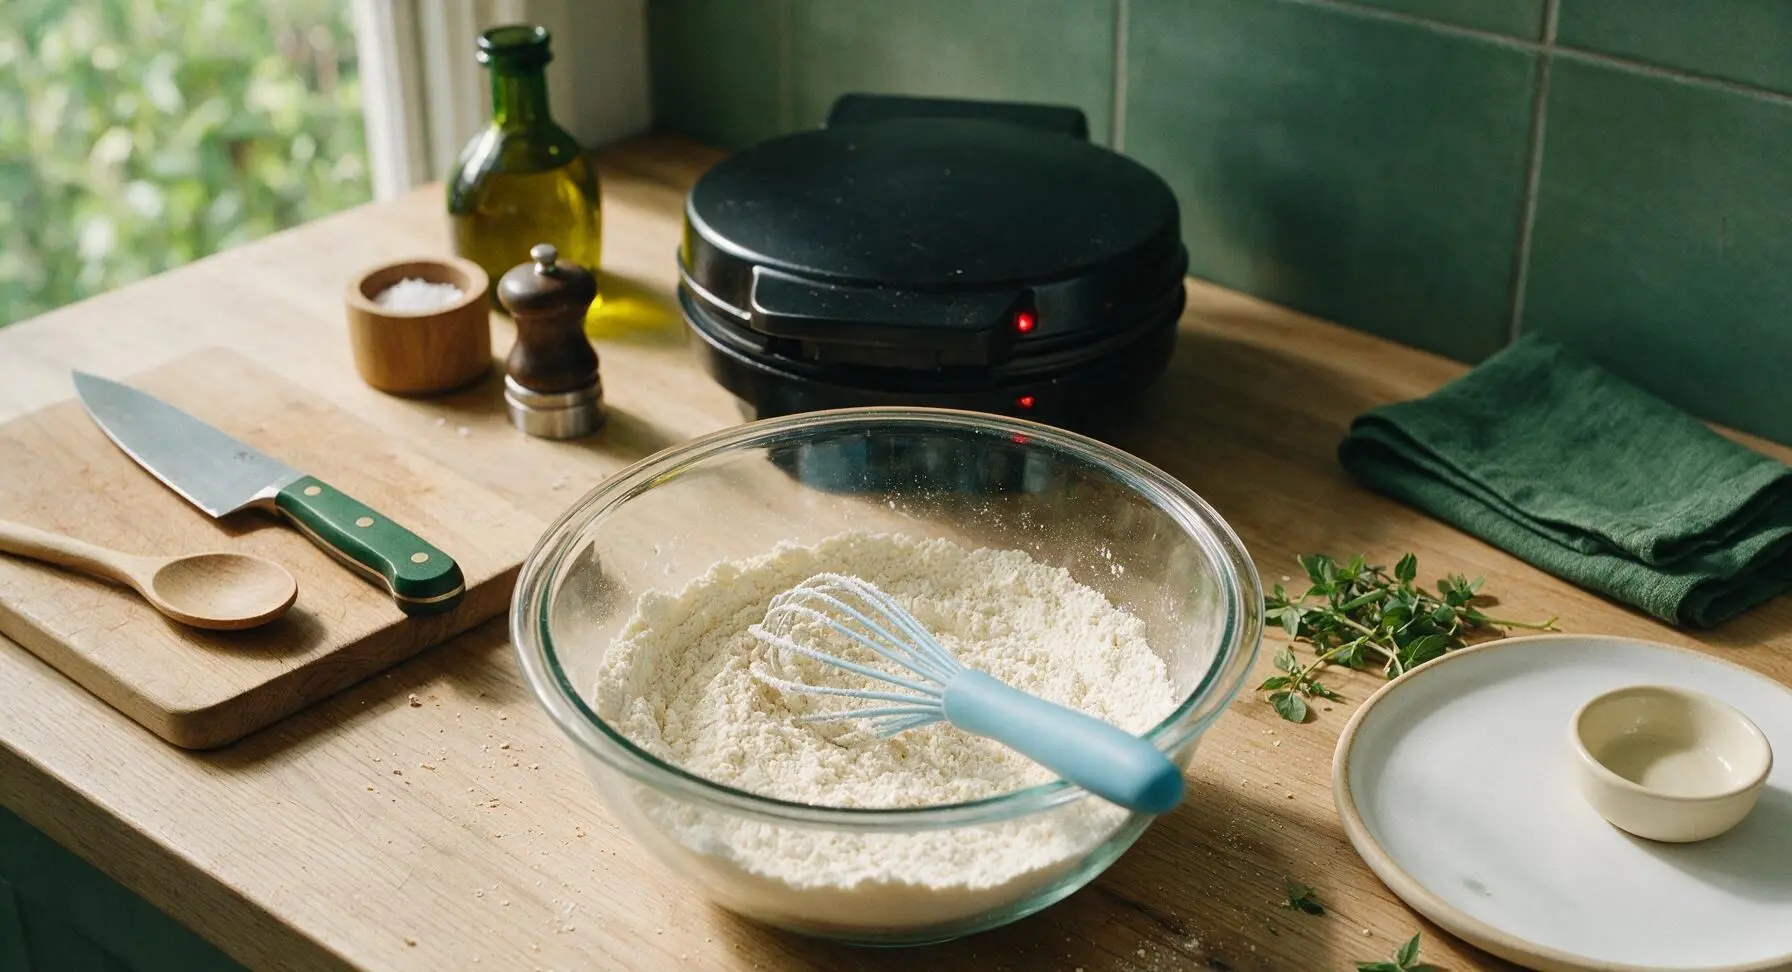
First, preheat your waffle maker to medium-high heat (375°F / 190°C) while you prep the batter. Place the large clear glass mixing bowl on the central counter area. Add 2 cups (240g) all-purpose flour, 2 tablespoons granulated sugar, 1 tablespoon baking powder, and 1/2 teaspoon fine sea salt to the bowl. Use the matte sky blue silicone whisk to stir the dry ingredients for 30 seconds until fully combined, with no visible clumps of baking powder remaining.
Step 1
step1:Whisk Dry Ingredients
2

Add Wet Ingredients

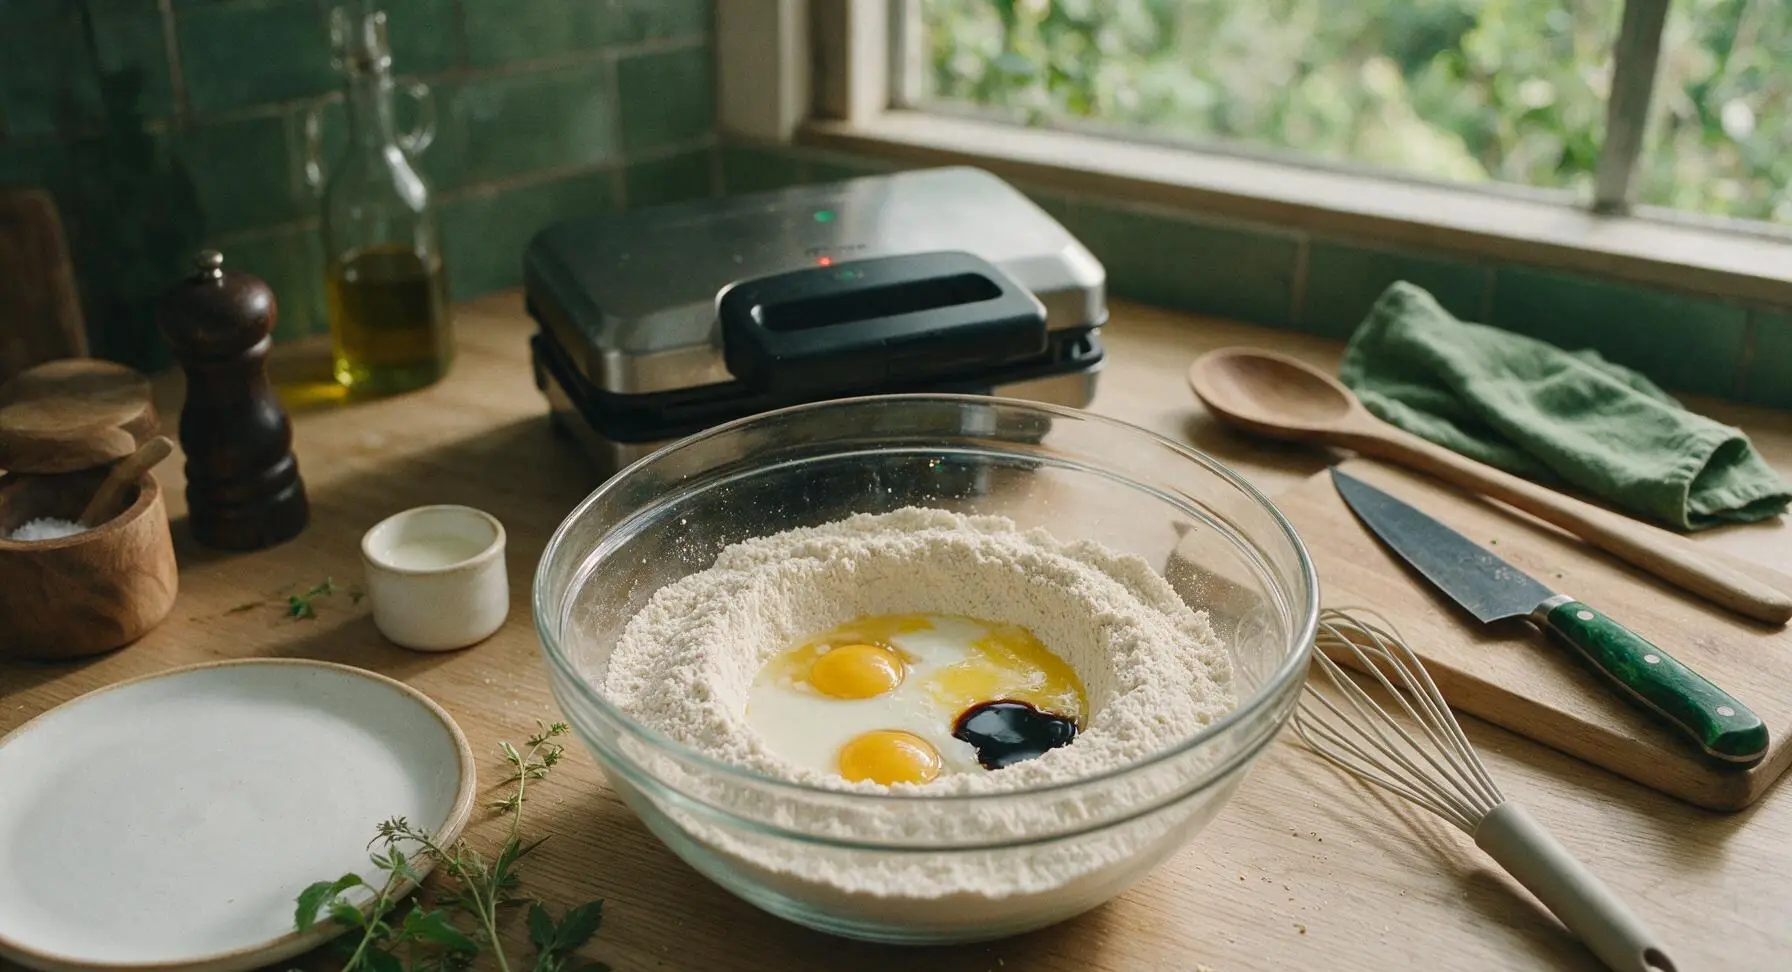
Use the silicone whisk to push the dry flour mixture to the sides of the bowl, creating a 4-inch wide well in the center. Crack 2 room-temperature large eggs into the well, then pour in 1 3/4 cups (414ml) whole milk, 1/3 cup (76g) cooled melted unsalted butter, and 1 teaspoon pure vanilla extract. Do not stir at this stage to avoid overmixing the final batter.
Step 2
step2:Add Wet Ingredients
3

Mix Batter Gently

Use the silicone whisk to gently stir the wet and dry ingredients together, using slow, circular motions and scraping the sides of the bowl only once. Mix only just until no large dry flour streaks remain, about 45 seconds of total stirring. The finished batter will be thick with small, pea-sized lumps—stop stirring immediately at this stage, as overmixing develops gluten and creates tough, dense waffles.
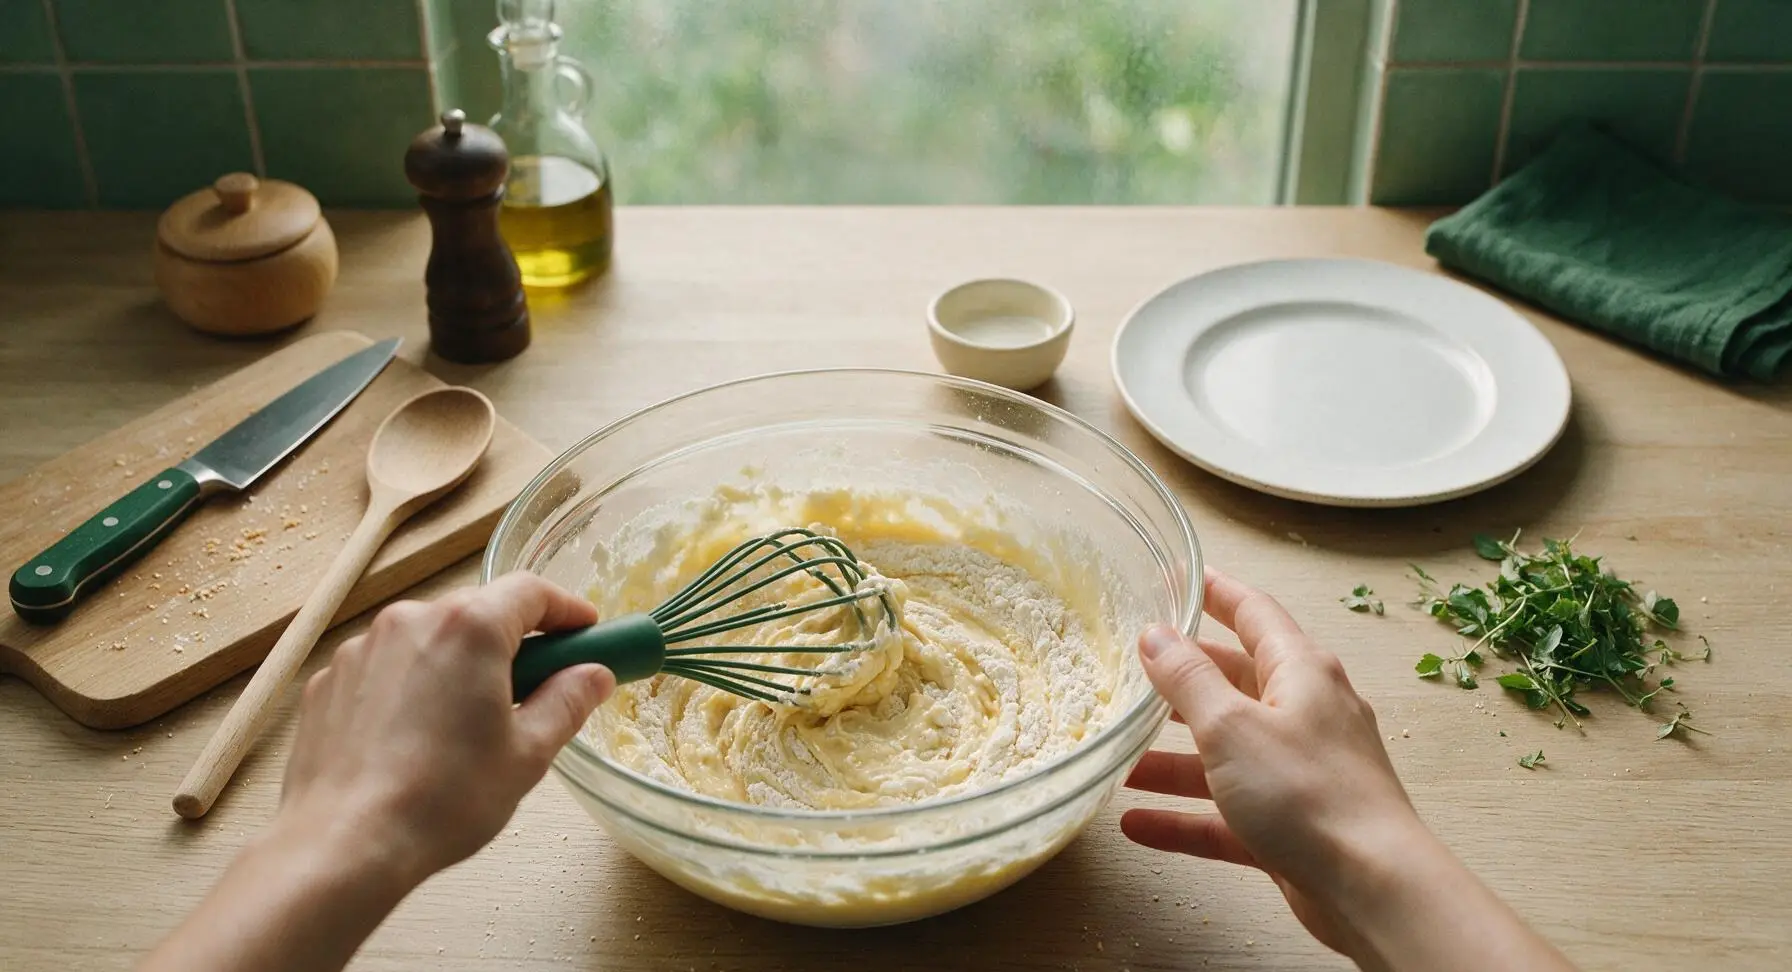
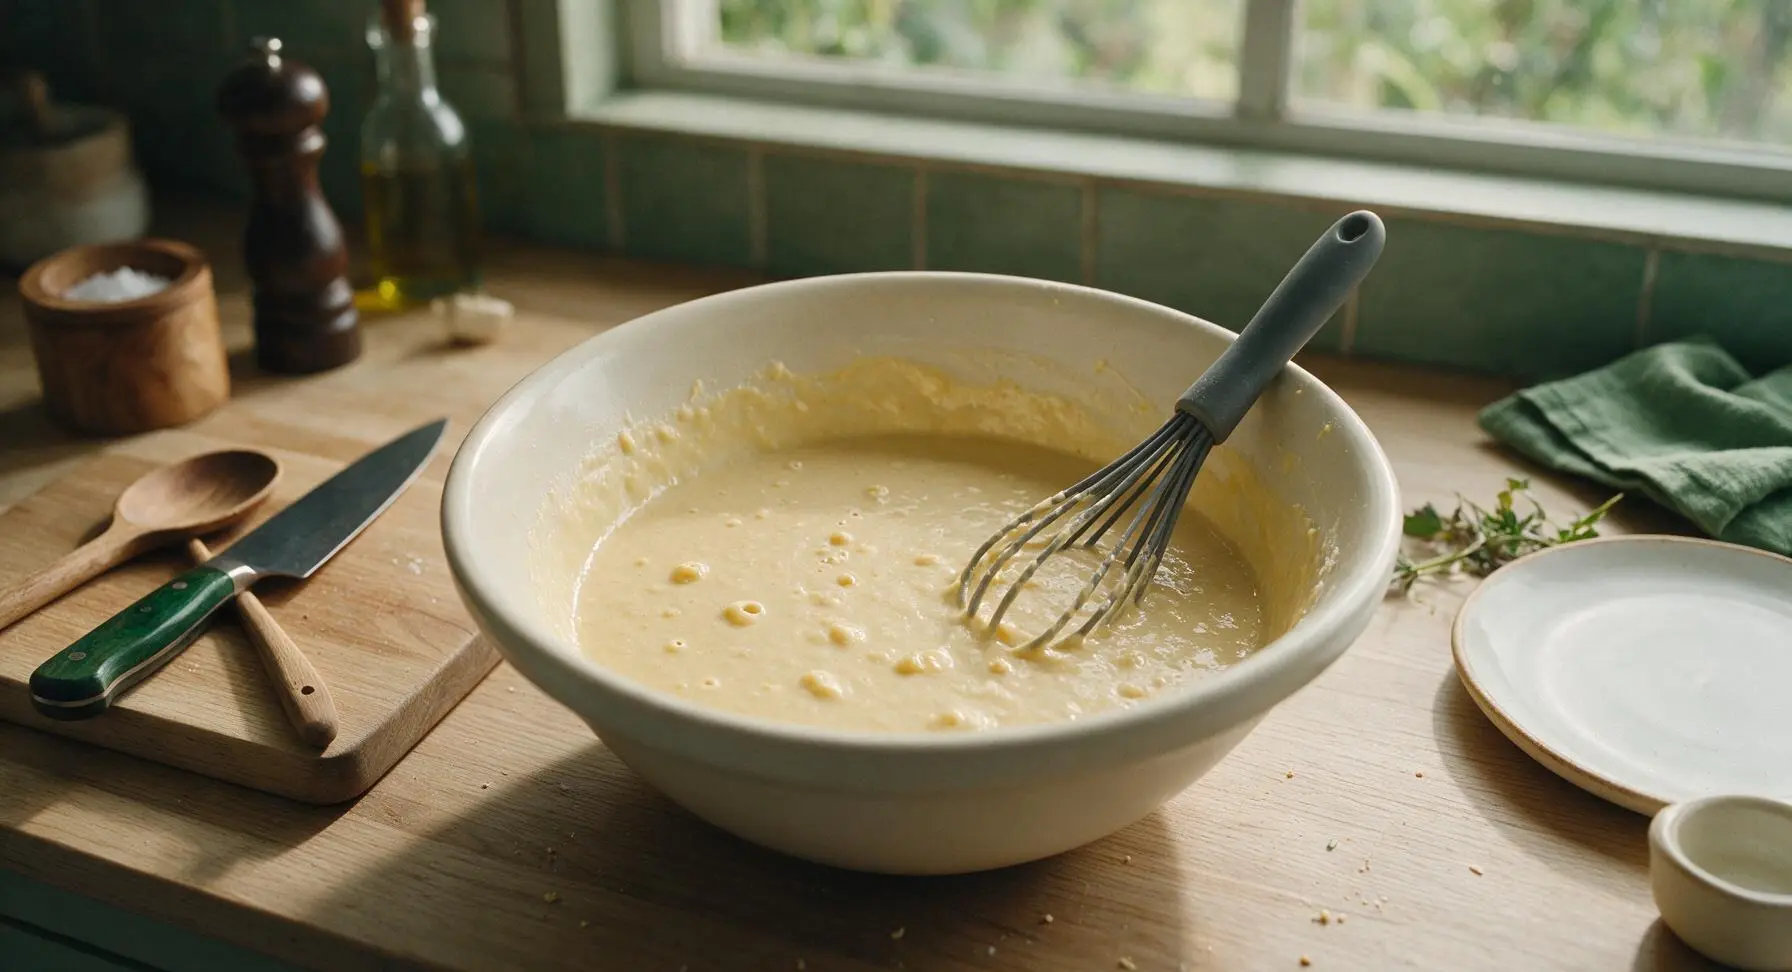
Step 3
step3:Mix Batter Gently
Step 3
step3:Mix Batter Gently
4

Fold in Chocolate Chips

Measure out 3/4 cup (135g) semi-sweet chocolate chips, and set aside 2 tablespoons in the small matte white ceramic ramekin for topping. Add the remaining chocolate chips to the batter, and use the small sky blue silicone spatula to fold them in with only 2 to 3 gentle turns, distributing the chips evenly without overstirring. Overmixing will break down chocolate chips and turn the batter a dull grey-brown.
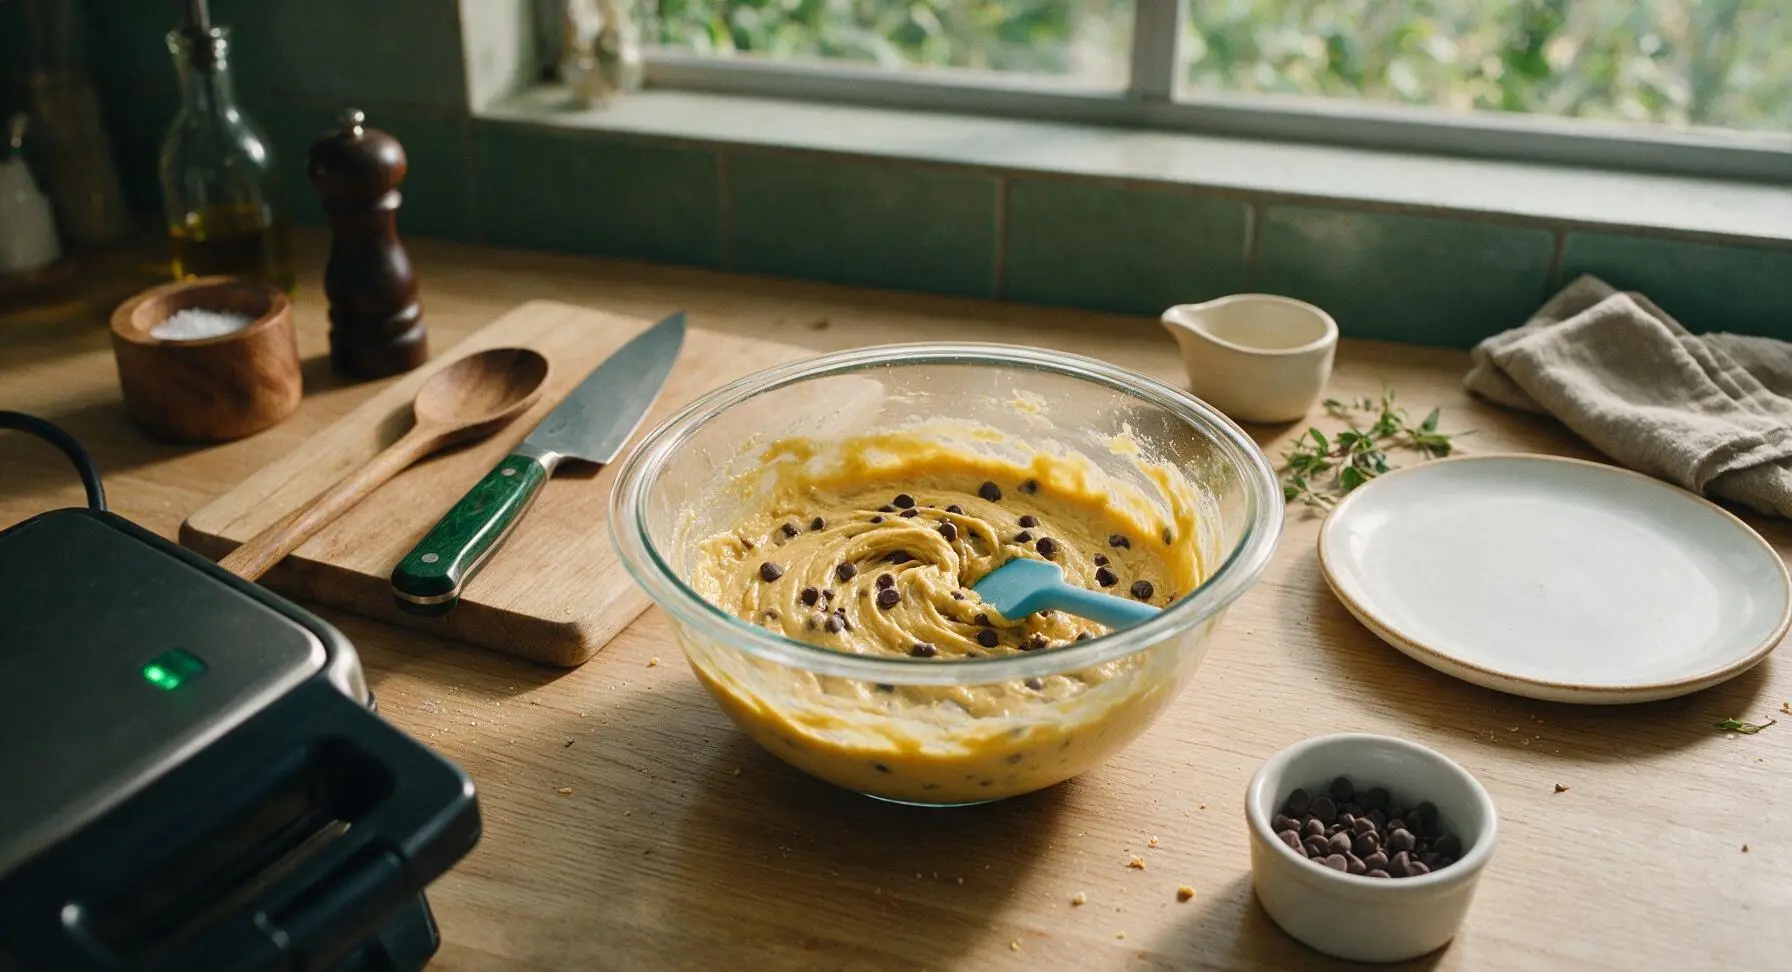
Step 4
step4:Fold in Chocolate Chips
5

Cook Waffles Until Crisp

Open the preheated waffle maker, and spray both the top and bottom grid surfaces lightly with non-stick cooking spray (a 2-second burst per side is enough). Pour 3/4 cup of batter directly into the center of the lower waffle grid—do not spread it all the way to the edges, as it will expand as it cooks. Close the lid, and cook for 3 to 4 minutes, until the waffle is deep golden brown, crisp to the touch, and no visible steam escapes from the waffle maker seams. Respray the grids lightly between each waffle to prevent sticking.
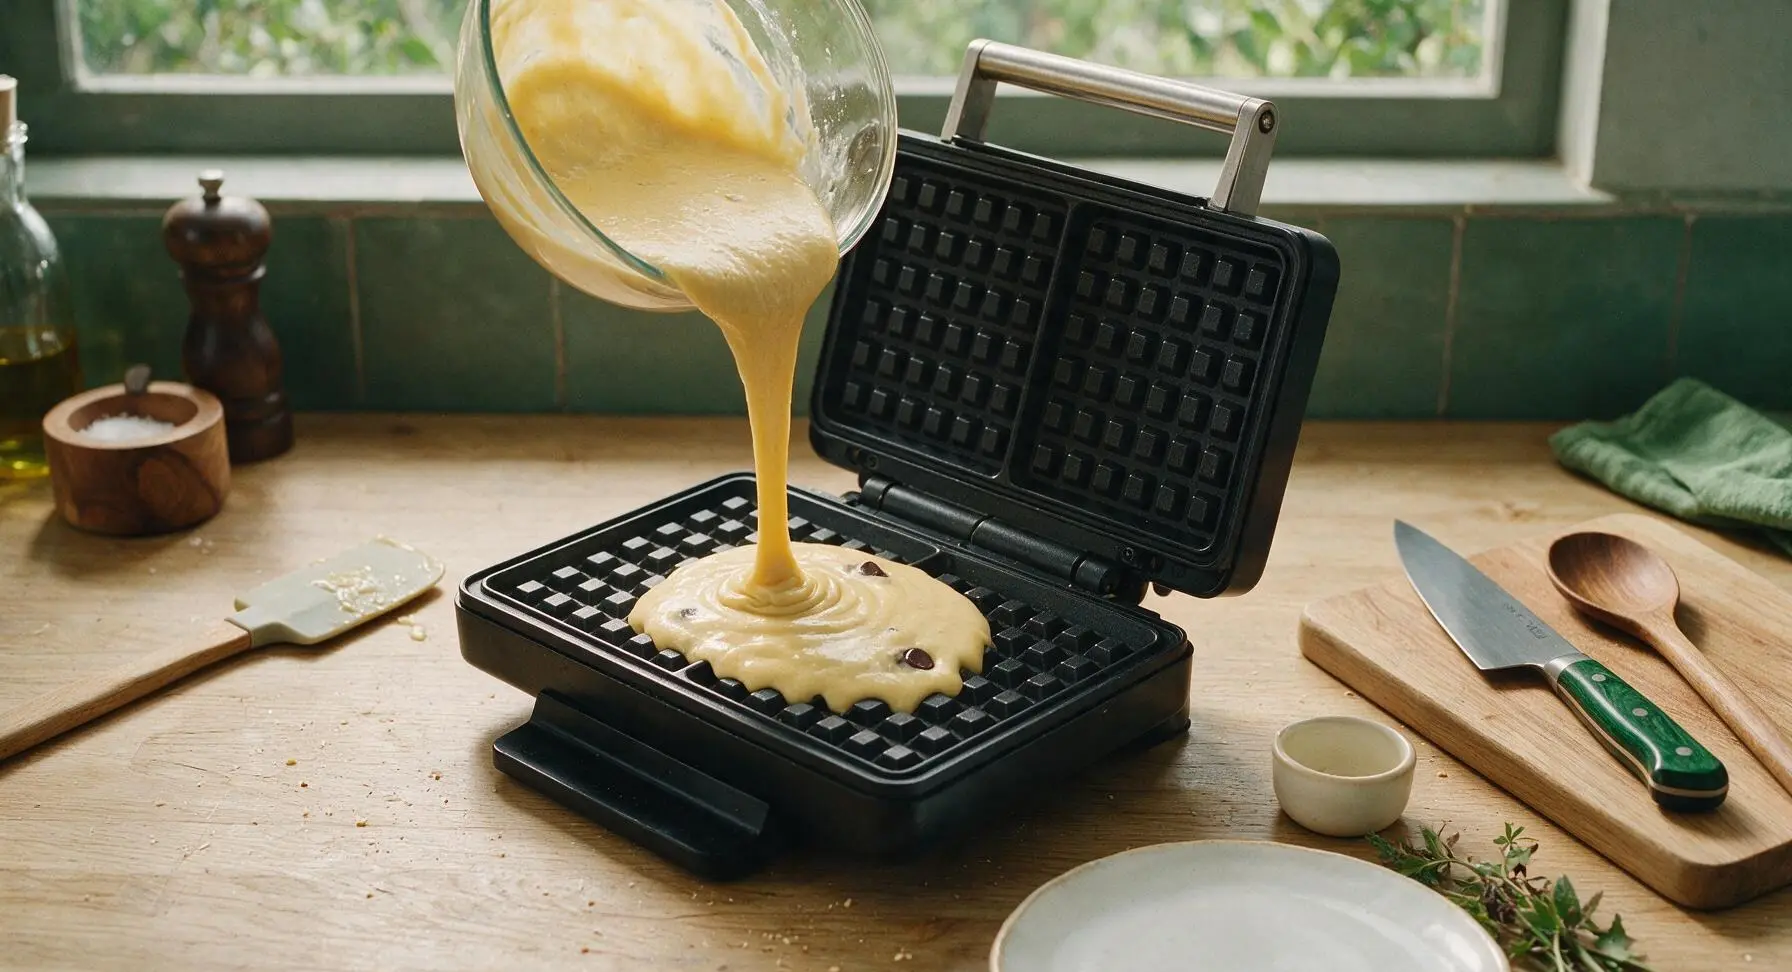
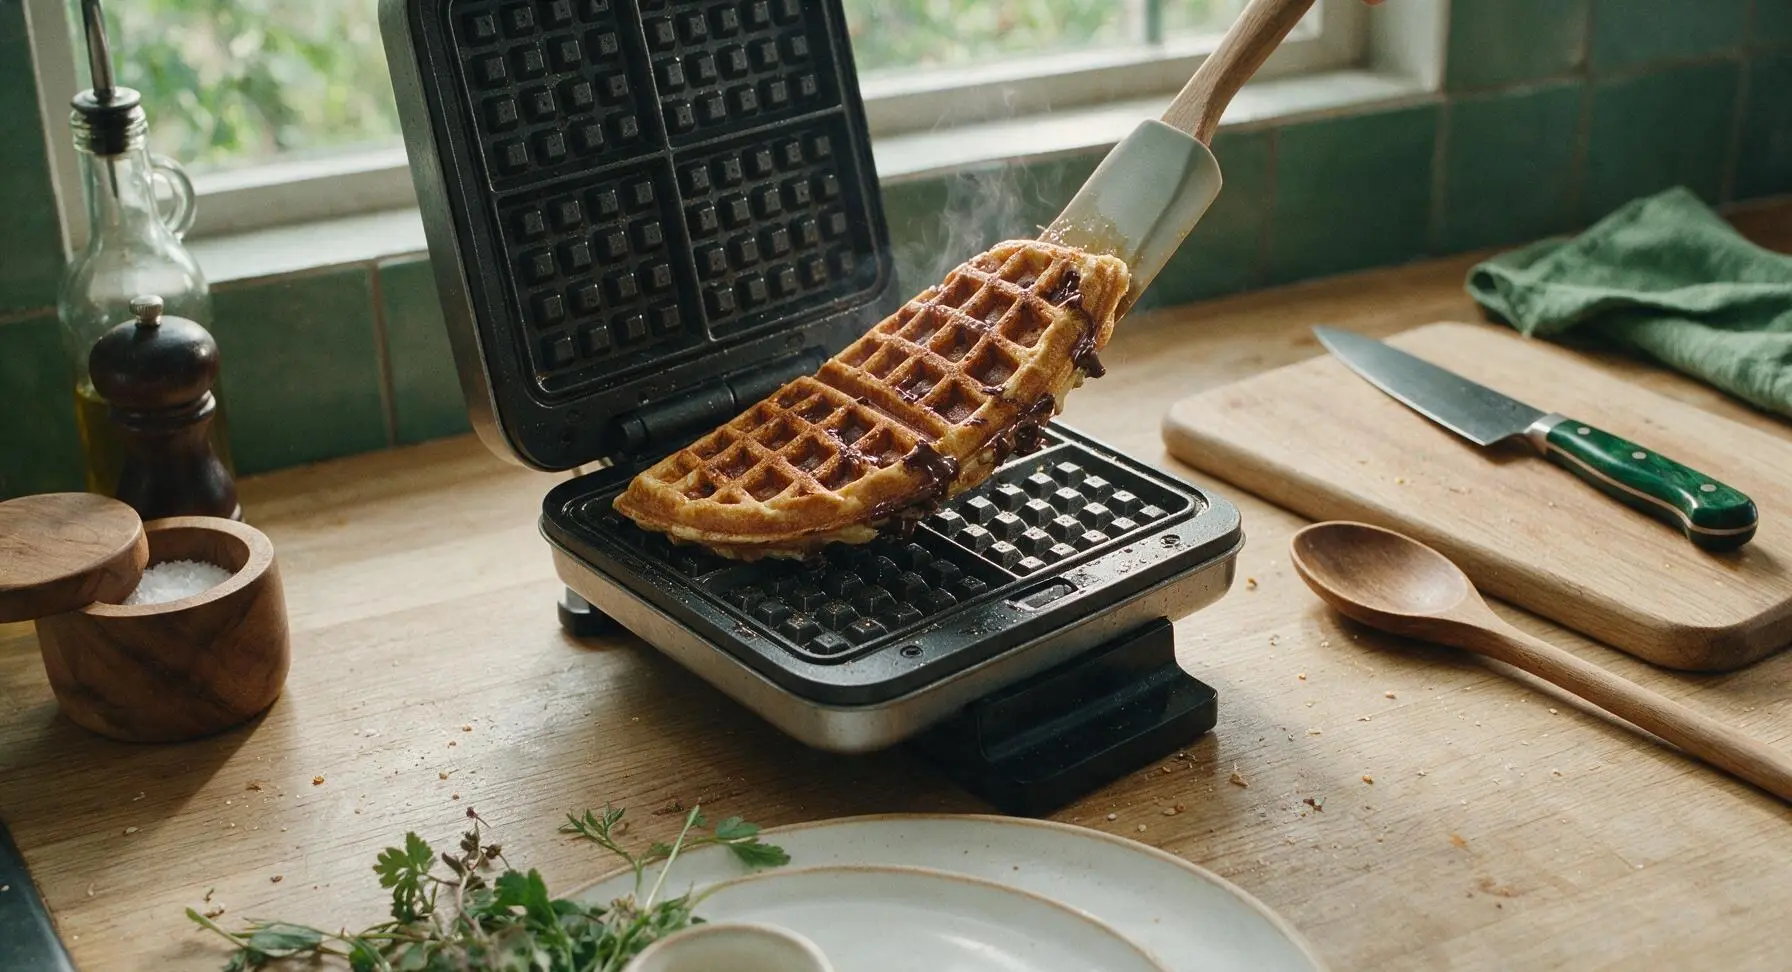
Step 5
step5:Cook Waffles Until Crisp
Step 5
step5:Cook Waffles Until Crisp
6

Rest Waffles on Rack

Transfer each cooked waffle to the chrome wire cooling rack as you remove it from the waffle maker, arranging waffles in a single layer without stacking. Stacking waffles while hot traps steam and turns crisp edges soft and soggy. Let each waffle rest for 1 minute before plating, and repeat the cooking process with the remaining batter until you have 4 total cooked waffles.
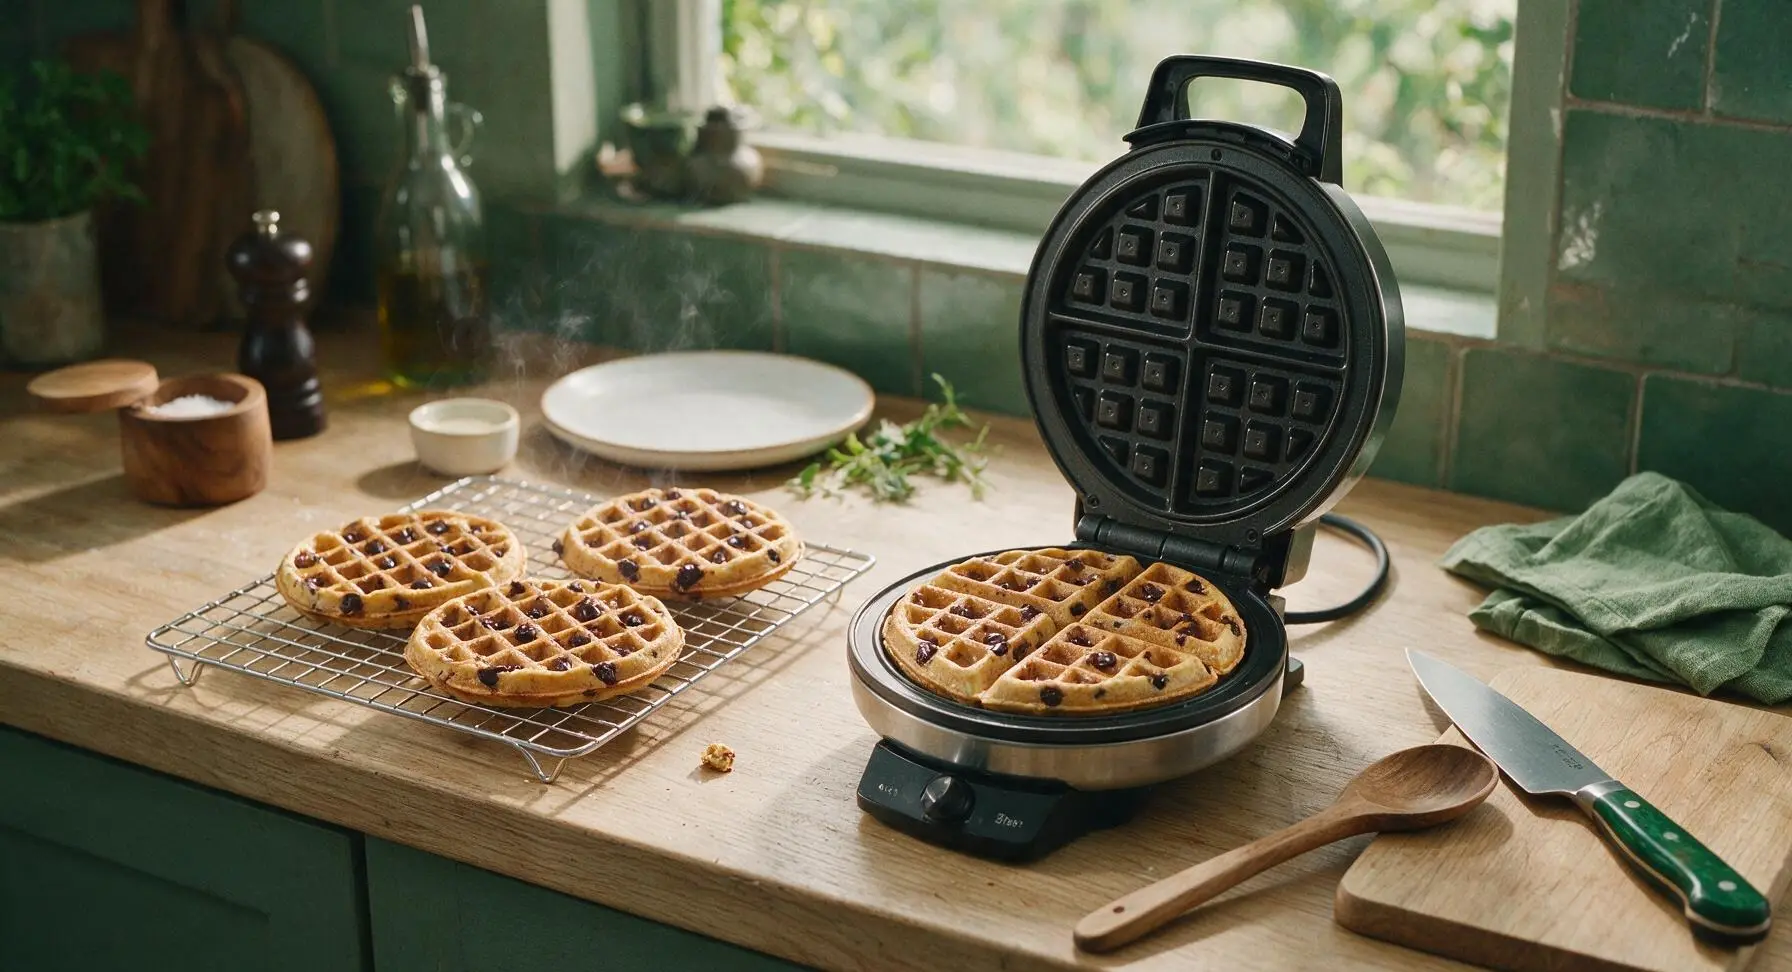
Step 6
step6:Rest Waffles on Rack
7

Plate and Serve Warm

Transfer one rested waffle to the matte cream ceramic dinner plate. Top the waffle with a 1-tablespoon pat of cold salted butter, a light drizzle of maple syrup, a sprinkle of the reserved chocolate chips, and a tiny pinch of flaky sea salt if desired. Pour extra maple syrup into the small clear glass ramekin to serve on the side. Serve immediately while the waffle is hot, the chocolate is melty, and the exterior is crisp.
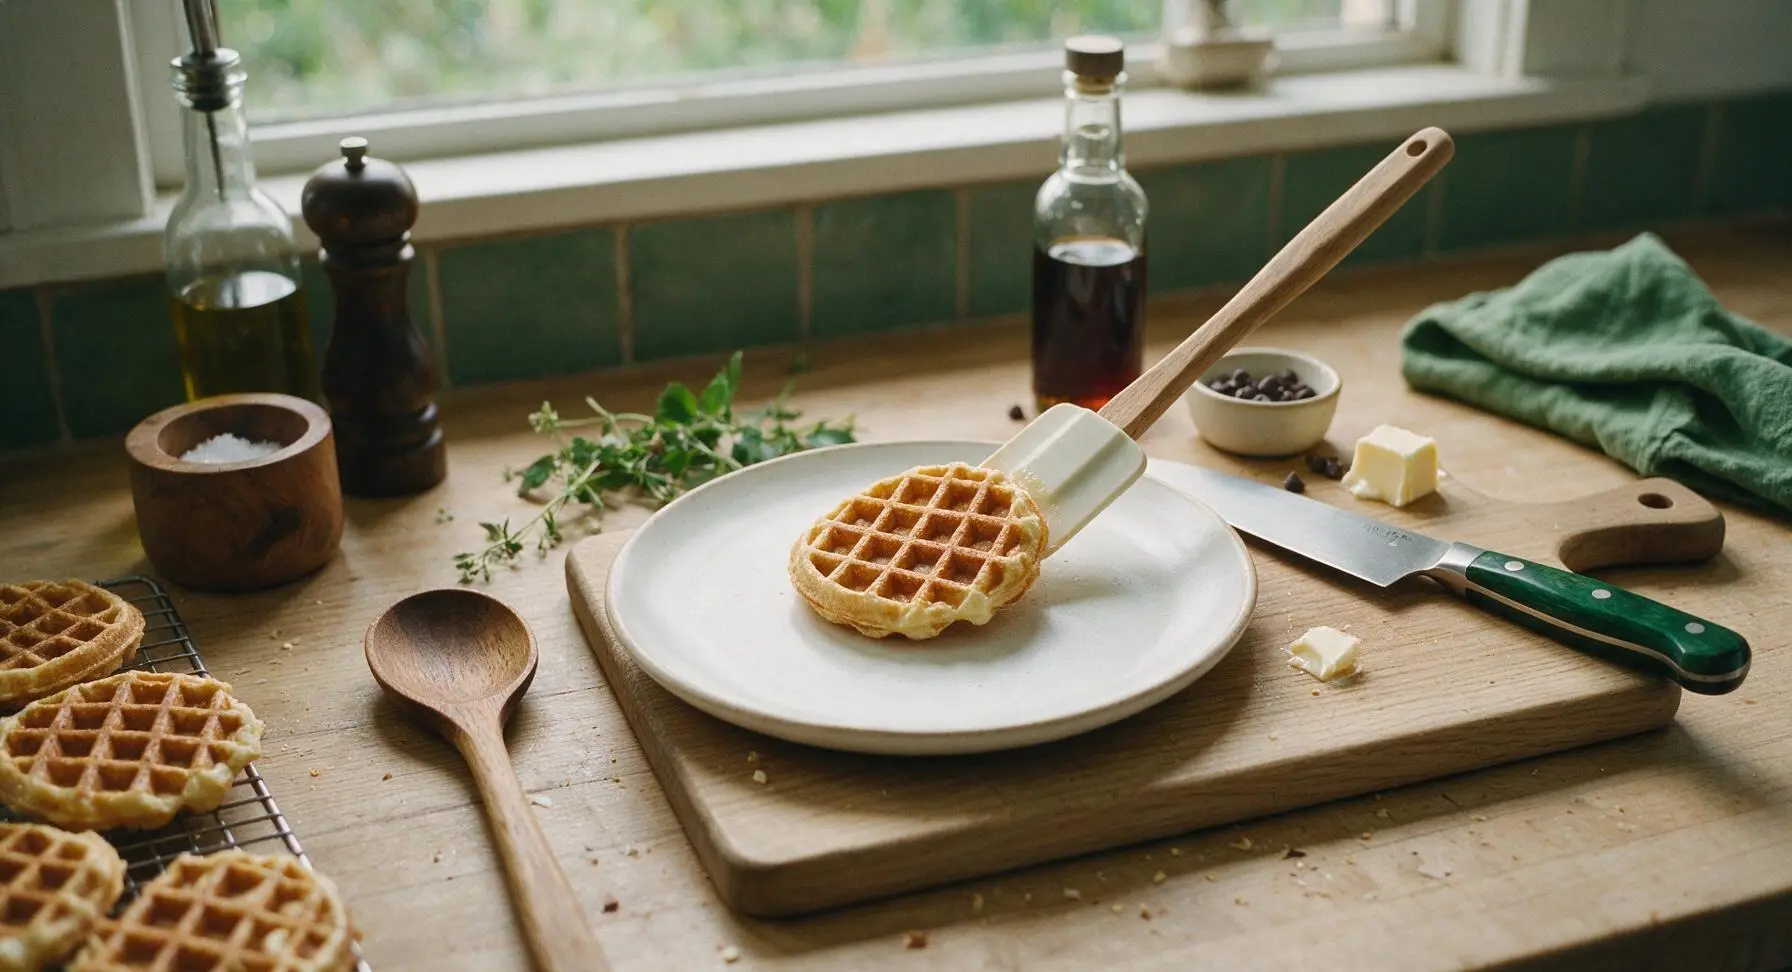
Step 7
step7:Plate and Serve Warm

Tips

1.Use room-temperature eggs and milk for the batter: Cold ingredients cause melted butter to re-solidify into small clumps, leading to uneven texture and dense, heavy spots in finished waffles.
2.Resist the urge to overmix the batter: Small pea-sized lumps are completely normal and desirable. Overmixing develops gluten in the flour, resulting in tough, chewy waffles instead of light, fluffy centers with crisp edges.
3.Rest cooked waffles on the chrome wire cooling rack instead of a solid plate: Stacking waffles or setting them directly on a plate traps hot steam against the waffle surface, turning crisp edges soft and soggy in under a minute. For batch cooking, hold finished waffles on the rack in a 200°F (93°C) oven to keep them crisp until serving.


✨ You May Also Like

Breakfast
🍜 United States

Crisp-edged, fluffy lard griddle cakes are a nostalgic homestyle staple, with rich savoriness from rendered lard, perfect topped with maple syrup or savory gravy.

⏱️ 25 minuteBreakfast ★ 4.8
Breakfast
🍜 United States

Flaky, buttery homemade buttermilk biscuits smothered in creamy, peppery pork sausage gravy: a beloved, hearty Southern American comfort food classic.

⏱️ 35 minuteBreakfast ★ 4.8
Breakfast
🍜 United States

Golden, custardy brioche stuffed with sweet cream cheese and fresh berries, pan-fried to crisp perfection. An indulgent, cozy breakfast perfect for slow weekend mornings.

⏱️ 30 minuteBreakfast ★ 4.7
Breakfast
🍜 United States

Flaky, buttery Southern-style biscuits stuffed with savory salty country ham, a portable, satisfying classic perfect for casual on-the-go meals.

⏱️ 25 minuteBreakfast ★ 4.8
Breakfast
🍜 United States

Iconic puffy baked pancake popularized in Seattle, with crisp golden edges and soft custardy center, served warm with classic sweet toppings.

⏱️ 35 minuteBreakfast ★ 4.6
Breakfast
🍜 United States

Fluffy, golden pancakes studded with juicy peak-summer mixed berries, drizzled with maple syrup for a bright, comforting, crowd-pleasing family breakfast.

⏱️ 25 minuteBreakfast ★ 4.7

chocolate chip waffles near me:Frequently Asked Questions

1.Why do my homemade waffles turn out soggy instead of having that classic crisp diner-style edge? ▾
That usually comes down to three easy fixes! First, fully preheat your waffle iron until it sizzles when you drop a tiny dot of batter on it—diners run their irons at a higher heat than most home cooks. Second, don’t lift the lid to check for at least 3 minutes, until rapid steam dies down. Third, rest finished waffles on a wire rack for 1 minute instead of stacking them, which traps moisture and softens edges.
2.Do I really need to use room-temperature large eggs for this recipe, or will cold eggs work fine? ▾
You’ll get a far fluffier, more even rise with room-temperature eggs, I promise! Cold eggs don’t incorporate as smoothly into batter, leading to clumps and popped air bubbles that deflate that soft, tall diner-style interior. If you’re short on time, submerge whole cold eggs in a bowl of warm tap water for 5 minutes to bring them up to temp fast.
3.How do I keep my chocolate chips from sinking and getting stuck to the waffle iron plates? ▾
Nothing’s worse than losing all your melty chocolate to a sticky iron! Toss your chocolate chips in a light dusting of the recipe’s all-purpose flour before folding them into the batter. That thin coating gives the chips something to grip onto so they stay evenly distributed, instead of sinking straight down as the waffle cooks.
4.Can I mix up this waffle batter the night before to save time on busy mornings? ▾
You can absolutely prep the dry mix (all-purpose flour, granulated sugar, baking powder, fine sea salt) in an airtight container weeks ahead for lightning-fast assembly, but don’t mix wet and dry ingredients more than 30 minutes before cooking. The baking powder activates as soon as it hits moisture, so resting mixed batter too long leads to flat, dense waffles instead of light, fluffy ones.
5.Why do my waffles come out dense and tough instead of soft and fluffy on the inside? ▾
That’s almost always from overmixing the batter! It’s totally normal (and desirable) to have a few small lumps left when you’re done stirring—if you mix until completely smooth, you’ll develop too much gluten in the all-purpose flour, which leads to chewy, tough waffles. Fold gently just until you no longer see dry flour streaks, then stop.
6.What’s the best way to reheat leftover waffles so they stay crisp instead of turning rubbery? ▾
Skip the microwave entirely—it turns waffles soft and rubbery in seconds! The easiest method is to pop cold or frozen leftover waffles straight into a toaster on the medium setting, which revives that perfect crisp edge and fluffy center. For big batches, arrange waffles on a baking sheet in a 350°F oven for 5 to 7 minutes, no stacking allowed.
7.My waffles keep sticking to the iron even when I use nonstick spray—what’s going wrong? ▾
First, make sure you’re oiling the iron right after it’s fully preheated, right before pouring batter—spraying a cold iron lets oil drip off and pool instead of coating plates evenly. If sticking persists, double check you added the full amount of granulated sugar: it caramelizes slightly as it cooks, helping waffles release cleanly and build that signature crisp edge.

Comments (3)

2 hours ago

OMG these are EXACTLY like the chocolate chip waffles we get at our tiny local diner every Saturday after my kid’s soccer games! I was so sure I’d mess them up since I’m usually garbage at breakfast recipes that require more than pouring cereal into a bowl, but they were so easy — 15 minutes start to finish, no weird fancy ingredients, and the chocolate chips got all melty and gooey in every single bite. My kids lost their minds over them, even my super picky 7-year-old who turns his nose up at 90% of what I cook asked for seconds. We topped ours with a big dollop of whipped cream and a drizzle of extra maple syrup, 10/10 will be adding these to our permanent weekend rotation.

2 days ago

Total game changer! I’ve been trying to nail that classic diner waffle texture for literal months — every other recipe I test comes out either too soggy or rock hard and dense, but these had that perfect crispy golden outside and soft fluffy inside I’ve been chasing. I tossed in a handful of extra mini chocolate chips and a tiny pinch of flaky sea salt on top before closing the waffle iron and wow, chef’s kiss. Quick question though — can I prep the batter the night before and keep it in the fridge for meal prep? That would make chaotic weekday school drop-off breakfasts for my teens so much easier.

yesterday

So stoked you nailed that classic diner texture, Jake! Great question about prepping ahead — you can absolutely mix all your dry ingredients the night before and store them in an airtight container, but wait to add the wet ingredients (especially the eggs and baking powder) until right before you cook to keep the waffles light and fluffy. If you do mix the full batter ahead, just give it a gentle stir and add a tiny extra pinch of baking powder in the morning to give it a little lift. Hope those quick weekday breakfasts make drop-off a little smoother!

5 days ago

These are SO good! I made a double batch for my apartment potluck brunch last weekend and literally every single person was hounding me for the recipe before they even finished their first waffle. I don’t even have a nice waffle maker — just the beat up $20 one I bought for my freshman dorm room 5 years ago — and these still came out perfectly crispy around the edges, no sad soggy spots at all. My only flub was spraying the iron a little too heavy on the first batch so some batter oozed out the sides when I closed it, but that was 100% user error, not the recipe’s fault. Way better than the frozen Eggos I usually reach for on lazy mornings!

3 days ago

Wait a second, I have that exact same cheap dorm-era waffle maker! I’ve been convinced for years my waffles suck because of the iron, not my terrible cooking skills. I’m absolutely testing this recipe this weekend to see if it works. Quick question for anyone who’s made them — did you use regular sized chocolate chips or the mini ones for yours?

2 days ago

Hi Lizzie! Nothing beats being the guest who brings the most talked-about dish to a potluck, that’s the best compliment a recipe can get! Quick little tip for next time: a light, even coat of nonstick spray (or a quick brush of melted butter) right before adding batter, plus only filling the waffle grids about ⅔ full, will totally eliminate that oozing issue. It works perfectly even on those budget-friendly waffle irons, no fancy upgrade needed! And to answer Tim’s question — mini chocolate chips work best because they distribute more evenly through the batter, but regular chips work great too if you give them a quick rough chop first!



