
chocolate filled waffles
intro
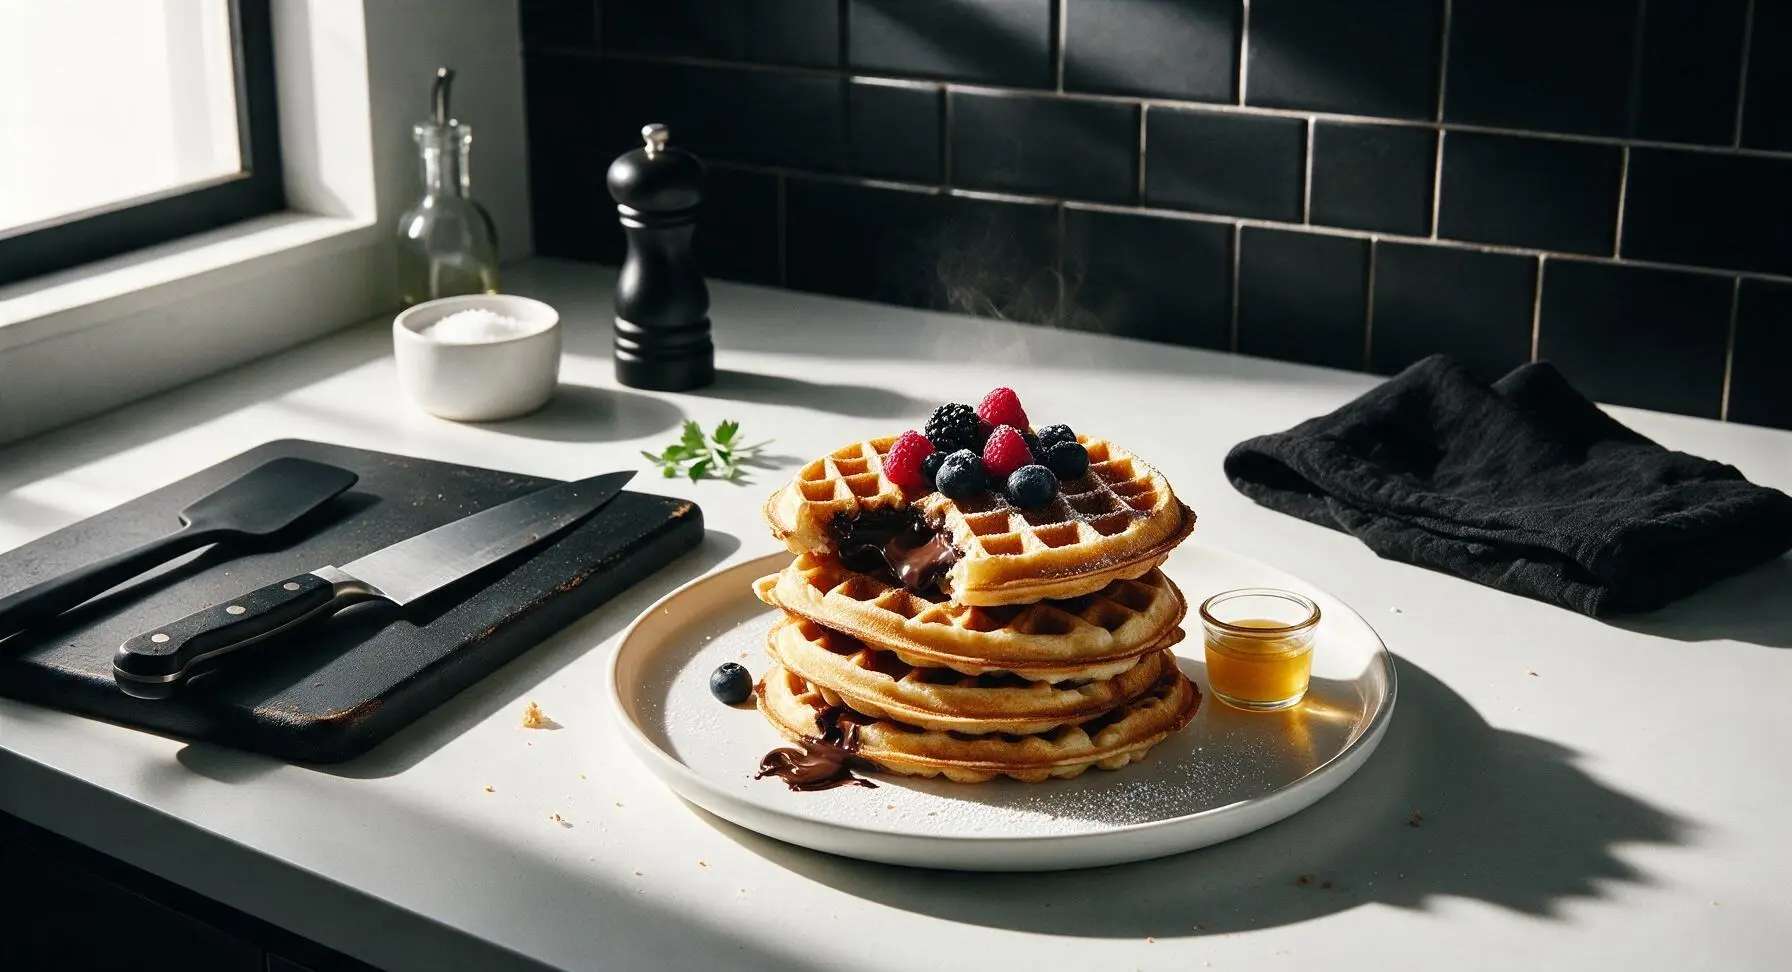
Crisp, golden-edged fluffy waffles with a molten dark chocolate center, light tender crumb, perfect for a cozy indulgent morning topped with fresh berries and powdered sugar.
Ingredients
Steps
Preheat Waffle Iron
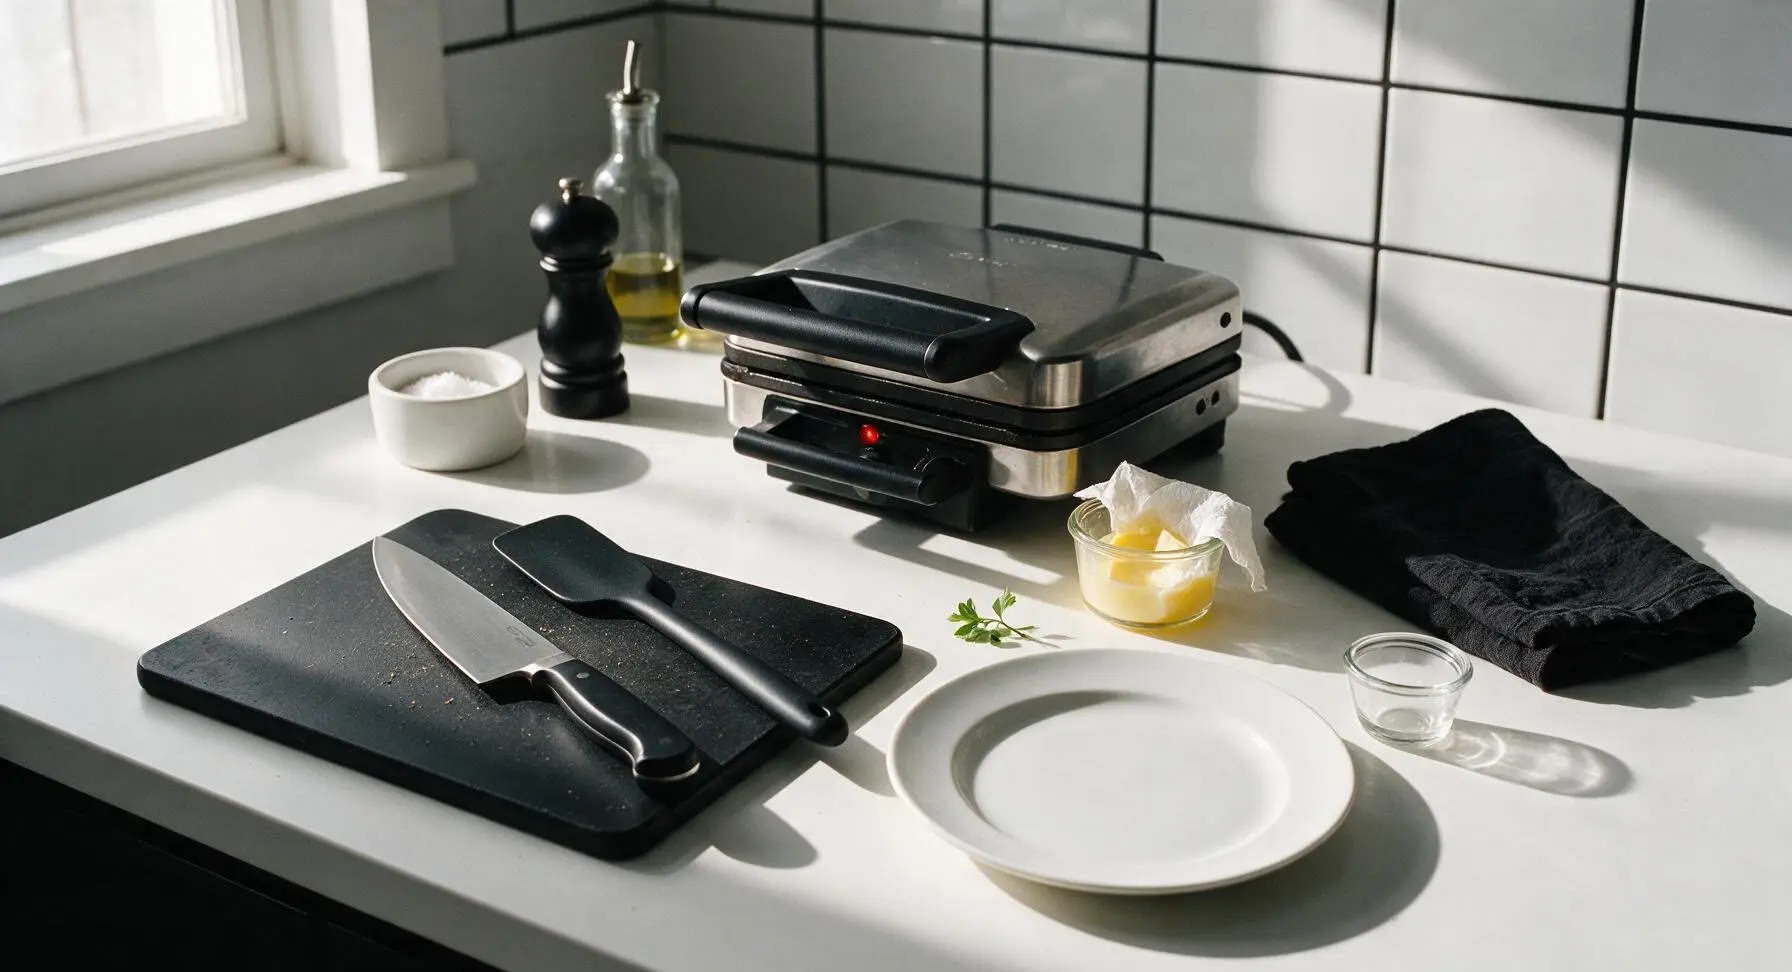
Plug in the waffle iron, set the browning dial to medium-high (400°F/200°C), and close the lid to preheat for 5 minutes while you prepare the batter. Lightly coat the hot plates with a thin swipe of melted butter using a paper towel to prevent sticking, taking care not to leave excess butter that will burn during cooking.
Mix Dry Ingredients
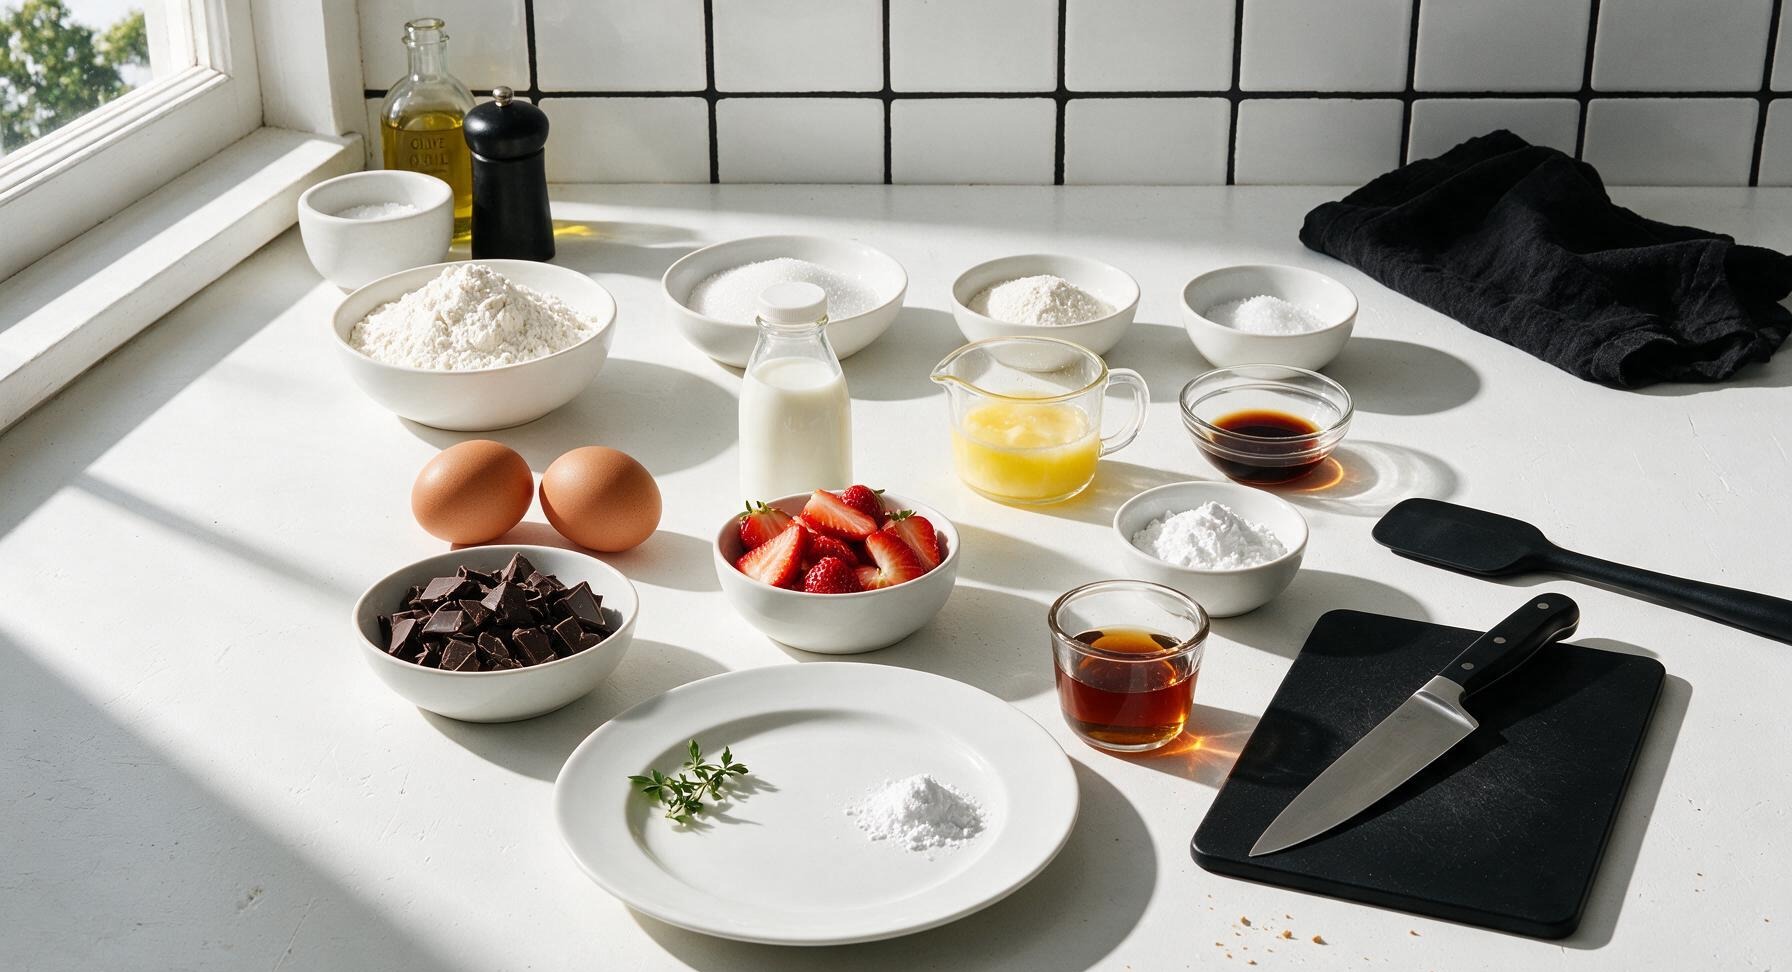
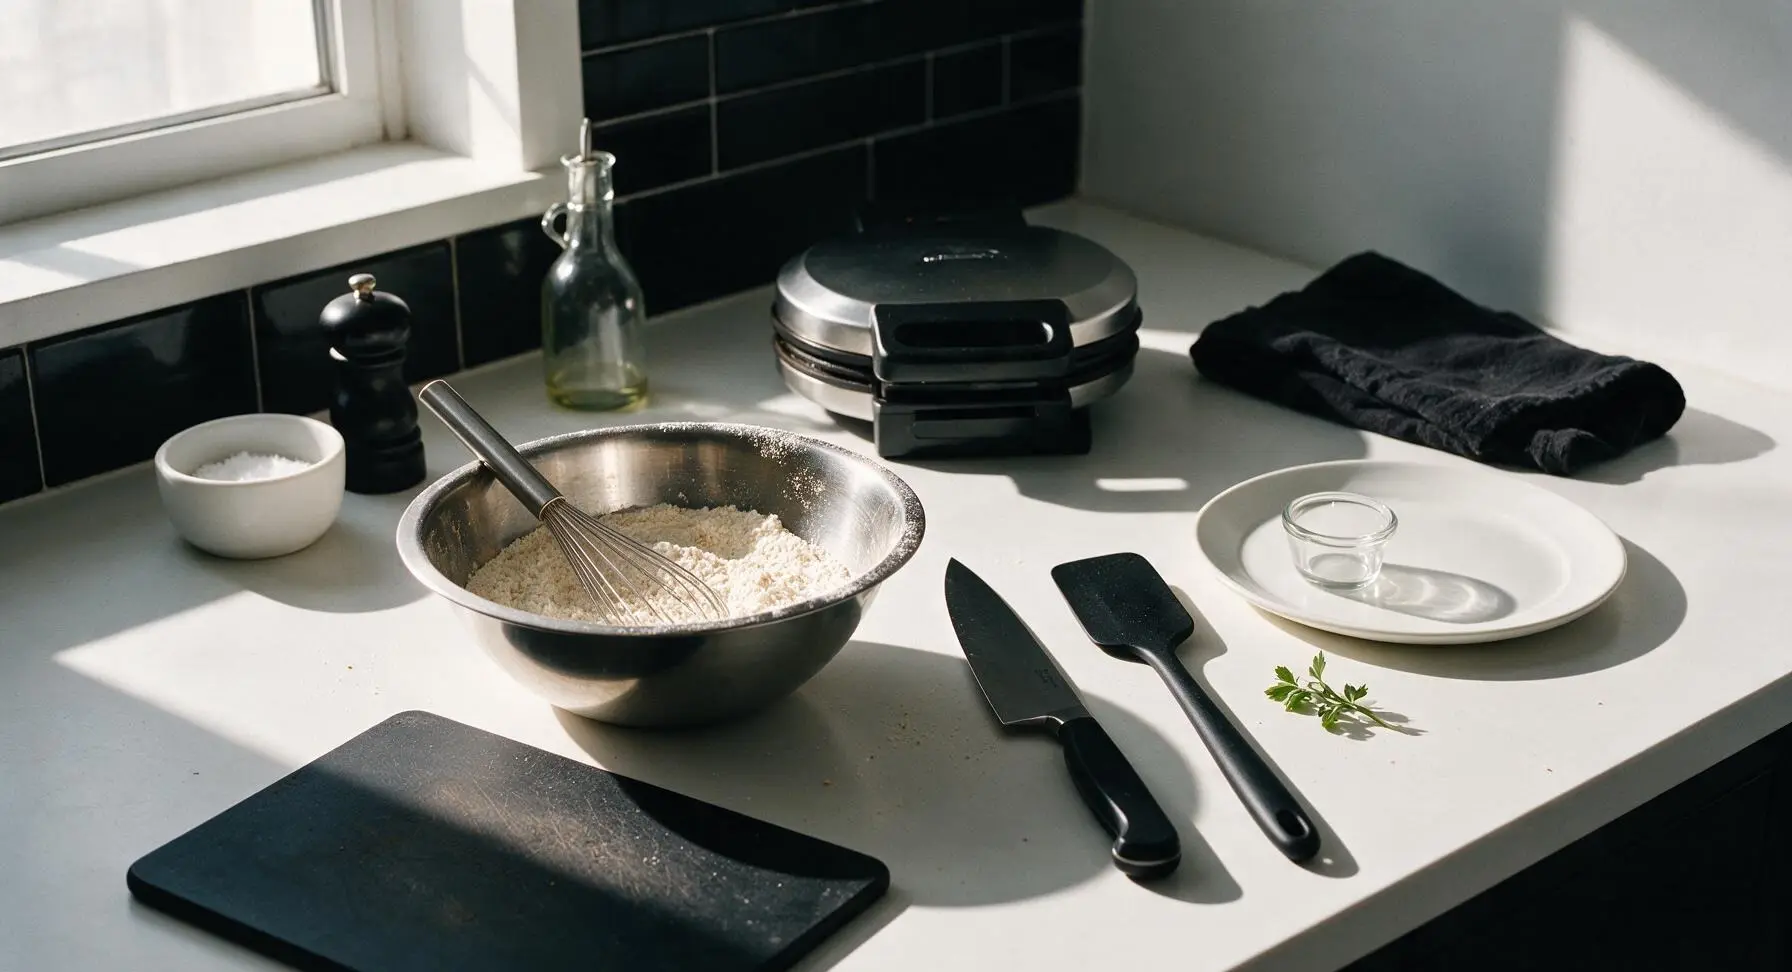
Retrieve the stainless steel mixing bowl and wire whisk from the utensil holder, and place the bowl at center left counter. Add 2 cups (240g) all-purpose flour, 2 tbsp (25g) granulated sugar, 2 tsp (8g) baking powder, and 1/2 tsp (3g) fine sea salt to the bowl. Whisk for 30 seconds until dry ingredients are fully combined, with no clumps of baking powder visible.
Combine Wet Ingredients
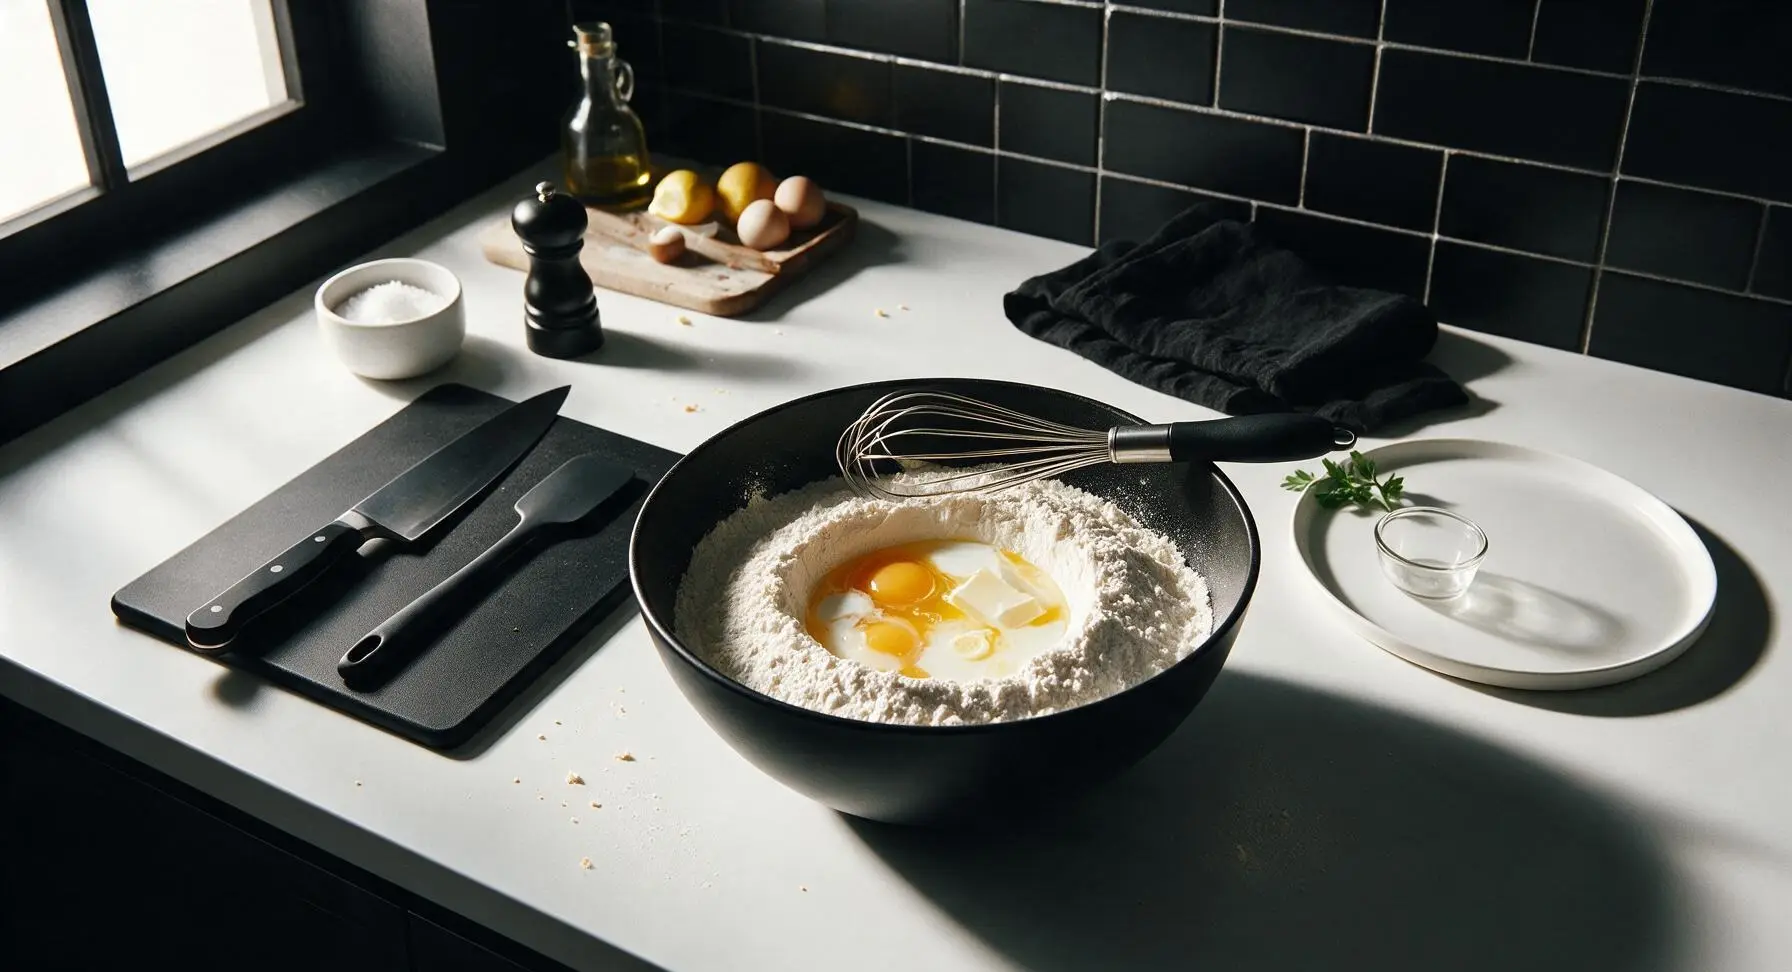
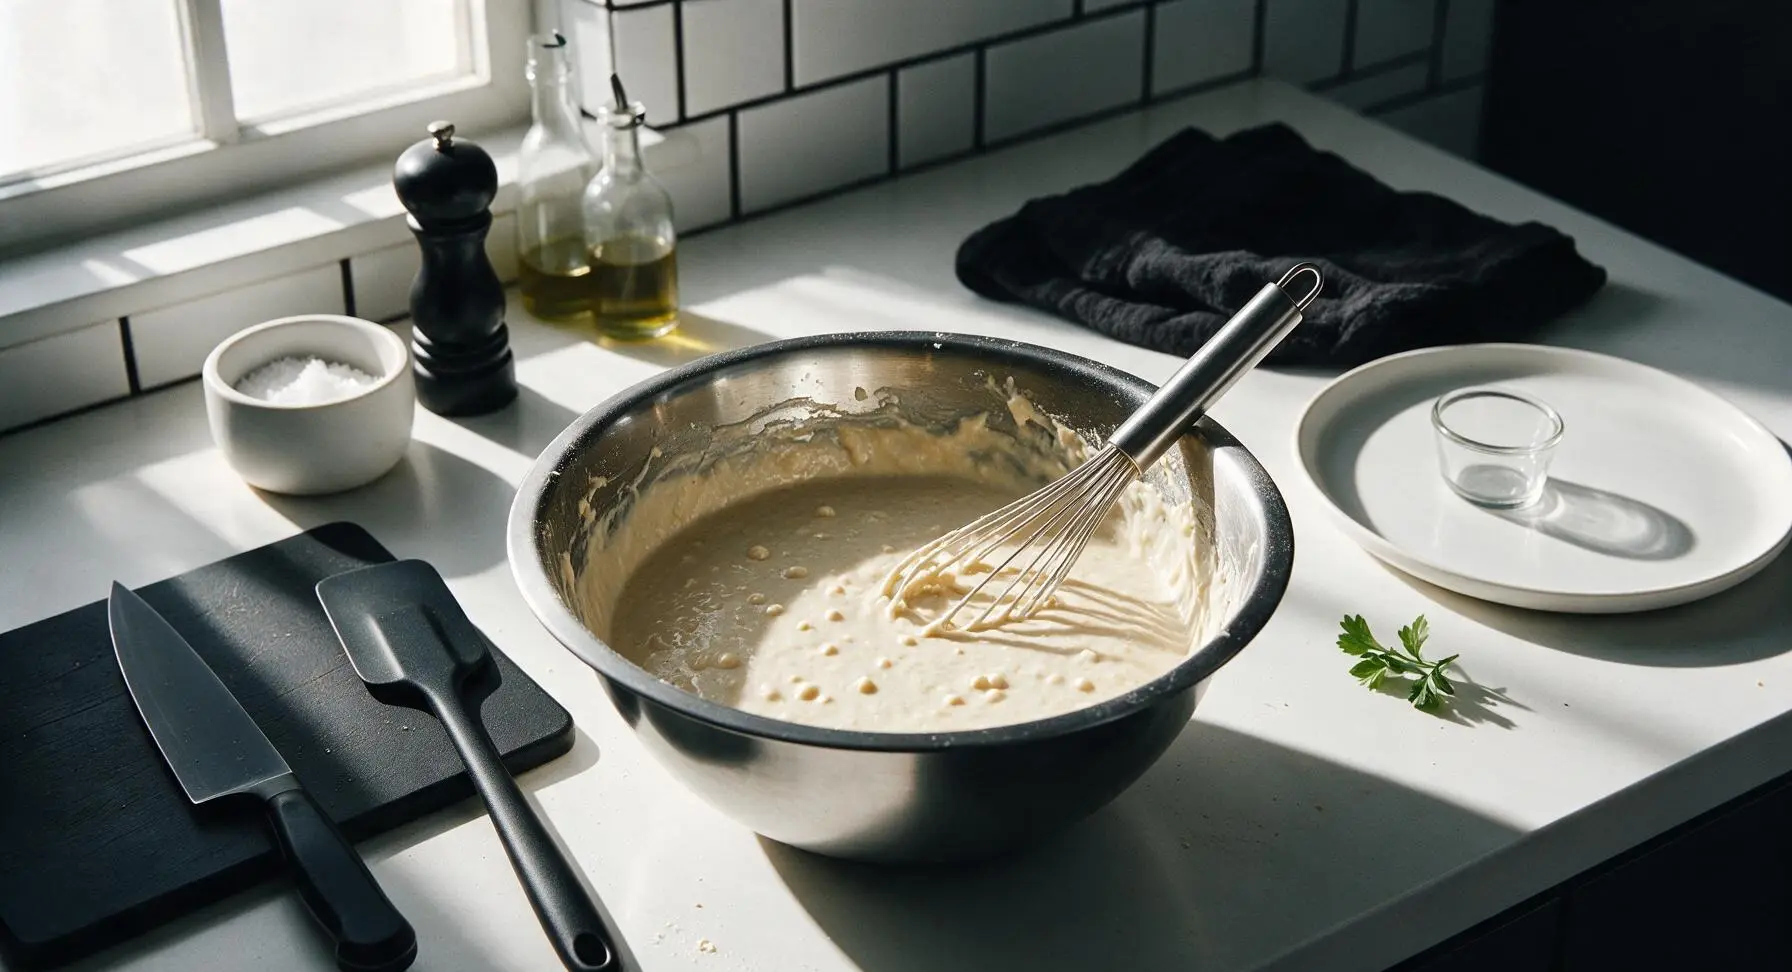
Create a small well in the center of the dry ingredient mixture. Crack 2 large eggs into the well, then add 1.5 cups (360ml) whole milk, 4 tbsp (57g) melted cooled unsalted butter, and 1 tsp (5ml) vanilla extract. Whisk slowly at first to incorporate flour from the edges, then mix just until no large dry lumps remain — do not overmix, as small pea-sized lumps are normal and produce tender waffles.
Pour Base Batter Layer
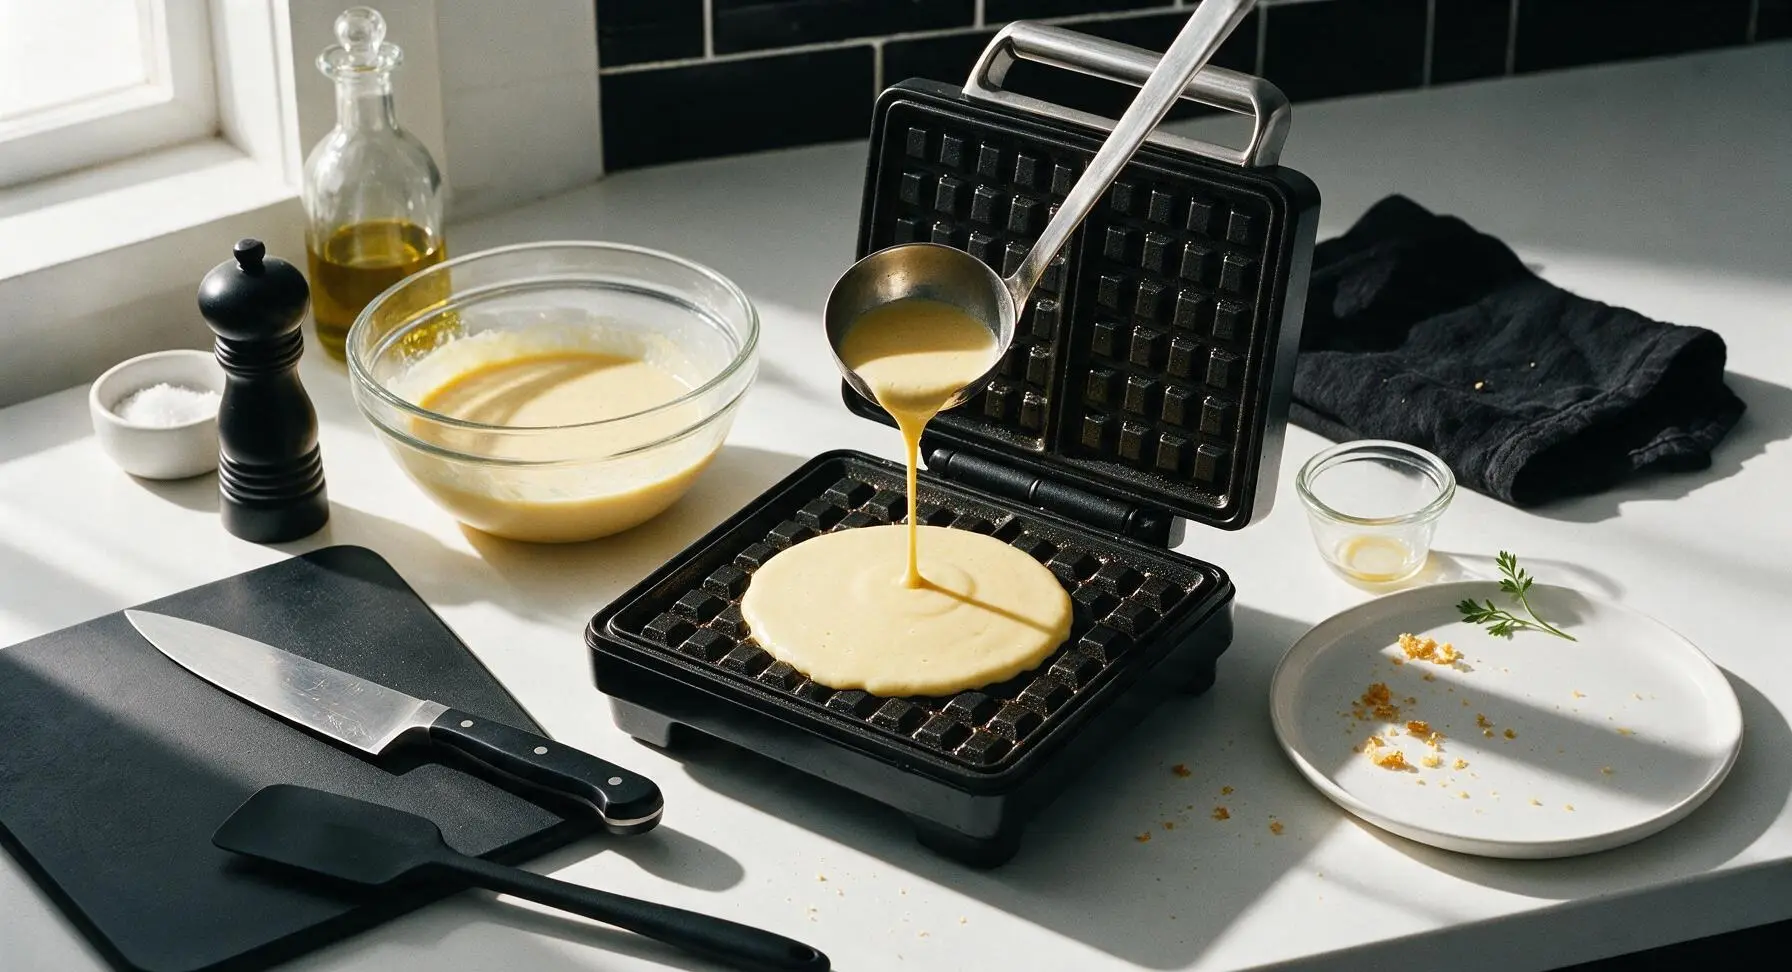
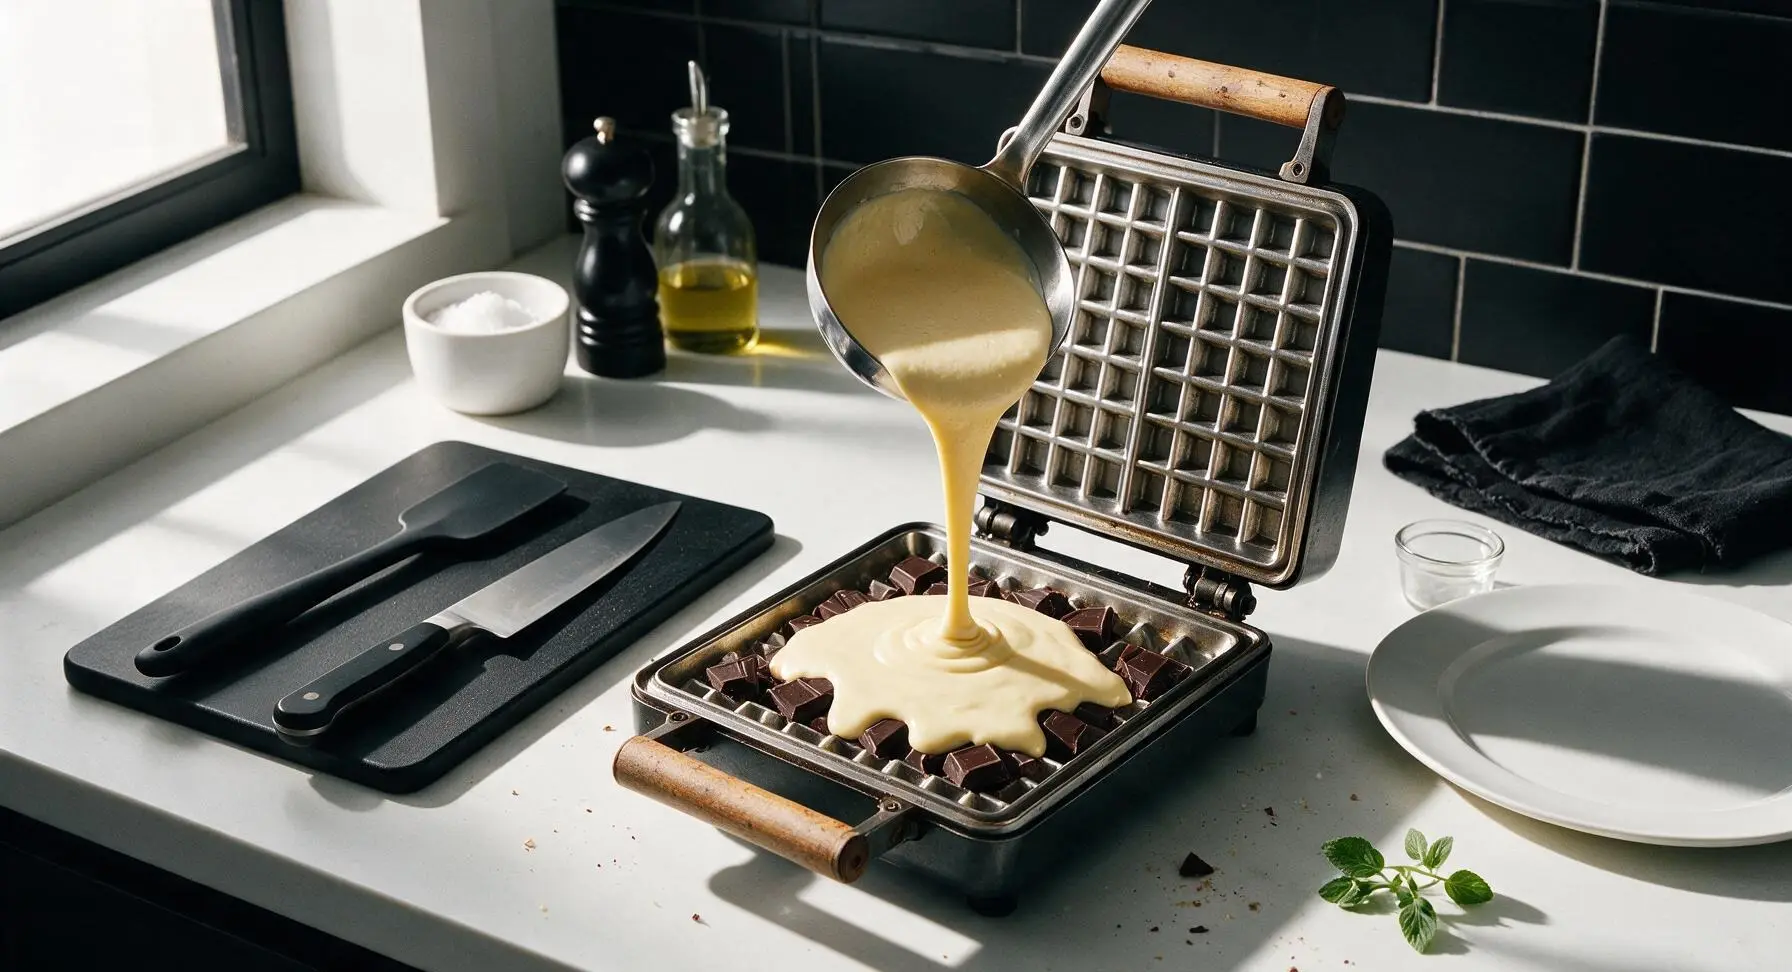
Once the waffle iron indicator light shows it is fully preheated, use the 1-cup stainless steel ladle to pour 1/4 cup of batter onto the center of the bottom waffle plate. Use the back of the ladle to spread the batter gently into an even 5-inch circle, leaving a 1/2 inch border around the edge to allow for spreading as the waffle cooks.
Add Chocolate Filling
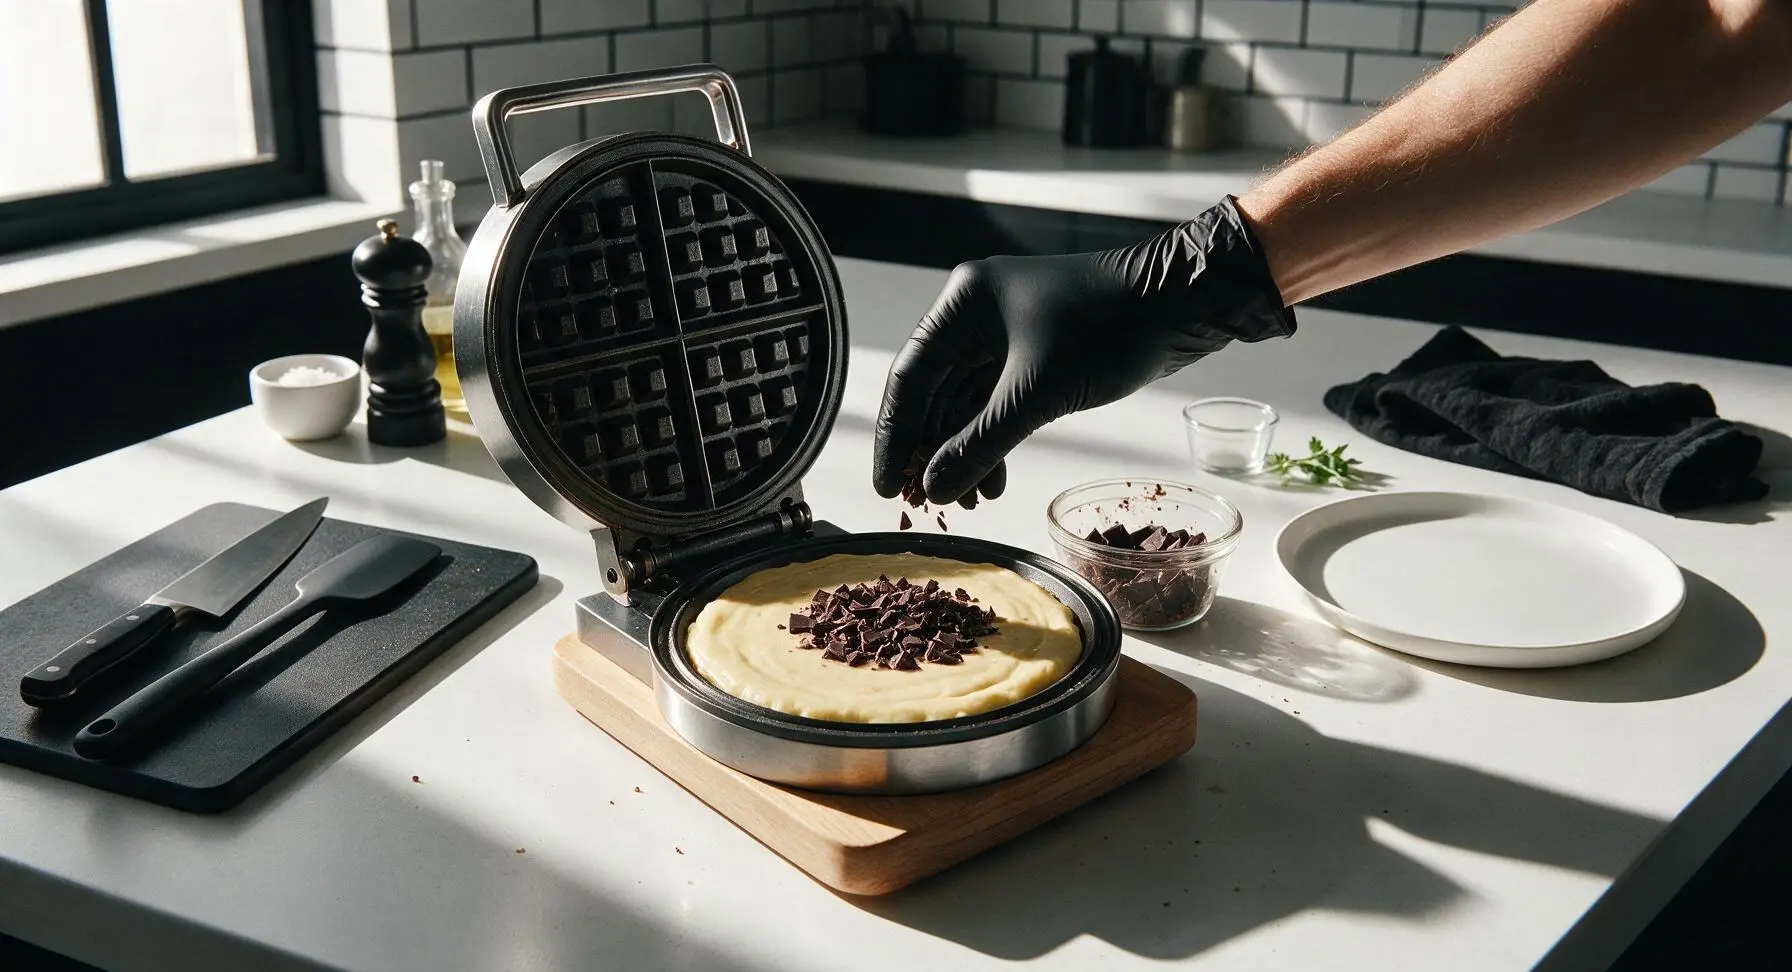
Scoop 1 tbsp (15g) of chopped dark chocolate chunks into the center of the base batter layer, arranging them in a tight 3-inch circle. Ensure no chocolate chunks touch the edge of the batter, as this will cause chocolate to leak and burn on the hot plates.
Top Batter and Cook
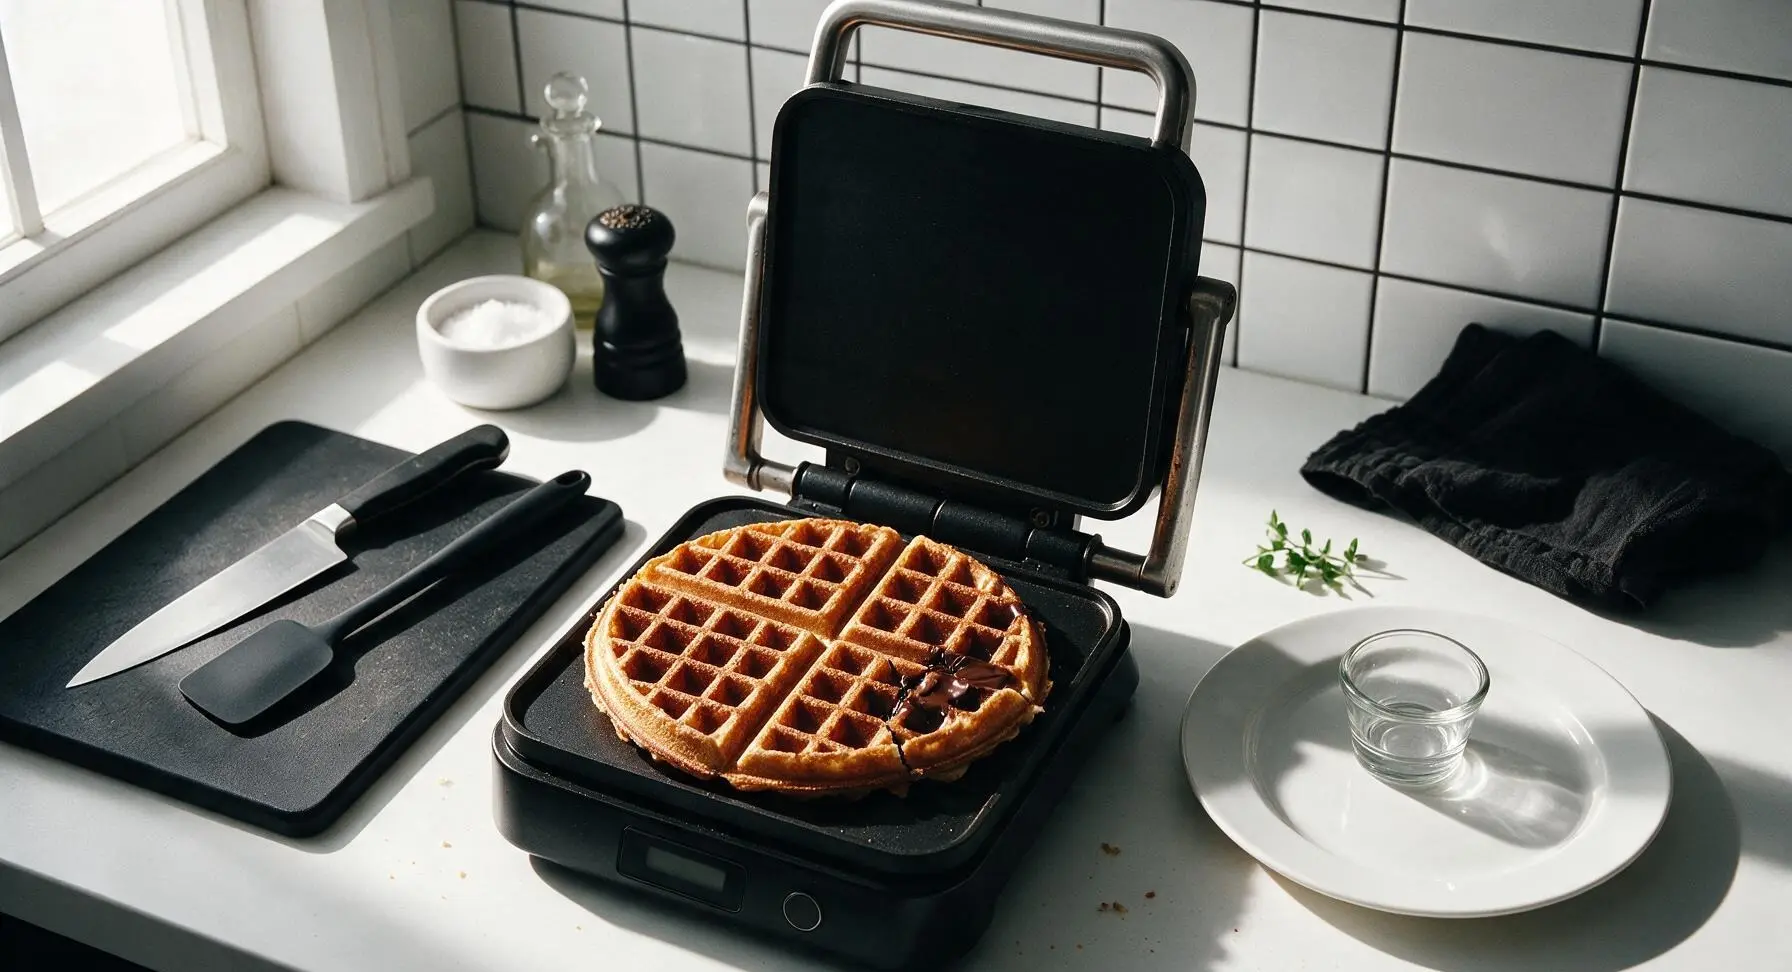
Pour an additional 1/4 cup of batter over the chocolate chunks, spreading gently to fully cover all chocolate. Close the waffle iron lid and cook for 4 minutes, until the waffle is deep golden brown and crispy on the outside, and no visible steam escapes from the edges of the iron. Do not lift the lid early, as this will cause the waffle to split.
Remove and Rest Waffles
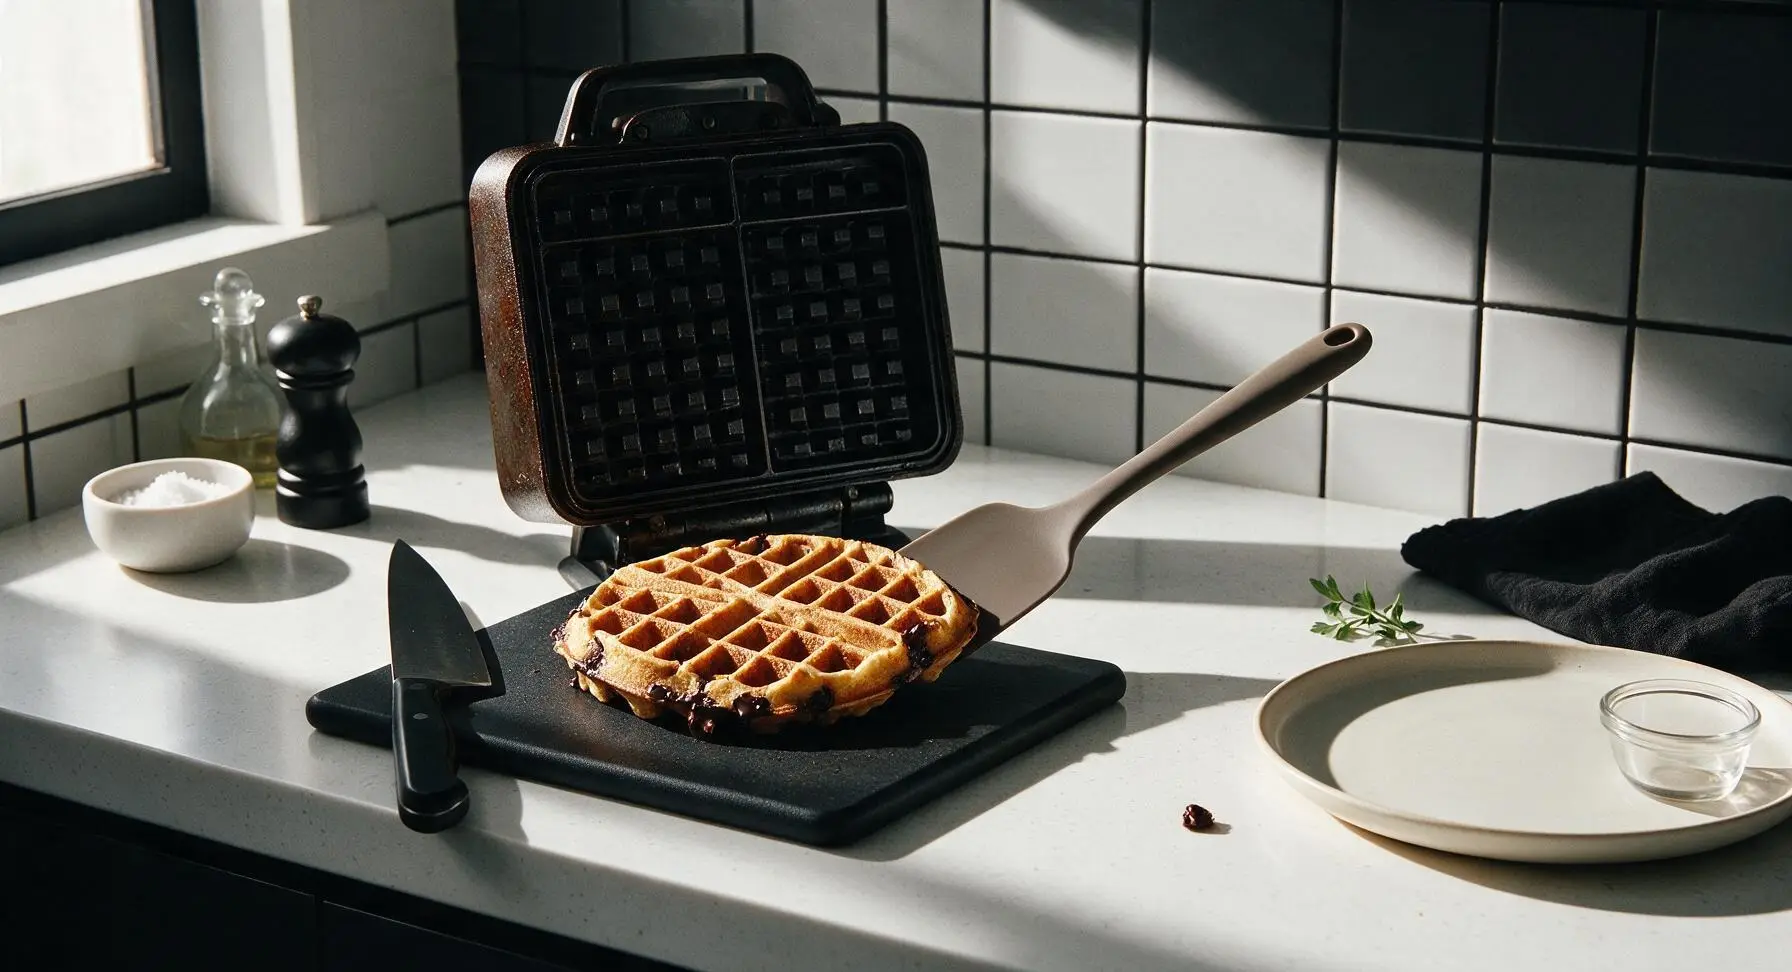
Use the taupe silicone spatula to gently lift the cooked waffle from the iron, transfer it to the cream white ceramic dinner plate, and keep it warm in a 200°F (95°C) oven while you cook the remaining 3 waffles, repeating the layering process for each. Do not stack waffles directly on top of each other while keeping warm, as trapped steam will make them soggy.
Garnish and Serve
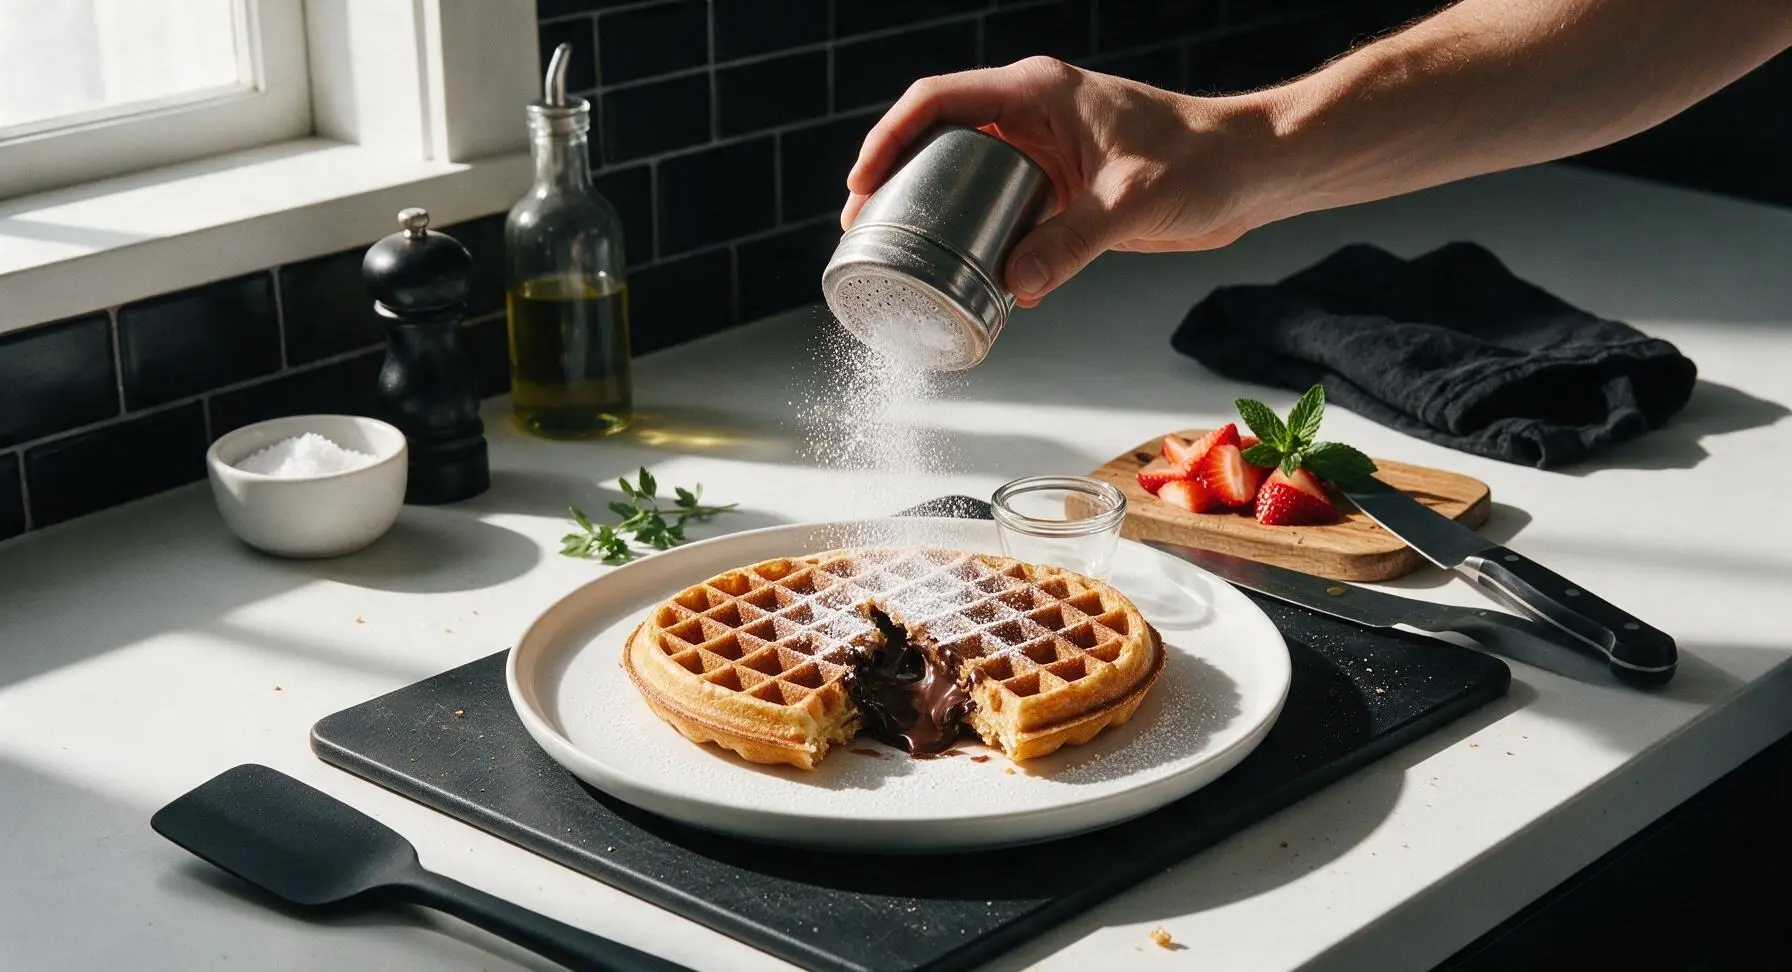
Once all 4 waffles are cooked, place one waffle on the cream white ceramic dinner plate. Slice the waffle slightly open at the center to expose the molten chocolate filling, dust lightly with powdered sugar, top with sliced fresh strawberries and a sprig of mint, and serve immediately with maple syrup on the side while the chocolate is still gooey.
Tips
2.Keep chocolate chunks at least 1/2 inch away from waffle iron edges: chocolate that touches the hot non-stick plates directly will burn, turn bitter, and stick to the iron, making it difficult to remove waffles cleanly without tearing.
3.Resist opening the waffle iron lid early: lifting the lid before 3 minutes of cooking time releases built-up steam, which can cause the waffle to split open and let molten chocolate leak out before the batter sets. Wait until steam stops escaping from the iron edges before checking doneness.






OMG these were a total game changer for Saturday brunch! My kids loved it — my 7 and 9 year old usually turn their noses up at anything that isn’t frozen pop tarts, but they devoured three waffles each and asked for seconds before I even sat down. The chocolate stays perfectly melty in the middle and the outside gets so crispy, no soggy waffles here! 10/10 will be making these every weekend from now on.
SO good. I’ve tried so many chocolate waffle recipes that end up dry or have the chocolate oozing out all over the waffle iron before it even cooks, and this one is perfect. The cook time was spot on, 16 minutes total for a full batch and they came out crispy every single time. No mess, no fuss, super easy even for someone who burns toast half the time lmao.
Made these for a potluck with my friend group last weekend and everyone was begging for the recipe before they even finished their first bite. I topped them with a little powdered sugar and fresh strawberries and they looked like they came straight from a fancy brunch spot. Can’t believe how easy they were for how impressive they turn out!
Solid recipe, only giving 4 stars because I found the batter a little too thick for my waffle maker first go around, added a splash more oat milk and it was perfect. We did breakfast for dinner last week and served these, and the crispy exterior is chef’s kiss — the chocolate filling is such a fun surprise for people who don’t expect it. My partner thought I spent hours making these, little does he know it took me 20 minutes total start to finish.
Wait has anyone tried freezing these for quick weekday breakfasts? I’m always looking for stuff I can make on Sunday that the kids can pop in the toaster before school, and these look perfect.
Made these in my dorm waffle maker last night during study group and everyone lost their minds. No fancy ingredients needed, I just used regular pancake/waffle mix I had in my cabinet and added the chocolate filling, and it worked perfectly. Way better than the dining hall waffles, that’s for sure lmao.
I’ve been making waffles for my grandkids for over 40 years, and this recipe is a new favorite! The crispiness is exactly the texture I always strive for, and the chocolate filling is such a lovely little twist. I added a tiny bit of cinnamon to the batter and it paired so beautifully with the chocolate, highly recommend that little addition.
Made these before an early morning hike last weekend and they kept me full for hours! I used dark chocolate chunks and added a handful of chopped walnuts to the batter for extra crunch, and it was chef’s kiss. Way better than those sad energy bars I usually pack for trails. 10/10 will be a regular pre-hike meal for me now.