1.Why do these waffles get crisp edges but stay fudgy and fluffy in the center?
▾
That perfect texture comes from the precise ratio of all-purpose flour for structure, baking powder for light, airy lift, and enough unsweetened cocoa to add dense, fudgy depth without weighing the batter down. A properly preheated waffle iron sears edges crisp fast, while the center cooks gently to stay soft and tender.
2.Can I use Dutch-processed cocoa powder instead of regular unsweetened cocoa here?
▾
Absolutely! Dutch-processed cocoa has a smoother, less bitter chocolate flavor that works beautifully in this recipe. Just note you’ll want to add 1/8 teaspoon of cream of tartar per teaspoon of baking powder to ensure leavening reacts properly, since Dutch cocoa is less acidic than natural unsweetened cocoa.
3.How do I know when my waffle iron is hot enough to get those signature crisp edges?
▾
The easiest home cook test is to sprinkle one drop of cold water on the iron plates: if it sizzles, dances across the surface, and evaporates in 3 to 5 seconds, it’s perfectly preheated. If it evaporates instantly, the iron is too hot; if it sits without sizzling, it’s too cool and will make soggy waffles.
4.Can I make this batter ahead of time for weekend brunch gatherings?
▾
You can mix the dry ingredients—flour, cocoa, sugar, baking powder, and salt—in an airtight container up to 3 days ahead to cut down on day-of prep. I don’t recommend mixing full wet and dry batter more than 30 minutes before cooking, though, as baking powder loses its lift quickly, leading to dense, flat waffles.
5.What happens if I skip the fine sea salt called for in the recipe?
▾
Skipping the salt will leave your waffles tasting flat and one-note, even with all the cocoa and sugar. Salt doesn’t make sweet food taste salty—it cuts through cloying sweetness and amplifies the deep, roasty notes of unsweetened cocoa, so that small pinch makes a surprisingly huge difference in final flavor.
6.My waffles keep sticking to the iron even when I spray it—what am I doing wrong?
▾
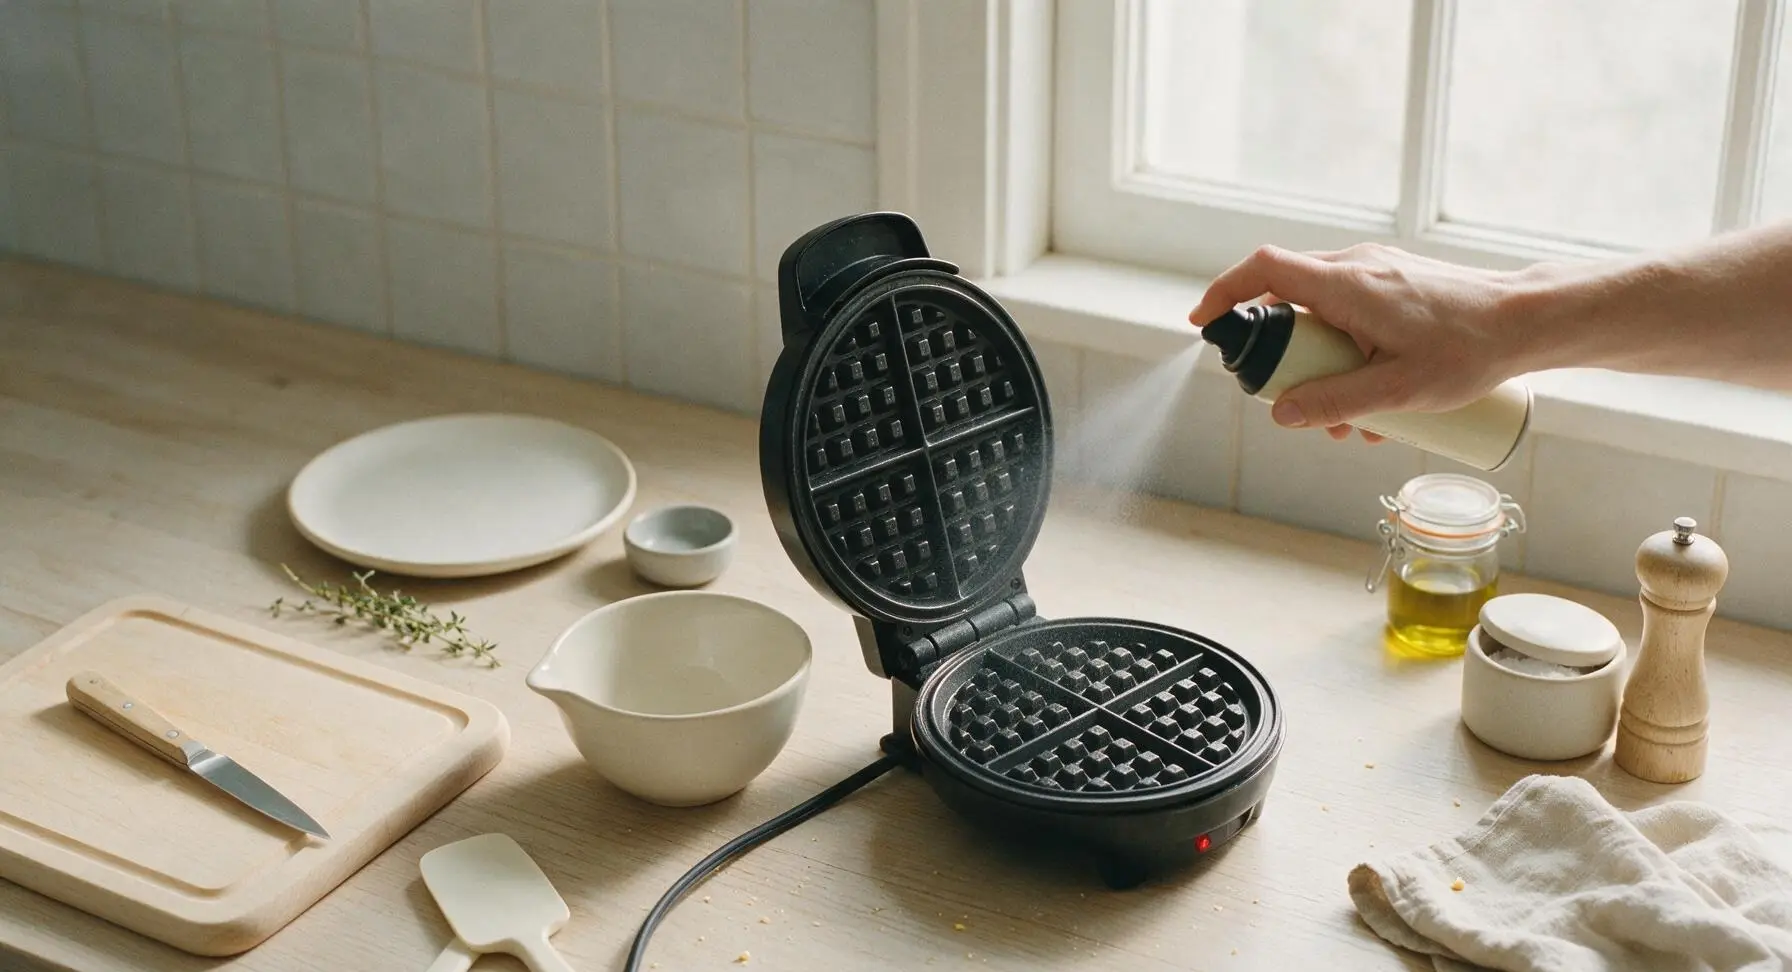
Most sticking happens when the iron isn’t fully preheated, or when you open the lid too early before the waffle sets. Wait until the iron passes the water drop test, give plates a light coat of nonstick spray or melted butter, and don’t lift the lid for at least 2 minutes after closing to let a crisp, releaseable crust form.
7.Can I use whole wheat flour instead of all-purpose flour for a healthier swap?
▾
You can swap up to half the all-purpose flour for white whole wheat flour without ruining the signature texture, but I don’t recommend using 100% whole wheat. Whole wheat has more bran and germ that absorbs extra moisture, leading to dense, dry waffles that lose that soft, fudgy center if used as a full replacement.
8.How long should I cook these waffles to get the ideal texture?
▾
For most standard waffle irons, 3 to 4 minutes per waffle is perfect. You’ll know it’s done when steam stops billowing out from the iron edges, and the waffle lifts easily off the plates without sticking. Cooking too long dries out the fudgy center, while too little leaves raw, gummy batter in the middle.
9.Can I freeze leftover waffles for quick weekday breakfasts?
▾
Absolutely! Let cooked waffles cool completely to room temperature first, then stack them between sheets of parchment paper to prevent sticking, and store in a sealed freezer bag for up to 3 months. Reheat straight from frozen in a toaster or 350°F oven for 5 minutes to bring back that crisp edge and fudgy center.
10.Why did my waffles turn out dense and heavy instead of light and fluffy?
▾
Dense waffles almost always come from one of two common mistakes: overmixing the batter, or expired baking powder. Stir batter just until dry ingredients are moistened—lumps are totally fine, as overstirring develops tough gluten. Also, check that your baking powder is less than 6 months old, as old leavening won’t create fluffy air pockets.
11.Is there a way to make these waffles gluten-free?
▾
Yes! Swap the all-purpose flour for a 1:1 gluten-free baking blend that contains xanthan gum for structure. Make sure your cocoa powder and baking powder are certified gluten-free to avoid cross-contamination, and mix the batter just as you would for the regular version for the same crisp edges and fudgy, no-grit texture.
12.The recipe suggests whipped cream and fresh raspberries as toppings—what other toppings work well?
▾
You’ve got tons of delicious options! Warm chocolate ganache, toasted hazelnuts, sliced strawberries, a dollop of hazelnut spread, a drizzle of salted caramel, or even a scoop of vanilla ice cream for dessert-style waffles all pair beautifully. Just avoid watery, thin toppings if you want to keep edges crisp longer.
13.Can I add chocolate chips to the batter for extra chocolate flavor?
▾
Definitely! Fold ½ cup of semi-sweet or dark chocolate chips into the batter right after you finish mixing, just before pouring onto the waffle iron. Toss the chips in a tiny pinch of cocoa powder first to keep them from sinking to the bottom of the batter, so you get even melty chocolate pockets in every bite.
14.Do I need to sift my cocoa powder and flour for this recipe?
▾
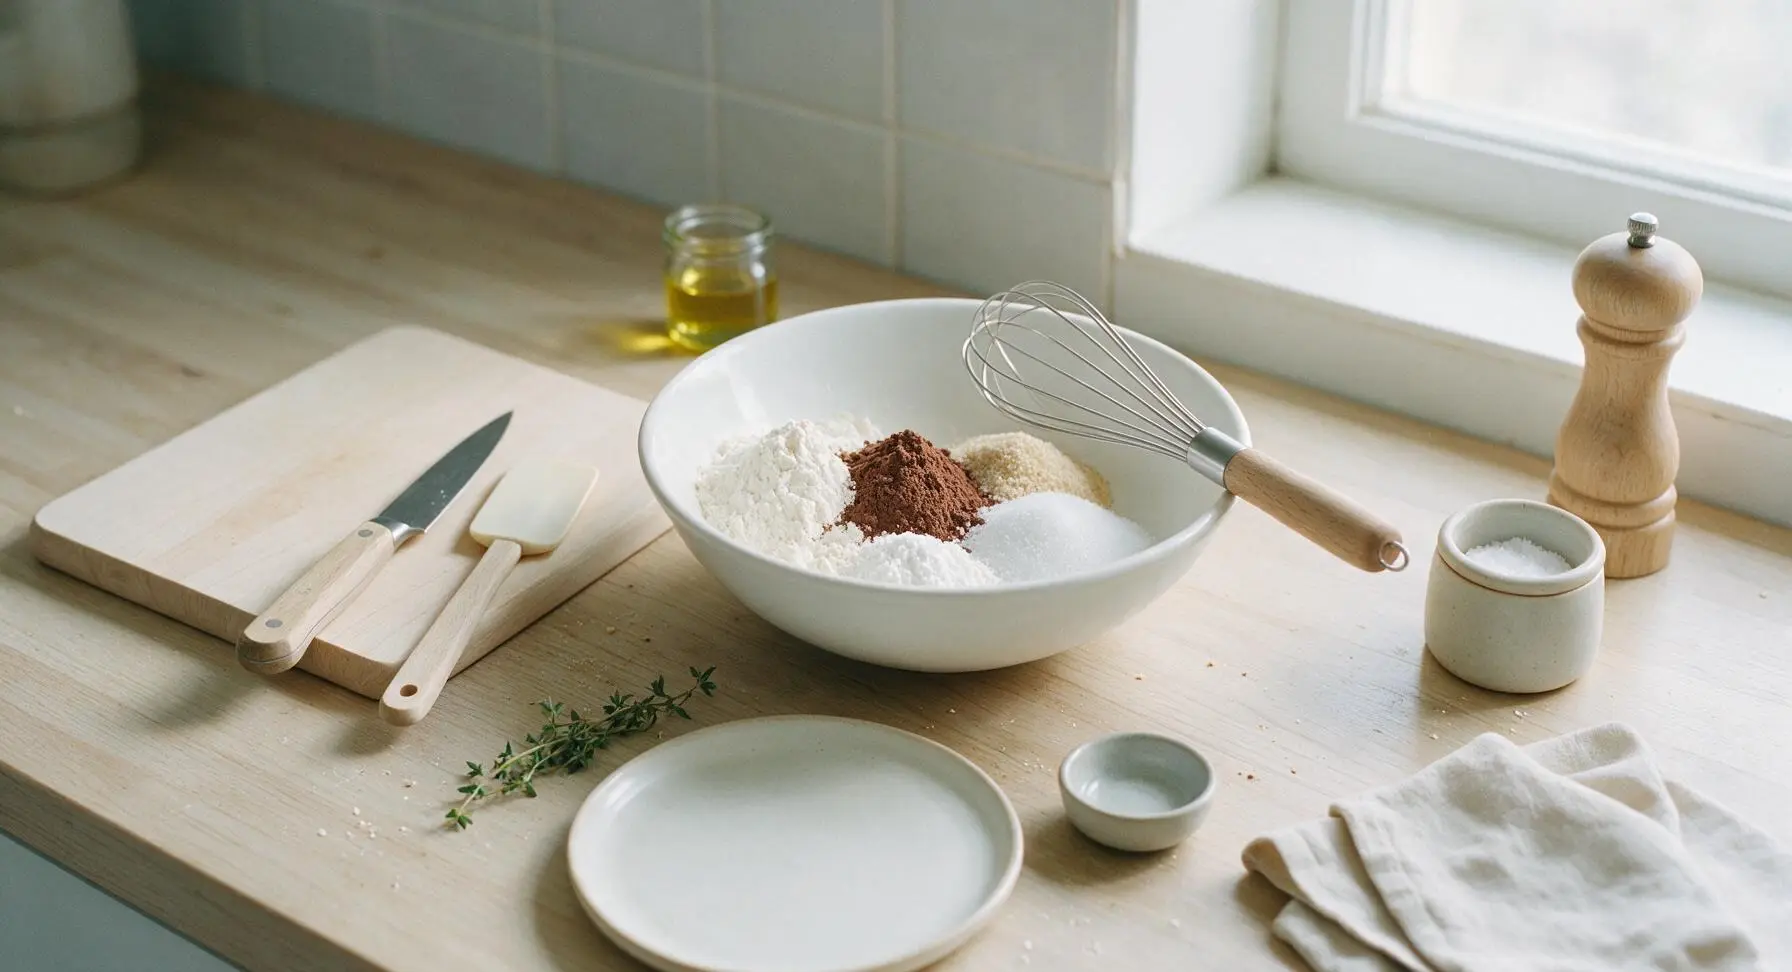
Sifting isn’t strictly required, but it does make a noticeable difference in texture. Unsweetened cocoa powder often clumps up in storage, so sifting it with flour, sugar, baking powder, and salt breaks up those lumps for a smoother batter with no dry, powdery cocoa pockets. If you don’t have a sifter, a quick whisk of dry ingredients works too.
15.Can I make this recipe in a Belgian waffle maker instead of a standard waffle iron?
▾
You sure can! Belgian waffle makers have deeper grids, so you’ll use about ¼ cup more batter per waffle, and add 1 to 2 minutes of extra cook time to make sure the thicker center sets properly without burning edges. The deep pockets are perfect for holding extra whipped cream, raspberries, or chocolate drizzle.
16.How do I keep cooked waffles crisp while I make a whole batch for a group?
▾
Don’t stack cooked waffles on a plate, because trapped steam will make them soggy fast. Instead, set your oven to 200°F, and place cooked waffles directly on the oven rack in a single layer as you finish them. They’ll stay crisp, warm, and fudgy in the center for up to 30 minutes while you cook for your gathering.
17.Can I reduce the granulated sugar in this recipe to make it less sweet?
▾
You can cut the granulated sugar by up to 2 tablespoons without throwing off texture or flavor balance, especially if you’re adding sweet toppings like syrup or chocolate chips. I don’t recommend cutting more than that, though—sugar doesn’t just add sweetness, it helps edges caramelize to that perfect crisp, so too little leaves waffles pale and soft.
18.Why are my waffles coming out dry instead of fudgy in the middle?
▾
Dry waffles usually happen when you use too much cocoa or flour, or cook them too long. Be sure to measure dry ingredients by spooning them into measuring cups and leveling them off—don’t scoop directly from the bag, which packs ingredients down—and pull waffles as soon as steam stops escaping to keep that tender, fudgy center.
19.Can I use this batter to make chocolate pancakes if I don’t have a waffle iron?
▾
You can, with one small tweak! Waffle batter has a bit more structure for crisp waffle edges, so just add 2 extra tablespoons of milk to thin the batter slightly for pancakes. Cook on a greased griddle over medium heat until bubbles form on the surface, then flip for rich, fluffy chocolate pancakes with the same deep cocoa flavor.

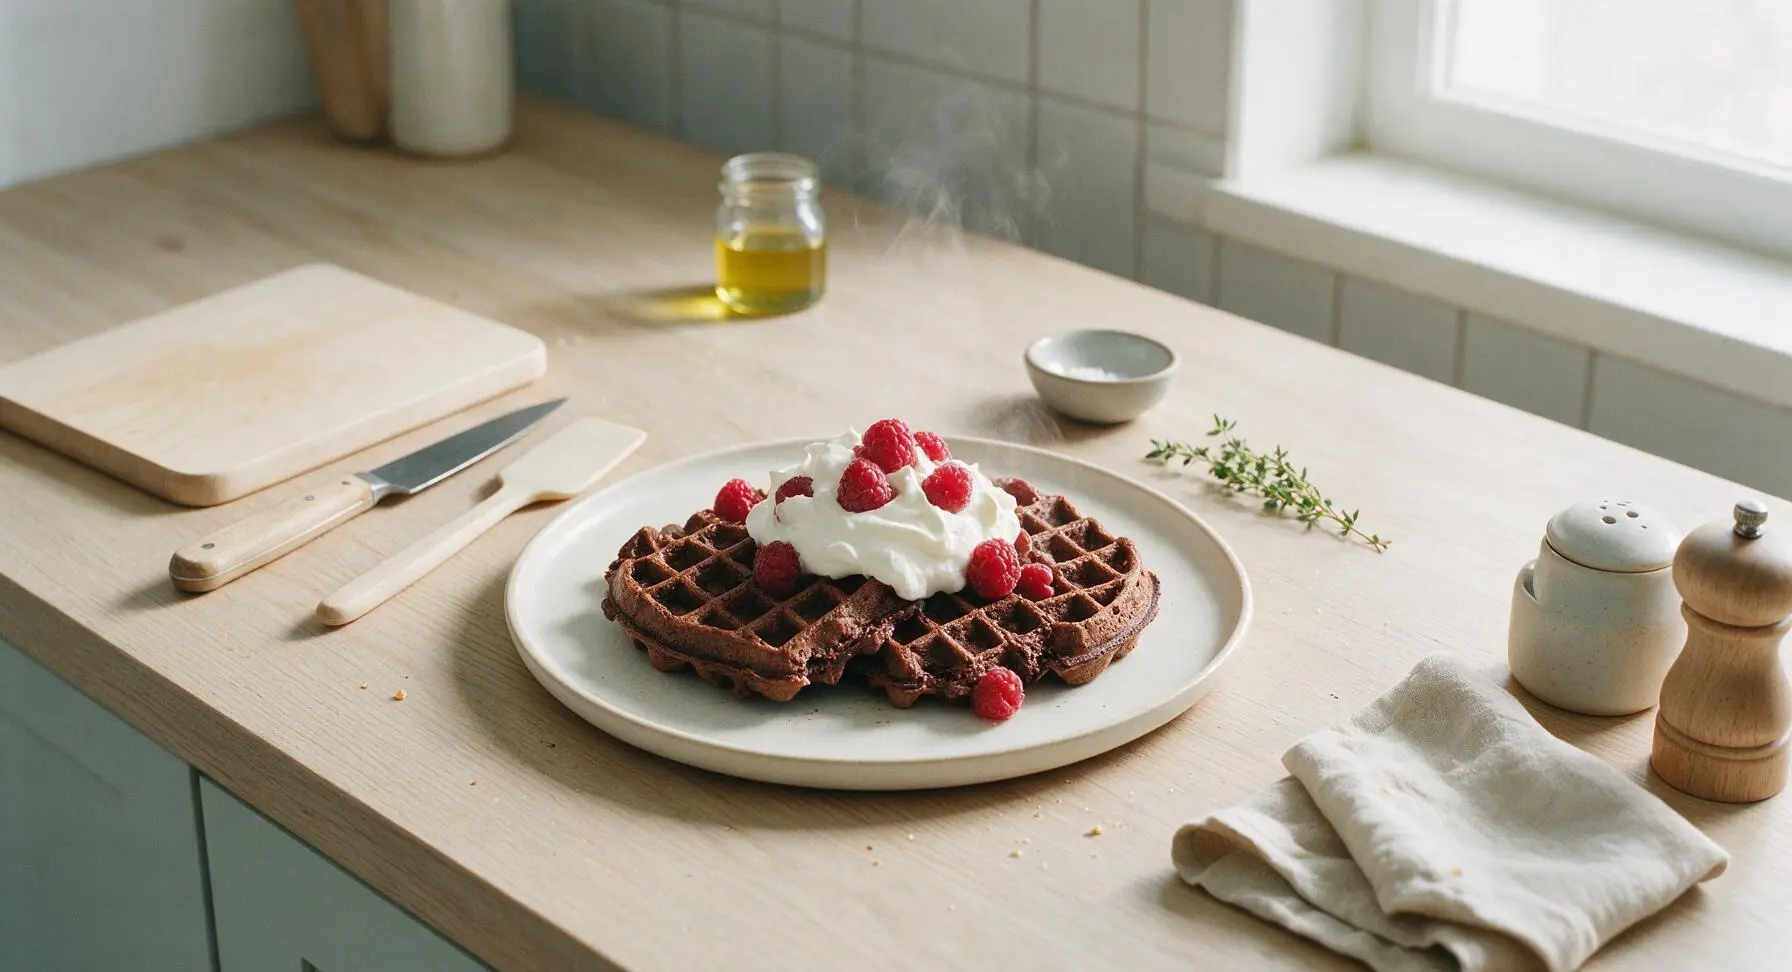
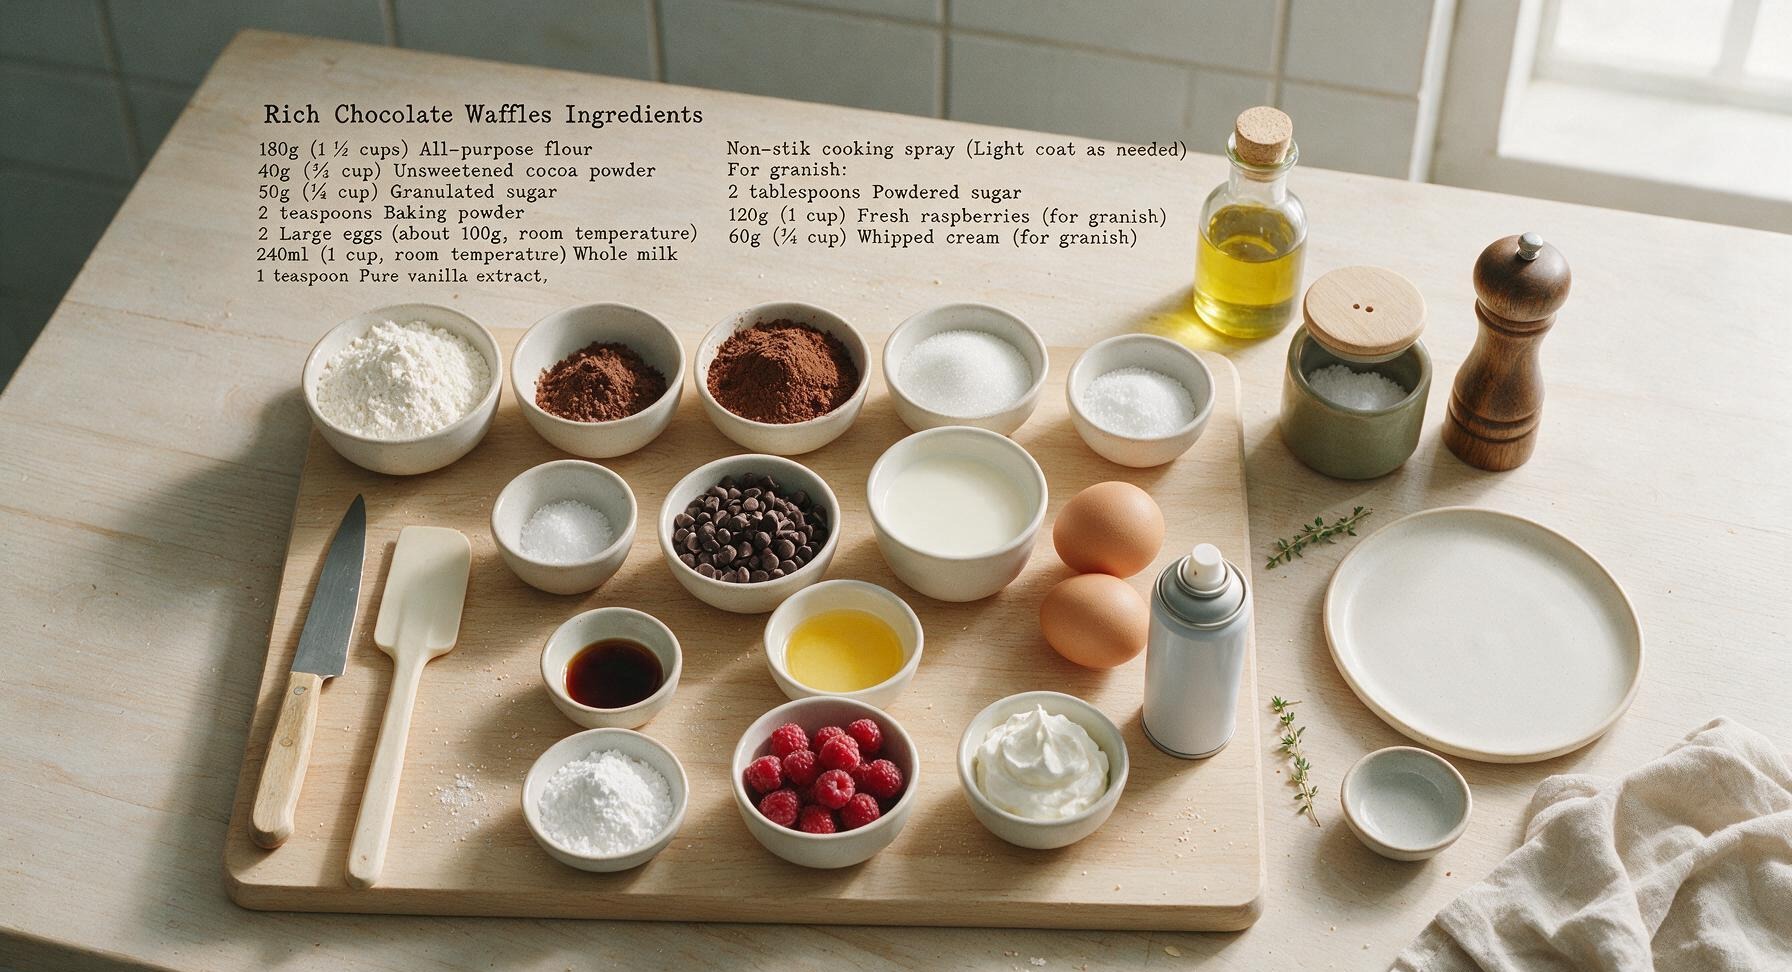
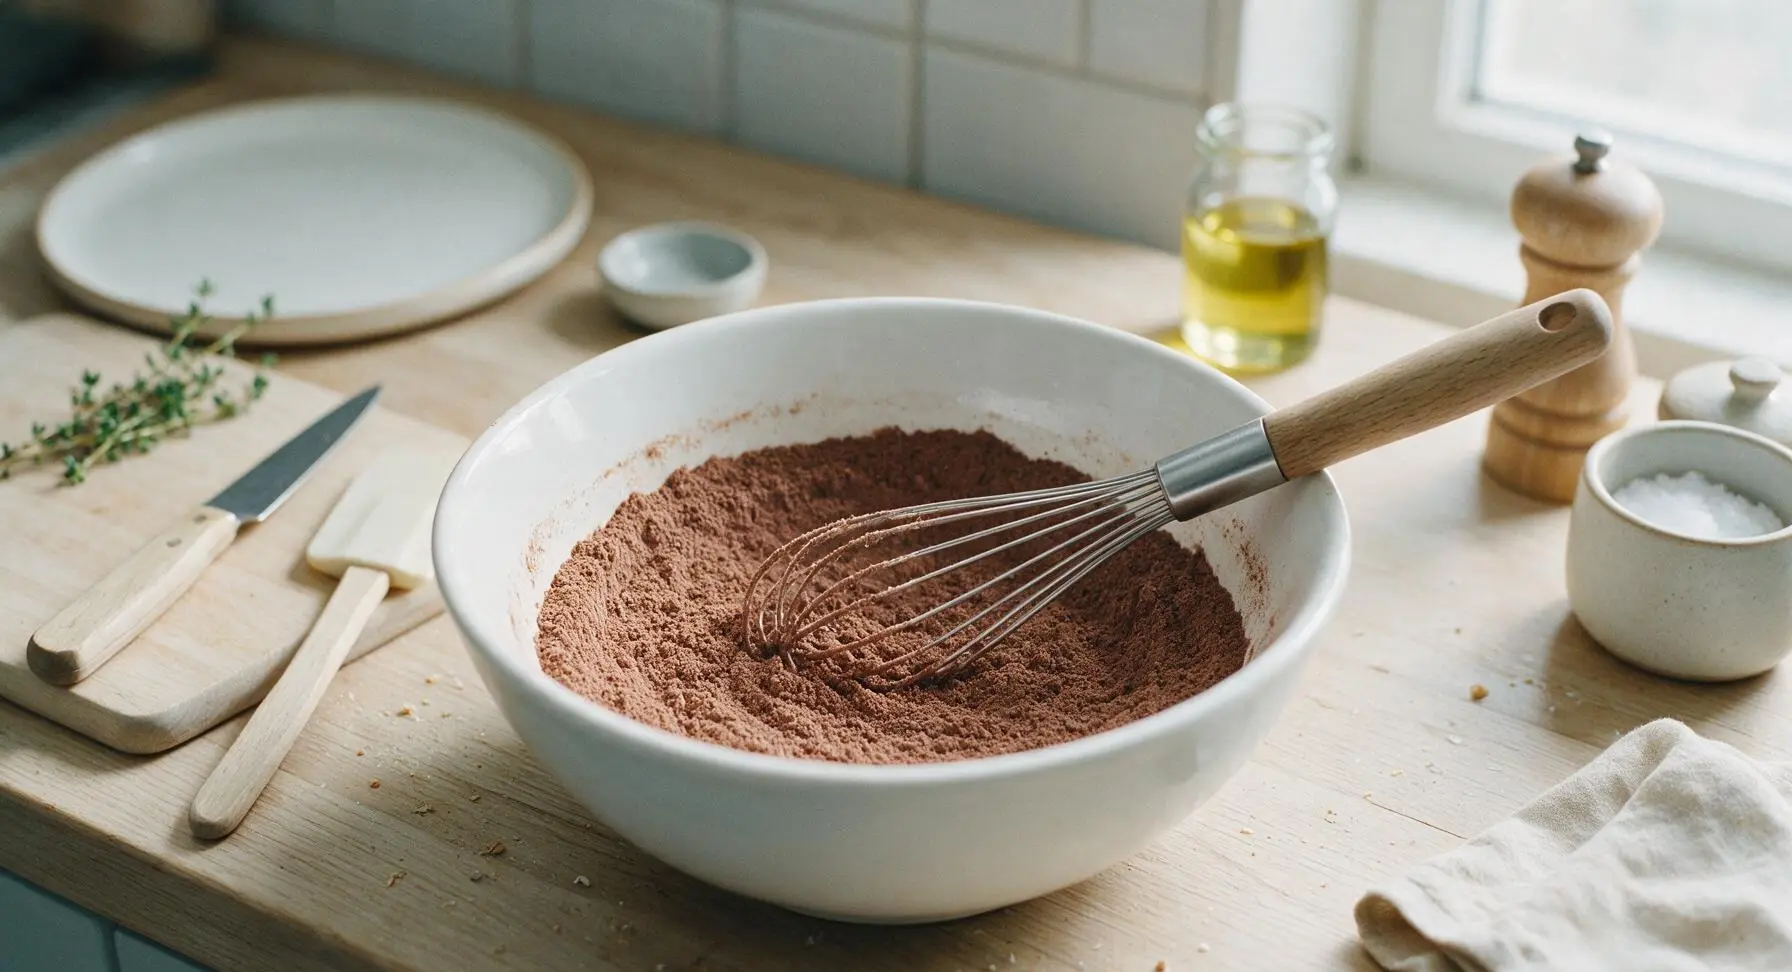
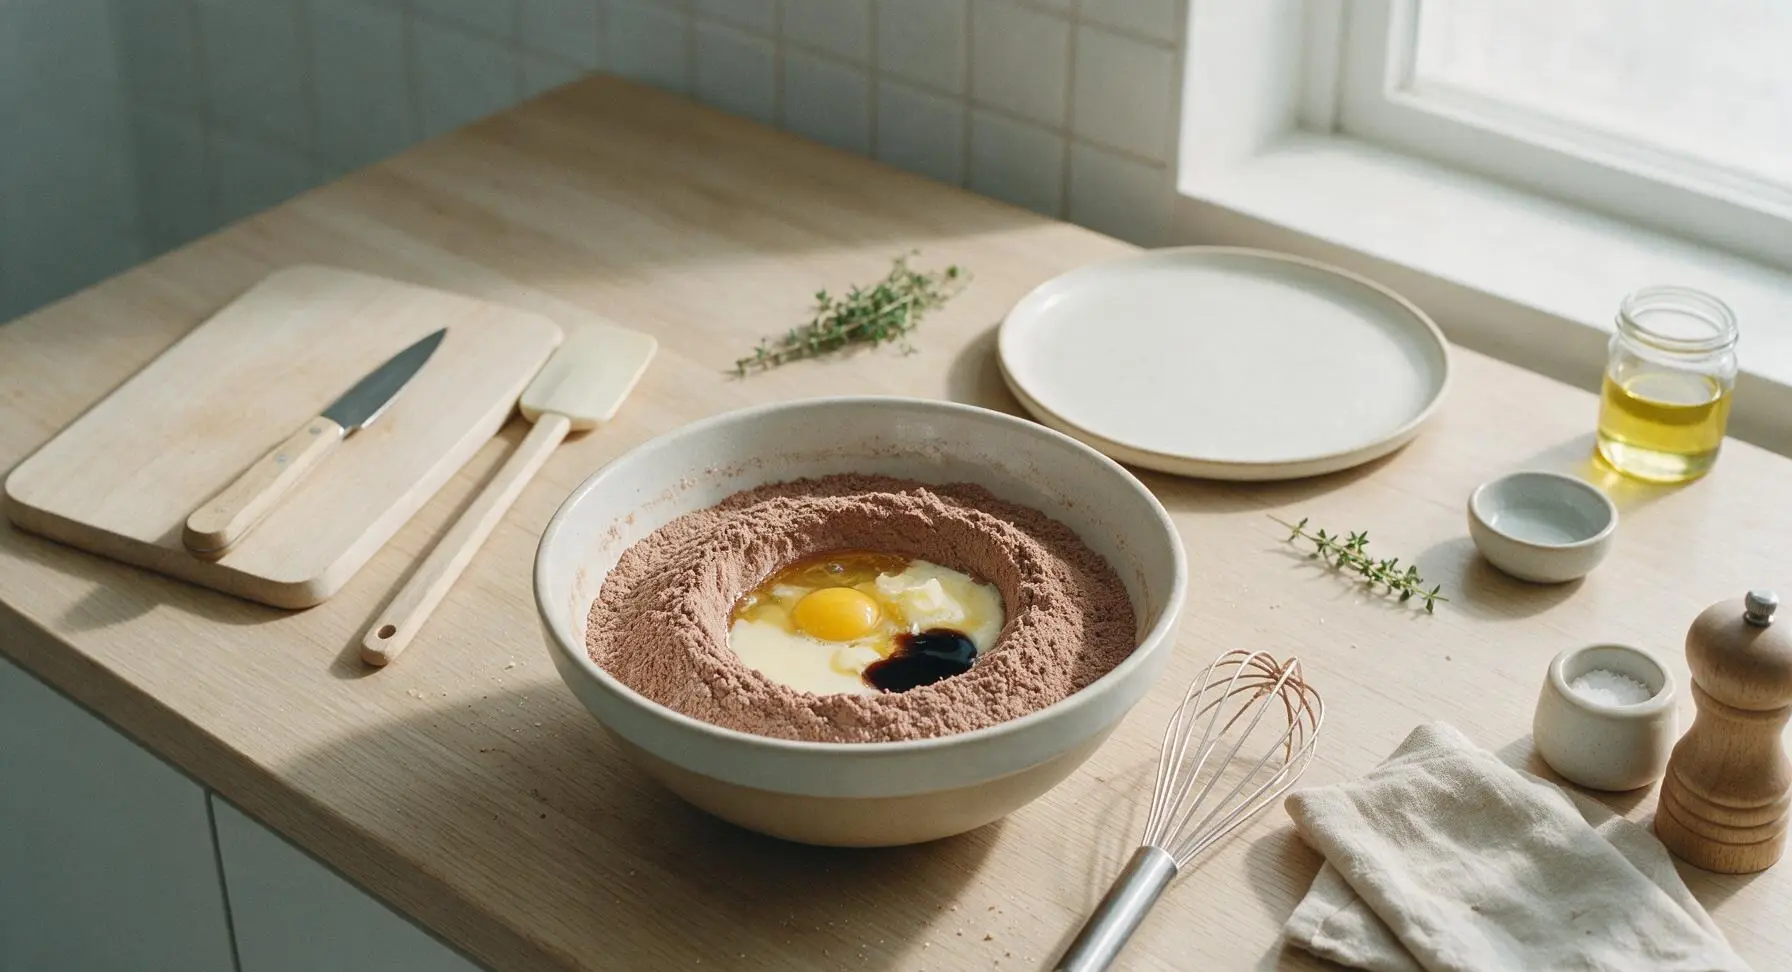
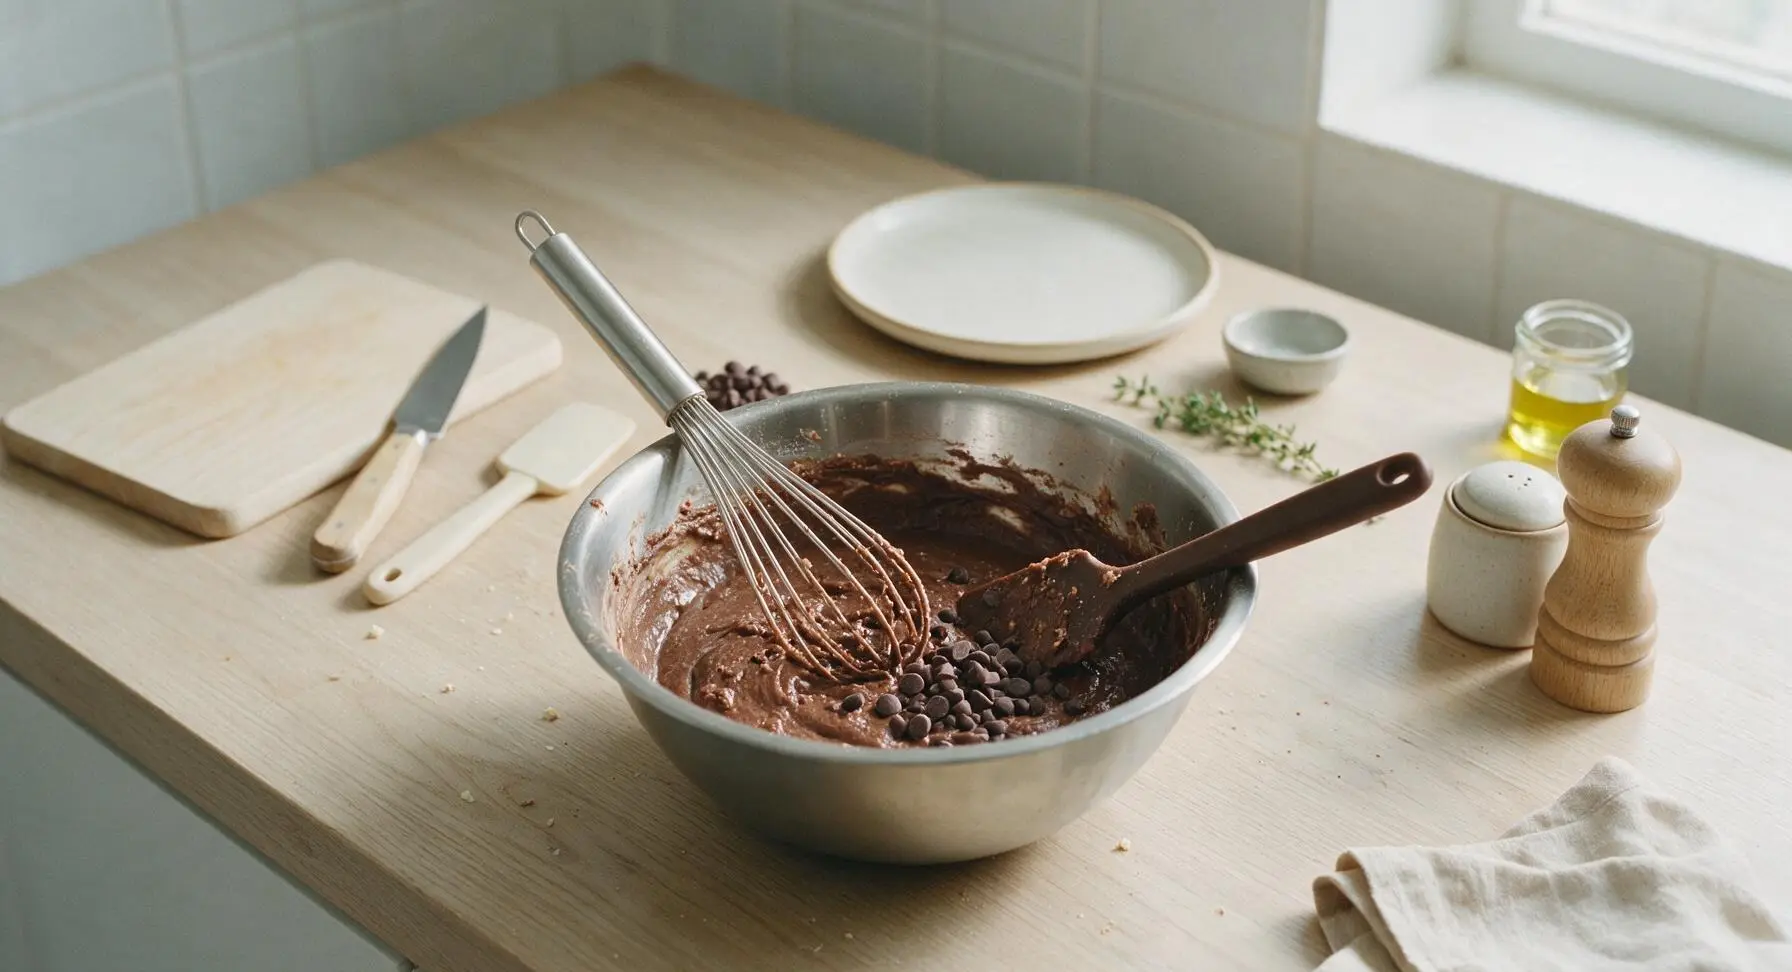
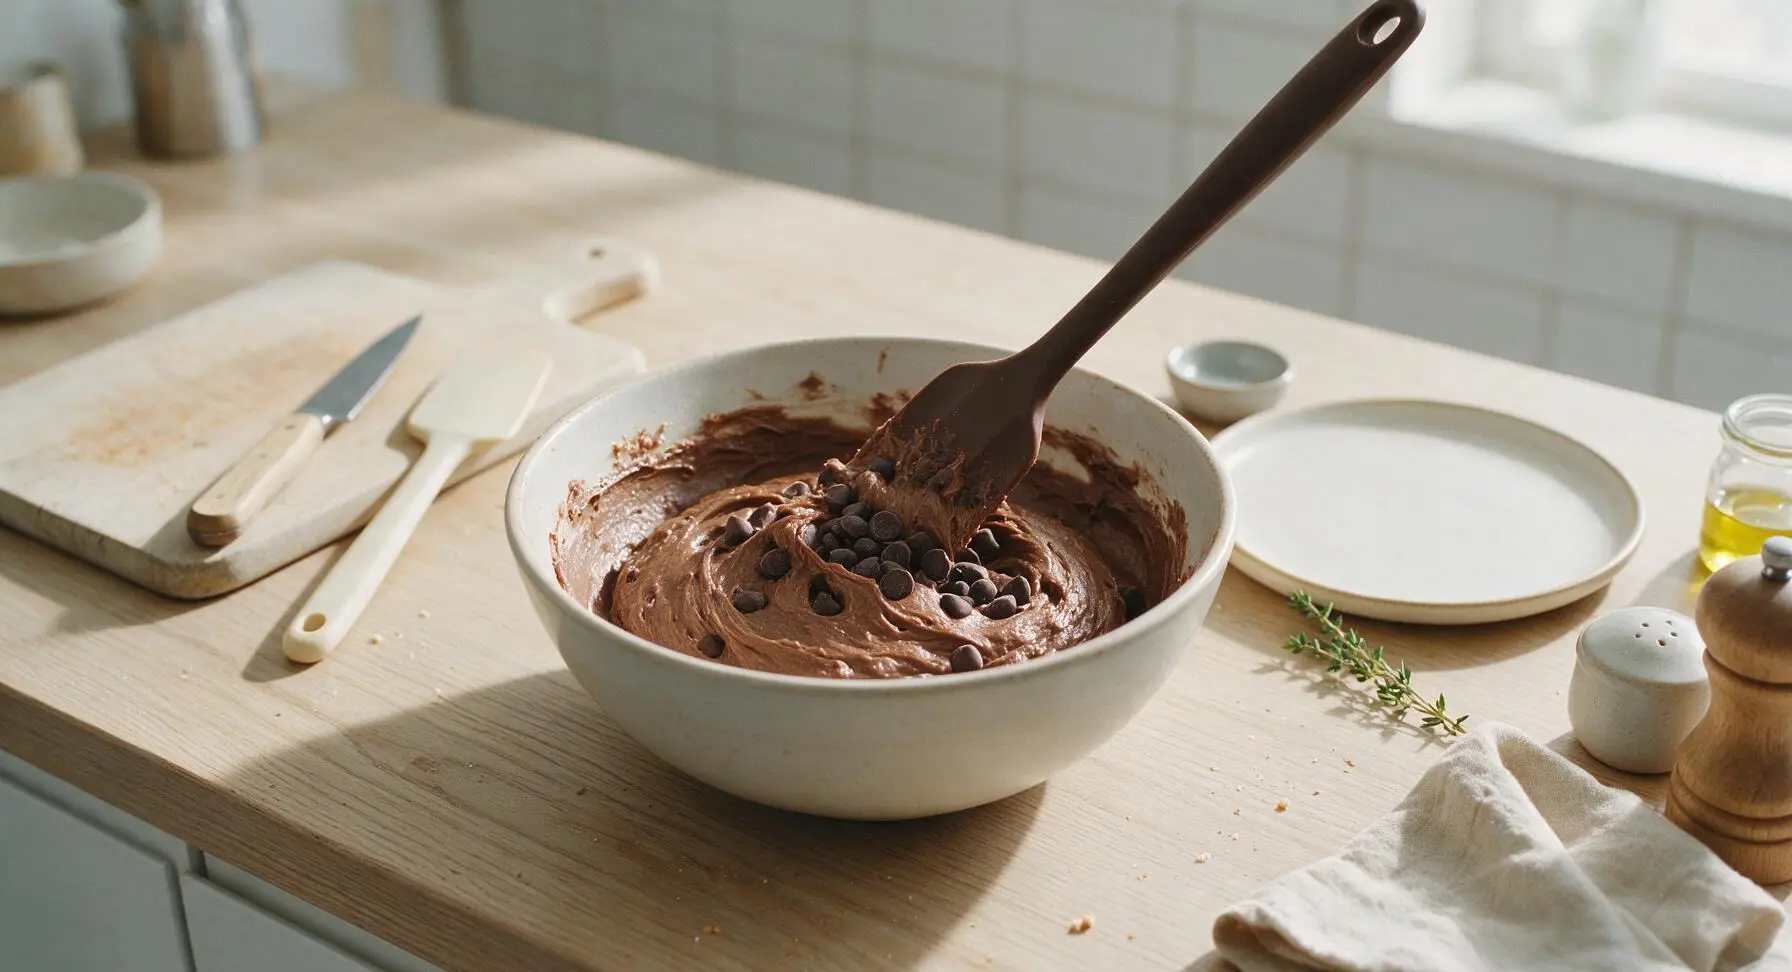
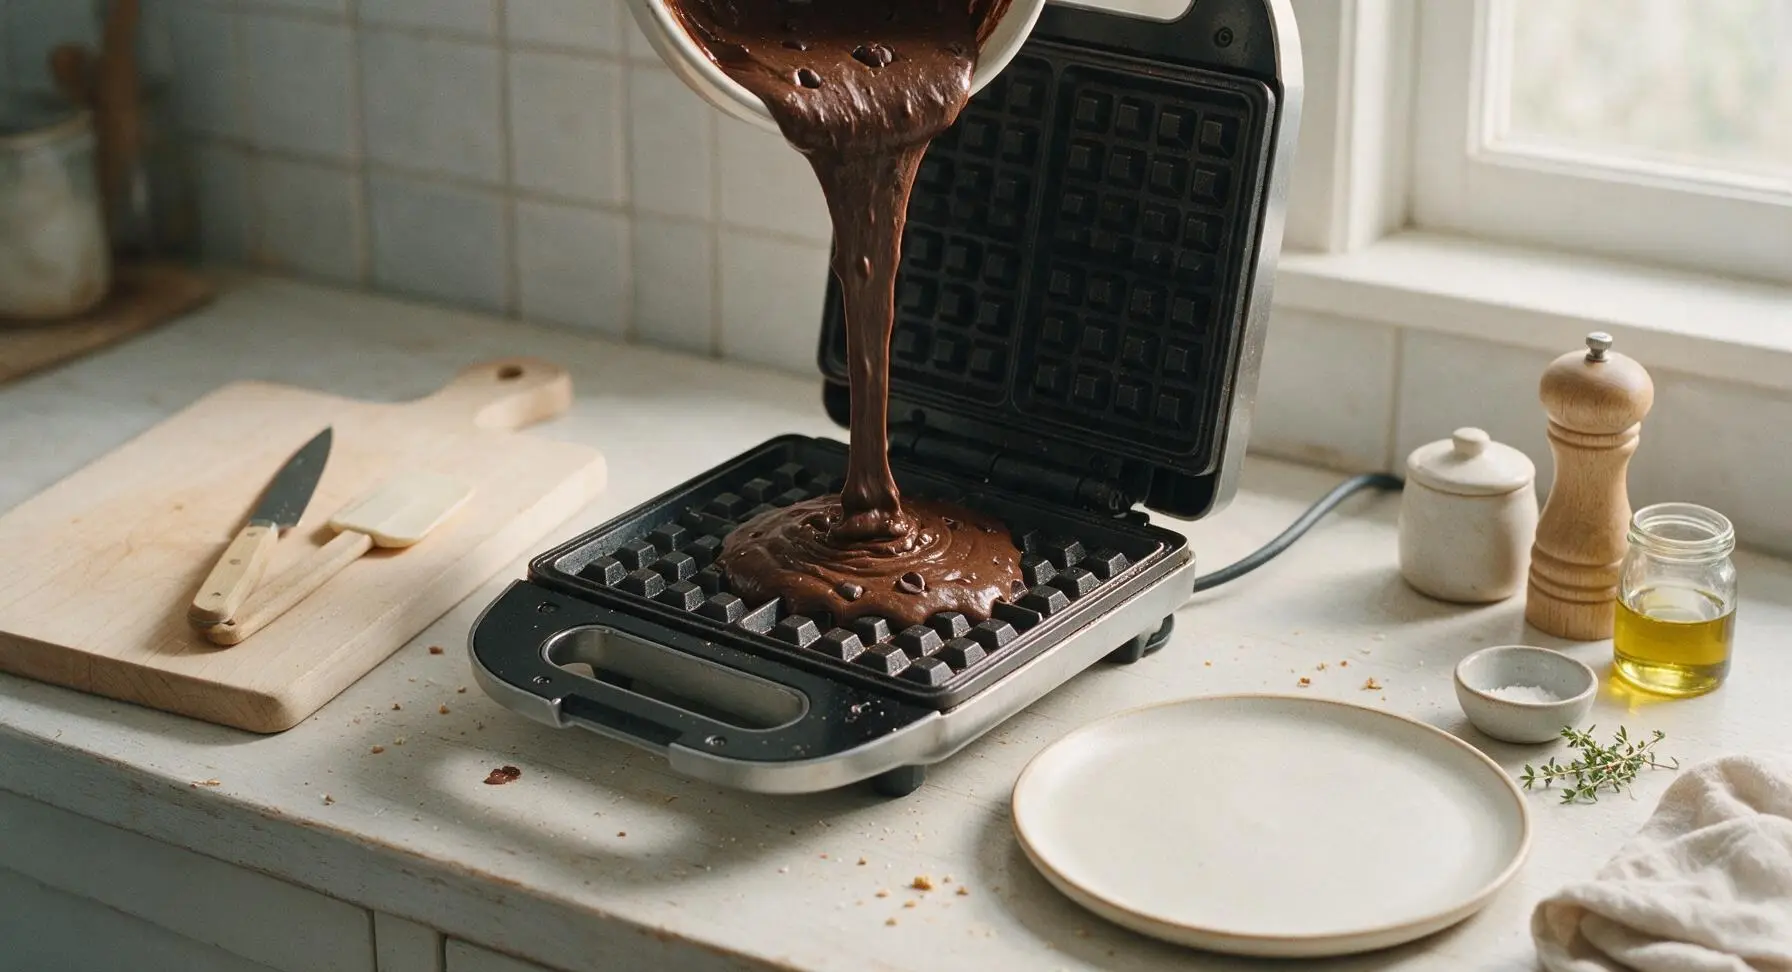
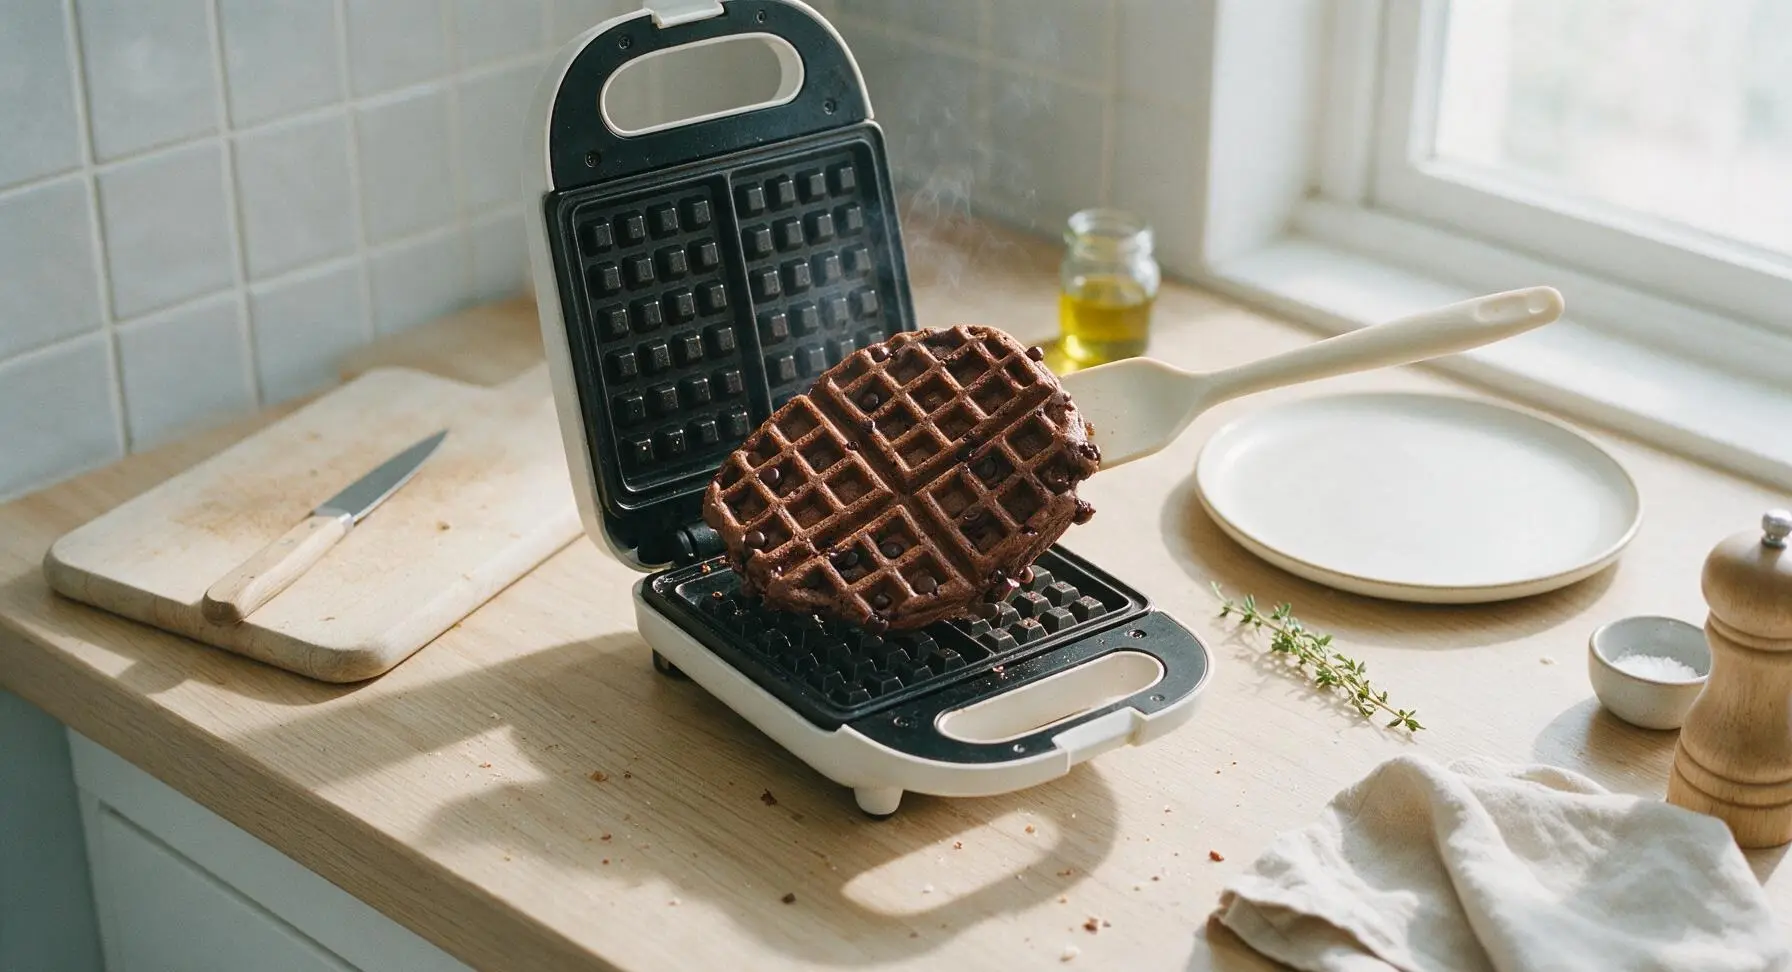
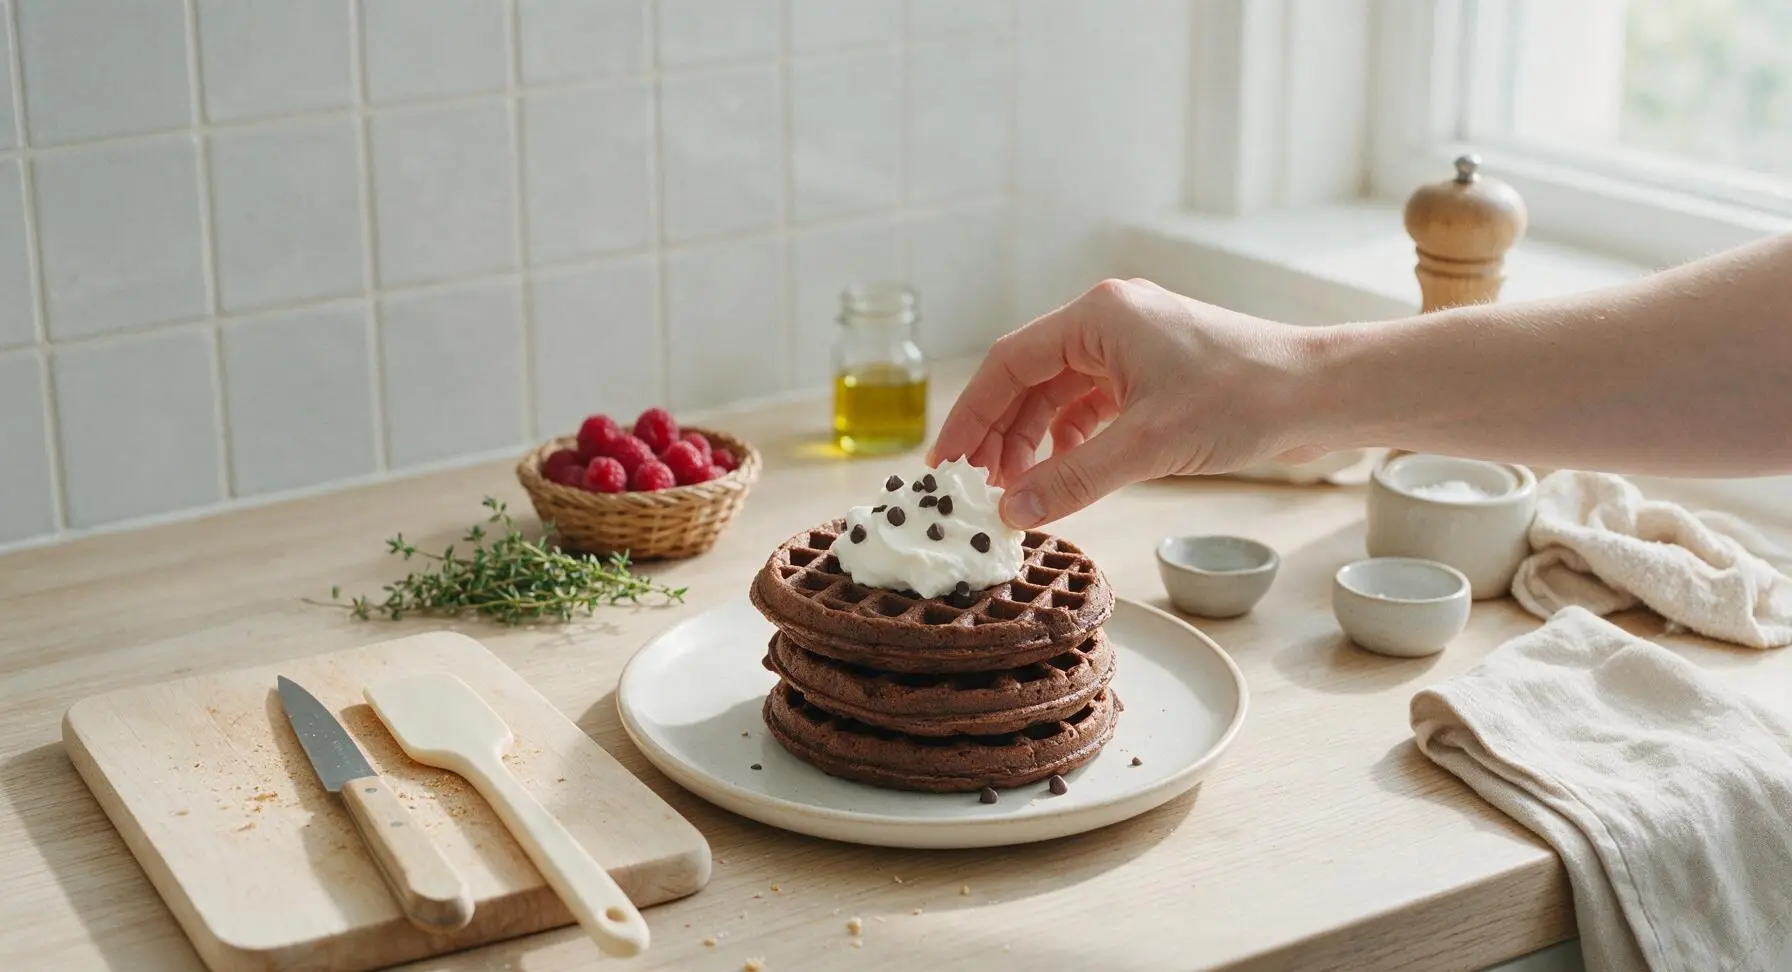
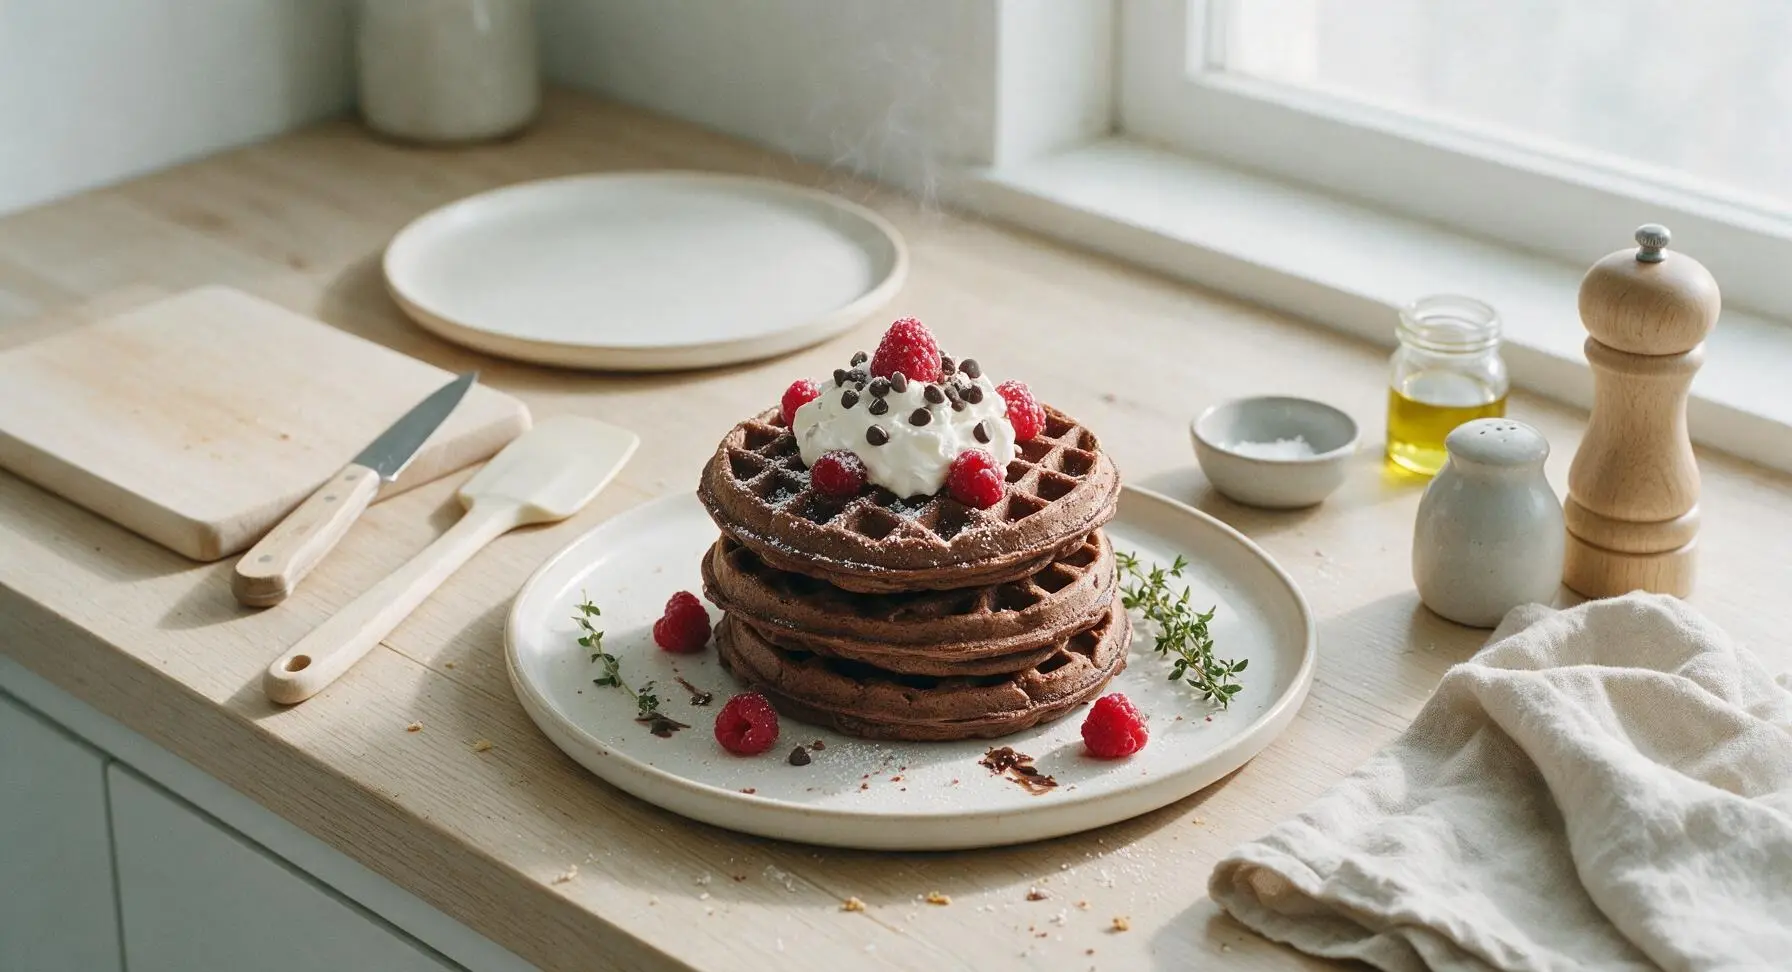






OMG these are SO good!!! I whipped these up for a lazy Saturday brunch and my whole family lost their minds. The rich chocolate flavor isn’t too overpowering, it’s just perfect with a dollop of whipped cream and fresh strawberries. 15 minute cook time? Total game changer for busy weekends.
My kids begged for chocolate waffles for their back-to-school breakfast treat and this recipe did not disappoint. Super easy to throw together even on a chaotic school morning, no fancy ingredients needed. I added a handful of mini chocolate chips to the batter for extra oomph.
Made these for our monthly neighborhood potluck and they were gone in 10 minutes flat. People kept asking me for the recipe all afternoon! The crispy edges and fudgy center are exactly what you want in a chocolate waffle.
Wait, has anyone tried making these with a 1:1 gluten free flour blend? I’m dying to make these for my roommate who has celiac but don’t want to waste ingredients if the texture is off.
These are perfect for weekly meal prep! I make a big batch on Sunday, pop them in the toaster during the week, and boom — quick, fancy breakfast that tastes way better than the frozen waffles from the grocery store.
I was a little worried these would be too sweet to eat for breakfast but the balance is spot on. I topped mine with a little peanut butter and a drizzle of maple syrup and it tasted like a fancy cafe waffle for a fraction of the price.
I’m literally the worst at baking/cooking and even I nailed these! The instructions were so straightforward, no weird steps, and they turned out crispy on the outside, soft on the inside just like the photos. 10/10 will make again.
Okay, full transparency: I bought a waffle iron last year and hated every recipe I tried until this one. These don’t stick, they cook evenly in 3 minutes per waffle on my standard iron, and the chocolate flavor is chef’s kiss. No more sad, stuck waffles for me!
Who says waffles are only for breakfast? I made these at 10pm last night when I was craving something chocolatey and they hit the spot. Had them with a scoop of vanilla ice cream on top, best late night snack ever.
Has anyone tried making these with dark cocoa powder instead of regular unsweetened? I prefer a deeper, less sweet chocolate flavor and was curious if that would throw off the ratios.
Made these for my daughter’s soccer team breakfast before their big game last weekend and every single kid asked for seconds. Even the coaches came over to ask for the recipe! Easy to make in big batches, which is a lifesaver when you’re feeding a crowd.
I swapped the eggs for flax eggs and used oat milk instead of dairy to make these vegan, and they still turned out incredible! Didn’t even notice a difference in texture or flavor, my non-vegan roommate ate three of them before I told him they were vegan.
These pair so well with a hot cup of black coffee, it’s become my go-to weekend treat. I love that they’re rich but not heavy, so I don’t feel sluggish after eating a whole stack.
Full transparency: I’ve burned every waffle recipe I’ve ever tried. These? I didn’t burn a single one! The cook time note was spot on, 3 minutes per waffle on my iron was exactly right for that perfect crisp without being charred.
I’m adding these to our Christmas morning breakfast menu this year! The kids are going to lose their minds when they see chocolate waffles next to the usual pancakes and bacon. Already tested a batch last weekend to make sure, no notes.
Wait, did anyone else’s batter feel a little thicker than regular waffle batter? I added a splash too much milk when I was thinning it out and they still turned out great, just curious if that’s normal for the chocolate version!
I brought these to our office potluck last week and they were the most popular dish on the table, beating out like 10 different casseroles. Who knew chocolate waffles would be a hit at a work lunch?!
I added a scoop of chocolate protein powder to the batter and it worked so well! Gave me an extra protein boost after my morning run, and the flavor didn’t change at all. Will definitely be doing that on the regular.
Made these for my partner for our anniversary breakfast in bed and they were obsessed. I dusted a little powdered sugar on top and added some raspberry compote, felt like a five star restaurant meal without the fancy price tag.
Love that this recipe uses basic pantry staples, no running to the specialty grocery store for weird ingredients. I had everything on hand already, which made for a super quick, no-stress brunch when my friends showed up unannounced. 10/10 for ease and flavor.