
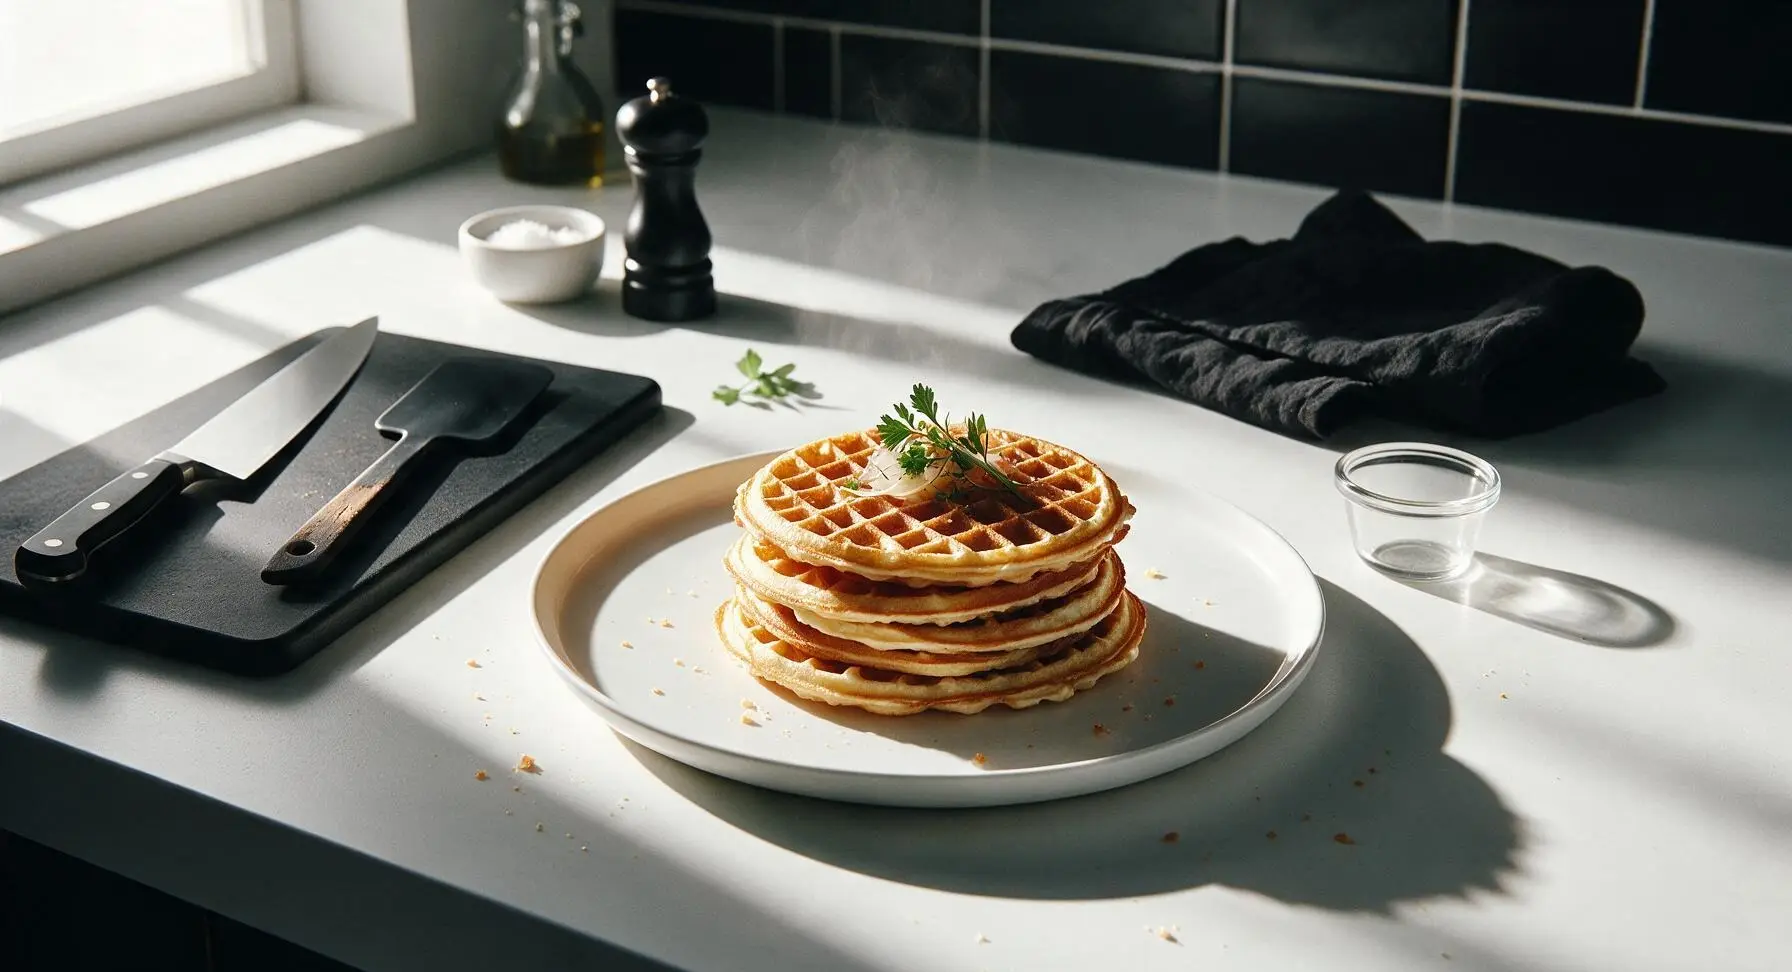
circle waffles

title 1
circle waffles
⏱️ cook time 15 minutes
🍽️ servings 4
⚡ Difficulty easy

intro

Crisp-edged, fluffy-centered golden circle waffles are a quick, beloved staple, endlessly customizable with butter, maple syrup, fresh fruit, or whipped cream.

Ingredients
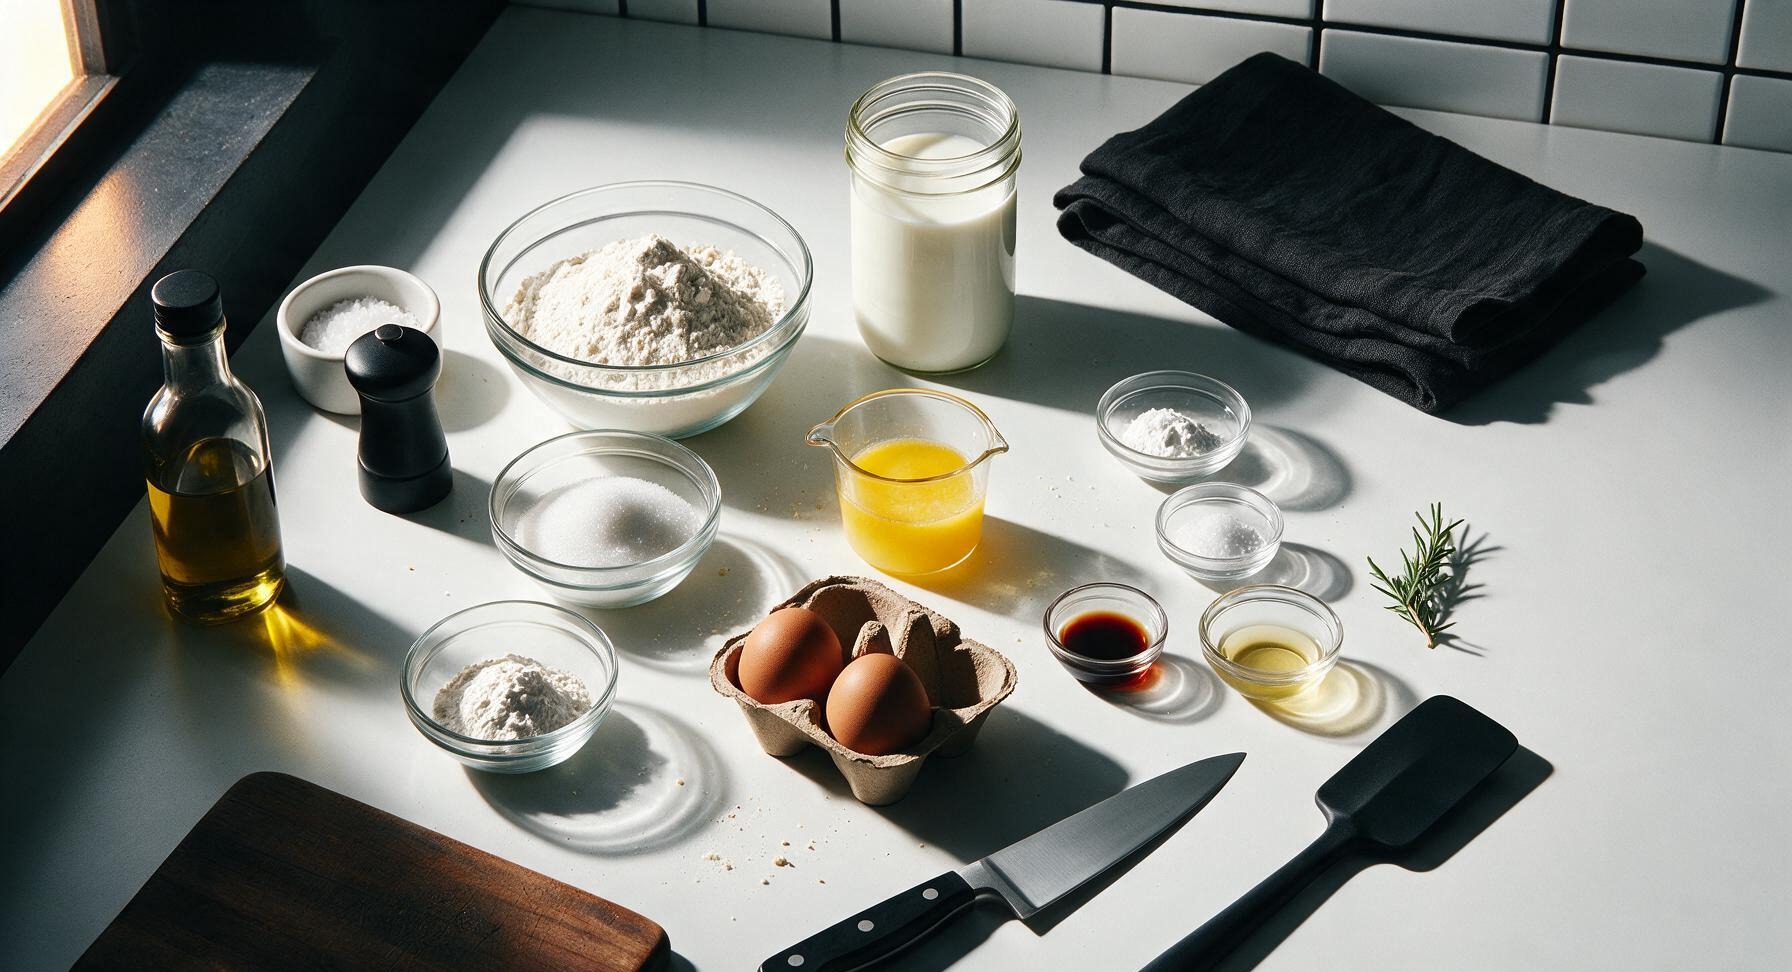
All-purpose flour 2 cups (240g)
Whole buttermilk 1 3/4 cups (414ml)
Large eggs 2 each
Unsalted butter, melted and cooled 1/3 cup (76g)
Granulated sugar 2 tbsp (25g)
Baking powder 2 tsp (8g)
Baking soda 1/2 tsp (2.5g)
Fine sea salt 1/2 tsp (3g)
Pure vanilla extract 1 tsp (5ml)
Non-stick cooking spray 1 tbsp (15ml)

Steps

1

Preheat Waffle Maker

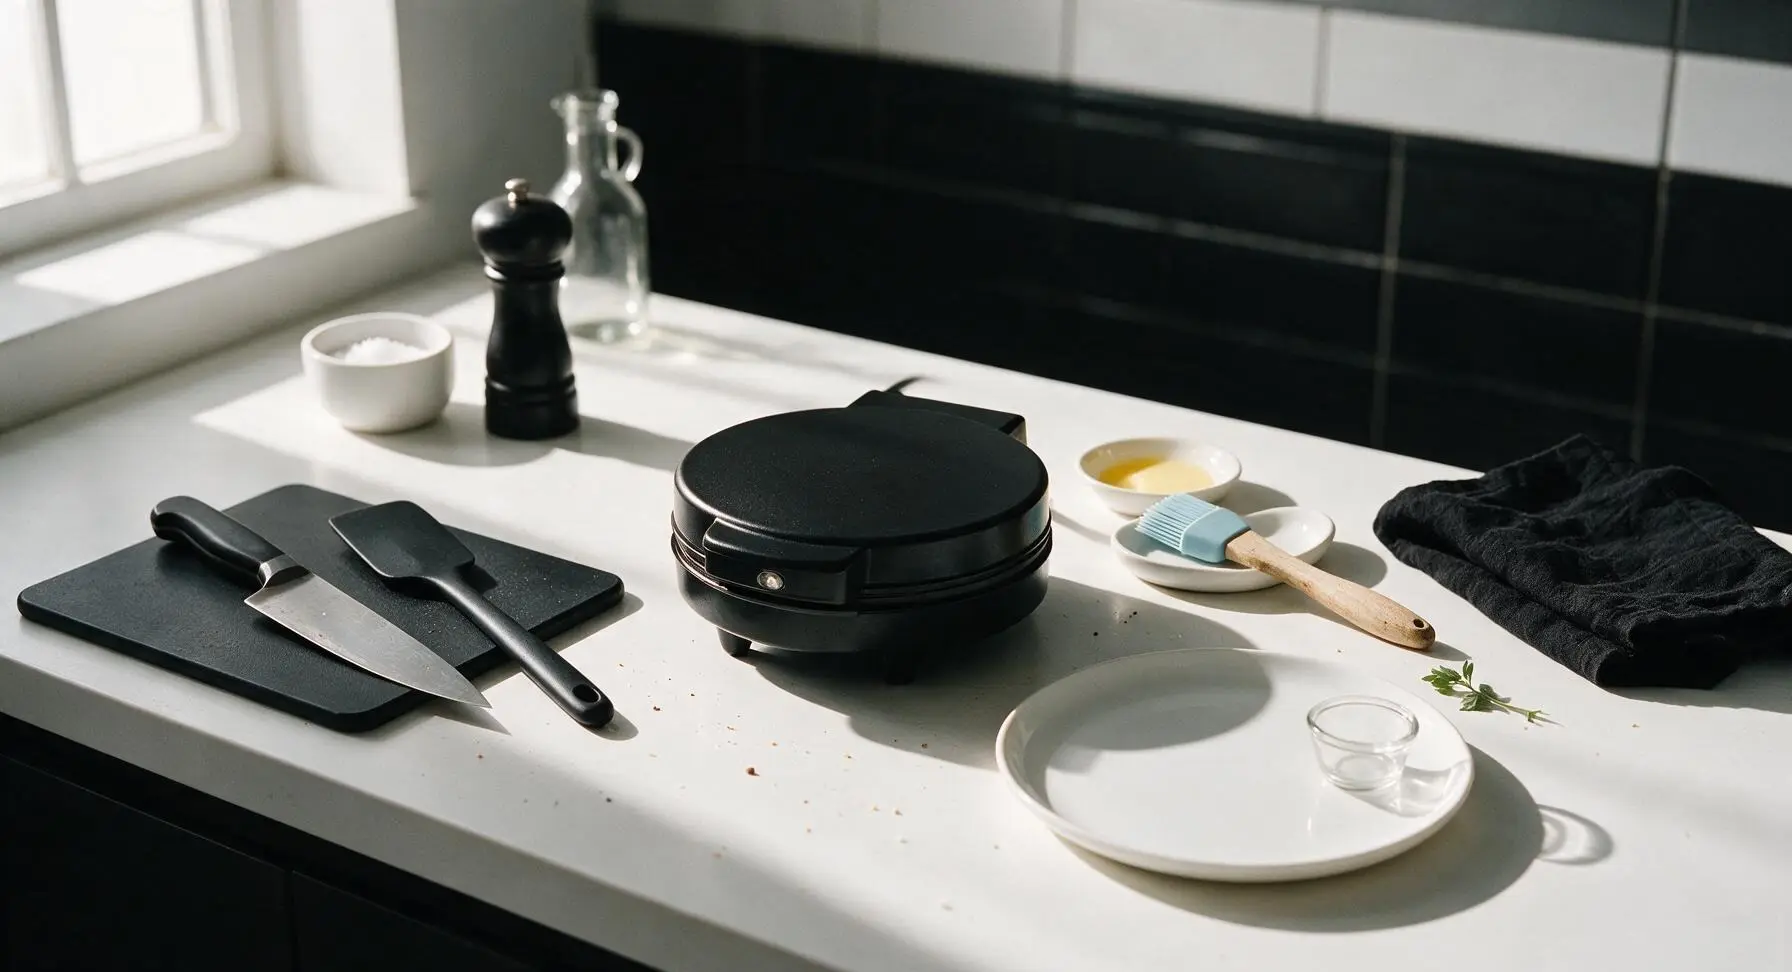
Retrieve the 4-inch matte black circle waffle maker from storage and place it center counter. Plug it in and preheat to medium-high heat (375°F/190°C); the built-in indicator light will turn off once it reaches temperature, which takes 3-4 minutes. Use the pale blue silicone basting brush to lightly coat both non-stick cooking plates with non-stick cooking spray or a thin layer of melted butter to prevent waffles from sticking. Rest the basting brush on the small oval white ceramic spoon rest next to the waffle maker when done.
Step 1
step1:Preheat Waffle Maker
2

Whisk Dry Ingredients

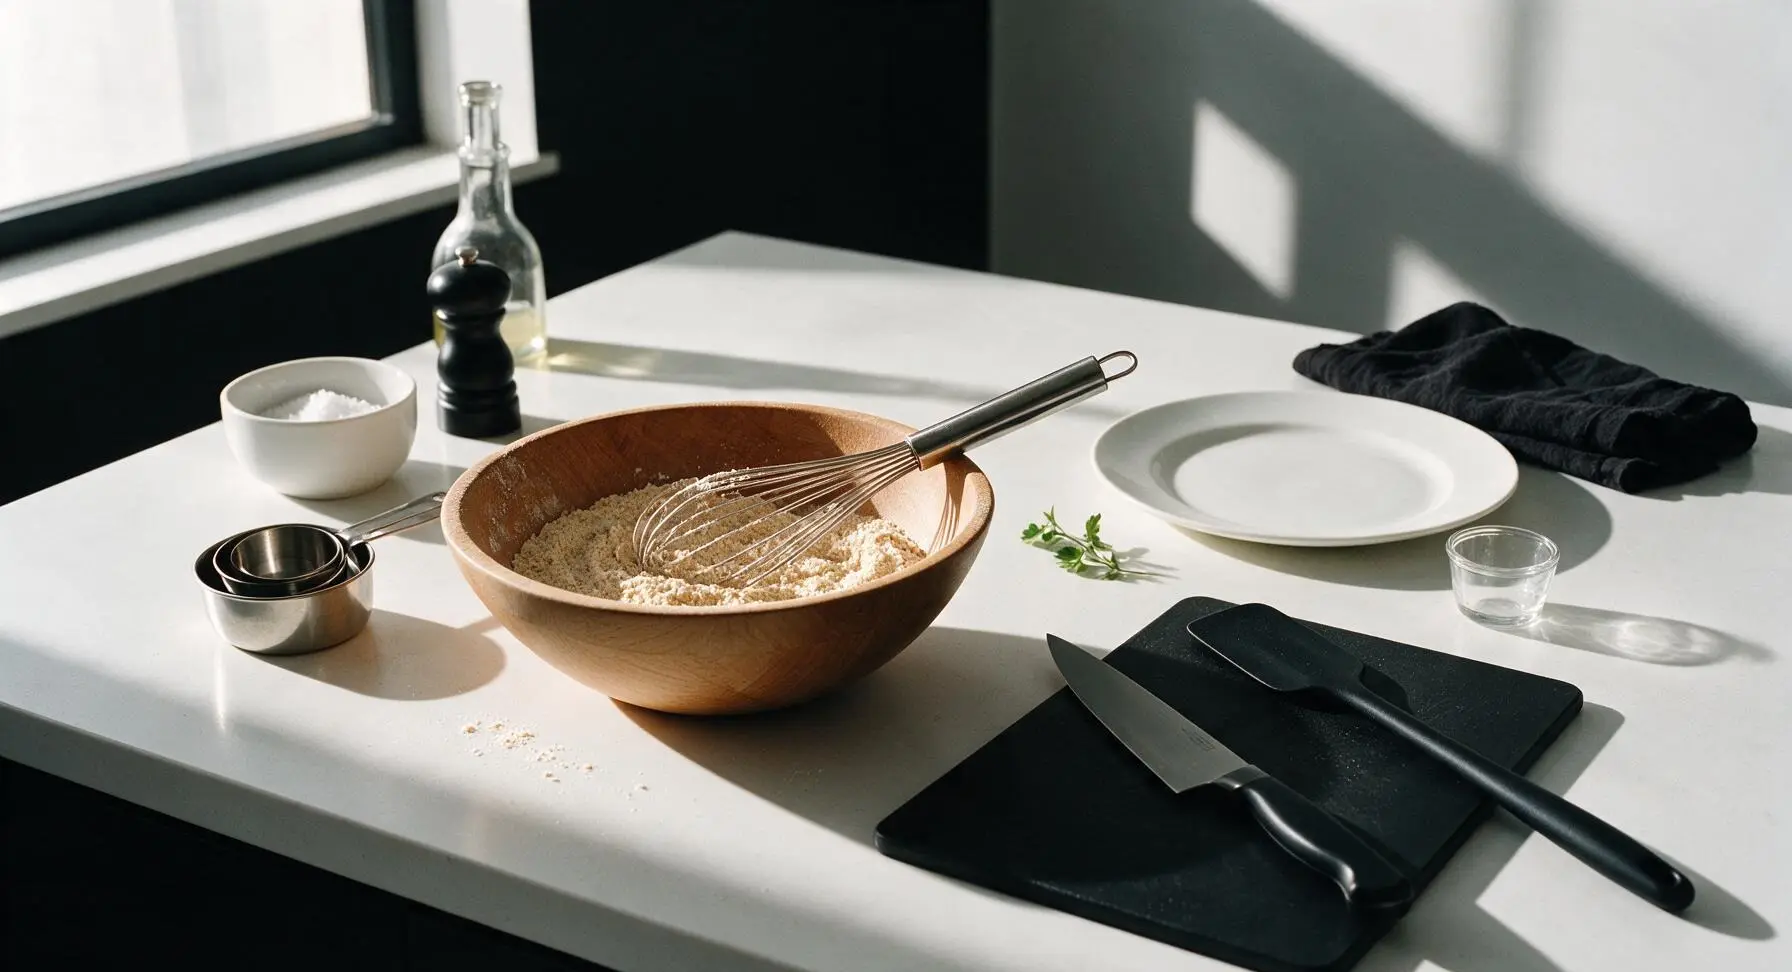
In the medium beech wood mixing bowl positioned center-left on the counter, combine the measured all-purpose flour, granulated sugar, baking powder, baking soda, and fine sea salt. Use the polished stainless steel wire whisk to stir the dry ingredients for 30 seconds until evenly combined, with no visible clumps of baking powder or soda. Tap the bowl gently on the counter once to settle the dry mixture into an even layer at the bottom.
Step 2
step2:Whisk Dry Ingredients
3

Mix Wet Ingredients

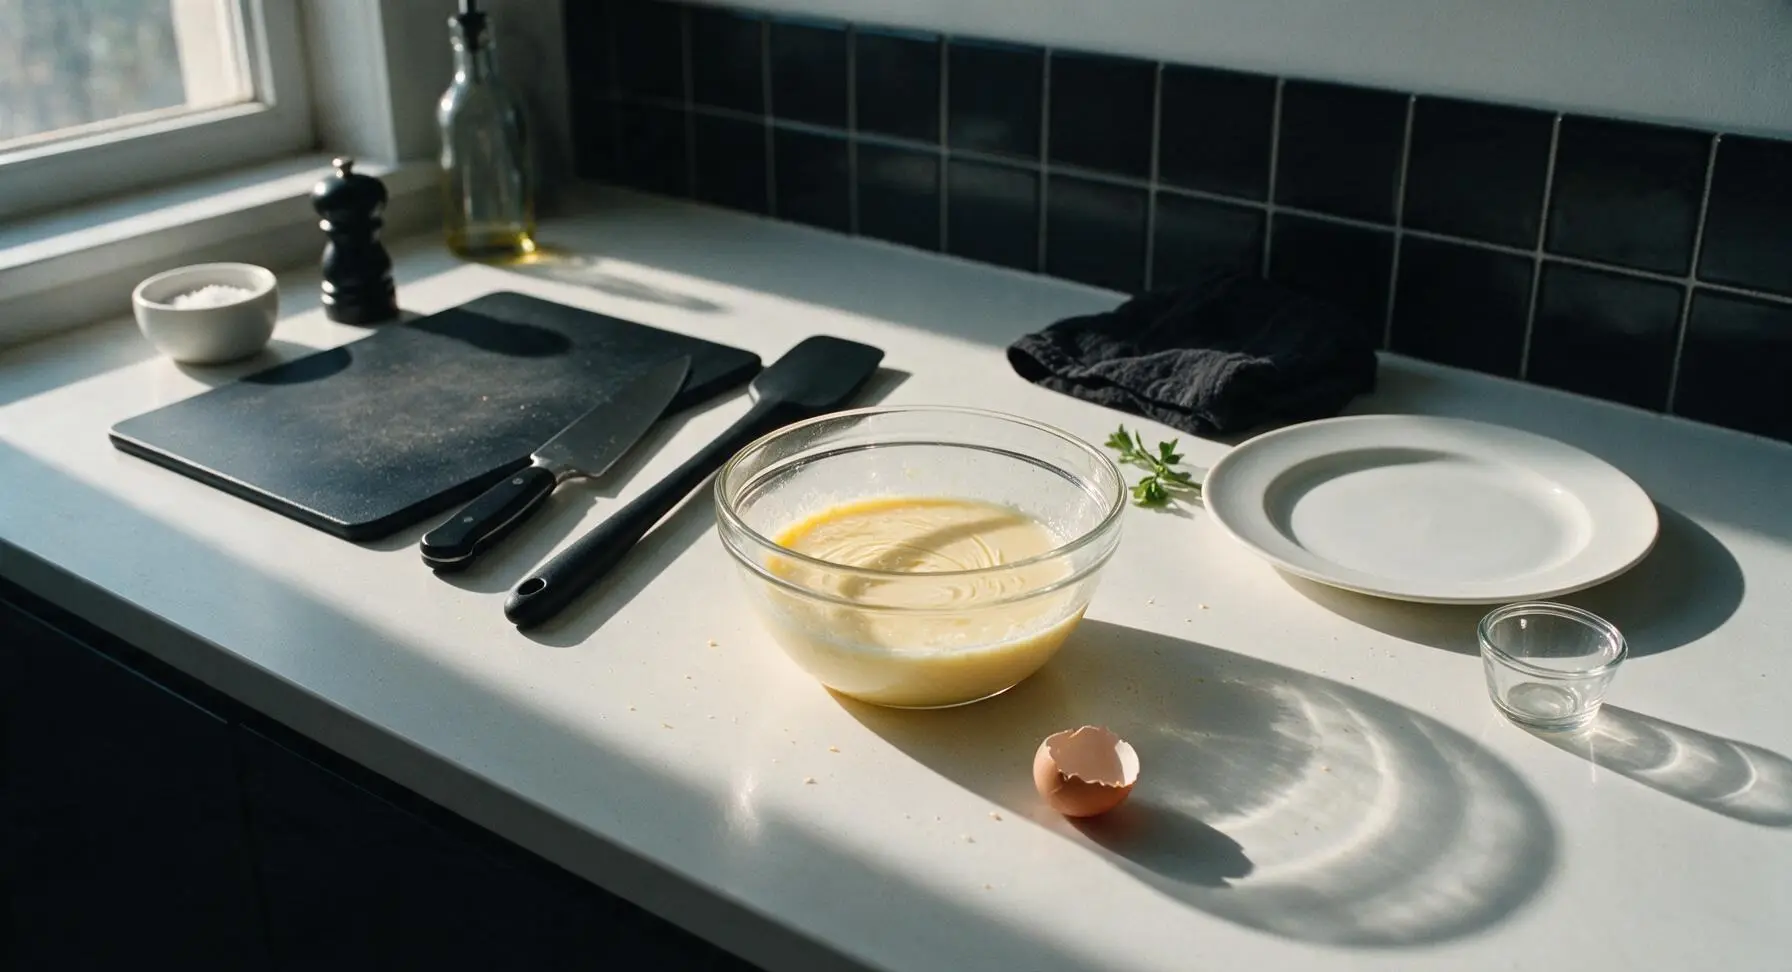
In the small clear thick-walled glass mixing bowl placed to the right of the dry ingredient bowl, add the two large eggs, whole buttermilk, cooled melted unsalted butter, and pure vanilla extract. Whisk vigorously for 45 seconds until the mixture is completely smooth, with no visible streaks of unincorporated egg white. Ensure the melted butter has cooled to below 120°F (49°C) before mixing to avoid cooking the eggs.
Step 3
step3:Mix Wet Ingredients
4

Fold Wet Into Dry

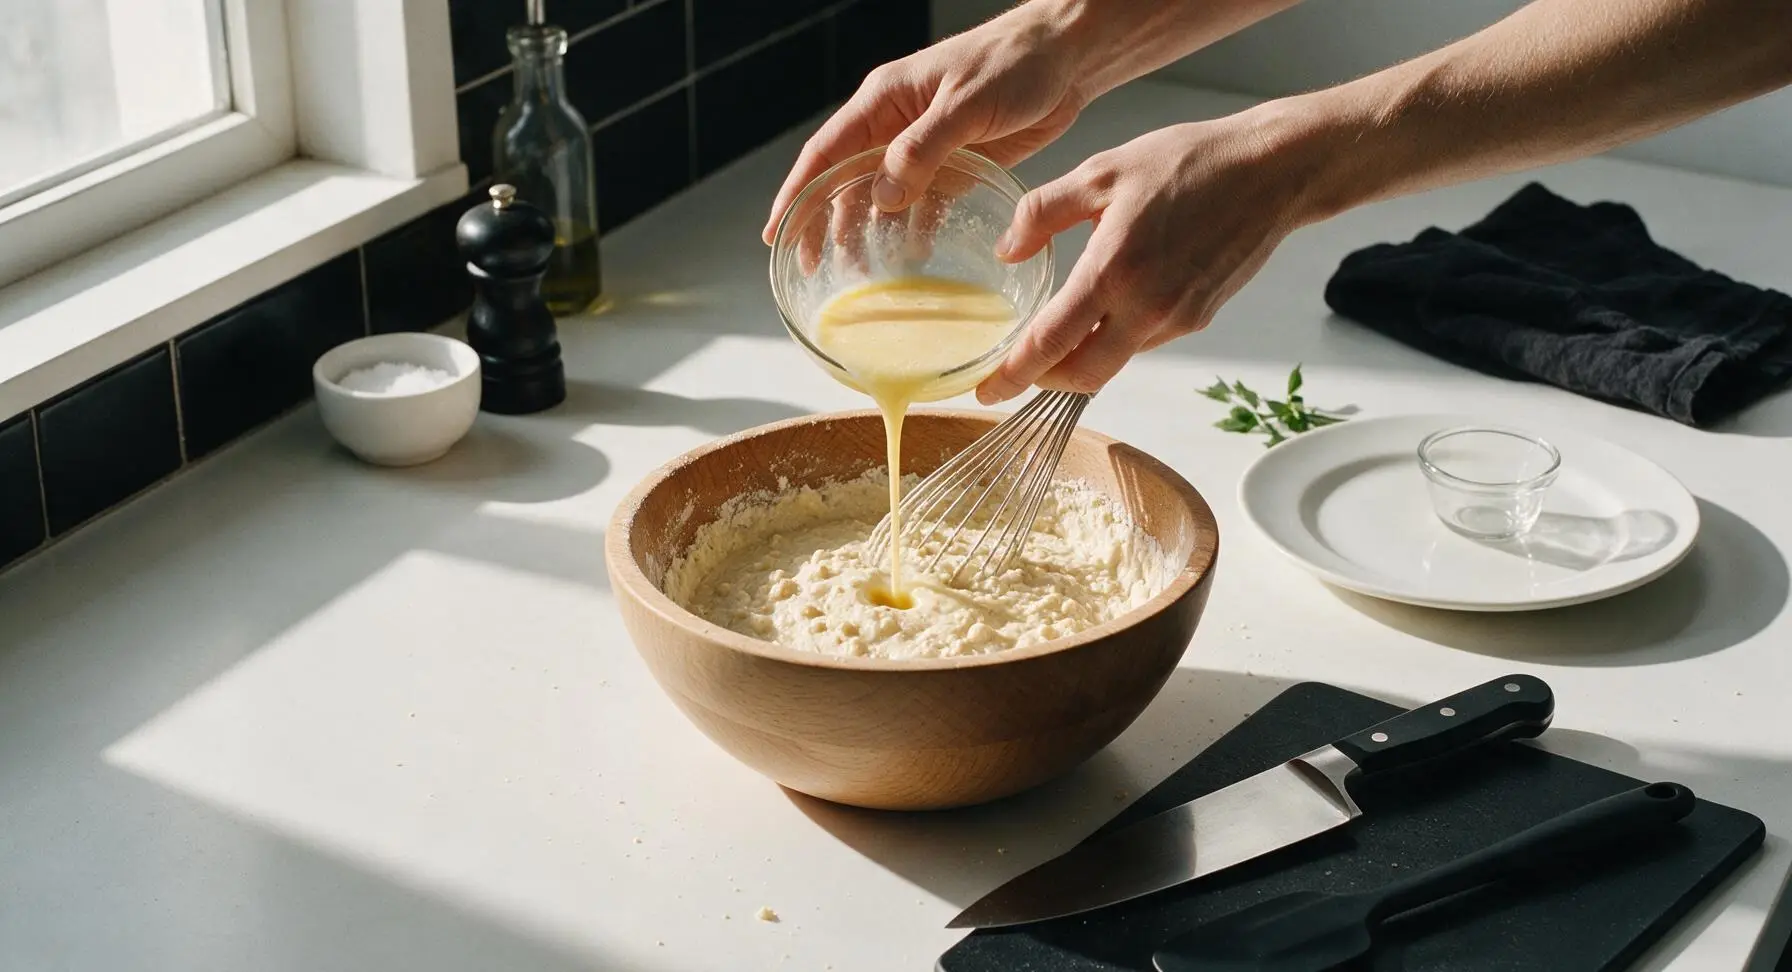
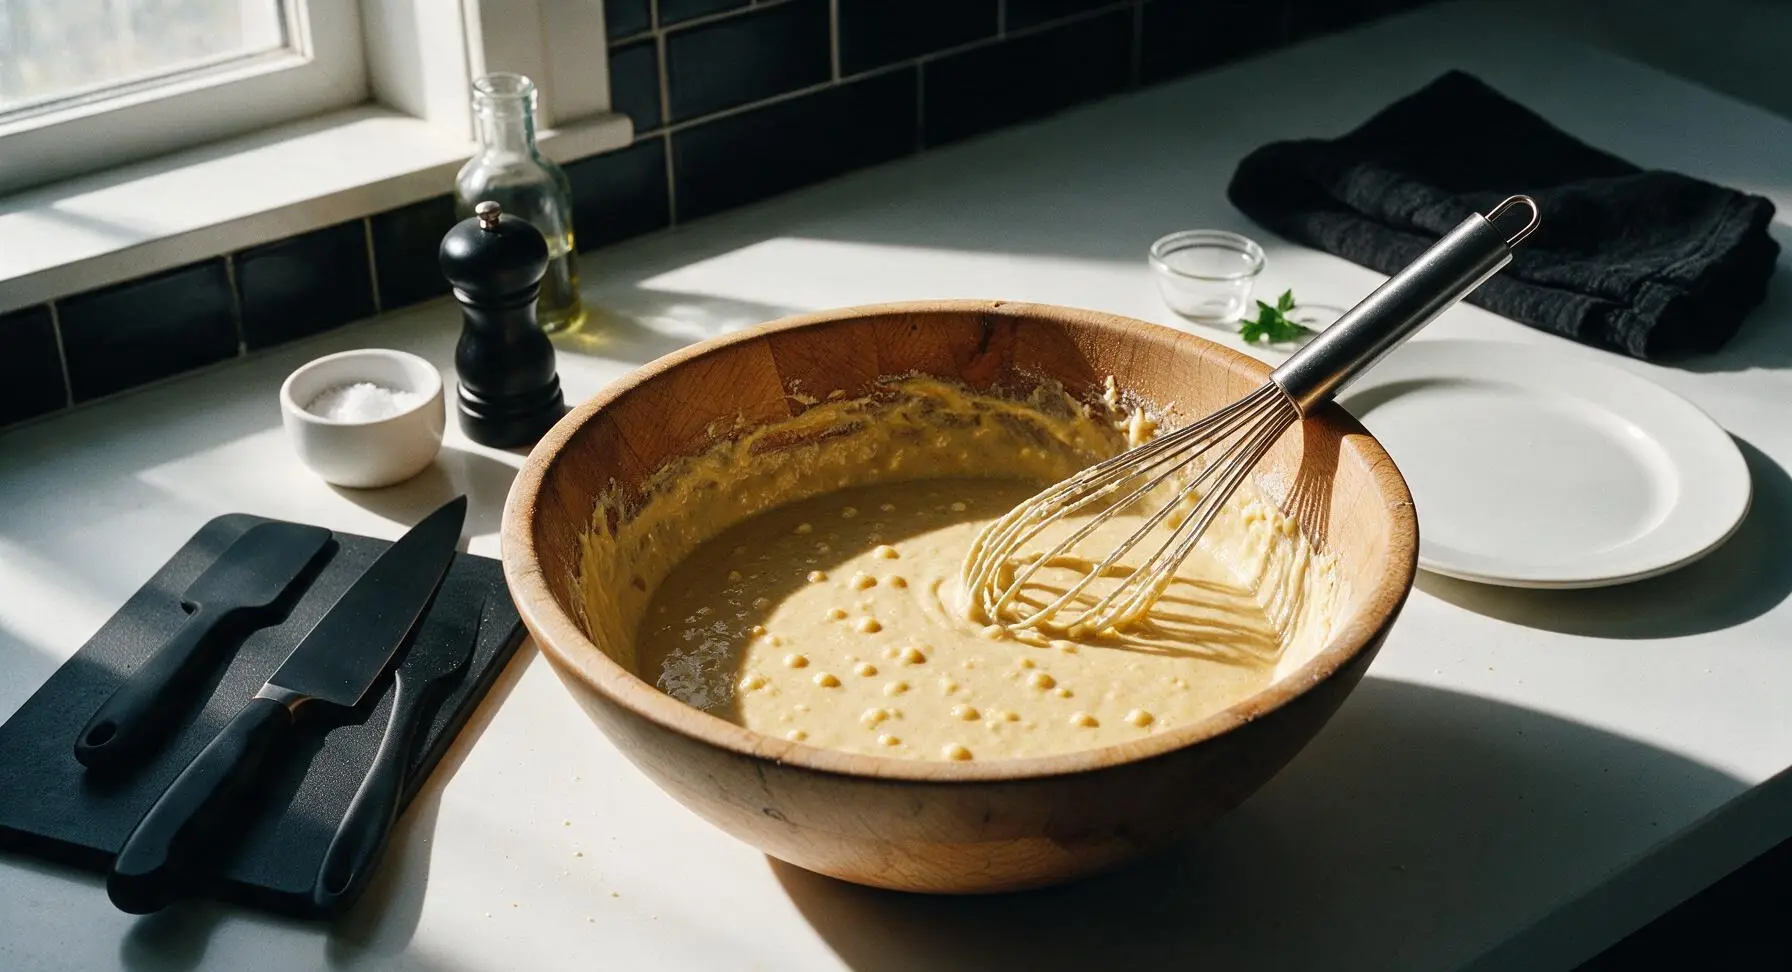
Pour the entire wet ingredient mixture from the glass bowl into the beech wood mixing bowl with the dry ingredients. Use the wire whisk to gently stir the batter just until no large dry flour streaks remain; the finished batter will be thick and slightly lumpy, with small pea-sized lumps visible throughout. Do not overmix the batter, as this will develop gluten in the flour and result in tough, chewy waffles instead of light, tender ones.
Step 4
step4:Fold Wet Into Dry
Step 4
step4:Fold Wet Into Dry
5

Portion Batter Onto Iron

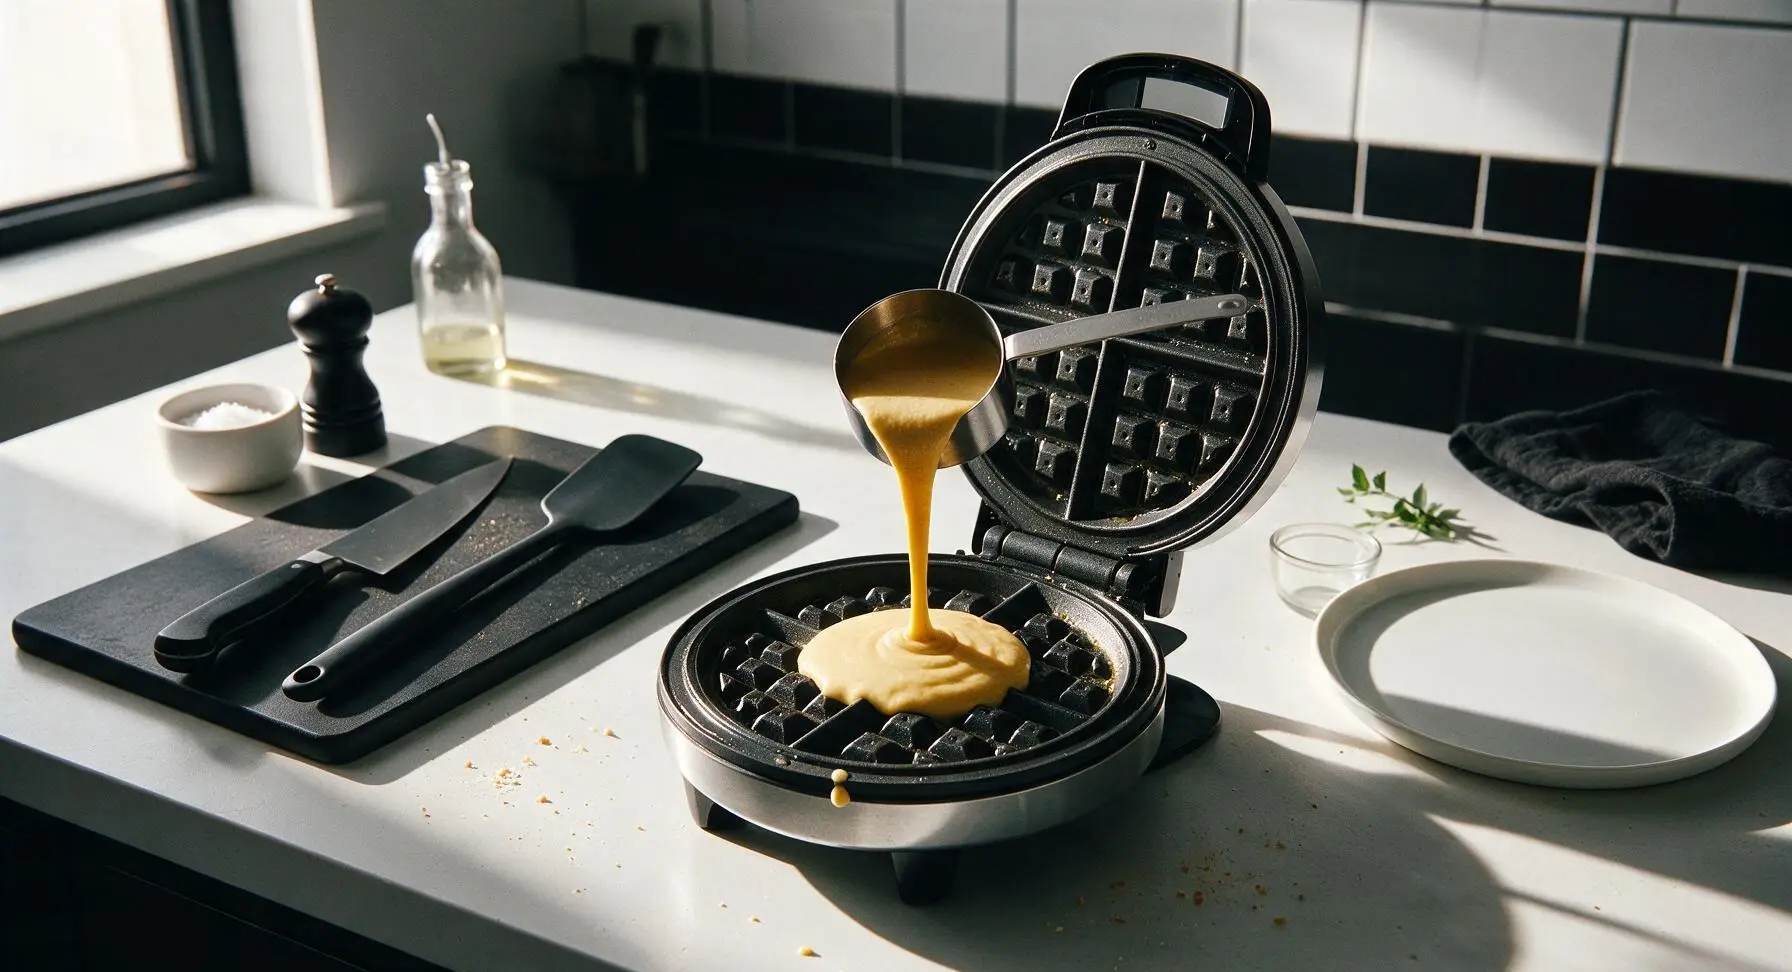
Once the waffle maker indicator light signals it is fully preheated, lift the lid. Use the 1/3 cup stainless steel measuring cup to scoop batter and pour it directly into the exact center of the bottom waffle plate. Do not spread the batter; it will spread evenly into a perfect circle as the lid closes. Use exactly 1/3 cup of batter per waffle to avoid batter overflowing the edges of the iron as it cooks.
Step 5
step5:Portion Batter Onto Iron
6

Cook Waffles Through

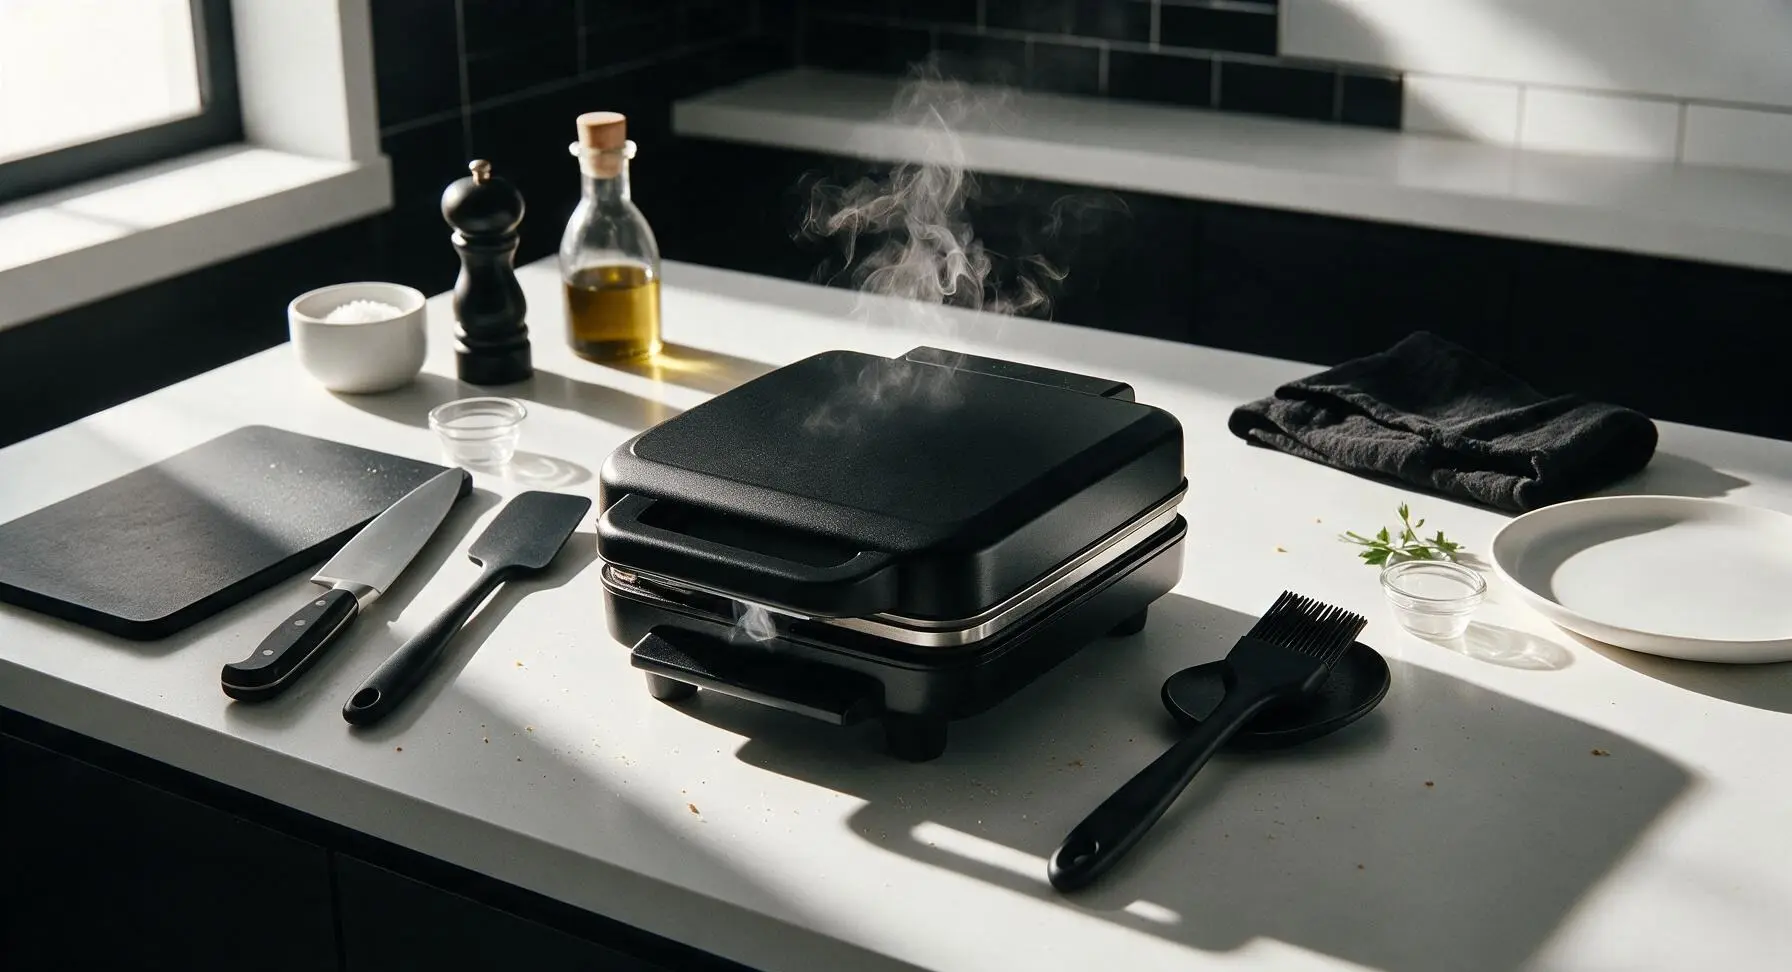
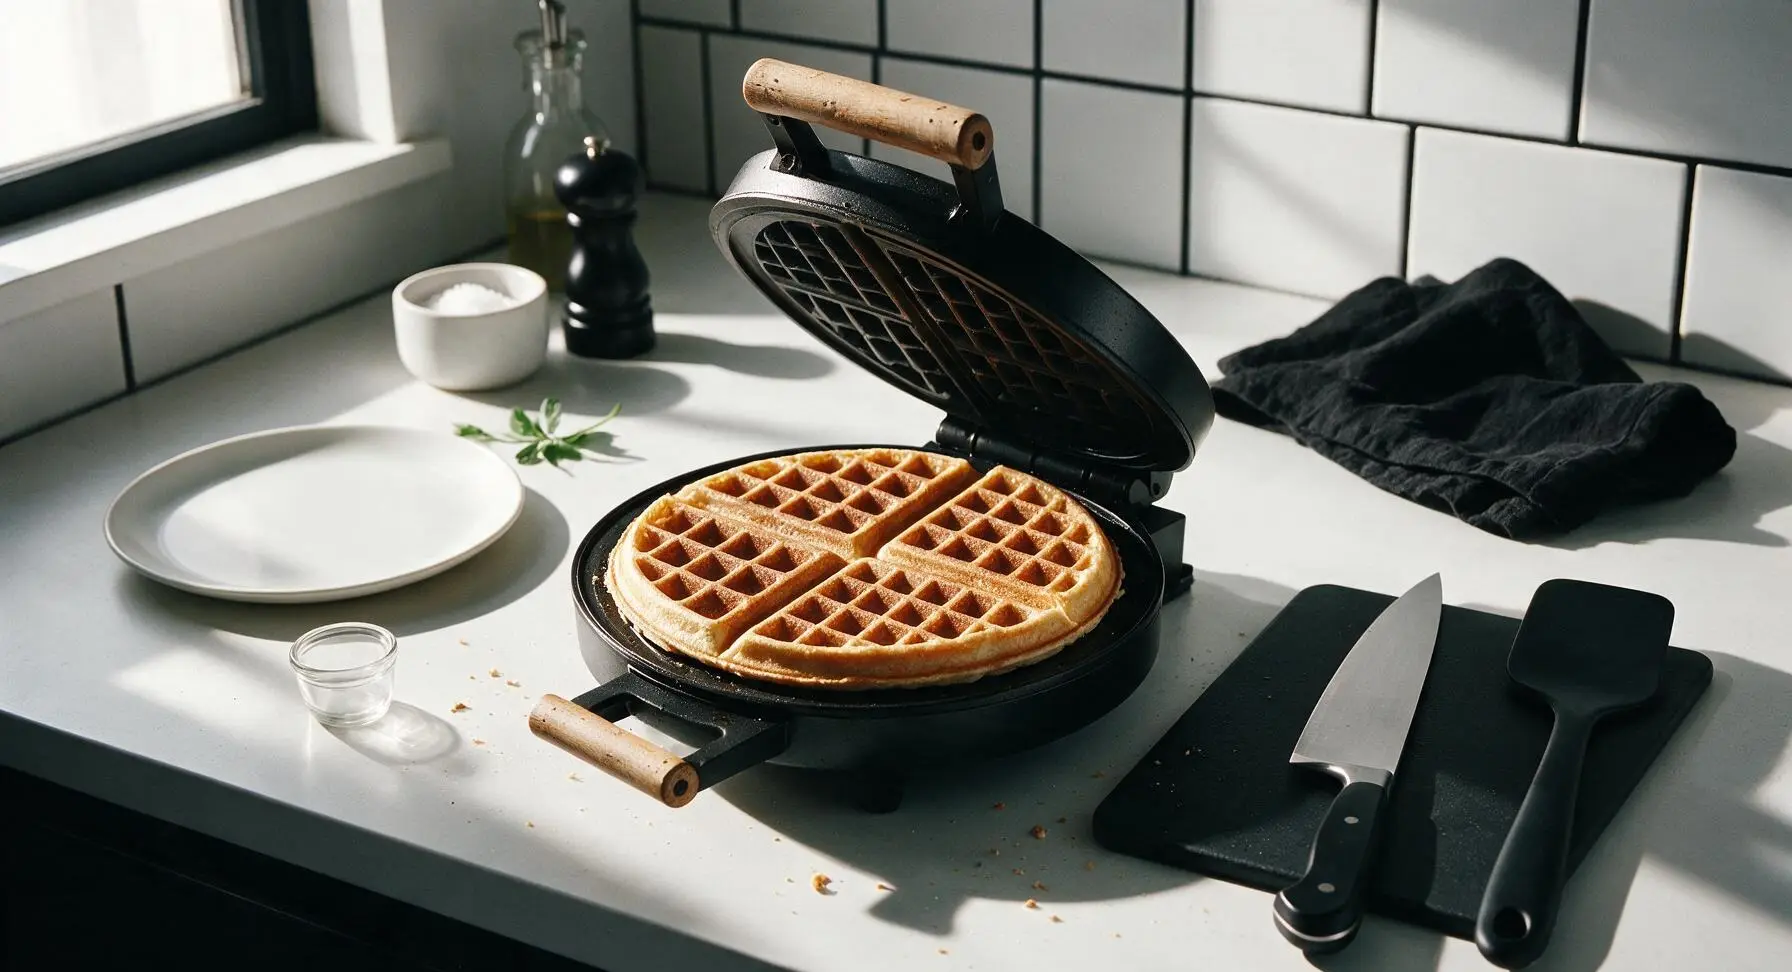
Close the waffle maker lid and cook for 3 to 4 minutes, until the indicator light shows the waffle is done and thin streams of steam stop escaping from the edges of the appliance. Resist the urge to open the lid early, as this will tear the cooking waffle and ruin its round shape. The finished waffle will be deep golden brown, with crisp edges, and will release easily from the non-stick plates with no sticking.
Step 6
step6:Cook Waffles Through
Step 6
step6:Cook Waffles Through
7

Transfer Waffles To Plate

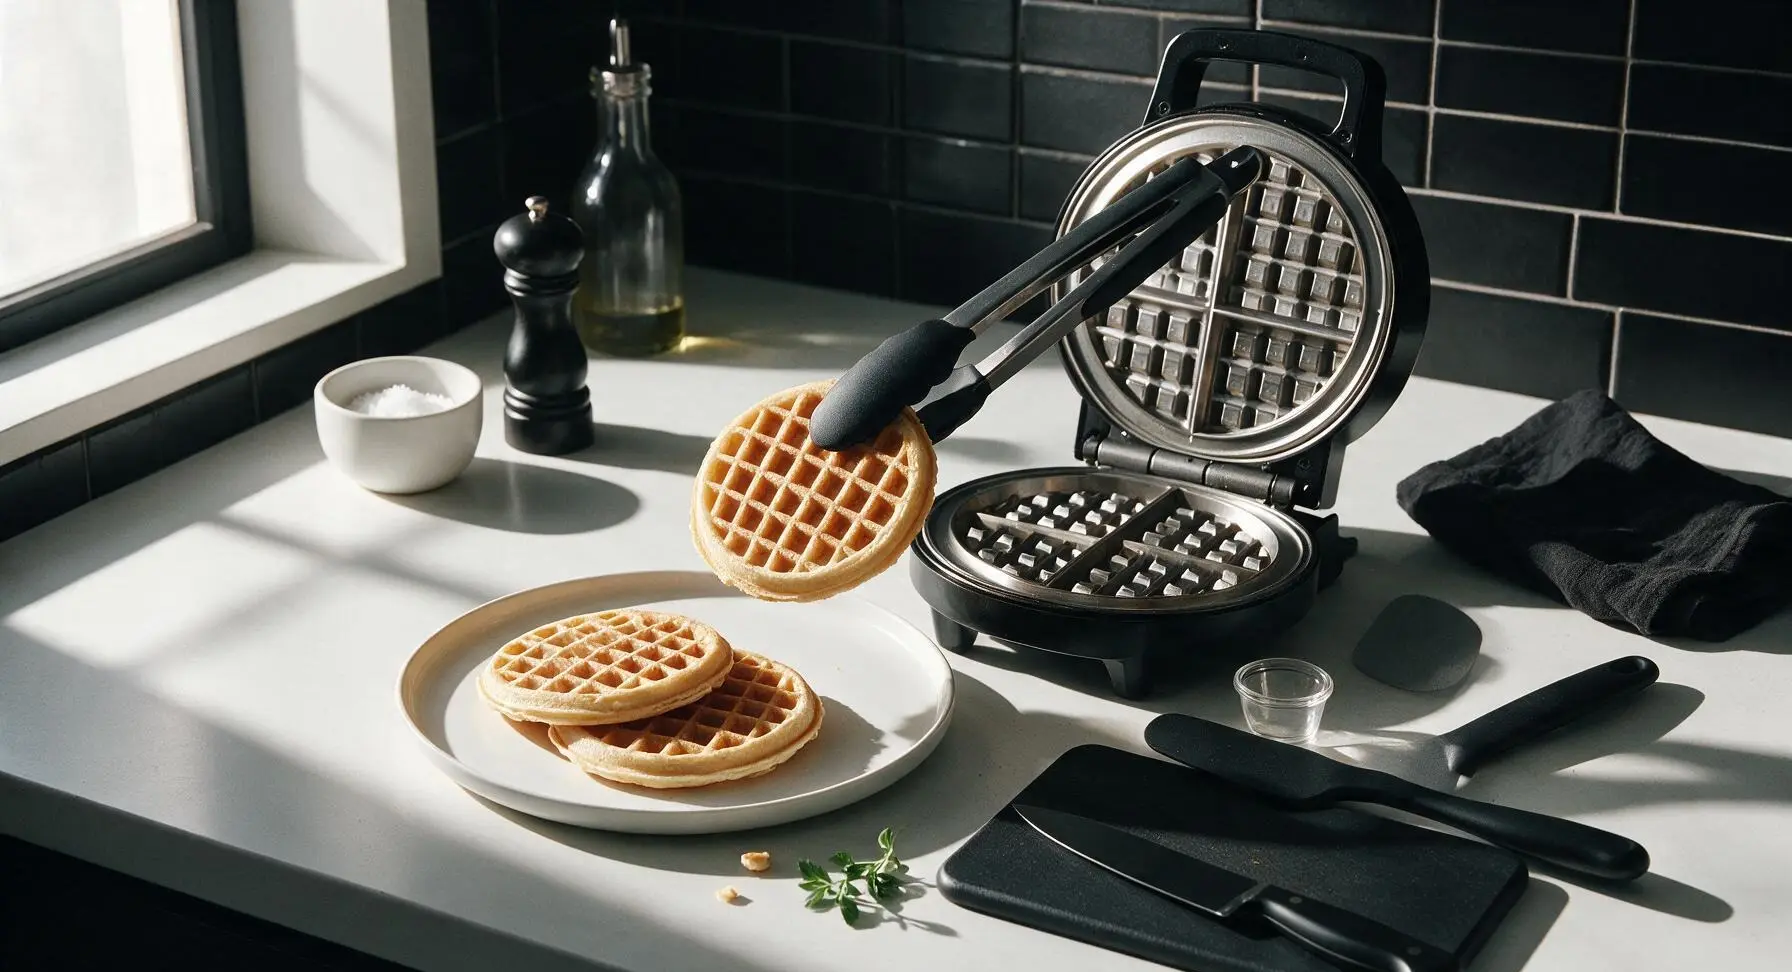
Use the matte black silicone-tipped kitchen tongs to gently lift the cooked circle waffle from the waffle plates, taking care not to tear the edges. Transfer the waffle to the matte cream hand-thrown ceramic coupe plate positioned center-right on the counter. Repeat the portioning and cooking process with the remaining batter, stacking cooked waffles slightly offset on the plate to allow air circulation and keep edges crisp.
Step 7
step7:Transfer Waffles To Plate
8

Top And Serve Warm

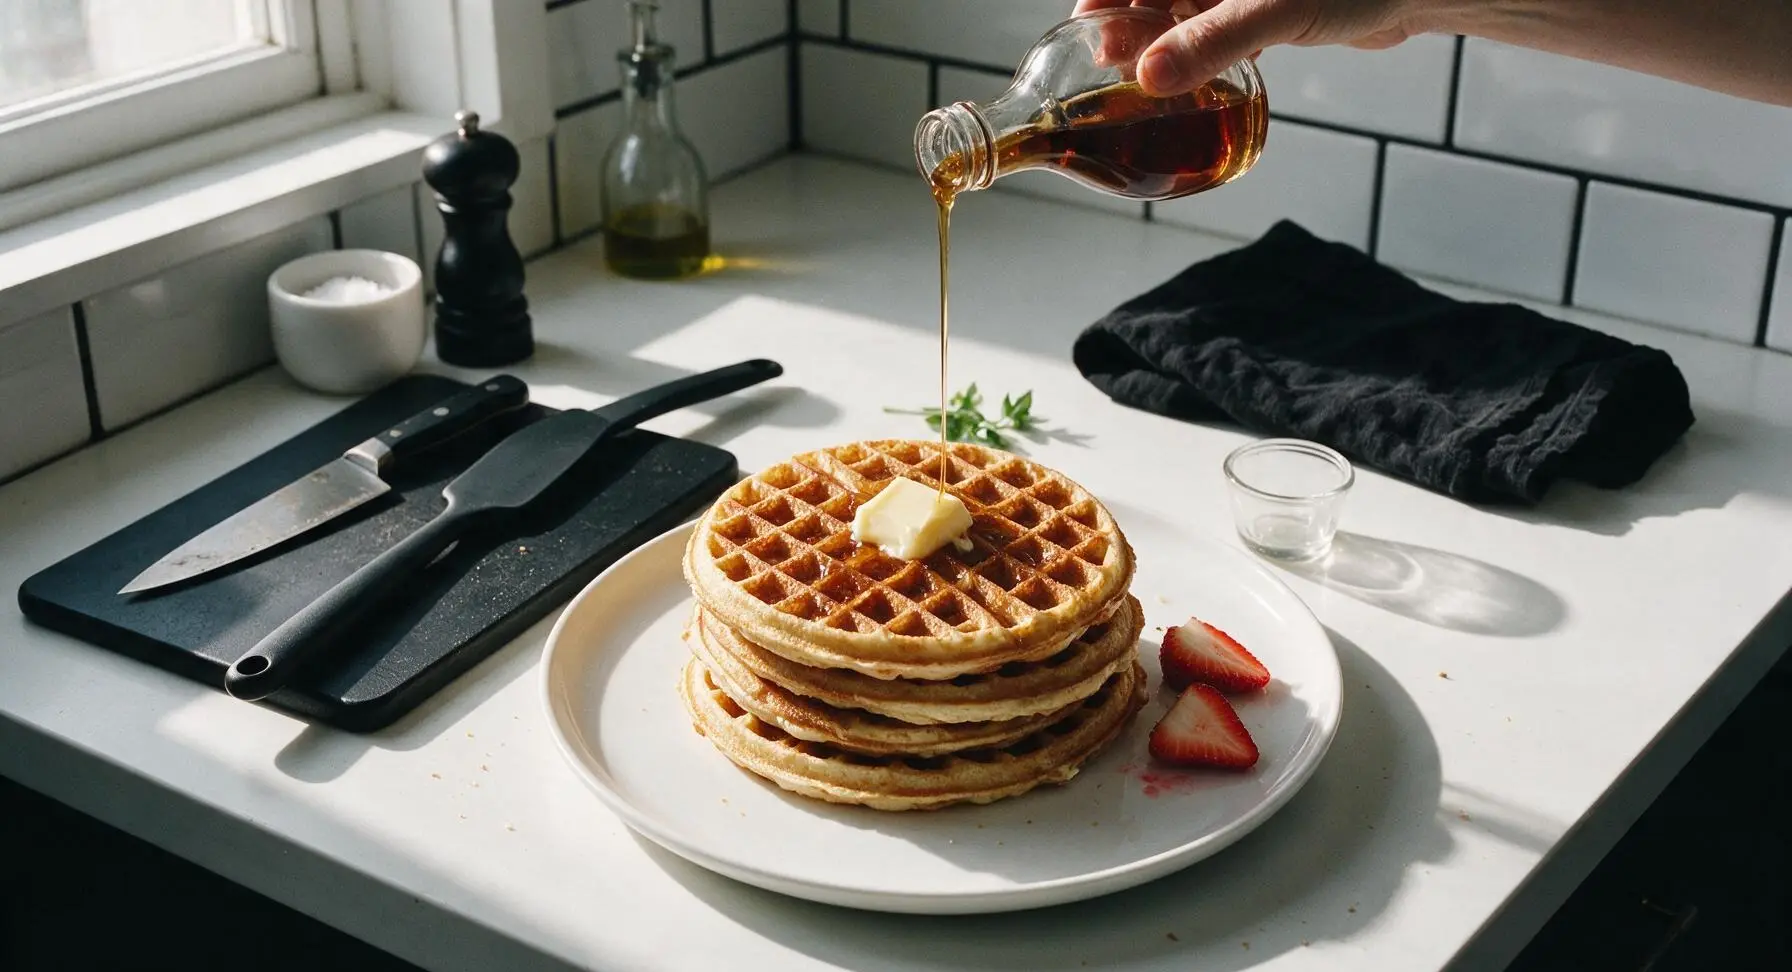
Once all waffles are cooked and stacked on the plate, top the stack with a 1 tbsp pat of salted butter, a light drizzle of maple syrup, and sliced fresh strawberries from the terracotta ramekin, if desired. Serve immediately while the waffles are warm and crisp, as they will become soft and soggy if left to sit for more than 5 minutes.
Step 8
step8:Top And Serve Warm

Tips

1.For extra crisp waffles when cooking batches, place finished waffles directly on a wire rack set over a baking sheet in a 200°F (95°C) oven while you cook remaining batter. Stacking waffles immediately traps steam, which softens crisp edges and makes waffles soggy.
2.Resist the urge to overmix the batter: small, pea-sized lumps are completely normal and desirable. Overmixing develops gluten in the flour, resulting in tough, dense, chewy waffles instead of light, tender ones with fluffy centers.
3.If you don’t have buttermilk on hand, make a quick substitute by adding 1 3/4 tablespoons of white vinegar or fresh lemon juice to a liquid measuring cup, then filling it to the 1 3/4 cup line with regular whole or 2% milk. Let the mixture sit 5 minutes at room temperature until it curdles slightly before using, for the same tangy, tender result.


✨ You May Also Like

Breakfast
🍜 United States

Crisp-edged, fluffy lard griddle cakes are a nostalgic homestyle staple, with rich savoriness from rendered lard, perfect topped with maple syrup or savory gravy.

⏱️ 25 minuteBreakfast ★ 4.8
Breakfast
🍜 United States

Flaky, buttery homemade buttermilk biscuits smothered in creamy, peppery pork sausage gravy: a beloved, hearty Southern American comfort food classic.

⏱️ 35 minuteBreakfast ★ 4.8
Breakfast
🍜 United States

Golden, custardy brioche stuffed with sweet cream cheese and fresh berries, pan-fried to crisp perfection. An indulgent, cozy breakfast perfect for slow weekend mornings.

⏱️ 30 minuteBreakfast ★ 4.7
Breakfast
🍜 United States

Flaky, buttery Southern-style biscuits stuffed with savory salty country ham, a portable, satisfying classic perfect for casual on-the-go meals.

⏱️ 25 minuteBreakfast ★ 4.8
Breakfast
🍜 United States

Iconic puffy baked pancake popularized in Seattle, with crisp golden edges and soft custardy center, served warm with classic sweet toppings.

⏱️ 35 minuteBreakfast ★ 4.6
Breakfast
🍜 United States

Fluffy, golden pancakes studded with juicy peak-summer mixed berries, drizzled with maple syrup for a bright, comforting, crowd-pleasing family breakfast.

⏱️ 25 minuteBreakfast ★ 4.7

circle waffles:Frequently Asked Questions

1.Why do my circle waffles come out soggy instead of crispy on the edges? ▾
Sogginess usually comes from three common missteps: your waffle iron isn’t fully preheated (wait for the indicator light, or test with a water drop that sizzles immediately), you open the iron too early (wait 30-60 seconds after steam stops escaping), or you stack hot waffles straight on a plate. Rest them on a wire rack for 1 minute before serving to lock in crisp edges.
2.Can I substitute low-fat or skim buttermilk for whole buttermilk in this recipe? ▾
You can, but you’ll notice a slightly less rich, tender crumb and less of the tangy flavor that makes classic waffles so satisfying. If you only have low-fat buttermilk, add 1 extra tablespoon of melted, cooled butter per cup of low-fat buttermilk to replace missing fat and keep edges crisp and centers fluffy.
3.How do I know when the waffle batter is mixed correctly, so I don’t overdo it? ▾
Stop mixing as soon as you no longer see large streaks of dry flour—lumpy batter is totally good, and actually preferred! Overmixing develops gluten in the all-purpose flour, which leads to tough, chewy waffles instead of light, fluffy centers. It’s totally fine if a few small, pea-sized flour lumps remain in the bowl.
4.My waffles stick to the circle waffle iron no matter what I do—how do I fix that? ▾
First, make sure your iron is fully preheated before adding batter; cold irons are the top cause of sticking. Even on non-stick models, brush the grids lightly with melted butter before pouring the first batch. Avoid long-term use of non-stick cooking spray, as it leaves a sticky residue that builds up and makes sticking worse over time.
5.Can I make this waffle batter ahead of time for busy weekend mornings? ▾
Absolutely! For best results, mix dry ingredients (all-purpose flour, sugar, salt, leavening) ahead and store in an airtight container at room temp for up to a week. Mix wet ingredients the night before and chill, then combine right before cooking. Pre-mixed combined batter gets flat and dense if stored longer than 12 hours, as leavening loses its oomph.
6.What makes these waffles fluffy in the center instead of dense and heavy? ▾
The magic comes from two key things: the reaction between acidic whole buttermilk and leavening that creates tiny, light air bubbles, and avoiding overmixing, which prevents tough gluten development. Beating eggs lightly before folding them into the batter also helps create that soft, pillowy center without weighing the batter down.
7.How much batter should I pour per circle waffle to avoid messy overflow? ▾
For most standard 7-inch circle waffle irons, ⅓ to ½ cup of batter is perfect. Pour it right in the center of the preheated grid, then close the lid gently—don’t spread the batter around, as the iron will press it evenly across the circle shape. Wipe any overflow once the iron cools fully to avoid burnt residue on future batches.
8.Can I use melted salted butter instead of unsalted for this recipe? ▾
You absolutely can, just cut any added salt in the batter by ¼ teaspoon per stick of salted butter you use to avoid overly salty waffles. Make sure melted butter cools for 2-3 minutes before adding it to wet ingredients, too—hot butter will cook raw eggs as you mix, leading to tiny lumpy egg bits in your finished batter.
9.How do I keep finished waffles warm and crispy if I’m making a big batch for a group? ▾
Don’t stack them on a plate or tuck them in the microwave! Set your oven to 200°F, place a wire rack over a baking sheet, and arrange cooked waffles in a single layer on the rack as you finish each batch. This lets air circulate, keeping edges crisp for up to 20 minutes while you cook the rest of the batter.
10.Can I freeze leftover cooked waffles for quick weekday breakfasts? ▾
Definitely! Let cooked waffles cool completely to room temperature on a wire rack first, then stack them between small squares of parchment paper so they don’t stick, and store in a sealed freezer bag for up to 3 months. Reheat straight from frozen in a toaster or toaster oven on medium to bring back that perfect crisp edge, no thawing needed.
11.Do I need a special fancy waffle iron to make perfect circle waffles? ▾
Not at all! Any basic countertop circle waffle iron, even an older budget model, will work as long as it heats evenly and reaches a high enough temperature to crisp edges. You don’t need rotating models, digital controls, or premium non-stick—just preheat fully, and brush grids lightly with butter for the first batch.
12.Why do my waffles come out pale golden instead of that deep, crisp golden brown I want? ▾
Pale waffles mean either your iron temperature is too low, or you’re pulling them out too early. Let the iron preheat an extra 2 minutes after the indicator light comes on, and wait until almost no steam escapes from the iron sides before lifting the lid. If your iron has adjustable settings, use medium-high for deep golden, crisp results.
13.Can I use plant-based milk instead of whole buttermilk for a dairy-free version? ▾
Yes! To replicate buttermilk’s tang and acid that activates leavening, add 1 tablespoon of white vinegar or lemon juice to every cup of unsweetened oat or soy milk, let it sit 5 minutes to curdle, then use it 1:1 in place of buttermilk. Swap melted butter for melted vegan butter for nearly identical crisp, fluffy waffles.
14.How much granulated sugar is too much? I don’t want my waffles to taste like dessert. ▾
The small amount of granulated sugar in this recipe is there to help edges caramelize and crisp up, not to make waffles overly sweet. Stick to 1-2 tablespoons of sugar per cup of flour for classic, neutral breakfast waffles that pair with sweet or savory toppings. You can cut sugar by half, but don’t eliminate it entirely, or you’ll lose that crisp edge.
15.My egg bits are clumping in the batter—what am I doing wrong? ▾
That happens when you add hot melted butter straight to eggs without cooling it first, which lightly cooks eggs into small rubbery clumps. Let melted butter cool 2-3 minutes until it’s just warm to the touch, and whisk eggs lightly in a separate bowl before combining with other wet ingredients to avoid clumps that create chewy spots in waffles.
16.What’s the best way to serve these classic circle waffles? ▾
The classic preparation is to top them with a pat of salted butter while they’re still warm, so it melts into the grid pockets, then drizzle with pure maple syrup. They’re endlessly customizable too: top with fresh berries, whipped cream, powdered sugar, fried chicken for a savory twist, or even ice cream for a fun dessert waffle.
17.Can I add mix-ins like chocolate chips or blueberries to the batter without ruining the crisp texture? ▾
Absolutely! Toss ½ cup of mix-ins (chocolate chips, fresh blueberries, chopped pecans, crispy bacon bits) with a pinch of flour first, then fold them into the batter right before cooking. The light flour coating keeps mix-ins from sinking to the waffle bottom and sticking to the iron, so you keep that crisp edge all around.
18.Why do my waffles have uneven browning across the circle shape? ▾
Uneven browning is almost always from pouring batter off-center, so it doesn’t spread evenly across the grid when you close the lid. It can also happen if your iron has hot spots—if so, rotate the waffle 180 degrees halfway through cooking (once the batter is set) to get even golden color across the whole circular surface.
19.Do I need to add baking powder or baking soda if I swap all-purpose flour for self-rising flour? ▾
If you use self-rising flour instead of all-purpose, skip any added baking powder, baking soda, and extra salt, since self-rising flour already has those ingredients pre-mixed. Keep in mind self-rising flour is milled slightly softer than standard AP flour, so waffles will be a little more tender, but still crisp if your iron is fully preheated.
20.How long do these waffles stay crispy after I take them off the iron? ▾
If you rest them on a wire rack instead of stacking them, they’ll stay perfectly crisp for 5-7 minutes at room temperature, which is plenty of time to top and serve. If you stack them right away, trapped steam will soften edges in under a minute, so that quick rack rest is non-negotiable for that signature crisp bite from first to last bite.

Comments (19)

2 hours ago

OMG these are SO good!!! I’ve tried so many waffle recipes that turn out soggy no matter what I do, but these came out perfectly crispy on the outside and fluffy inside in literally 15 minutes. My kids begged for seconds before they even finished their first serving. Total game changer for our Saturday morning breakfasts!

1 hour ago

Wait did you use regular all-purpose flour or the self-rising kind? I keep messing up waffle texture too and need all the tips!

45 minutes ago

So glad your family loved them! We tested this with regular all-purpose flour for the best crisp – just make sure your waffle iron is fully preheated before pouring the batter, that makes a huge difference!

3 days ago

Made these for our neighborhood potluck last weekend and people were asking me for the recipe before I even set the platter down! The crisp holds up way better than the boxed mix even when you top them with syrup, whipped cream, and berries. So easy too, I whipped the batter up while my coffee brewed.

2 days ago

Did you make these ahead and reheat them? I need something I can prep the night before for our church brunch!

2 days ago

Great question! You can make the batter the night before and store it covered in the fridge, just give it a quick stir before pouring. They also reheat perfectly in a toaster oven for 2-3 minutes to get that crisp back!

1 week ago

Super easy recipe for a beginner cook like me! I live in a dorm with a tiny countertop waffle maker and these came out great. Only reason it’s not 5 stars is I added a little too much vanilla for my taste, but that’s 100% my bad. I make a batch on Sunday and reheat them all week for quick breakfasts between classes.

5 days ago

Wait how do you store them for the week? Ziploc bags? Do they get soggy in the fridge?

4 days ago

Awesome to hear these work for dorm cooking! To keep them crisp for meal prep, let them cool completely on a wire rack before storing in an airtight container with parchment paper between layers – they reheat way better that way!

5 days ago

I was really excited to try these, and the base recipe is great, but I tried swapping in gluten-free all purpose flour and they came out a little crumbly. The flavor was still there though! Cook time was spot on 15 minutes which was perfect for my rushed weekday morning.

3 days ago

I had the same issue! I added a teaspoon of xanthan gum when I used GF flour and it held together way better, still crispy too!

2 days ago

Thanks so much for the feedback! We’re actually testing a gluten-free version of this recipe right now, and the xanthan gum tip is exactly what we’ve found works best too – appreciate you sharing for other GF bakers!

2 weeks ago

Who says dads can’t make breakfast? Ha! Made these for my wife and two kids for Father’s Day (yes, I made my own breakfast, no complaints) and everyone raved. Even my picky 7 year old who only eats plain toast ate three of these with a little Nutella. 10/10, will be making every Sunday.

1 week ago

Wait your 7 year old ate three?! My kid turns his nose up at every waffle I make, I have to try this recipe stat.

6 days ago

I know, I was shocked! I didn’t overmix the batter like I usually do with pancakes, I think that’s the trick to keeping them light. Good luck!

just now

Just made these for the first time and I’m never buying frozen waffles again! Crispy edges, soft center, and so quick to throw together. I added a dash of cinnamon to the batter and it tasted like fall in waffle form, chef’s kiss.

just now

The cinnamon addition sounds absolutely delicious! So glad you’re enjoying the recipe – that’s such a fun, easy swap to change up the flavor!

5 minutes ago

Okay this was my first time ever making waffles from scratch and they actually came out edible! I was so nervous I’d mess them up, but the steps were super simple. My only note is my waffle iron runs hot so they cooked a little faster than 15 minutes total, but that’s not the recipe’s fault.

2 minutes ago

So proud of you for making homemade waffles for the first time! Great call noting that waffle irons can vary in temperature – always a good idea to check a minute or two early if you know yours runs hot.

30 minutes ago

Swapped the eggs for flax eggs and used oat milk to make these vegan, and they turned out so crispy! I was worried the swaps would make them soggy but they held up great with maple syrup and fresh peaches. Definitely adding this to my weekly rotation.

10 minutes ago

Oh thank you for sharing the flax egg swap! I’ve been looking for a crispy vegan waffle recipe forever, can’t wait to try this.

yesterday

Made these for our monthly brunch club meetup and they were the star of the spread! We had a whole topping bar with fruit, chocolate chips, whipped cream, even fried chicken for chicken and waffles, and the waffles held up perfectly to every single topping. No sogginess in sight!

yesterday

A waffle topping bar sounds like the absolute dream! So happy these worked out for your brunch club – fried chicken and waffles with this recipe is such a good call.

2 days ago

15 minute cook time is no joke! I timed it from when I started mixing the batter to when the last waffle came off the iron, and it was 14 minutes flat. These are perfect for meal prep, they toast up great in the morning when I’m running out the door for work.

yesterday

How many waffles does this batch make? I need to make enough for 3 kids plus me and my husband for Monday breakfasts!

3 days ago

I added mini chocolate chips to the batter and topped them with salted caramel sauce and it was better than any restaurant waffle I’ve ever had. I can’t believe how easy these are – I used to think crispy waffles were only for diners, nope! I can make them at home in 15 minutes.

2 days ago

Mini chocolate chips and salted caramel? That sounds like total decadence! We love how customizable this base recipe is for all your favorite sweet toppings.

5 days ago

Grew up on my grandma’s waffles and these taste just like them! The secret is that extra little bit of cornstarch to get that crisp, right? I was so happy when I bit into it and got that same crunch I remember from Sunday suppers at her house. Absolute perfection.

4 days ago

You’ve got it! The small amount of cornstarch is the key to that long-lasting crisp without making the waffles dry. We’re so honored this recipe reminds you of your grandma’s cooking – that’s the highest compliment!

1 week ago

Great base recipe! I used whole wheat flour and added a scoop of vanilla protein powder to make these a little more filling for my post-workout breakfasts. They still got nice and crispy, which I was worried about with the protein powder added. Will definitely make again.

5 days ago

How much protein powder did you add? I’ve been trying to find waffle recipes that work with protein powder without getting rubbery!

2 weeks ago

I have 4 different waffle makers (don’t judge) including a classic circle one, and this recipe is made for it! I’ve tried so many recipes that overflow or don’t get crisp in my vintage iron, but these worked like a charm. Perfect circle shape, perfect crunch, zero mess.

yesterday

Quick, easy, minimal cleanup? Sign me up. I made these this morning while wrangling two 3 year olds and I still didn’t burn them. The kids covered theirs in sprinkles and ate every bite, I ate mine with a side of bacon and didn’t even have to reheat my coffee. Win win.

3 days ago

I wanted to love these, but I followed the recipe exactly and they came out way too crispy for my taste, almost crunchy. I prefer softer, fluffier waffles so this just isn’t for me, but if you’re a crispy waffle diehard you’ll probably love it. Cook time was accurate at least.

1 week ago

Real maple syrup is non-negotiable for waffles in my house, and these hold up so well to a good pour of it without getting soggy halfway through breakfast. Other waffles turn mushy the second the syrup hits, but these stay crisp for ages. 10/10, no notes.

5 days ago

I was so scared I’d mess these up because I’m terrible at baking, but they came out perfect on the first try! The instructions were so straightforward, no weird ingredients I had to run to the store for. I even made an extra batch to bring to my neighbor and she texted me asking for the recipe an hour later.

2 days ago

Made these at 10pm last night when I had a random waffle craving and it was the best late night decision I’ve made all month. 15 minutes from craving to crispy waffle in my pajamas? No takeout required. I ate mine with a scoop of vanilla ice cream on top, no regrets.



