
Classic Buttermilk Waffles

title 1
Classic Buttermilk Waffles
⏱️ cook time 20 minutes
🍽️ servings 4
⚡ Difficulty easy

intro

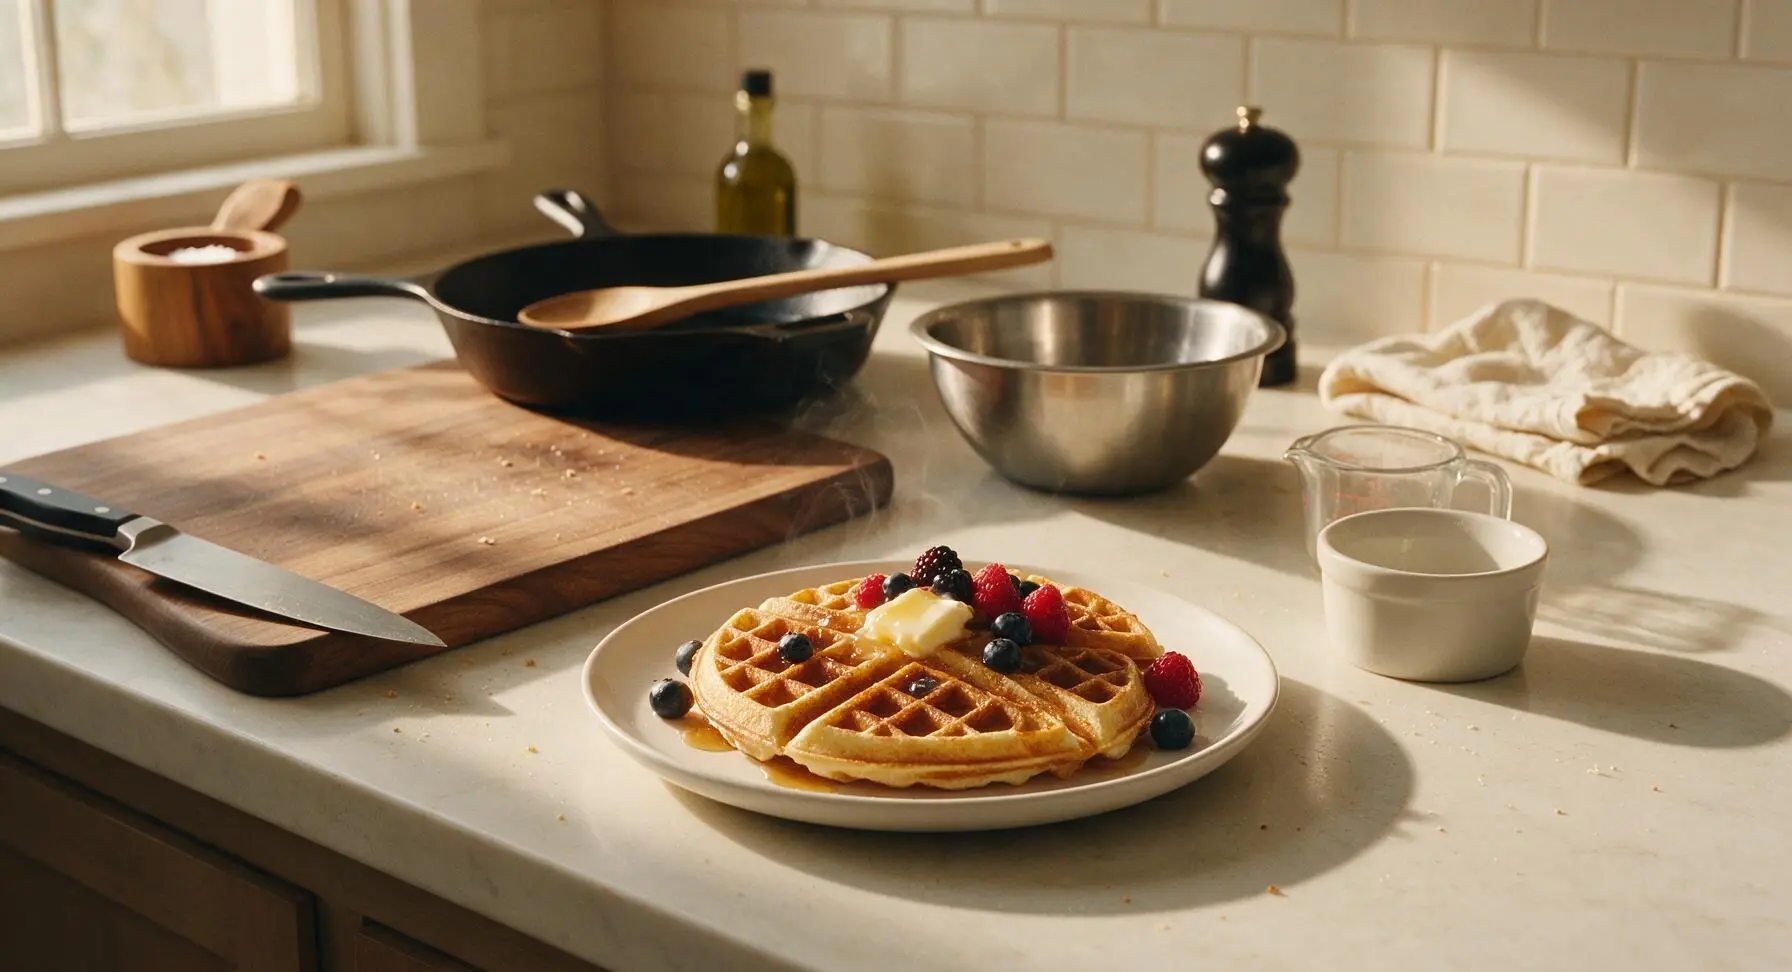
Crisp golden edges, light tangy fluffy centers, classic buttermilk waffles are the ultimate cozy weekend breakfast, perfect for pairing with butter, warm maple syrup, and fresh berries.

Ingredients
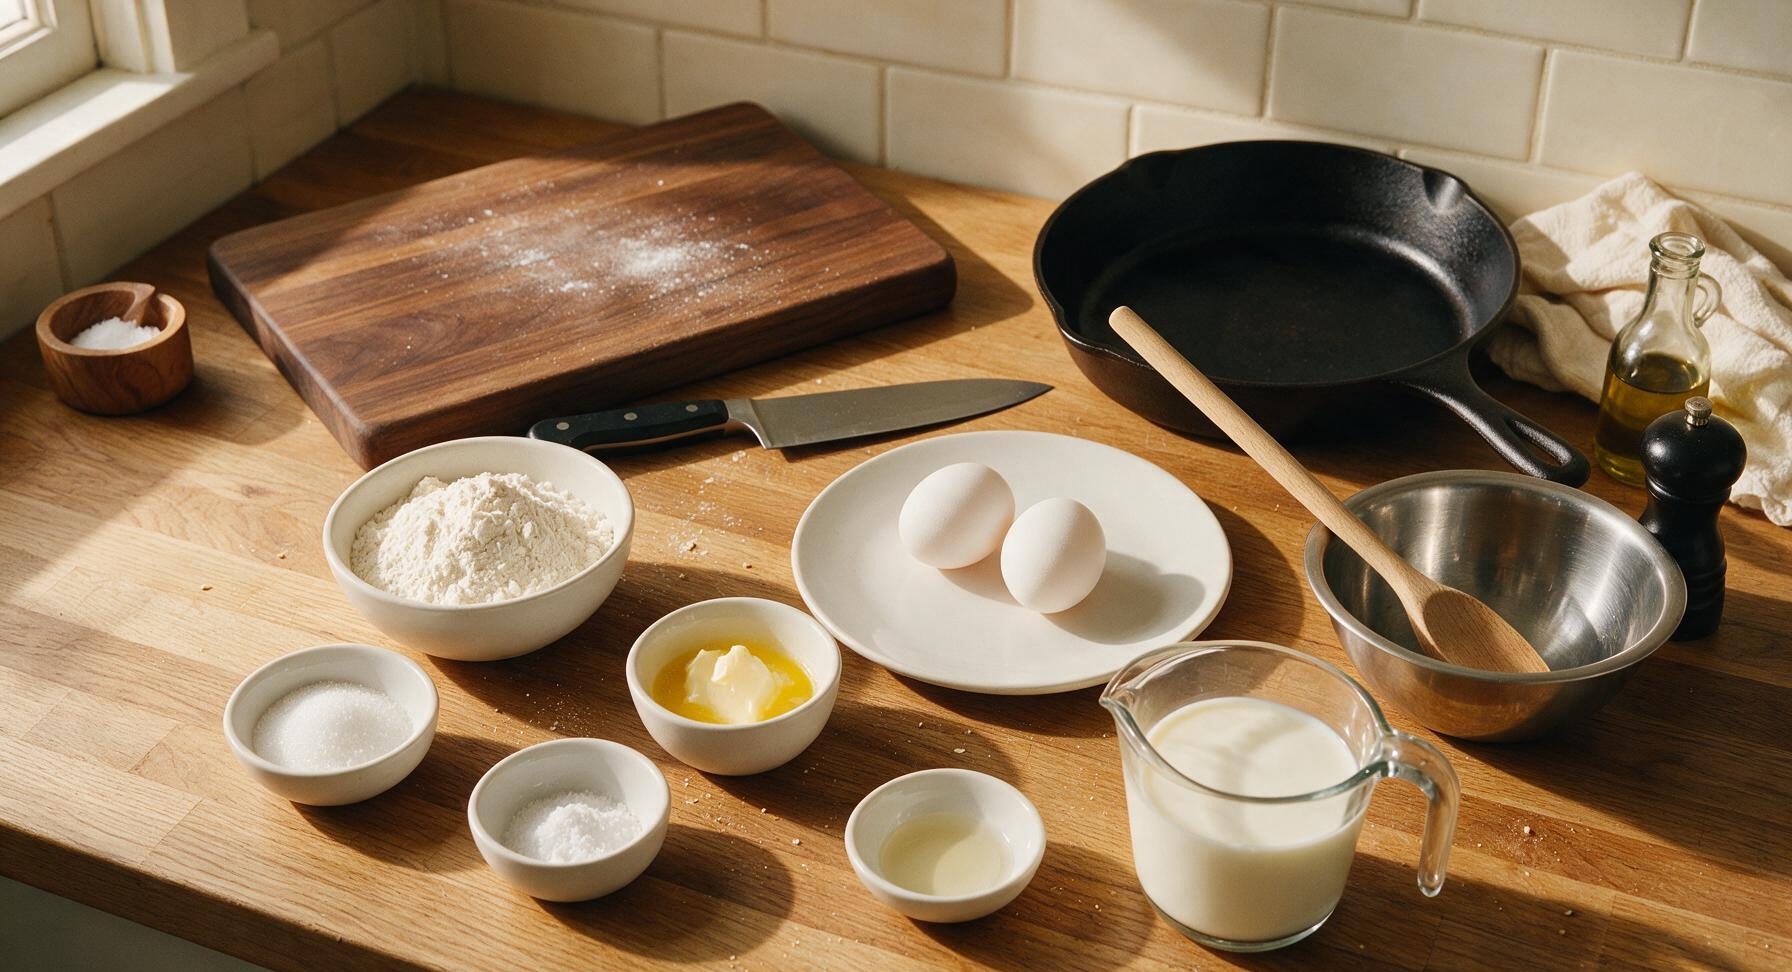
All-purpose flour 2 cups (240g)
Granulated sugar 2 tbsp
Baking powder 2 tsp
Baking soda 1 tsp
Fine sea salt 1/2 tsp
Whole buttermilk 2 cups (480ml)
Large eggs 2 each
Unsalted butter 1/3 cup (75g, melted and cooled)
Pure vanilla extract 1 tsp

Steps

1

Preheat Waffle Iron

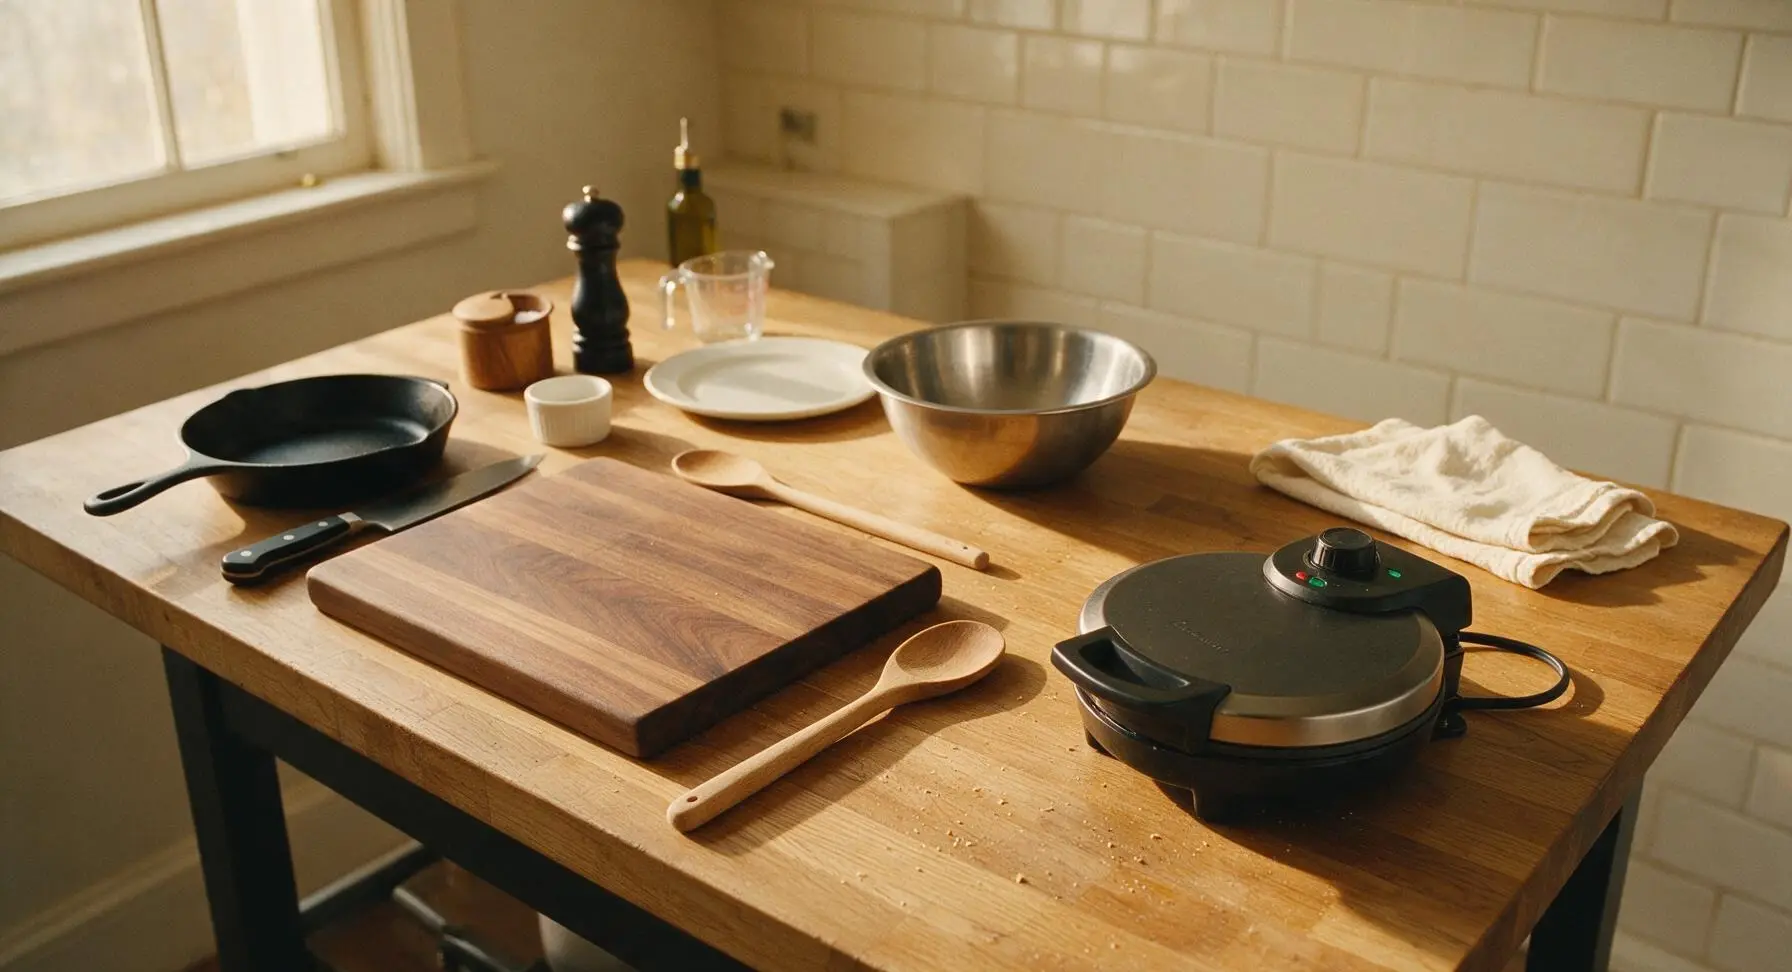
Set the 7-inch round non-stick waffle maker on the right section of the butcher block counter, plug it in, and turn the browning dial to medium-high (position 4 of 5). Allow it to preheat for 5 full minutes, until the built-in ready indicator light illuminates; a fully preheated iron prevents sticking and creates shatteringly crisp waffle edges.
Step 1
step1:Preheat Waffle Iron
2

Whisk Dry Ingredients

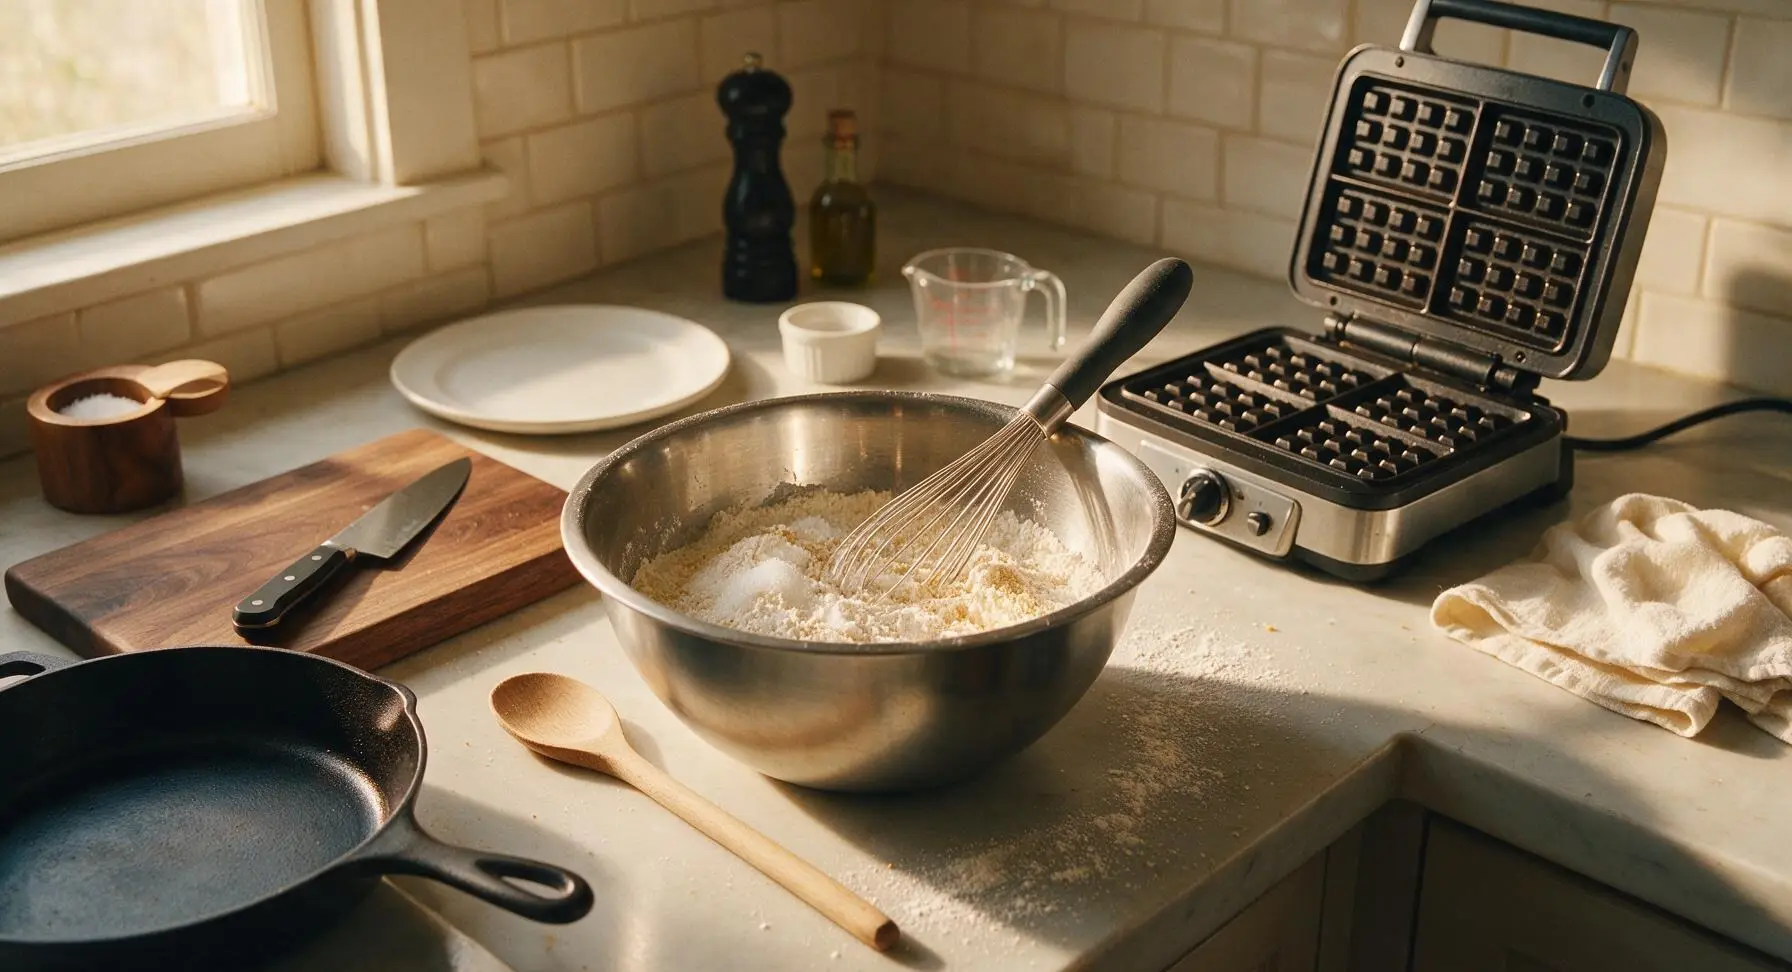
Add 2 cups (240g) all-purpose flour, 2 tablespoons granulated sugar, 2 teaspoons baking powder, 1 teaspoon baking soda, and 1/2 teaspoon fine sea salt to the large 5-quart stainless steel mixing bowl. Use the charcoal-handled stainless steel whisk to stir the dry ingredients for 30 seconds, until fully evenly combined, with no visible clumps of leavening. Evenly mixed dry ingredients prevent bitter pockets of baking soda in finished waffles.
Step 2
step2:Whisk Dry Ingredients
3

Mix Wet Ingredients

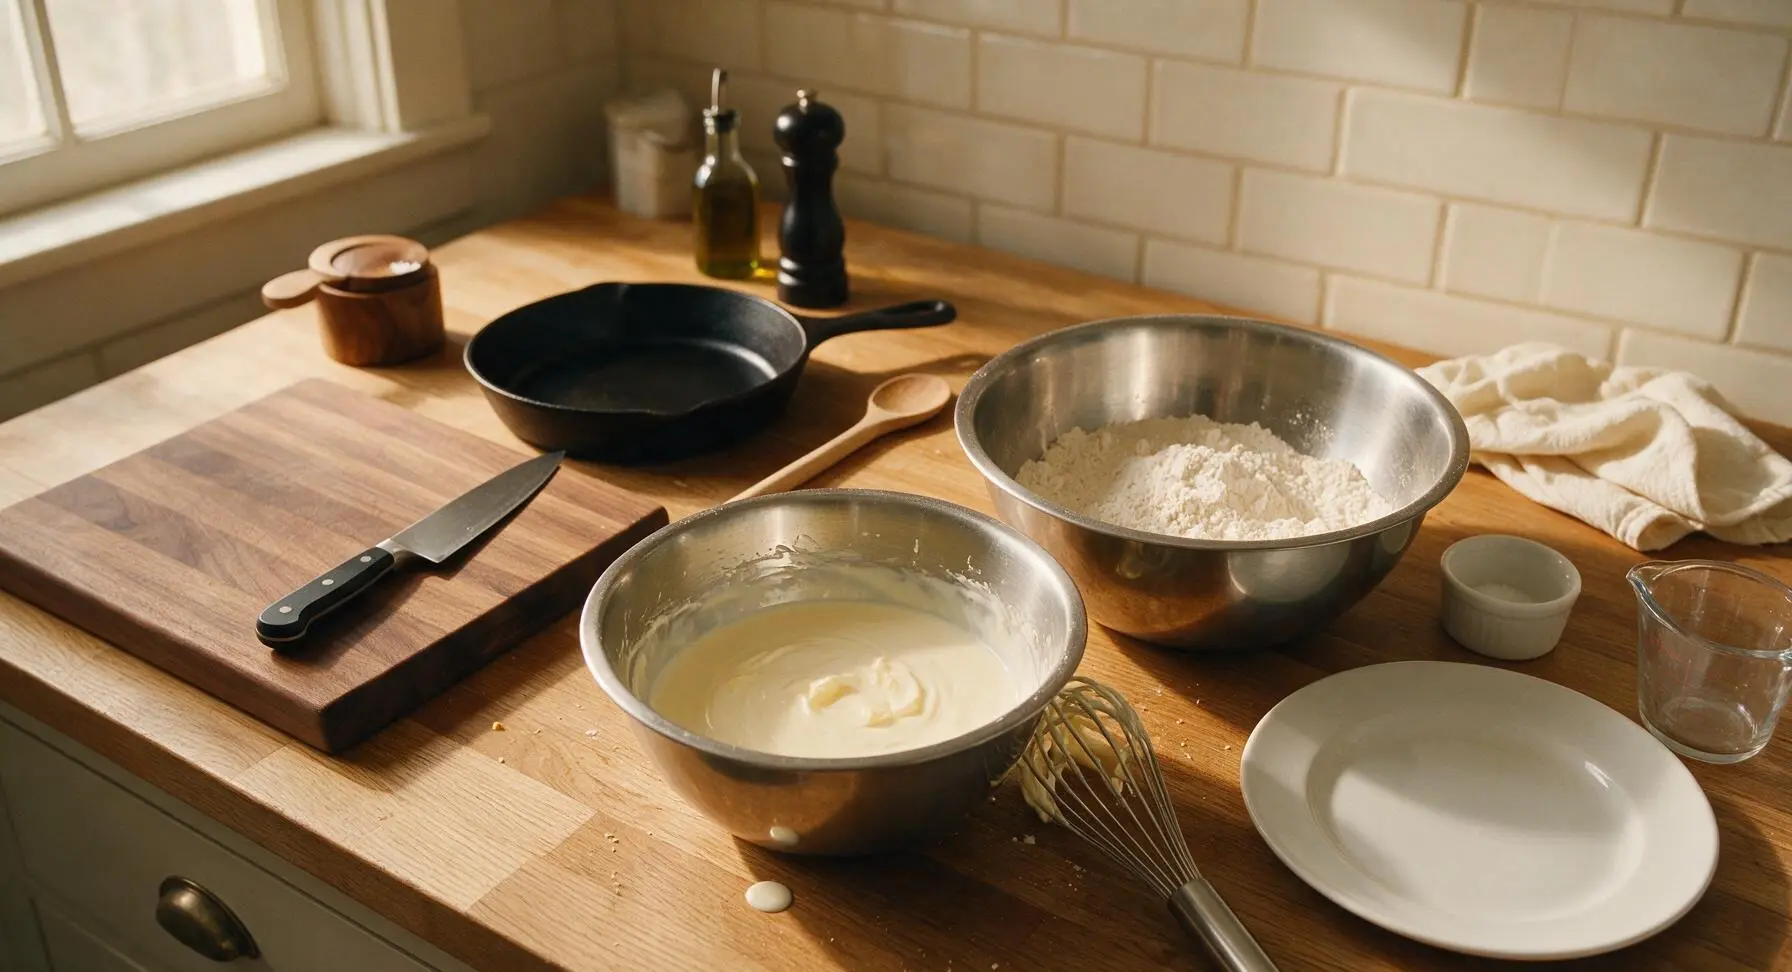
In the medium 3-quart stainless steel mixing bowl, combine 2 cups (480ml) whole buttermilk, 2 large lightly beaten eggs, 1/3 cup (75g) melted unsalted butter (cooled to 115°F, so it does not cook the eggs), and 1 teaspoon pure vanilla extract. Whisk for 20 seconds until smooth, with no streaks of separated butter or unincorporated egg visible on the surface.
Step 3
step3:Mix Wet Ingredients
4

Fold Batter Gently

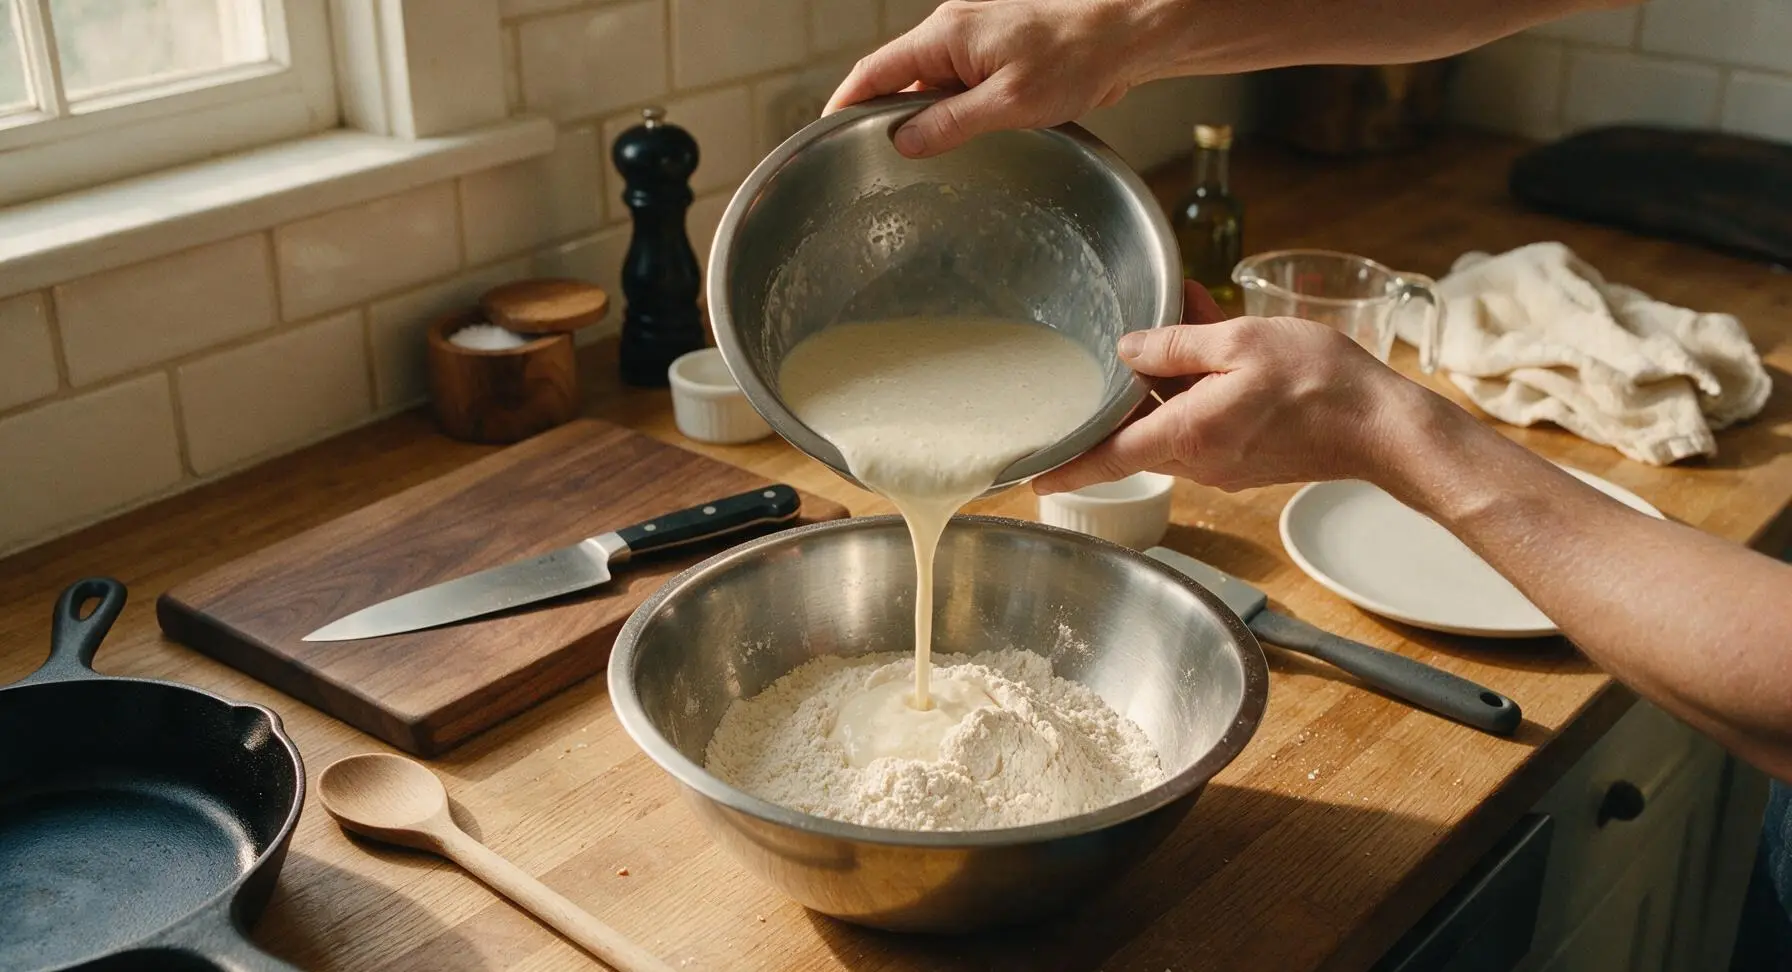
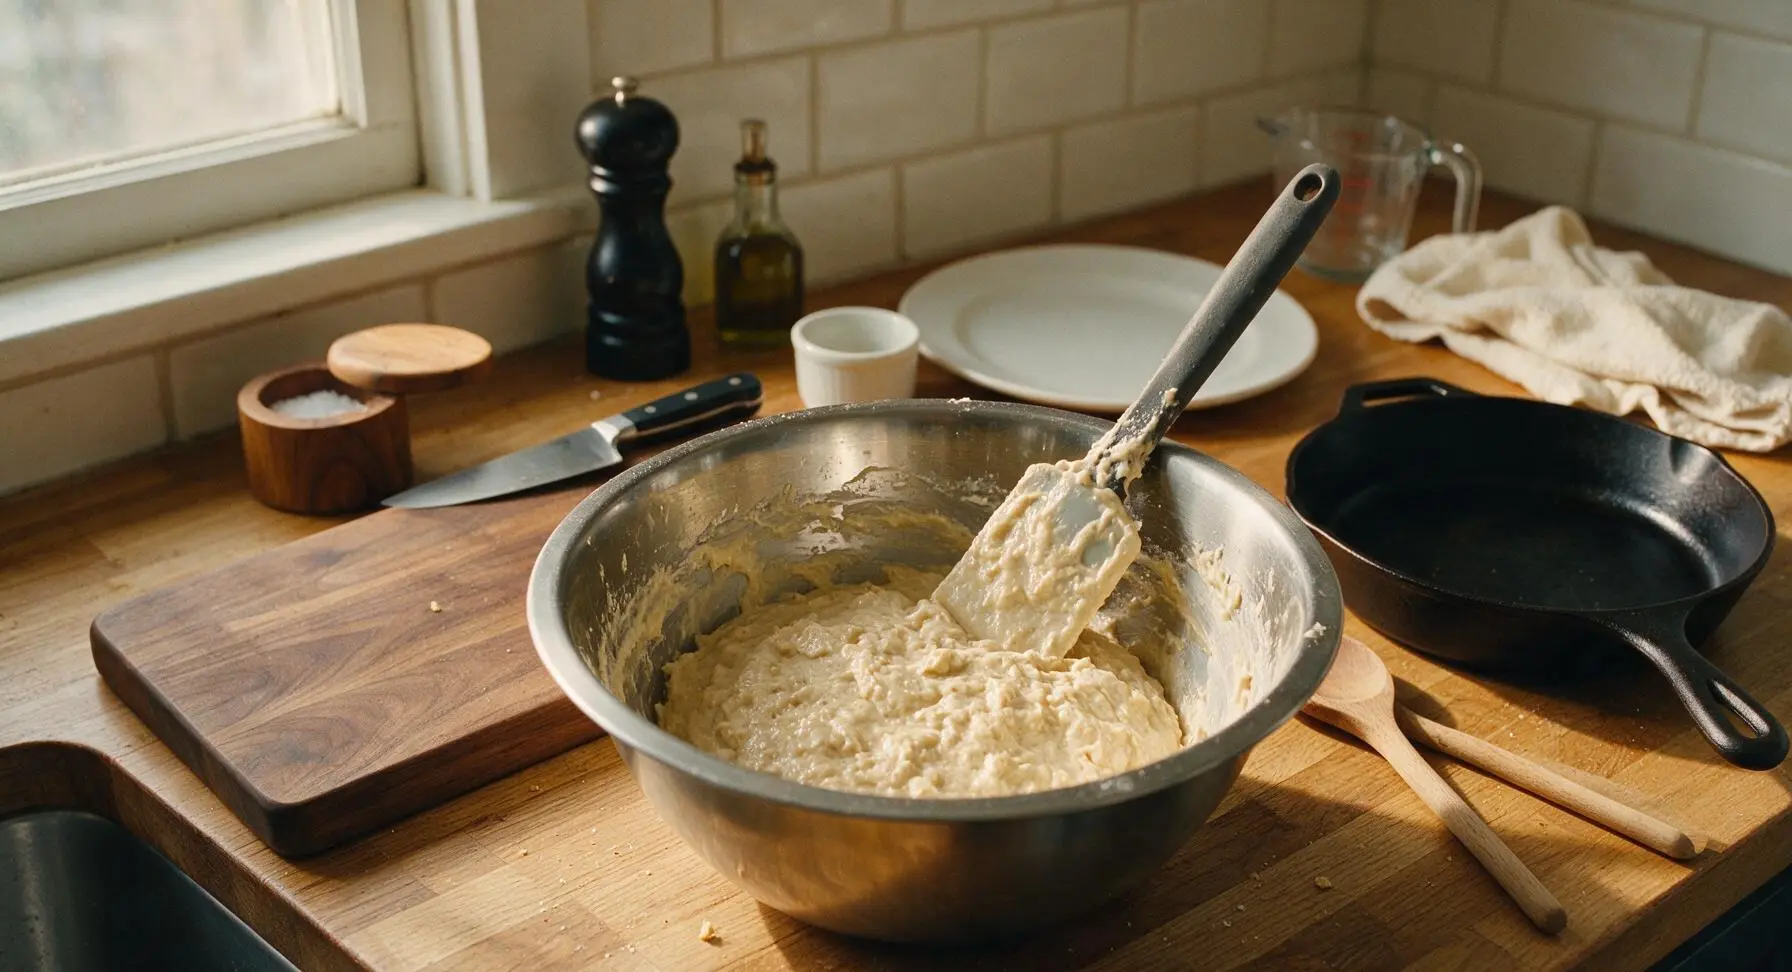
Pour the entire wet ingredient mixture into the large bowl of dry ingredients. Use the charcoal-handled silicone spatula to gently fold the components together, stirring only just until no large streaks of dry flour remain. The finished batter will be thick, visibly lumpy, and slightly rough in texture. Do not overmix: overstirring develops wheat gluten and results in tough, dense waffles, rather than light, fluffy ones. Stop folding as soon as the last trace of loose dry flour disappears, even if small lumps remain.
Step 4
step4:Fold Batter Gently
Step 4
step4:Fold Batter Gently
5

Cook Waffles Until Crisp

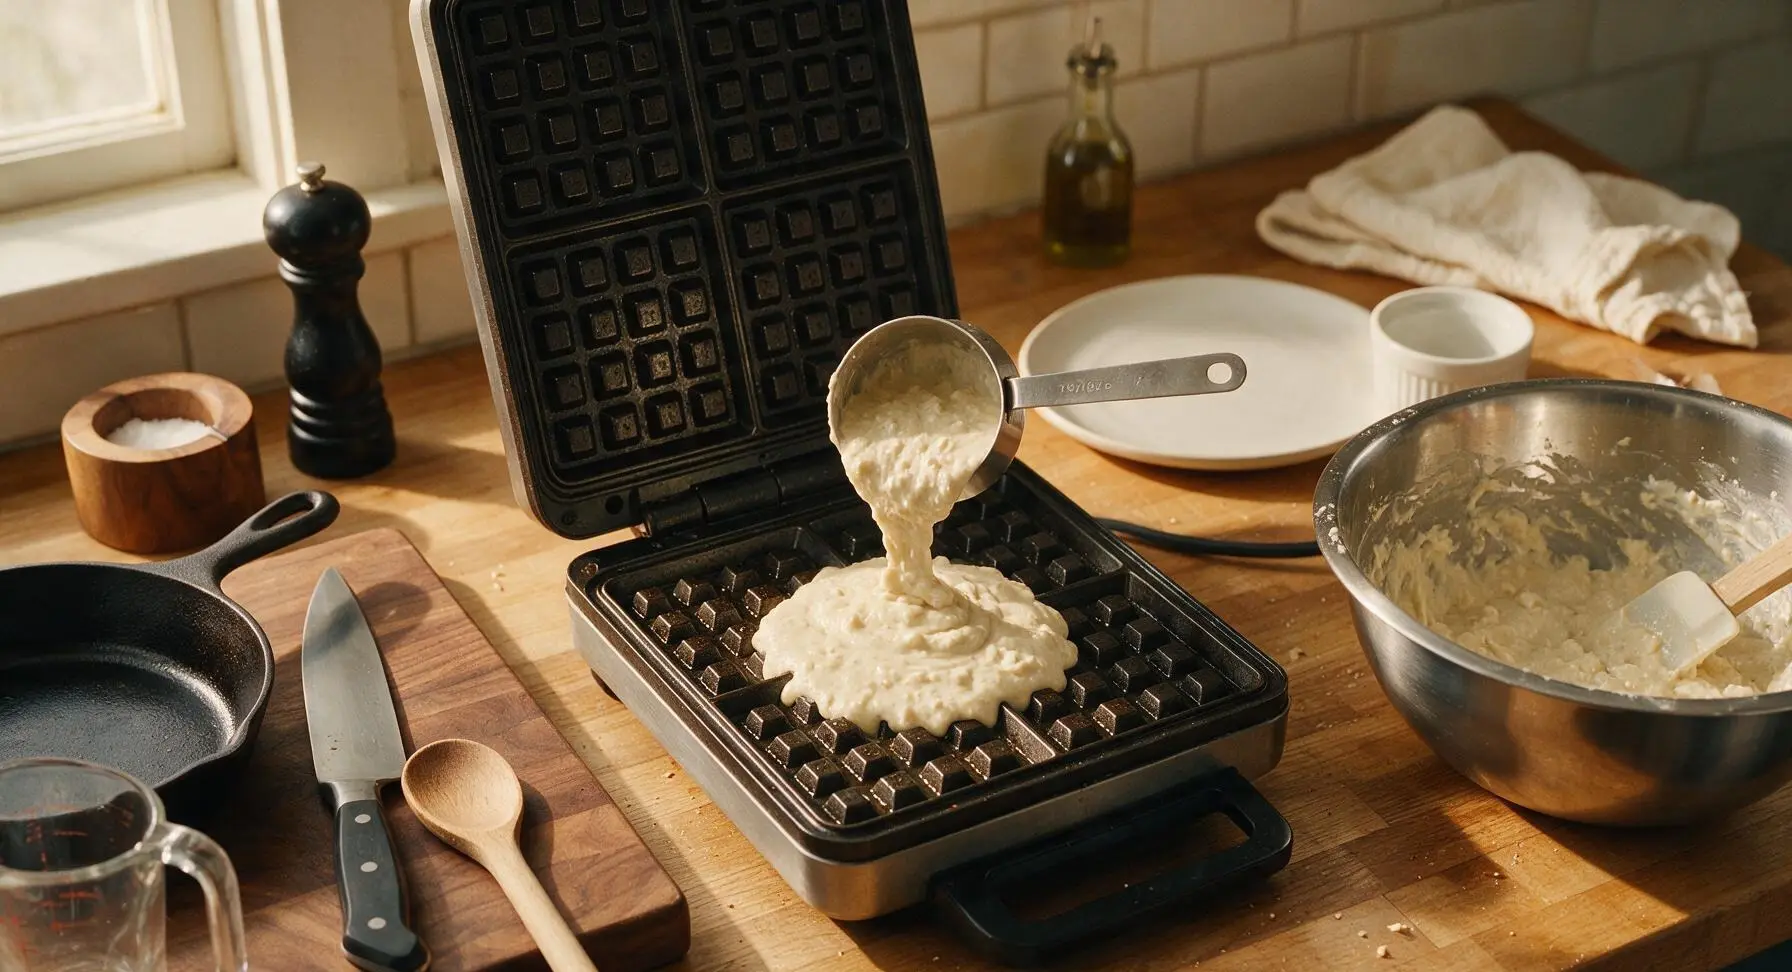
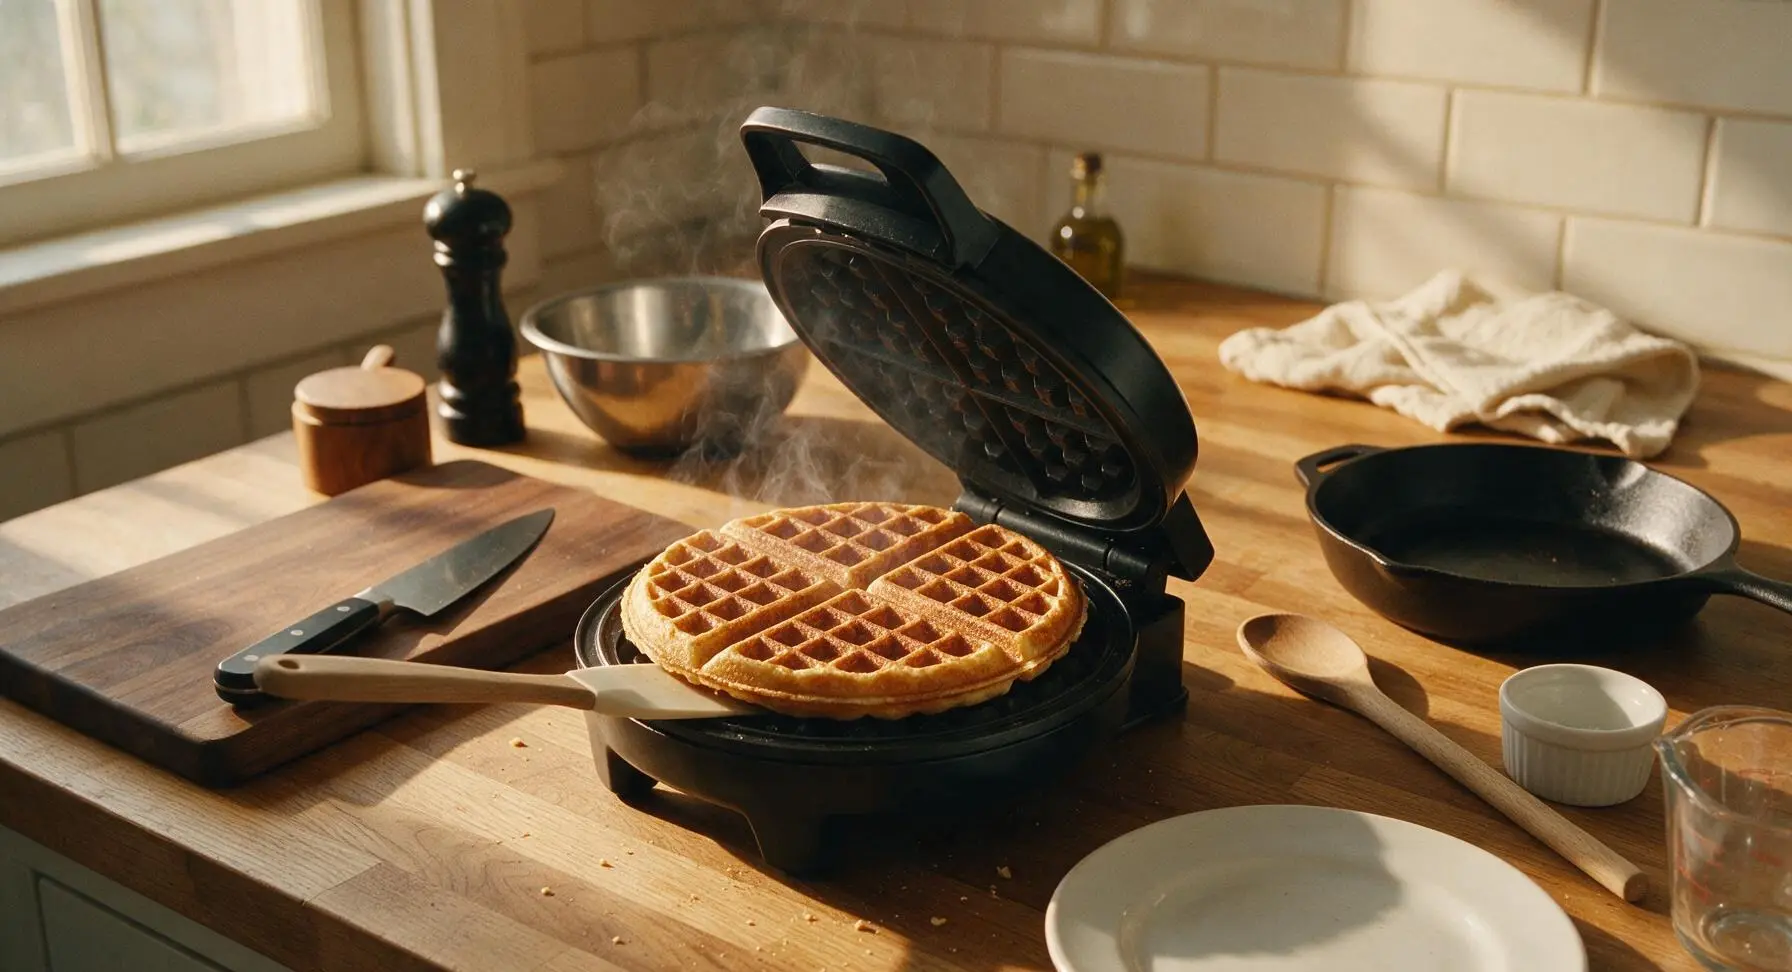
Once the waffle iron indicates it is fully preheated, use the 1/2 cup stainless steel measuring cup to pour batter directly into the center of the waffle grid. Use the tip of the silicone spatula to spread the batter gently to within 1/2 inch of the iron edges (the batter will spread further as it heats). Close the lid and cook for 3.5 to 4 minutes, without opening the lid early, until the waffle is deep golden brown, crisp at the edges, and no visible steam escapes from the iron seams. Opening the lid before 3 minutes will cause the waffle to split and stick.
Step 5
step5:Cook Waffles Until Crisp
Step 5
step5:Cook Waffles Until Crisp
6

Rest Waffles Briefly

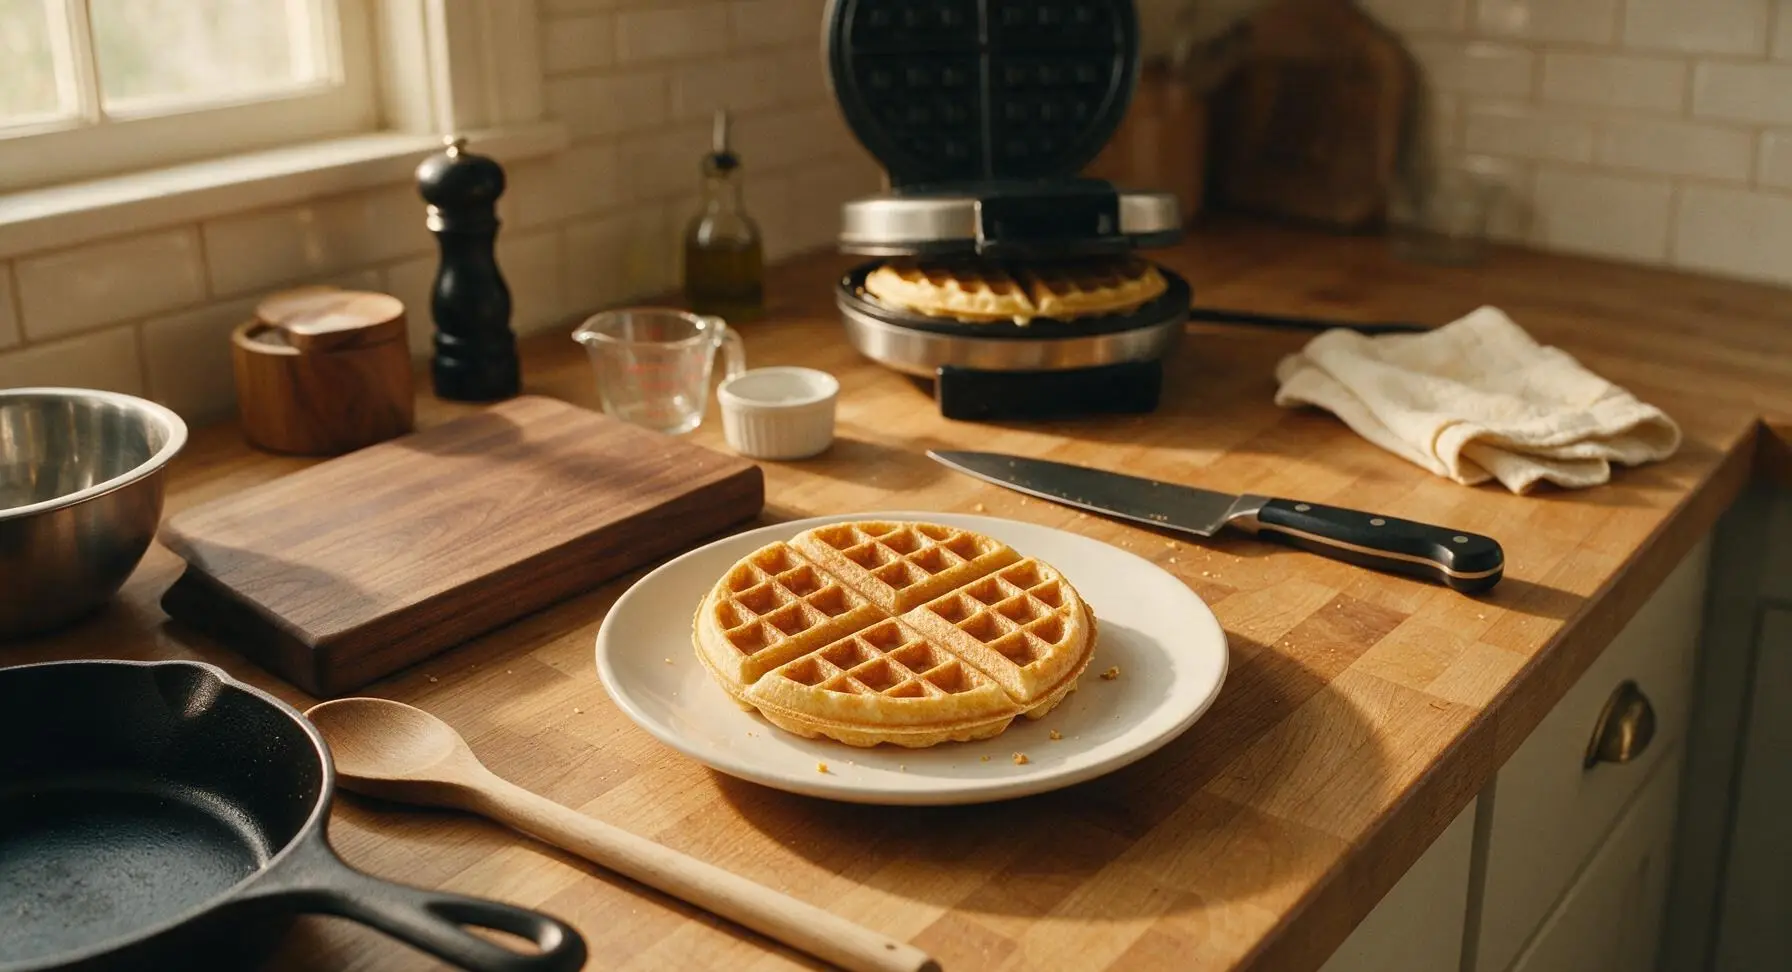
Lift the finished waffle from the iron with the silicone spatula and transfer it to the cream white ceramic dinner plate. Keep cooked waffles warm by placing the plate in a 200°F oven, or loosely tent with foil on the counter, while you cook the remaining 3 batches of batter. Prop waffles against each other at a slight angle rather than stacking them flat immediately; trapped steam between flat-stacked waffles will turn crisp edges soft and soggy.
Step 6
step6:Rest Waffles Briefly
7

Plate and Serve Warm

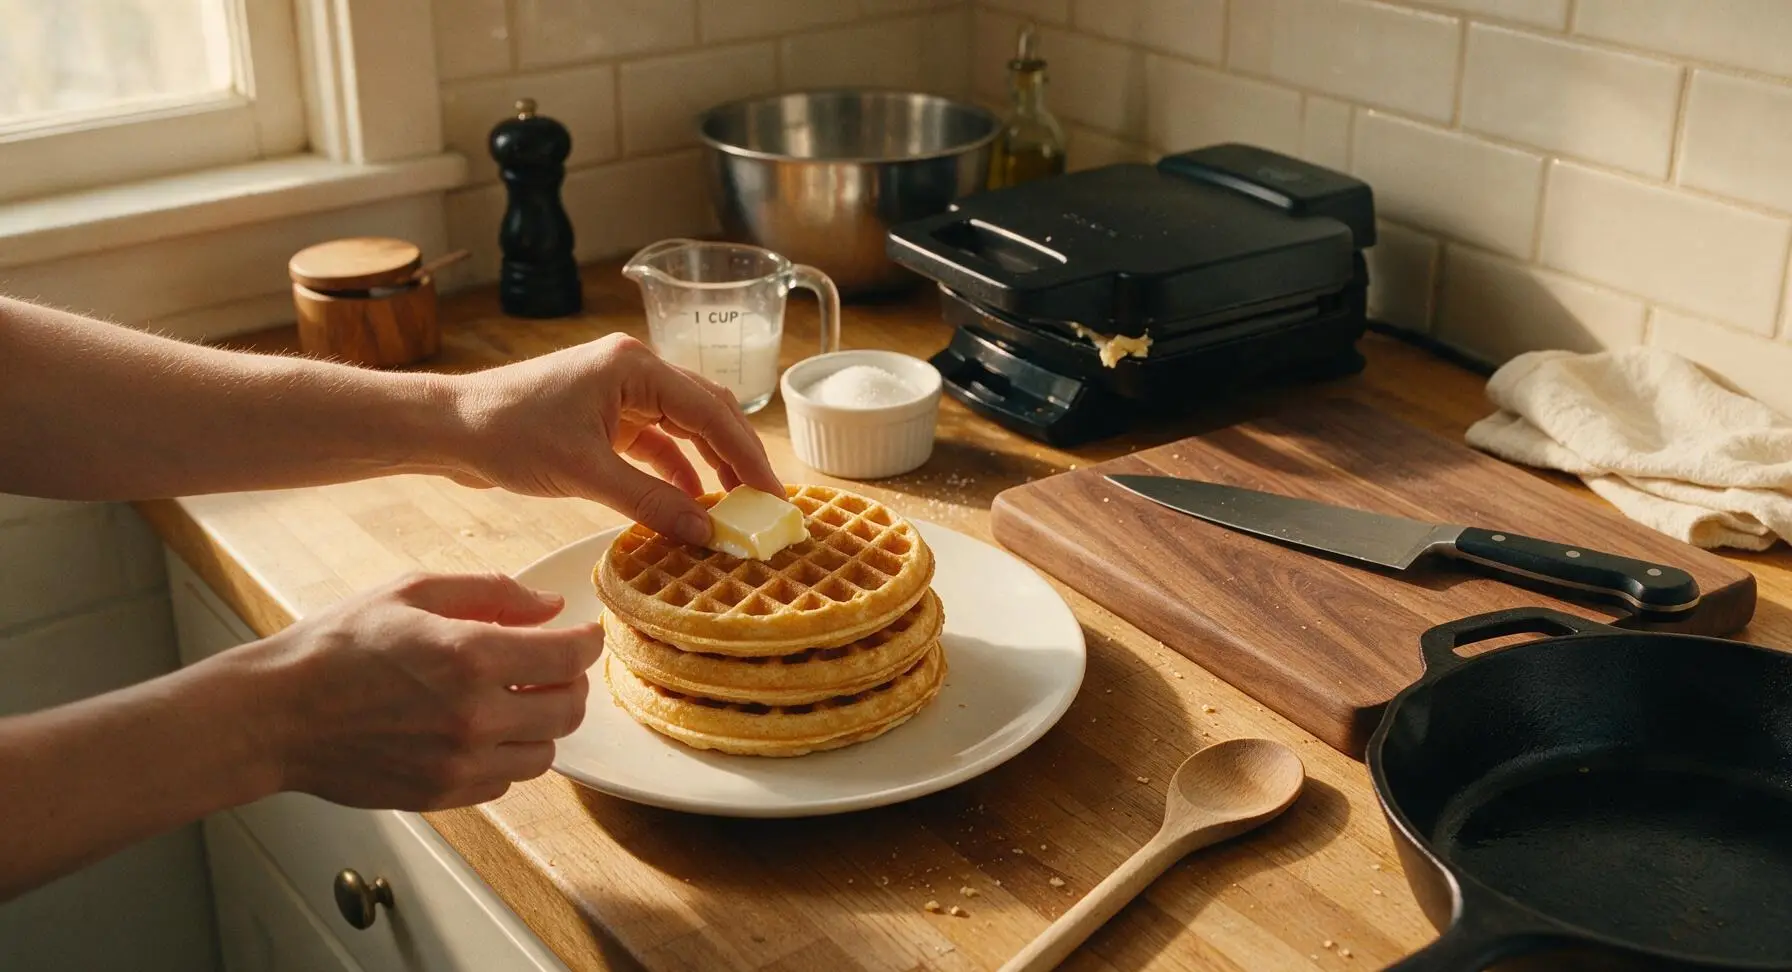
Once all 4 waffles are cooked, stack 3 waffles centered on the cream white ceramic plate (reserve the fourth for second helpings). Top the stack with a 1-tablespoon pat of cold salted butter, a light drizzle of pure maple syrup, and a small garnish of fresh raspberries, blackberries, and a single mint leaf. Serve immediately, while waffles are crisp on the outside and light, fluffy, and tangy inside.
Step 7
step7:Plate and Serve Warm

Tips

1.Don’t overmix the batter: Visible small lumps are completely desirable. Overstirring develops gluten in the flour, leading to tough, chewy waffles instead of light, tender centers with crisp edges.
2.Cool melted butter for 3 minutes before mixing into wet ingredients: Hot butter will partially cook the raw eggs, creating small, firm egg bits that cause uneven, dense texture in finished waffles.
3.Avoid opening the waffle iron lid before the 3-minute cook mark: Lifting the lid early breaks the setting batter structure, causing waffles to split, stick to the grids, and lose their fluffy rise.


✨ You May Also Like

Breakfast
🍜 United States

Crisp-edged, fluffy lard griddle cakes are a nostalgic homestyle staple, with rich savoriness from rendered lard, perfect topped with maple syrup or savory gravy.

⏱️ 25 minuteBreakfast ★ 4.8
Breakfast
🍜 United States

Flaky, buttery homemade buttermilk biscuits smothered in creamy, peppery pork sausage gravy: a beloved, hearty Southern American comfort food classic.

⏱️ 35 minuteBreakfast ★ 4.8
Breakfast
🍜 United States

Golden, custardy brioche stuffed with sweet cream cheese and fresh berries, pan-fried to crisp perfection. An indulgent, cozy breakfast perfect for slow weekend mornings.

⏱️ 30 minuteBreakfast ★ 4.7
Breakfast
🍜 United States

Flaky, buttery Southern-style biscuits stuffed with savory salty country ham, a portable, satisfying classic perfect for casual on-the-go meals.

⏱️ 25 minuteBreakfast ★ 4.8
Breakfast
🍜 United States

Iconic puffy baked pancake popularized in Seattle, with crisp golden edges and soft custardy center, served warm with classic sweet toppings.

⏱️ 35 minuteBreakfast ★ 4.6
Breakfast
🍜 United States

Fluffy, golden pancakes studded with juicy peak-summer mixed berries, drizzled with maple syrup for a bright, comforting, crowd-pleasing family breakfast.

⏱️ 25 minuteBreakfast ★ 4.7

Classic Buttermilk Waffles :Frequently Asked Questions

1.Why does this recipe call for both baking powder and baking soda? ▾
Baking soda reacts immediately with tangy buttermilk to create initial lift for that light, fluffy center, while double-acting baking powder adds a second burst of rise when batter hits the hot waffle iron. This combo prevents dense, flat waffles, and helps build those signature crisp, golden edges everyone loves.
2.I don’t have buttermilk on hand—can I make a quick substitute? ▾
Absolutely! For every 1 cup of buttermilk the recipe calls for, add 1 tablespoon of white vinegar or fresh lemon juice to a liquid measuring cup, then pour in whole milk until you hit the 1-cup line. Let it sit 5 minutes at room temperature until it curdles slightly, and it will work exactly like store-bought buttermilk.
3.My waffles always turn out soft and soggy instead of crisp—what am I doing wrong? ▾
The two most common culprits are a waffle iron that’s not fully preheated, and piling cooked waffles on a plate where trapped steam makes them limp. Preheat your iron until a drop of water sizzles instantly on its surface, and hold finished waffles on a wire rack in a 200°F oven to keep them crisp.
4.Can I mix up the waffle batter the night before to save time on weekend mornings? ▾
I don’t recommend pre-mixing the full batter overnight, because the leaveners will start reacting as soon as they hit buttermilk and lose their rising power by morning. For fast prep, mix all dry ingredients in an airtight container the night before, then stir in wet ingredients right before you’re ready to cook.
5.Why do my waffles stick to the waffle iron even when I grease it? ▾
First, make sure you’re not opening the iron too early, as partially cooked waffles almost always stick. If that’s not the issue, you may be greasing too lightly: use a pastry brush to coat every grid ridge with melted butter or neutral oil for the first 2 to 3 batches, rather than relying on a light cooking spray spritz.
6.How do I know when waffles are done without opening the iron too early? ▾
Wait until you stop seeing steady streams of steam escaping from the sides of the waffle iron, usually around the 4 to 5 minute mark depending on your model. If you open the lid too early, the partially set waffle will tear and stick. Most irons also have a ready indicator light that turns on when waffles are golden and crisp.
7.Can I freeze leftover waffles for quick weekday breakfasts? ▾
Absolutely! Let cooked waffles cool completely to room temperature first, then stack them between sheets of parchment paper to prevent sticking, and store in a sealed freezer bag for up to 3 months. Reheat straight from frozen in a toaster or toaster oven until crisp and warmed through, and they’ll taste nearly as good as fresh.
8.How much batter should I pour per waffle to avoid messy overflow? ▾
The exact amount depends on your iron size, but a good rule of thumb for standard 7-inch round waffle irons is ⅔ to ¾ cup of batter per batch. Pour it right in the center of the preheated grid, then close the lid gently—don’t spread the batter, as the iron will press it evenly into corners as it cooks.
9.Should I whisk the waffle batter until it’s completely smooth? ▾
No! Overmixing develops the gluten in the flour and will turn your waffles tough and chewy instead of light and fluffy. Stir wet ingredients into the dry ingredients just until there are no large pockets of dry flour left—it’s totally fine, even ideal, if the batter has a few small lumps remaining.
10.Do I really need to add granulated sugar to the batter? I prefer less sweet breakfasts. ▾
The small amount of granulated sugar in this recipe isn’t just for sweetness—it helps waffle edges caramelize to that perfect crisp golden brown as they cook. You can cut the sugar in half if you prefer a less sweet waffle, but don’t omit it entirely, or you’ll end up with pale, soft edges that lack classic waffle texture.
11.Can I use whole wheat flour instead of all-purpose flour for a healthier swap? ▾
You can swap up to half of the all-purpose flour for whole wheat pastry flour without making waffles too dense or heavy. I don’t recommend using 100% regular whole wheat flour, as it creates a dense, grainy texture that overpowers the light, fluffy crumb and subtle tang of classic buttermilk waffles.
12.The recipe calls for fine sea salt—can I use regular table salt instead, or skip it entirely? ▾
You can use table salt, but use half the called-for amount, since it’s denser and more intensely salty than fine sea salt. Don’t skip salt entirely: it doesn’t make waffles savory, it balances the sugar and amplifies the bright tang of buttermilk to keep the flavor from tasting flat.

Comments (10)

just now

Brought my waffle iron to our tailgate last weekend and made these for the whole crew before the game. We topped them with pulled pork and hot honey for a savory twist, and people lost their minds. Total game changer for our pre-game spread! Who says waffles are only for breakfast? Absolute crowd pleaser, even the guys who only eat burgers and hot dogs were raving about them.

5 minutes ago

These are perfect for my weekly meal prep! I make a double batch every Sunday, pop them in the freezer, and toast one up on my way out the door for work each morning. Only reason I’m not giving 5 stars is I wish the recipe noted how much batter to pour per waffle, I overfilled my iron on the first two and made a huge mess lol.

just now

Thanks so much for the feedback! We’ll add a note about recommended batter amounts per waffle size to the recipe soon—so glad these are working out for your weekly meal prep routine, that’s such a smart way to use them!

30 minutes ago

I’ve tried so many buttermilk waffle recipes over the years and this is hands down the best one. The edges get perfectly crispy without being dry, and the center is light and fluffy, no dense gummy spots at all. I served mine with fried chicken for a chicken and waffle night with my roommates, and everyone went back for seconds.

5 minutes ago

Chicken and waffles is such a perfect use for these! We love that you dressed them up for a fun dinner night with friends—sounds like the perfect spread.

2 hours ago

As a college student with a super basic dorm waffle maker, I was shocked how well these turned out! I didn’t have any fancy kitchen tools, just mixed the batter by hand with a fork, and they were SO good. Way better than the frozen waffles I’ve been living off of for the past two semesters. Saved me so much money on brunch takeout too!

yesterday

SO good! I made these for a casual family dinner last night, topped mine with a dollop of whipped cream, fresh blueberries, and a drizzle of warm maple syrup, and it tasted like something you’d pay $18 for at a fancy brunch spot. Cannot believe how easy this was, the steps are so straightforward even a total beginner can nail it on the first try. 10/10, no notes.

2 days ago

OMG my three picky eaters devoured these! I added a handful of mini chocolate chips to half the batch for the kids, and kept the other half classic for my husband and I. The 20 minute cook time is no joke, I had the whole meal on the table faster than it takes to get everyone out of bed on a school morning. New family staple for sure!

yesterday

The mini chocolate chip addition is genius! I’m gonna do that this weekend for my niece’s birthday brunch, she’s obsessed with anything chocolate.

3 days ago

Super easy recipe, turned out great overall! My only note is that my first batch came out a little soggier than I wanted, I think I poured the batter a little too thick. Thinned it out for the rest and they were perfect. Dusted with powdered sugar and added a side of fresh strawberries, chef’s kiss.

2 days ago

So glad you adjusted to get that perfect crisp! A quick pro tip: make sure your waffle iron is fully preheated before pouring batter, that also helps cut down on sogginess and gives that iconic golden crispy edge.

5 days ago

These look absolutely amazing! Has anyone had luck making them with a 1:1 gluten free flour blend? My husband has celiac so I’m always looking for easy weekend breakfast recipes I can adapt for him without sacrificing flavor—was planning to make these for our anniversary breakfast next week!

3 days ago

I made them last week with a cup for cup gluten free flour blend and added an extra half teaspoon of xanthan gum, they turned out perfect! Nobody could even tell they were GF.

2 days ago

Thanks for sharing that awesome swap! We’ve tested these with 1:1 gluten free flour with great results too—just make sure you don’t overmix the batter to keep them light and fluffy. Hope you two have a lovely anniversary breakfast!

1 week ago

Made these for a potluck brunch last weekend and people were literally asking me for the recipe before they even finished their first bite! The subtle tang from the buttermilk is chef’s kiss, and they hold up so well even if you keep them warm in the oven for a half hour while guests arrive. 10/10, will be making these on repeat.

5 days ago

Wait do you think these would work for meal prep? Like make a big batch on Sunday and freeze them for weekday breakfasts?

3 days ago

Great question! These freeze beautifully—just let them cool completely, stack between sheets of parchment paper, and pop them in a freezer bag. Reheat in the toaster straight from frozen for that fresh-made crisp!

2 weeks ago

Taste was great, but I ran into a little issue when I tried to substitute regular milk for buttermilk because I forgot to grab some at the store. The texture was a little off, definitely not as fluffy as the photos look. Will have to try again when I actually have buttermilk on hand!

1 week ago

Pro hack for next time! If you don’t have buttermilk, add a tablespoon of white vinegar or lemon juice to a cup of regular milk and let it sit 5 minutes. Works exactly the same!

5 days ago

That’s such a great tip! We also recommend that quick buttermilk substitute for folks who don’t keep it stocked regularly—we’re glad to hear you liked the flavor, and can’t wait for you to try it with the real thing (or the hack!) for that perfect fluffy texture.



