
Classic Fried Chicken
intro
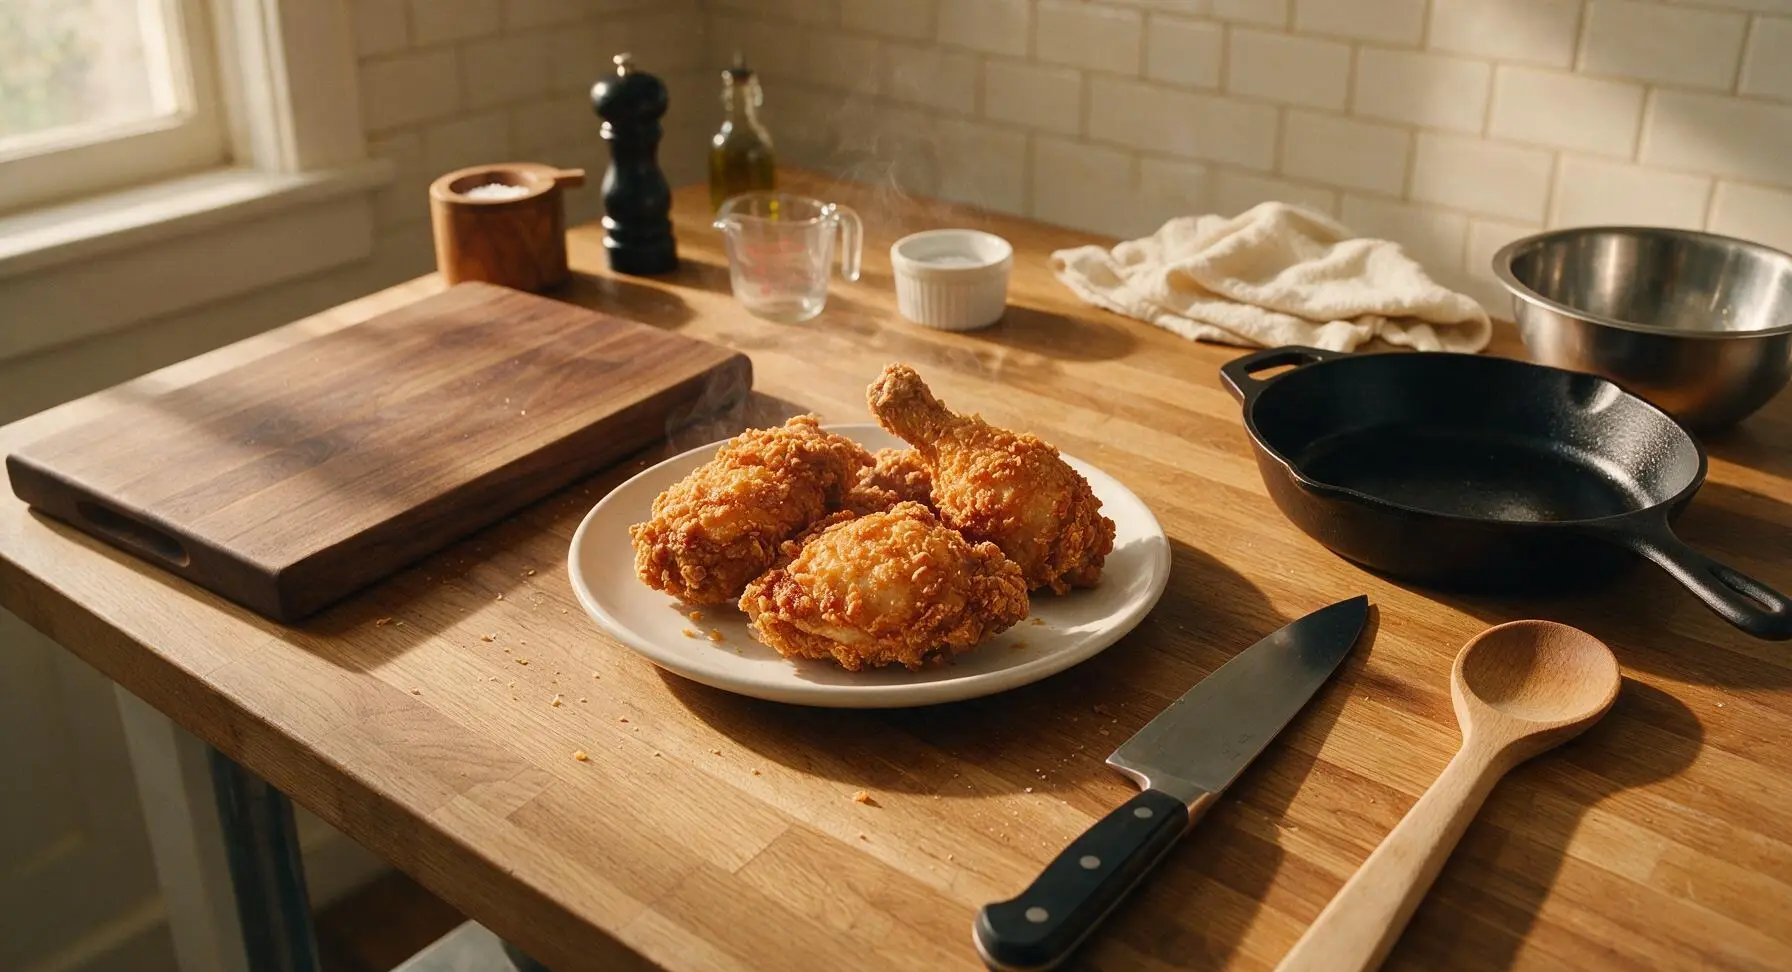
Shatteringly crisp golden crust, juicy tender meat brined in tangy buttermilk, this timeless Southern classic delivers warm, nostalgic comfort in every bite.
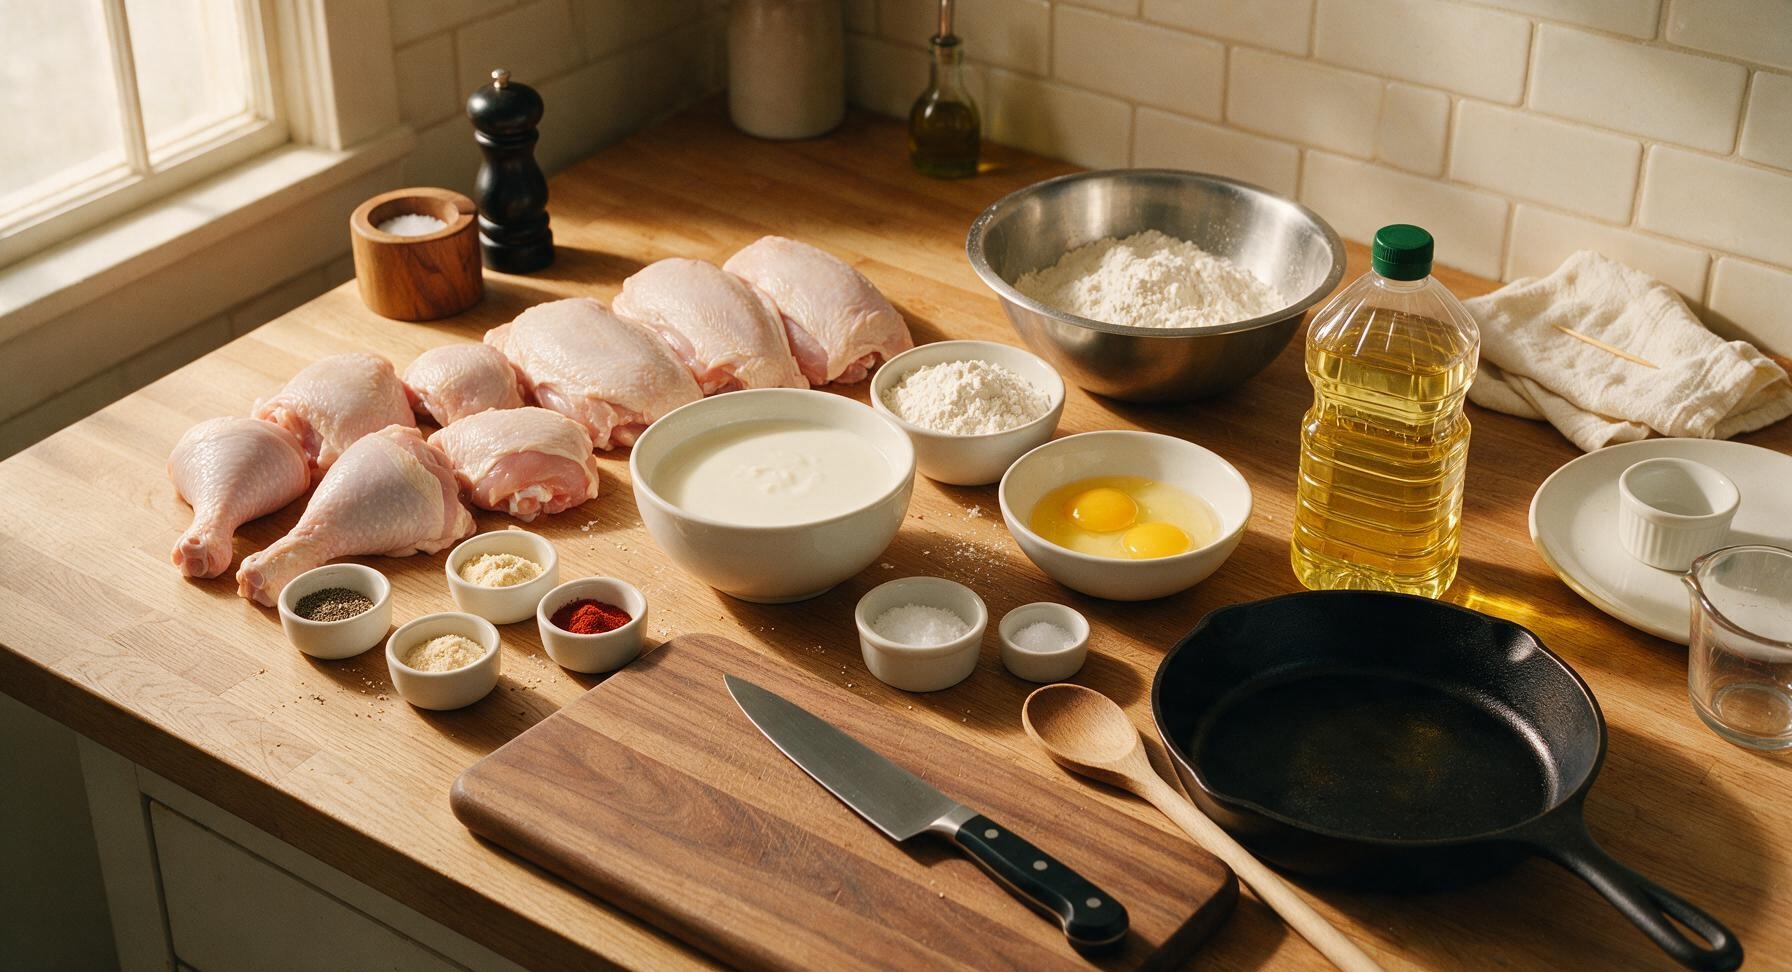
Ingredients
Steps
Brine Chicken in Buttermilk
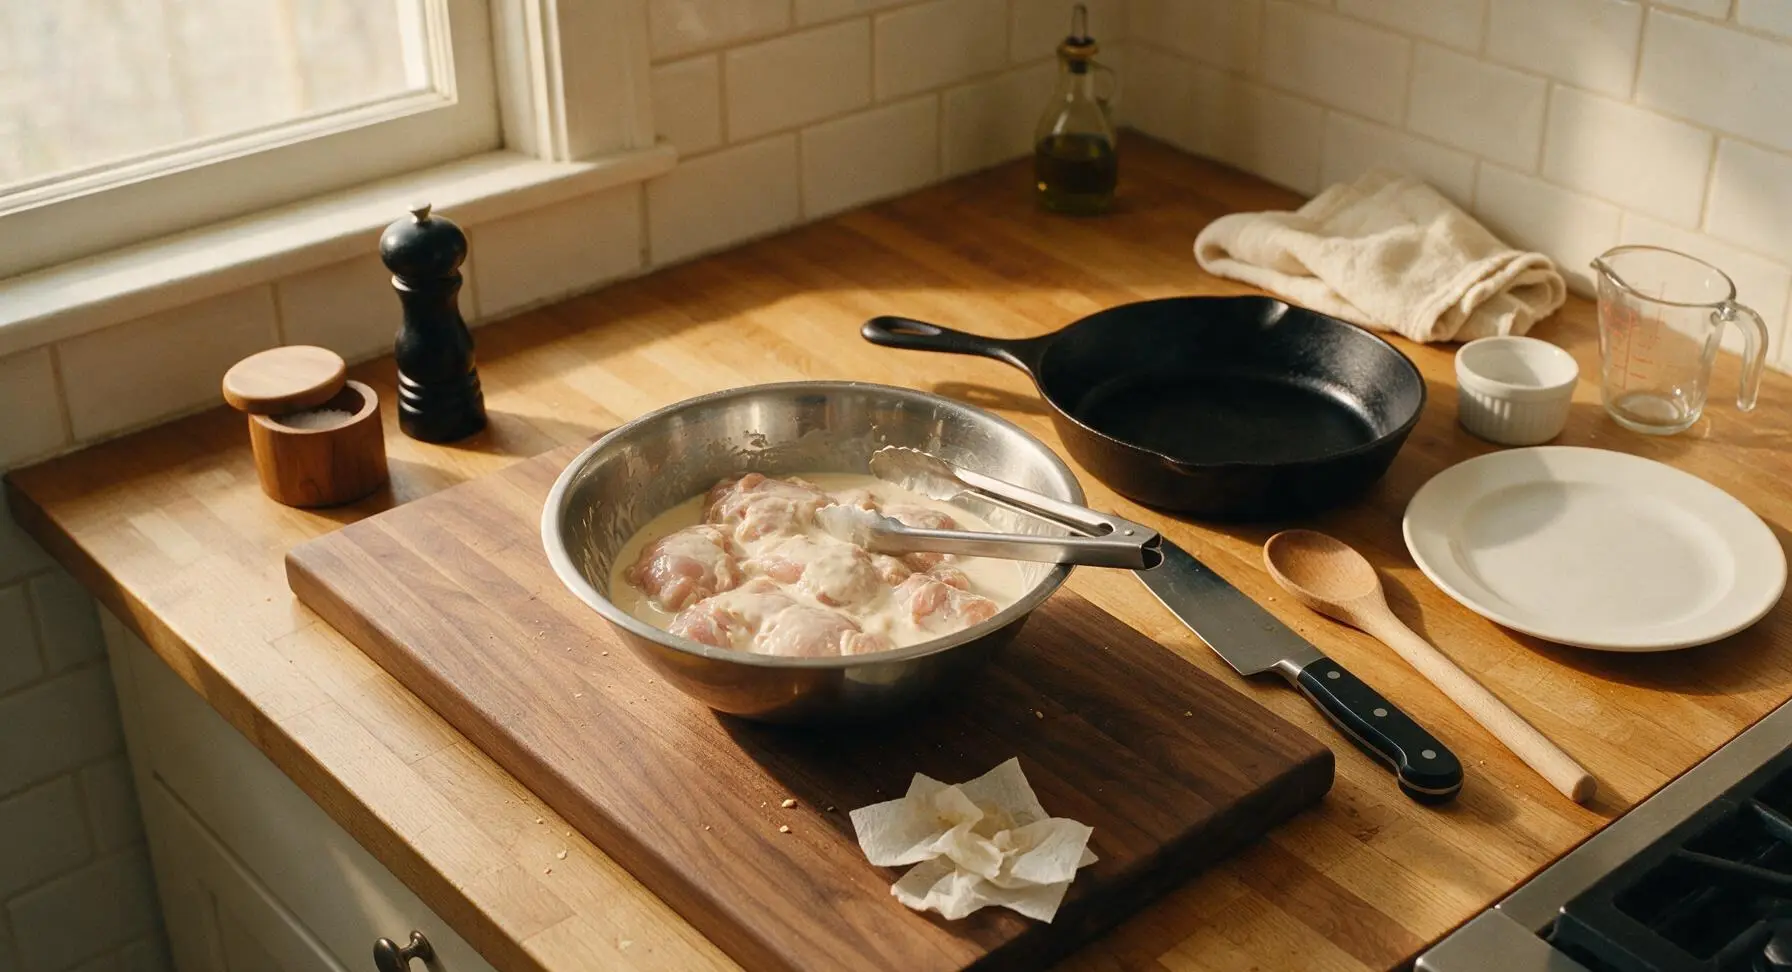
Pat chicken pieces completely dry with paper towels, then season all sides lightly with 1 tablespoon of kosher salt. Place seasoned chicken into the large stainless steel mixing bowl, pour in full-fat buttermilk, and turn pieces to coat fully. Cover the bowl and refrigerate for 8–12 hours (minimum 2 hours for a quick brine) to tenderize meat and infuse tangy flavor. Remove from the fridge 30 minutes before cooking to bring to room temperature.
Mix Seasoned Dredge
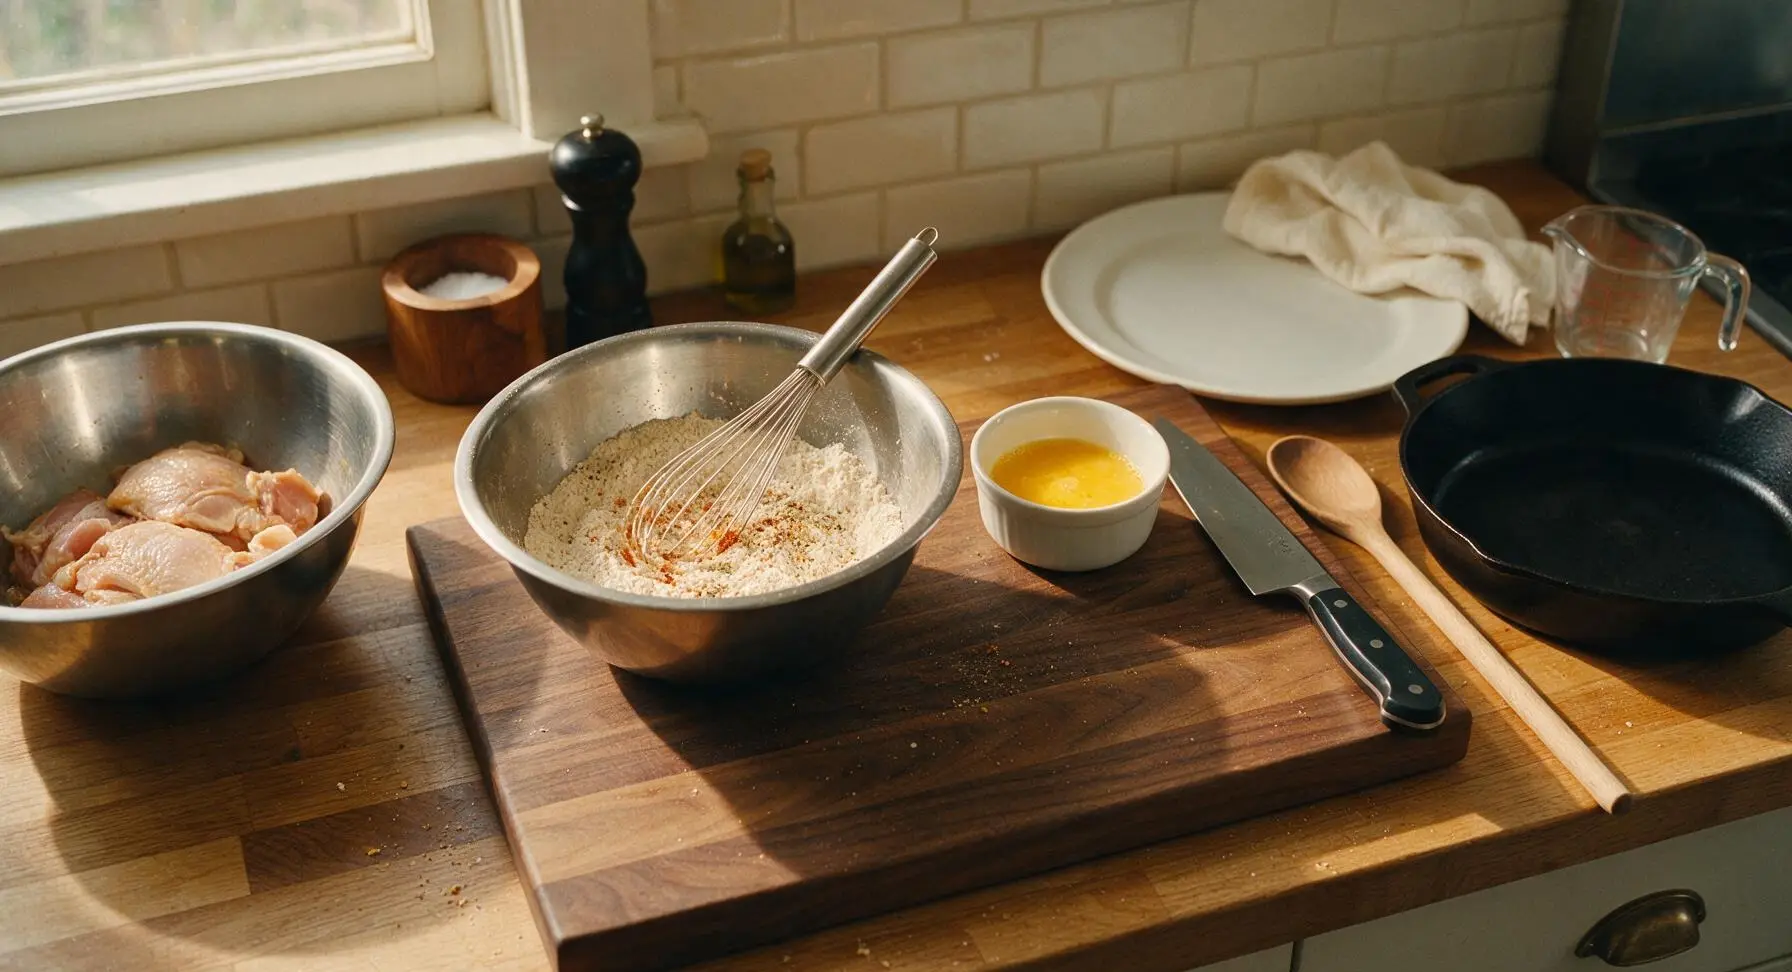
In the medium stainless steel mixing bowl, use the balloon whisk to combine all-purpose flour, remaining 1 tablespoon kosher salt, black pepper, garlic powder, onion powder, smoked paprika, and cayenne pepper until evenly mixed. In the small stainless steel mixing bowl, whisk the 2 large eggs until completely smooth with no streaks of egg white remaining.
Heat Frying Oil
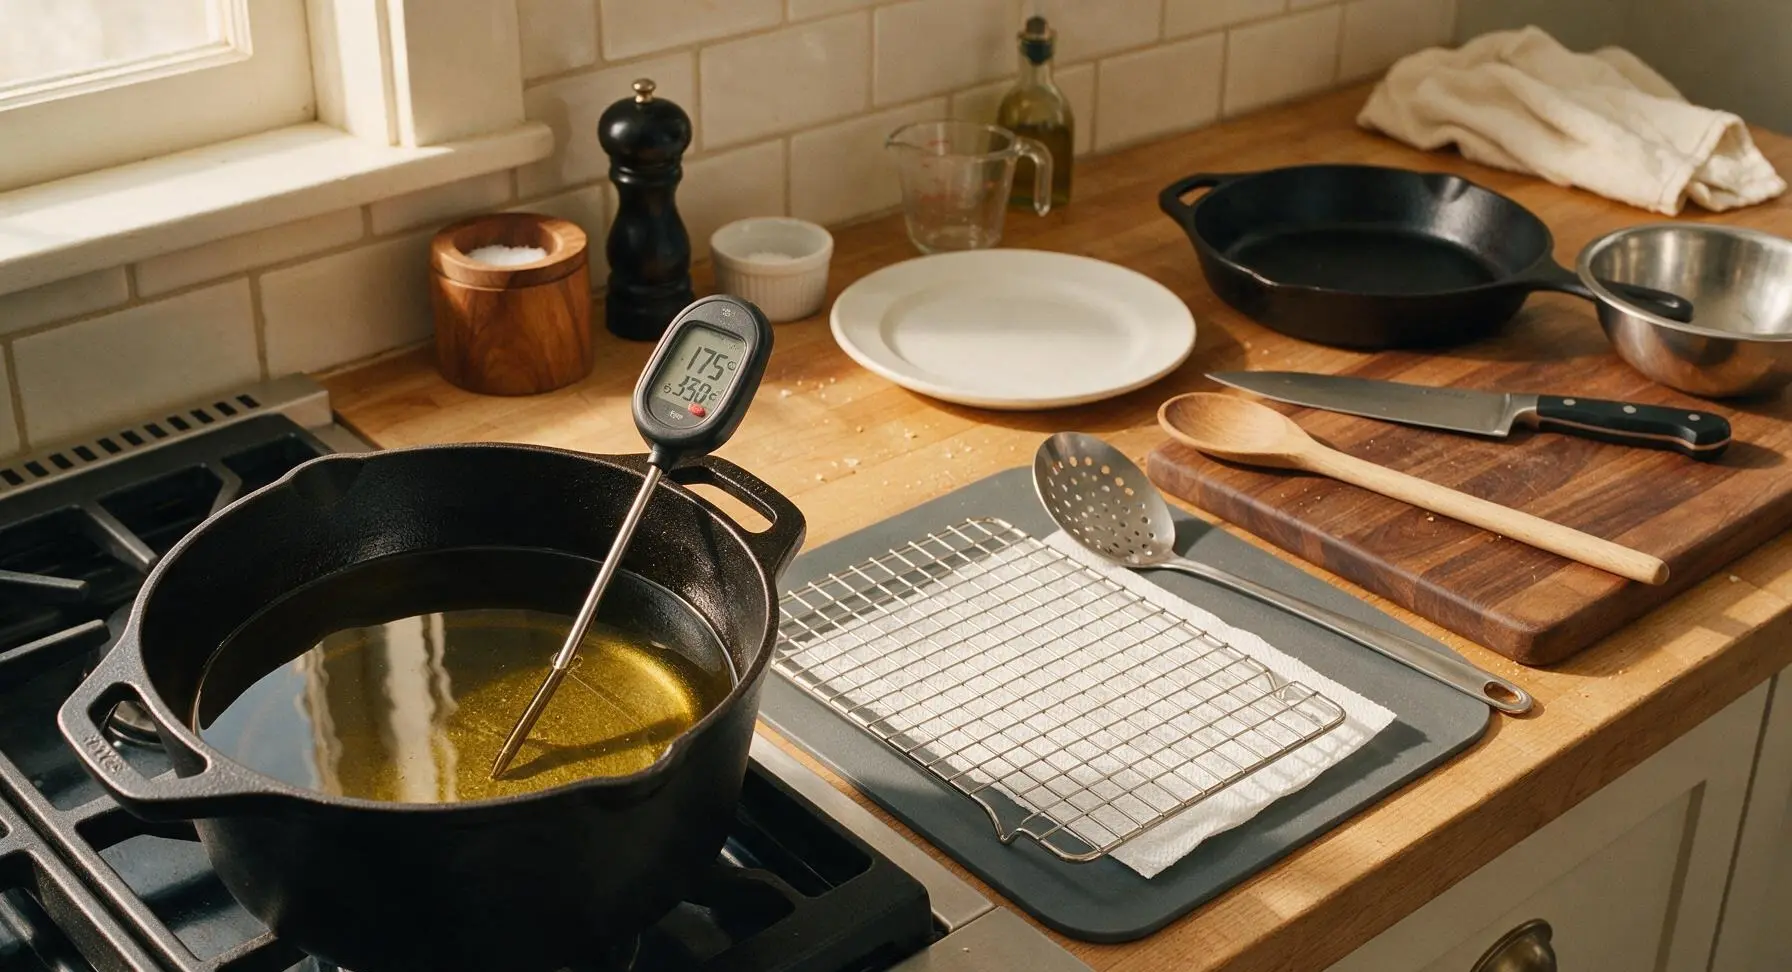
Retrieve the cast iron Dutch oven from below the counter and place it on the left stovetop burner. Pour in canola oil to a depth of 5cm (2 inches), and heat over medium heat until the oil reaches a steady 175°C (350°F), verified with the digital instant-read thermometer. Retrieve the chrome wire cooling rack and slotted skimmer, line the rack with a single layer of unbleached paper towel, and set the rack on the charcoal gray silicone mat to the right of the stovetop, with the skimmer resting beside it.
Dredge Chicken Pieces
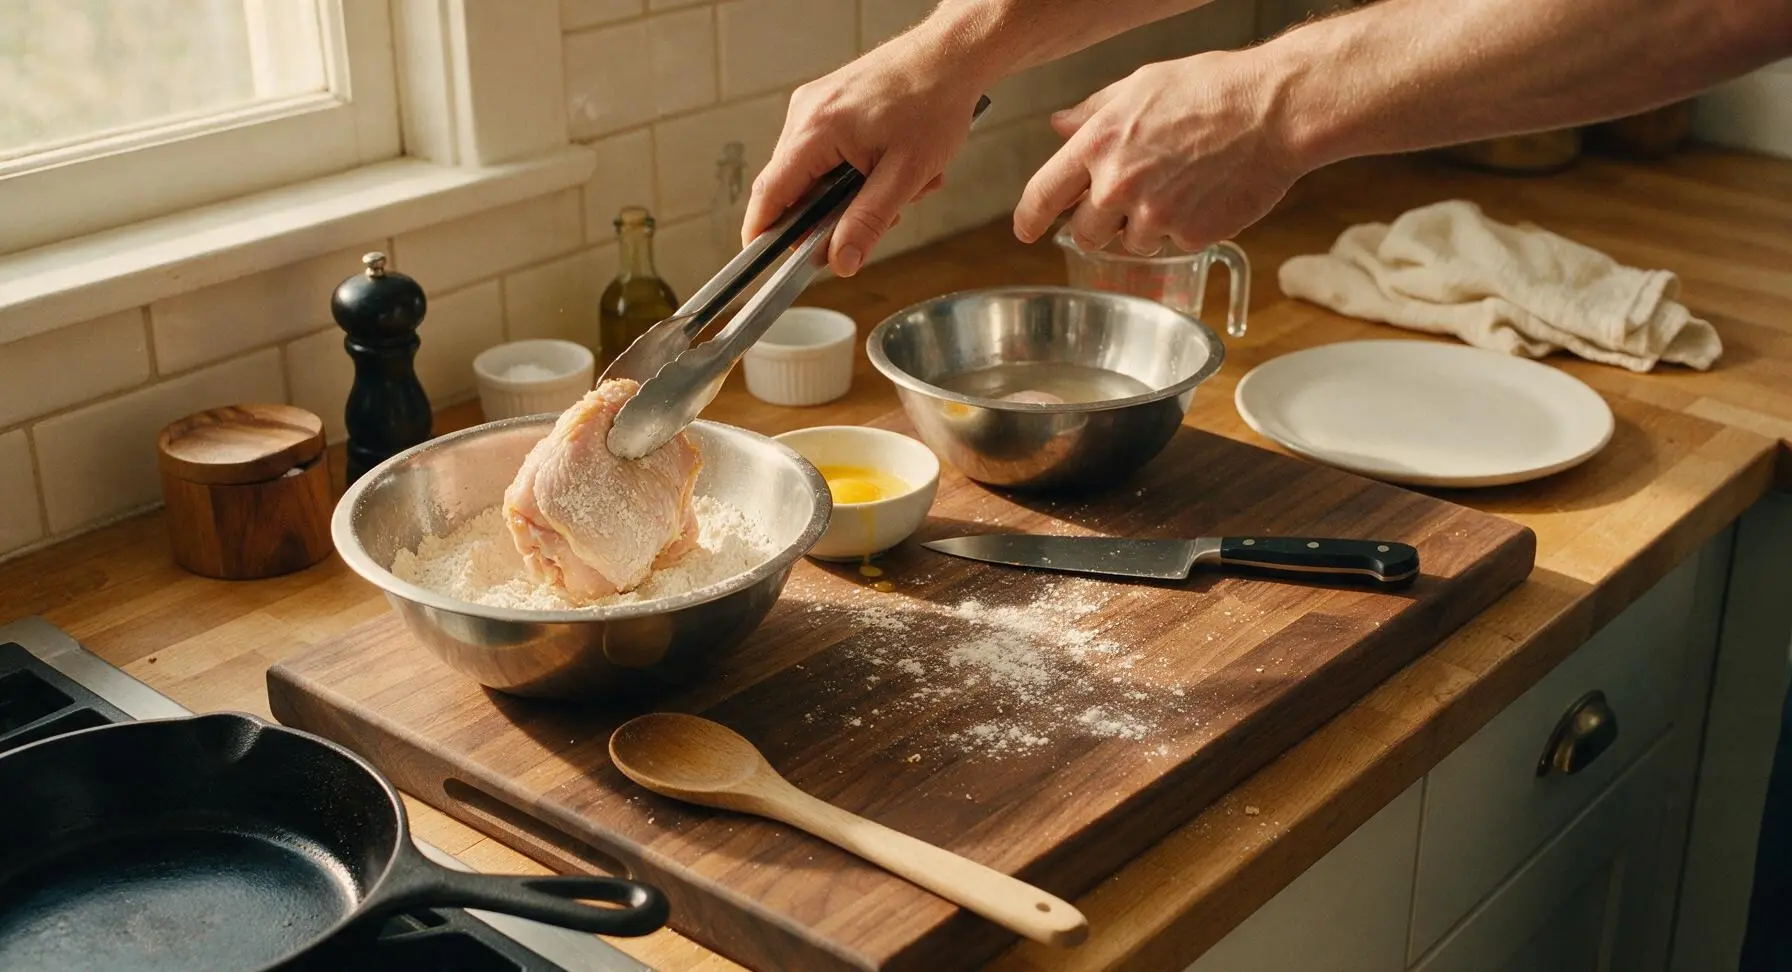
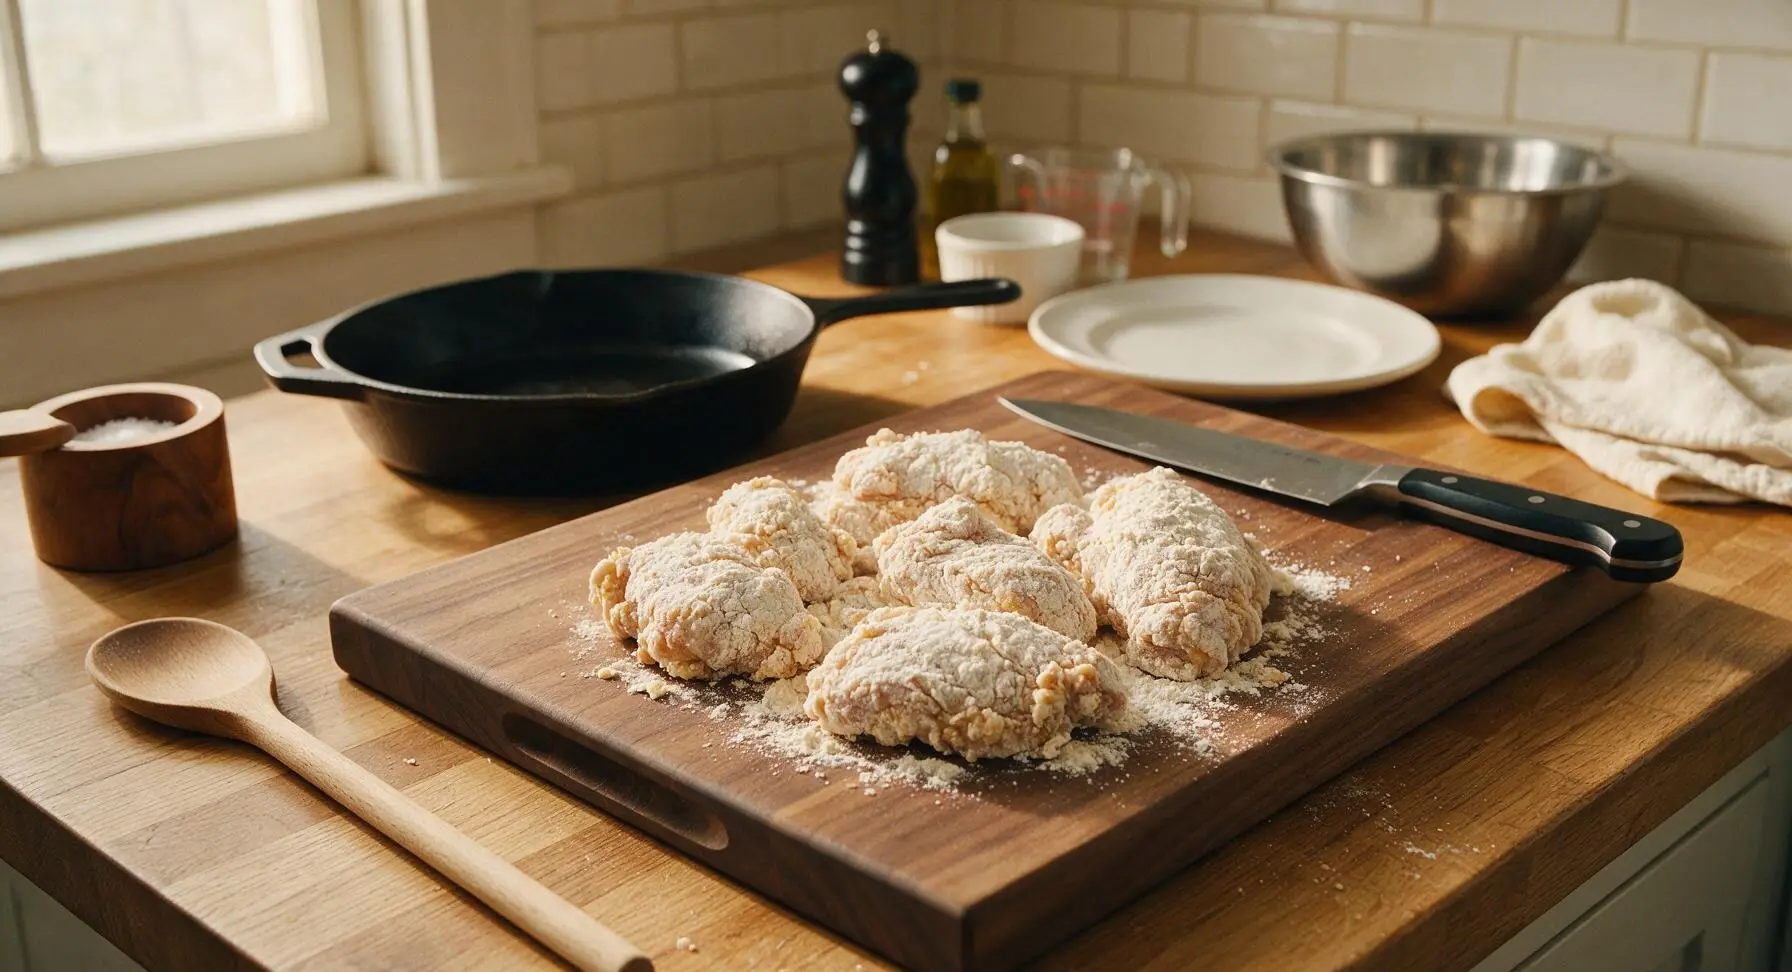
Working one piece at a time, lift chicken from the buttermilk brine with tongs, letting excess buttermilk drip back into the bowl. Dredge first in seasoned flour, pressing firmly to make the coating adhere, then dip fully in whisked egg, letting excess egg drip off, then press a second time into the seasoned flour to build a thick, craggy coating. Set dredged pieces on a clean corner of the cutting board for 10 minutes to let the coating set, which prevents it from sliding off during frying.
Fry Chicken in Batches
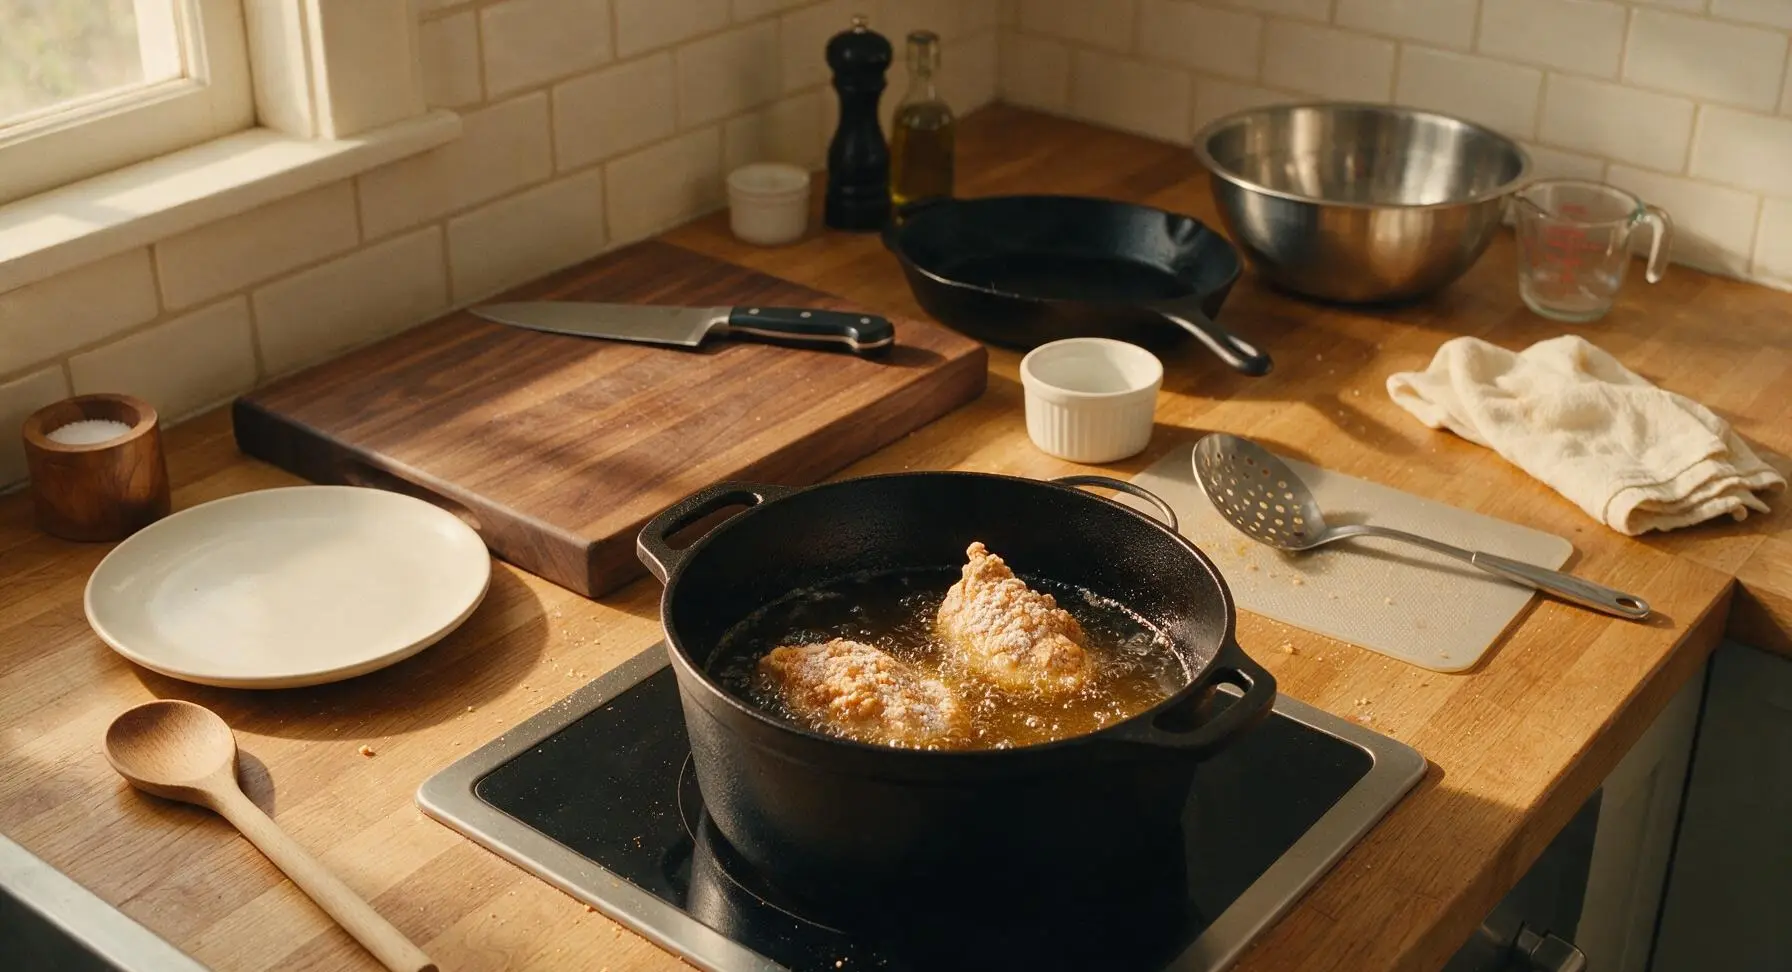
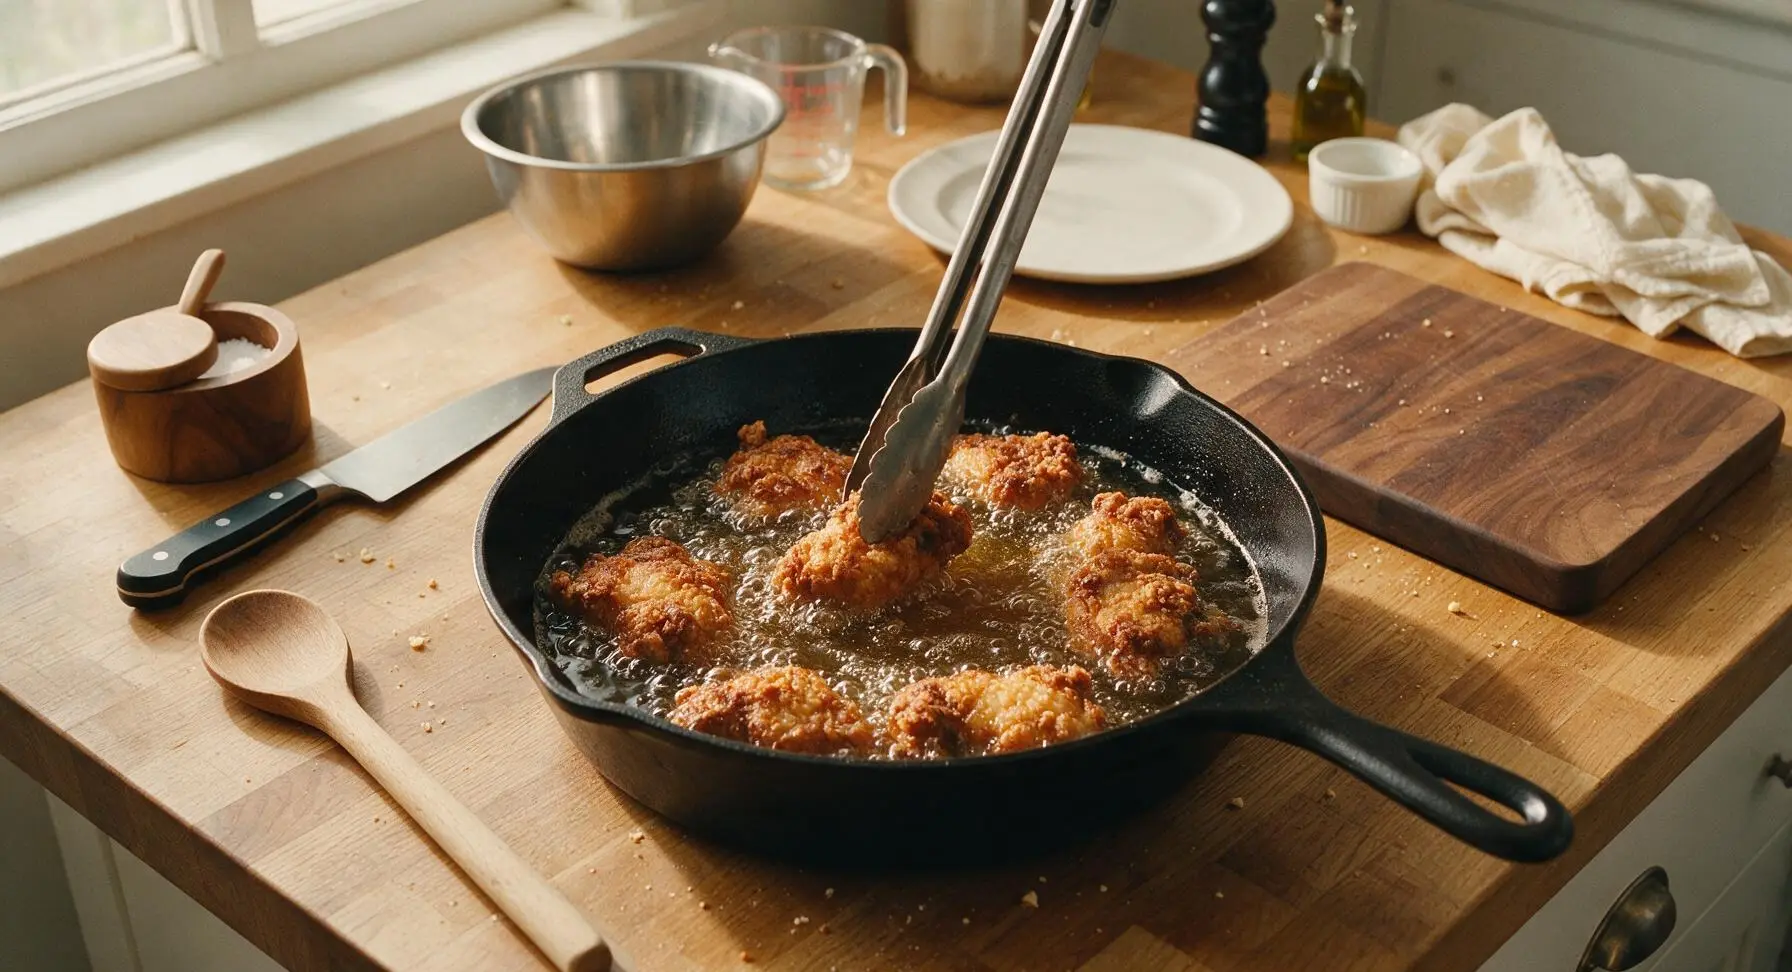
Carefully lower 2–3 pieces of chicken into the hot oil using tongs, taking care not to overcrowd the pot (overcrowding drops oil temperature and leads to greasy chicken). Fry for 12–15 minutes total, turning pieces every 4 minutes with tongs, until the crust is a deep even amber gold, and the internal temperature reaches 75°C (165°F) at the thickest part of the meat, away from bone. Check oil temperature between batches, adjusting heat as needed to maintain 175°C (350°F).
Rest Cooked Chicken
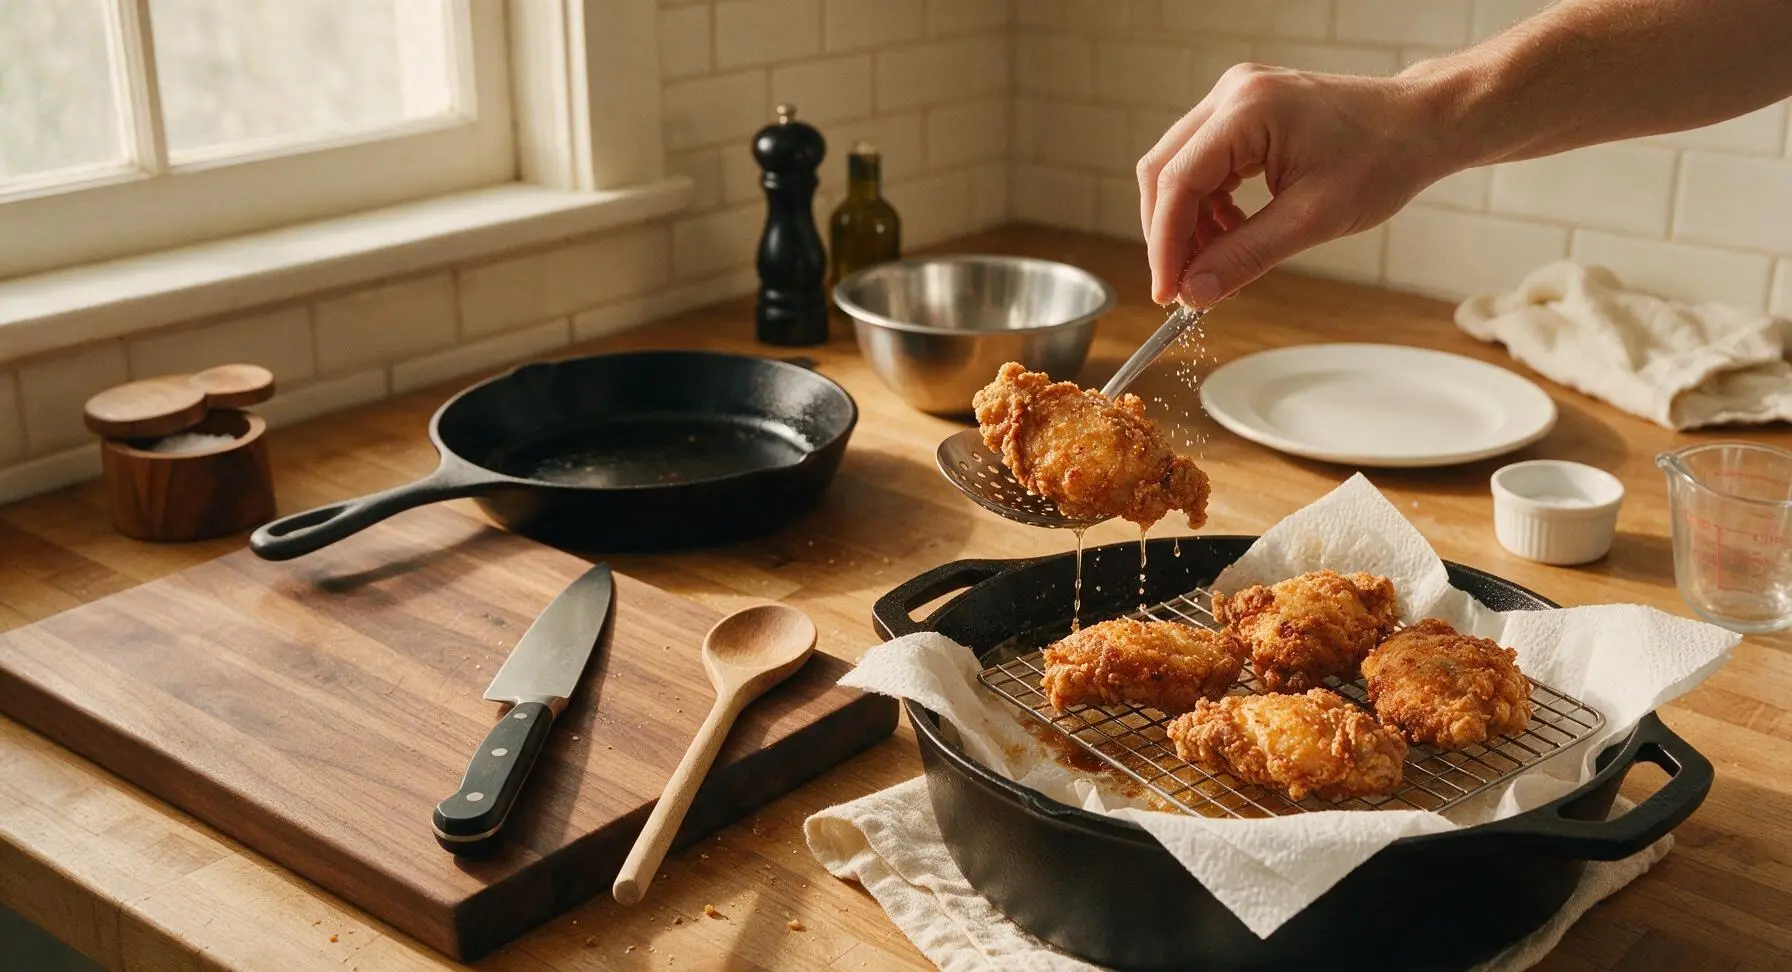
Use the slotted skimmer to lift finished chicken pieces from the oil, holding each piece above the pot for 2–3 seconds to let excess oil drip back, then transfer to the paper-towel lined wire cooling rack. Lightly season the hot crust with a tiny pinch of kosher salt immediately after removing from oil. Let chicken rest for 5 minutes to let juices redistribute and the crust set fully before plating.
Tips
2.Hold oil steady at 175°C (350°F) throughout frying: oil that is too hot will burn the crust before the chicken cooks through, while oil that is too cold will make the chicken absorb excess grease and turn soggy. Check temperature with your thermometer between every batch.
3.Rest fried chicken on a raised wire rack instead of stacking it on a paper-towel lined plate: air circulation around all sides of the chicken keeps the crust crisp, rather than letting trapped steam turn the bottom of the pieces soft and soggy.






OMG this fried chicken is SO good! I made it for our Sunday family dinner and even my super picky 7 year old asked for seconds. The crust was perfectly crispy, not too heavy, and the meat was juicy all the way through. Total game changer for my weekly meal rotation!
Really solid fried chicken recipe! I cooked it for a neighborhood potluck last weekend and everyone asked for the recipe. My only note is I wish I’d let the chicken rest a little longer after breading so the crust stuck better, that was totally my mistake though. Will definitely make again.
I’ve tried so many fried chicken recipes over the years and this one is hands down the best. The brine tip? Absolute chef’s kiss. No more dry white meat for me! Made a big batch for meal prep and it held up great all week in the fridge.
I’ve been making fried chicken for 60+ years and I was skeptical a random online recipe could measure up, but color me impressed! The spice blend in the breading is perfectly balanced, not too salty, just enough kick. My grandkids demolished half the pan before I even got the sides on the table.
Taste was great, but I struggled with the cook time on the thicker thighs. Took me almost 45 minutes total instead of 30 because I kept having to check to make sure they hit 165 inside. Maybe note that bone-in cuts will take a little longer for new cooks like me? Crust was amazing though, no complaints there.
Made this for my partner’s birthday cookout and it was the star of the spread! Everyone kept coming back for more, even the people who say they “don’t like fried chicken.” I paired it with coleslaw and cornbread, chef’s kiss.
Game. Changer. I’ve always been scared to make homemade fried chicken because I thought it was too hard (medium difficulty had me nervous!) but the step by step instructions were so easy to follow. No burnt crust, no raw chicken, total win for my first ever attempt.
Just finished making this for lunch and wow, I’m obsessed. I used boneless skinless thighs because that’s what I had in the fridge, adjusted the cook time a touch, and it came out perfect. Crispy, juicy, flavorful, way better than the fast food fried chicken I usually get on my lunch break.
Great flavor, loved the crunch! I did find that the oil temp dropped a lot when I first added the chicken, so I had to crank the heat a little to get it back up to 350. Ended up turning out great once I got the temp sorted out. Will make again for sure.
My kids loved it! They usually only eat the chicken nuggets from the frozen section, so I was shocked when they asked for thirds of this homemade version. I added a little extra garlic powder to the flour because we are garlic fiends in this house, and it was perfect.
Made a double batch of this for my fantasy football draft watch party last night and there were zero leftovers. Zero! Even my buddy who swears his mom’s fried chicken is the best said this might give her a run for her money. 10/10.
So excited to try this! I’ve been looking for a reliable fried chicken recipe to make for my dad’s birthday dinner next weekend, and all the reviews look amazing. Grabbing all the ingredients on my grocery run after work today!
Really good fried chicken! I used a mix of drumsticks and breasts, and the breasts came out way juicier than I expected. My only small complaint is I wished the seasoning was a little spicier, so next time I’ll add a pinch of cayenne to kick it up.
I meal prepped this on Sunday and ate it for lunch all week, even cold straight from the fridge it was SO good. The crust stayed crispy for days? I don’t know how that’s possible but I’m not complaining. Saved me so much money on takeout this week.
First time making fried chicken ever and I nailed it? Shoutout to this recipe for making me look like a professional cook in front of my roommates. The crust was so crunchy, the seasoning was on point, no complaints at all.
I brought this to my family reunion potluck last weekend and people were lined up to get a piece. I had three aunts ask me for the recipe, which is the highest possible honor you can get at a family reunion, tbh. 10/10, will be making this for every family event from now on.
Tasted amazing, but I made the mistake of overcrowding the pan on my first batch so the crust got a little soggy. Second batch I only put 3 pieces in at a time and it came out perfect. Definitely don’t rush the batches, people! Worth the extra wait.