
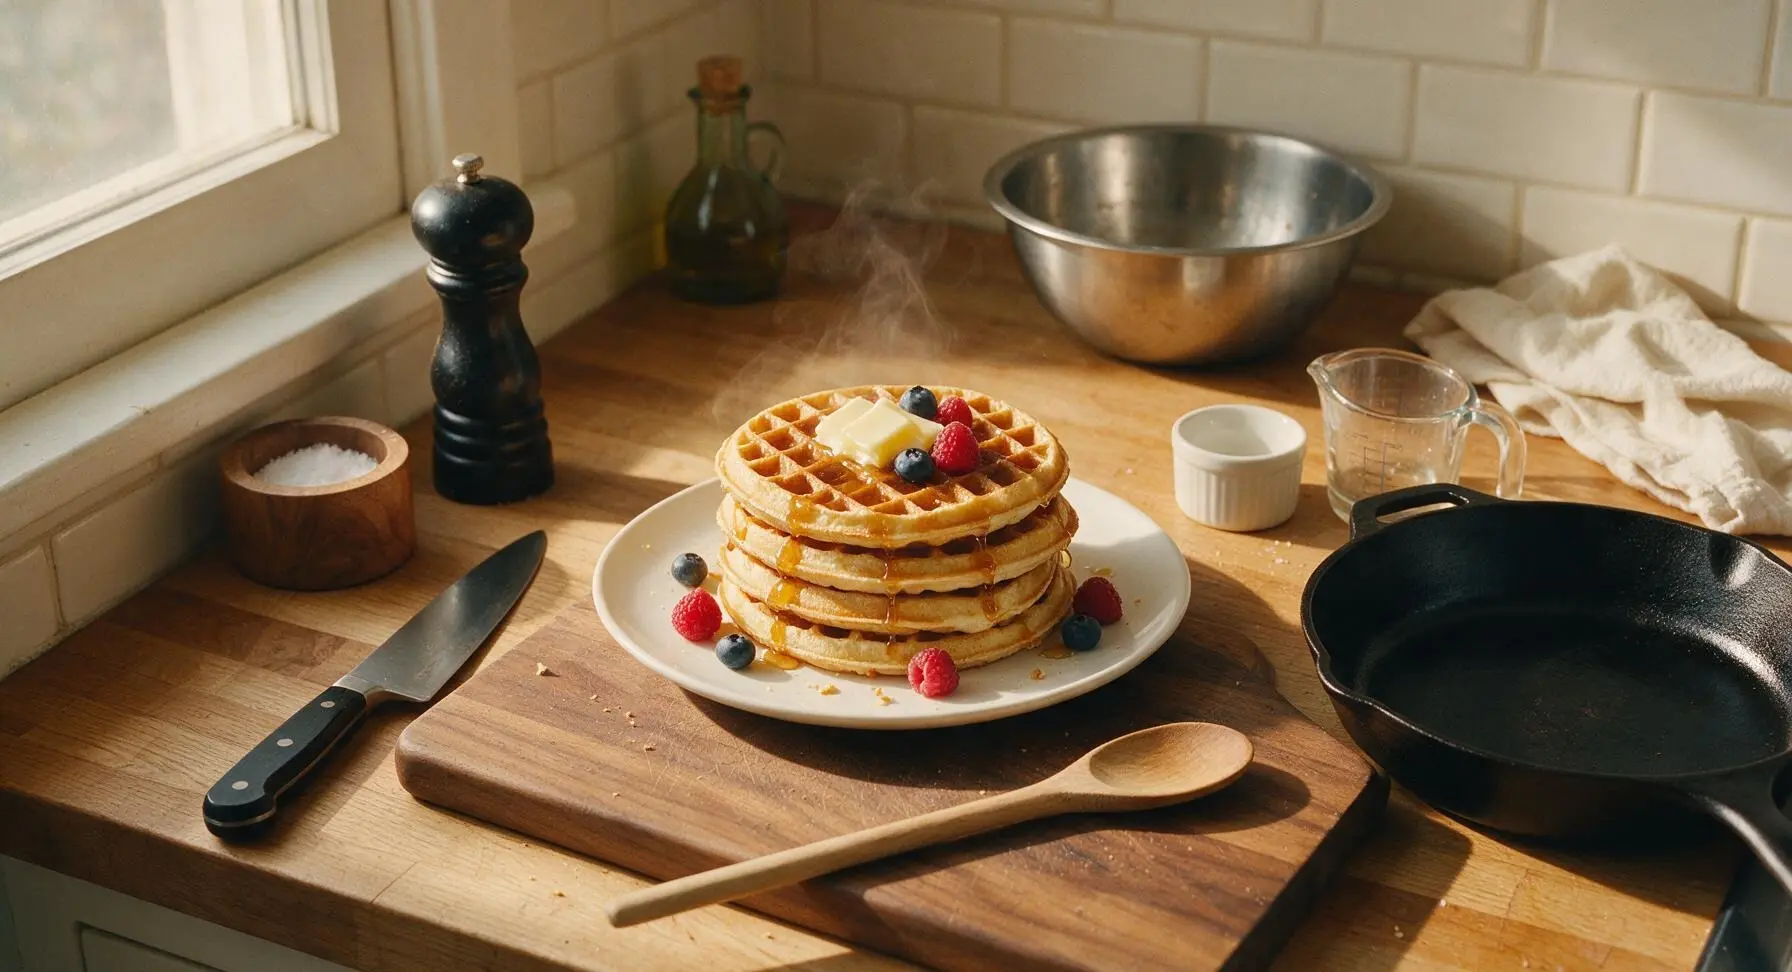
Classic Waffles

title 1
Classic Waffles
⏱️ cook time 15 minutes
🍽️ servings 4
⚡ Difficulty easy

intro

Crisp golden edges, light fluffy centers, these classic waffles are a cozy, satisfying meal ready in under 30 minutes, perfect topped with butter, maple syrup, and fresh fruit.

Ingredients
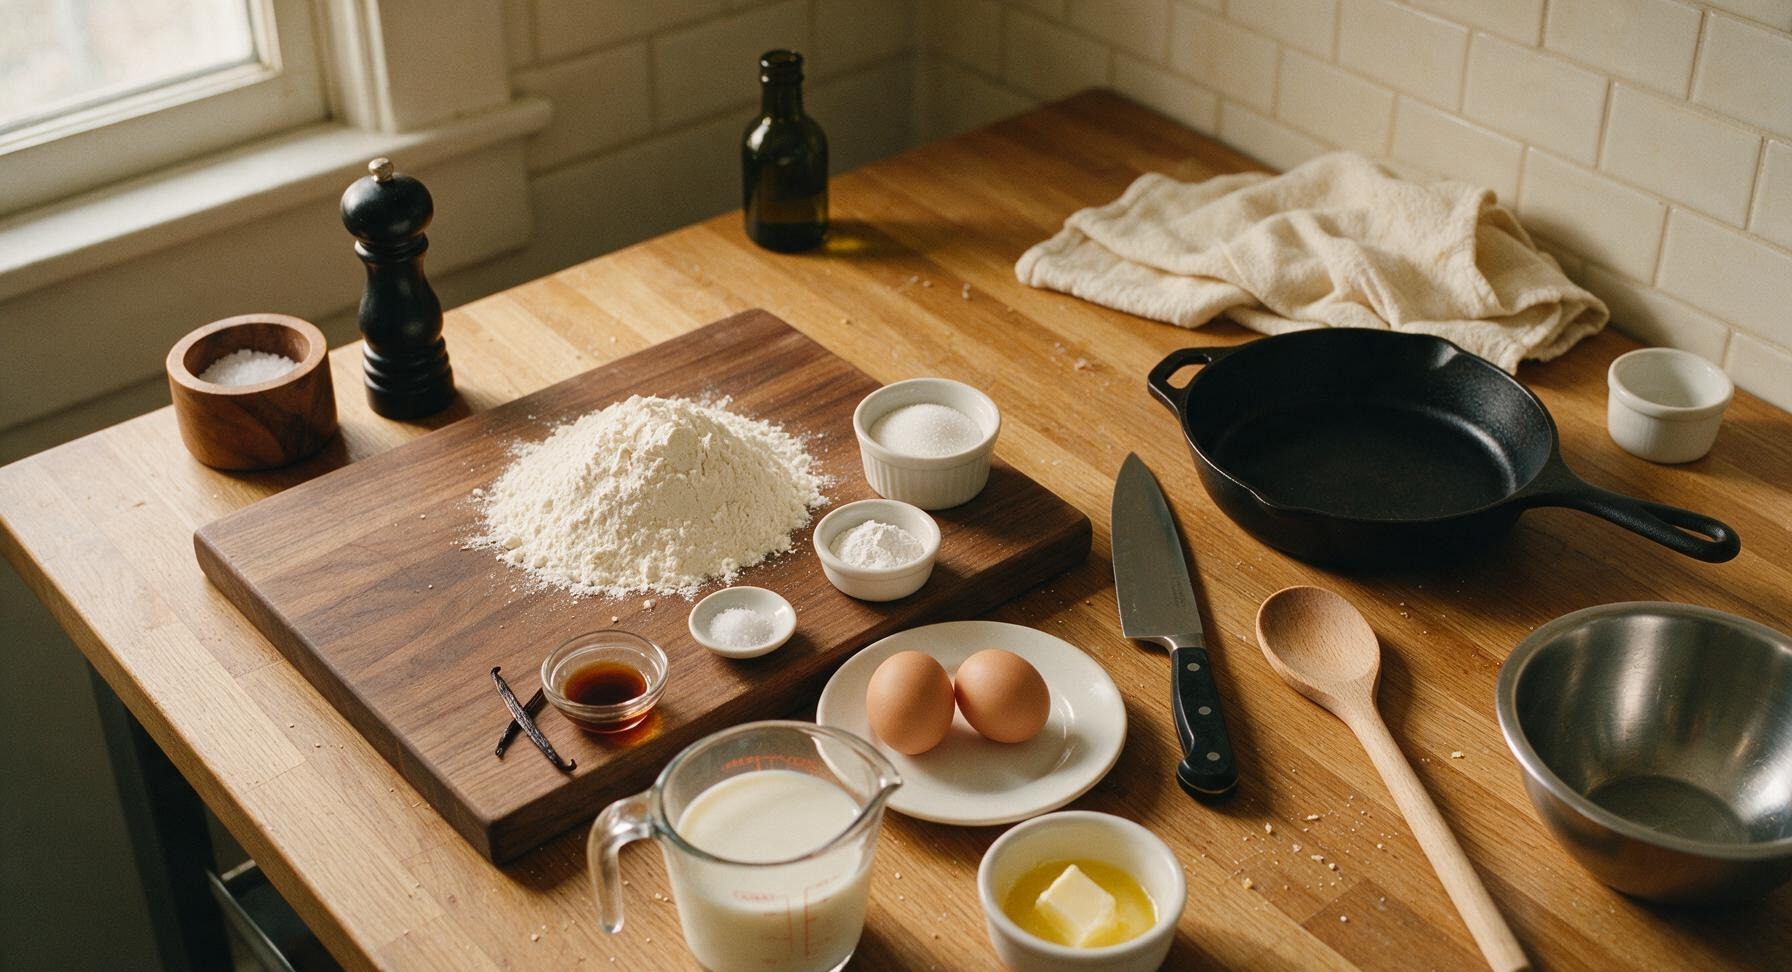
All-purpose flour 240g (2 cups)
Whole milk 420ml (1 3/4 cups)
Unsalted butter 75g (1/3 cup), melted and cooled
Large eggs 2 each
Granulated sugar 25g (2 tbsp)
Baking powder 12g (1 tbsp)
Fine sea salt 3g (1/2 tsp)
Pure vanilla extract 5ml (1 tsp)

Steps

1

Whisk Dry Ingredients

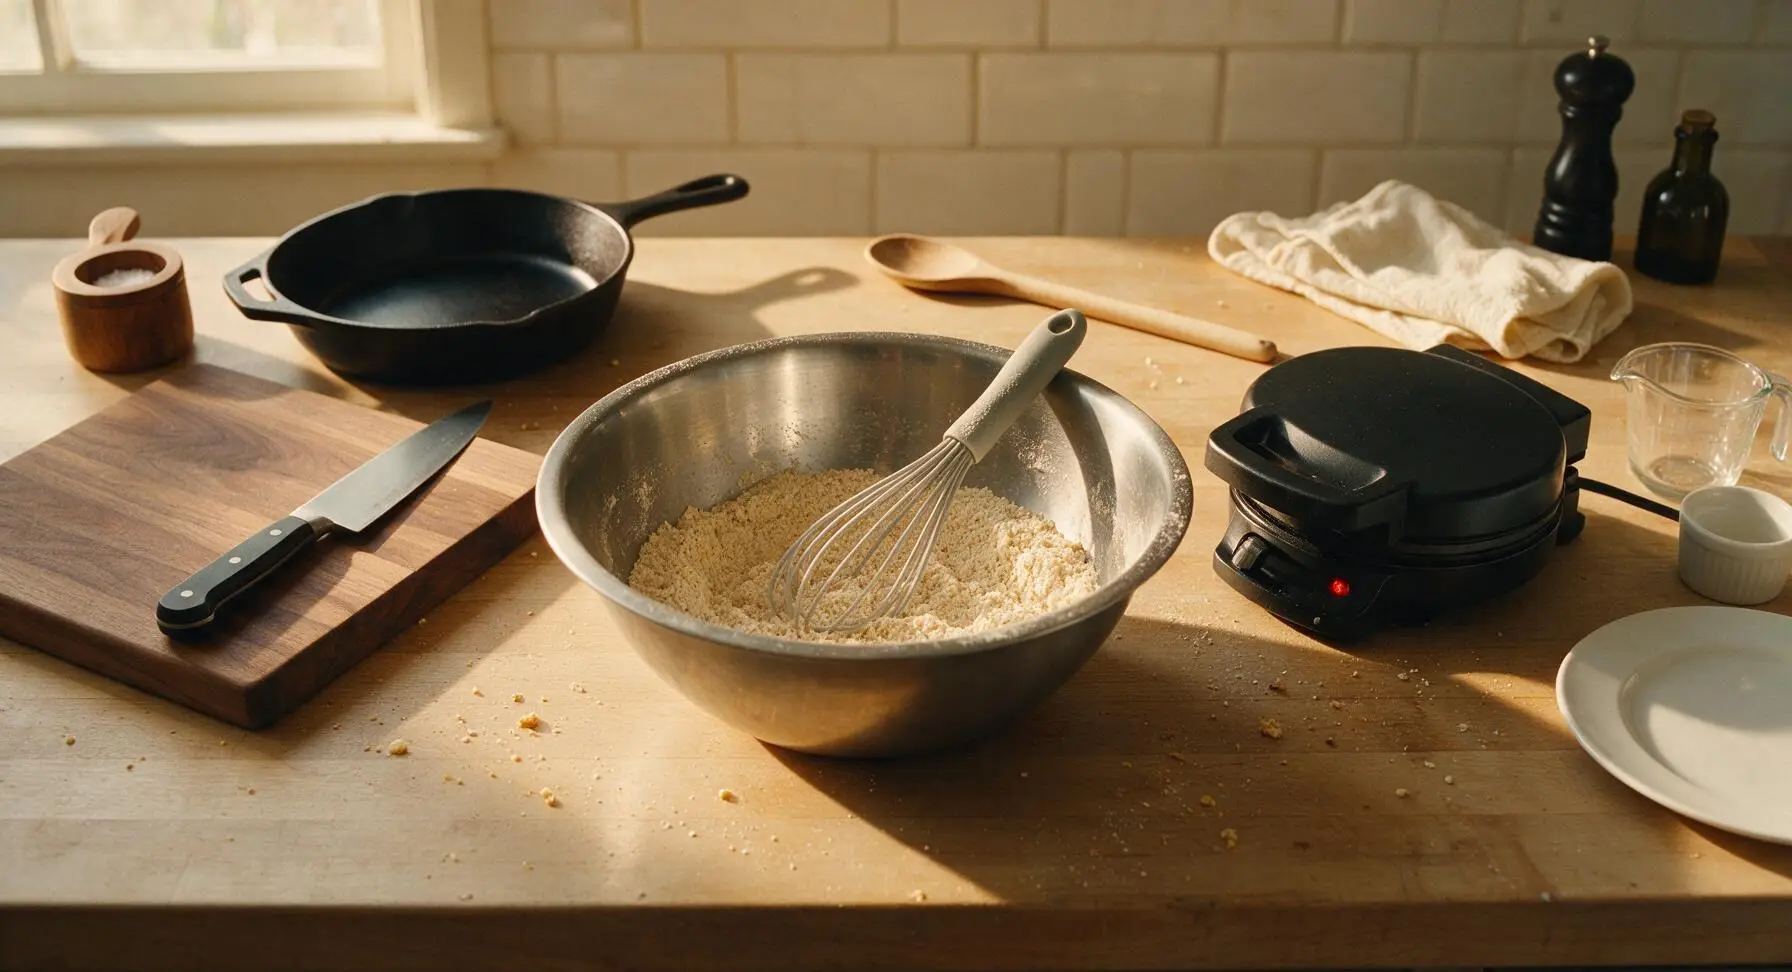
Preheat your waffle iron to medium-high heat (190C / 375F) while you prepare the batter. In the large brushed stainless steel mixing bowl, combine 240g (2 cups) all-purpose flour, 25g (2 tbsp) granulated sugar, 12g (1 tbsp) baking powder, and 3g (1/2 tsp) fine sea salt. Use the light gray silicone whisk to stir for 30 seconds until all dry ingredients are fully and evenly combined, with no visible clumps of baking powder. This ensures even leavening for consistently fluffy waffles across every batch.
Step 1
step1:Whisk Dry Ingredients
2

Combine Wet Ingredients

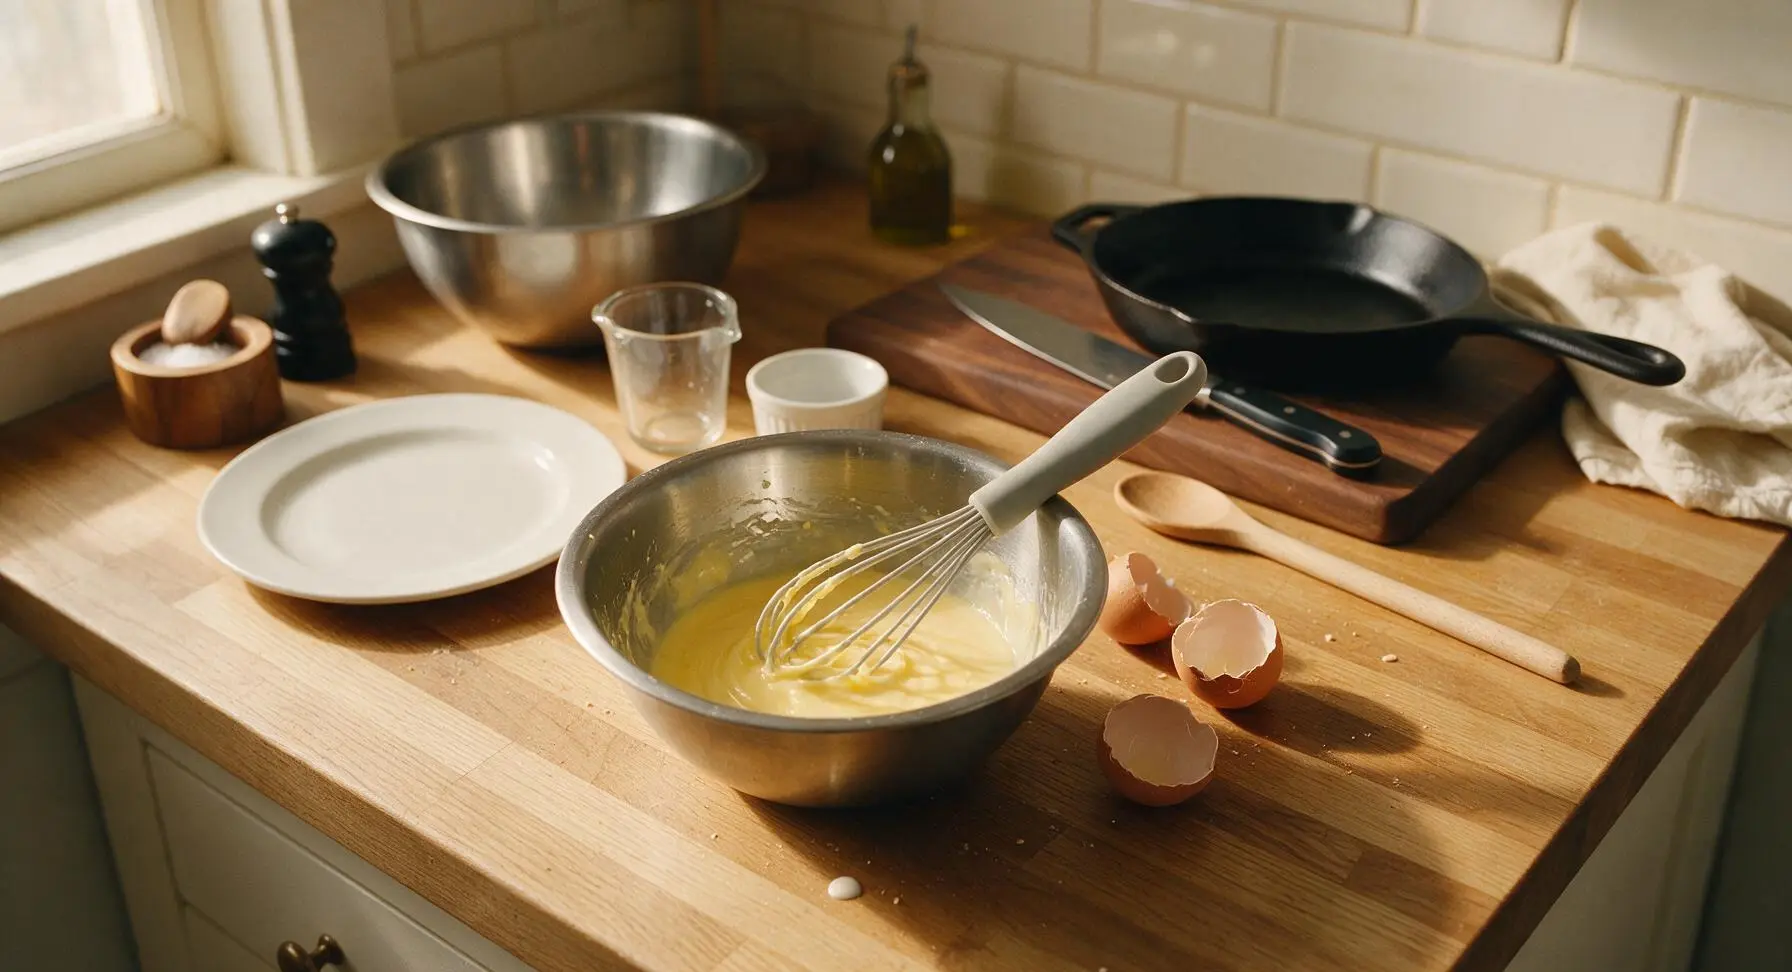
In the small brushed stainless steel mixing bowl, crack the 2 large eggs, then add 420ml (1 3/4 cups) whole milk, 75g (1/3 cup) melted cooled unsalted butter, and 5ml (1 tsp) pure vanilla extract. Whisk vigorously with the light gray silicone whisk for 45 seconds until the mixture is completely smooth, with egg yolks fully incorporated and no streaks of unblended egg white visible on the surface. Critical note: Ensure melted butter is cooled to below 50C / 120F before adding to avoid cooking the eggs on contact.
Step 2
step2:Combine Wet Ingredients
3

Fold Batter Gently

Pour the entire wet ingredient mixture into the large mixing bowl with the dry ingredients. Use the light gray silicone spatula to gently fold the mixtures together, stirring only just until no large streaks of dry flour remain. The batter will be noticeably lumpy – do NOT overmix, as overdeveloped gluten from excessive stirring will produce tough, dense waffles. Stop folding as soon as the last traces of flour disappear; small 1cm lumps are normal and desirable for tender waffles.
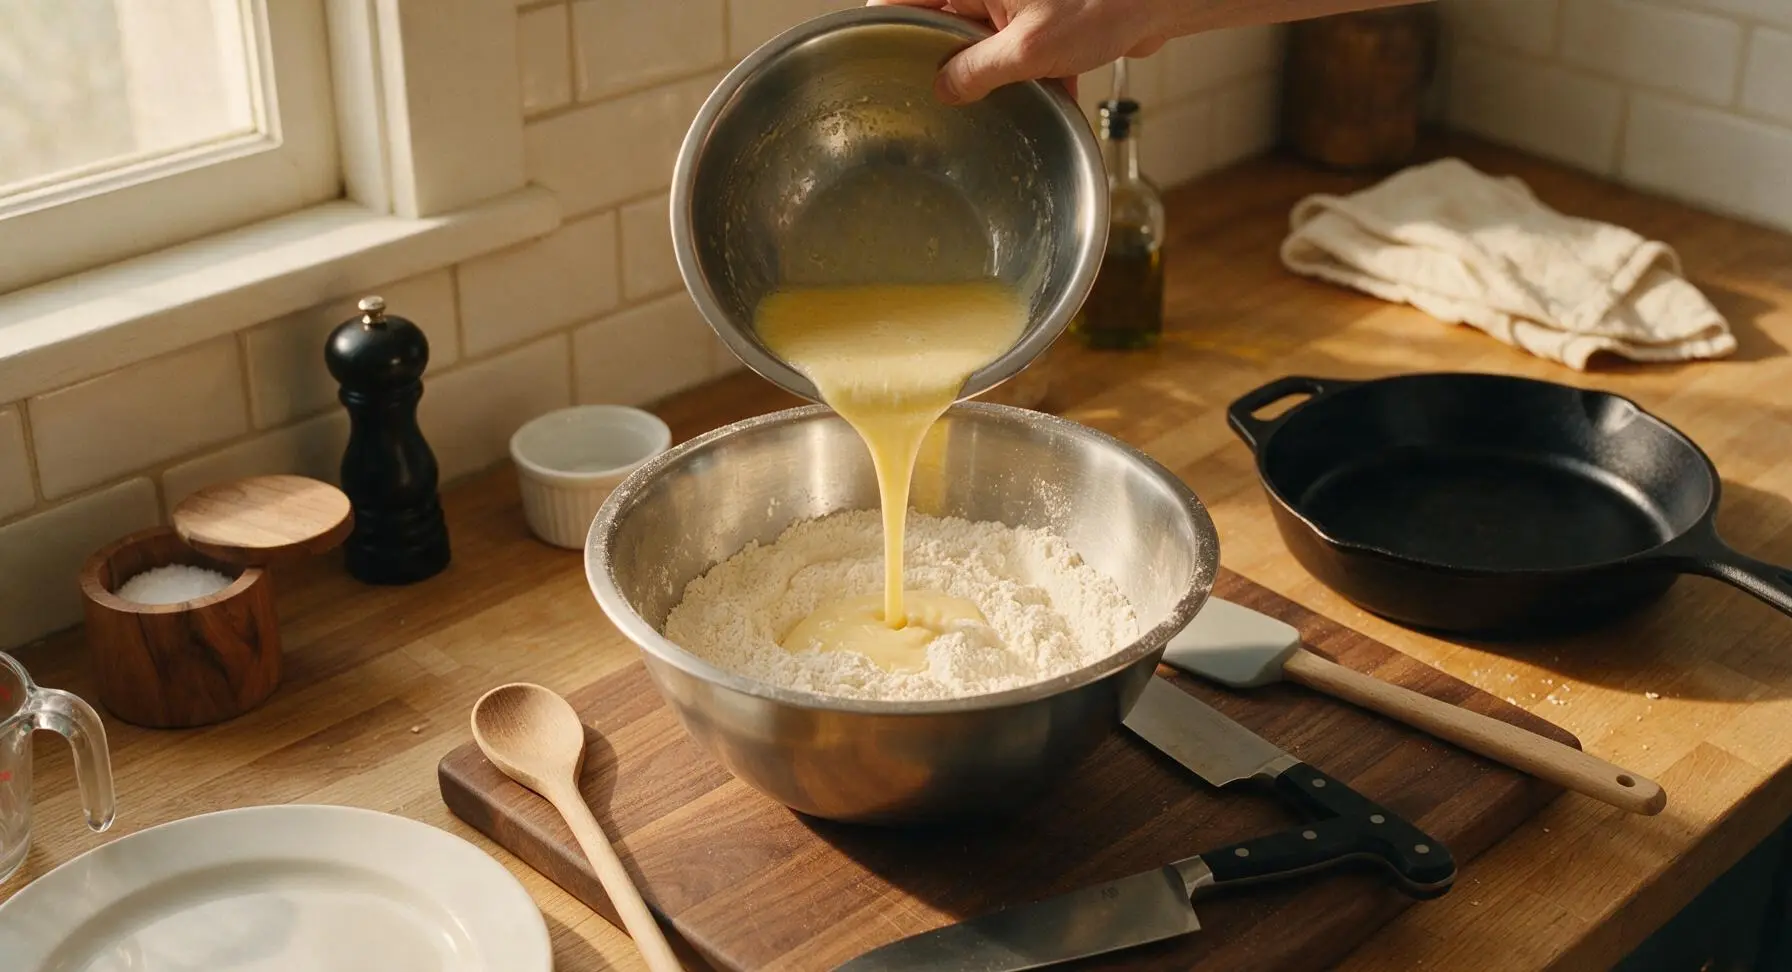
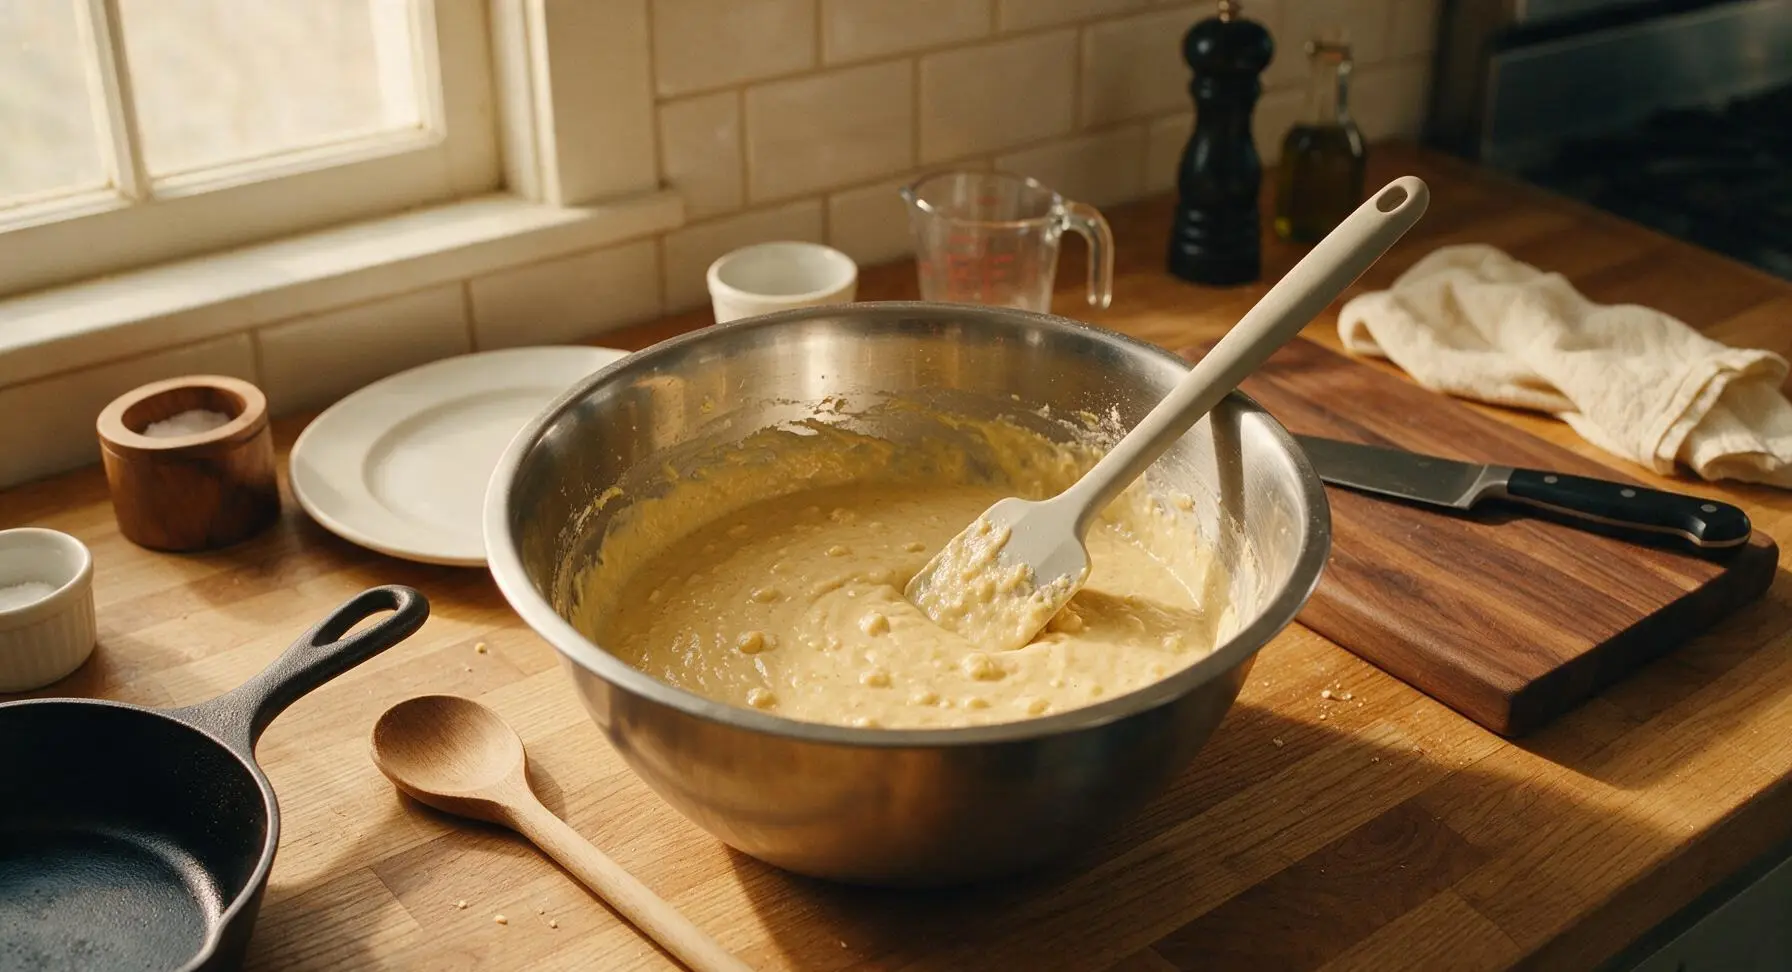
Step 3
step3:Fold Batter Gently
Step 3
step3:Fold Batter Gently
4

Rest Batter 5 Minutes

Set the bowl of mixed batter aside on the counter to rest for 5 full minutes at room temperature. During this rest, the baking powder will activate, creating tiny visible air bubbles across the batter surface, and the flour will fully hydrate for lighter, taller, more tender waffles. Do not stir the batter again after this rest period, as this will pop the critical air bubbles built up during resting.
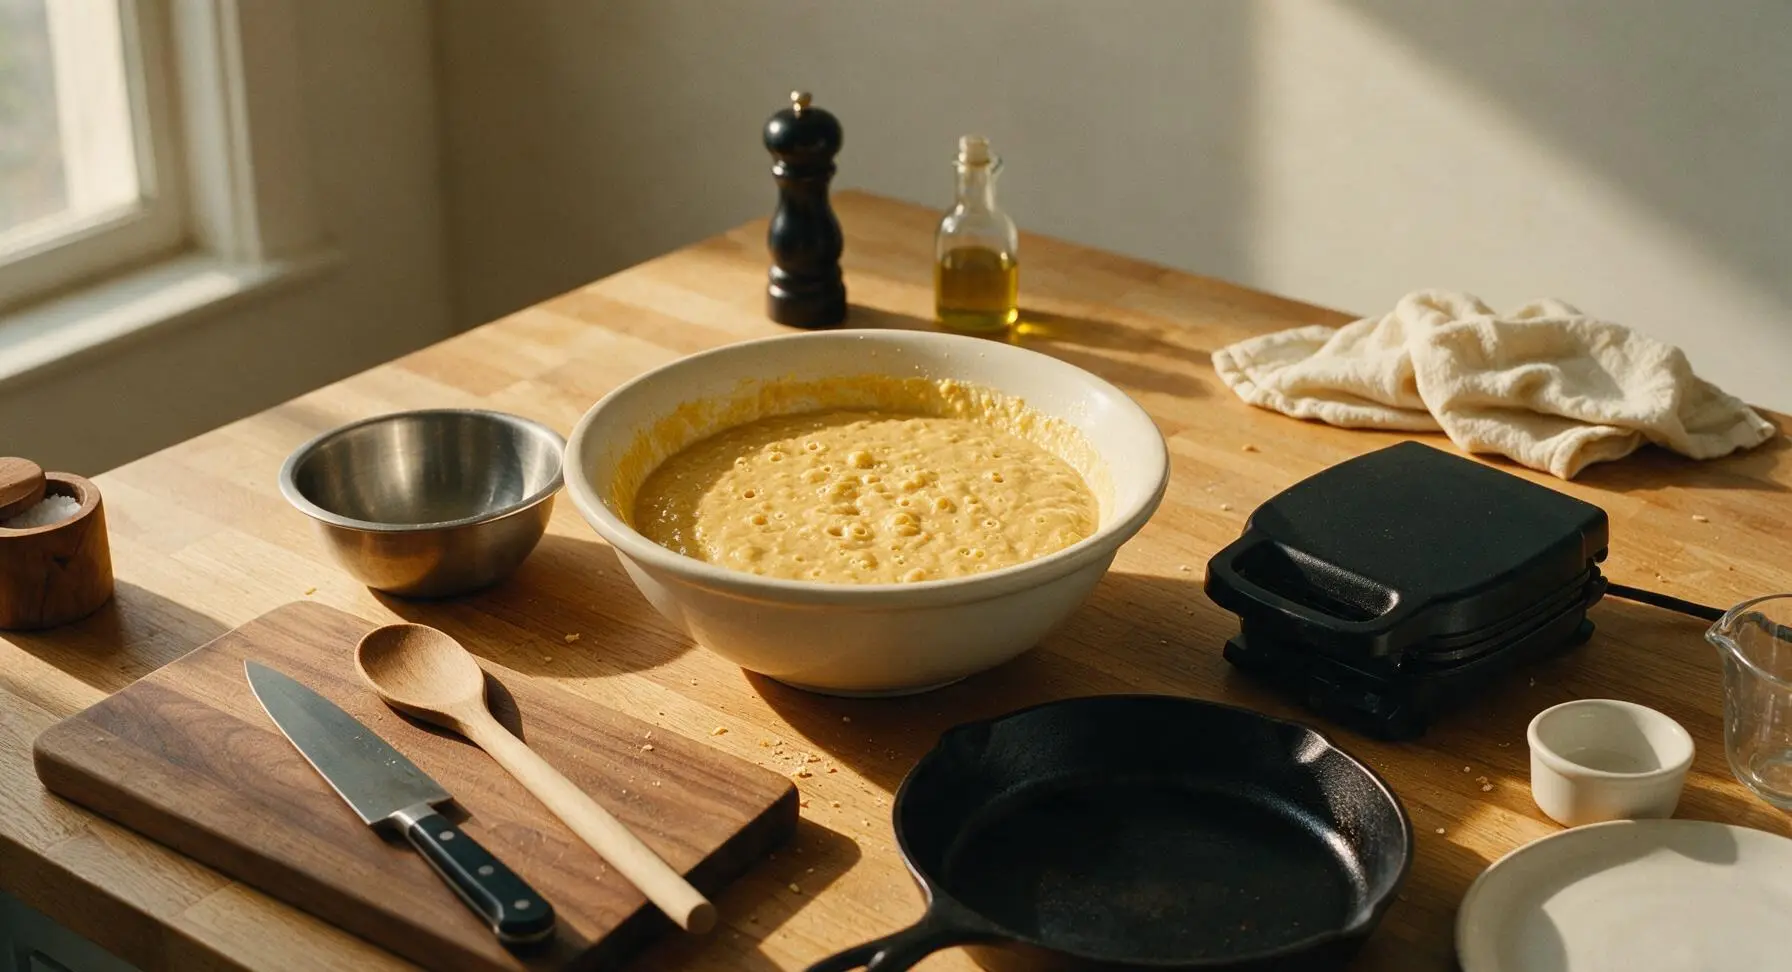
Step 4
step4:Rest Batter 5 Minutes
5

Cook Waffles Until Crisp

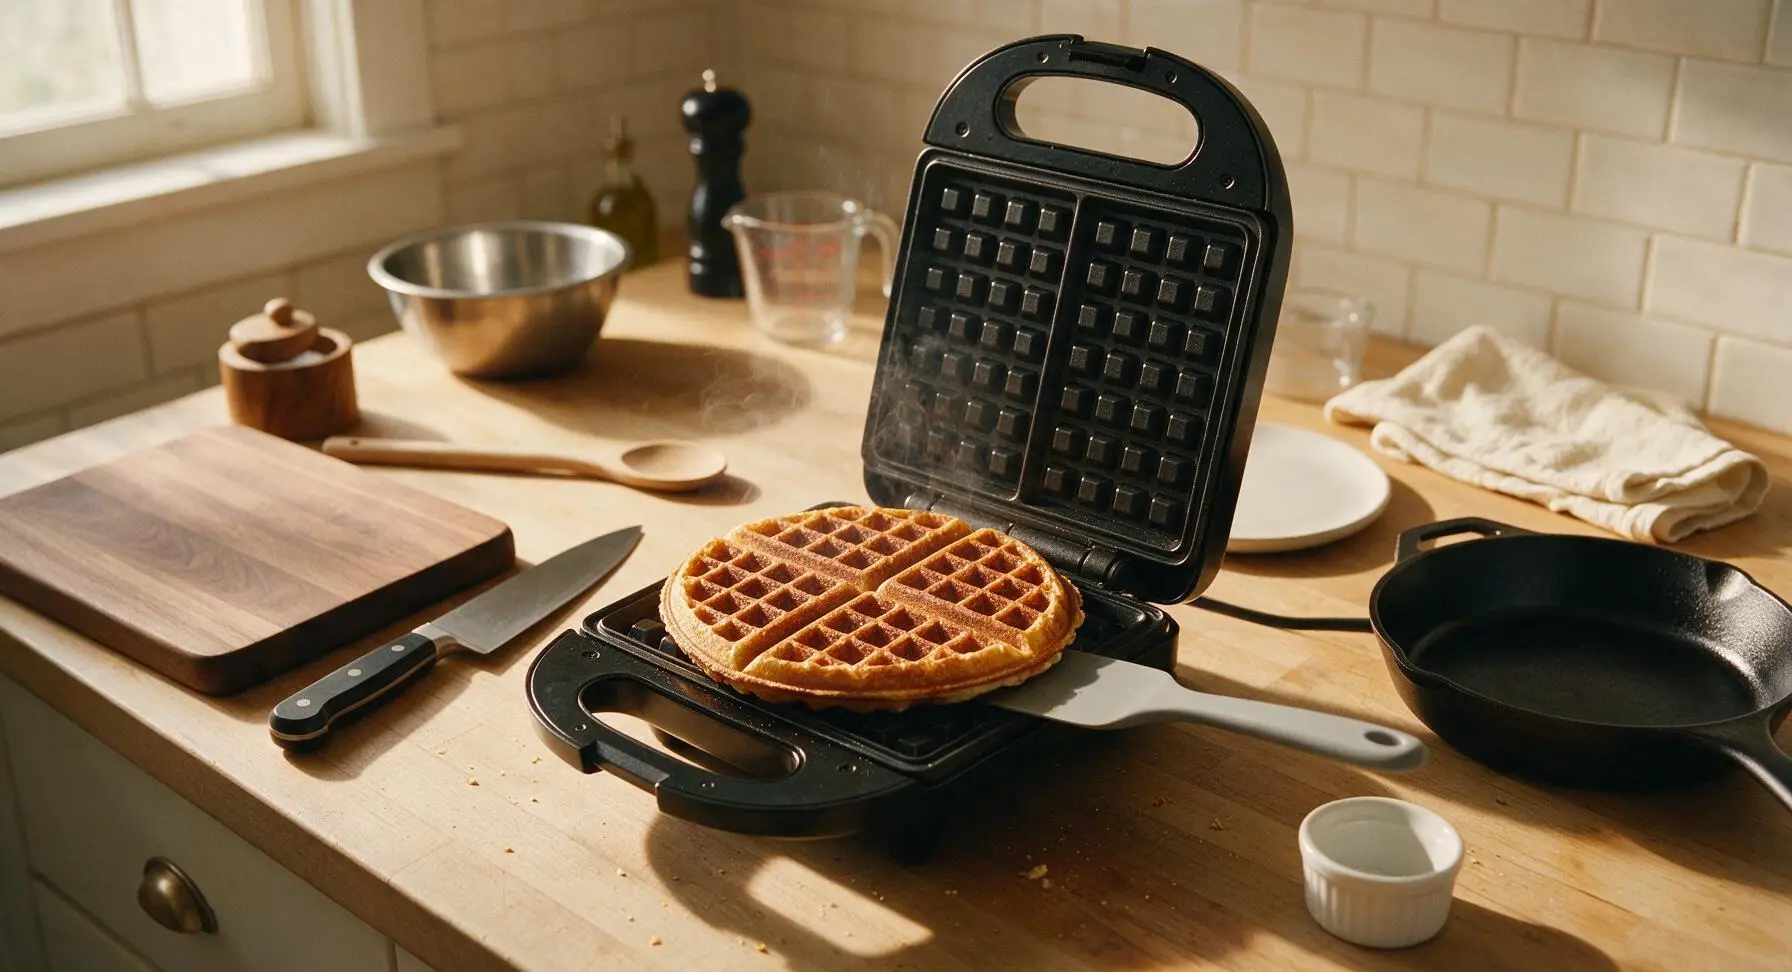
Once the waffle iron is fully preheated, lightly coat the top and bottom grid plates with a thin layer of melted butter or non-stick spray. Use the 1-cup stainless steel measuring cup to scoop 180ml (3/4 cup) of batter, pouring it directly into the center of the lower waffle grid. Spread the batter gently with the silicone spatula to within 1cm of the grid edges. Close the waffle iron lid and cook for 3.5 to 4 minutes, until steam stops escaping from the iron edges and the waffle is deep golden brown and crisp. Do not open the lid early, as this will cause the partially set waffle to split and stick.
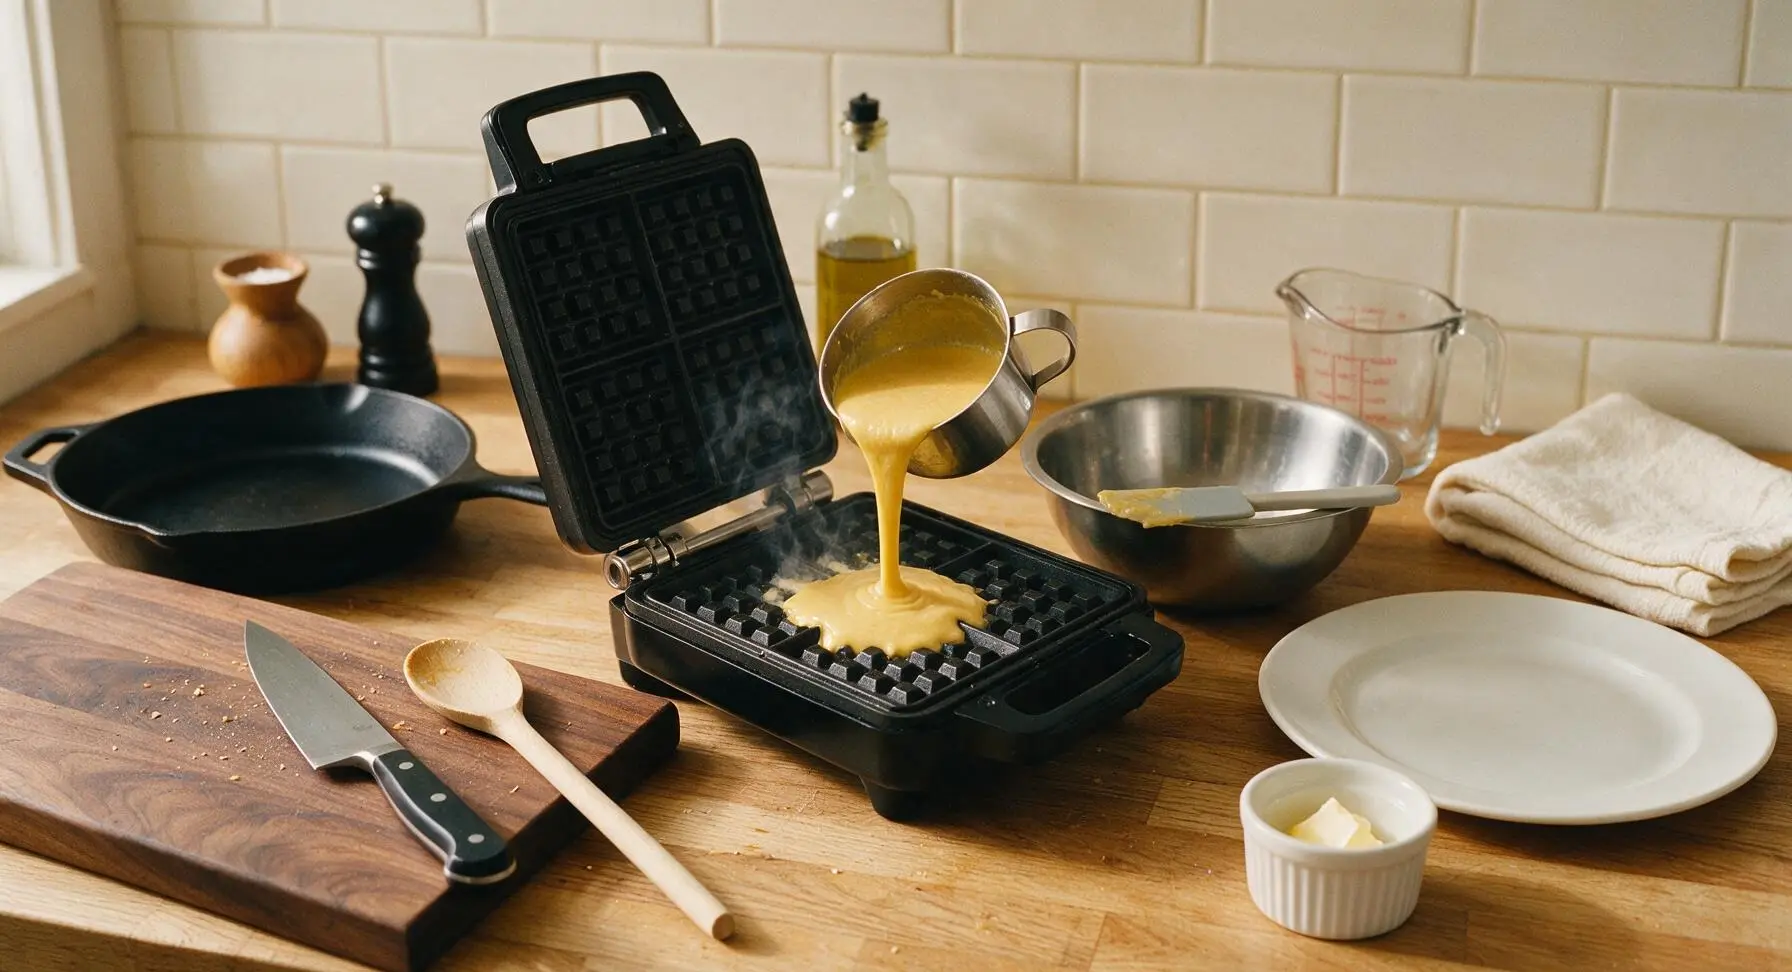
Step 5
step5:Cook Waffles Until Crisp
Step 5
step5:Cook Waffles Until Crisp
6

Rest Waffles On Rack

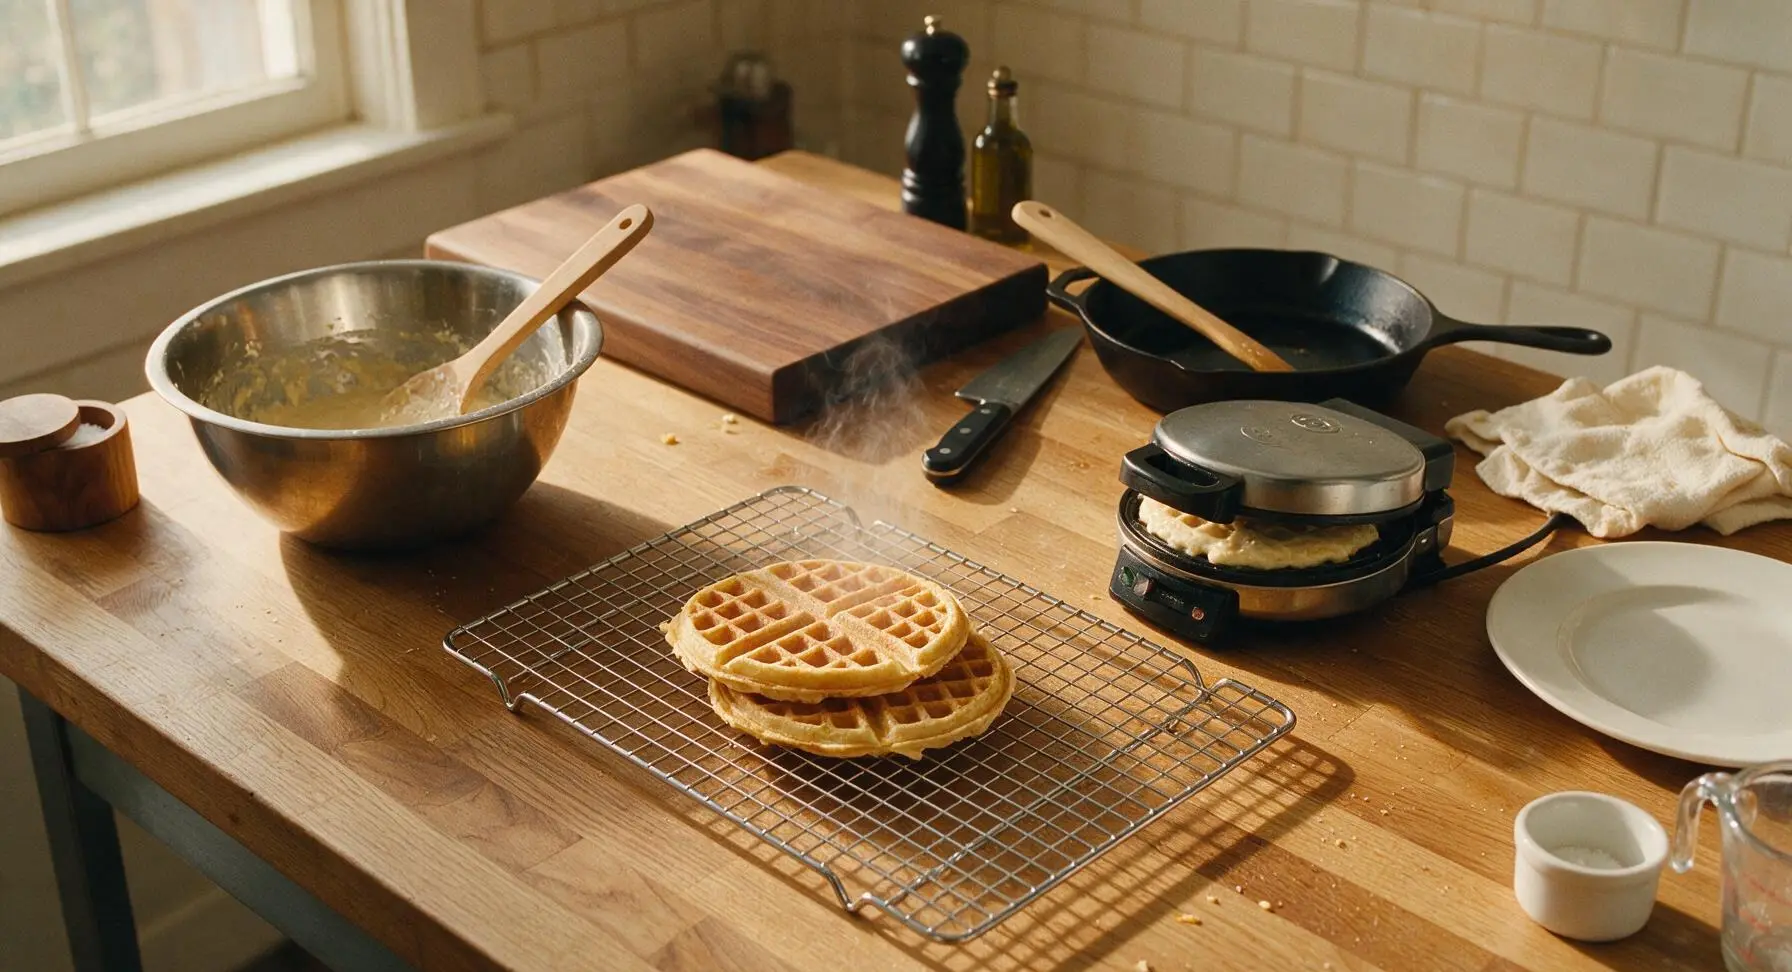
Transfer each cooked waffle from the iron directly to the chrome-plated wire cooling rack. Let waffles rest for 1 minute before plating – this allows excess steam to escape from the waffle surface, keeping edges crisp instead of turning soggy from trapped moisture. Repeat the cooking process with remaining batter, stacking cooked waffles loosely on the rack (do not stack tightly, as this traps steam) until all 4 waffles are cooked.
Step 6
step6:Rest Waffles On Rack
7

Plate And Serve Warm

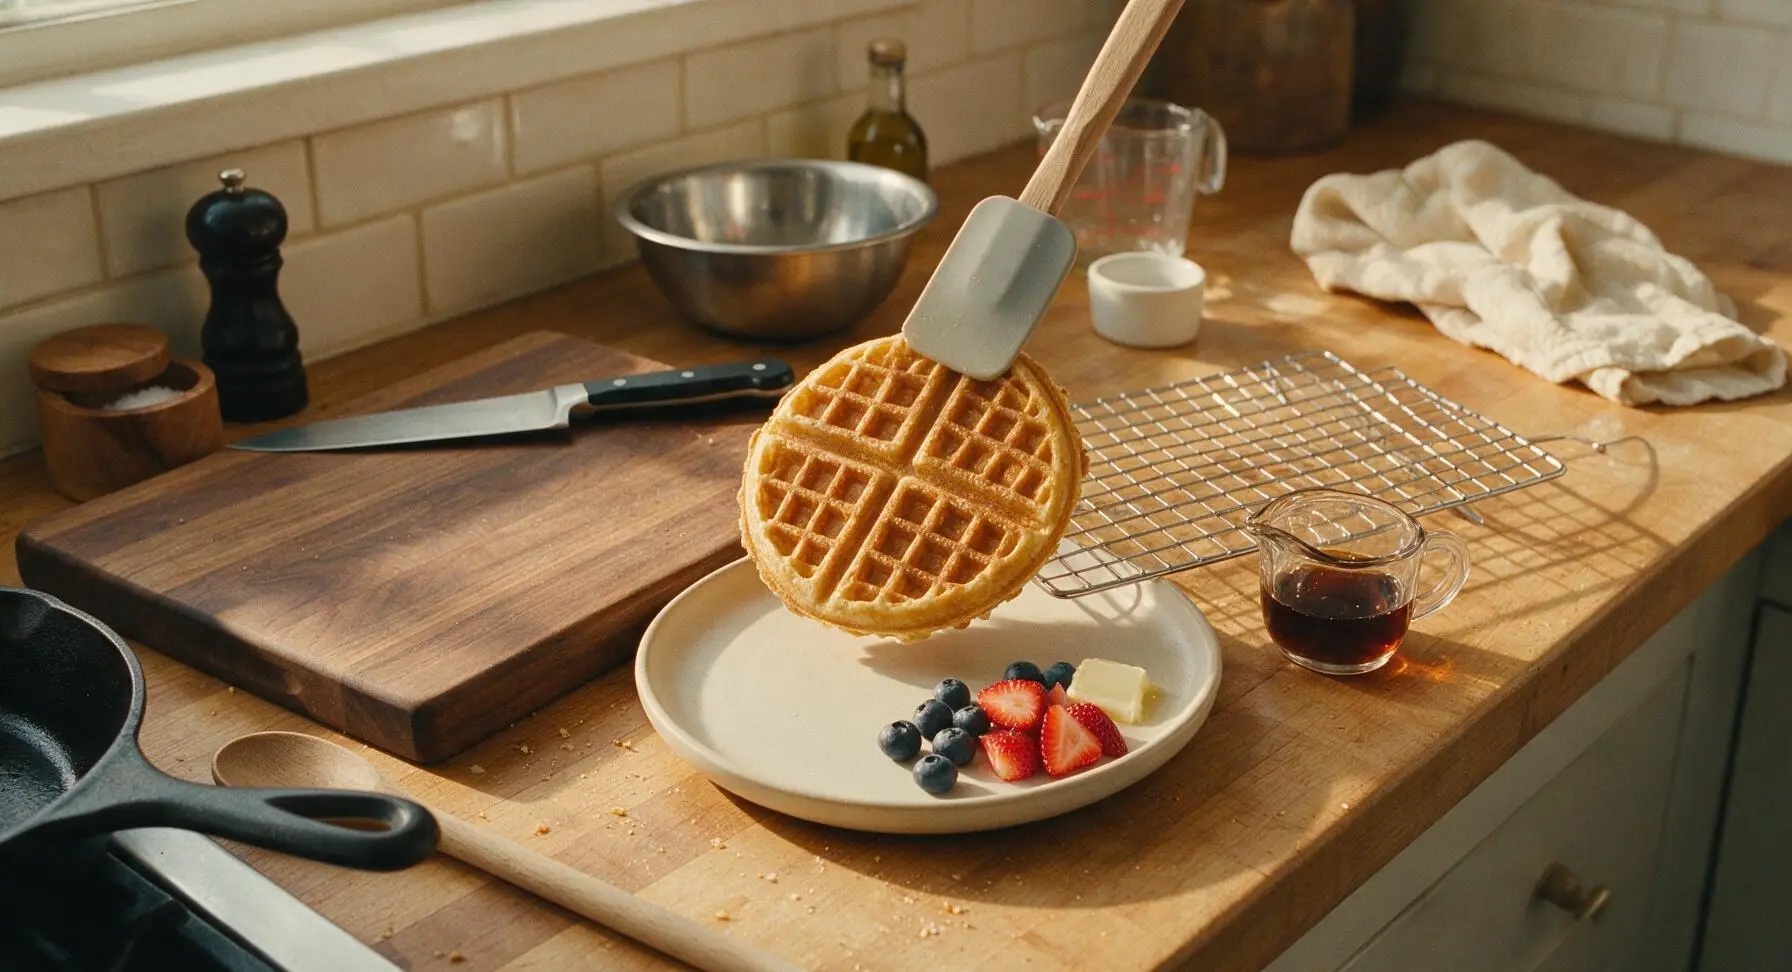
Transfer one warm rested waffle to the matte cream white ceramic dinner plate. Top with a 1-tbsp pat of unsalted butter, a light drizzle of pure maple syrup, and fresh blueberries and sliced strawberry if desired. Serve immediately while hot and crisp, as waffles will soften significantly after 5 minutes at room temperature.
Step 7
step7:Plate And Serve Warm

Tips

1.Never overmix waffle batter: Over-stirring develops gluten in the flour, which results in tough, chewy waffles instead of light, fluffy ones. Visible small lumps in the batter are not a mistake – they are a sign you have mixed just enough.
2.Don’t skip the 5-minute batter rest: This short pause lets baking powder create air bubbles and allows flour to fully absorb liquid, leading to taller, more tender waffles with a better rise. Stirring after the rest will pop these critical air bubbles and lead to flat, dense waffles.
3.Wait to open the waffle iron: Lifting the lid before 3 minutes of cook time can cause partially set waffles to split and stick to the plates. Wait until steam stops seeping out from the iron edges before checking for doneness, as this signals the waffle structure has fully set.


✨ You May Also Like

Breakfast
🍜 United States

Crisp-edged, fluffy lard griddle cakes are a nostalgic homestyle staple, with rich savoriness from rendered lard, perfect topped with maple syrup or savory gravy.

⏱️ 25 minuteBreakfast ★ 4.8
Breakfast
🍜 United States

Flaky, buttery homemade buttermilk biscuits smothered in creamy, peppery pork sausage gravy: a beloved, hearty Southern American comfort food classic.

⏱️ 35 minuteBreakfast ★ 4.8
Breakfast
🍜 United States

Golden, custardy brioche stuffed with sweet cream cheese and fresh berries, pan-fried to crisp perfection. An indulgent, cozy breakfast perfect for slow weekend mornings.

⏱️ 30 minuteBreakfast ★ 4.7
Breakfast
🍜 United States

Flaky, buttery Southern-style biscuits stuffed with savory salty country ham, a portable, satisfying classic perfect for casual on-the-go meals.

⏱️ 25 minuteBreakfast ★ 4.8
Breakfast
🍜 United States

Iconic puffy baked pancake popularized in Seattle, with crisp golden edges and soft custardy center, served warm with classic sweet toppings.

⏱️ 35 minuteBreakfast ★ 4.6
Breakfast
🍜 United States

Fluffy, golden pancakes studded with juicy peak-summer mixed berries, drizzled with maple syrup for a bright, comforting, crowd-pleasing family breakfast.

⏱️ 25 minuteBreakfast ★ 4.7

Classic Waffles :Frequently Asked Questions

1.Why do my waffles turn out soggy instead of crisp on the edges? ▾
Soggy waffles almost always trace back to two common missteps: not preheating your waffle iron fully, and prying the lid open too early. Wait until the iron’s indicator light says it’s ready, and don’t lift the lid until steam stops billowing from the sides, usually 3-4 minutes per batch. Avoid overmixing batter, too, as that develops tough gluten that ruins crispness.
2.Can I substitute low-fat or skim milk for whole milk in this recipe? ▾
Whole milk delivers the rich, tender crumb and subtle creamy flavor that makes classic waffles feel indulgent, but you can swap in 2% milk in a pinch. Skim or unsweetened oat milk will work, but your waffles will be slightly less rich and may lose a bit of crisp edge. If using skim, add 1 extra tablespoon of melted butter to make up for missing fat.
3.How do I get that light, fluffy center instead of dense, heavy waffles? ▾
The biggest trick to fluffy centers is avoiding overmixing your batter! It’s totally normal (and good) to have small, pea-sized lumps left in the flour after stirring in wet ingredients—overstirring develops tough gluten that weighs waffles down. Also, double check that your baking powder is fresh, as expired leavening won’t create the air pockets needed for lift.
4.How long does this classic waffle recipe take to make from start to finish? ▾
These waffles are designed for quick, cozy meals, coming together in right around 25 to 30 minutes total. You’ll spend about 10 minutes prepping and mixing batter, then 3 to 4 minutes cooking each batch, depending on how many waffles your iron makes at a time. That makes them perfect for lazy weekend brunches or quick weekday breakfasts.
5.Can I make the waffle batter ahead of time to save time in the morning? ▾
You can mix the dry ingredients (flour, sugar, salt, leavening) and store them in an airtight container at room temperature up to 3 days ahead for super fast prep. I don’t recommend mixing wet ingredients into batter more than 30 minutes before cooking, though—early leavening activation leads to flatter, less fluffy waffles.
6.What’s the best way to keep cooked waffles crisp while I finish making all batches? ▾
Skip stacking waffles directly on a plate as they come off the iron—trapped steam will make them turn soggy fast. Instead, set cooked waffles on a wire rack set over a baking sheet, and keep them in a 200°F oven while you cook the rest. This lets air circulate, keeping edges crisp and centers warm until you’re ready to serve.
7.Can I use salted butter instead of unsalted butter in this recipe? ▾
Unsalted butter lets you control exactly how much salt goes into your waffles for perfectly balanced flavor, but you can use salted butter in a pinch. If you make that swap, just cut any added salt by ¼ teaspoon per stick of butter used to avoid over-salting. Melt and slightly cool butter before mixing so it doesn’t cook the eggs.
8.What toppings pair best with these classic waffles? ▾
These neutral, crisp-fluffy waffles work with almost any topping, but the timeless combo is a pat of melted salted butter, a drizzle of pure maple syrup, and a handful of fresh seasonal berries or sliced banana. You can also top them with whipped cream, chocolate chips, powdered sugar, or even fried chicken for a savory-sweet twist.
9.Why do my waffles stick to the waffle iron, even when I grease it? ▾
Sticking usually happens if your iron isn’t fully preheated before you pour in batter, or if you try to lift the waffle out too early before it’s fully set. You only need a light coating of nonstick spray or melted butter on a properly preheated iron. Older irons with scratched nonstick will need a thin extra layer of grease per batch.
10.Can I freeze leftover cooked waffles for quick meals later? ▾
Absolutely—these waffles freeze beautifully for up to 3 months. Let cooked waffles cool completely to room temperature first, then stack them between sheets of parchment paper to prevent sticking, and store in a sealed freezer bag. Reheat straight from frozen in a toaster or 350°F oven for 5 minutes, and they’ll crisp right up like fresh.
11.Do I need a fancy high-end waffle iron to make this recipe work? ▾
You don’t need any pricy, specialty equipment to make great classic waffles! A basic budget electric waffle iron works perfectly, as long as it heats evenly and has a reliable ready indicator light. Both thick Belgian-style and thin standard waffle irons work—just adjust batter amount per your model’s manufacturer guide.
12.How much granulated sugar is used, and will the waffles be too sweet? ▾
This recipe uses a small amount of granulated sugar, just enough to add subtle warm sweetness and help those golden crisp edges caramelize as they cook, not enough to make waffles taste like dessert. If you prefer less sweet waffles for savory toppings like fried chicken, you can cut the sugar by half without ruining texture.
13.What size eggs should I use, and does it matter if they’re cold? ▾
This recipe is tested for large eggs, the standard grocery store size in the U.S., to get the right ratio of liquid and structure for tender, fluffy waffles. Cold eggs work fine if you’re short on time, but room temperature eggs mix more smoothly and create slightly lighter, more evenly risen waffles if you can plan ahead.
14.Can I use whole wheat flour instead of all-purpose flour for this recipe? ▾
All-purpose flour gives these classic waffles their signature light, tender crumb and neutral, approachable flavor, but you can swap in up to ½ cup of whole wheat flour for an equal amount of all-purpose without making waffles too dense. Using 100% whole wheat will result in heartier, nuttier, much denser waffles with less edge crispness.
15.How much batter should I pour into the waffle iron to avoid messy overflow? ▾
It’s tempting to fill every corner of the iron with batter, but that leads to sticky, burnt overflow oozing out the sides. Pour batter slowly to cover about ⅔ of the center of the preheated grids—it will spread and rise as it cooks to fill the rest of the space. Wipe any overflow once the waffle finishes cooking for easy cleanup.

Comments (4)

3 days ago

OMG these classic waffles are a total game changer for our Saturday morning breakfasts! My kids loved it — they’re perfectly crispy on the outside and fluffy on the inside even when I toss a handful of chocolate chips into the batter. So much better than the rock-hard frozen ones I used to stock in the freezer! SO good, I’ll be making these every weekend from now on.

2 days ago

Wait do you let the batter rest at all? I tried making waffles last week and they came out super dense and flat, wondering if I skipped a crucial step!

yesterday

Great question! For extra light, fluffy waffles, we recommend letting the batter rest for 5-10 minutes after mixing so the leavening can activate properly. Just don’t overmix the batter — a few small lumps are totally normal and won’t ruin the final result!

1 week ago

Made these for a neighborhood potluck brunch last Sunday and they were the first dish to get completely wiped out! Super easy to throw together, even when I was half asleep brewing coffee for 15 people before everyone showed up. I topped mine with fresh sliced strawberries and homemade whipped cream, people were asking for the recipe before they even finished their first bite. Quick pro tip: I added a tiny dash of cinnamon to the batter and it kicked the flavor up a whole notch!

5 days ago

We love that cinnamon addition, Mike! Warm, cozy spices pair so perfectly with these classic waffles, we might have to test that variation for a future recipe update. So stoked they were such a hit at your potluck!

30 minutes ago

These are SO good! I make a big batch on Sundays, pop them in the freezer, and toast them quick during the week — they taste just as fresh as the day I made them. Perfect for busy work mornings when I don’t have time to cook from scratch. The 15 minute cook time is no joke, I had the whole batch done faster than my usual stovetop oatmeal takes to make. Only thing I wish I’d done sooner is stop wasting money on overpriced boxed waffle mix!

5 minutes ago

Wait how do you store them to keep them from getting freezer burned? I tried freezing homemade waffles a few months back and they turned into icy, sad bricks after a week!

yesterday

First time making waffles from scratch and I was shocked how easy this recipe was! I don’t have a fancy expensive waffle iron, just the cheap $20 one I grabbed at Target during move-in week, and these still came out perfectly crispy for the most part. Drizzled a little peanut butter and maple syrup on top and it made my whole lazy Tuesday feel like a fun weekend treat. Only knock is I wish the recipe made a couple more waffles, because my roommate ate half the batch before I could even grab a second one! Will definitely be adding this to my tiny dorm recipe rotation — way cheaper and better than waiting in the 20 minute line for waffles at the dining hall every weekend.



