
Coconut Curry Burnt Ends
intro
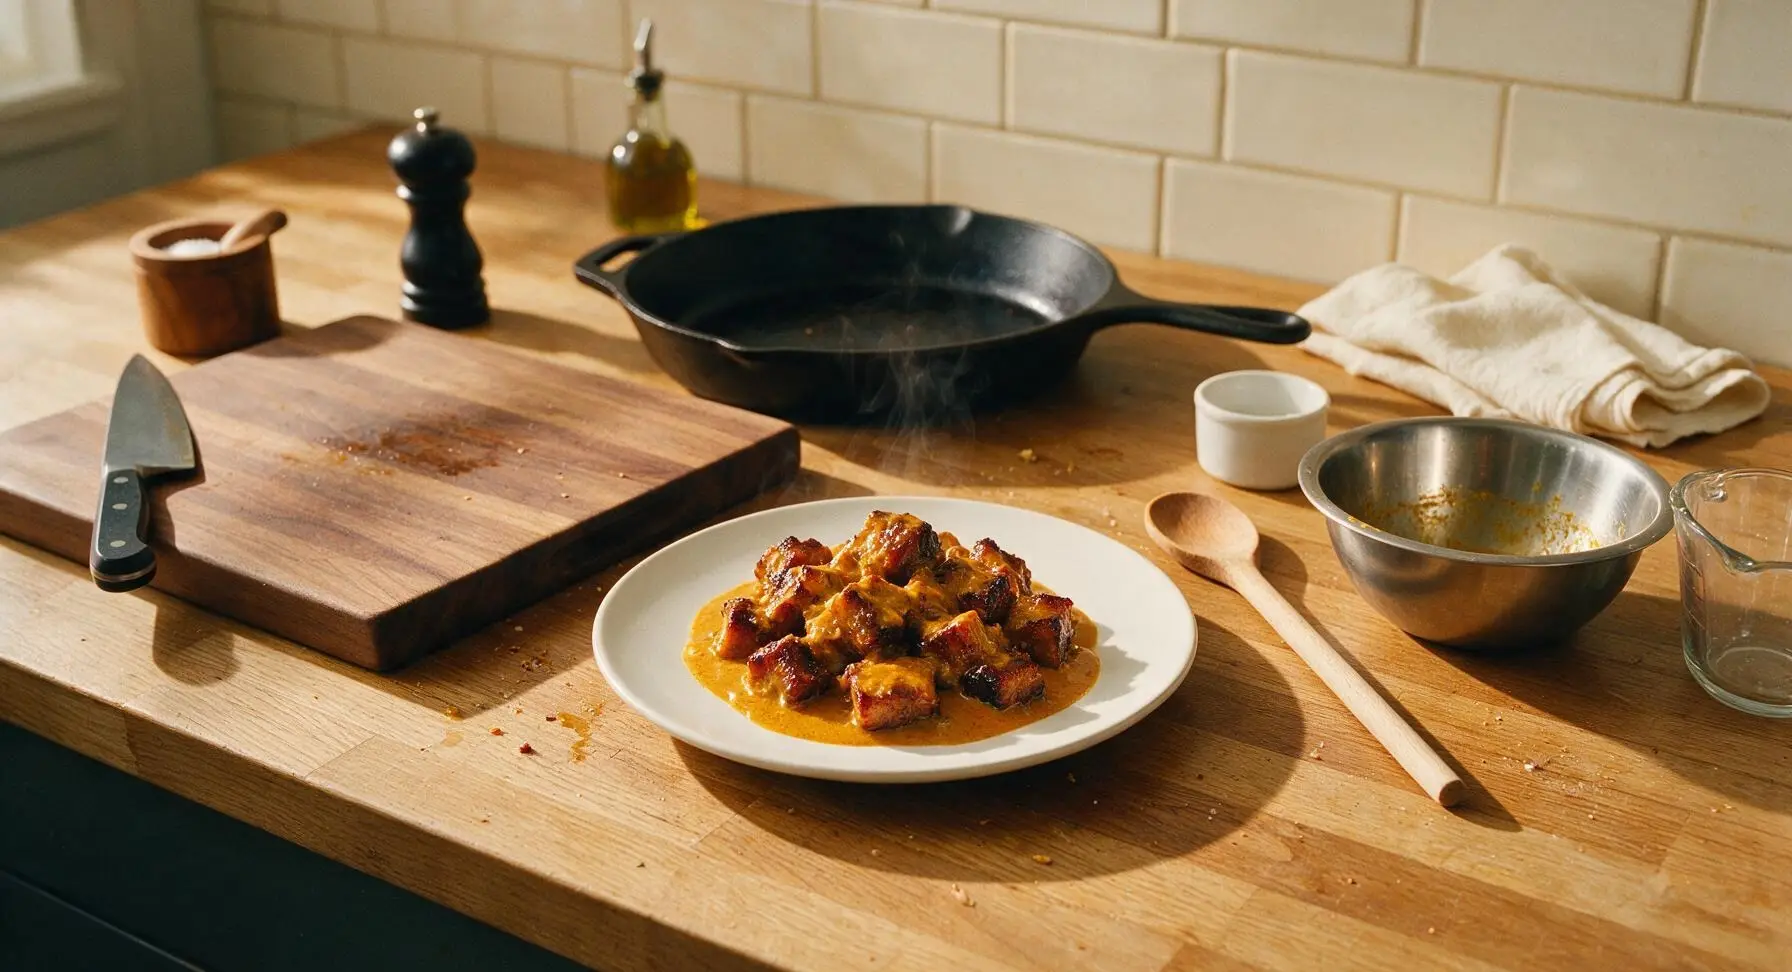
Smoky, caramelized pork belly burnt ends tossed in rich, creamy coconut curry sauce—sticky, savory, sweet, and gently spicy, perfect for summer backyard cookouts.
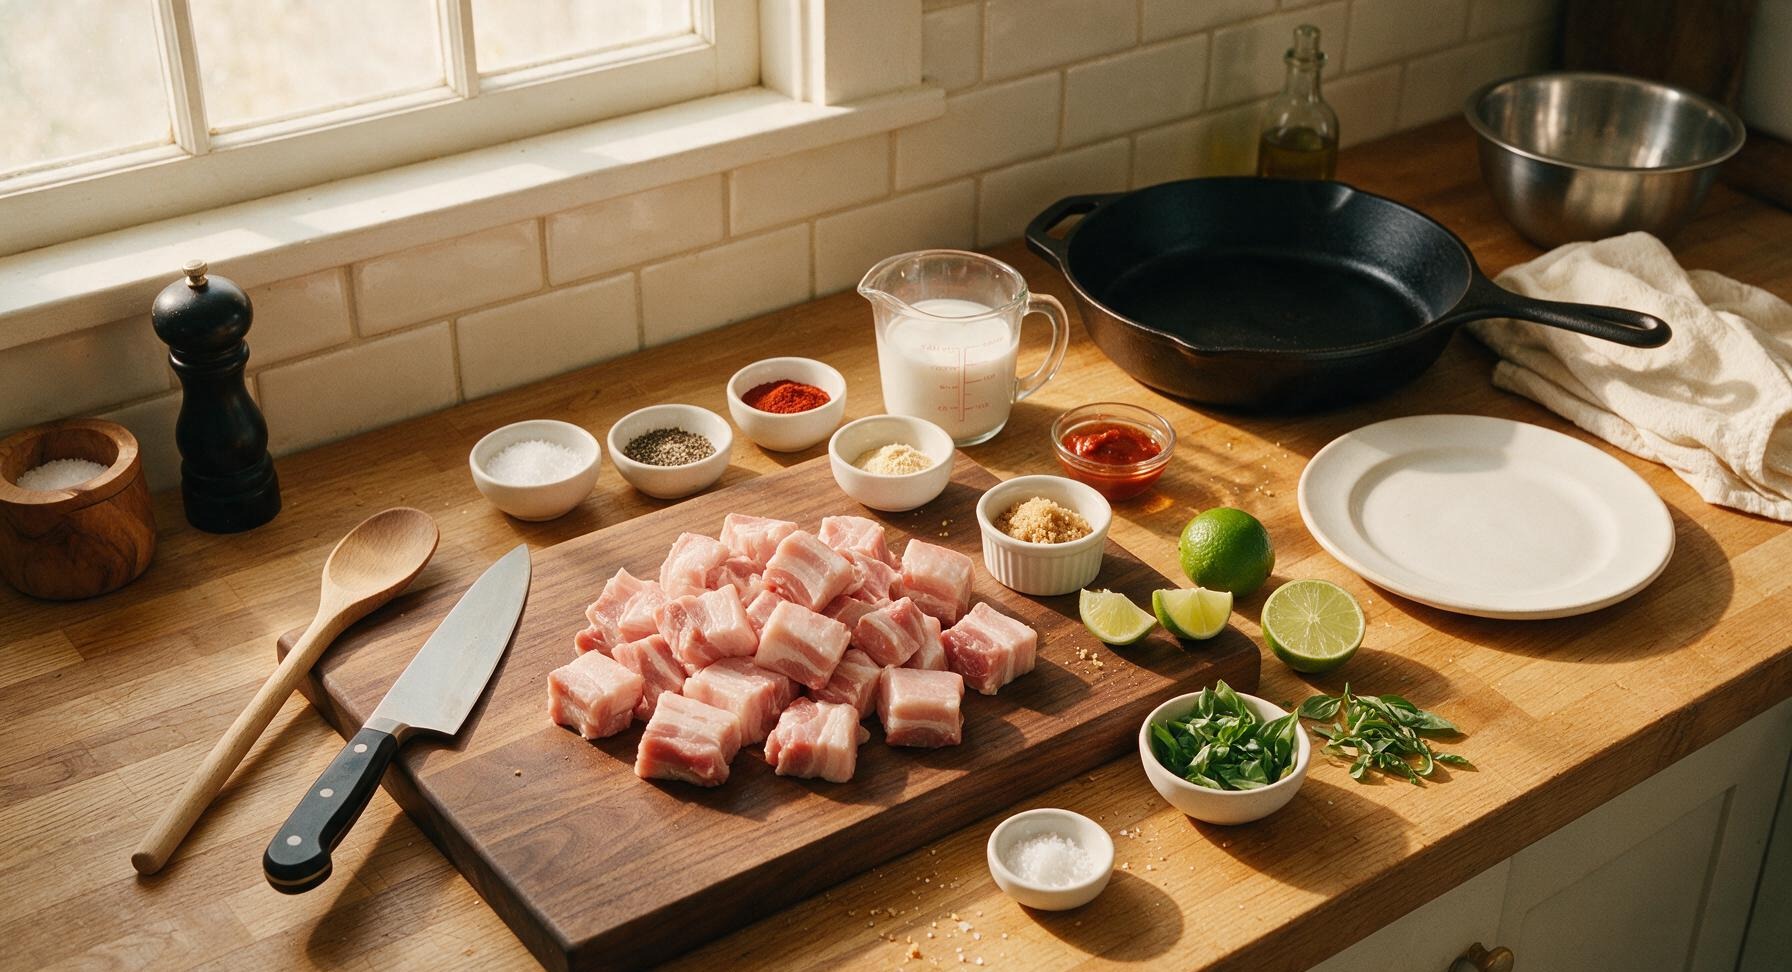
Ingredients
Steps
Trim Pork Belly
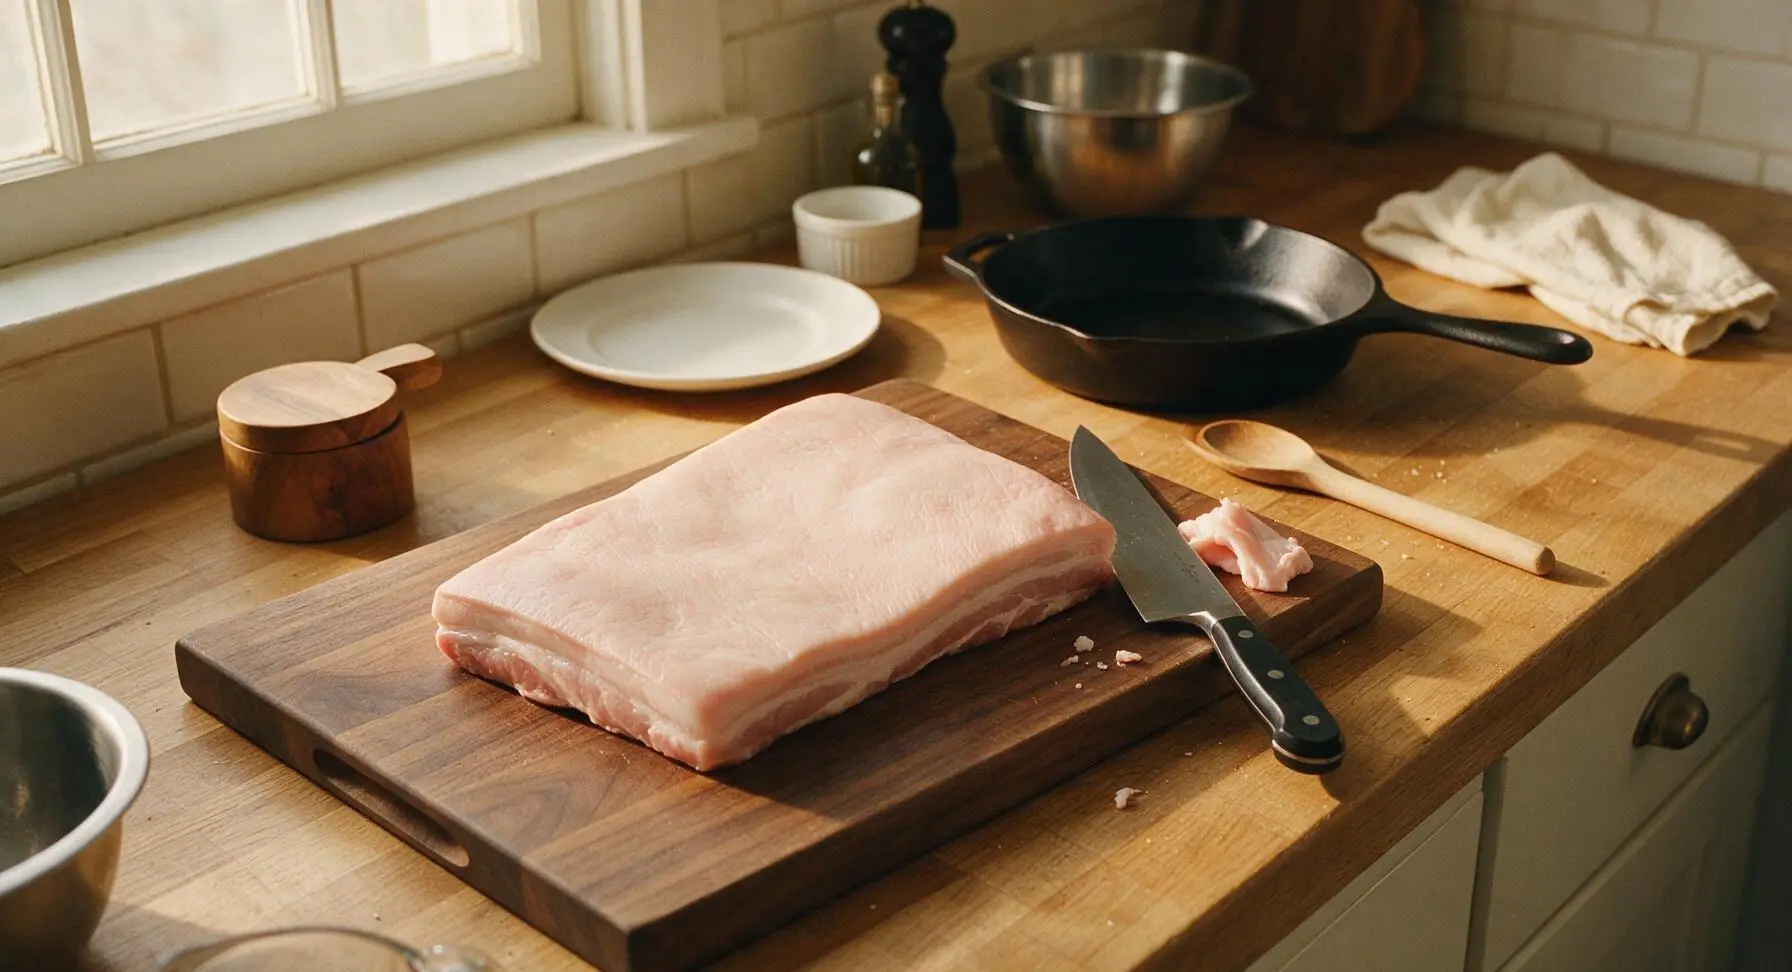
Place the skinless pork belly on the teak cutting board. Use the 8-inch chef knife to trim any loose fat fragments or ragged uneven edges, leaving a uniform 1.5-inch thick slab with a 1/4-inch fat cap. Pat the entire surface completely dry with paper towels, discarding used towels immediately. The meat should have a smooth, even surface with no jagged edges to ensure consistent smoke penetration and even cooking.
Apply Dry Rub
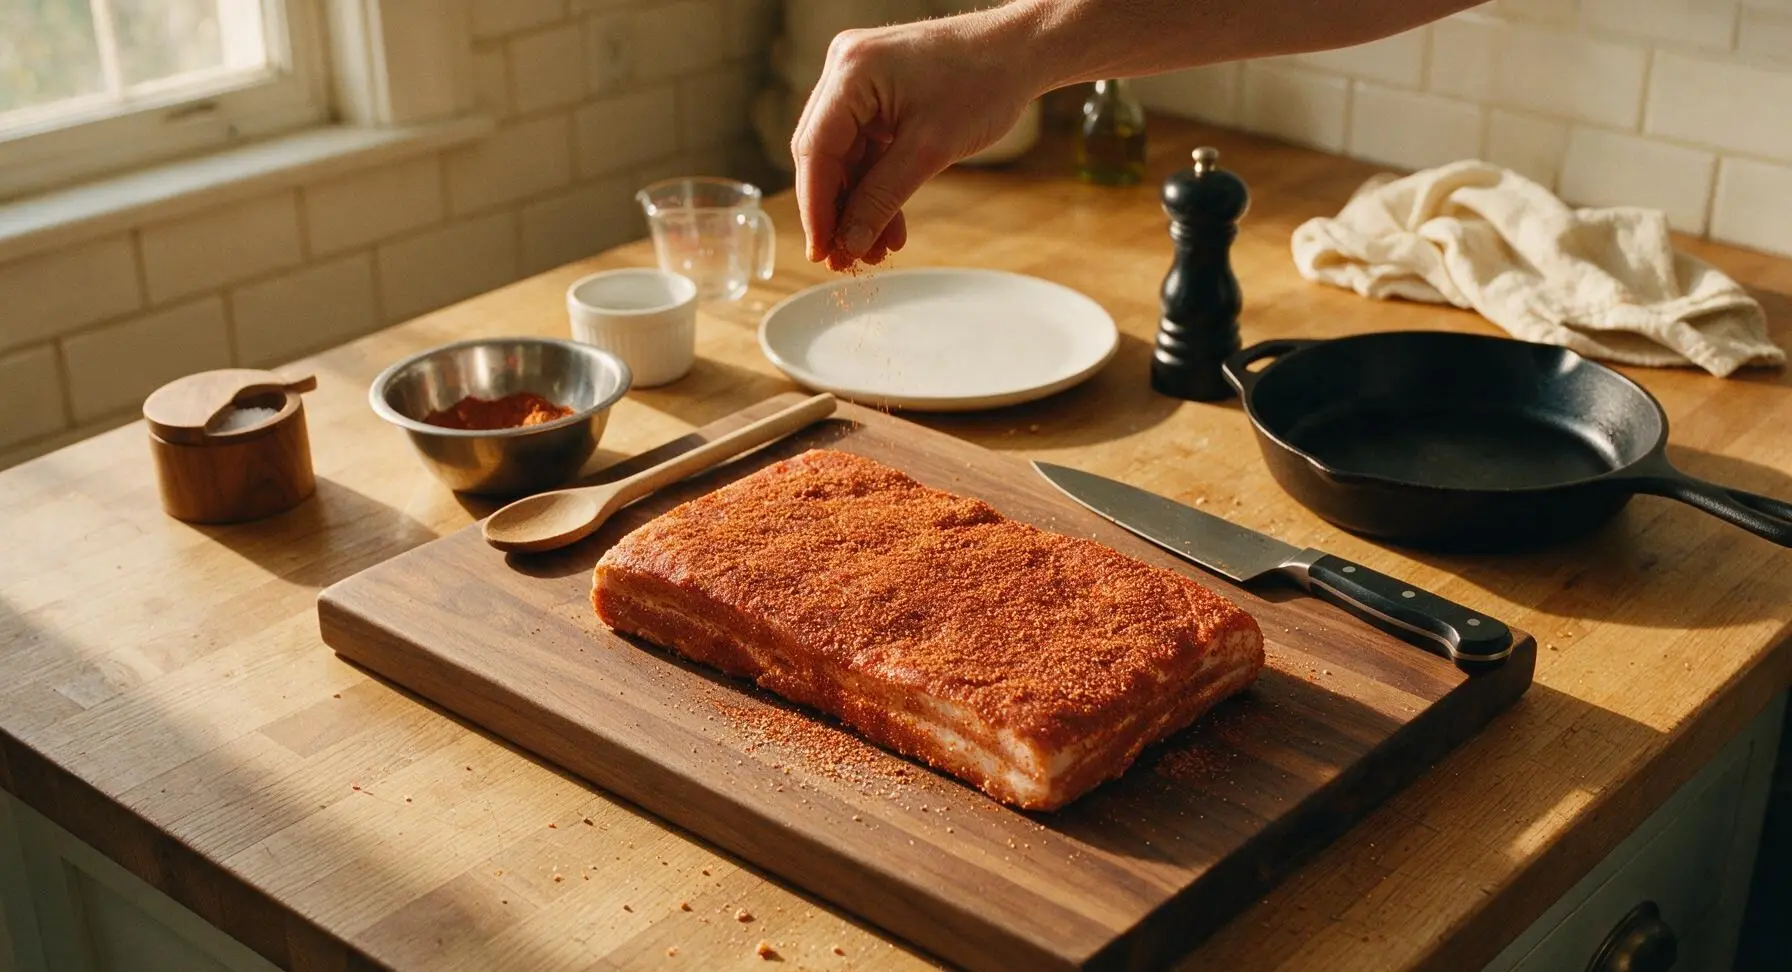
In the small brushed stainless steel mixing bowl, combine 1 tbsp kosher salt, 1 tsp black pepper, 1 tbsp smoked paprika, 1 tsp garlic powder, and 1 tbsp light brown sugar, stirring until fully blended. Sprinkle the rub evenly over all sides of the pork belly slab, pressing gently with your fingertips to help the spice adhere. The entire surface should be coated in a thin, even layer of reddish-brown spice, with no bare patches of meat visible.
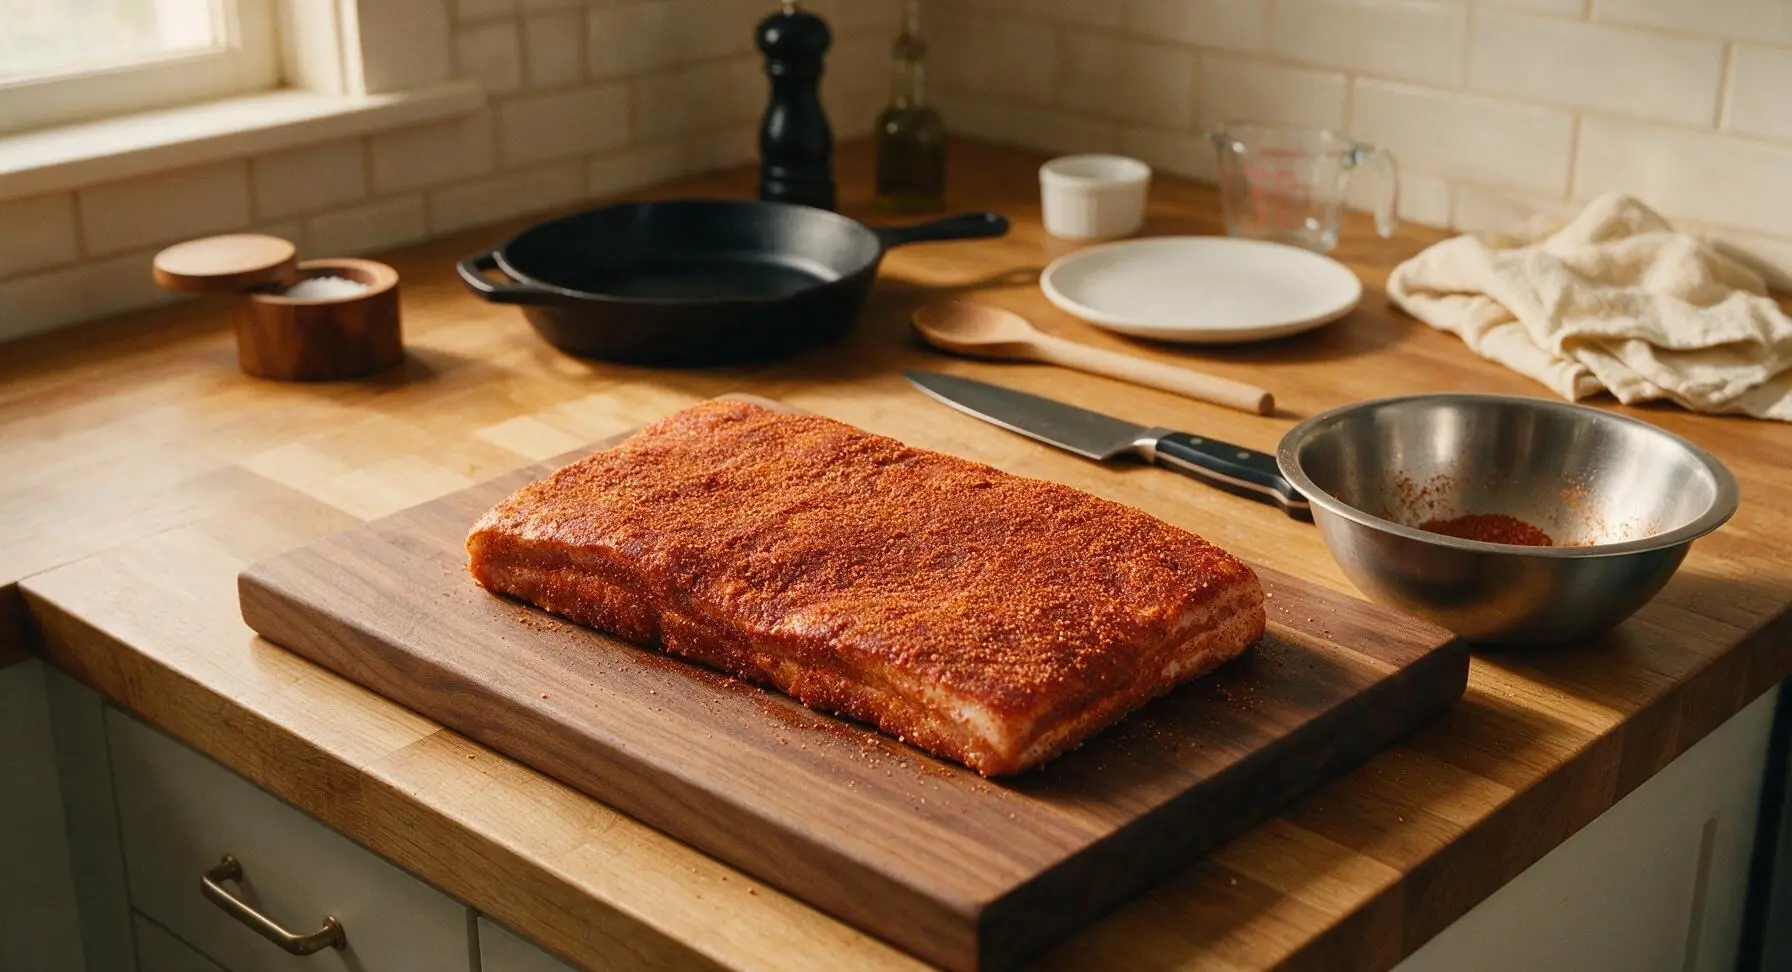
Smoke Pork Slab
Place the seasoned pork belly slab fat-side up in the heavy-duty aluminum foil pan, then transfer to a smoker preheated to 225°F (107°C). Smoke for 2 hours using hickory or cherry hardwood chunks for smoke, until the internal temperature reaches 165°F (74°C) when checked with the instant-read meat thermometer. The outside of the pork will develop a deep reddish-brown bark, and the fat cap will look soft and slightly translucent as it renders.
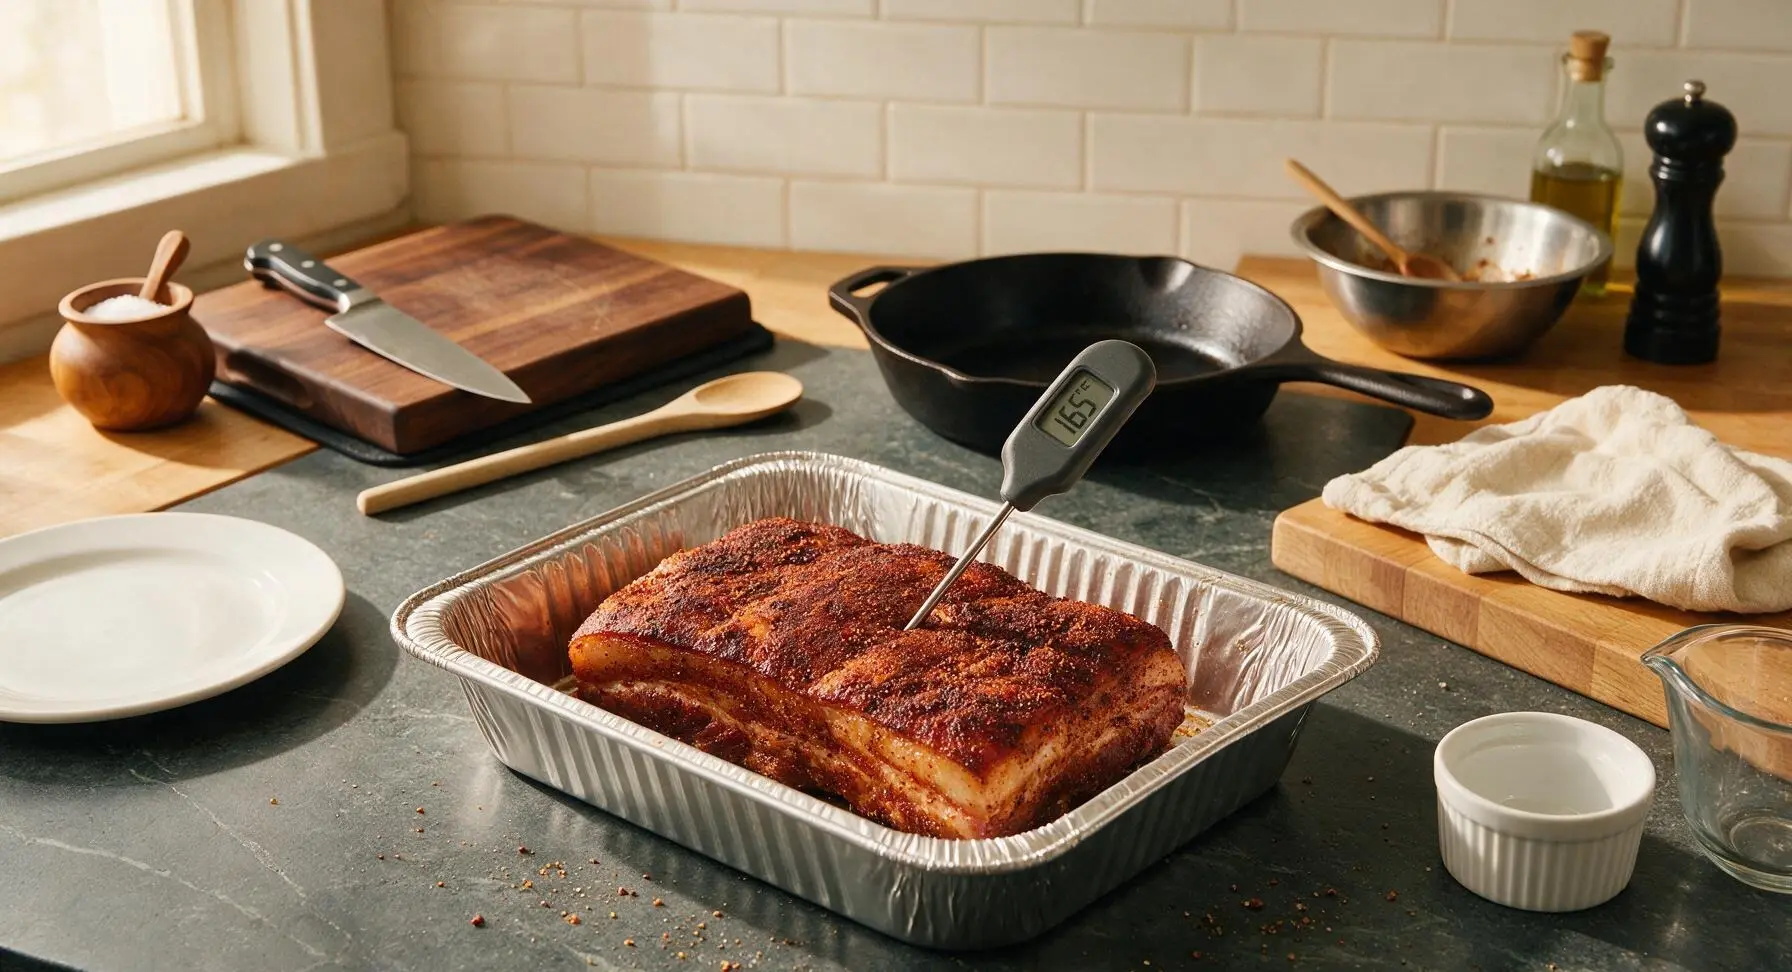
Cube Smoked Pork
Transfer the smoked pork belly slab back to the teak cutting board. Use the chef knife to cut the slab into uniform 1.5-inch cubes, slicing cleanly through the firm outer bark and soft rendered fat. Each cube should have a dark spiced outer edge and pale pink, juicy cooked meat interior with a thin layer of soft fat. Do not cut cubes smaller than 1 inch, as they will shrink significantly during the final cooking stage.
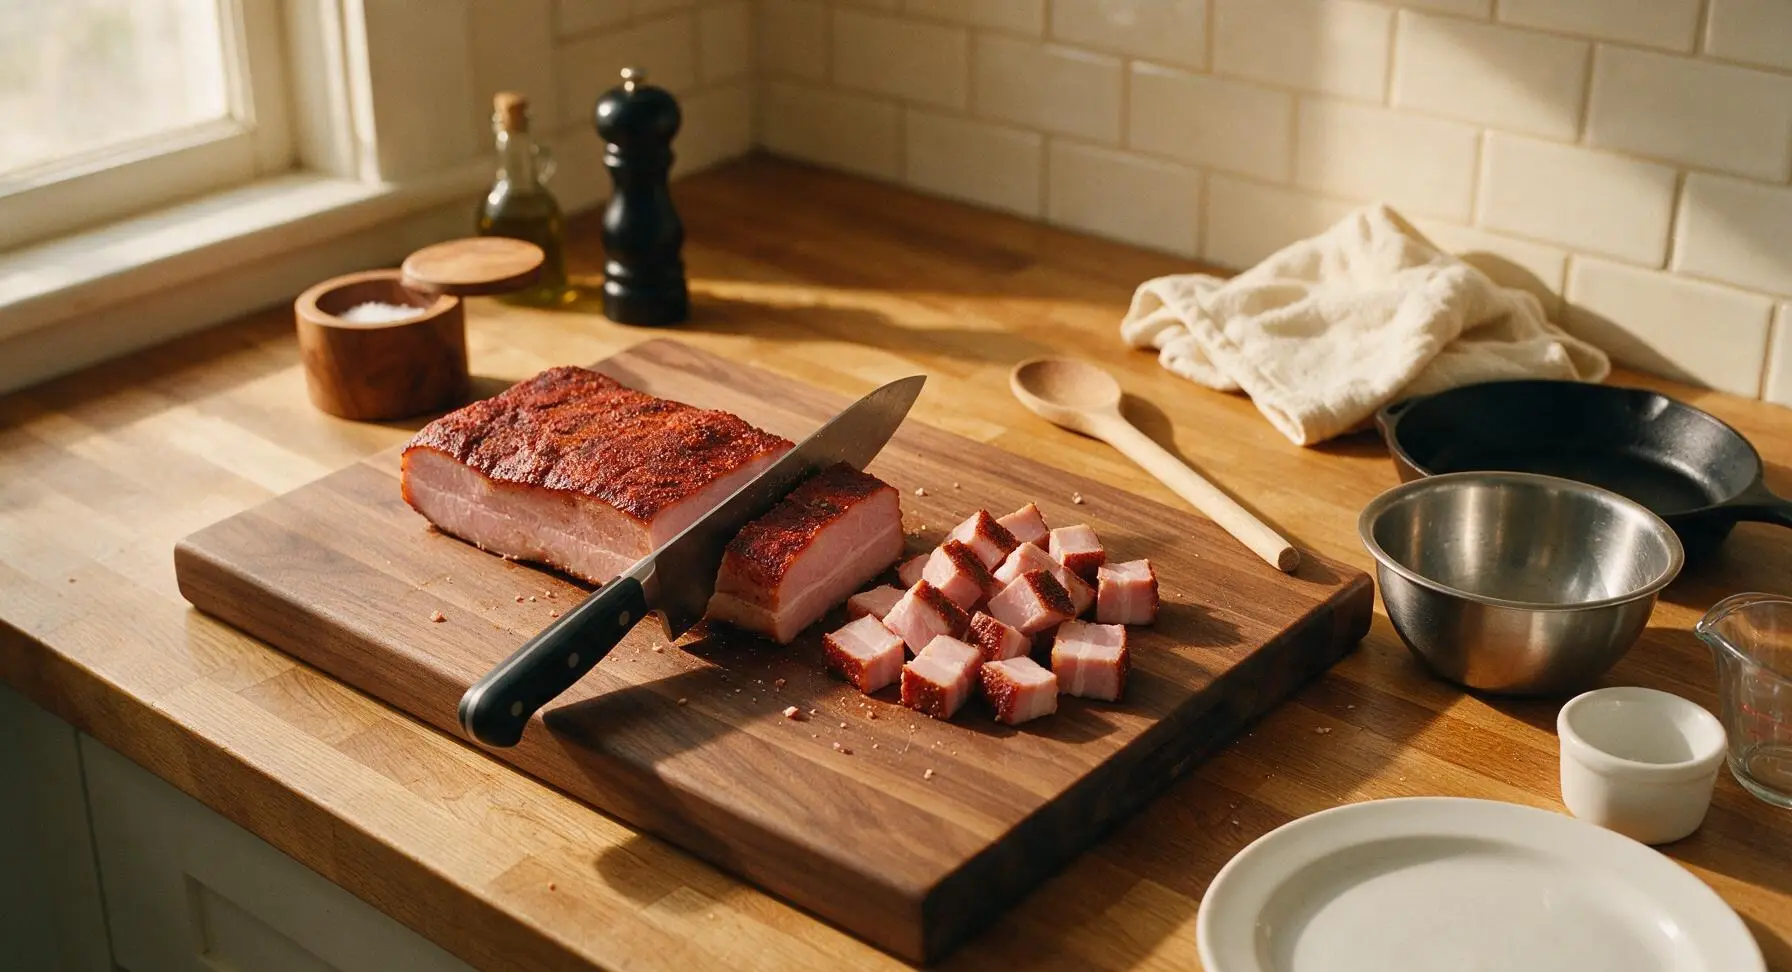
Mix Curry Sauce
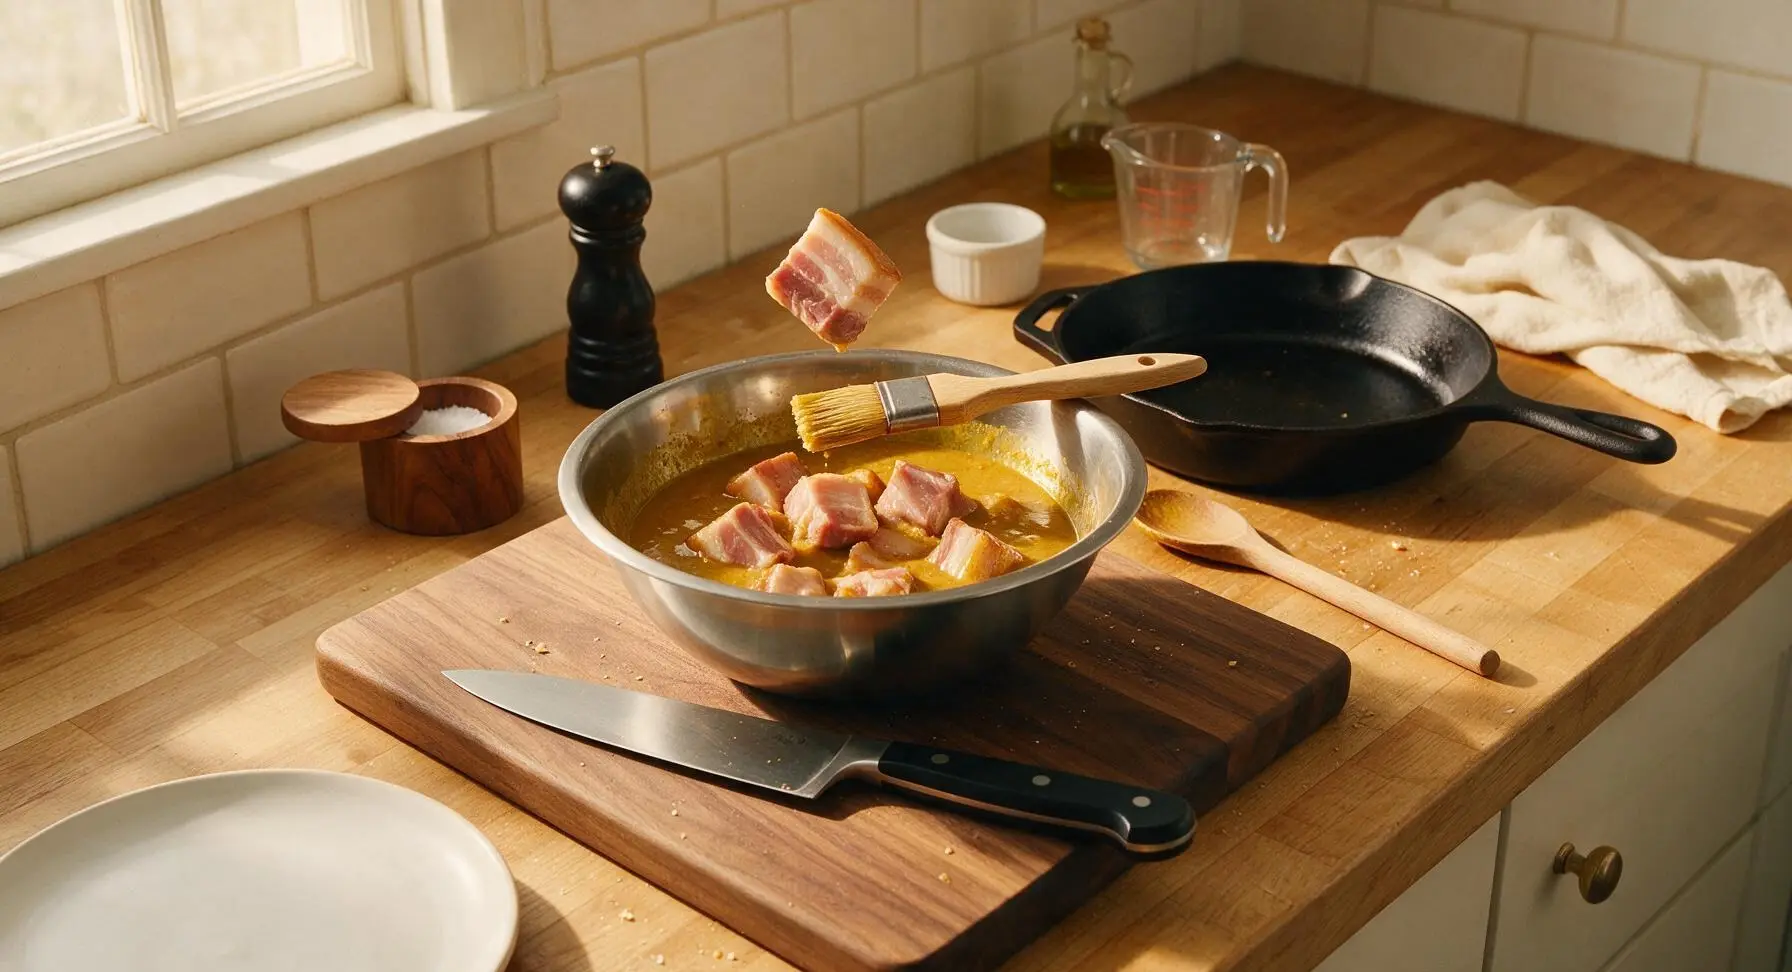
In the medium brushed stainless steel mixing bowl, combine 400ml full-fat coconut milk (measured in the clear glass measuring cup), 3 tbsp red curry paste, 1 tbsp fish sauce, remaining 1 tbsp light brown sugar, and 2 tbsp fresh lime juice, whisking until completely smooth. Stir in half of the chopped Thai basil. The finished sauce should be a rich golden-orange color, with no visible lumps of curry paste remaining.
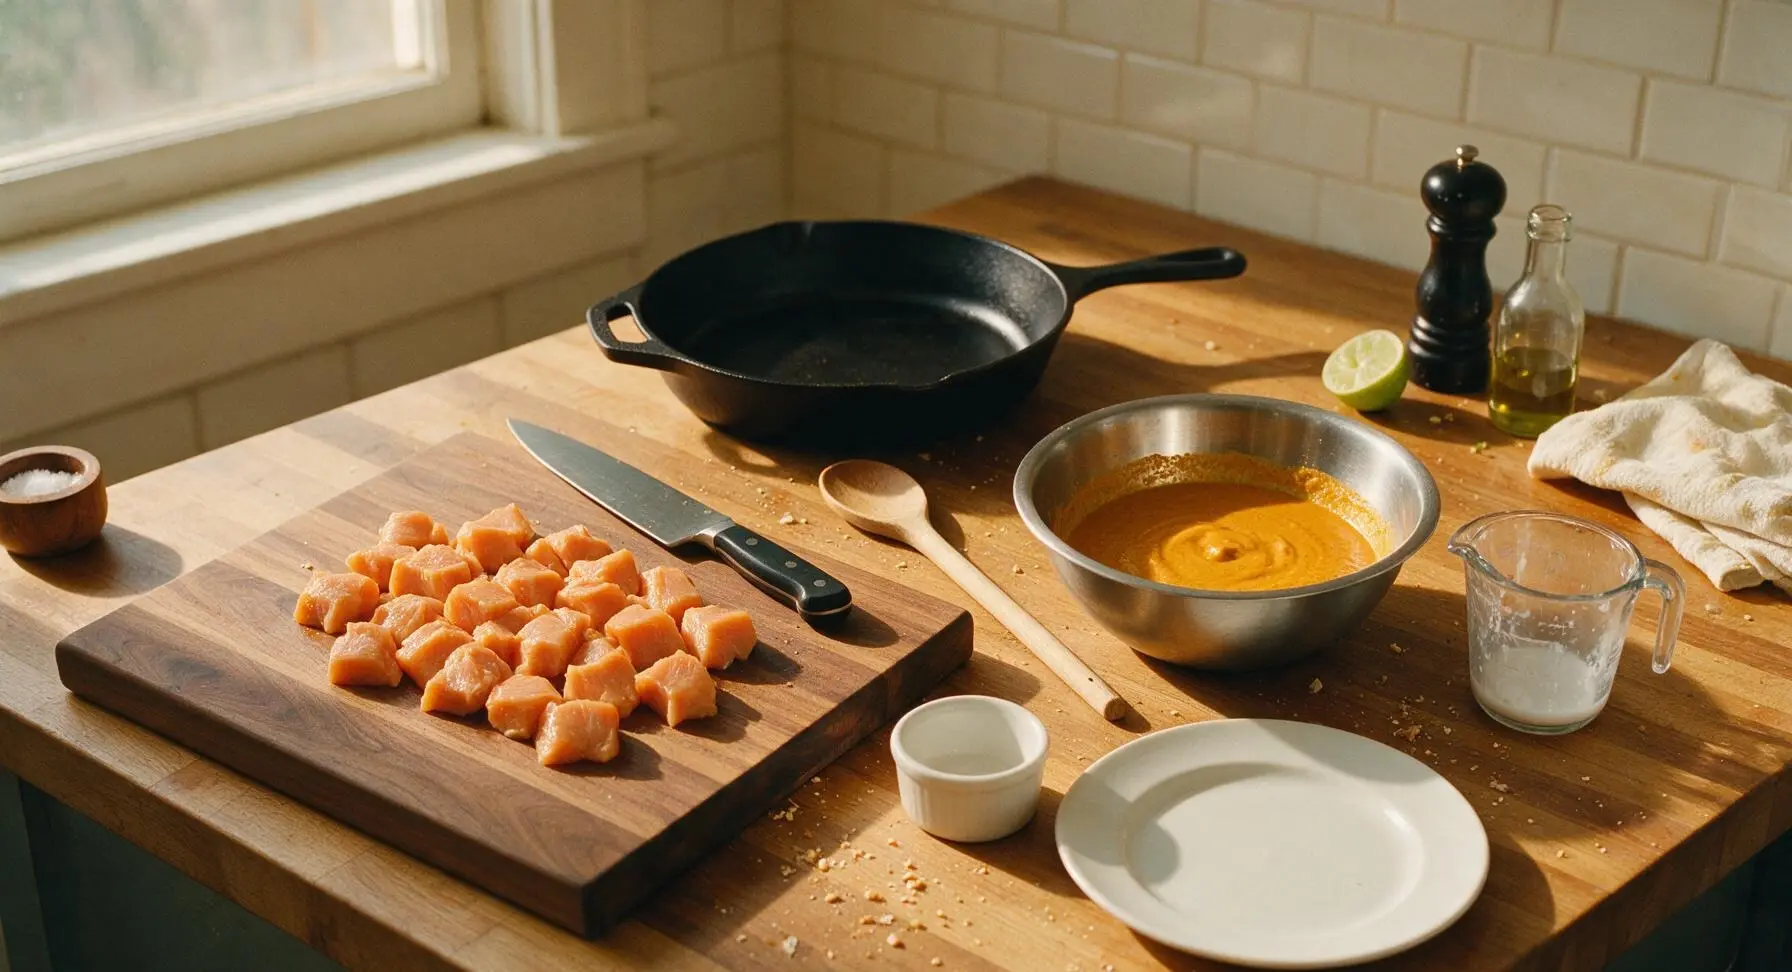
Toss Cubes in Sauce
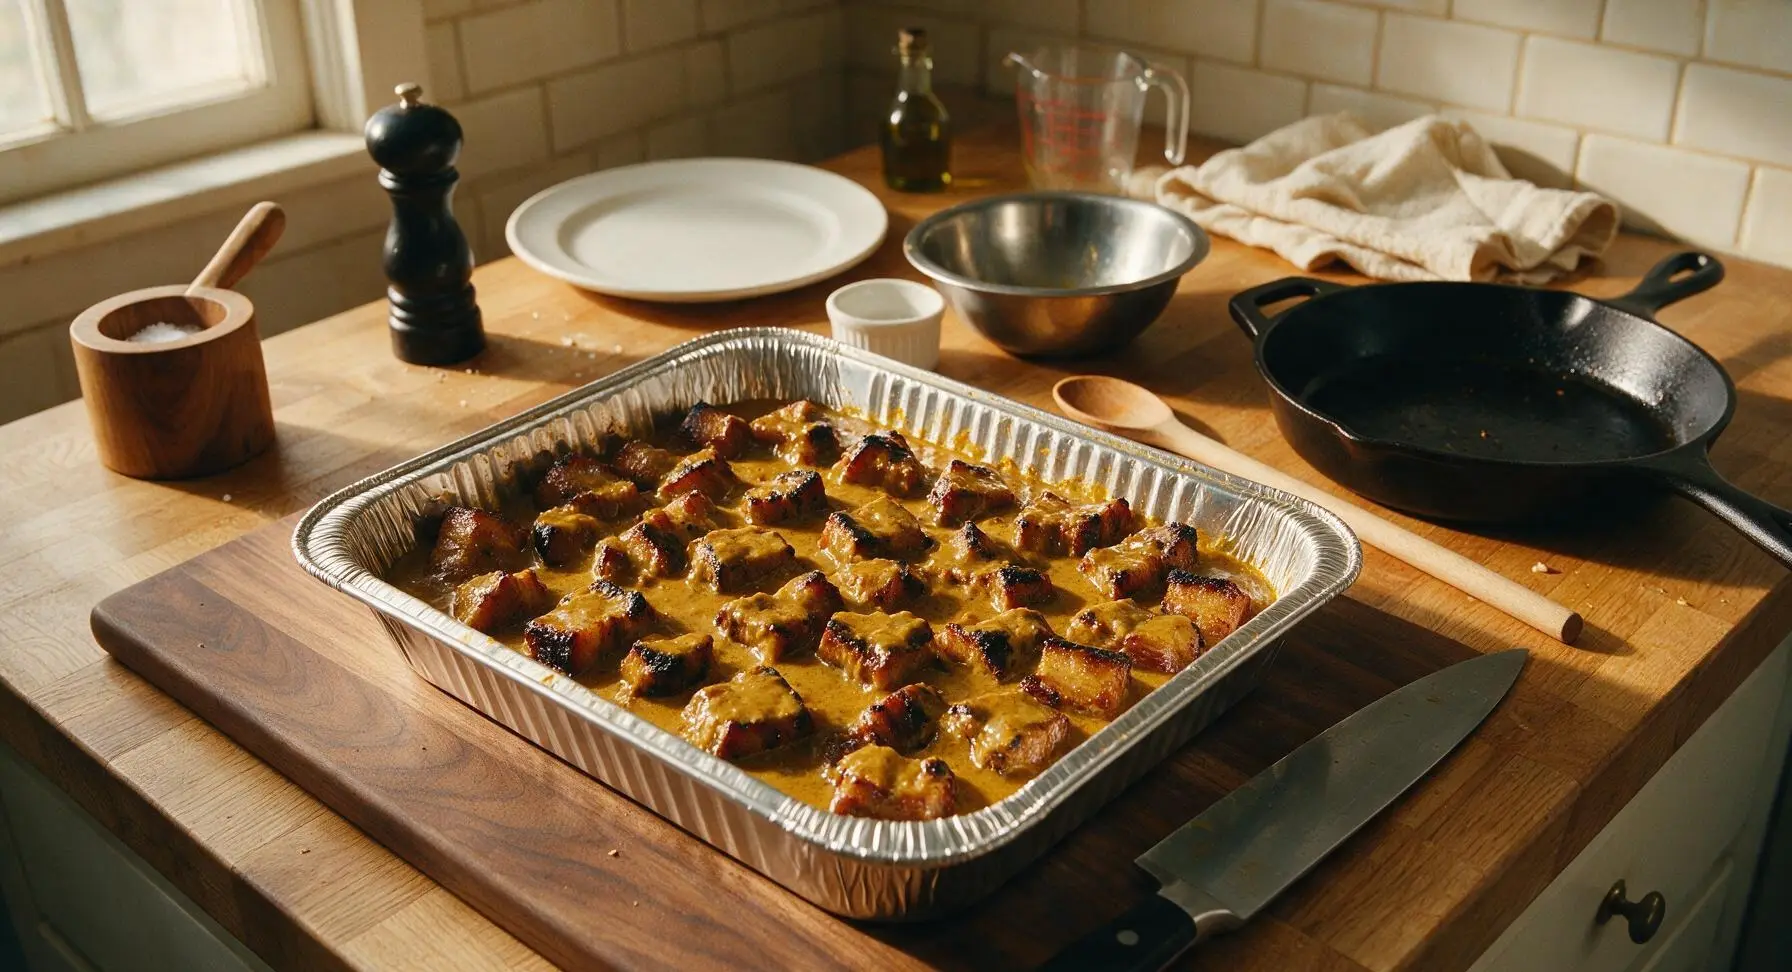
Add all cut pork belly cubes to the medium mixing bowl with the curry sauce. Use the long-handled basting brush to toss and coat every cube thoroughly, ensuring all sides are covered in sauce. Pour the sauced cubes and all excess sauce back into the aluminum foil pan, spreading them in a single even layer so every cube touches the pan surface.
Braise to Caramelize
Return the foil pan of sauced cubes to the 225°F (107°C) smoker, and cook uncovered for 1 hour 30 minutes, basting the tops of the cubes with sauce from the pan every 30 minutes using the basting brush. The sauce will reduce and thicken, caramelizing onto the edges of the cubes, and the internal temperature of the pork will reach 200°F (93°C) when fully tender. The edges of the cubes will look dark and sticky, not charred black.
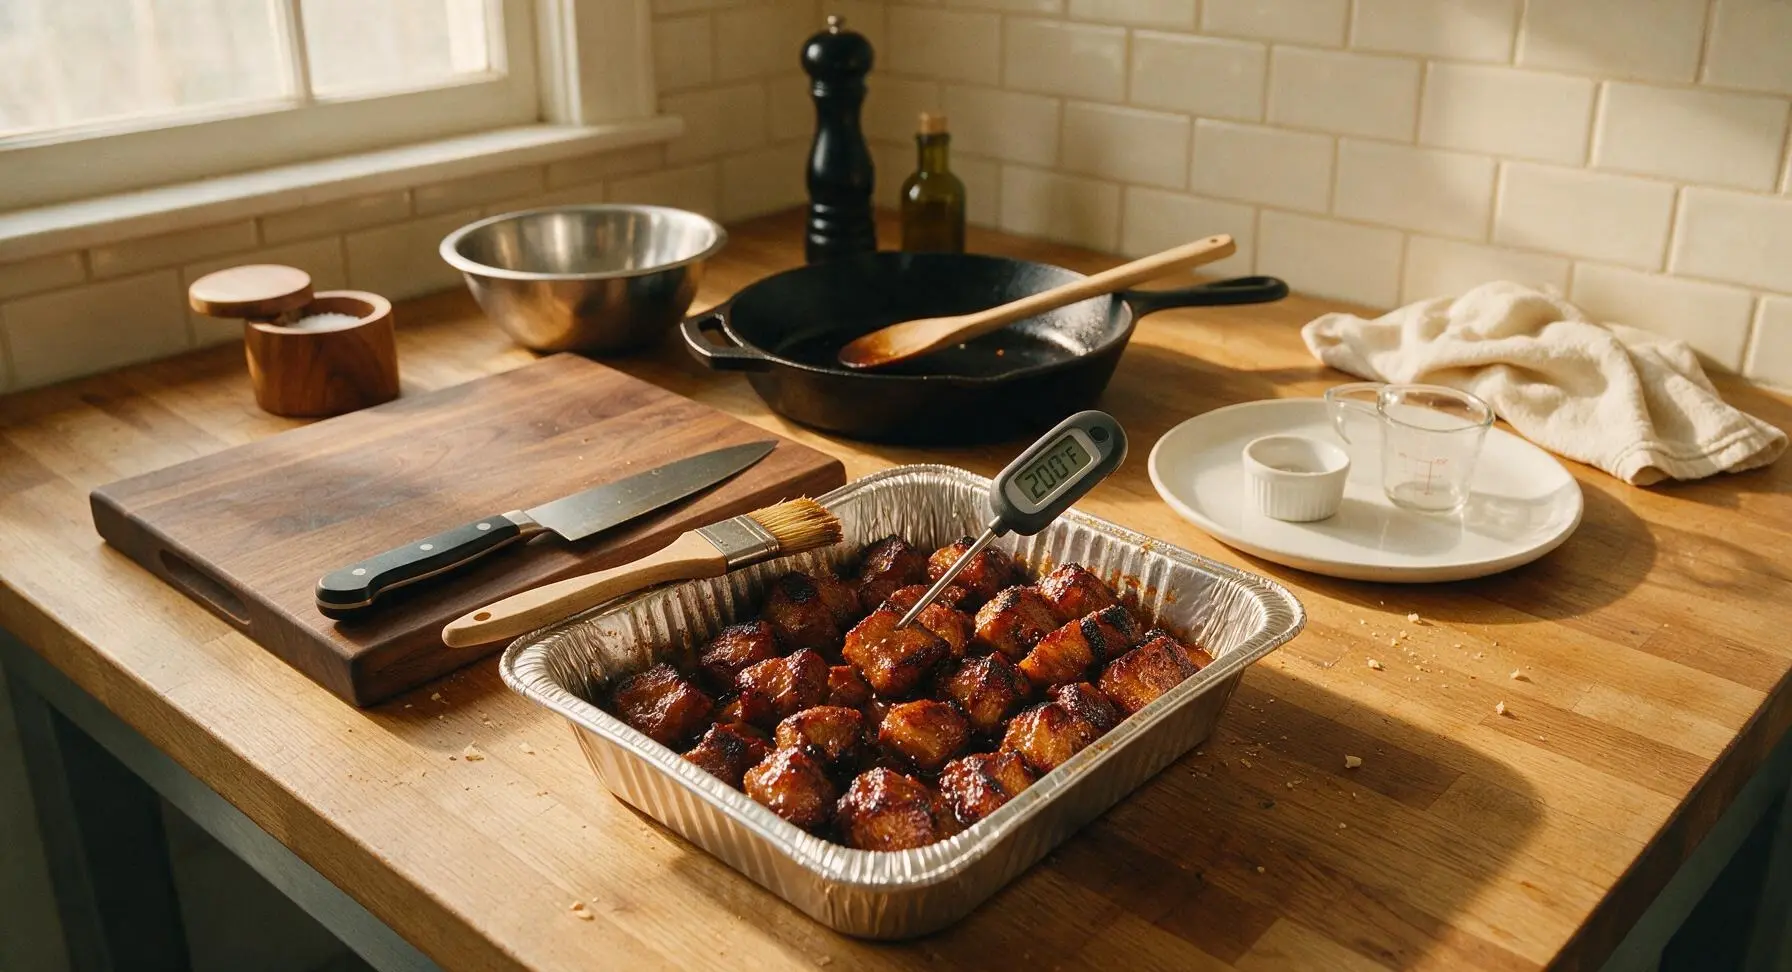
Plate and Garnish
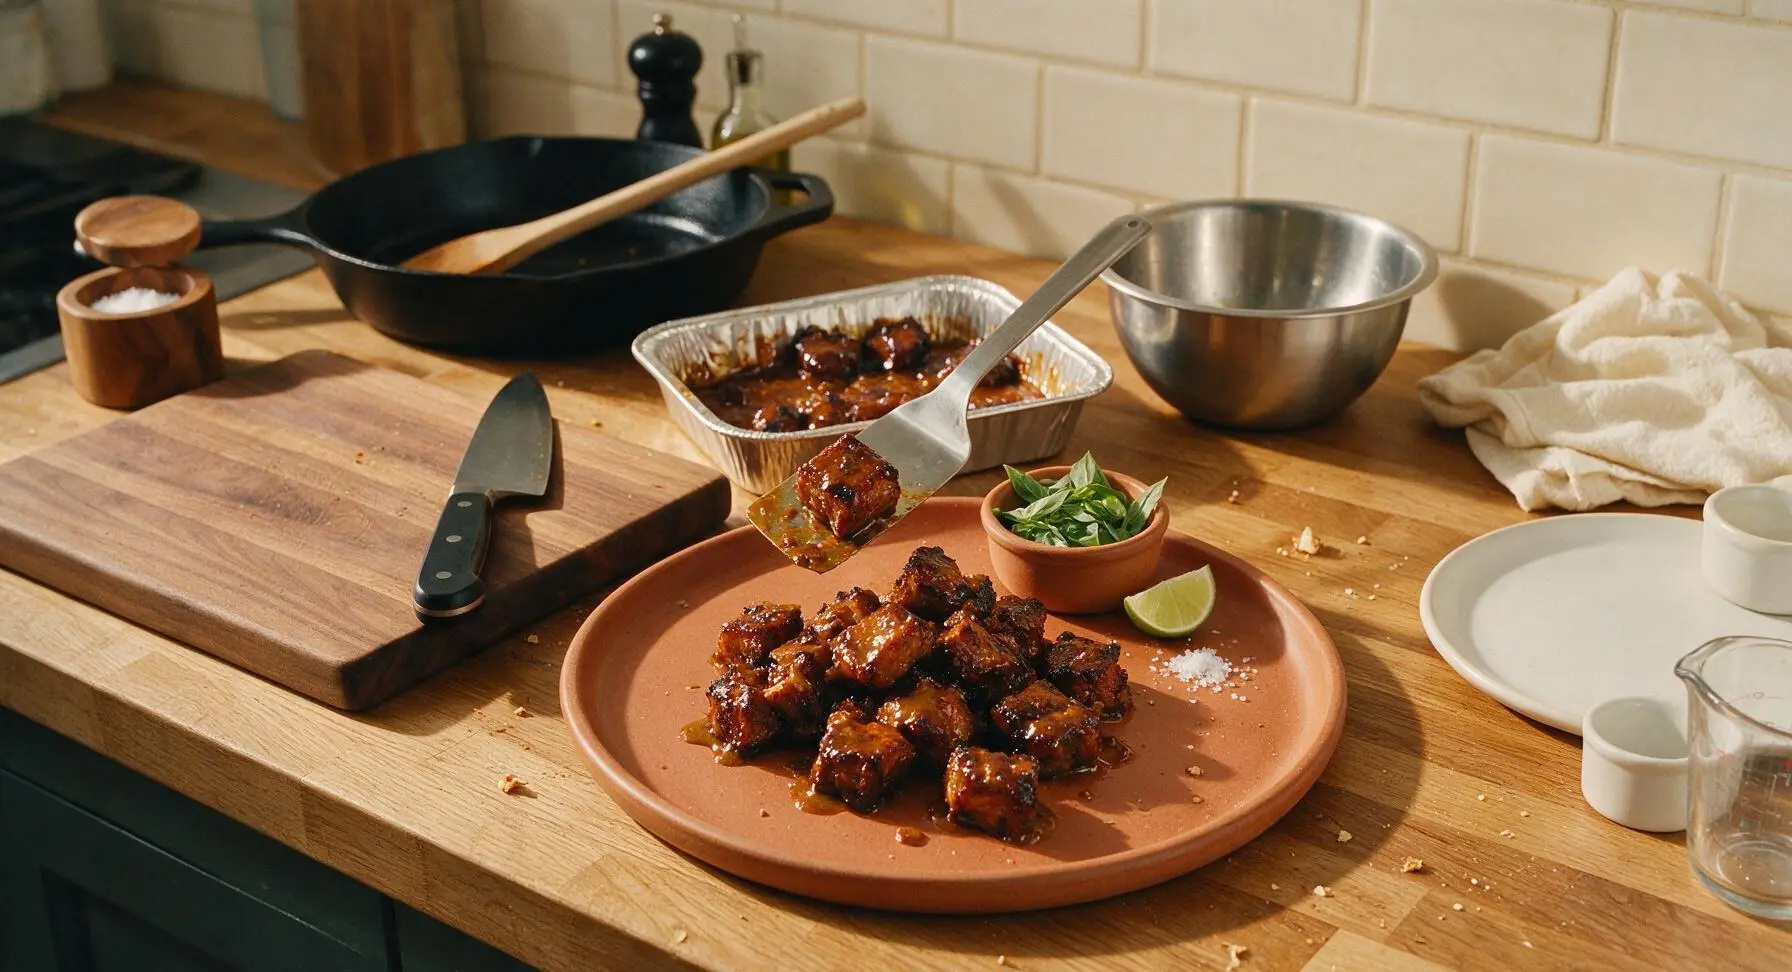
Use the offset stainless steel spatula to transfer the hot burnt ends to the matte terracotta serving platter, piling them loosely in the center. Drizzle any remaining thick curry sauce from the pan over the top of the pile. Garnish with thinly sliced fresh Thai basil leaves, a light sprinkle of flaky sea salt, and a wedge of fresh lime for squeezing. Serve immediately while hot and sticky.
Tips
2.Always use full-fat coconut milk for the sauce: the higher fat content emulsifies with the red curry paste to create a rich, clingy sauce that sticks to the burnt ends instead of separating or turning watery during the long braising stage.
3.Avoid stirring the burnt ends too often during the final braise: letting them sit undisturbed for 30 minutes between bastes allows the sauce to caramelize on the cube edges, creating the perfect slightly crisp 'burnt' texture without turning the meat mushy.






OMG these coconut curry burnt ends were the star of our weekend potluck! I was a little nervous about the 3.5 hour cook time but it was so worth it. The crispy edges coated in that creamy curry coconut sauce? *Chef’s kiss* My husband went back for thirds, no joke.
Wait a second, medium difficulty and 3.5 hours? I thought burnt ends were only for super experienced pit masters! Tried these last Sunday for meal prep and they reheated beautifully all week. The curry twist is such a game changer, I’ll never go back to regular BBQ burnt ends.
Made these for my kid’s soccer team cookout and half the parents asked for the recipe before they even finished their first plate. Only note: I added an extra pinch of red pepper flakes for a little heat and it slapped. 10/10 will make again.
I was skeptical about combining coconut curry with classic burnt ends but wow, the flavor combo works so well. The sweetness of the coconut balances the smoky meat perfectly, and the curry depth is chef’s kiss. Only con: my apartment smelled like curry and smoke for two days, totally worth it though.
My kids loved it! I was worried the curry would be too strong for their picky palates so I cut the curry powder by half and it was perfect. They ate every bite and asked if we can have it for their birthday dinner next month. So good!
Took me three tries to get the bark right but once I did? Absolute fire. The coconut curry glaze is something I never knew I needed in my BBQ rotation. Cooked these on my offset smoker at 225 for the full time and they came out melt in your mouth tender.
Made this for our family dinner last night and even my father in law (who swears no BBQ is better than his own) said these were top tier. The only swap I made was using full fat coconut milk because that’s what I had in the pantry, and it made the sauce so rich and creamy.
Brought these to my office potluck today and they were gone in 10 minutes flat. People were scraping the bowl to get the last of the curry sauce! Pro tip: make a double batch, trust me. A single batch is not enough for a crowd.
I just got my first grill last month and was looking for a showstopper recipe to impress my roommates. This was listed as medium difficulty and honestly? It was way easier than I thought! The steps are super clear, and I didn’t mess anything up even as a total newbie. My roommates thought I ordered takeout from a fancy BBQ spot lmao.
I upped the curry powder and added a tablespoon of garam masala plus a squeeze of lime at the end, and it was unreal. The tang from the lime cut through the richness of the coconut and the fatty brisket perfectly. Will absolutely be adding this to my regular cookout rotation.
These hold up so well for meal prep! I portioned them out with jasmine rice and roasted broccoli for 5 days of lunches, and they tasted just as good on day 5 as they did fresh. The sauce doesn’t get soggy or weird when you reheat it, which is a total win.
Tried these for a date night in and my partner said it’s the best thing I’ve ever cooked. We paired it with a mango salad and some naan to soak up the extra curry sauce, and it felt like a restaurant quality meal for a fraction of the price. 10/10, date night approved.
Eh, I thought these were just okay. I followed the recipe exactly but the curry flavor was really muted for me, and the burnt ends came out a little drier than I like. Maybe my grill temp was off? I might try again with more curry and a longer rest time.
I made these on my pellet grill for a Super Bowl party and people are still talking about them two weeks later. The coconut curry twist is such a fun departure from standard BBQ fare, it really stands out on a table full of wings and chili. My only regret is not making more to take home for myself!
So happy this recipe is naturally gluten free! I have celiac and so many BBQ sauces have hidden wheat in them, but I was able to make this with zero substitutions and it was totally safe for me to eat. Flavor was incredible too, I didn’t feel like I was missing out on anything.
The cook time says 3.5 hours but mine took almost 4 hours because my brisket point was a little thicker than the recipe called for, so don’t panic if yours takes a little longer! Wait until the internal temp hits 205 and the cubes probe like butter, that’s the sweet spot. These were so dang good, worth the extra wait.
I didn’t have a grill so I made these in the oven per the recipe notes, and they still came out amazing! I was worried I’d miss out on that smoky flavor so I added a little smoked paprika, and it was perfect. Who knew you could make burnt ends without a fancy smoker?
Made these for a post-hike cookout with my trail crew and everyone was raving. They’re hearty, packed with flavor, and easy to eat standing up around a campfire which is a huge win for our group. The coconut curry doesn’t feel heavy like regular BBQ sauce can, so we didn’t all slip into food comas before packing up camp.