
coconut flour fried chicken

title 1
coconut flour fried chicken
⏱️ cook time 20 minutes
🍽️ servings 4
⚡ Difficulty medium

intro

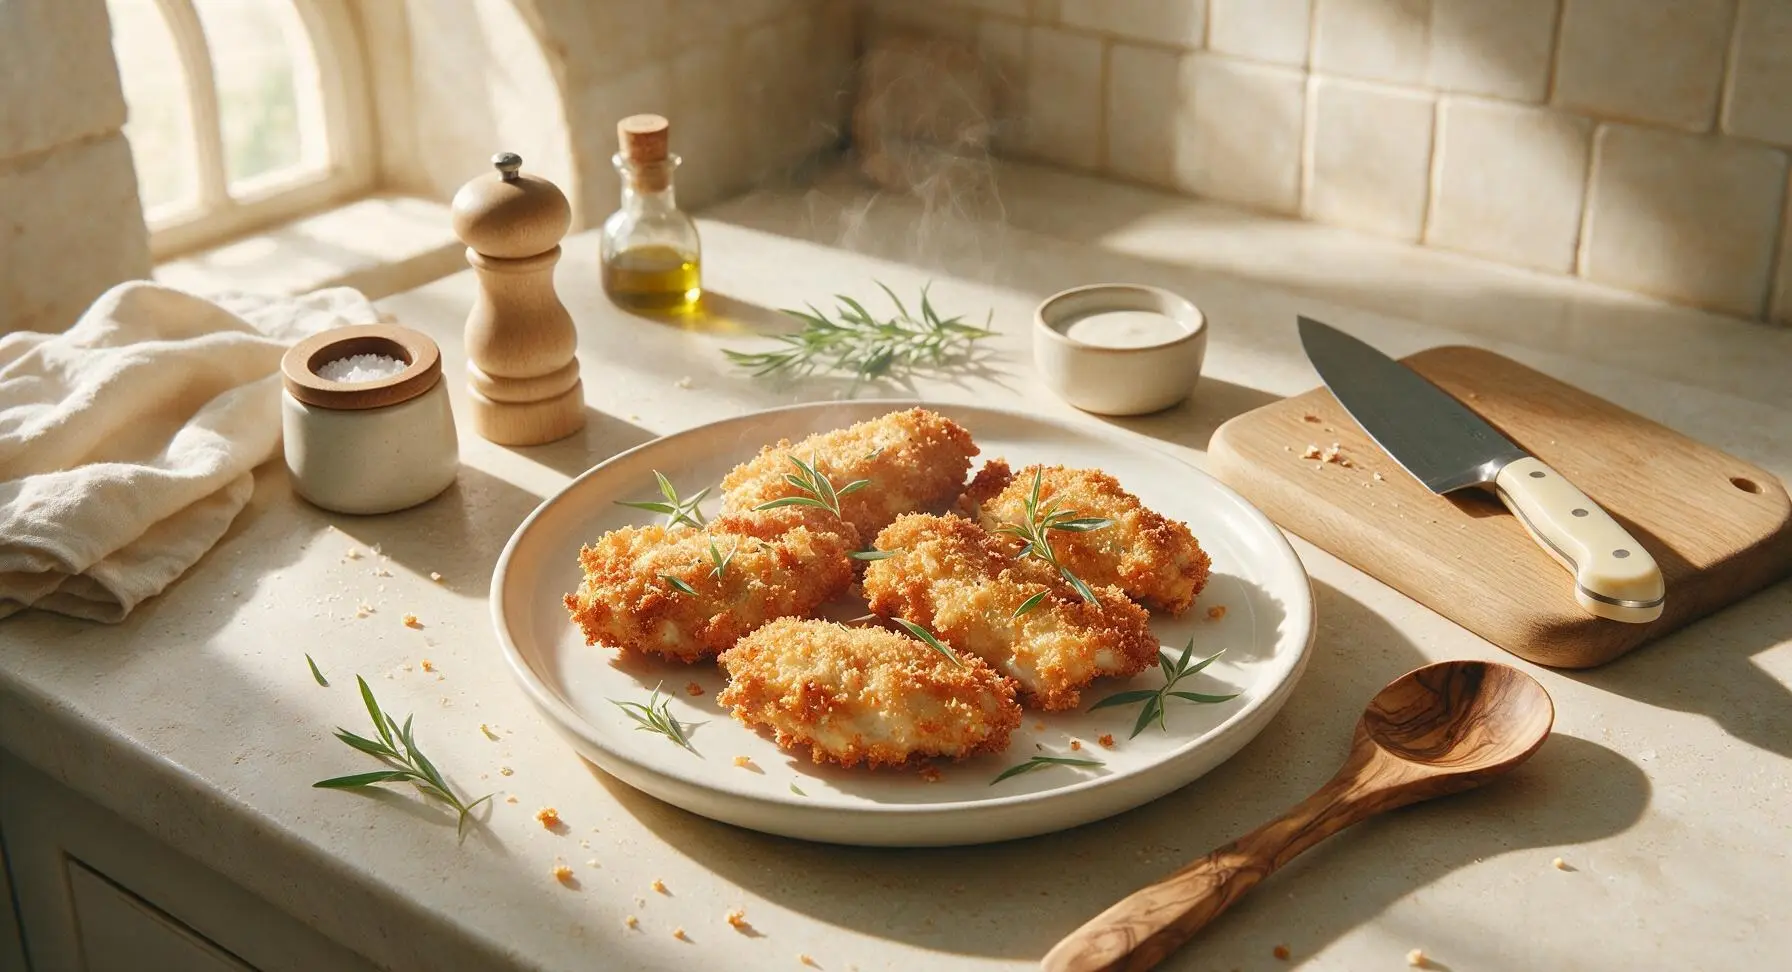
Crispy golden gluten-free fried chicken with a nutty coconut flour crust, shatteringly crisp outside, juicy seasoned meat inside, perfect for shared summer family meals.

Ingredients
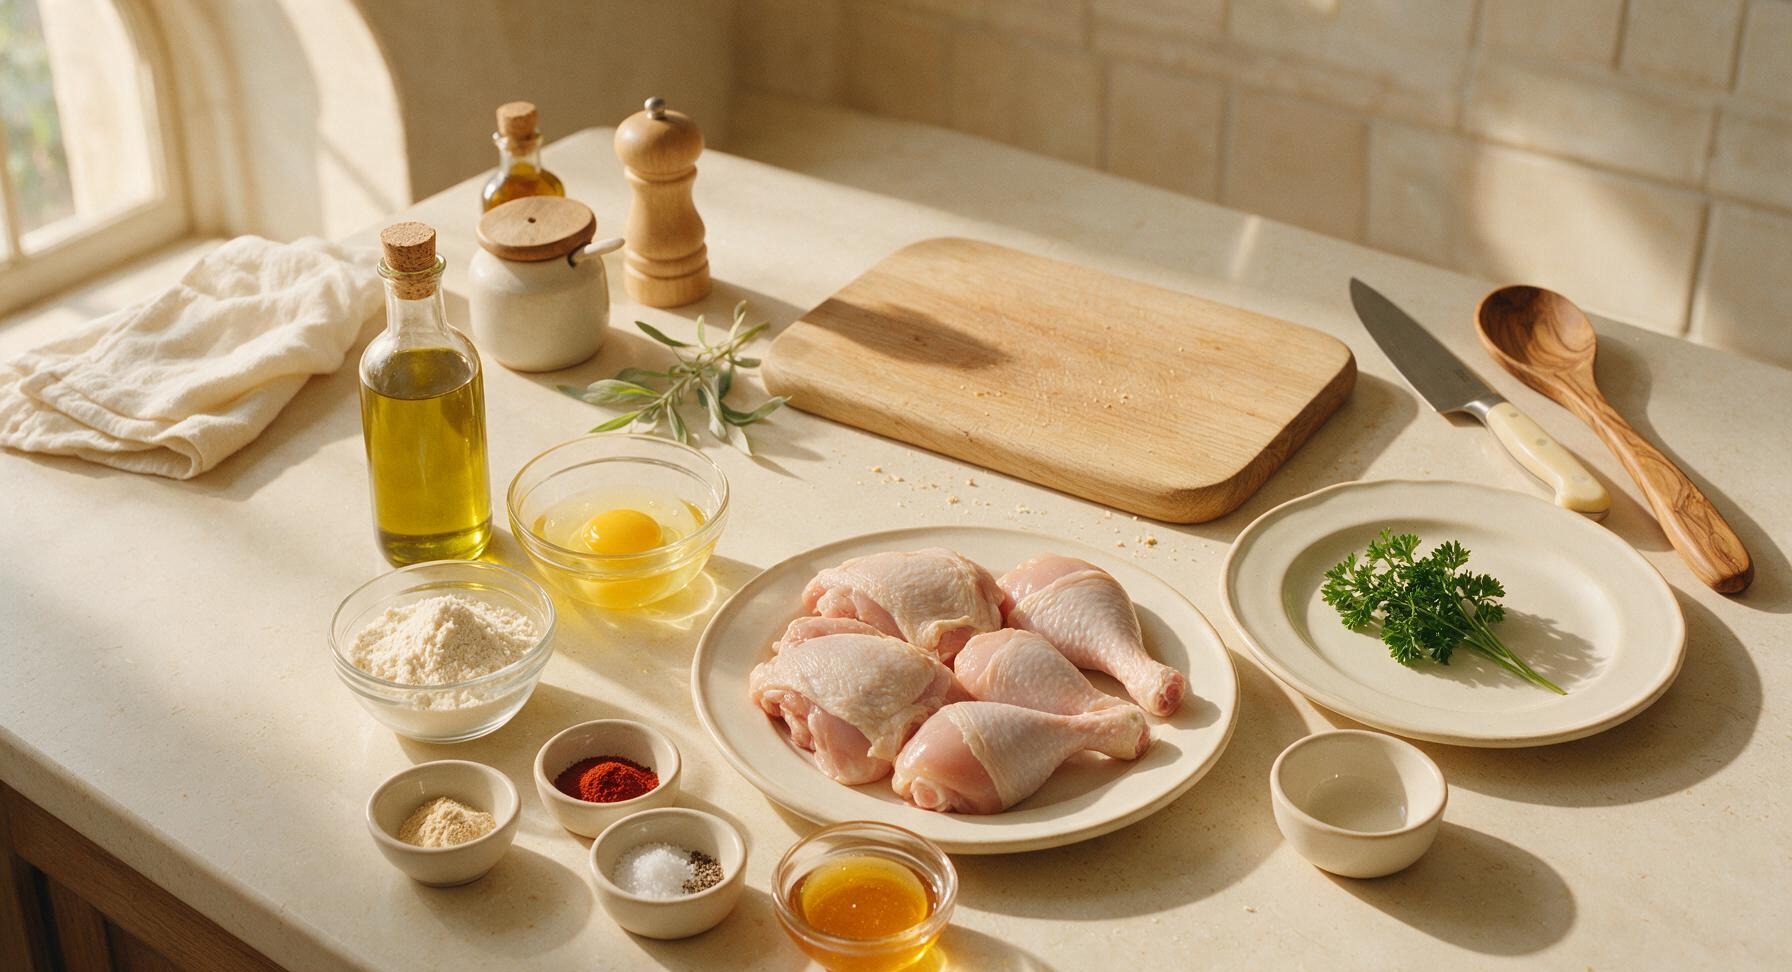
Bone-in skin-on chicken pieces (2 thighs, 2 drumsticks) 900g
Fine-grain coconut flour 70g
Large eggs 2
Avocado oil 350ml
Garlic powder 1 tsp
Smoked paprika 1 tsp
Fine sea salt 1.5 tsp
Freshly ground black pepper 0.5 tsp
Hot honey 60ml
Fresh curly parsley 5g

Steps

1

Pat Chicken Dry

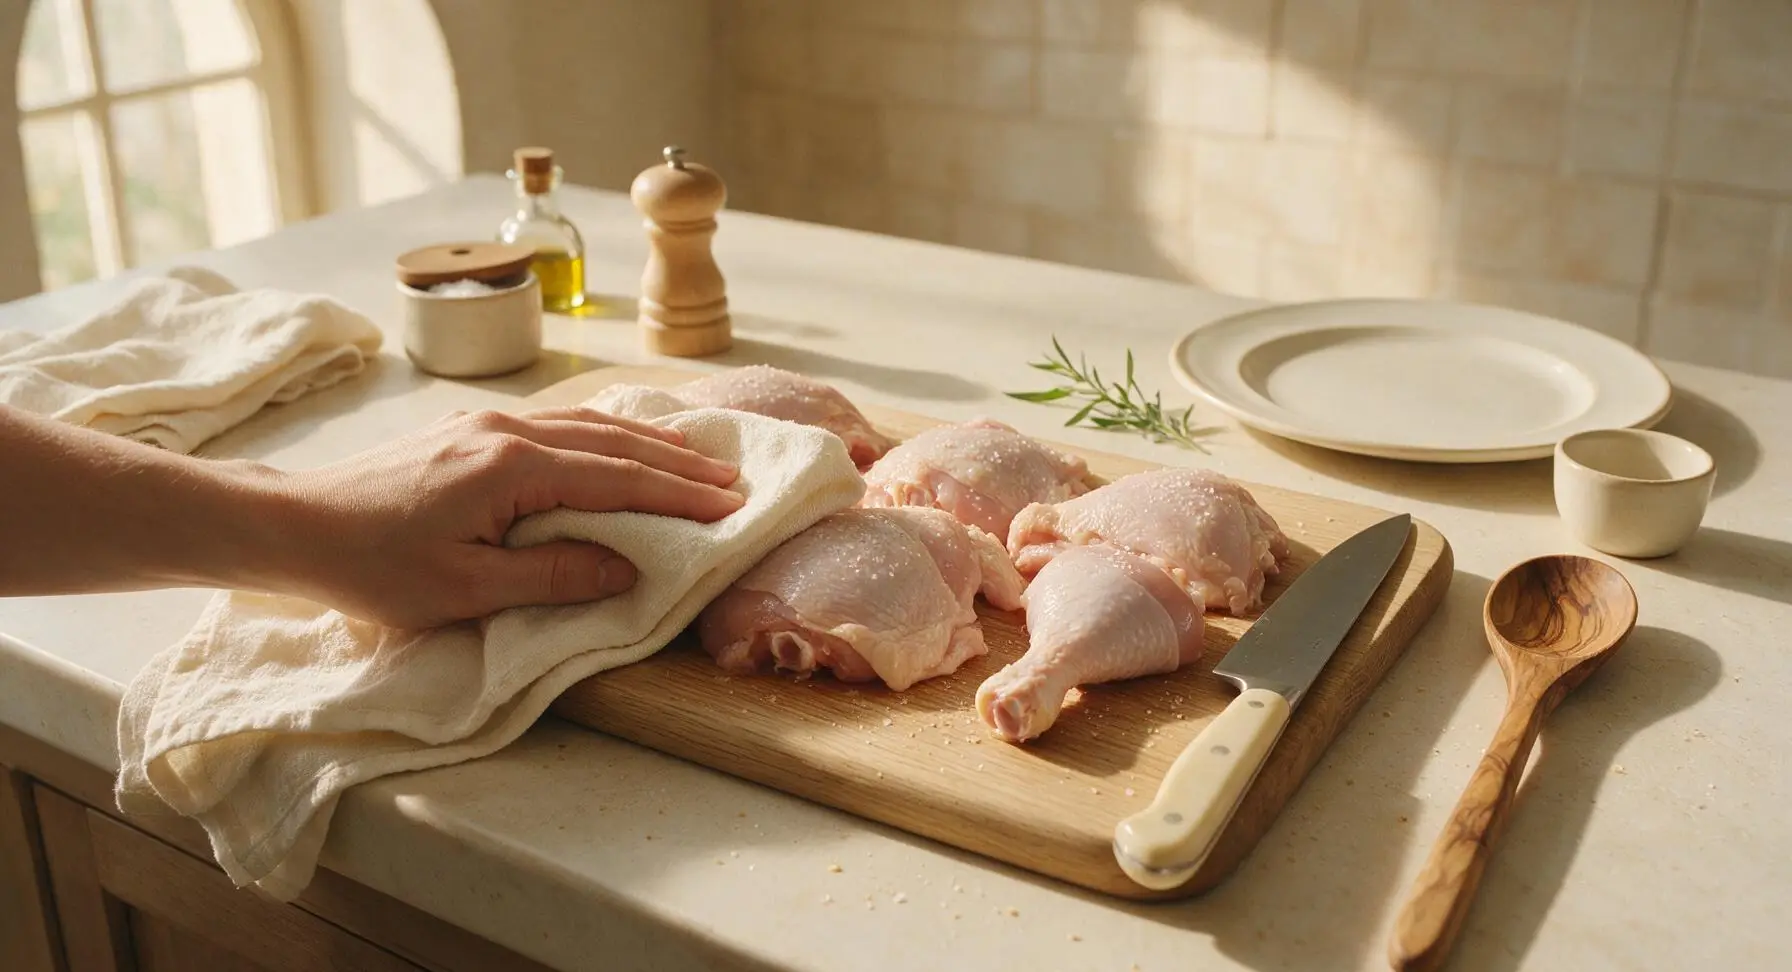
Remove chicken pieces from packaging, rinse briefly under cool water, then place on the light maple cutting board. Use the folded cream cotton kitchen towel to pat every surface of the chicken (including under skin flaps) completely dry, until no moisture remains on the skin. Dry chicken ensures the breading adheres properly and crisps instead of steaming. Season all sides lightly with 0.5 tsp of the sea salt. Let rest 10 minutes at room temperature.
Step 1
step1:Pat Chicken Dry
2

Set Up Breading Stations

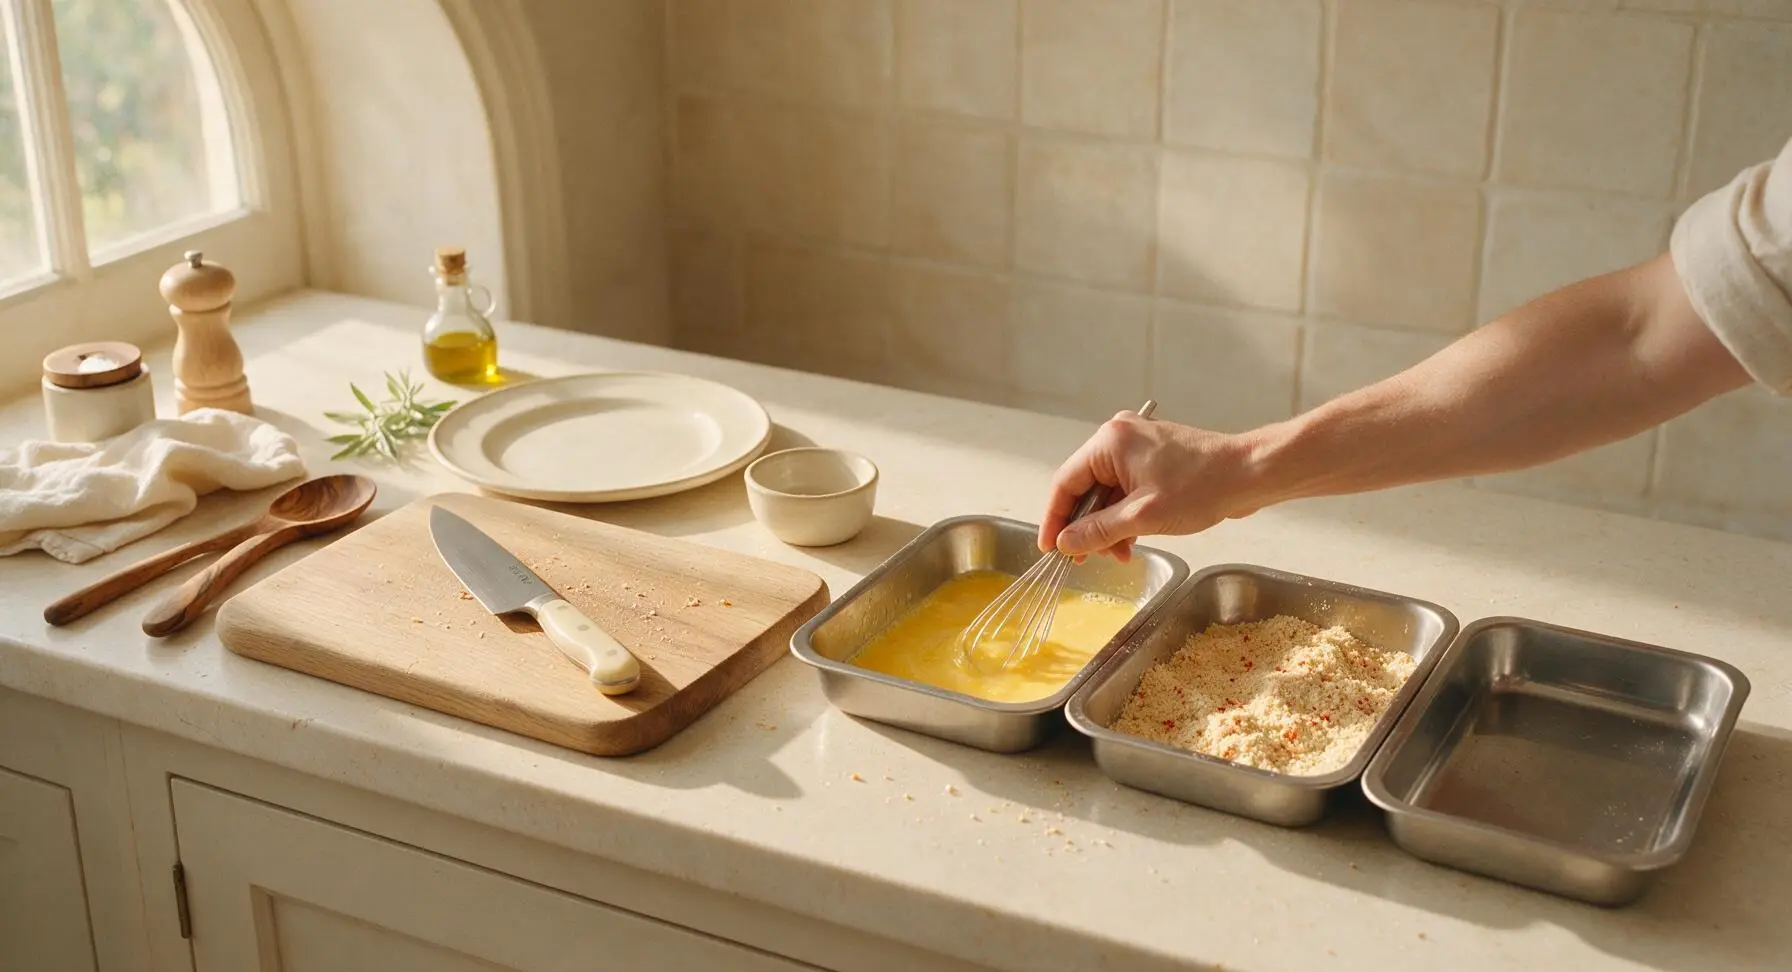
Take the three shallow stainless steel breading trays from their stack on the right counter. In the first tray, beat the 2 large eggs with a fork until completely smooth, no streaks of white remaining. In the second tray, combine the coconut flour, remaining 1 tsp sea salt, garlic powder, smoked paprika, and black pepper, whisking with the tines of a fork until spices are evenly distributed throughout the pale coconut flour. Leave the third tray empty to hold breaded chicken before frying.
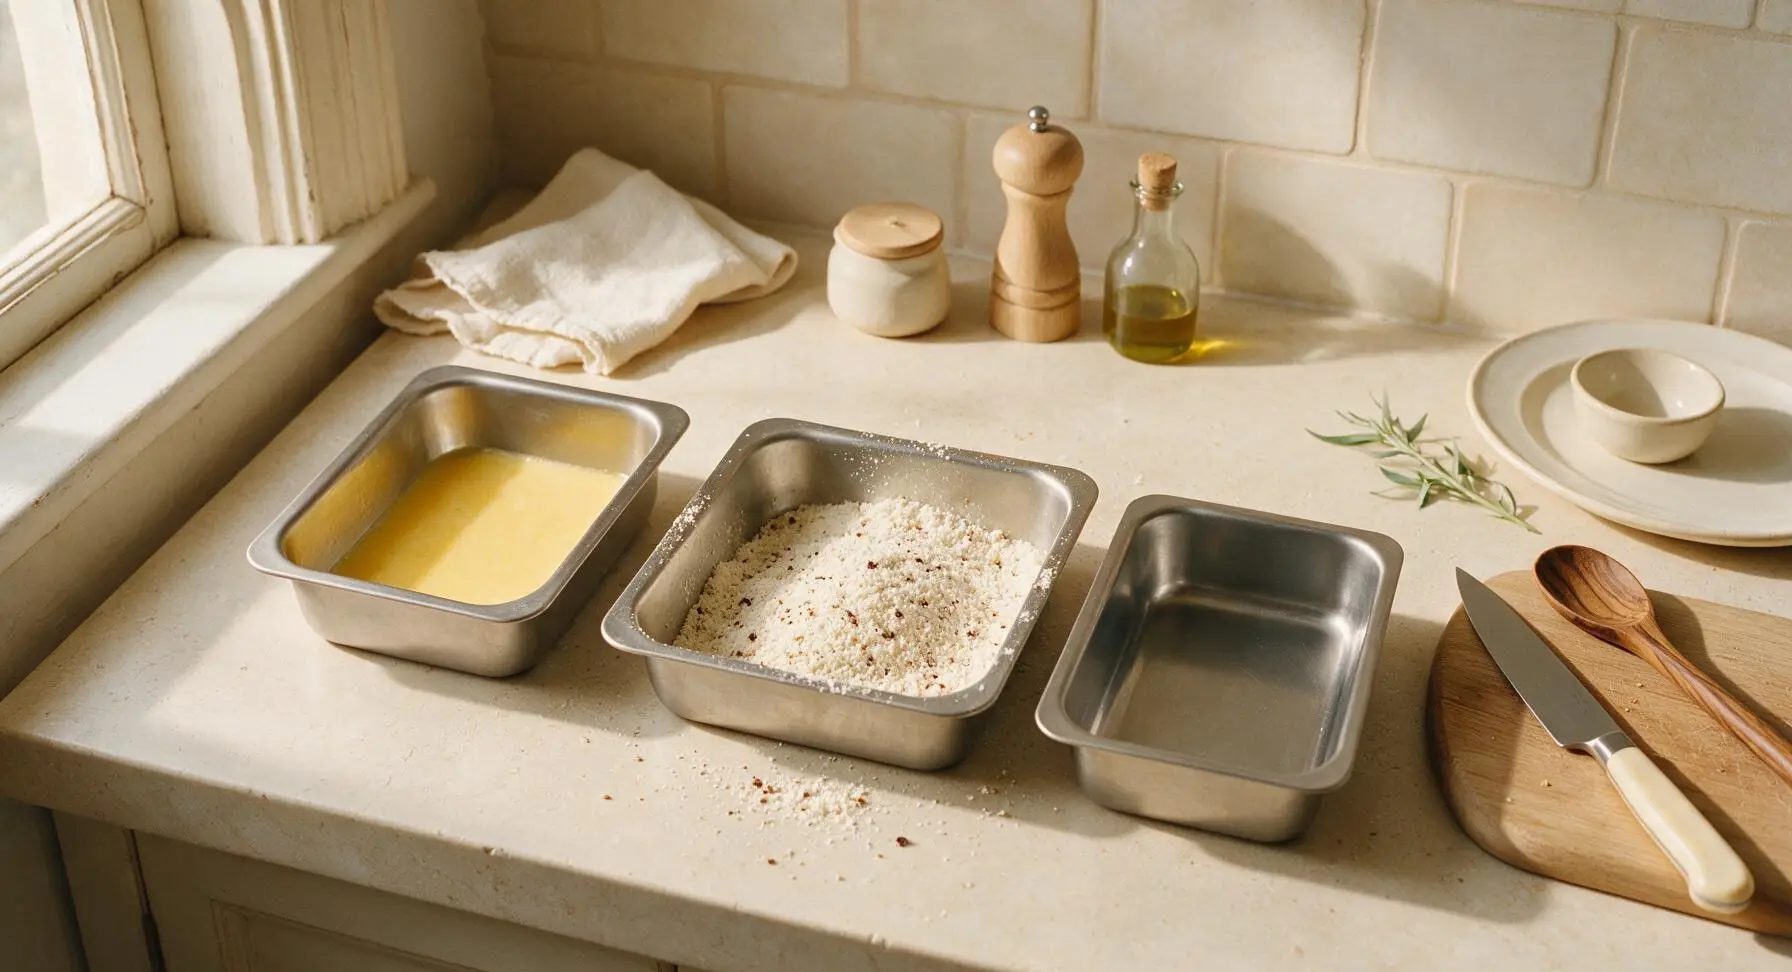
Step 2
step2:Set Up Breading Stations
Step 2
step2:Set Up Breading Stations
3

Coat Chicken Evenly

Working one piece at a time, dip a chicken piece first into the beaten egg, turning to coat every surface completely, letting excess egg drip back into the tray for 3 seconds. Immediately transfer the egg-coated chicken to the coconut flour mixture, pressing firmly with your fingers to pack the flour onto every side, including under the skin edge, until no bare chicken or wet egg is visible. Gently shake off excess flour, then place the breaded piece on the empty third breading tray. Repeat with all remaining chicken pieces, then let breaded chicken rest 5 minutes to allow the coating to set—this prevents the breading from falling off during frying.
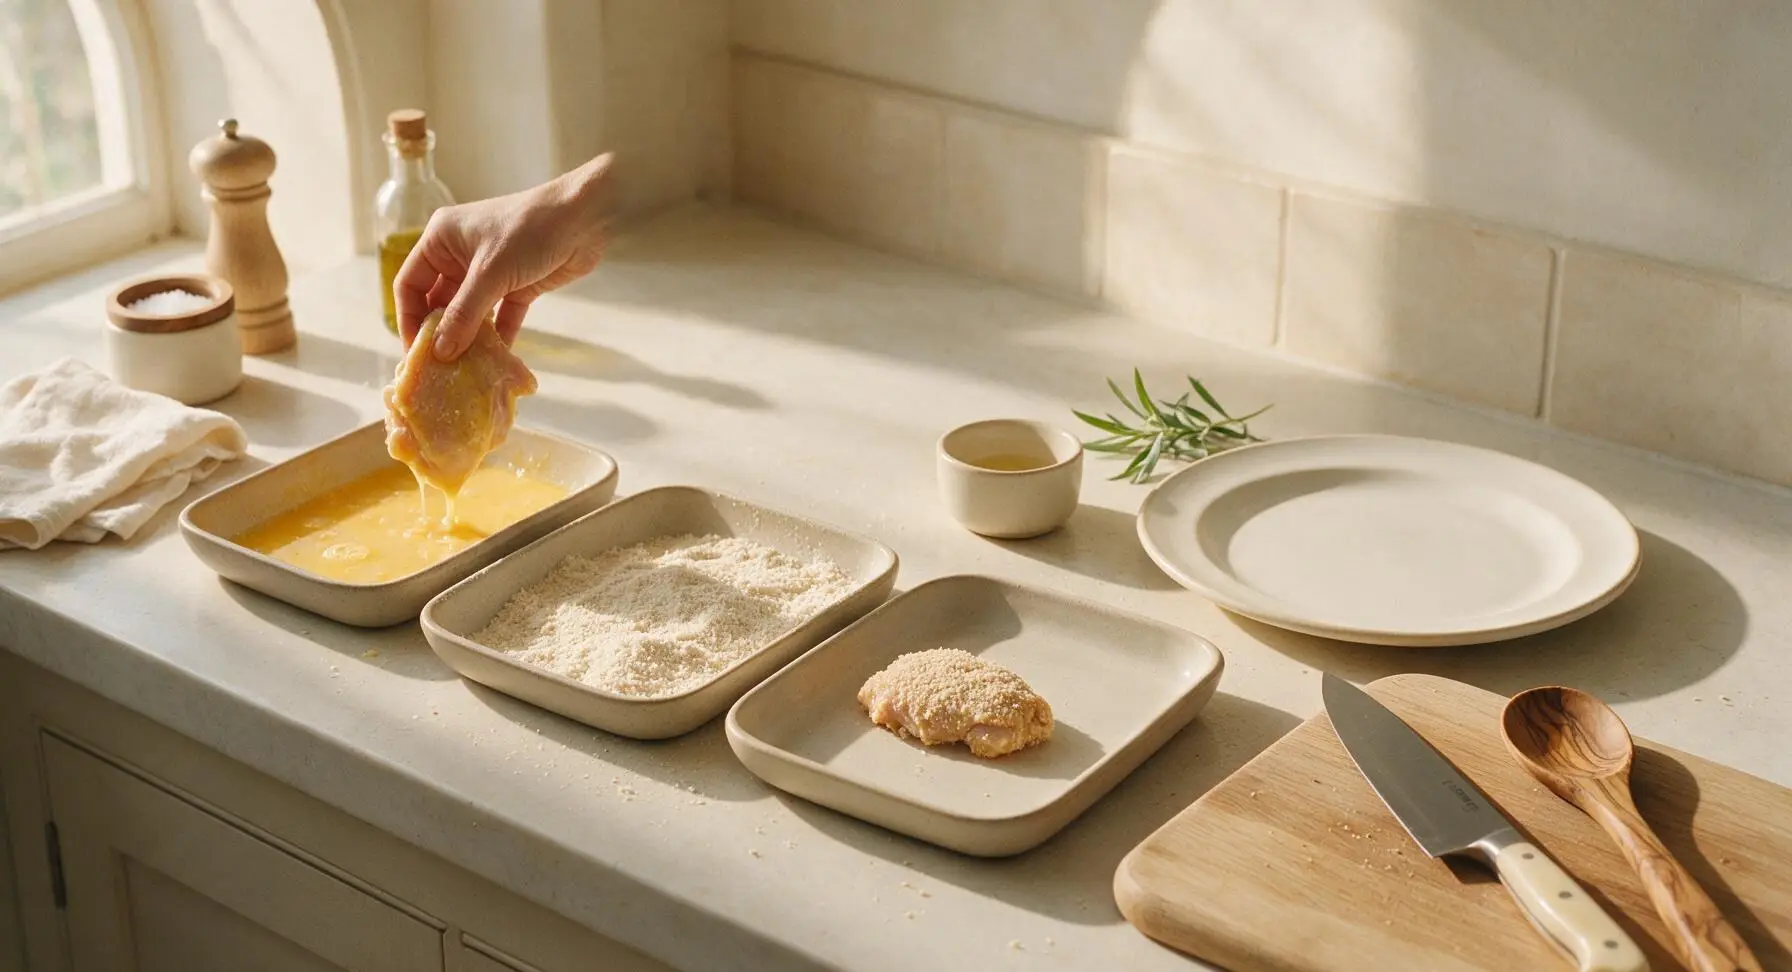
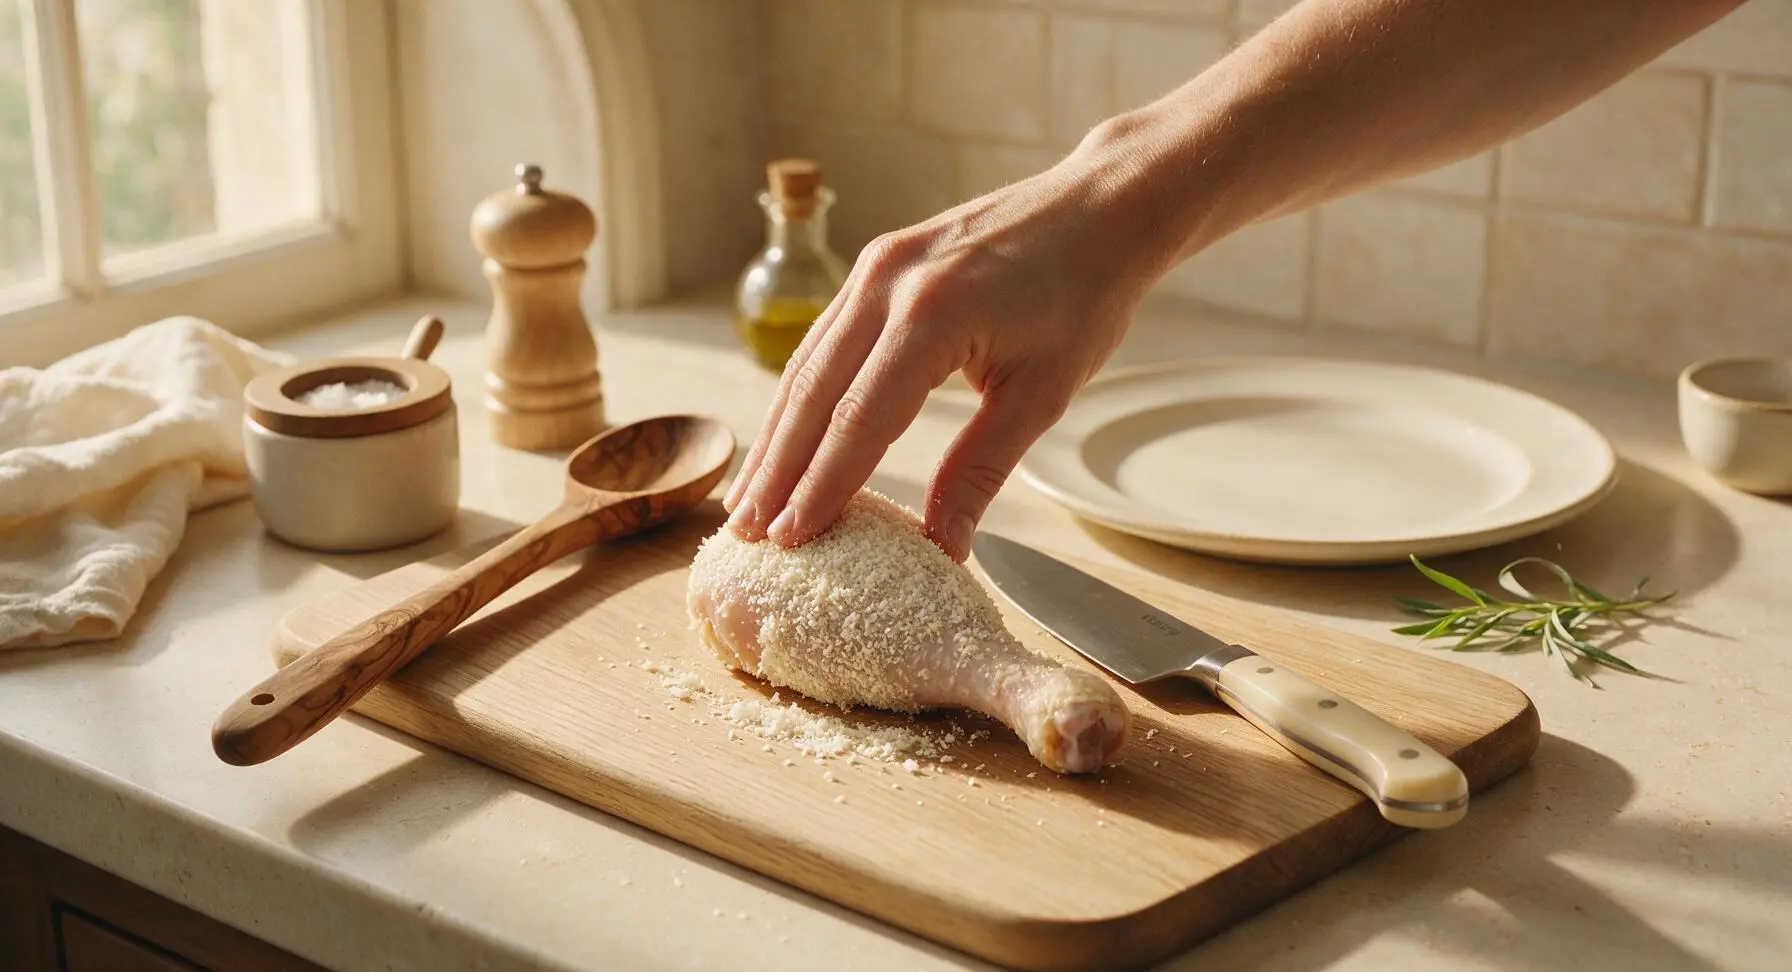
Step 3
step3:Coat Chicken Evenly
Step 3
step3:Coat Chicken Evenly
4

Heat Oil to Temperature

Pour the 350ml avocado oil into the 12-inch matte black cast iron skillet on the left rear burner. Clip the stainless steel deep-fry thermometer to the side of the skillet, making sure the probe is submerged in oil but not touching the pan bottom. Heat oil over medium heat until it reaches a steady 175°C (350°F). Adjust burner heat as needed to maintain this temperature throughout cooking—oil that is too hot will burn the coconut flour crust before the chicken cooks through, while oil too cool will make the crust soggy and greasy.
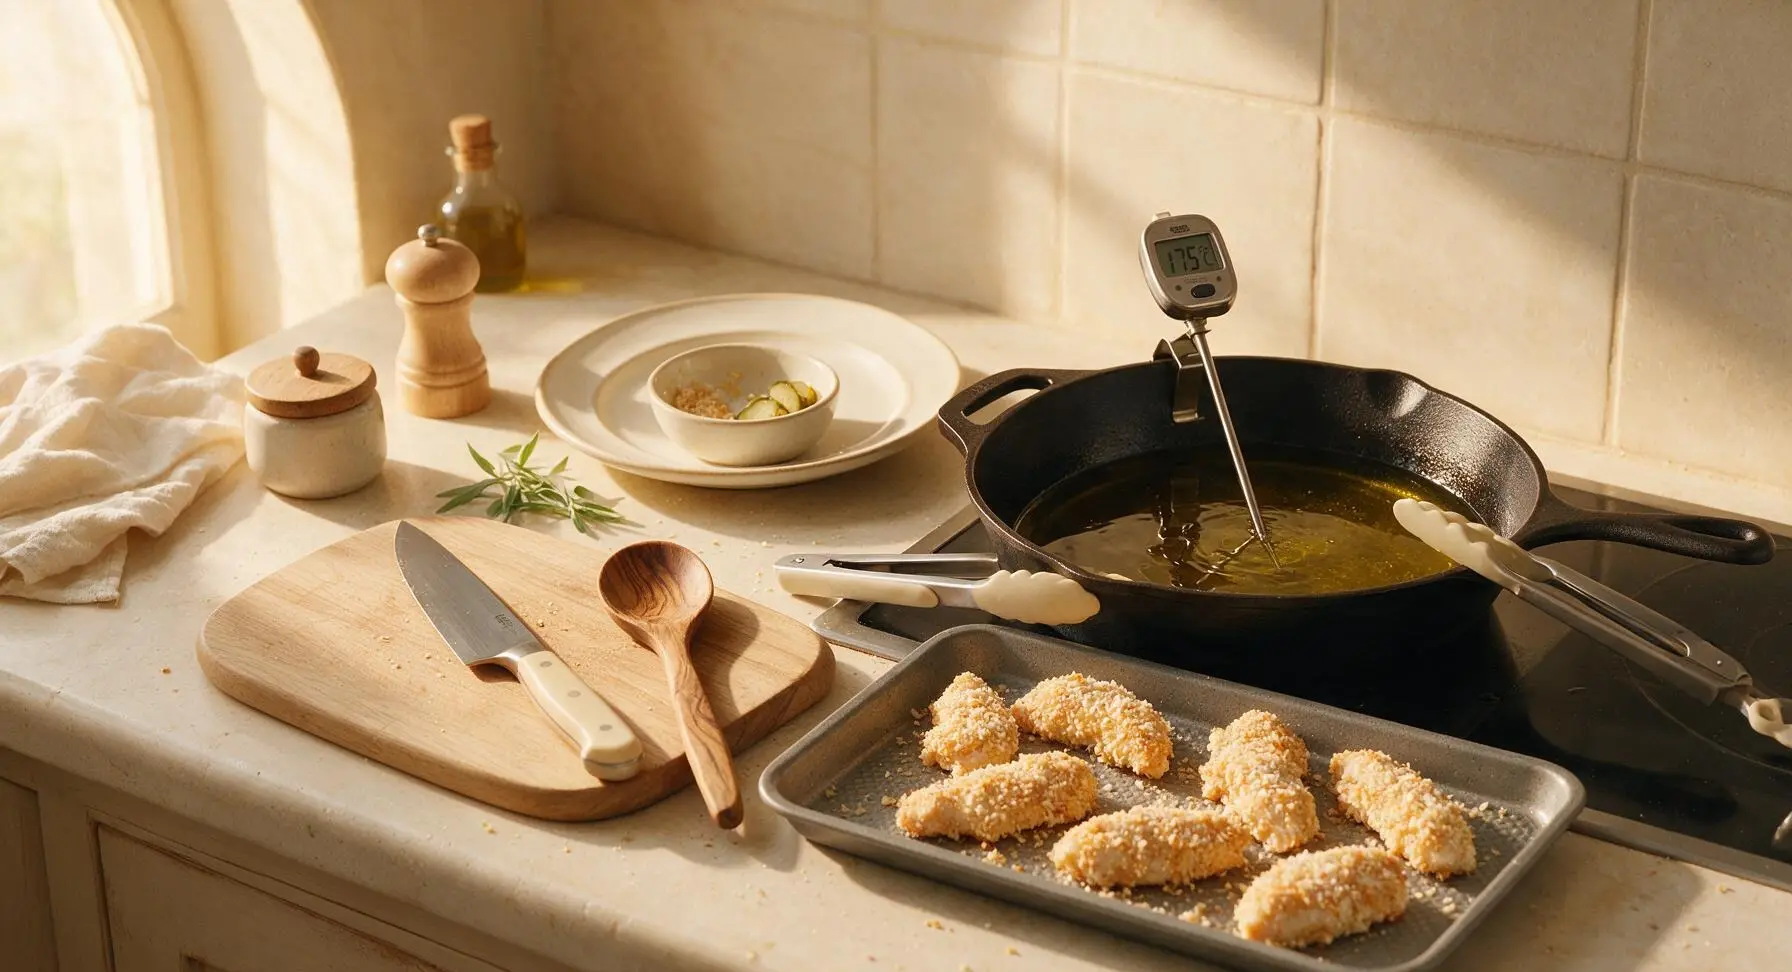
Step 4
step4:Heat Oil to Temperature
5

Fry First Chicken Side

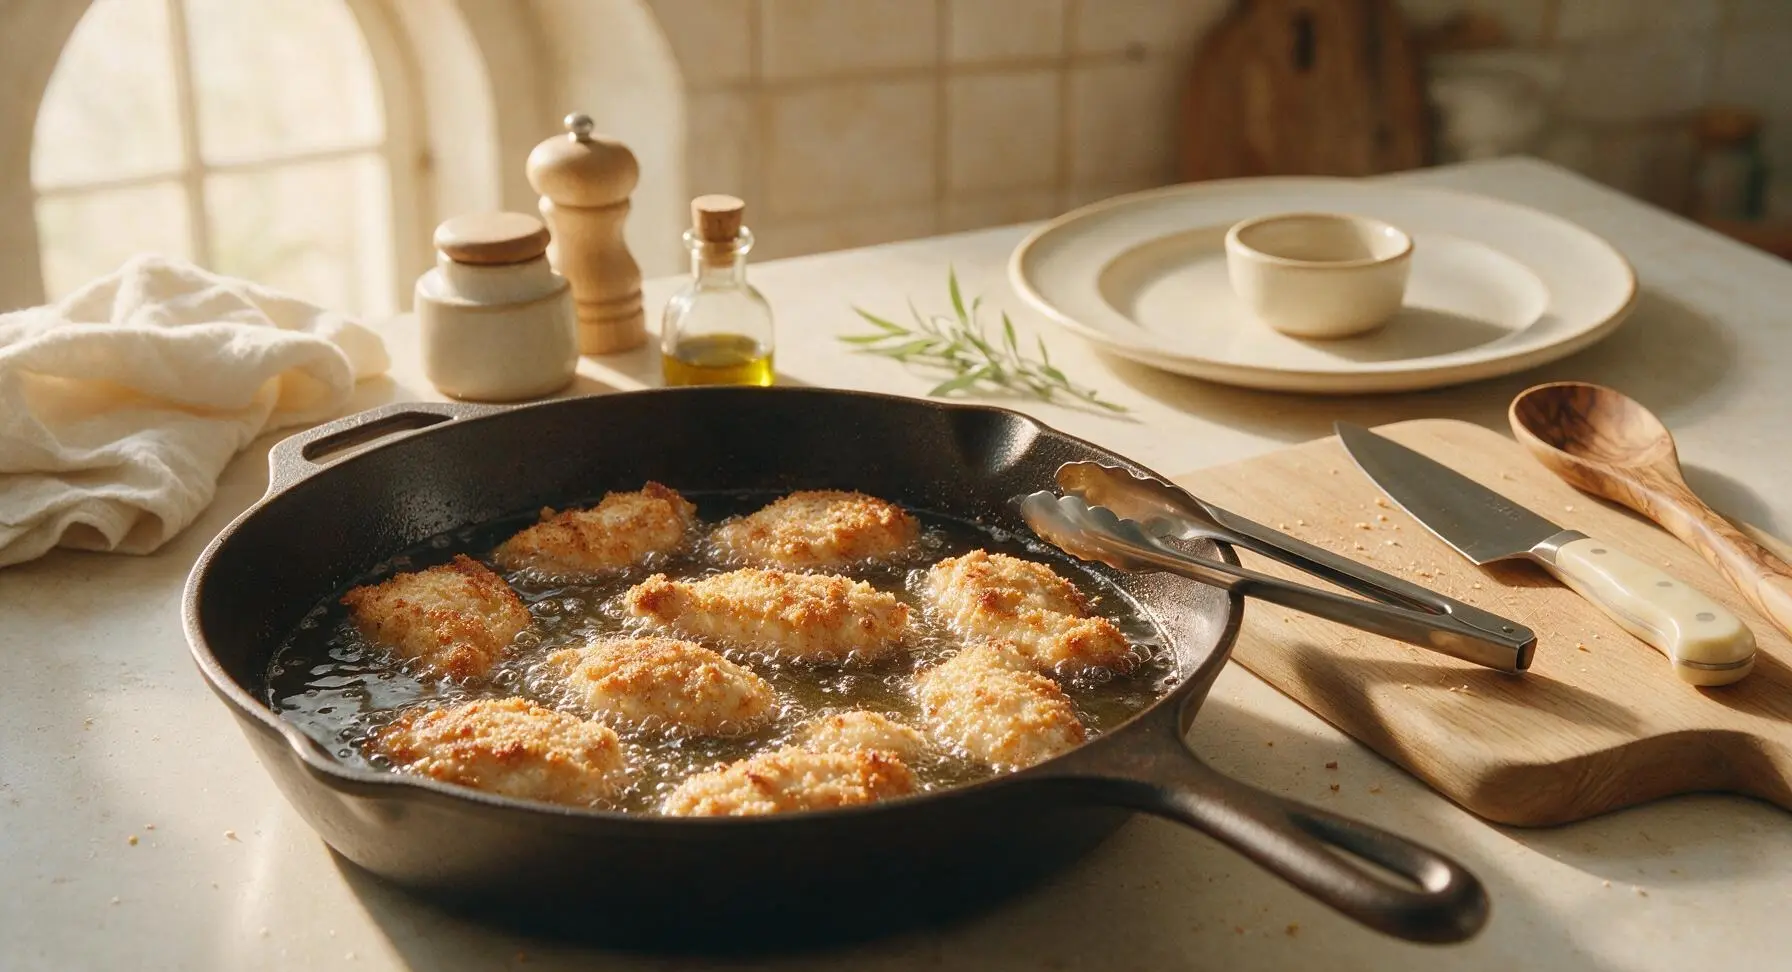
Using the stainless steel tongs, carefully lower the breaded chicken pieces into the hot oil one at a time, placing them skin-side down, arranging them so they do not touch each other in the pan (cook in 2 batches if the pan is crowded). Fry undisturbed for 8 minutes, until the down-facing crust is a deep golden brown, crisp to the touch. Do not move the chicken early, as this will tear the developing crust.
Step 5
step5:Fry First Chicken Side
6

Flip and Cook Through

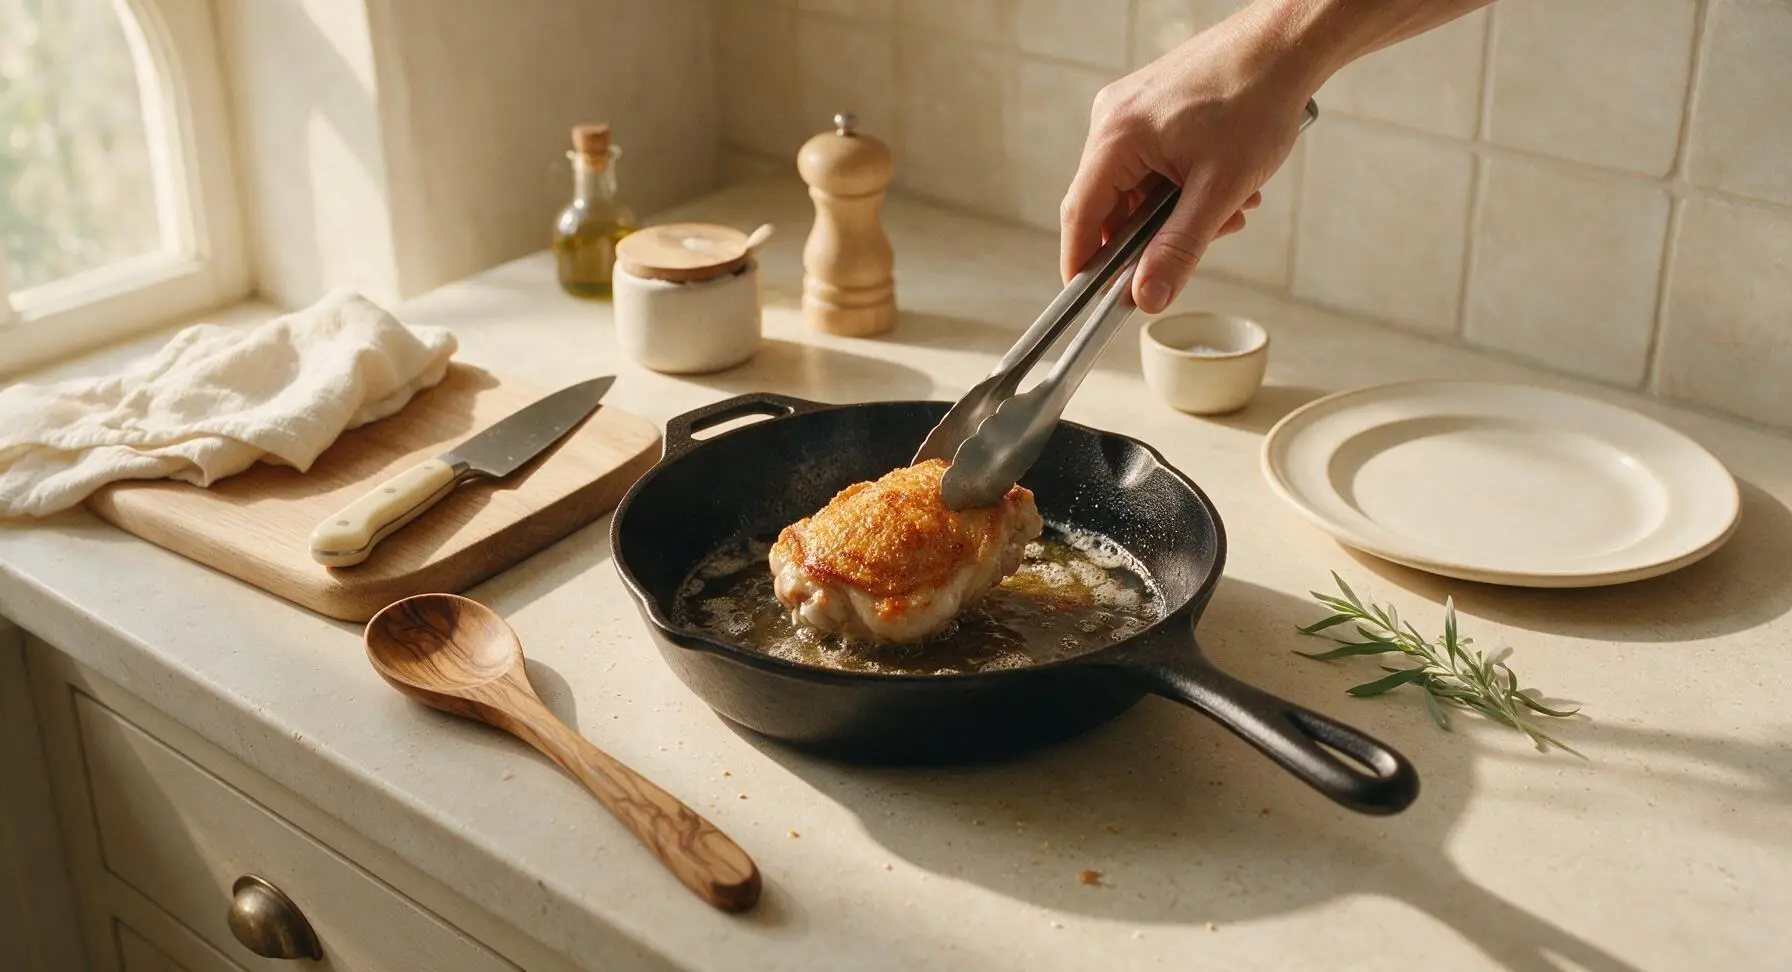
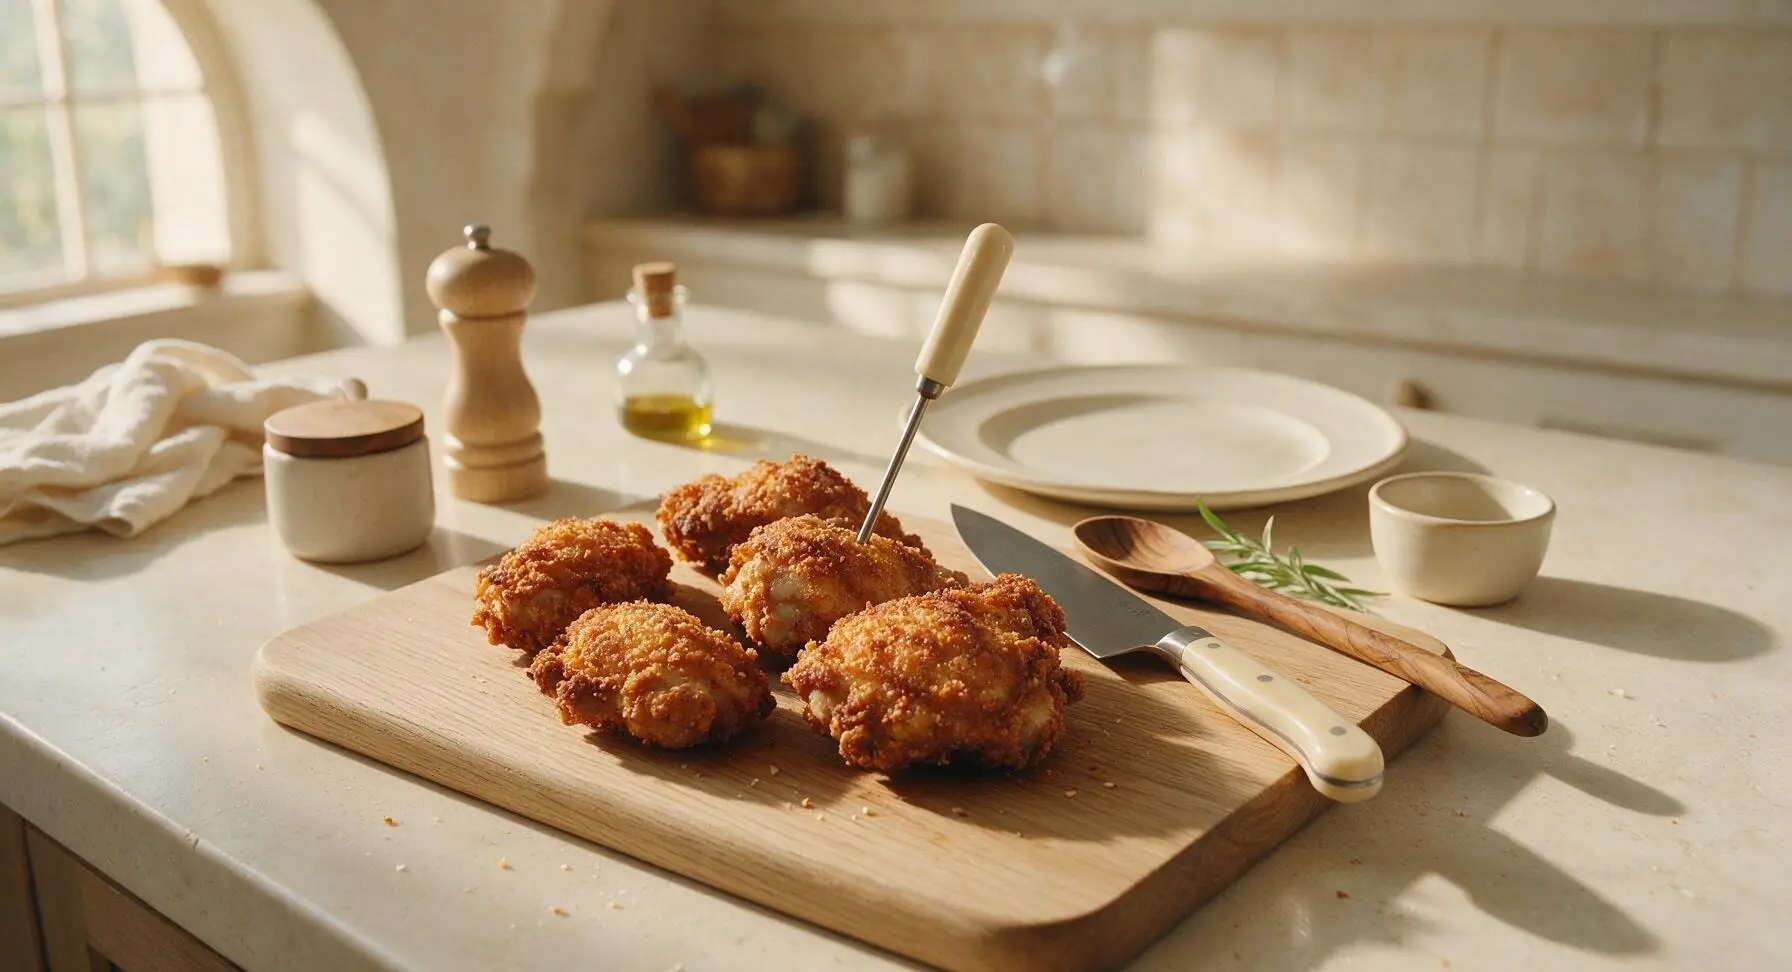
Use the tongs to gently flip each chicken piece to the second side. Continue frying for another 7-9 minutes, until the second side is equally deep golden brown and crisp, and the internal temperature of the chicken reaches 75°C (165°F) when measured with a meat thermometer at the thickest part, not touching bone. Monitor oil temperature closely, adjusting heat to keep it steady at 175°C (350°F).
Step 6
step6:Flip and Cook Through
Step 6
step6:Flip and Cook Through
7

Drain Cooked Chicken

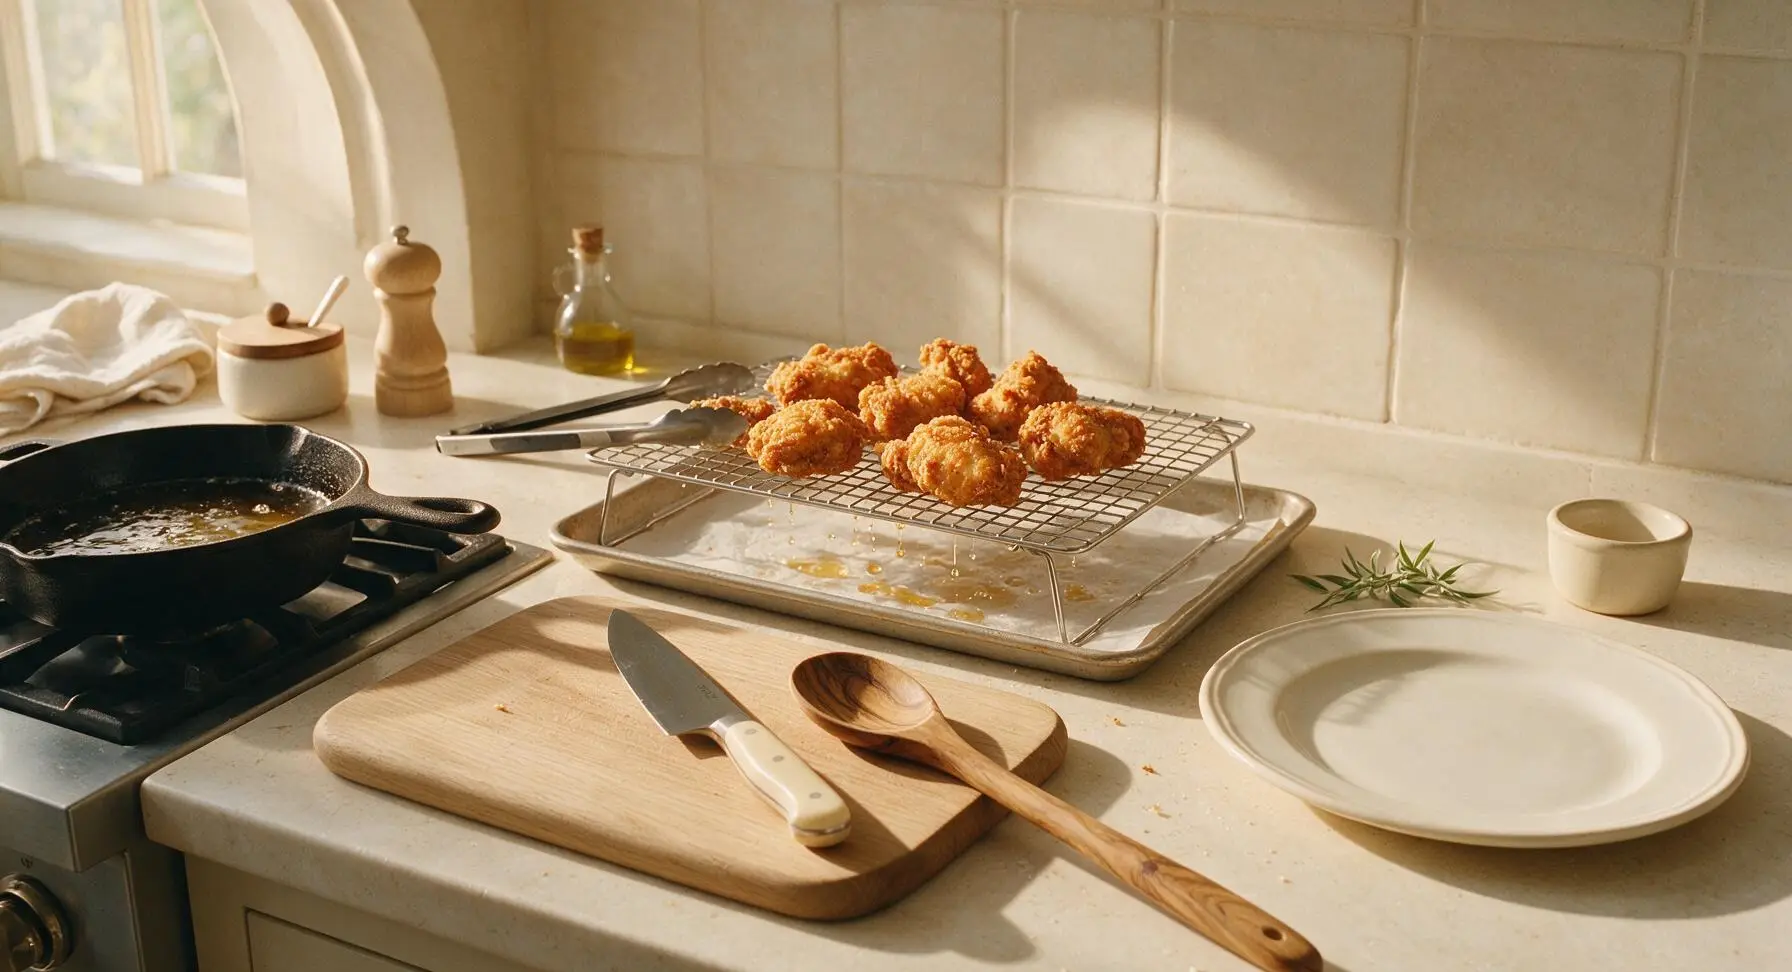
Use the tongs to lift each cooked chicken piece from the hot oil, holding it above the pan for 5 seconds to let excess oil drip off, then transfer the pieces to the wire cooling rack set over the parchment-lined baking sheet on the right rear counter. Let chicken rest for 5 minutes—this allows the crust to set and juices to redistribute, instead of running out when you bite into the chicken. Do not drain chicken on paper towels, as this will make the underside of the crust soggy.
Step 7
step7:Drain Cooked Chicken
8

Plate and Garnish

Transfer the rested fried chicken pieces to the creamy off-white stoneware dinner plate, piling them loosely in the center. Pour the hot honey into the small clear glass ramekin and set it on the plate next to the chicken. Tuck a few sprigs of fresh curly parsley against the chicken for garnish, and scatter a few crispy crust crumbs across the plate for a casual, inviting look. Serve immediately while the crust is crisp and the chicken is hot.
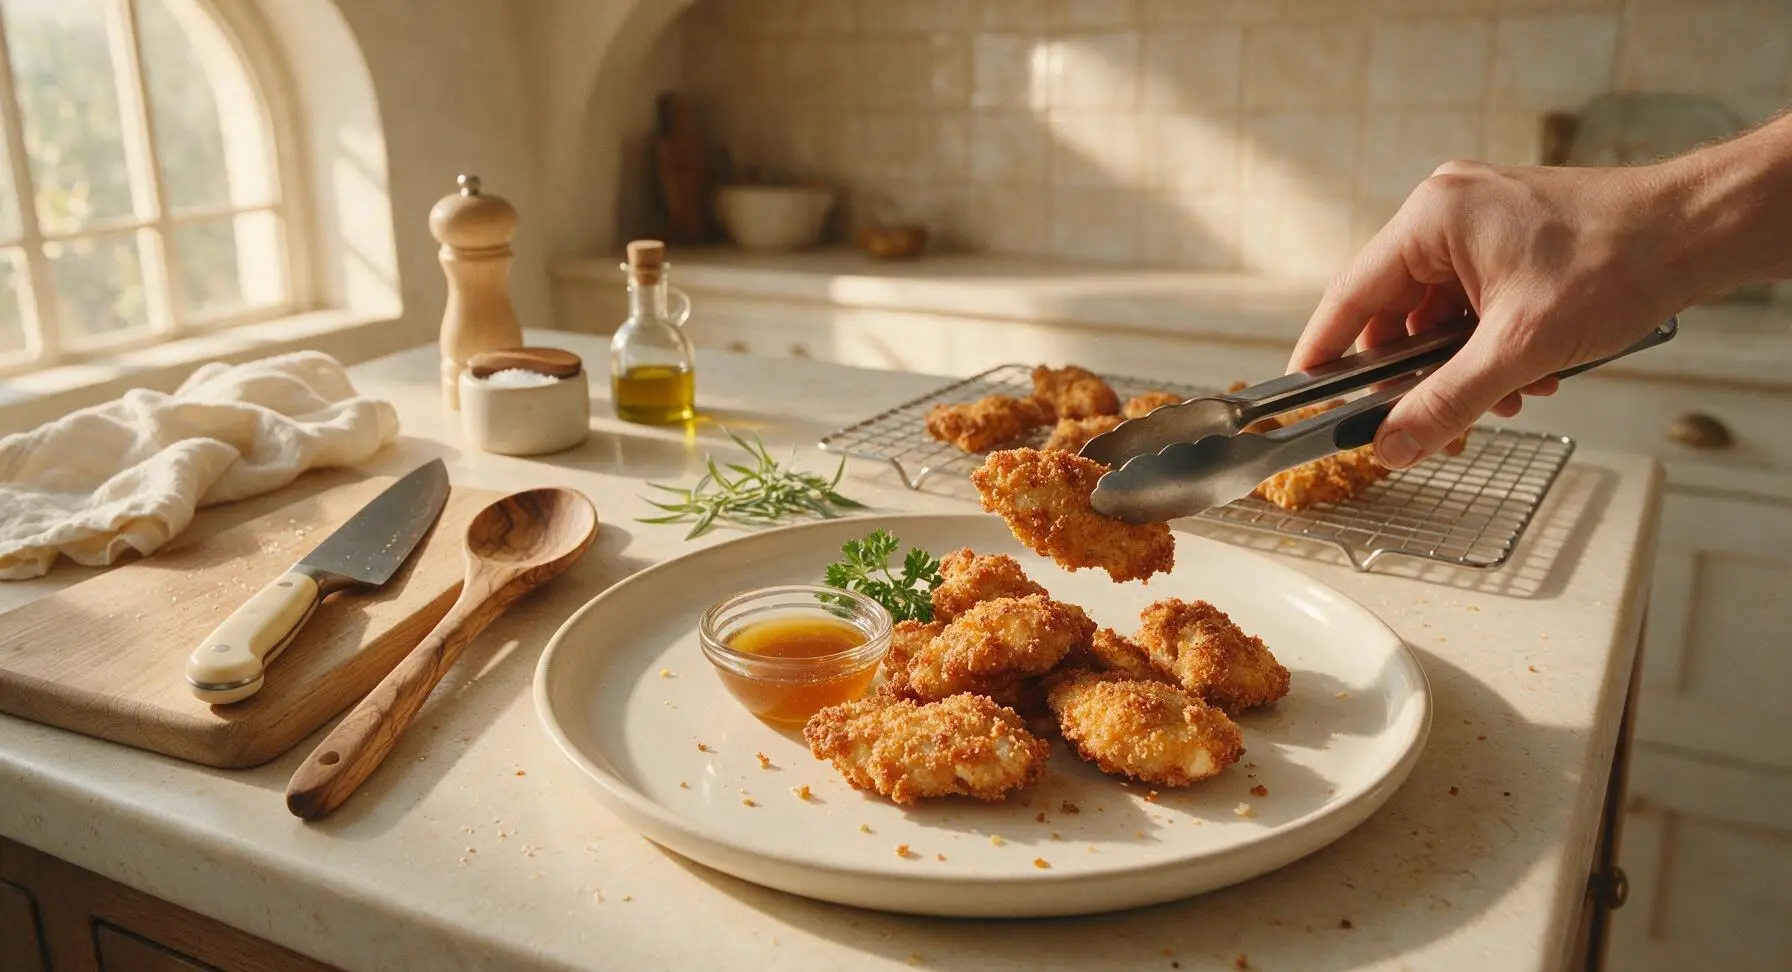
Step 8
step8:Plate and Garnish

Tips

1.Pat chicken completely dry before breading: any residual moisture on the skin will create steam during frying, causing the coconut flour crust to slide off and turn soggy instead of developing that signature shatteringly crisp texture.
2.Let breaded chicken rest 5 minutes before frying: this short pause allows the coconut flour to fully absorb the egg wash and form a tight, bonded coating that will not separate from the chicken when placed in hot oil, eliminating bare spots and loose crust debris in the pan.
3.Do not overcrowd the skillet: adding too many chicken pieces at once drops the oil temperature rapidly, leading to greasy, pale crust. If your pan cannot fit all pieces without touching, fry in two small batches, waiting for the oil to return to 175°C (350°F) between batches.
4.Skip paper towels for draining: resting fried chicken on a wire rack allows air to circulate around all sides of the crust, preventing the underside from turning soft and soggy as trapped steam condenses against absorbent paper.


✨ You May Also Like

Main Course
🍜 United Kingdom

A showstopping classic of tender seared beef, savory mushroom duxelles, and crisp prosciutto wrapped in flaky golden puff pastry, baked to juicy perfection.

⏱️ 2 hours 1Main Course ★ 4.7
Main Course
🍜 India

Tender charred marinated chicken simmered in a rich, spiced creamy tomato sauce, this iconic Anglo-Indian curry pairs perfectly with basmati rice or warm naan.

⏱️ 50 minuteMain Course ★ 4.6
Main Course
🍜 Thailand

Classic tangy, sweet, and savory Thai stir-fried rice noodles with shrimp, tofu, and crunchy garnishes, balancing all five core Thai flavor profiles.

⏱️ 30 minuteMain Course ★ 4.5
Main Course
🍜 United Kingdom

Crispy golden beer-battered cod and fluffy double-fried chips, served with tangy tartar sauce and malt vinegar: the timeless, beloved British pub comfort classic.

⏱️ 45 minuteMain Course ★ 4.7
Main Course
🍜 Mexico

Smoky, chile-marinated pork tacos with caramelized pineapple, fresh cilantro, and lime: a beloved classic Mexican street food perfect for casual summer gatherings.

⏱️ 1 hour 45Main Course ★ 4.8
Main Course
🍜 United States

Crunchy Fritos corn chips layered with savory beef chili and melted cheddar, topped with cool, zesty fixings for a beloved, cozy Tex-Mex comfort food.

⏱️ 35 minuteMain Course ★ 4.8

coconut flour fried chicken:Frequently Asked Questions

1.Is this coconut flour fried chicken truly gluten-free? ▾
Absolutely! As long as you use certified gluten-free fine-grain coconut flour and pure garlic powder with no hidden wheat-based fillers or anti-caking agents, this recipe is 100% gluten-free. There’s no wheat flour or gluten-containing batter in the base, making it perfect for folks with gluten sensitivities or celiac disease.
2.Why does this recipe call for bone-in, skin-on chicken instead of boneless cuts? ▾
Bone-in, skin-on thighs and drumsticks stay far juicier during frying than boneless, skinless cuts: the bone insulates the meat as it cooks, and the skin renders to add rich, savory flavor. The skin also gives the coconut flour crust a grippy surface to stick to so it doesn’t slide off mid-fry.
3.Can I substitute regular all-purpose flour for coconut flour in this recipe? ▾
I don’t recommend a straight 1:1 swap. Coconut flour is extremely absorbent, high-fiber, and behaves very differently from wheat flour when mixed with egg and fried. Swapping for all-purpose flour will leave you with a gummy, heavy crust instead of the light, shatteringly crisp texture this recipe is designed for.
4.Why do you recommend avocado oil for frying instead of other common cooking oils? ▾
Avocado oil has a high smoke point (around 520°F) that makes it ideal for frying chicken without burning, developing off-flavors, or breaking down at high heat. It also has a neutral, mild taste that won’t compete with the nutty coconut flour and savory garlic seasoning on the crust.
5.My coconut flour crust keeps falling off the chicken—what am I doing wrong? ▾
This usually happens for two reasons: first, you didn’t pat the chicken skin completely dry before dipping it in egg, so the coating can’t adhere. Second, you overcrowded the pan, which creates excess steam that loosens the crust. Work in small batches, and don’t move pieces for the first 3-4 minutes of frying to let the crust set.
6.How do I make sure the chicken cooks through without burning the coconut flour crust? ▾
Keep your frying oil held steady at 350°F, using a clip-on candy thermometer to monitor temperature. Oil that’s too hot will burn the crust before the meat cooks, while too-cool oil leads to soggy coating. Cook pieces 12-15 minutes total, flipping once, until internal temp hits 165°F at the thickest part away from the bone.
7.Can I add extra seasonings beyond garlic powder to the coconut flour coating? ▾
Absolutely! Garlic powder is the savory base, but you can mix in smoked paprika, black pepper, a pinch of cayenne, dried oregano, or even a little grated parmesan for non-dairy-free servings. Just keep added dry seasonings under 2 tablespoons total so you don’t throw off the absorbent ratio of the coconut flour.
8.Do I need a deep fryer to make this coconut flour fried chicken? ▾
You don’t need a big deep fryer at all! Pan-frying works perfectly: pour ½ to ¾ inch of avocado oil in a heavy cast-iron skillet, heat to 350°F, and fry chicken in batches, flipping halfway. You’ll get the same shatteringly crisp crust as deep frying with far less oil waste and easy cleanup, ideal for casual summer meals.
9.Why does the recipe specify fine-grain coconut flour instead of coarser coconut shreds? ▾
Fine-grain coconut flour creates a smooth, evenly crisp crust that sticks reliably to chicken skin, without leaving chewy, uneven bits on the exterior. Coarser coconut flakes or shredded coconut create a rougher coating that burns more easily and often falls off in chunks during frying, so save those for baked good toppings.
10.How do I keep the chicken crispy if I’m making it for a summer family gathering? ▾
As you finish frying batches, set cooked chicken on a wire rack set over a baking sheet—don’t stack it on paper towels, which trap steam and turn crust soggy—and hold it in a 200°F oven for up to 45 minutes before serving. This keeps the crust crisp and meat hot until everyone is ready to eat.
11.Can I make this coconut flour fried chicken in an air fryer instead of pan-frying in oil? ▾
Yes, with one small adjustment! Spray the coated chicken generously with avocado oil, arrange it in a single layer in your air fryer basket, and cook at 375°F for 22-25 minutes, flipping halfway, until internal temp hits 165°F. The crust won’t be quite as shatteringly crisp as oil-fried versions, but it’s still delicious and lighter.
12.What’s the purpose of the eggs in the coating, and can I use an egg-free substitute? ▾
Beaten eggs act as the sticky ‘glue’ that helps the dry coconut flour coating adhere tightly to chicken skin, so it doesn’t slide off during cooking. If you need an egg-free swap, use ½ cup unsweetened full-fat coconut milk whisked with 1 tablespoon ground flaxseed, which creates a similarly thick, sticky wash.
13.How long should I let the chicken rest after frying before serving? ▾
Let fried chicken rest for 5 full minutes on a wire rack after pulling it from the oil. This gives the juices inside the meat time to redistribute so they don’t run all over your plate when you take a bite, and lets the crust set fully for that perfect shatteringly crisp bite instead of going soft from trapped steam.
14.Can I use other chicken cuts, like breasts or wings, with this coconut flour coating? ▾
You absolutely can, though you’ll need to adjust cook times to match cut size. Boneless breasts cut into 2-inch tenders cook in 8-10 minutes, while wings take 10-12 minutes at 350°F. Keep cuts a similar size per batch for even cooking, and always pat skin dry before coating for best crust adhesion.

Comments (16)

3 days ago

OMG this coconut flour fried chicken is a total game changer! I made this for our Sunday family dinner and everyone was raving, even my dad who swears “nothing beats regular flour fried chicken”. The coconut flavor is super subtle, not overpowering at all, and the crust stays crispy even after it cools down a little. My kids loved it so much they asked me to make it again this weekend, 10/10 will be adding this to our weekly rotation!

2 days ago

So glad your whole family loved it! Pro tip for next time: let the chicken rest on a wire rack for 5 minutes after frying instead of paper towels to keep that crunch even longer!

1 week ago

Wait, does the coconut flour make the chicken taste sweet? I tried a different coconut flour fried chicken recipe once and it had this weird tropical aftertaste that totally threw me off, wanna make sure this isn’t like that before I buy ingredients.

5 days ago

I was worried about the same thing! It doesn’t taste sweet at all if you use the full amount of paprika, garlic powder, and black pepper the recipe calls for, the coconut is just a background nuttiness, no weird piña colada chicken vibe I promise

3 days ago

Great question! If you want even less coconut flavor, you can swap 2 tbsp of the coconut flour for almond flour, though the recipe as written is balanced to be savory with no sweet aftertaste.

2 weeks ago

Made a big batch of this on Sunday for meal prep for the week, and it held up so much better than I thought! The 20 minute cook time made it so quick to throw together even with my chaotic Sunday chore schedule, and I reheat pieces in the air fryer at 375 for 5 minutes and the crust gets crispy again, no soggy sad chicken. 10/10 for meal prep win, saved me so much time on weeknight dinners.

5 days ago

Really solid recipe! Only reason I’m not giving 5 stars is that my first batch burned a little on the outside before the chicken was fully cooked inside, I think my oil was a touch too hot. Once I turned the heat down a notch the second batch came out perfect, crunch was chef’s kiss.

3 days ago

Sorry to hear the first batch burned! Oil temperature is key here — we recommend keeping it steady at 350°F, a clip-on candy thermometer makes this so much easier to monitor so you don’t get that burnt outside/raw inside issue. Glad the second batch turned out great!

1 week ago

Brought this to my neighborhood potluck last weekend and people were swarming the platter! I had three people ask me for the recipe before we even finished eating, one person thought it was regular fried chicken until I told them it was gluten free. Total hit.

5 days ago

Wait how did you keep it crispy for the potluck? I brought fried chicken to a cookout once and it was all soggy by the time we ate, would love to make this for our upcoming 4th of July party

3 days ago

I kept it in a low oven (200°F) on a wire rack over a baking sheet until I left, then transported it in a parchment-lined insulated carrier, stayed crispy for almost 2 hours!

just now

Perfect for my low carb diet! I calculated the macros and each piece is only like 3g net carbs, which is way better than the takeout fried chicken I used to get every Friday. Crunch is just as good as the real thing, no weird grainy texture from the coconut flour. Obsessed.

yesterday

Quick question — can I use an egg substitute for this? My kid has an egg allergy along with gluten sensitivities, and I’ve been dying to find a fried chicken recipe they can actually eat.

2 hours ago

I used 1/4 cup of unsweetened oat milk mixed with 1 tbsp of ground flaxseed for my egg-allergic son last week and it worked perfectly! The crust stuck just fine and got super crispy, no issues at all

30 minutes ago

Great tip from Amy! We’ve also tested this with aquafaba (chickpea brine) as an egg wash replacement and it works wonderfully too, so you have options!

5 minutes ago

Dude I made this in my tiny dorm kitchen with a cheap deep fryer I got off Facebook marketplace and it came out insane. My roommates thought I ordered takeout from that fancy southern spot downtown. 10/10, easy enough even for a guy who burns toast half the time.

just now

Love that this worked out even in a dorm kitchen! That’s the best compliment we can get — so glad you and your roommates enjoyed it!

2 days ago

I added a little cayenne and a pinch of old bay to the flour mix and wow, that kicked it up so much! The base recipe is great on its own, but it’s super easy to customize with your favorite seasonings, which I love. Will be experimenting with different spice blends next time I make this.

yesterday

Oh the old bay addition sounds chef’s kiss, I’m definitely stealing that for my next batch! I usually add a little smoked paprika but never thought of old bay, that’s gonna pair so well with the coconut nuttiness

2 hours ago

It was so good! I also tossed a little lemon zest in the mix last minute and that brightened it up even more, highly recommend

3 days ago

I was skeptical that coconut flour could make a crispy fried chicken crust, color me impressed. I make this once a week now for post-workout dinners paired with roasted broccoli and sweet potato fries, it’s high protein, gluten free, and doesn’t leave me feeling bloated like regular fried chicken does.

2 hours ago

Help! I followed the recipe exactly but most of the crust fell off my chicken when I fried it, what did I do wrong? It still tasted good but I wanted that nice crispy coating all over.

30 minutes ago

Oh no, sorry the crust fell off! The most common reason for this is that the oil wasn’t hot enough when you added the chicken — if the oil is too cool, the coating will slide off instead of crisping up instantly. Also, make sure you press the coconut flour coating firmly onto the chicken so it adheres before you add it to the oil, that makes a big difference!

2 weeks ago

Used boneless skinless chicken thighs instead of breasts for this and I think it’s even better than the original! The juiciness of the thighs pairs so well with the crispy coconut crust, my whole family agreed thighs are the way to go.

1 week ago

Omg I’ve been wondering if thighs would work! Breasts can get dry so easy even when I’m careful with cook time, I’m definitely grabbing thighs from the grocery store tomorrow to make this

5 days ago

Thighs are such a great swap! We love using bone-in skin-on thighs too for even more flavor, the cook time only needs to be bumped up by 3-4 minutes to make sure they’re cooked through.

5 days ago

I grew up eating my grandma’s buttermilk fried chicken in Alabama, so I’m super picky about fried chicken. This didn’t taste exactly like grandma’s, obviously, but it’s the best gluten free version I’ve ever had by a mile. The crunch is spot on, the seasoning is perfect, I’ll be making this for my gluten free niece when she visits next month.

yesterday

I didn’t feel like dealing with a pot of hot oil so I tried this in my air fryer, sprayed the chicken with a little avocado oil, cooked at 400 for 12 minutes flipping halfway, and it was SO good and crispy! No messy oil splatters all over my stove, 10/10 would make this way again.

2 hours ago

So glad the air fryer method worked for you! We get asked about air fryer adaptations all the time, so we’ll be adding your tip to the recipe notes soon — thanks for sharing!

2 days ago

Made these as nugget-sized pieces for our game night with friends last night, served with honey mustard and ranch, and they were gone in 10 minutes flat. People were reaching for them before the pizza even came out, that’s how good they were. Total crowd pleaser.

yesterday

Wait nugget sized is such a good idea! My kids love chicken nuggets but I hate how processed the store bought ones are, I’m cutting the chicken into bites next time to make homemade nuggets for them

1 week ago

Made this for my husband for our first Friday night dinner in our new house, and he said it’s better than any restaurant fried chicken he’s ever had. Win for me! I was nervous cooking for him since he’s a total foodie, but this recipe was so easy to follow even for a medium difficulty dish, I didn’t mess it up at all.



