
Coconut Stout
intro
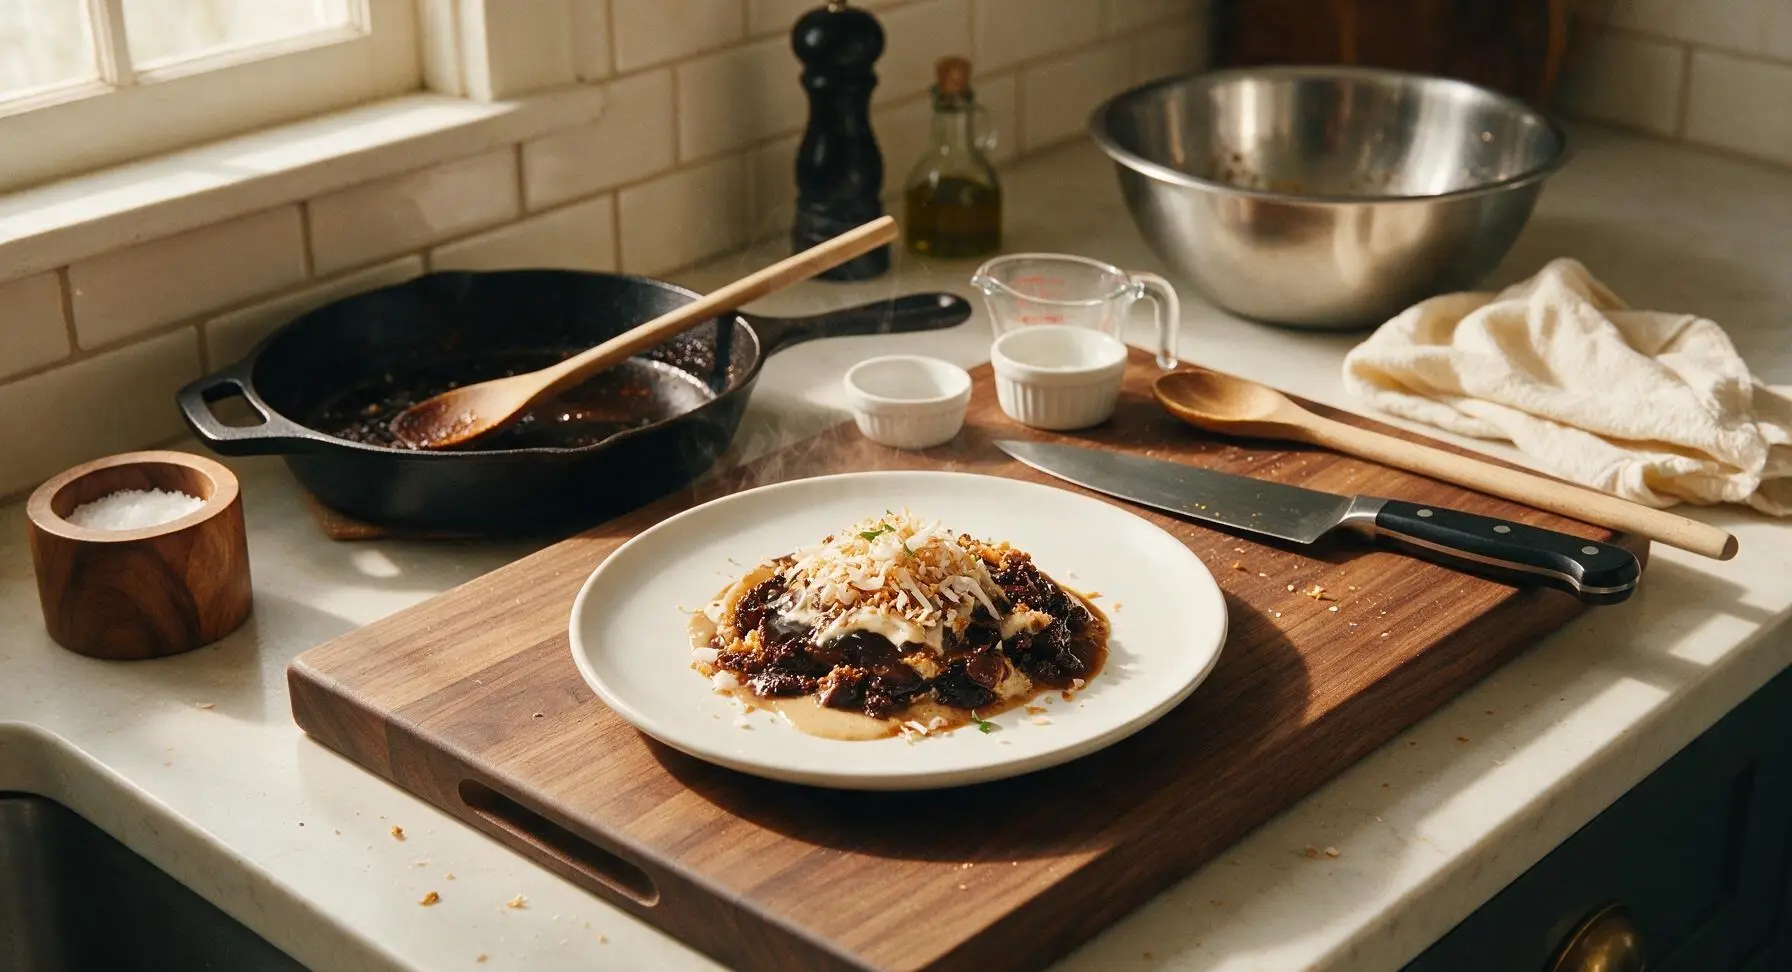
Rich, roasty dark stout layered with nutty toasted coconut, smooth chocolate malt notes, and a subtle creamy finish, ideal for sipping alongside hearty grilled fare.
Ingredients
Steps
Toast Coconut Flakes
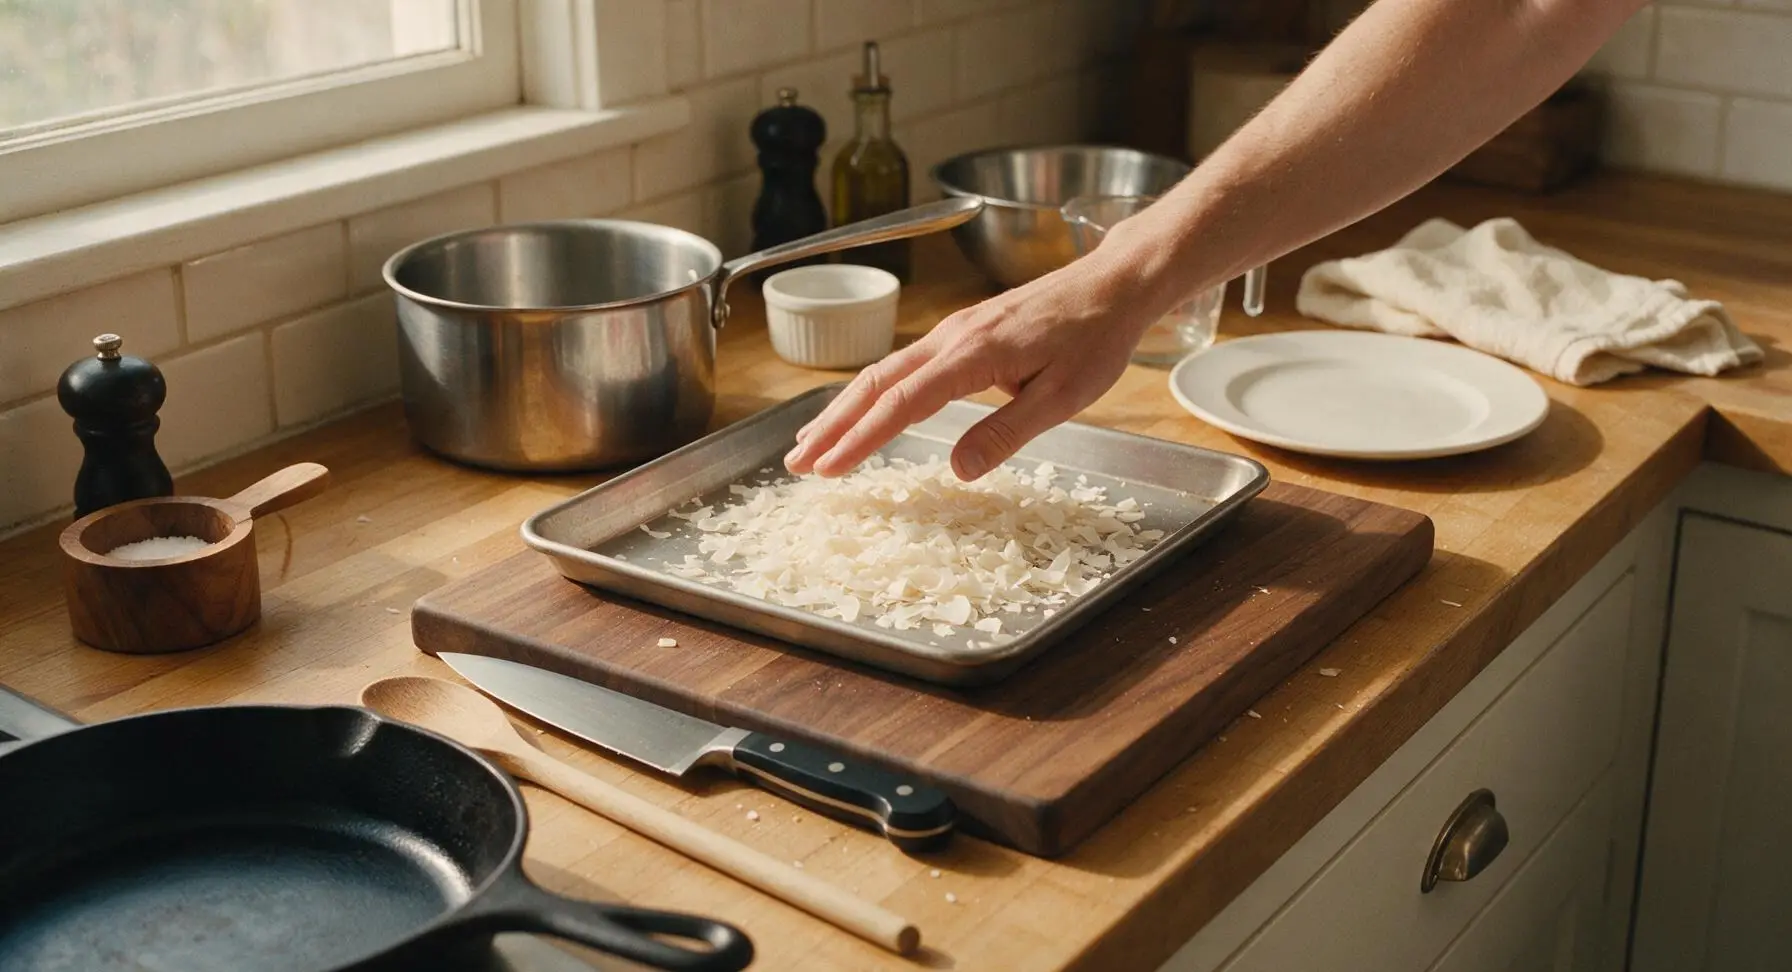
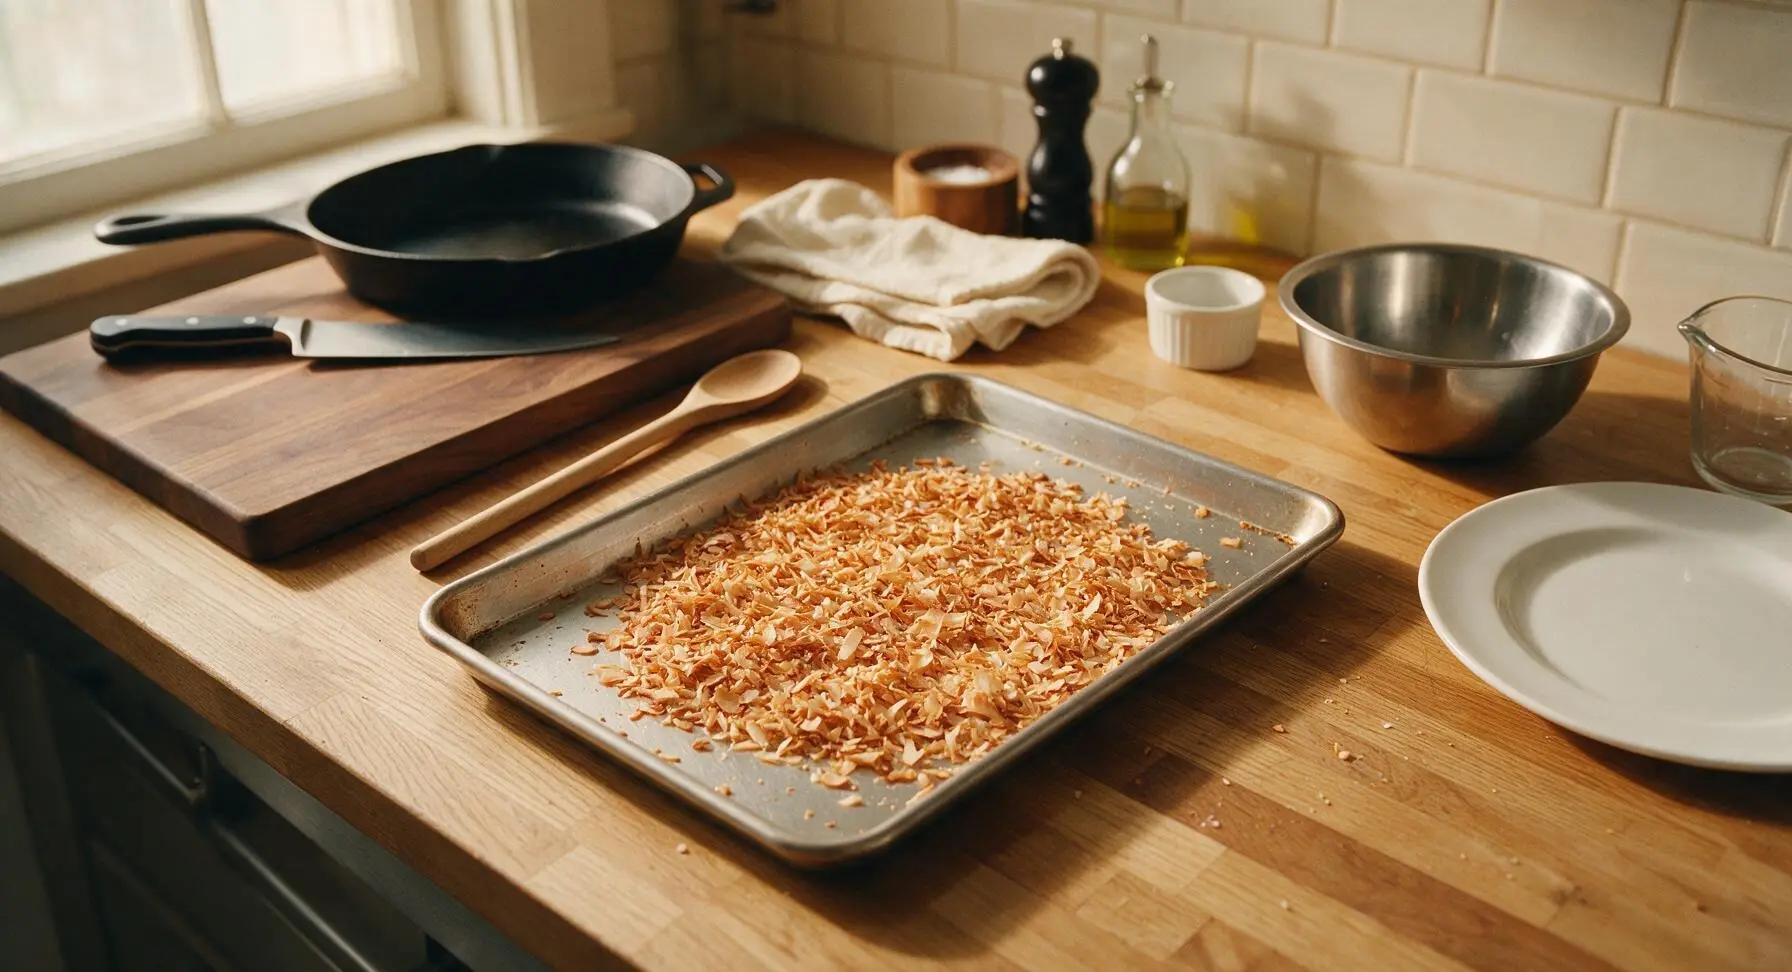
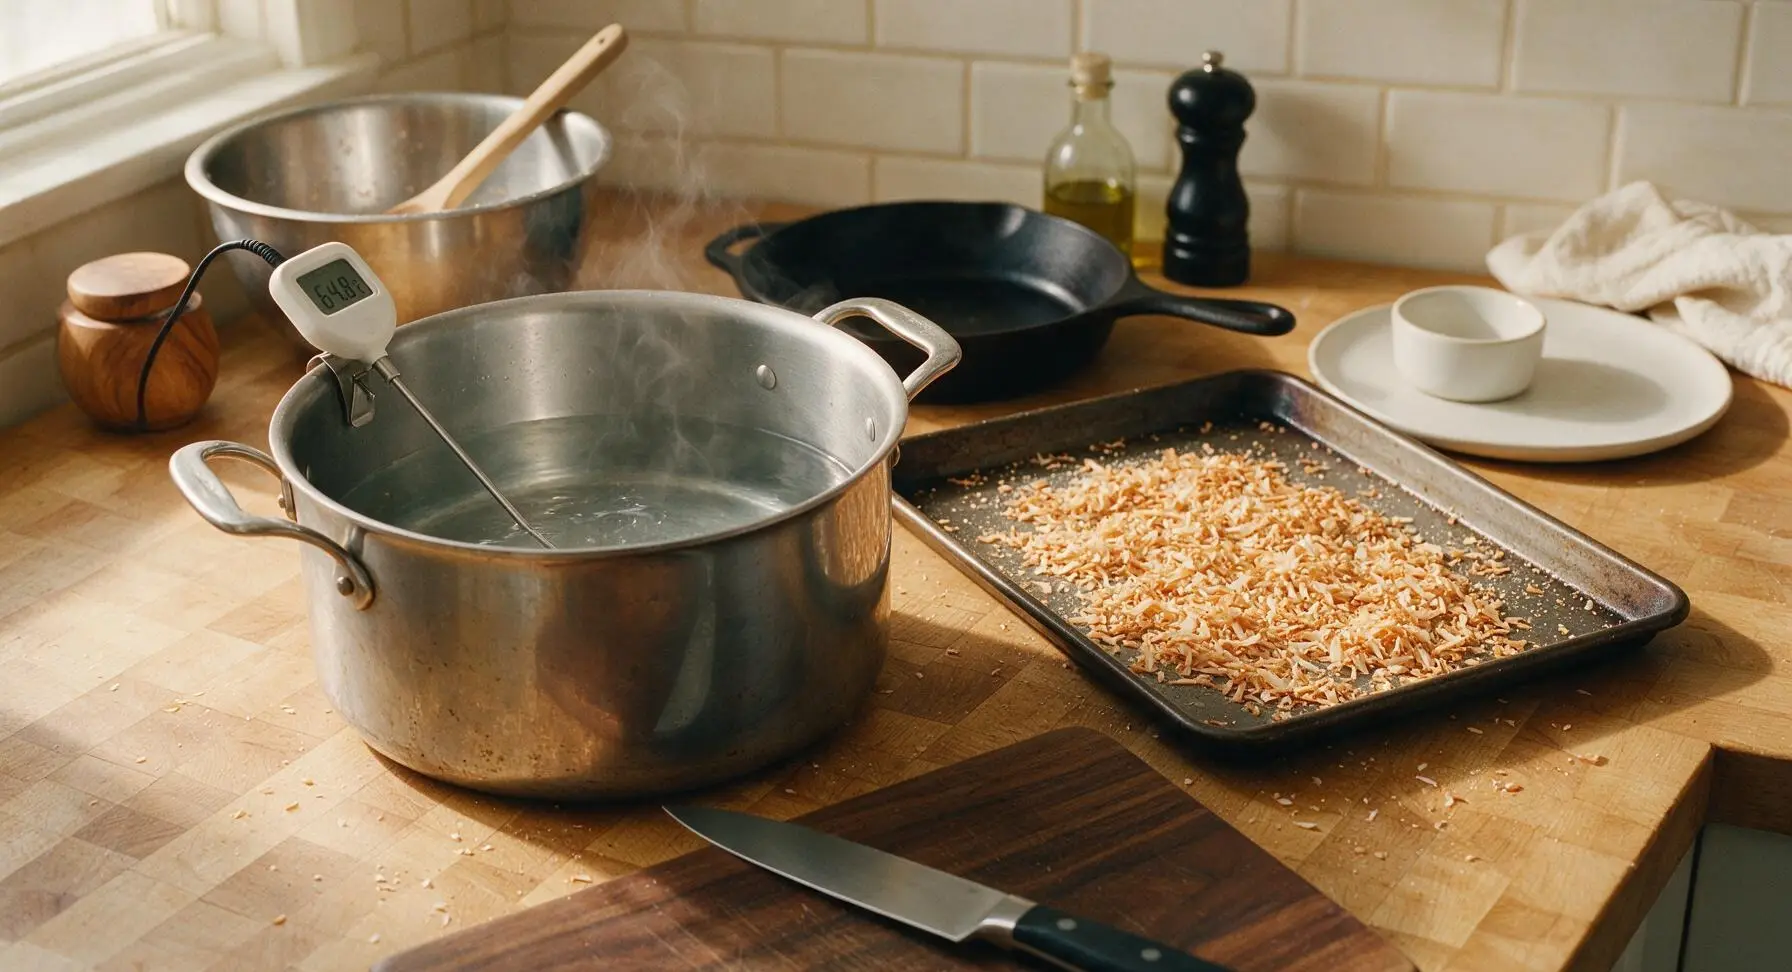
Preheat oven to 175C (350F). Spread 80g unsweetened flaked coconut in a thin, even layer on the small rimmed stainless steel baking sheet. Bake for 5-7 minutes, stirring once at the 3-minute mark, until flakes are deep golden brown and release a strong nutty aroma. Watch closely after 4 minutes, as coconut burns very quickly. Remove from oven and set the sheet on the counter to cool completely.
Heat Steeping Water
Pour 3L of filtered water into the 8-quart stainless steel stock pot. Clip the digital instant-read thermometer to the pot rim, then heat water over medium heat until it reaches a steady 65C (150F). Adjust heat as needed to hold this temperature, and do not let the water come to a boil at this stage.
Steep Roasted Grains
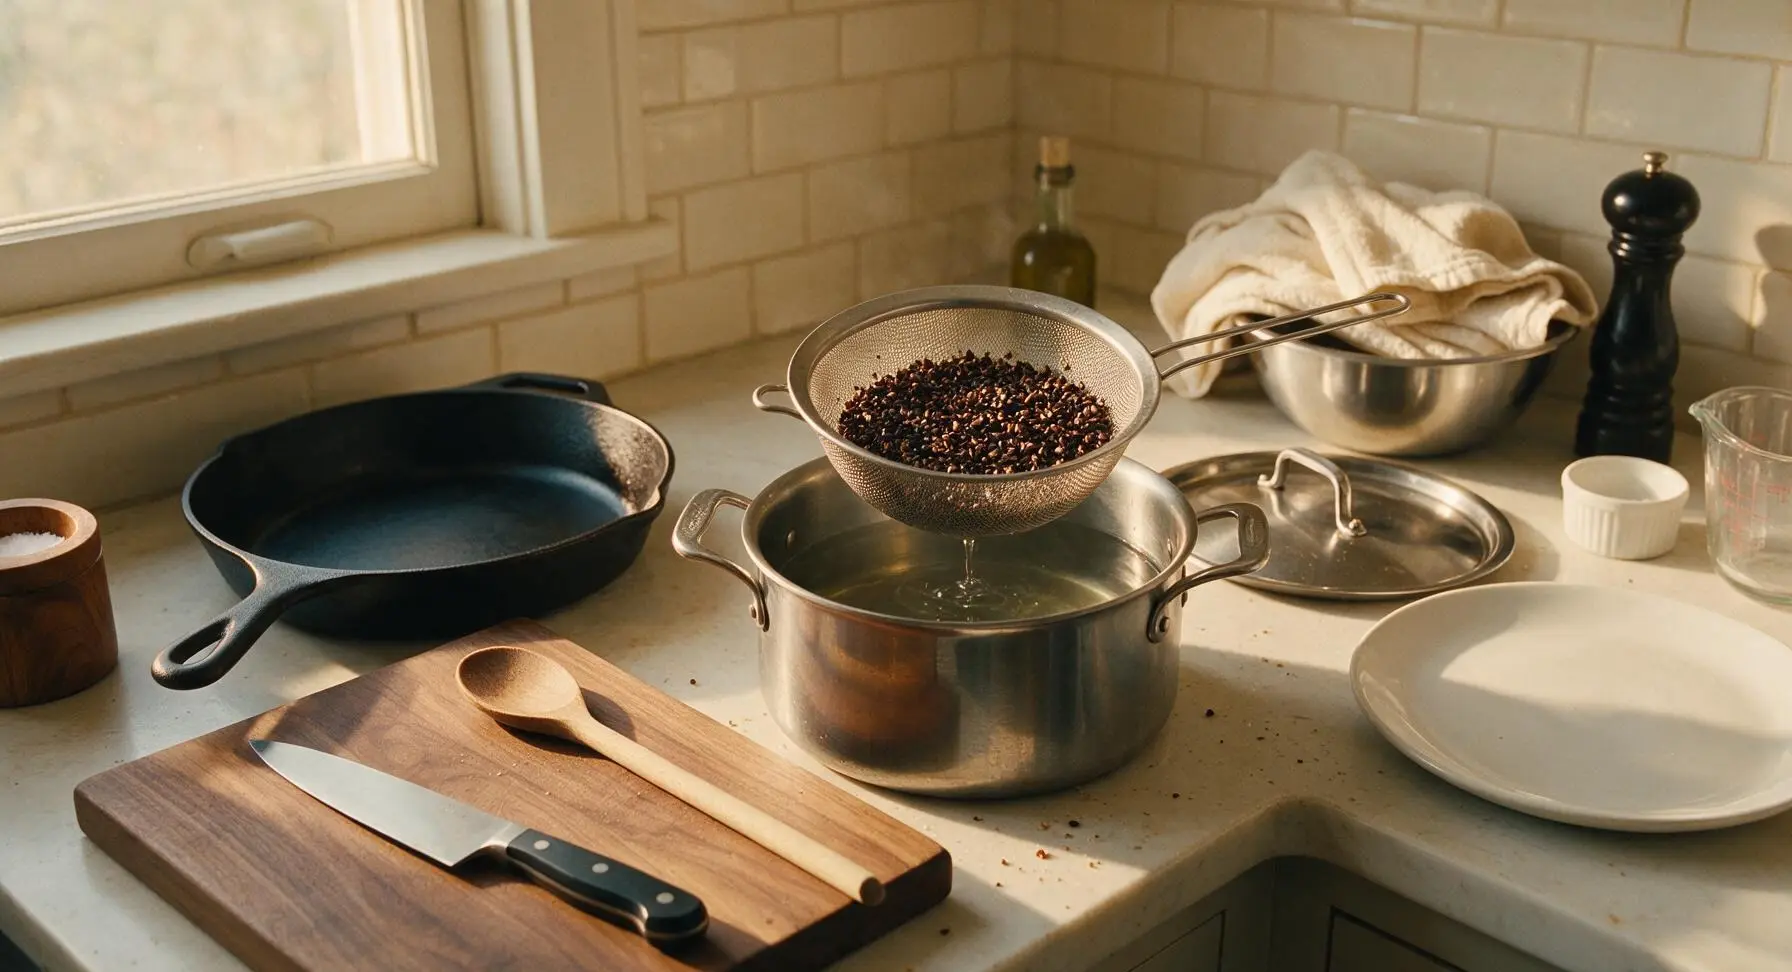
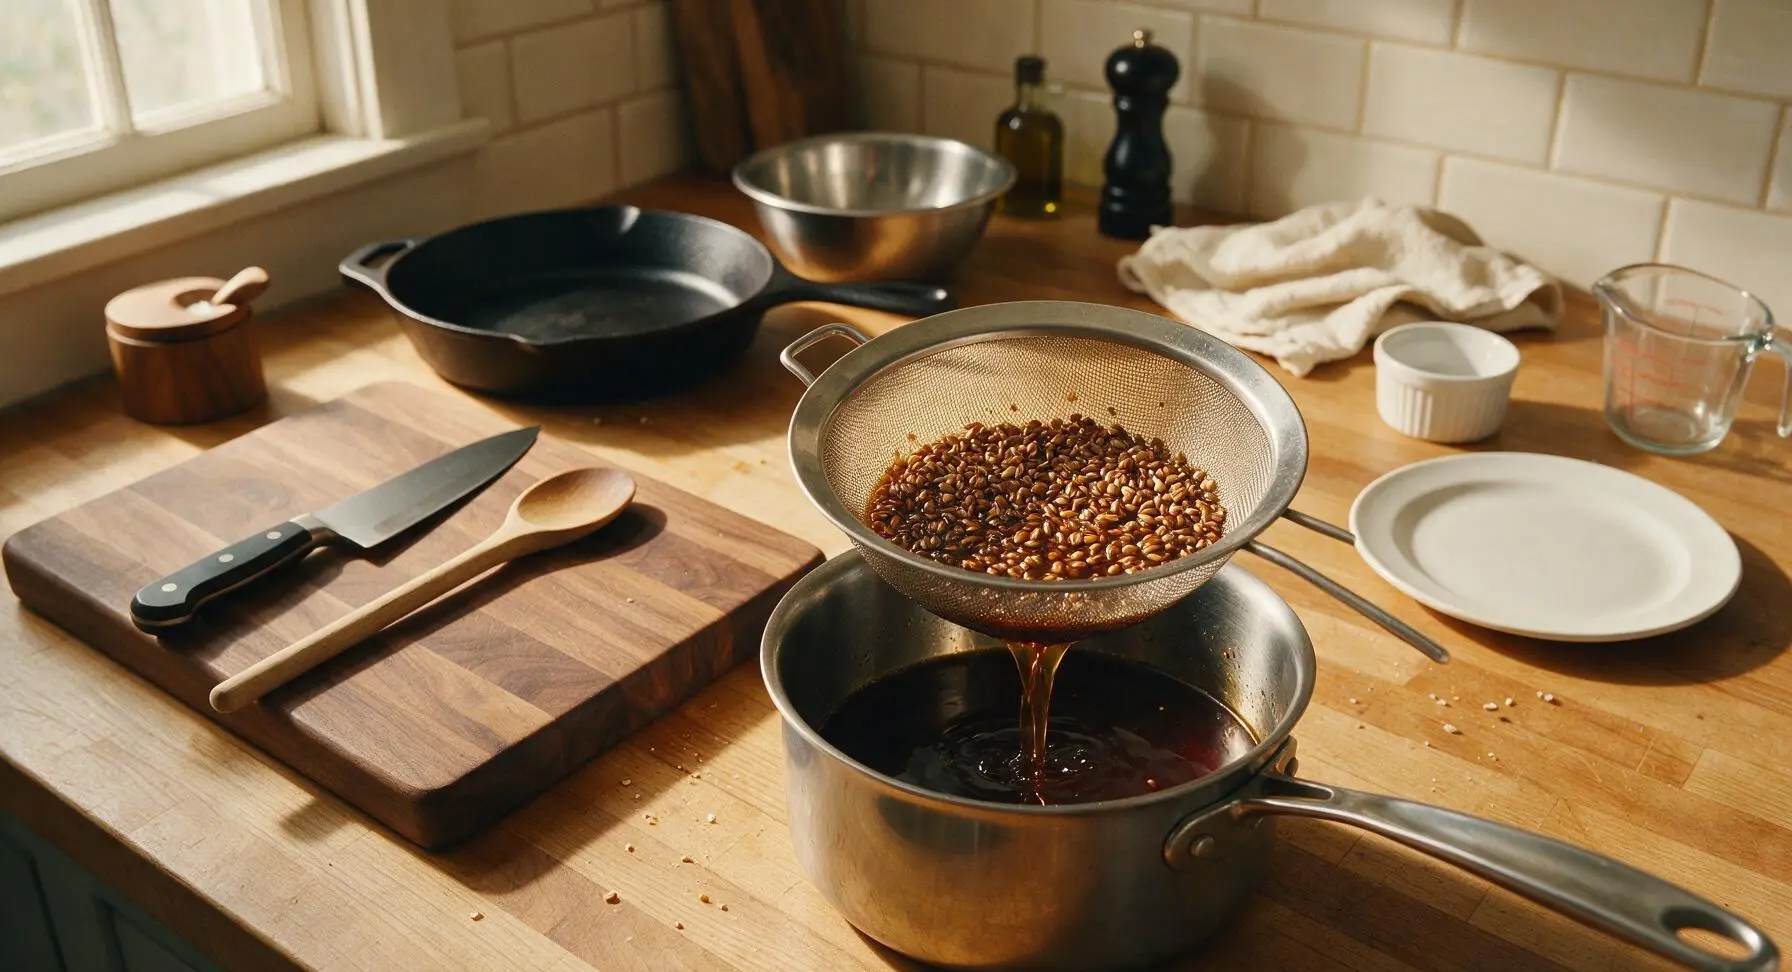
Place the crushed chocolate malt and roasted barley into the fine-mesh stainless steel strainer, then lower the strainer fully into the 65C (150F) water. Cover the pot and steep for 30 minutes, holding temperature steady between 62-68C (145-155F). The water will darken to a deep amber-brown as grains release roasty, chocolatey flavors. After 30 minutes, lift the strainer out and let all liquid drain back into the pot; do not squeeze the grains, as this extracts harsh bitter tannins.
Boil and Add Hops
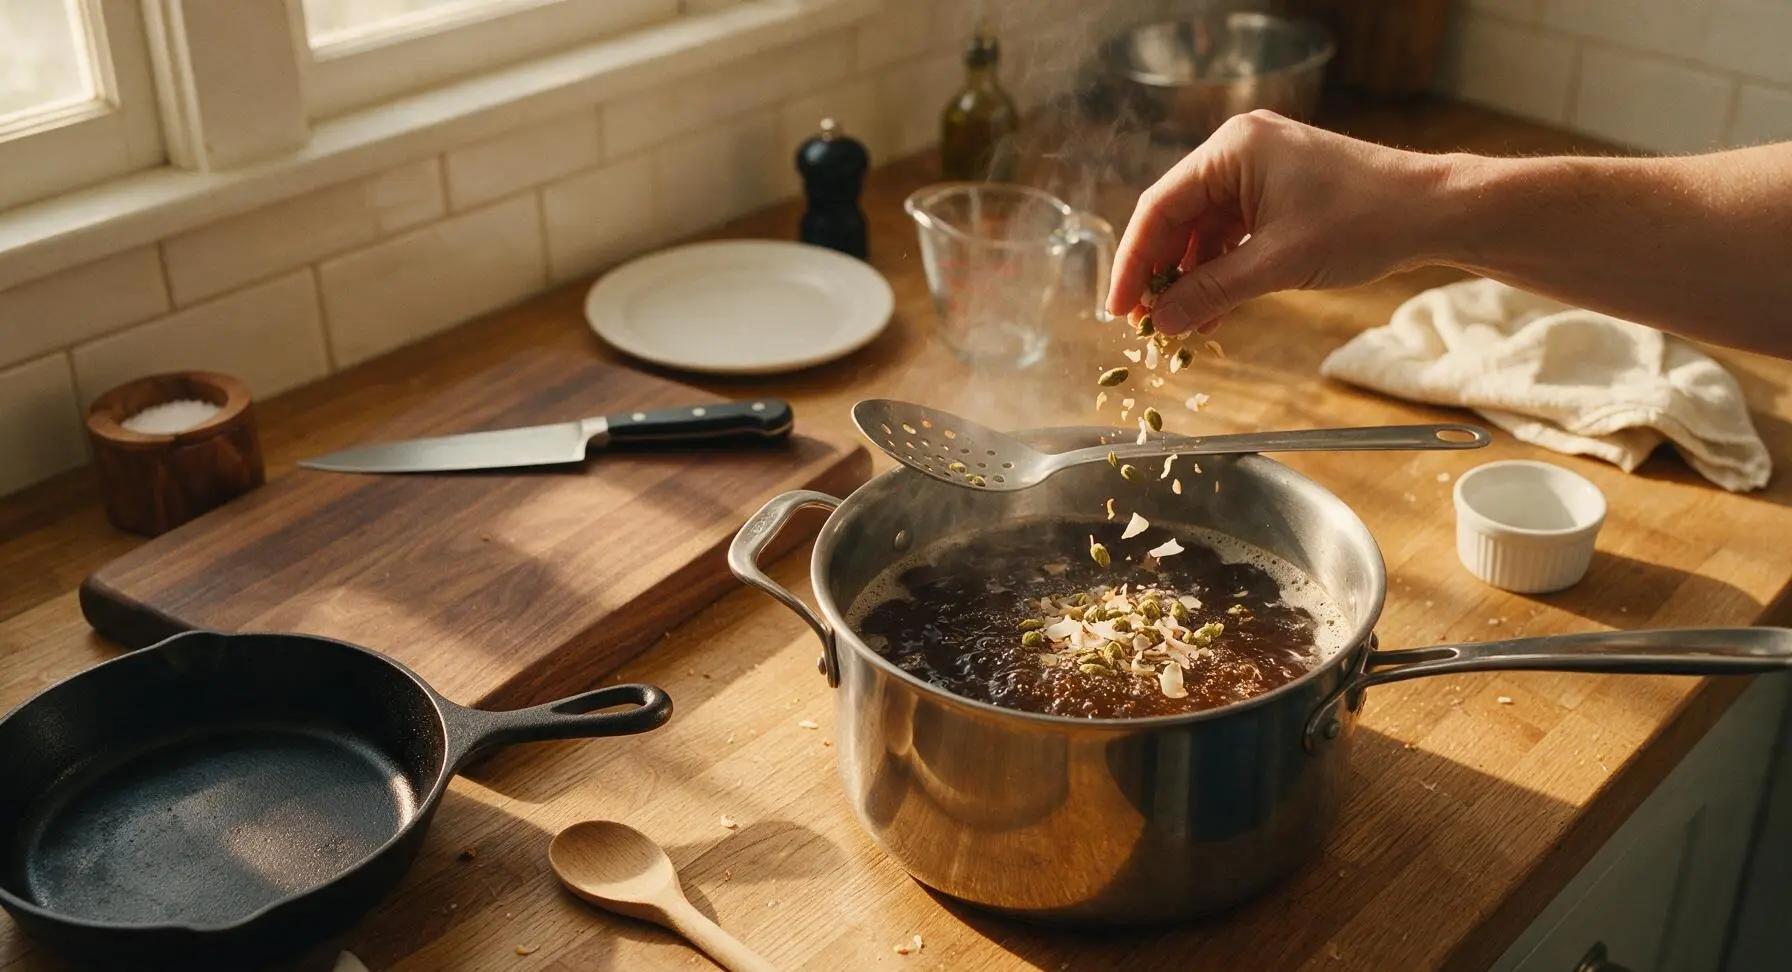
Remove the grain strainer entirely, then increase heat to bring the dark wort to a gentle rolling boil. Once boiling, stir in all 450g of light dry malt extract with the slotted stainless steel spoon until fully dissolved, with no dry lumps remaining. Return to a gentle boil, add 10g of Cascade hops, and set a timer for 45 minutes of total boil time, adjusting heat to avoid violent boilovers. Add the remaining 5g of Cascade hops and 2/3 of the cooled toasted coconut during the last 5 minutes of the boil to preserve bright aroma.
Cool and Transfer Wort
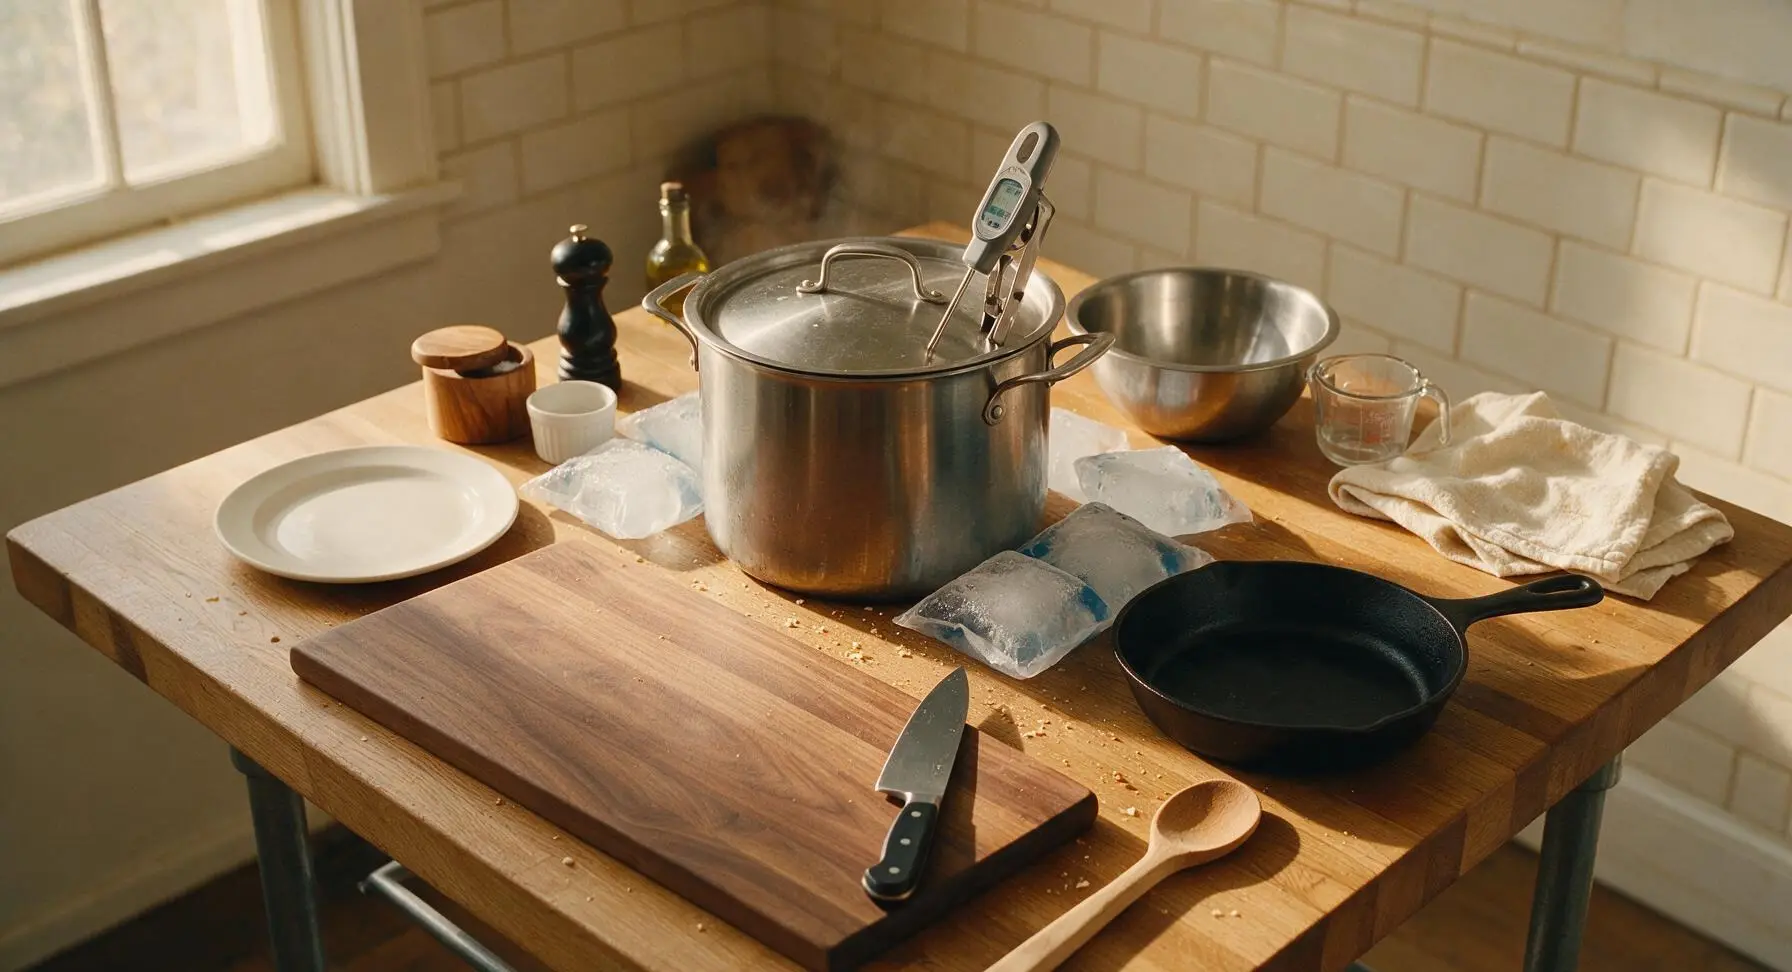
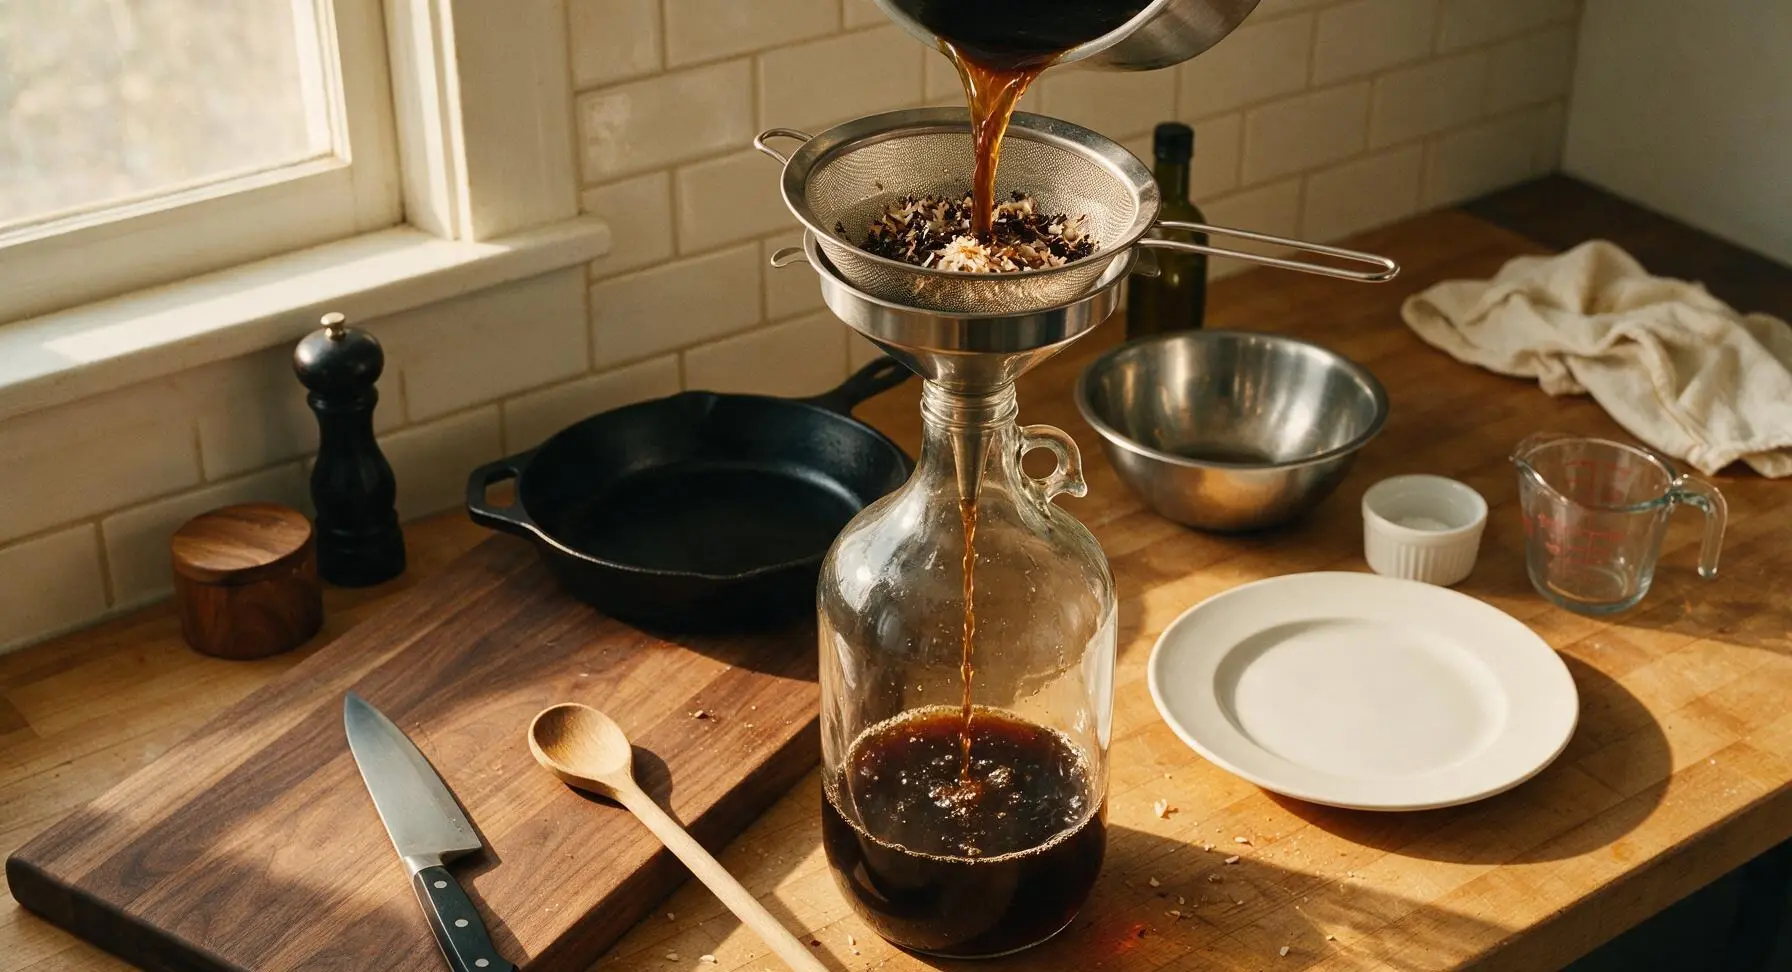
When the 45-minute boil finishes, turn off heat. Cover the pot and position frozen ice packs around the pot base on the counter to cool the wort quickly to 21C (70F), approximately 20 minutes. Once cooled, place the small stainless steel funnel in the mouth of the 1-gallon clear glass fermentation jug, then pour the cooled wort through the fine-mesh strainer into the jug to strain out hop and coconut solids. Top up the jug with extra filtered water to reach the 3.8L (1 gallon) etched volume mark if needed.
Pitch Ale Yeast
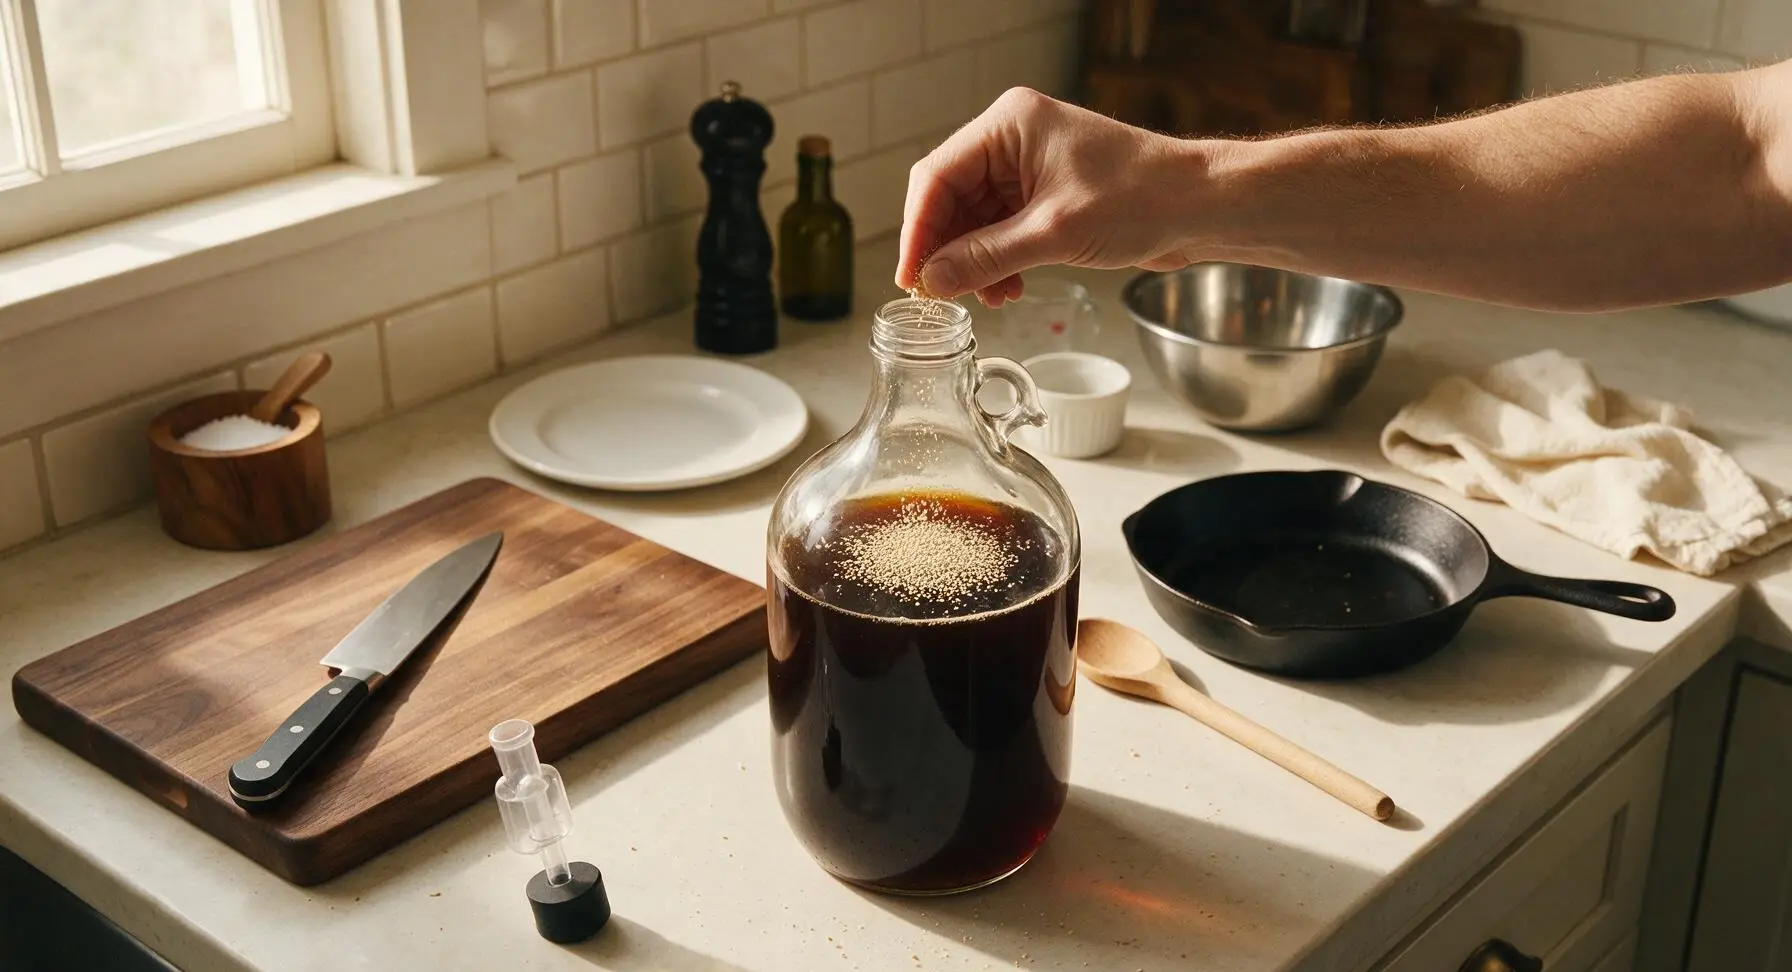
Confirm the wort in the fermentation jug is exactly 21C (70F) to avoid killing yeast. Sprinkle the full 5g packet of American ale yeast evenly across the wort surface; do not stir. Seal the jug with a sanitized rubber stopper, fill the silicone airlock halfway with clean water, and press the airlock into the stopper hole. Move the jug to a dark spot with a consistent 18-22C (65-72F) temperature to ferment for 7 days, until bubbling in the airlock stops completely.
Infuse Remaining Coconut
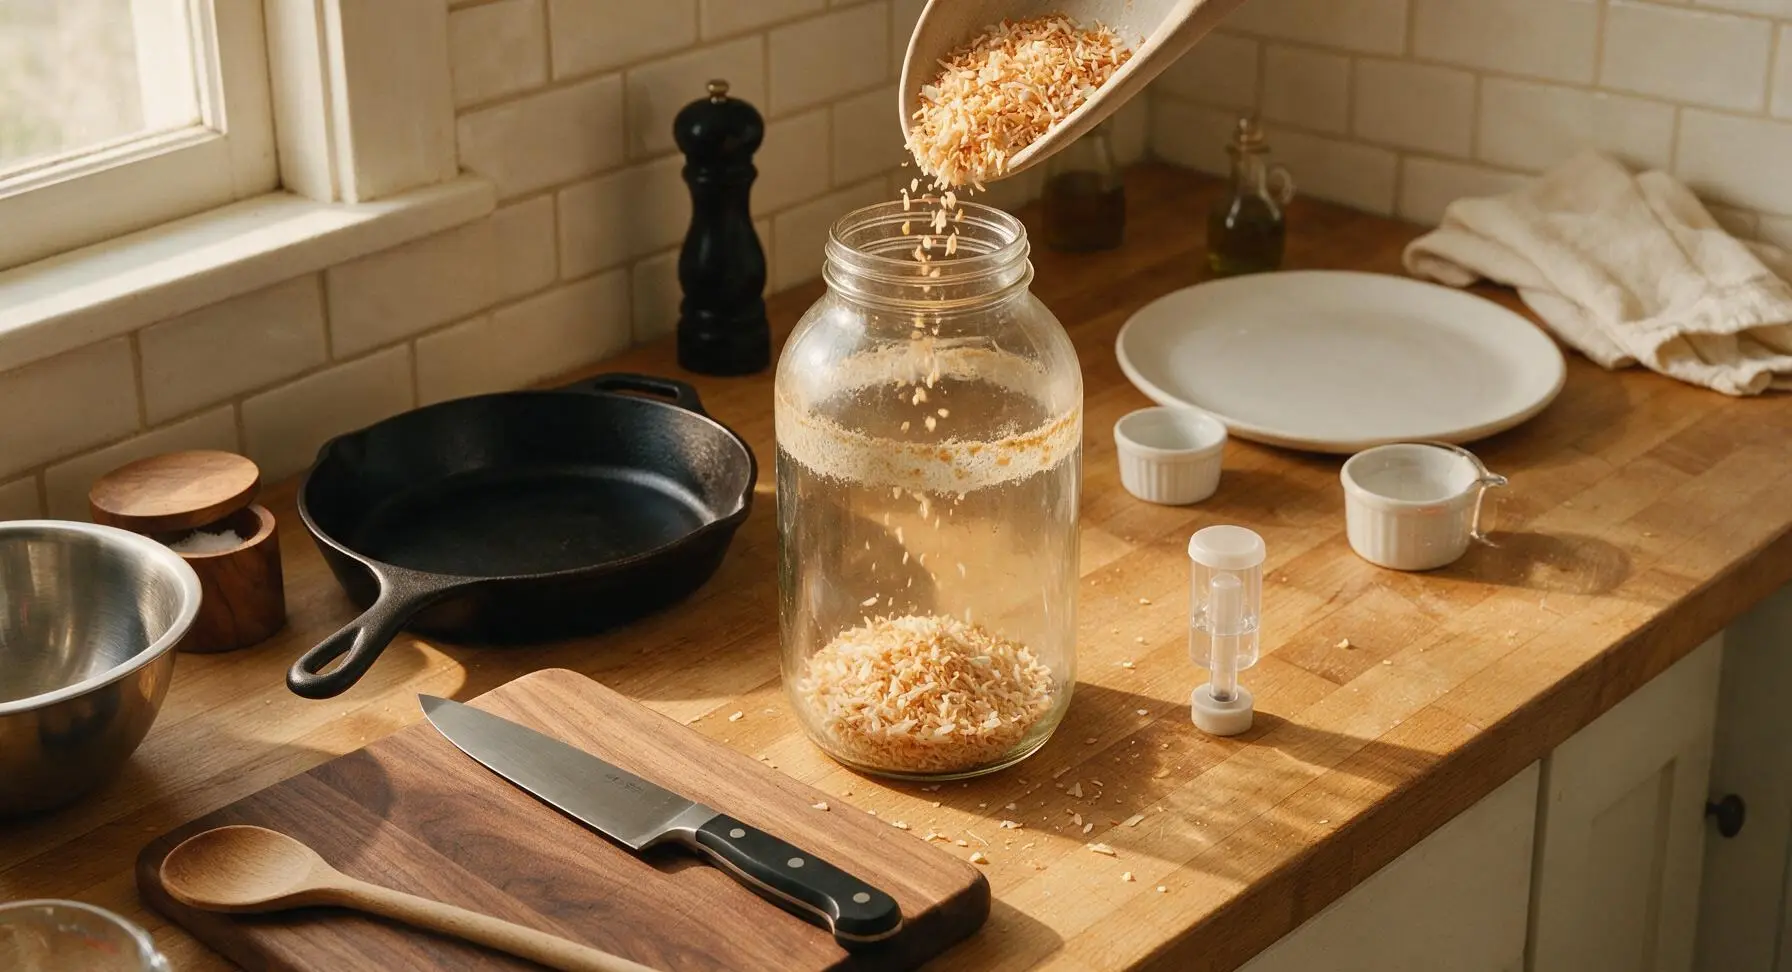
After 7 days of primary fermentation, when airlock bubbling has fully stopped, sanitize the remaining 1/3 of cooled toasted coconut, then add it directly to the fermentation jug. Reseal the airlock and let the stout condition for 3 additional days at the same steady temperature, allowing fresh coconut flavor to infuse without extracting harsh tannins.
Bottle and Condition
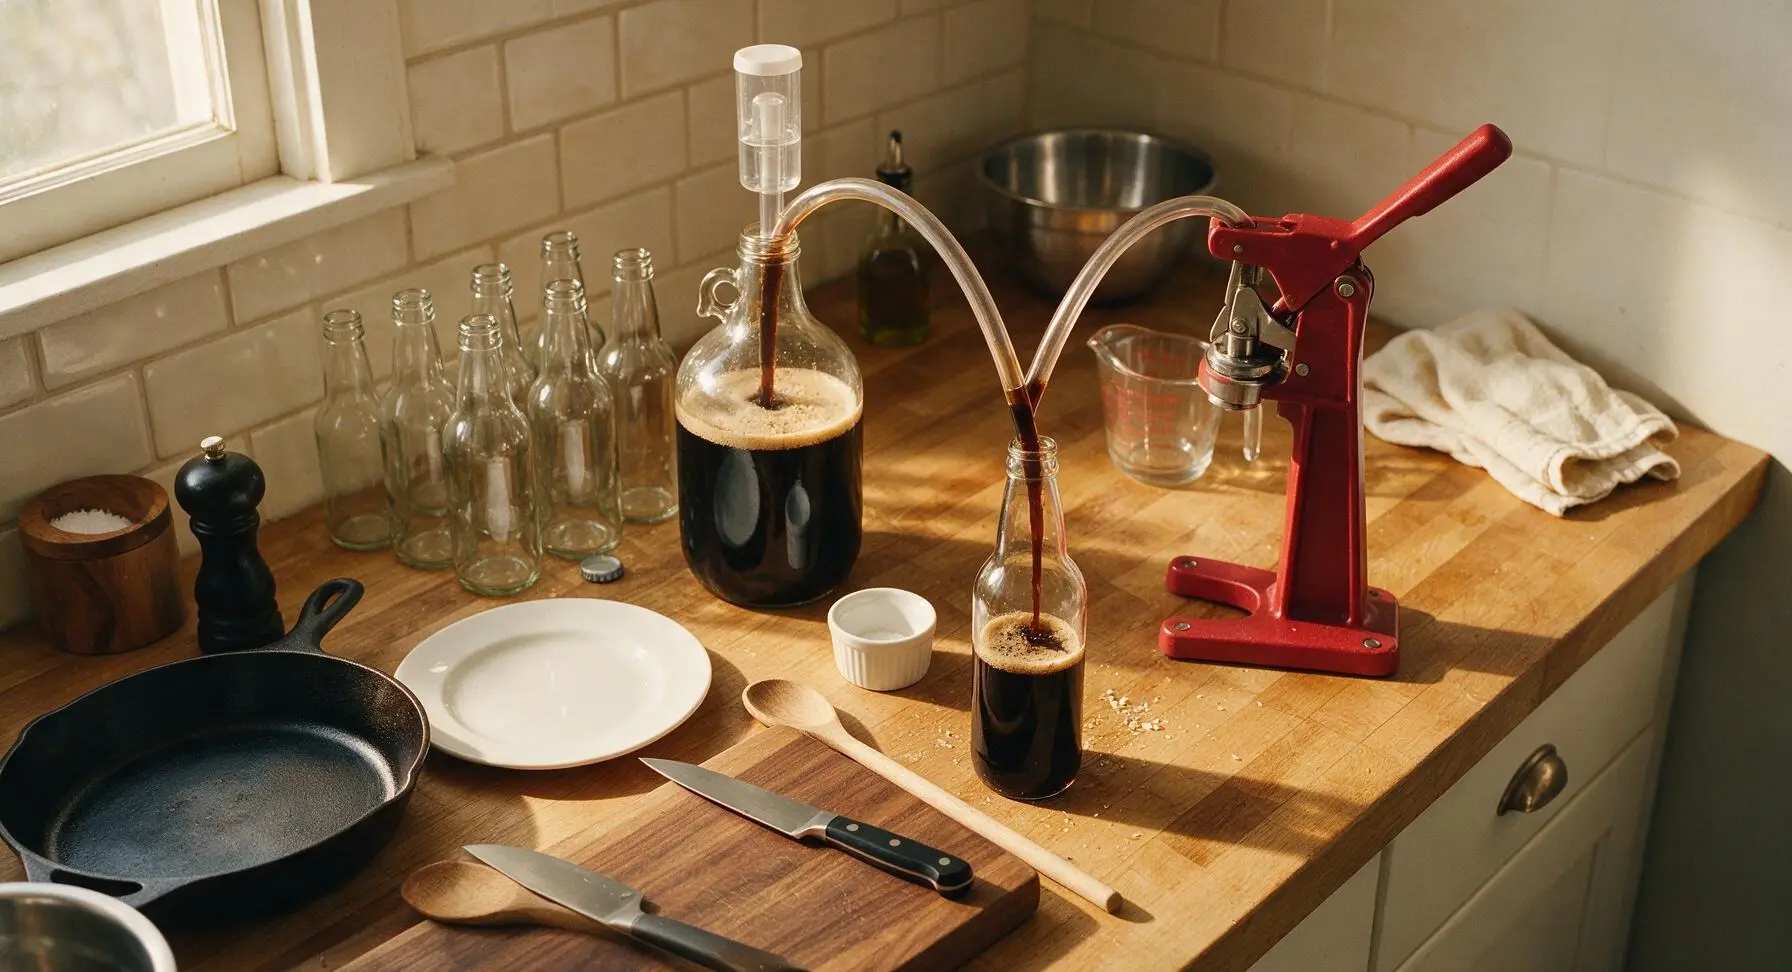
After 3 days of coconut infusion, sanitize 8 x 12oz glass bottles and the bench bottle capper. Use the clear plastic auto-siphon to transfer the finished stout into bottles, adding 1 teaspoon of corn sugar to each bottle to create natural carbonation. Cap bottles tightly with the bottle capper, then store them in the same dark, temperature-stable spot for 2 weeks to fully carbonate. Chill bottles for 24 hours before serving.
Tips
2.Never squeeze wet grains when lifting them from the steeped wort: this extracts bitter astringent tannins from grain husks, resulting in a dry, harsh finish instead of the desired creamy, chocolatey mouthfeel.
3.Reserve one-third of your toasted coconut to add after primary fermentation finishes: boiling coconut for the full 45-minute boil mutes its bright nutty aroma and can create soapy off-flavors, while post-fermentation addition delivers fresh, distinct coconut flavor without harshness.






OMG, this toasted coconut stout is an absolute game changer! I brewed a batch for our annual fall backyard potluck and everyone was begging me for the recipe. The toasty coconut flavor doesn’t overpower the rich, roasty stout base, it’s perfectly balanced. 10/10 will be making this on repeat all winter.
This came out SO good, though I will say I accidentally let the coconut steep a little too long and it had a slightly nutty, almost bitter edge that wasn’t my favorite. Still drank every last pint with my partner on movie night though, will just set a timer next time!
Took this to my weekly trivia night with the crew and everyone lost their minds. It’s smoother than the store-bought coconut stout I usually splurge on, and the cook time was way more manageable than I expected for a medium-difficulty home brew. Already ordered more coconut for my second batch!
I’m pretty new to home brewing so I definitely messed up a couple steps, oops. My final carbonation was way too high so a couple bottles foamed over when I opened them, but the actual flavor of the stout itself was great when I didn’t get sprayed with beer lmao.
Game. Changer. I brought a growler of this to my neighbor’s holiday bonfire and people were lining up to fill their cups. The coconut aroma hits you first when you pour it, and that roasty, chocolatey stout finish is chef’s kiss. Even my friend who swears she hates dark beer loved it!
Just pulled my first batch out of the fermenter to test it and oh my gosh, it’s perfect. The toast level on the coconut came out exactly how the recipe said, no burnt bits, that warm, nutty note blends so well with the coffee notes in the stout base. So stoked to bottle these this weekend.
Quick heads up for anyone making this in a small apartment kitchen – toasting coconut on the stovetop makes your whole place smell like coconut for DAYS. Not that I’m complaining, it’s a great smell, but my roommate kept asking if I was baking cookies when I was actually brewing beer lmao. Tastes incredible, just a fair warning!
Paired this with my famous smoked brisket at last weekend’s cookout and I’m not exaggerating when I say it was the best meal combo I’ve ever made. The roasty stout and sweet coconut cut through the fatty brisket so perfectly, my dad asked for a six pack to take home with him. Will be a staple at all my summer BBQs from now on.
This was my very first ever home brew and I was so nervous it would turn out terrible, but it’s incredible!!! I was worried medium difficulty would be too hard for a total newbie, but the steps were clear and the 90 minute cook time flew by while I was jamming to music in the kitchen. My roommates are already asking when I’m making another batch.
I was really skeptical about coconut in beer at first, I thought it would taste like cheap tropical seltzer or something, but my partner talked me into making it and wow, I was wrong. It’s rich, toasty, not fake coconutty at all. Knocked off a star because I had to run to the home brew store last minute for a couple specialty grains I didn’t realize I needed, but that’s on me for not reading the ingredient list all the way through.
Made a batch to sip on while we carve pumpkins and watch scary movies this October and it’s the perfect fall beer. It’s cozy, warm, has that little nutty kick from the toasted coconut that feels so seasonal. Even my teen nephew snuck a sip (don’t tell his mom) and said it was way better than the cheap beer his friends sneak.
Brought a few bottles of this to our local home brew club bottle share last month and it took first place in the dark beer category! People kept saying it tasted like it came from a fancy craft brewery, not my tiny garage setup. The level of detail in the instructions for toasting the coconut made all the difference, no weird soapy coconut off-flavors at all.
I don’t do a ton of home brewing but I love making big batches of drinks for family dinners and game days, and this was such a hit last Sunday. We had the whole crew over for football and the growler was empty before halftime! My husband said it’s better than the $16 a four pack stout we get at the liquor store.
Quick question for anyone who’s made this – is there a good swap for the coconut? I have a tree nut allergy and can’t do coconut, but the stout base sounds amazing and I really wanna make it.
We got 8 inches of snow over the weekend so I hunkered down and brewed this, and it was the perfect snow day activity. The cook time was just long enough to feel like a fun project without taking up my whole day, and I know it’s gonna taste so good after a day of skiing next month once it’s done carbonating.
Ugh, I burned my first batch of coconut so bad the smoke alarm went off and my cat hid under the bed for an hour. I ended up having to toss that coconut and run to the store for more, which delayed my brew day by a whole day. Once I got it right though, the beer was delicious. Pro tip: don’t walk away from the oven while toasting coconut, it burns FAST.
I used to think home brewing was way too intimidating for someone who can barely make boxed mac and cheese without burning it, but this recipe was so straightforward! The 90 minute active time was totally doable, and the final beer is so smooth and flavorful. My sister came over for dinner last night and said it tastes like a fancy dessert beer you’d pay $10 a glass for at a gastropub.