
Colonial Hasty Pudding
intro
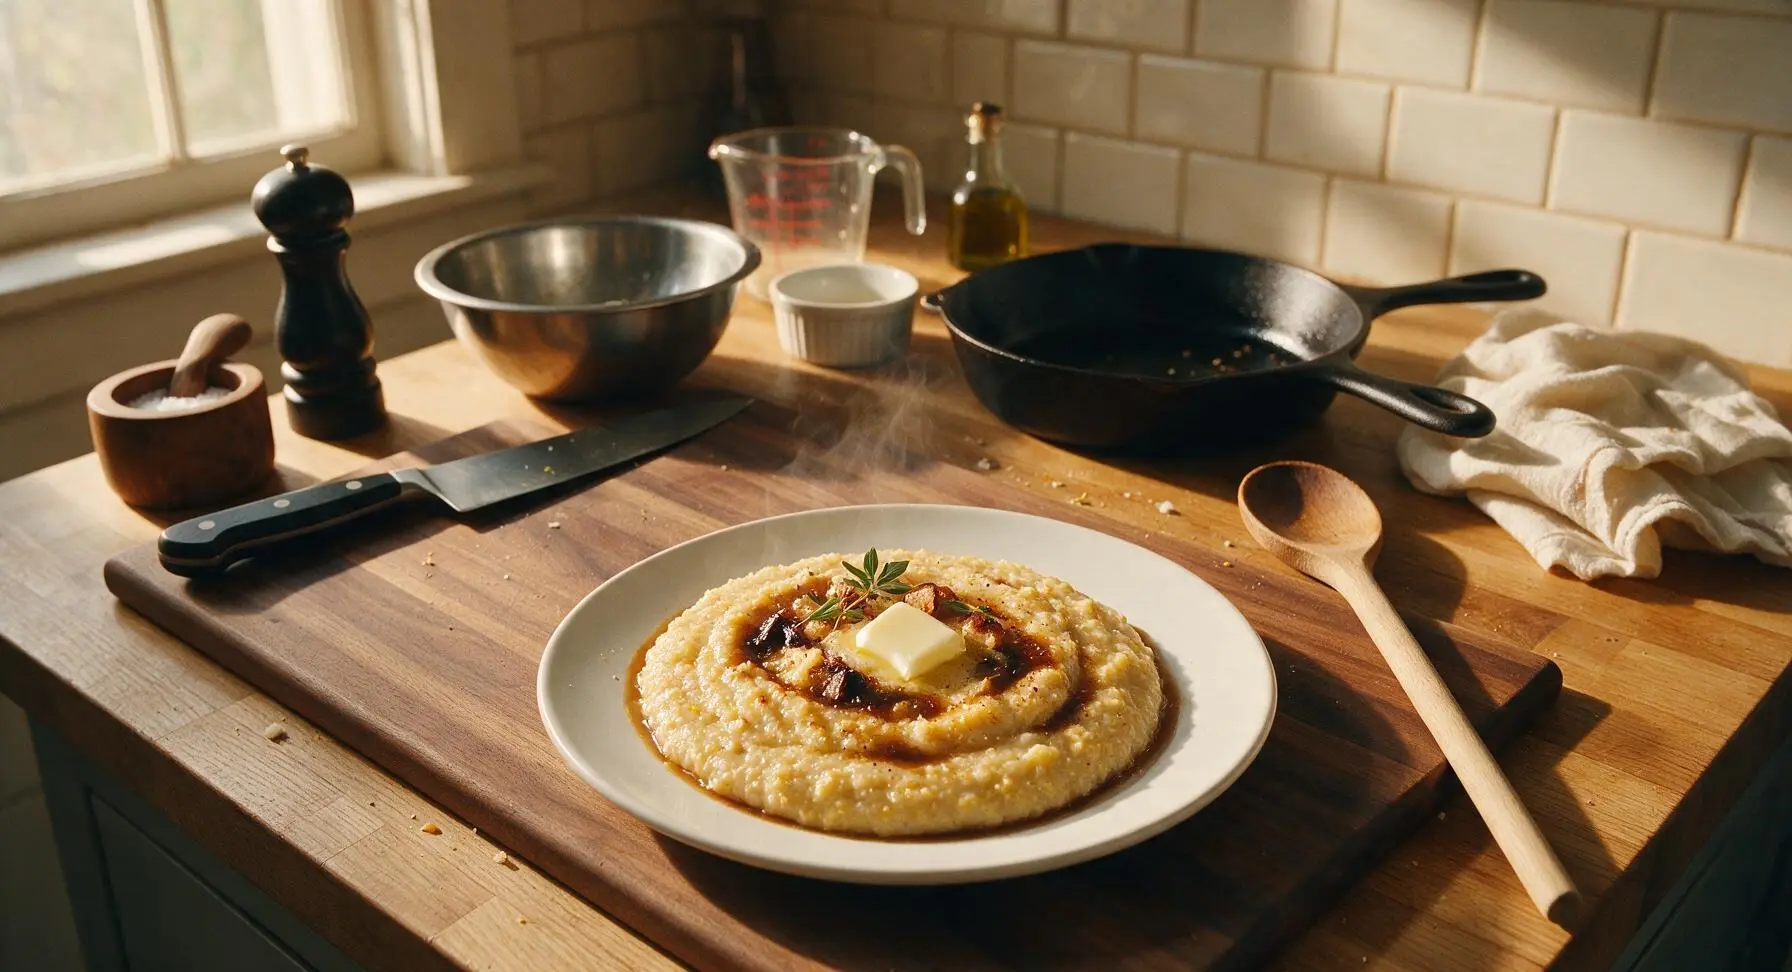
Warm, creamy stone-ground cornmeal pudding sweetened with dark molasses and lightly spiced, this humble, comforting colonial kitchen staple is served with a melting pat of butter for simple, cozy sweetness.
Ingredients
Steps
Measure and Prep Ingredients
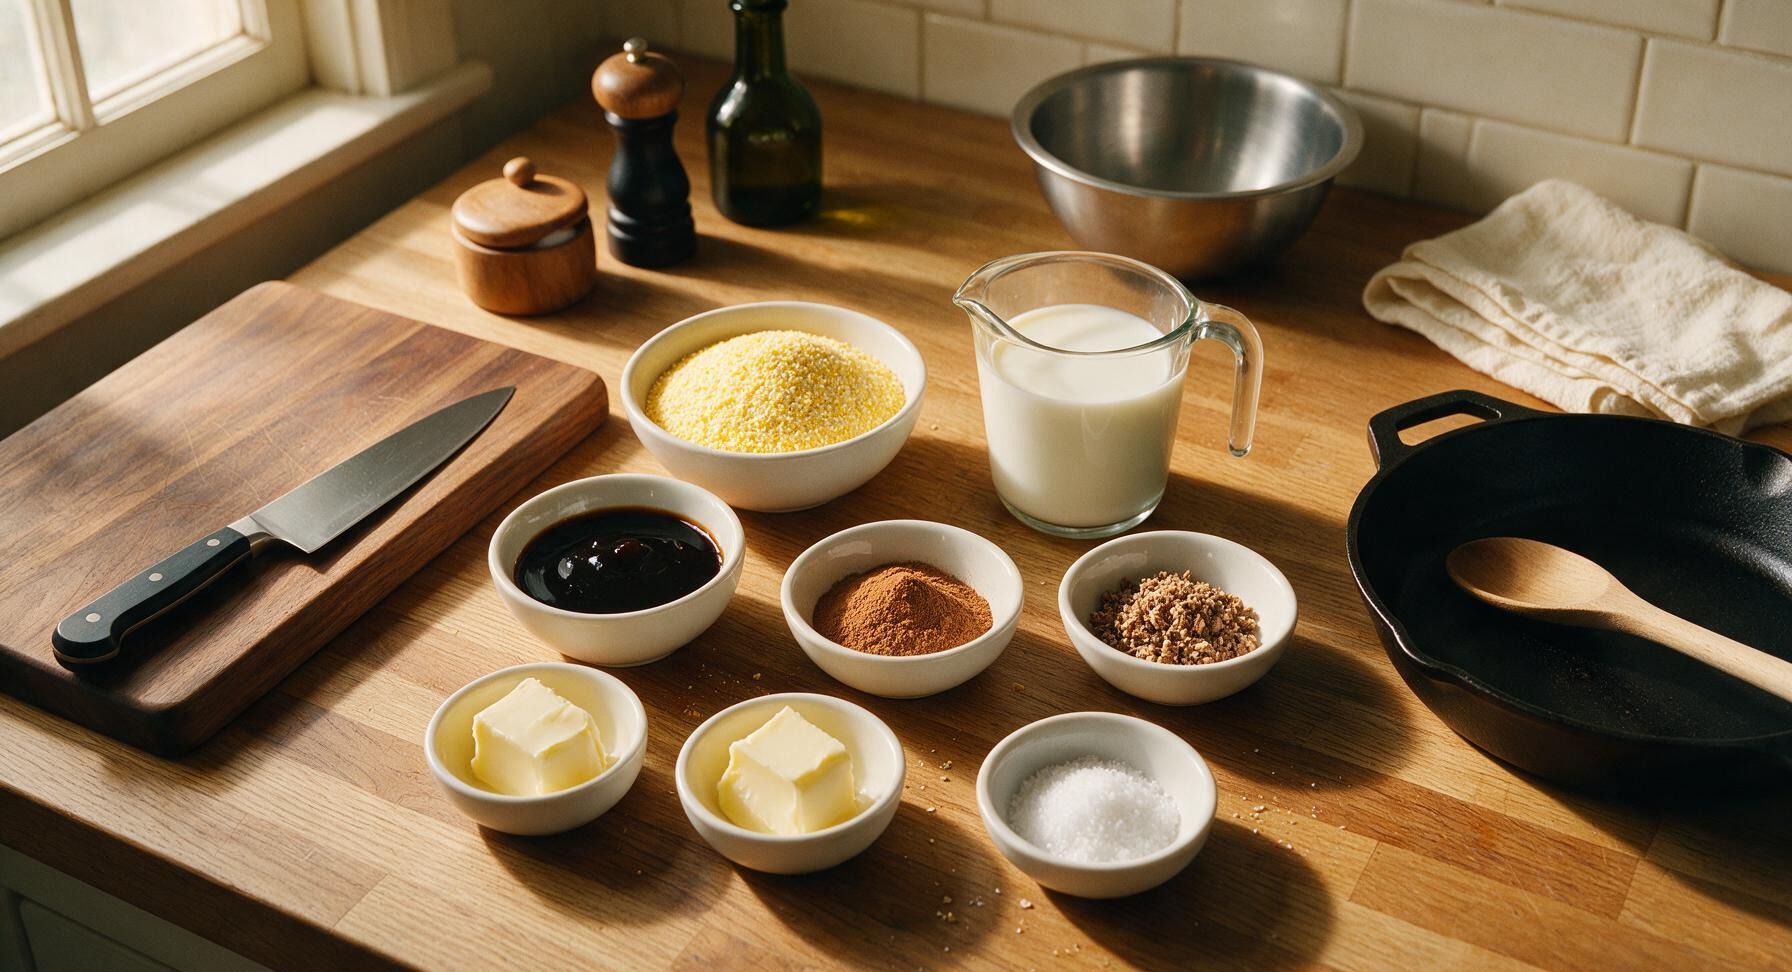
Use the stainless steel dry measuring cups to portion 1 cup (150g) stone-ground yellow cornmeal, and pour 3 cups (720ml) whole milk into the clear glass measuring cup. Measure 1/2 tsp ground cinnamon, 1/4 tsp freshly grated nutmeg, and 1/4 tsp fine sea salt into the small terracotta spice bowl, stirring gently with the tip of the wooden spoon to combine. Set all ingredients within arm’s reach of the stovetop to avoid rushed stirring that causes lumps.
Heat Milk to Gentle Simmer
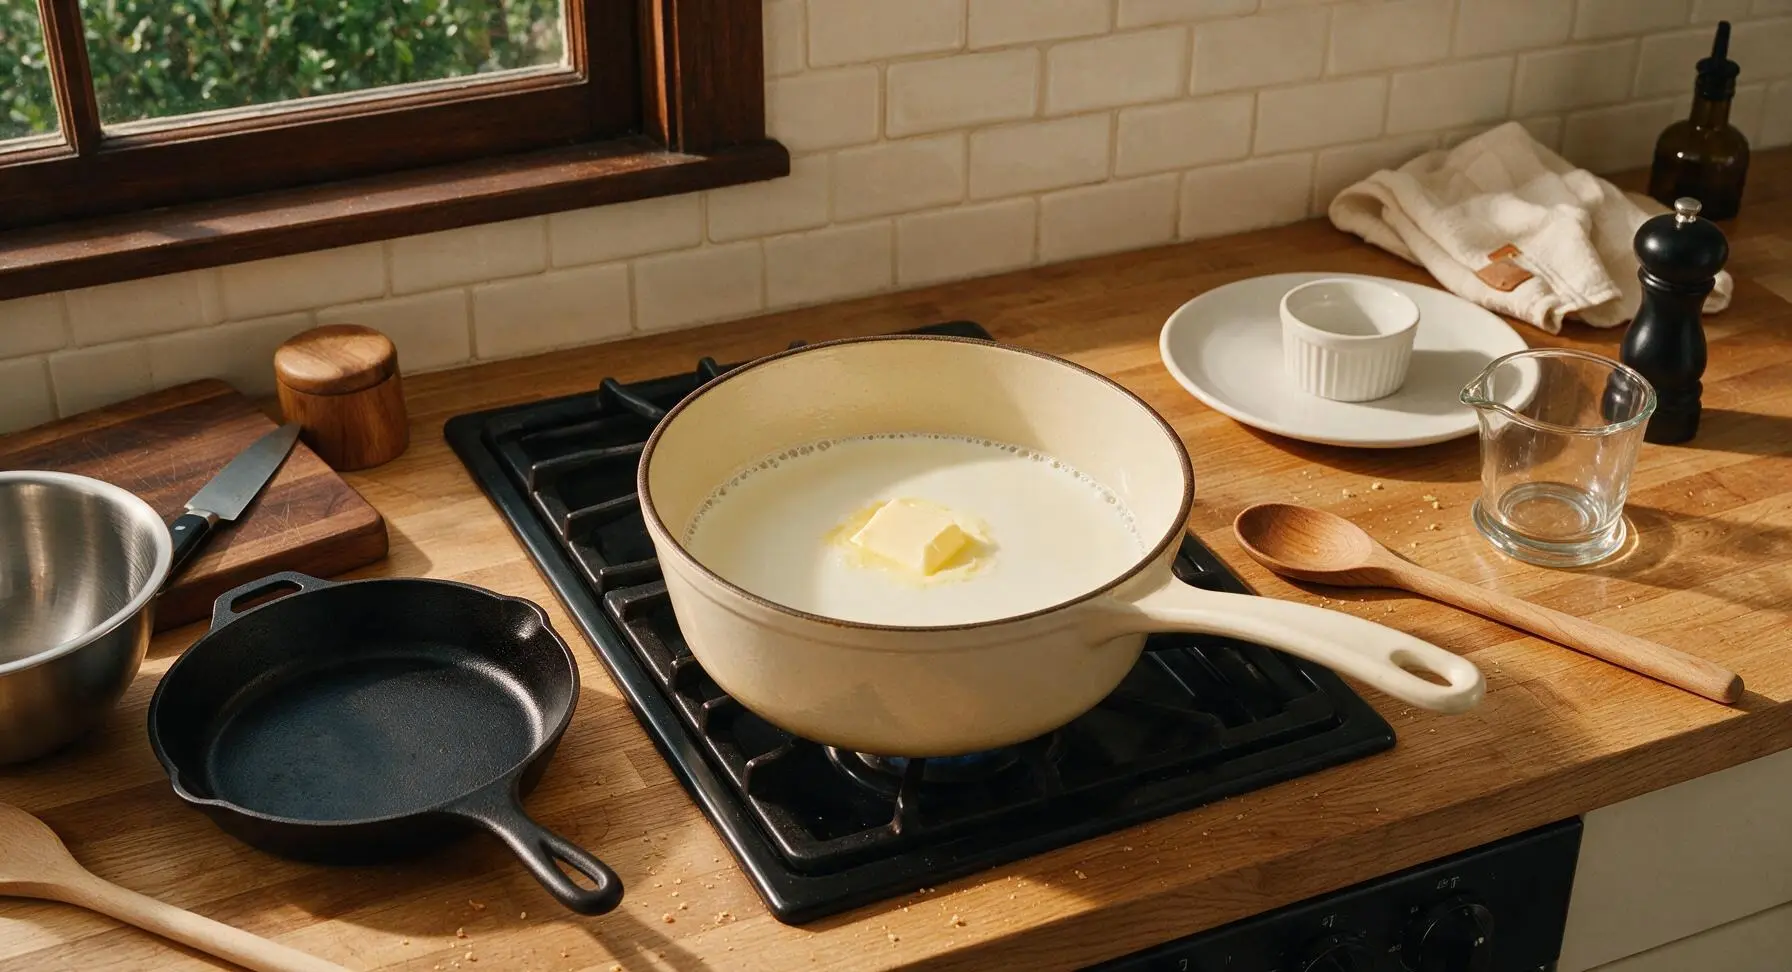
Place the enameled cast iron saucepan on the stovetop over medium-low heat. Pour in the measured whole milk, add 1 tbsp (14g) of the unsalted butter, and heat slowly for 5-7 minutes until small, steady bubbles form around the inner edge of the pan (liquid temperature ~180°F / 82°C). Do not bring the milk to a rolling boil, as this will scald the milk and create a bitter, off-flavor in the finished pudding.
Whisk in Cornmeal Slowly
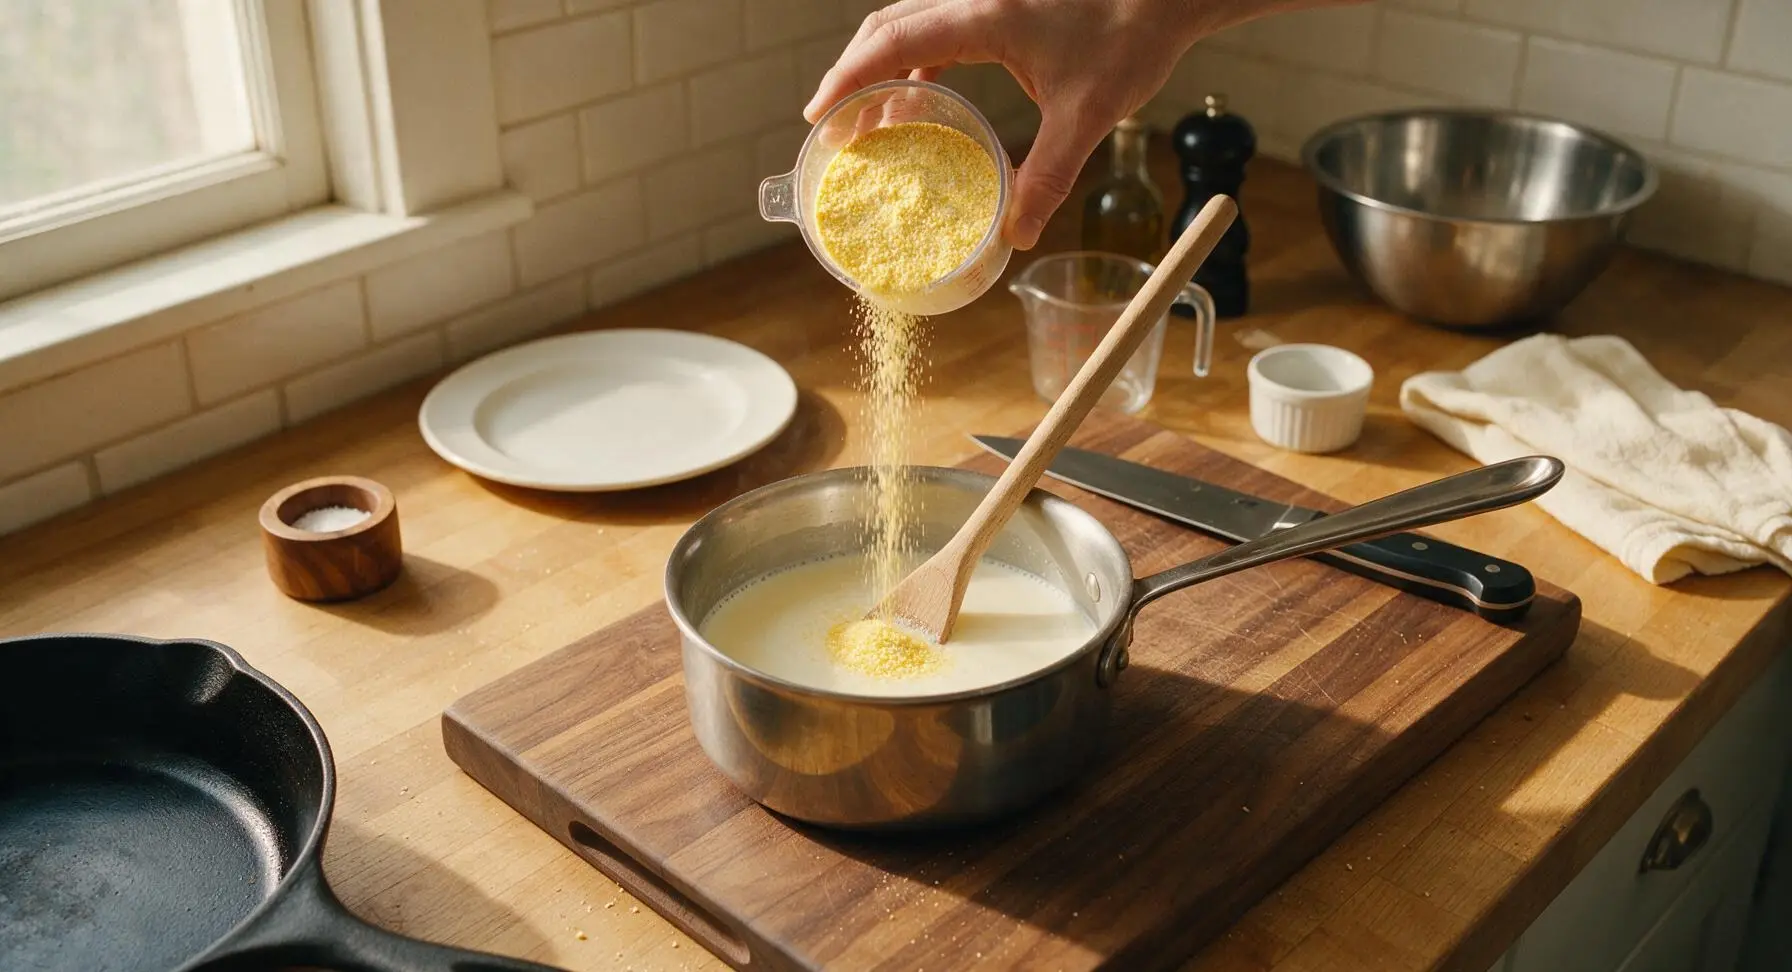
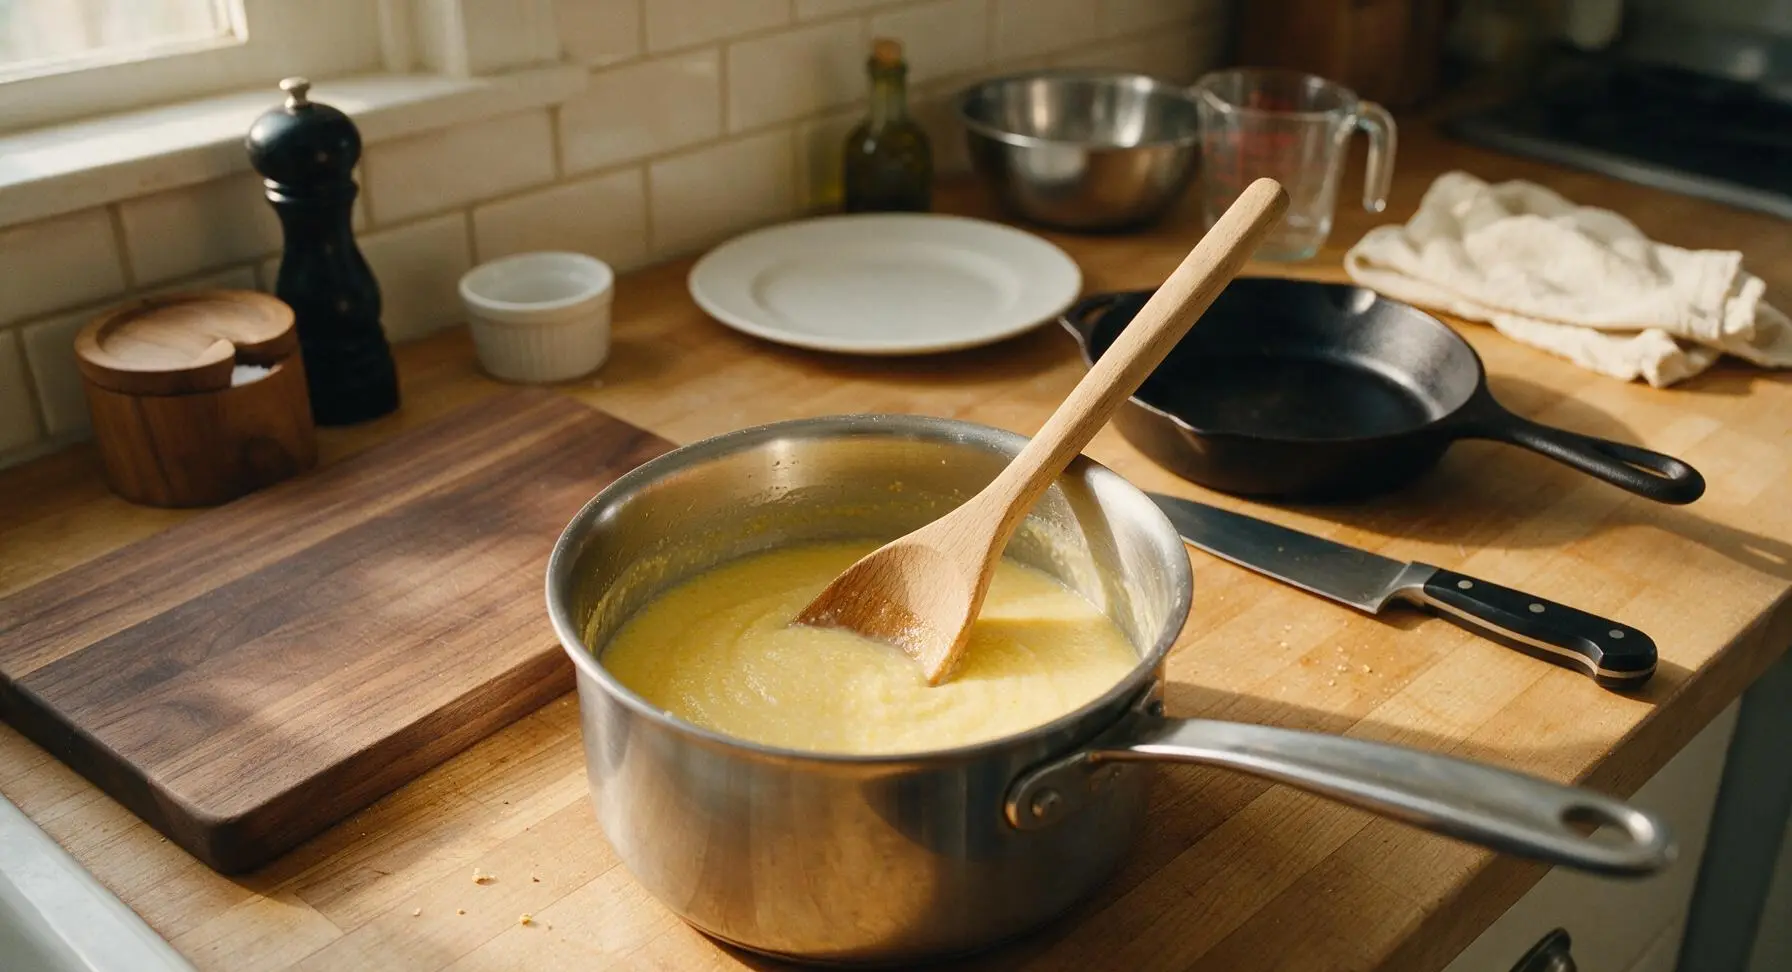
Once the milk reaches a gentle simmer, reduce heat to low. Gradually sprinkle the measured cornmeal into the milk 1 tablespoon at a time, stirring constantly with the long wooden spoon in slow, figure-eight motions to prevent dry lumps from forming. This slow addition takes 3-4 minutes total; never dump the full cup of cornmeal in at once, as this will create hard, uncooked lumps that cannot be stirred out later.
Add Molasses and Spices
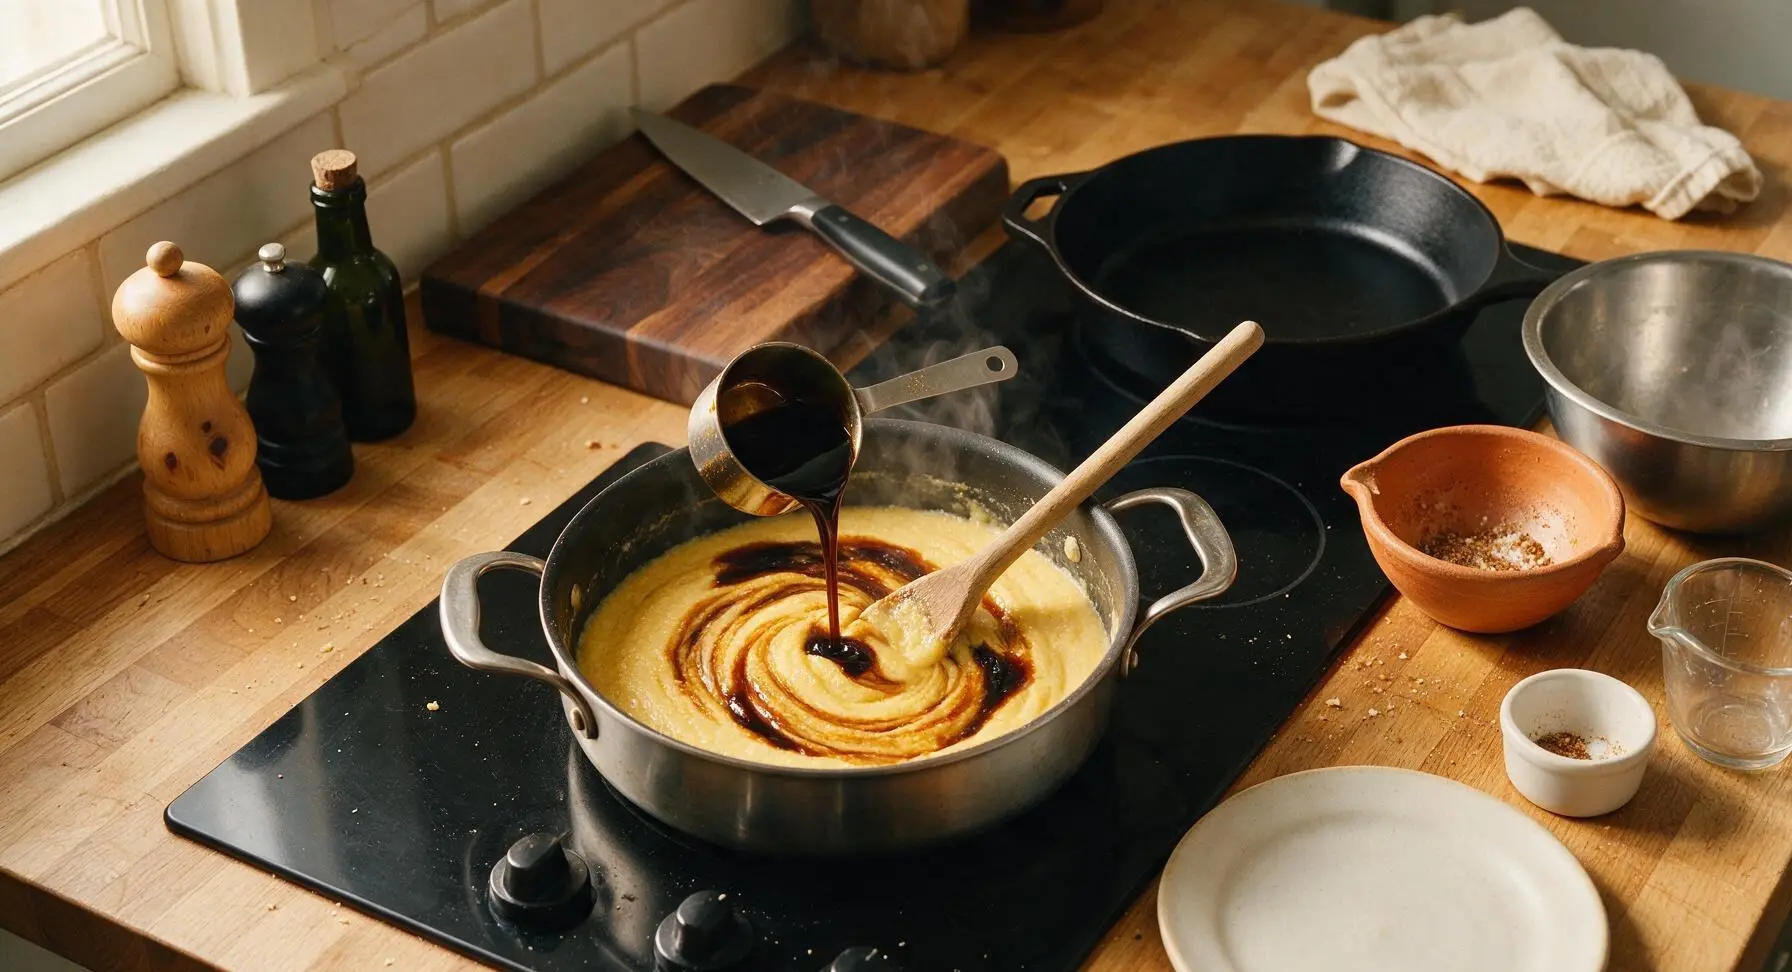
Once the cornmeal is fully incorporated and the mixture has thickened enough to lightly coat the spoon, pour in the 2 tbsp (30ml) dark unsulphured molasses, then add the pre-mixed cinnamon, nutmeg, and salt from the terracotta spice bowl. Stir thoroughly for 1 minute to fully combine, until the pudding turns a uniform warm, deep golden-brown color with no streaks of molasses remaining.
Cook Until Pudding Thickens
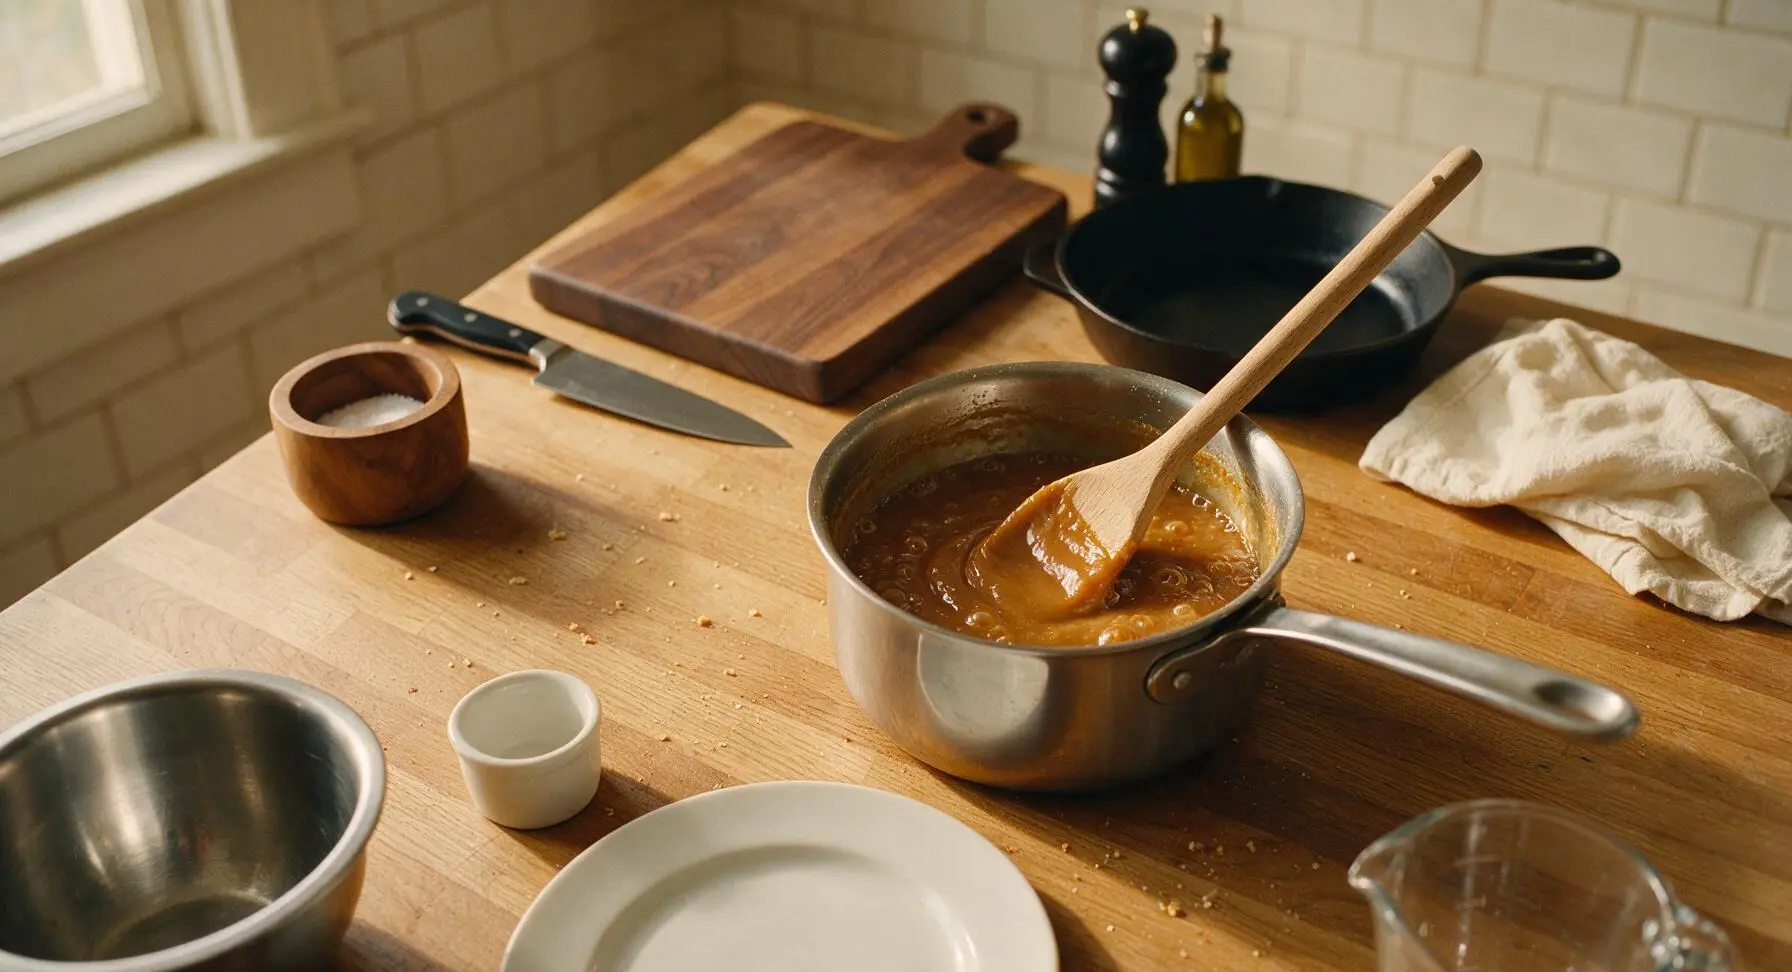
Continue to cook the pudding over low heat, stirring every 1-2 minutes to scrape the bottom and sides of the pan and prevent sticking, for 15-18 minutes. The pudding is fully cooked when it is thick enough to heavily coat the back of the wooden spoon, and a line drawn through the pudding coating on the spoon with your finger holds a clean, sharp edge without running or dripping. Do not turn heat up to speed this process, as the cornmeal will burn on the pan bottom before it fully hydrates.
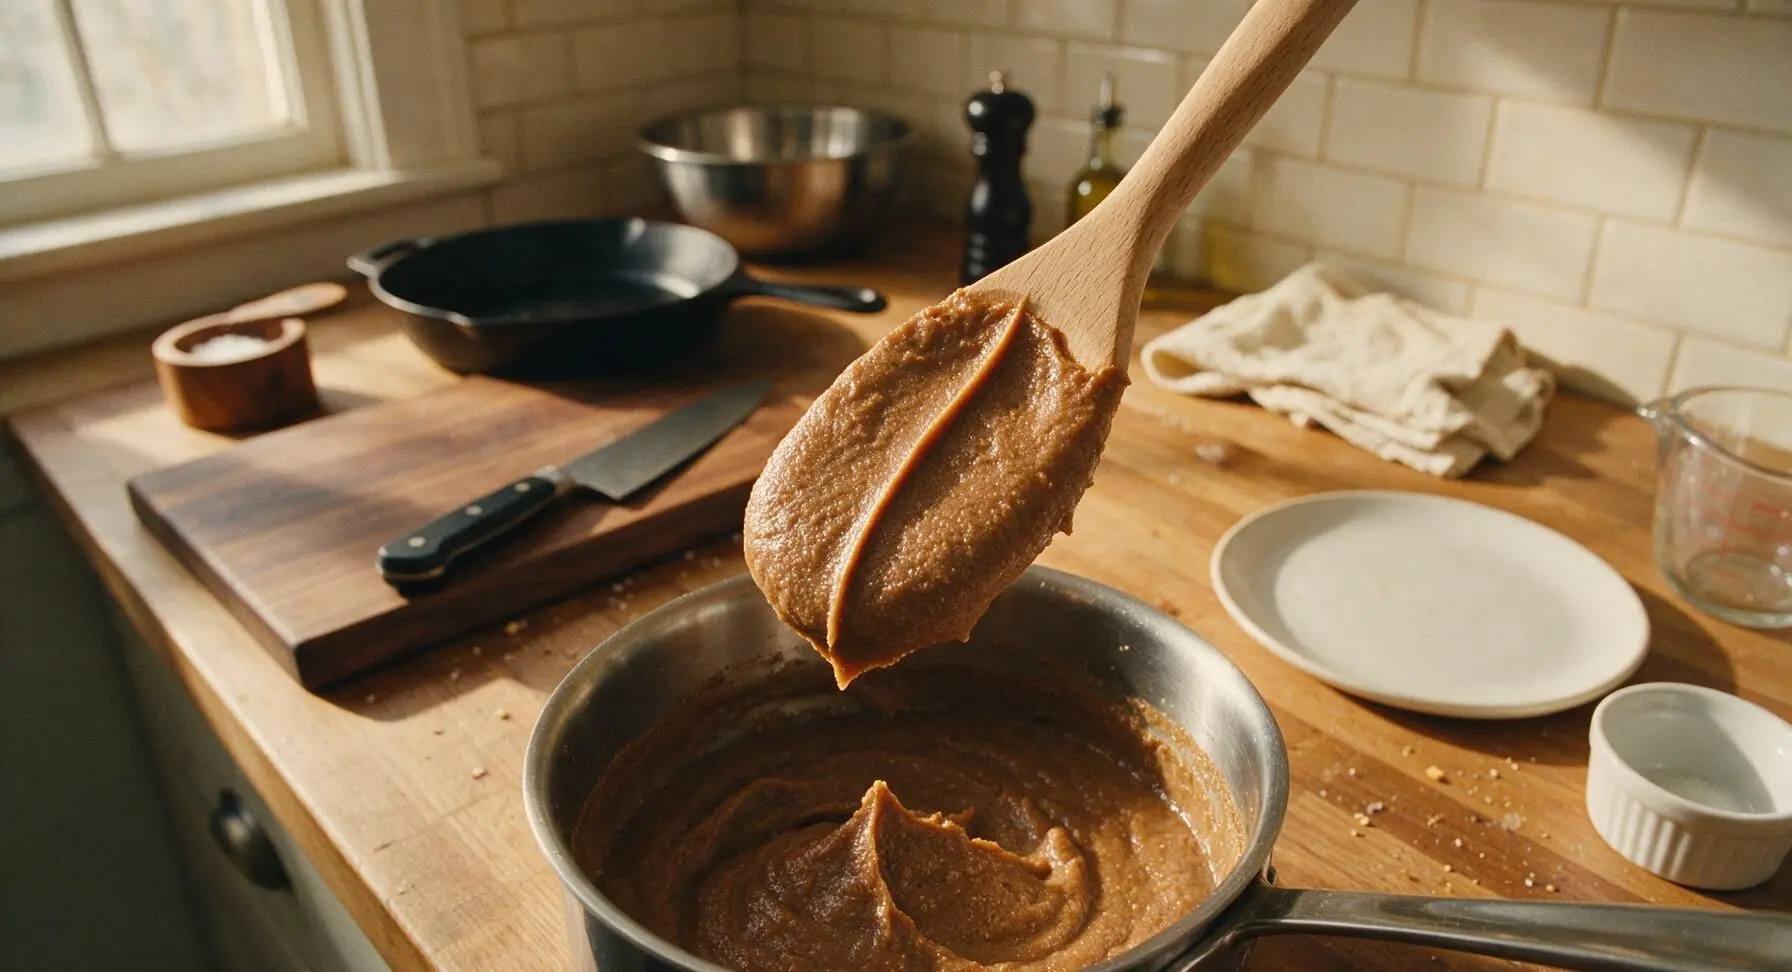
Rest Pudding Off Heat
Once the pudding passes the spoon-coating test, turn off the stovetop heat, carefully move the saucepan off the hot burner to a cool section of the soapstone counter, and let it rest uncovered for 5 minutes. The pudding will continue to thicken as it rests, so there is no need to cook it longer if it seems slightly loose when first removed from heat.
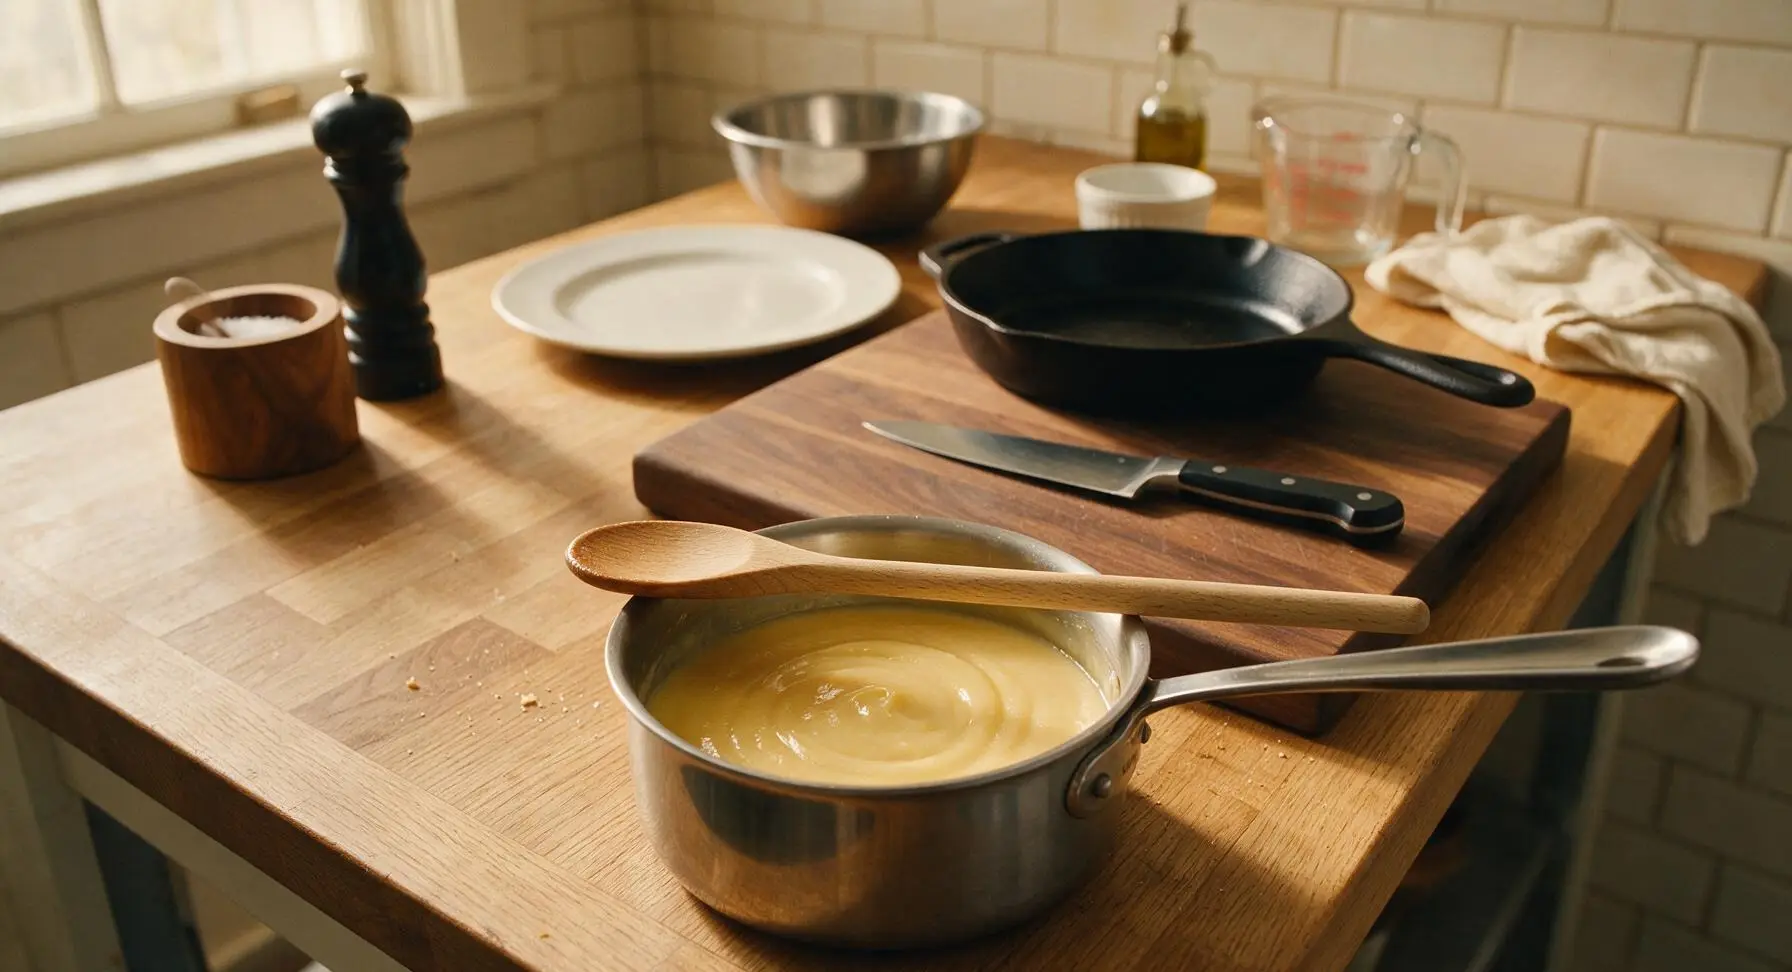
Plate and Garnish Servings
Use the stainless steel ladle to scoop 1 generous cup of warm pudding into each hand-thrown terracotta dessert bowl. Cut the remaining 1 tbsp (14g) unsalted butter into 4 equal small pats, placing one pat on the center of each pudding serving. Use the microplane grater to grate a light dusting of fresh nutmeg over the top of each bowl, then serve immediately while warm.
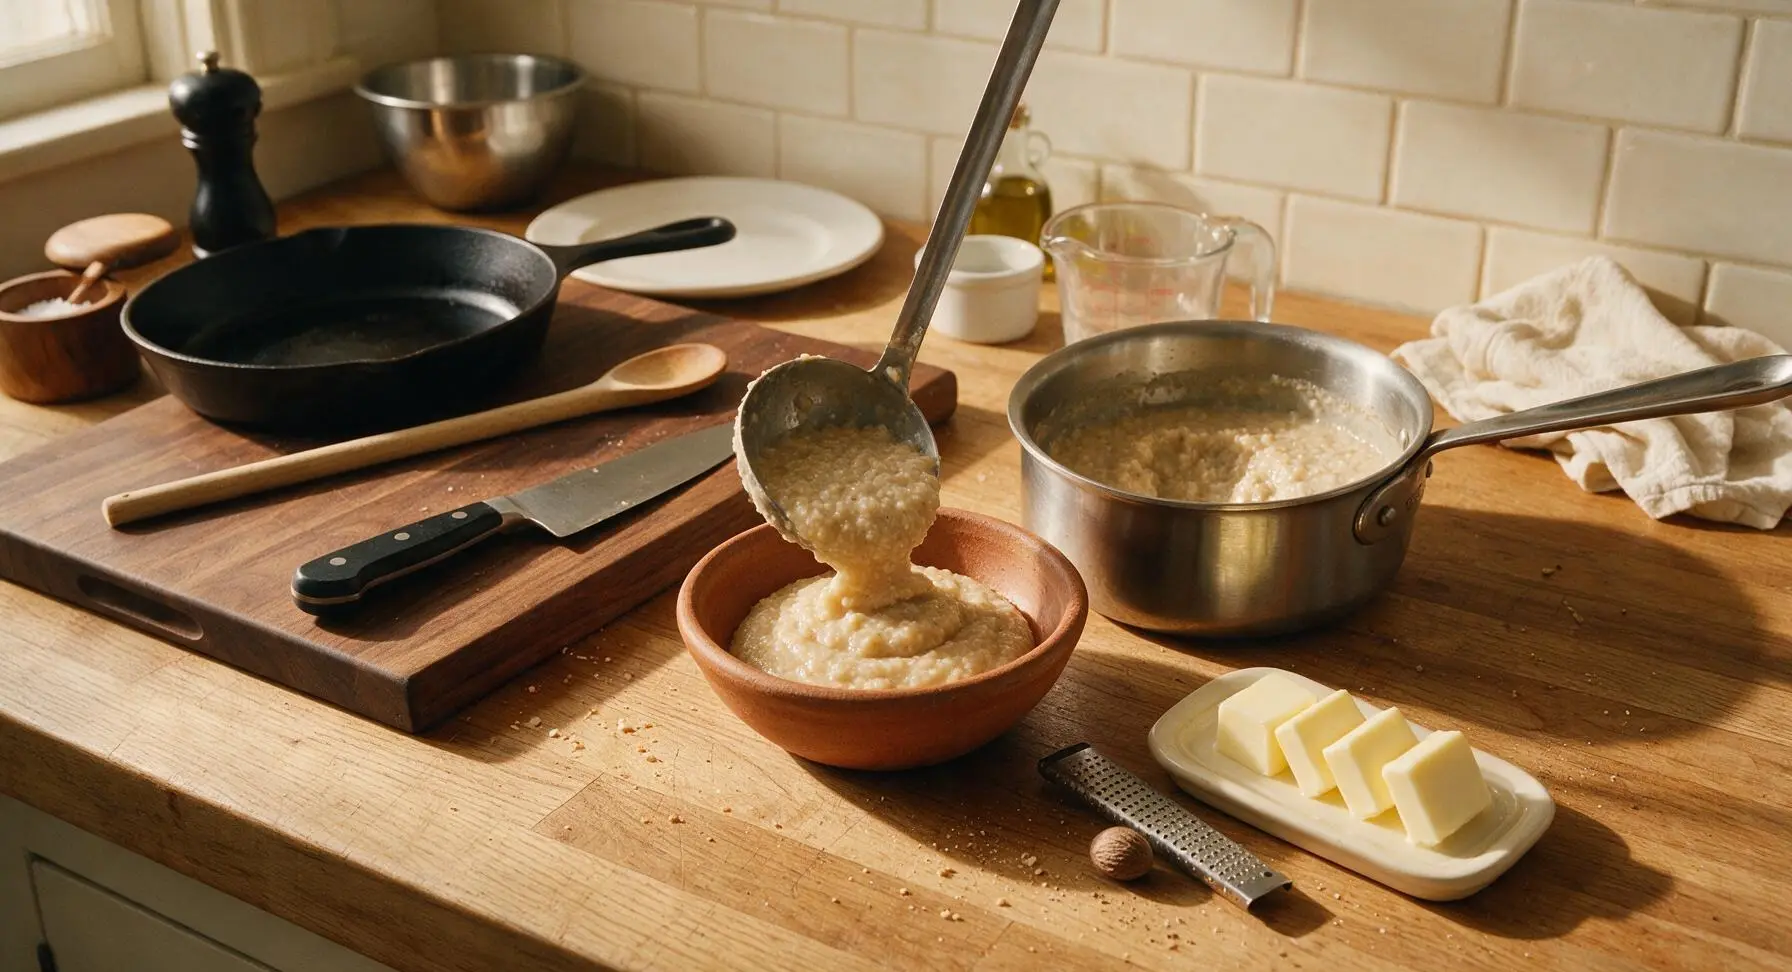
Tips
2.Never rush the cornmeal addition or cooking process: cornmeal granules absorb liquid slowly, and dumping all meal in at once or cooking over high heat will create either dry, uncooked lumps or burnt, bitter bits stuck to the pan bottom that cannot be strained out.
3.Let the pudding rest the full 5 minutes off heat before serving: cornmeal continues to absorb liquid and set as it cools slightly, so skipping the rest will result in a runny, watery pudding, while overcooking to compensate will create a stiff, rubbery texture once cooled.






OMG this was such a fun throwback recipe to make for my kids’ colonial history unit at school! I was worried it’d be bland, but we topped ours with a little maple syrup and cinnamon and it was SO good. Total game changer for a quick weeknight dessert, too—only 25 minutes start to finish? Can’t beat that.
Super easy to throw together, mine came out a little lumpy when I first added the cornmeal though. Any tips for getting a smoother texture next time?
My kids loved it! I meal prepped a big batch on Sunday and we ate it for warm breakfasts all week long with a little berry compote on top. Way cheaper and less sugary than the instant oatmeal packets they usually beg for, 10/10 will make again.
Y’all, I was skeptical about a pudding that cooks this fast but it did NOT disappoint. I used a little whole milk instead of water for extra creaminess and served it alongside my fried chicken for Sunday dinner. Felt like such a fun nod to old school Southern cooking!
As a broke college student with barely any ingredients in my dorm, this was perfect. I only had cornmeal, salt, and a little honey, and it still turned out tasty. No fancy equipment needed either, just a pot and a spoon.
Made this on my camp stove last weekend while car camping and it was the perfect warm, filling snack after a long hike. It held up really well even when I made it ahead and reheated it over the fire. Only knock is I wish I’d brought more brown sugar to top it with!
Brought this to our office colonial-themed potluck and it was the first dish to get polished off! People kept saying it reminded them of the warm cereal their grandparents used to make. So easy to transport in a slow cooker on warm, too.
So happy to find an easy gluten-free dessert that doesn’t require 10 different specialty flours! I used certified GF cornmeal and it turned out exactly as described, no weird texture or aftertaste. My whole family ate it up, even my picky gluten-eating husband.
It was fine, but I found it a little plain on its own. I get that it’s a historic recipe so it’s not supposed to be super fancy, but I definitely needed to add a lot of cinnamon, nutmeg, and vanilla to make it taste like something I’d want to eat again.
Added this to my weekly meal prep rotation and it’s been such a win. I make a big batch, portion it out into little containers, and grab one on my way out the door to work. Warm it up for 30 seconds in the break room microwave and it’s the perfect mid-morning pick-me-up. Way better than the sad granola bars I used to keep in my desk.
This is the first recipe I’ve ever made completely on my own as a new cook and it came out perfect!!! I was so nervous I’d mess it up but the instructions were so straightforward and the cook time was exactly 25 minutes like it said. I’m so proud of myself lol.