
cook chicken breast in air fryer

title 1
cook chicken breast in air fryer
⏱️ cook time 14 minutes
🍽️ servings 4
⚡ Difficulty easy

intro

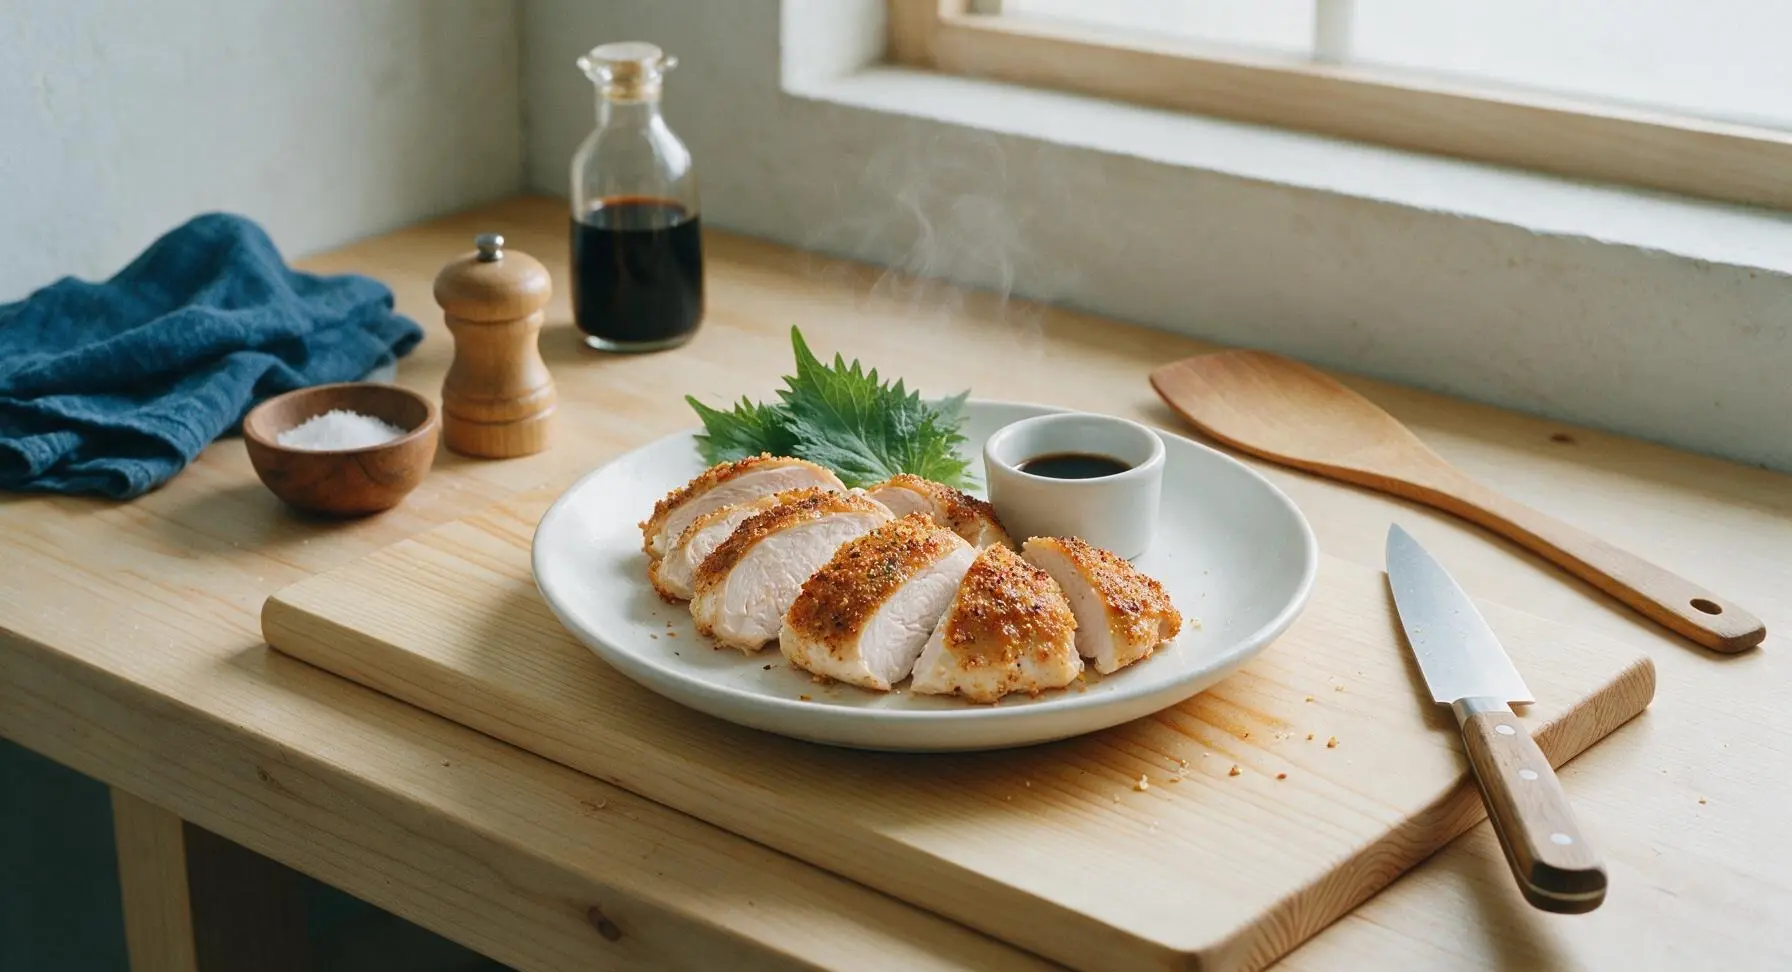
Juicy, tender air fryer chicken breast with a crisp golden seasoned crust, ready in under 30 minutes—perfect for salads, wraps, grain bowls, or simple weeknight plates.

Ingredients
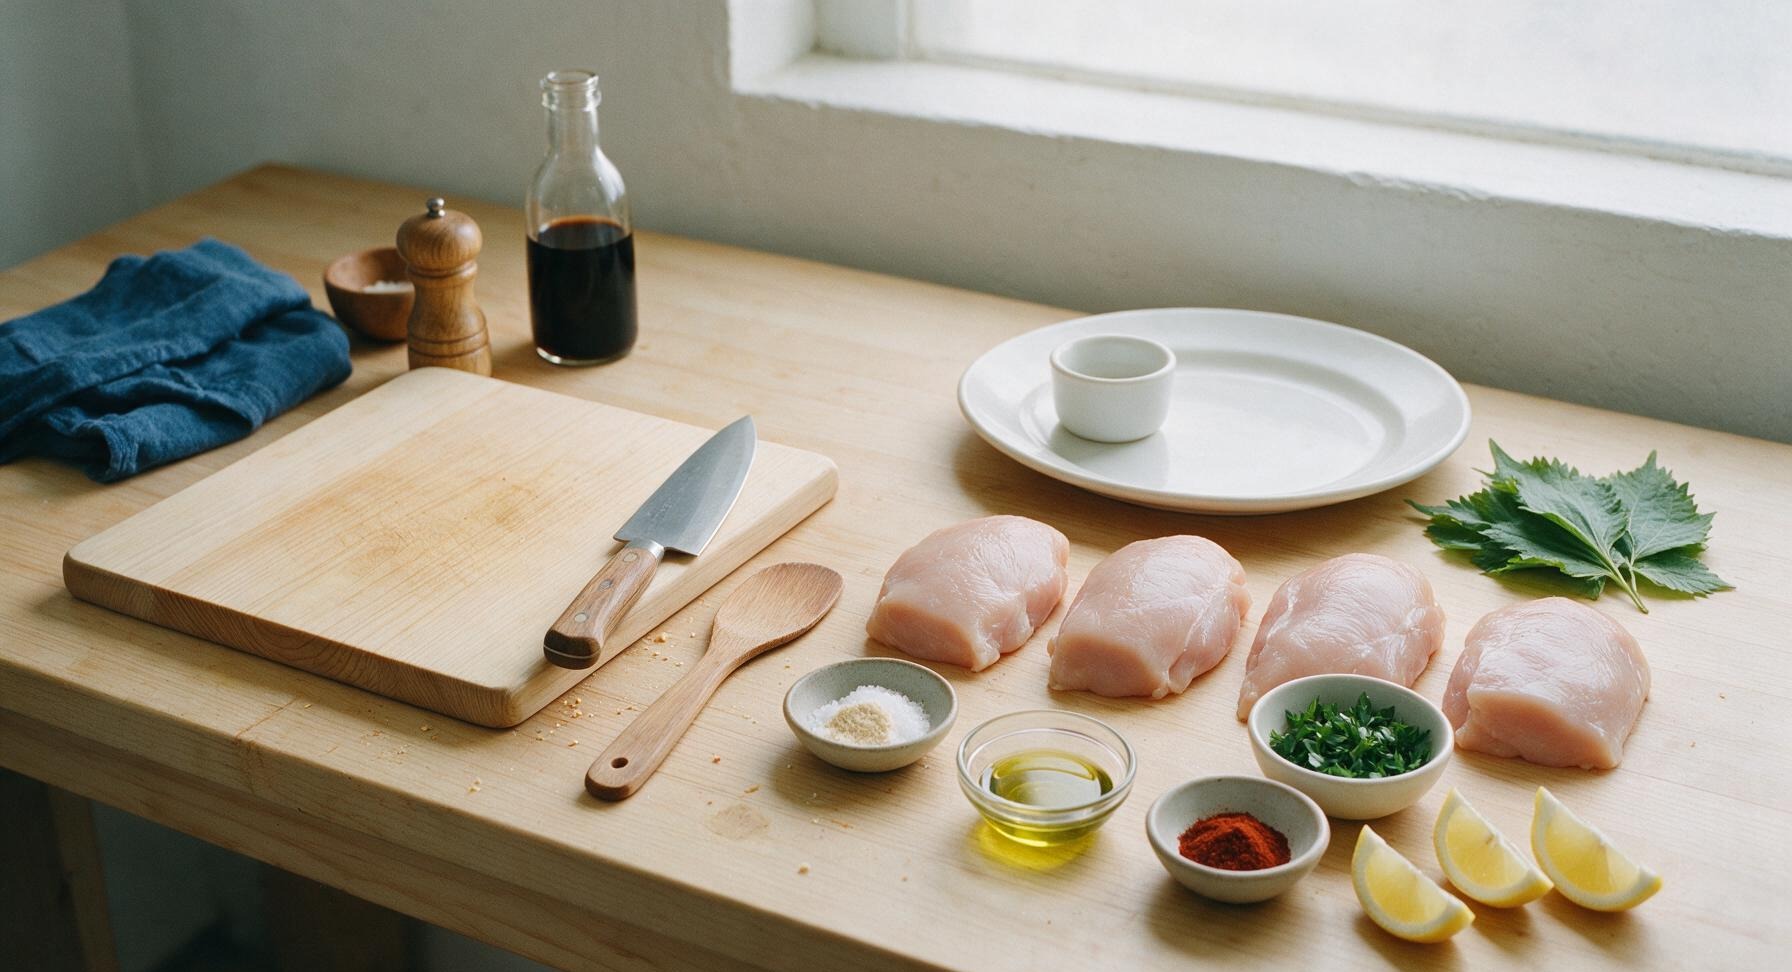
Boneless skinless chicken breasts 680g (four 170g pieces, 1-inch thick)
Extra-virgin olive oil 1 tbsp
Kosher salt 1 tsp
Garlic powder ½ tsp
Smoked paprika ½ tsp
Freshly ground black pepper ¼ tsp
Fresh flat-leaf parsley 2 tbsp (chopped, for garnish)
Lemon 1 (cut into 4 wedges, for serving)

Steps

1

Trim and Pat Dry

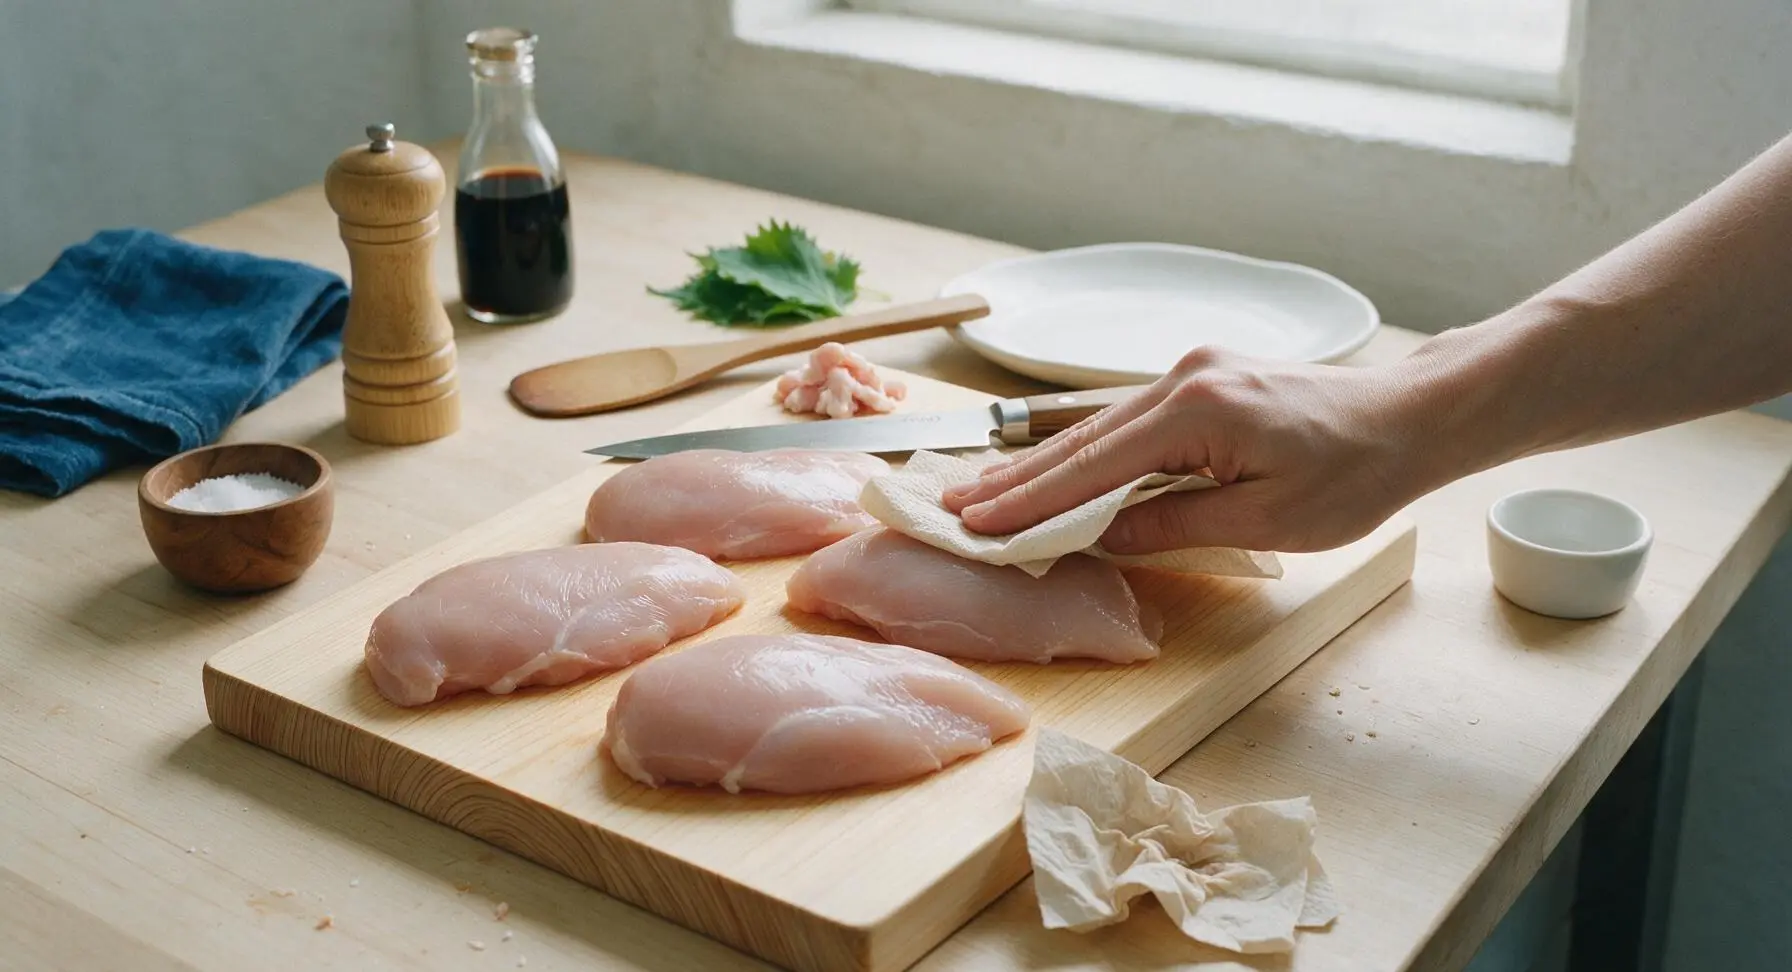
Place the four 170g boneless skinless chicken breasts on the light maple cutting board. Use the 8-inch chef knife to trim any visible excess fat or tough silver skin from the edges of each breast. Pat every surface of the chicken completely dry with sheets of unbleached paper towel; a fully dry surface is critical to achieve a crisp, non-soggy exterior during air frying. Discard used paper towels in the off-frame waste bin.
Step 1
step1:Trim and Pat Dry
2

Mix Dry Seasoning

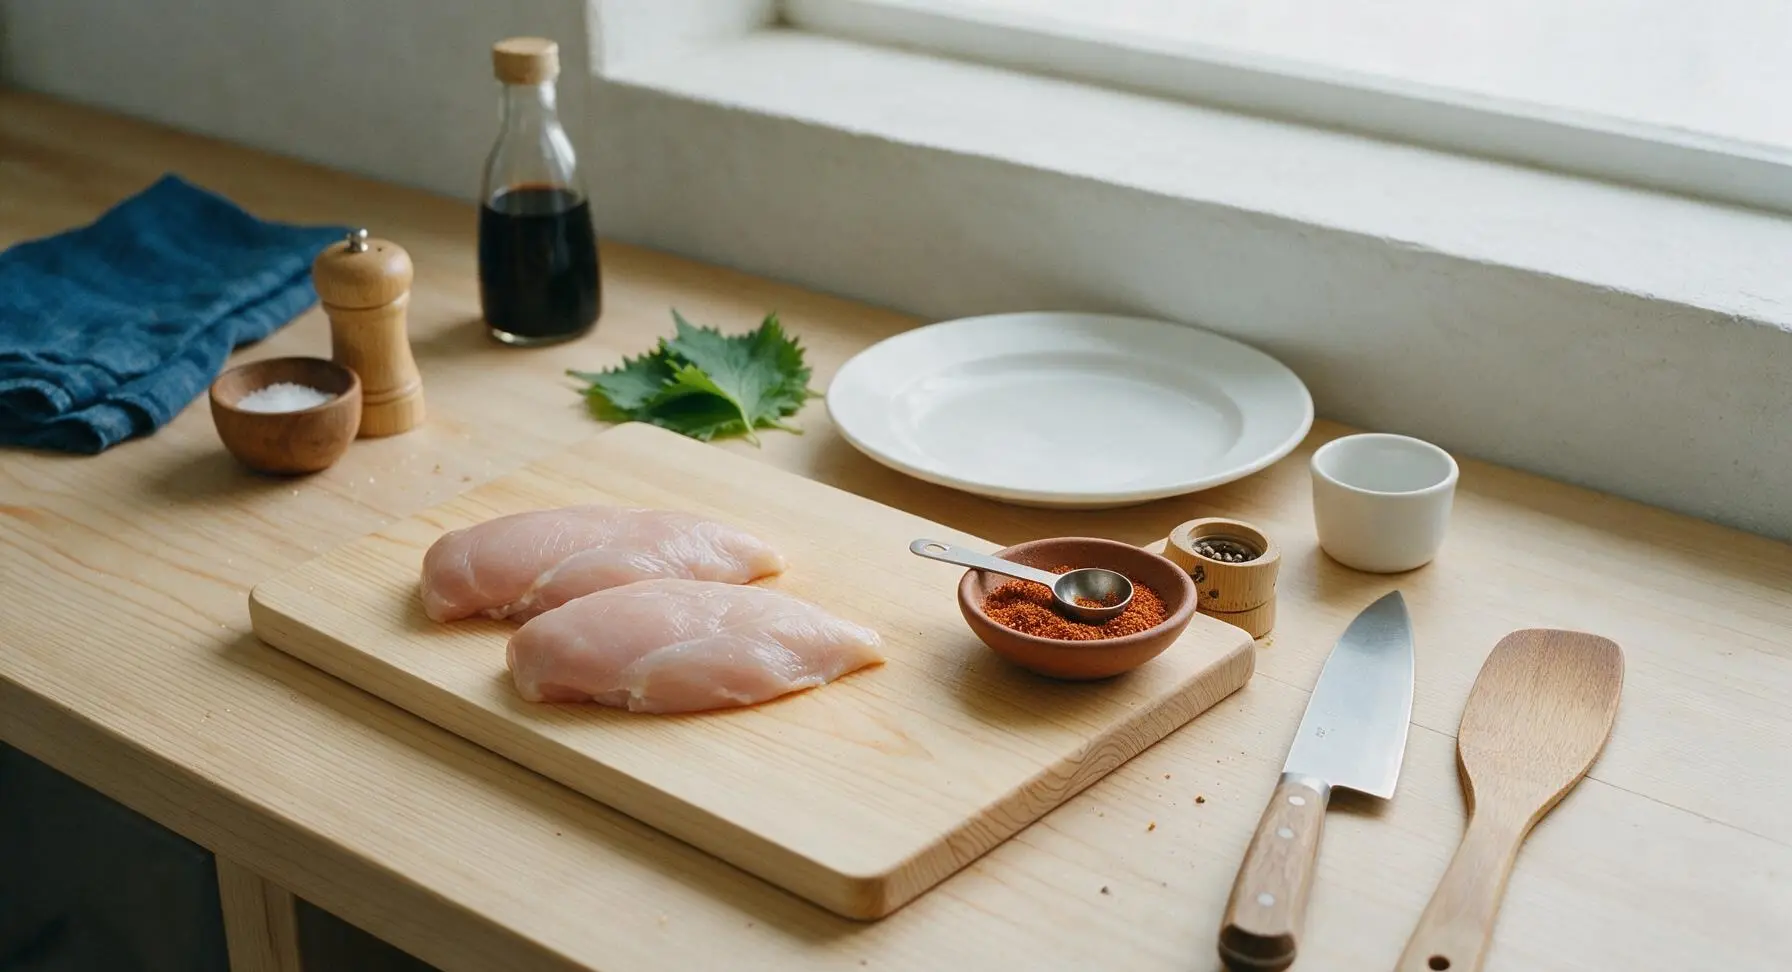
In the small matte terracotta pinch bowl, combine 1 tsp kosher salt, ½ tsp garlic powder, ½ tsp smoked paprika, and ¼ tsp freshly ground black pepper. Stir the blend with the smallest matte stainless steel measuring spoon until evenly mixed, with no clumps of paprika or garlic powder remaining.
Step 2
step2:Mix Dry Seasoning
3

Coat with Olive Oil

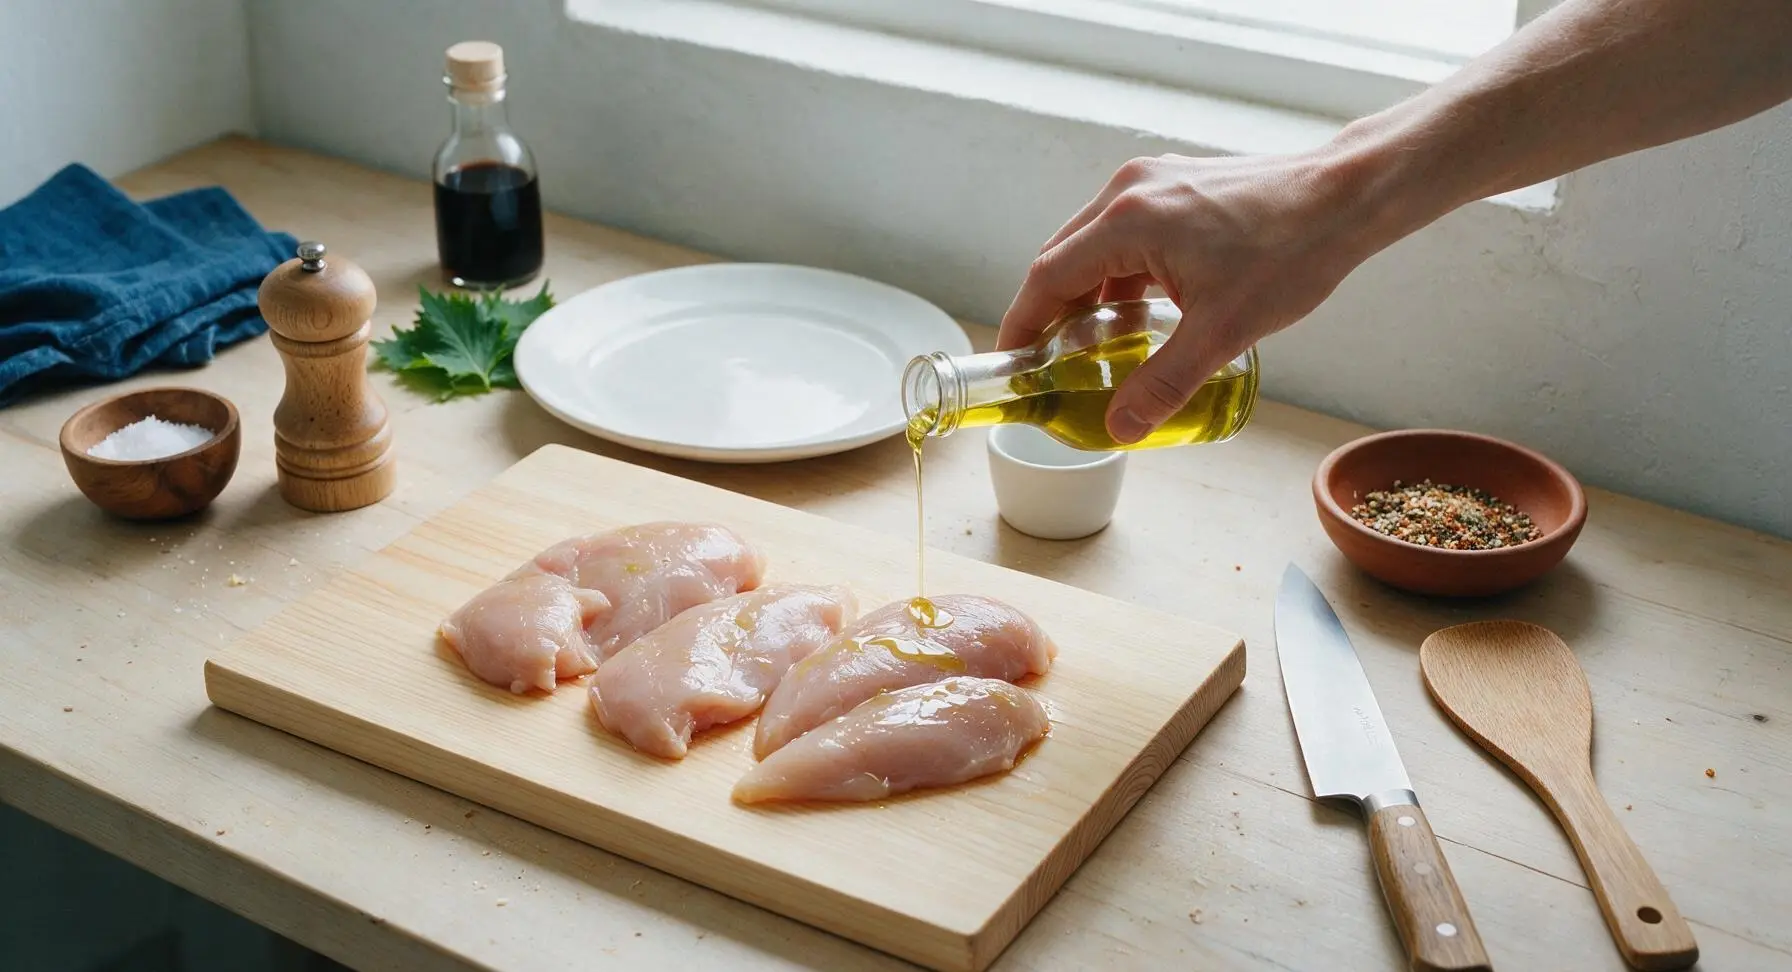
Drizzle 1 tbsp extra-virgin olive oil evenly over all surfaces of the chicken breasts. Use clean hands to rub the oil over every side, ensuring a thin, even coating that covers the entire surface of each breast—this helps the seasoning stick and promotes even, golden browning in the air fryer.
Step 3
step3:Coat with Olive Oil
4

Season All Surfaces

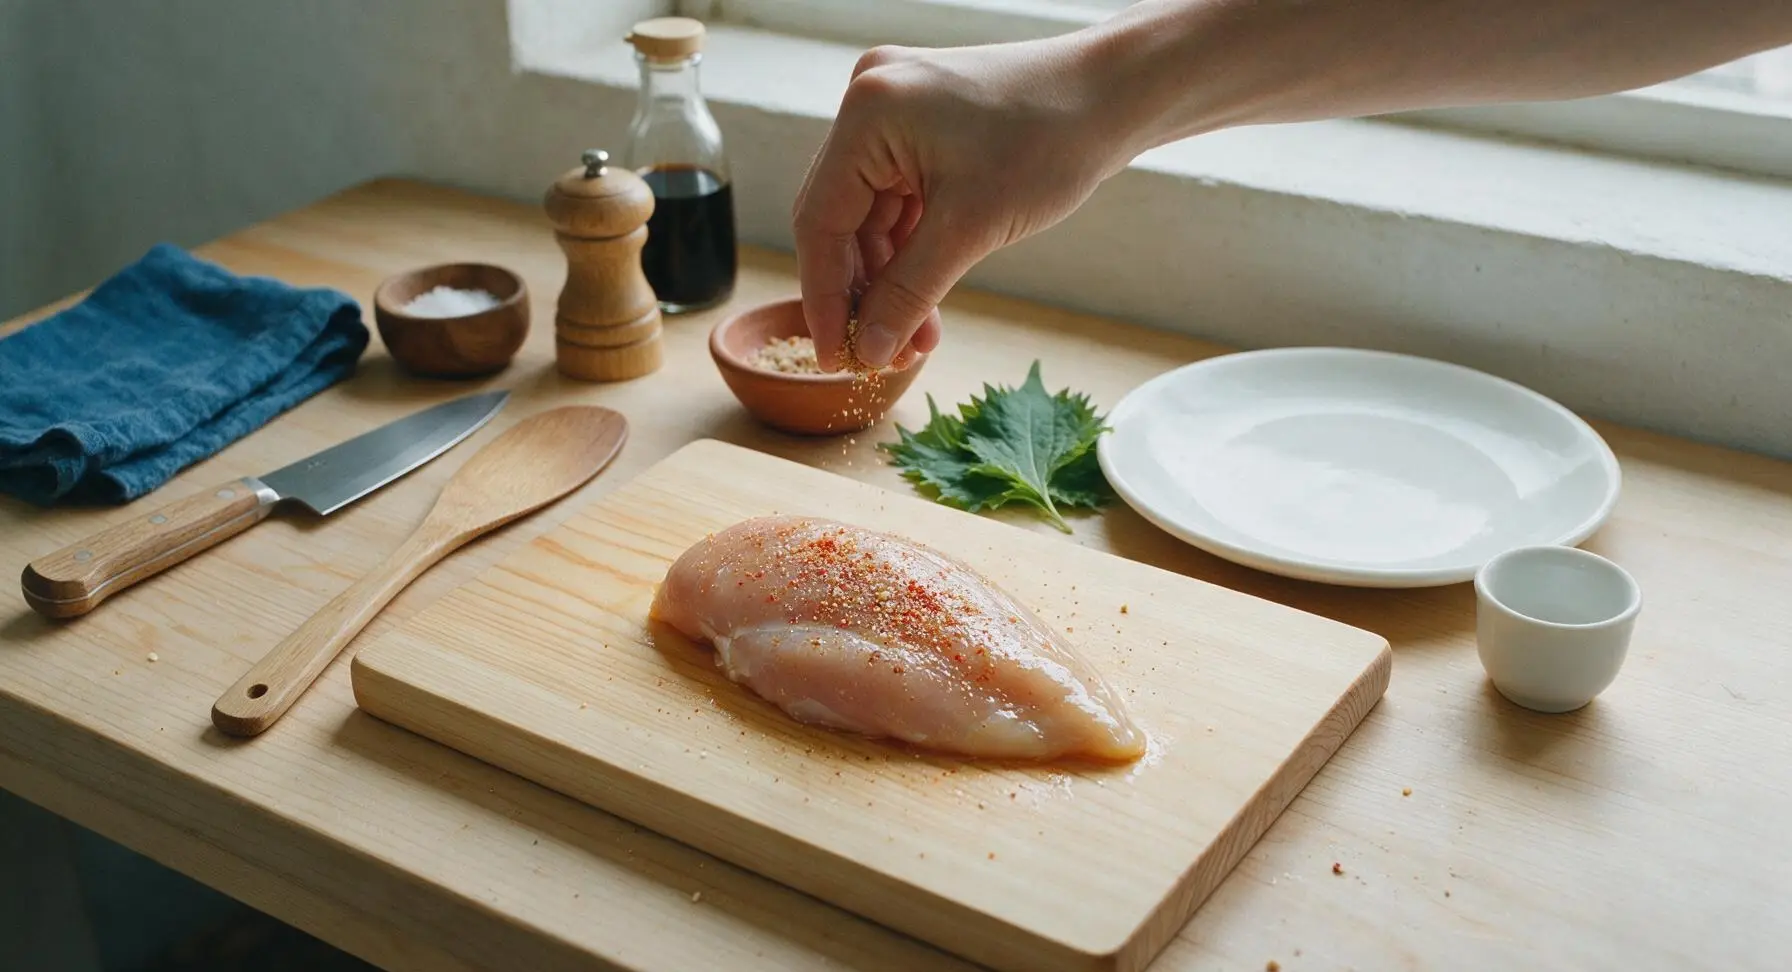
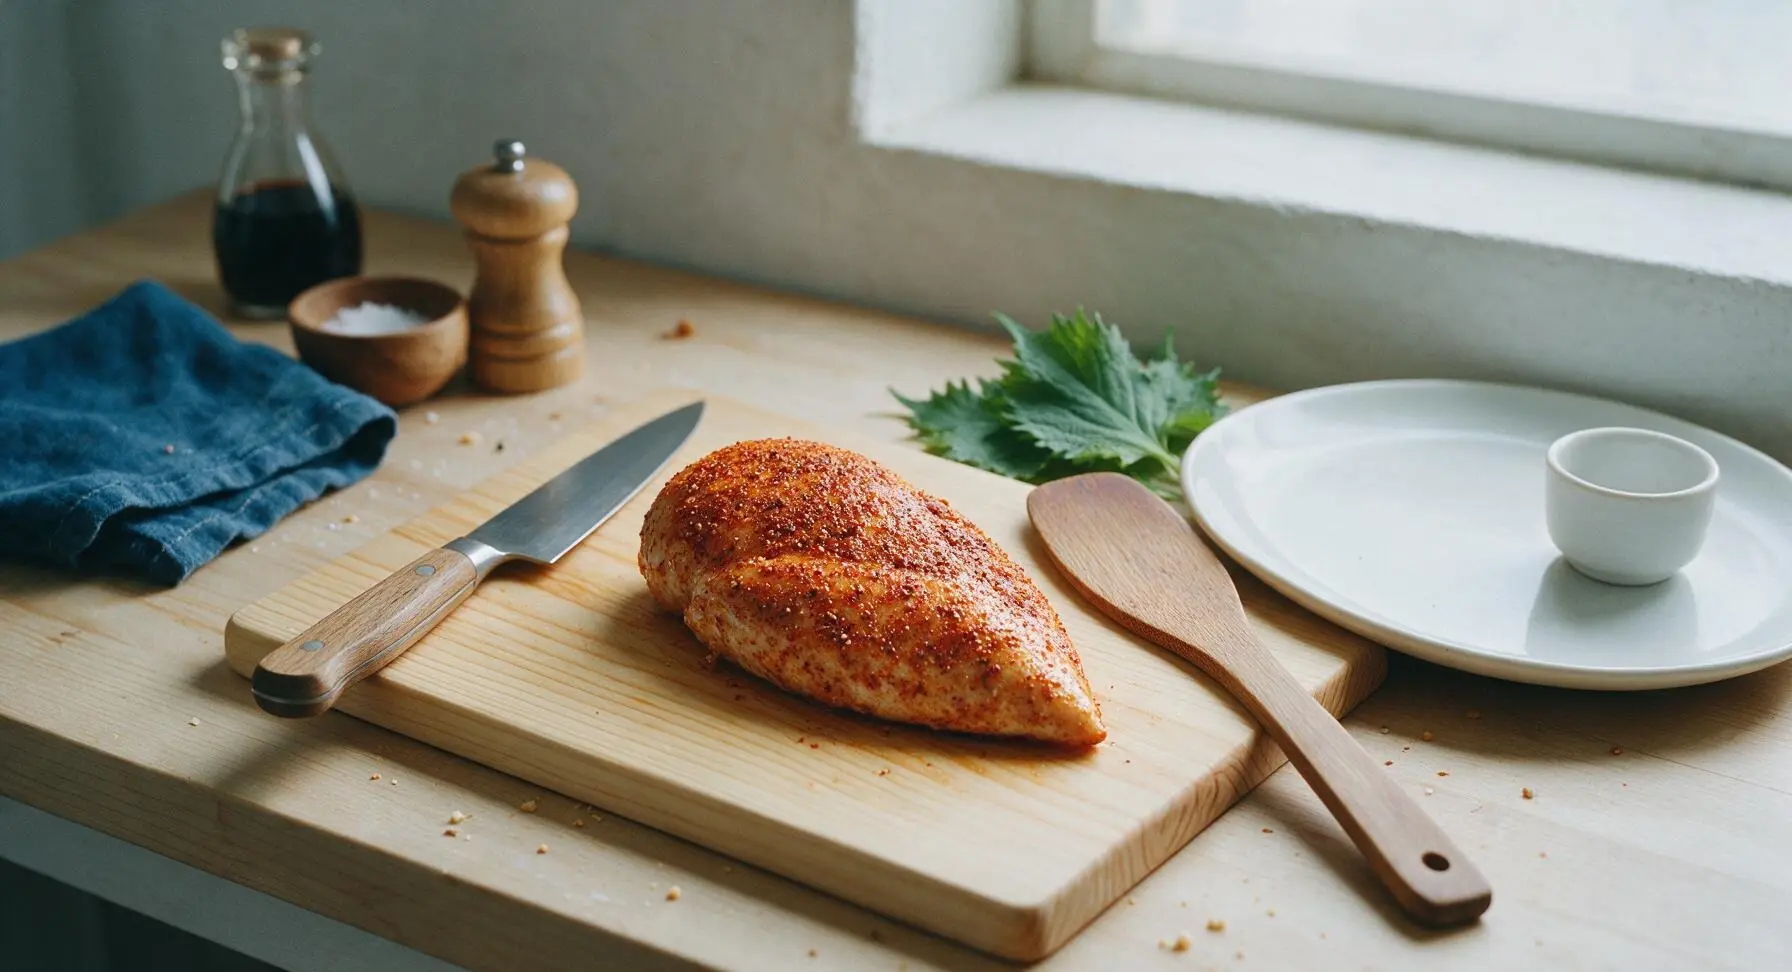
Sprinkle the mixed seasoning blend evenly over the top, bottom, and sides of each oil-coated chicken breast, using roughly ¼ of the blend per breast for consistent flavor. Gently press the seasoning into the chicken surface with your fingertips so it adheres; no bare, unseasoned patches of chicken should remain visible.
Step 4
step4:Season All Surfaces
Step 4
step4:Season All Surfaces
5

Preheat Air Fryer

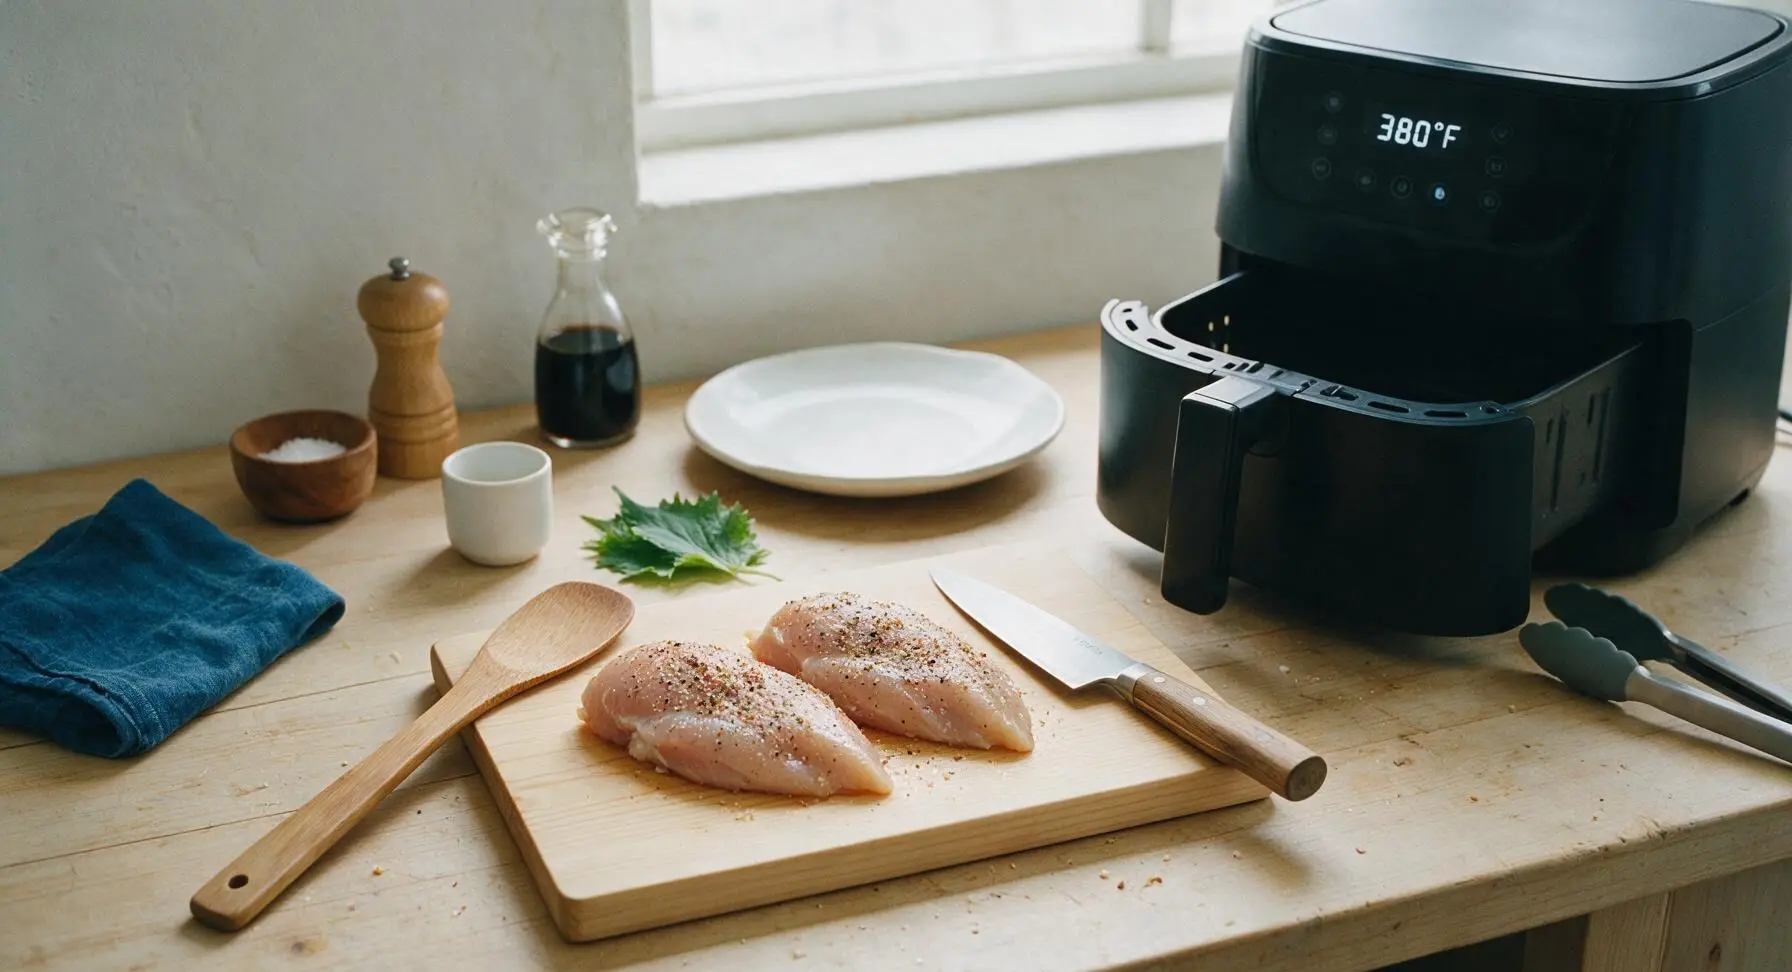
Set the matte black air fryer to 380°F (193°C) and preheat for 3 minutes. If using a smaller 4-quart air fryer, plan to cook the chicken in two batches to avoid overcrowding, which prevents even air circulation and crisping.
Step 5
step5:Preheat Air Fryer
6

Load Chicken Into Basket

Place the seasoned chicken breasts in a single layer in the preheated air fryer basket, leaving ½ inch of open space between each breast to allow hot air to circulate freely. Do not stack the chicken, as this will cause steaming instead of crisping.
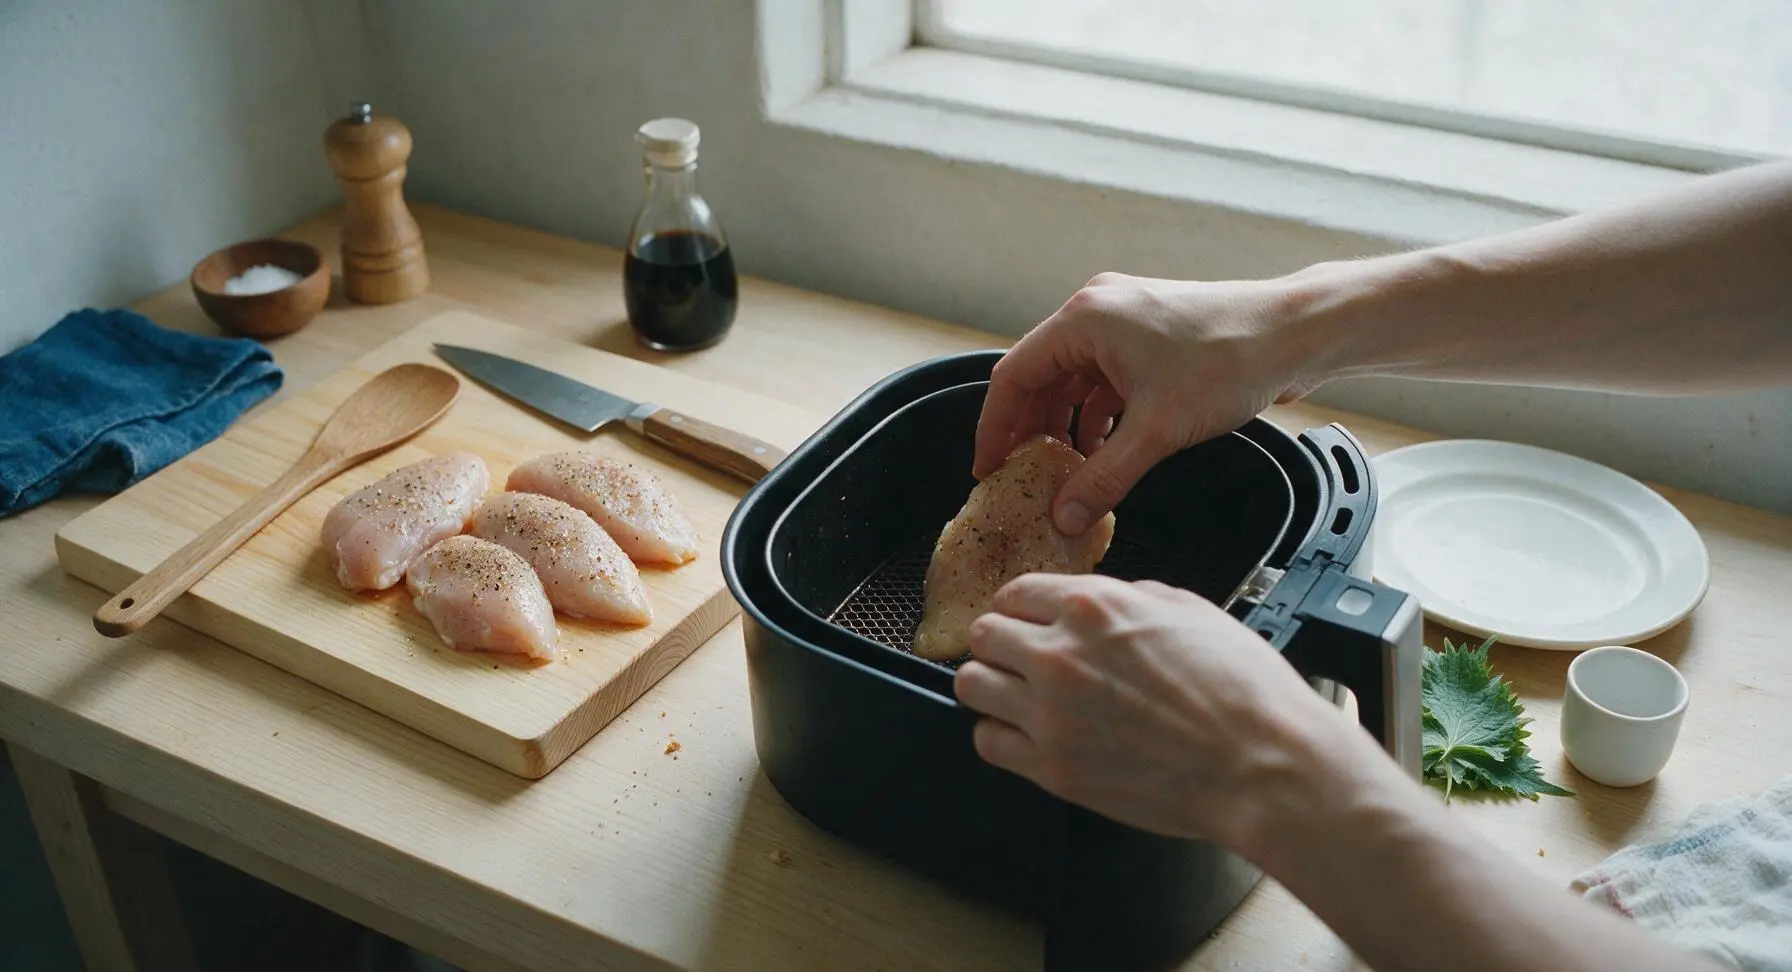
Step 6
step6:Load Chicken Into Basket
7

Cook and Flip Chicken

Slide the loaded basket back into the air fryer and cook for 7 minutes at 380°F (193°C). After 7 minutes, pull the basket out, use the matte black silicone-tipped tongs to carefully flip each chicken breast to the opposite side, taking care not to tear the seasoned crust. Return the basket to the air fryer and cook for 7 more minutes at the same temperature, for a total cook time of 14 minutes for 1-inch thick breasts.
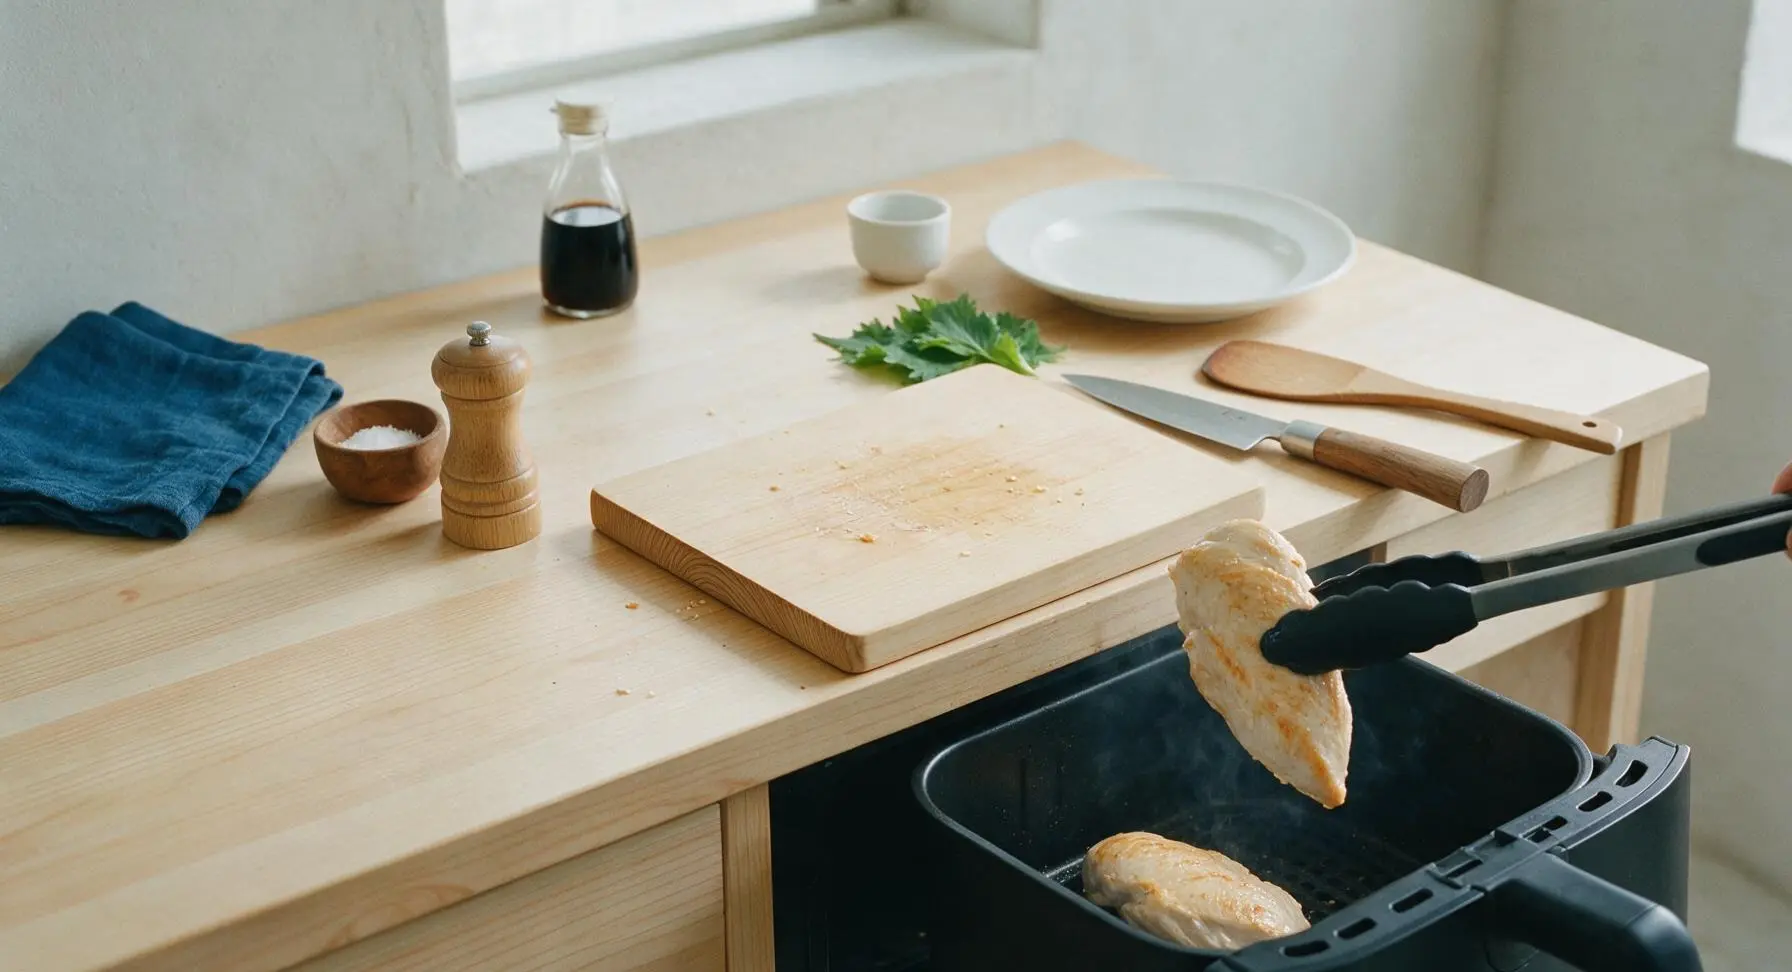
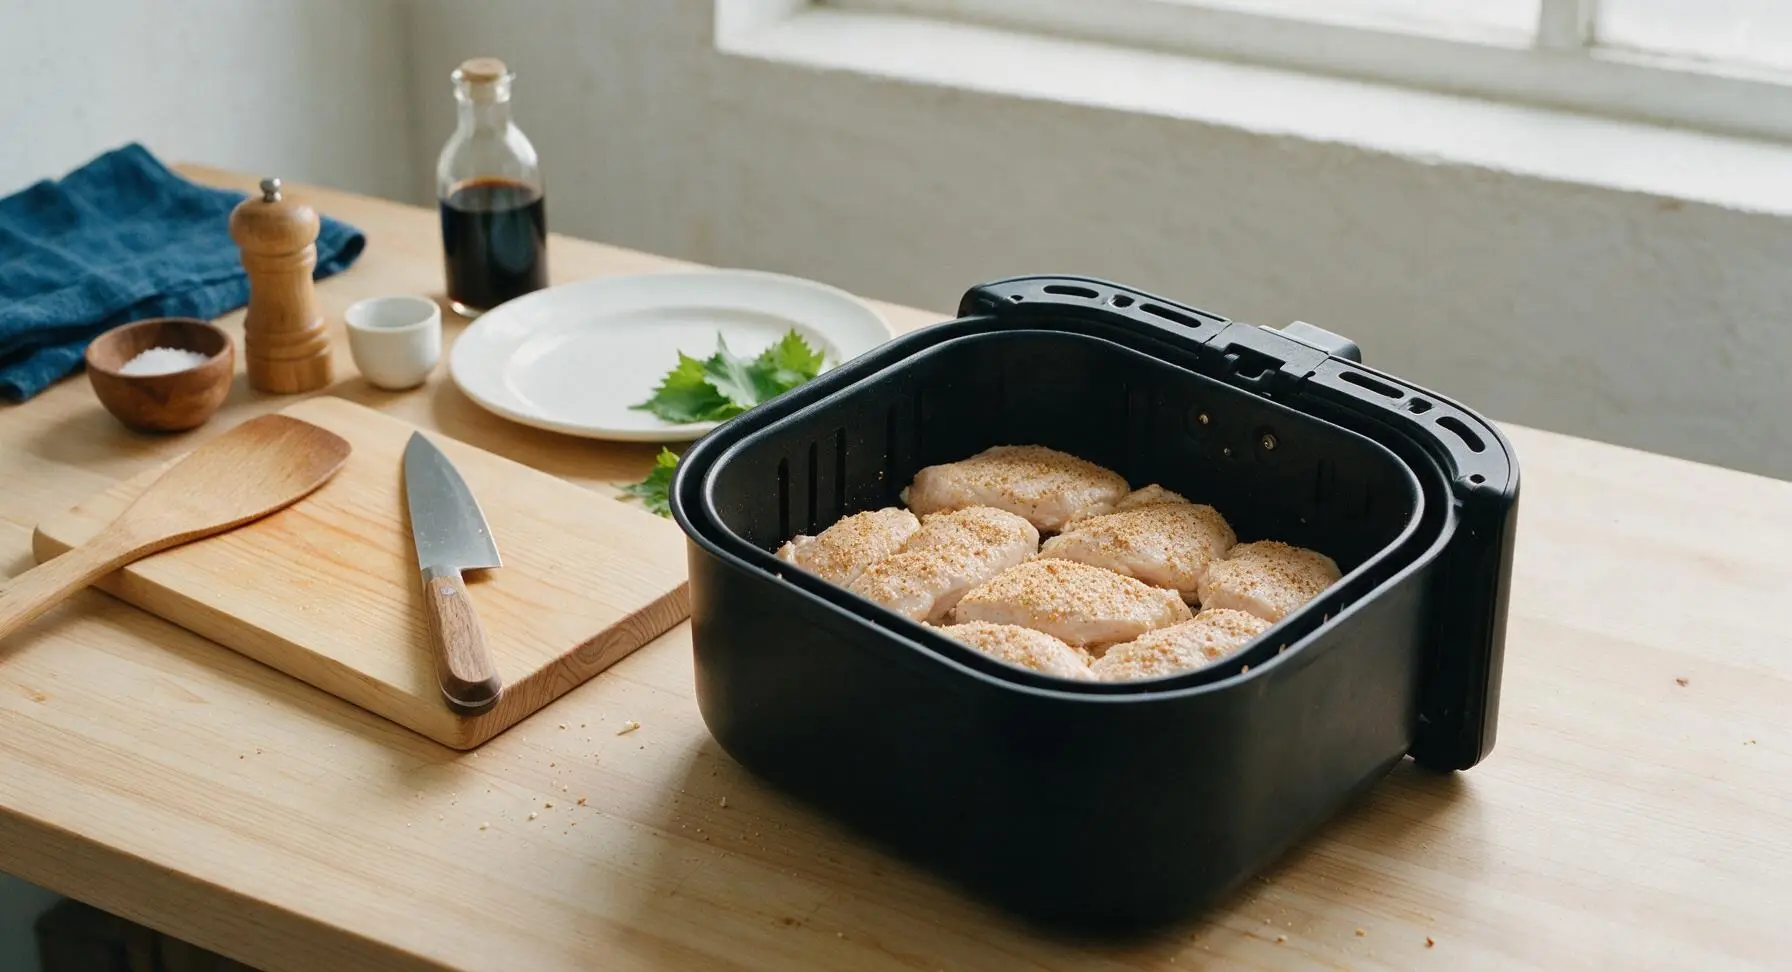
Step 7
step7:Cook and Flip Chicken
Step 7
step7:Cook and Flip Chicken
8

Verify Doneness

Once the full cook time elapses, pull the air fryer basket out. Insert the white digital instant-read meat thermometer into the thickest part of the largest chicken breast: the internal temperature should read 165°F (74°C) for safe consumption. If the temperature is lower, return the basket to the air fryer and cook in 1-minute increments until the correct temperature is reached.
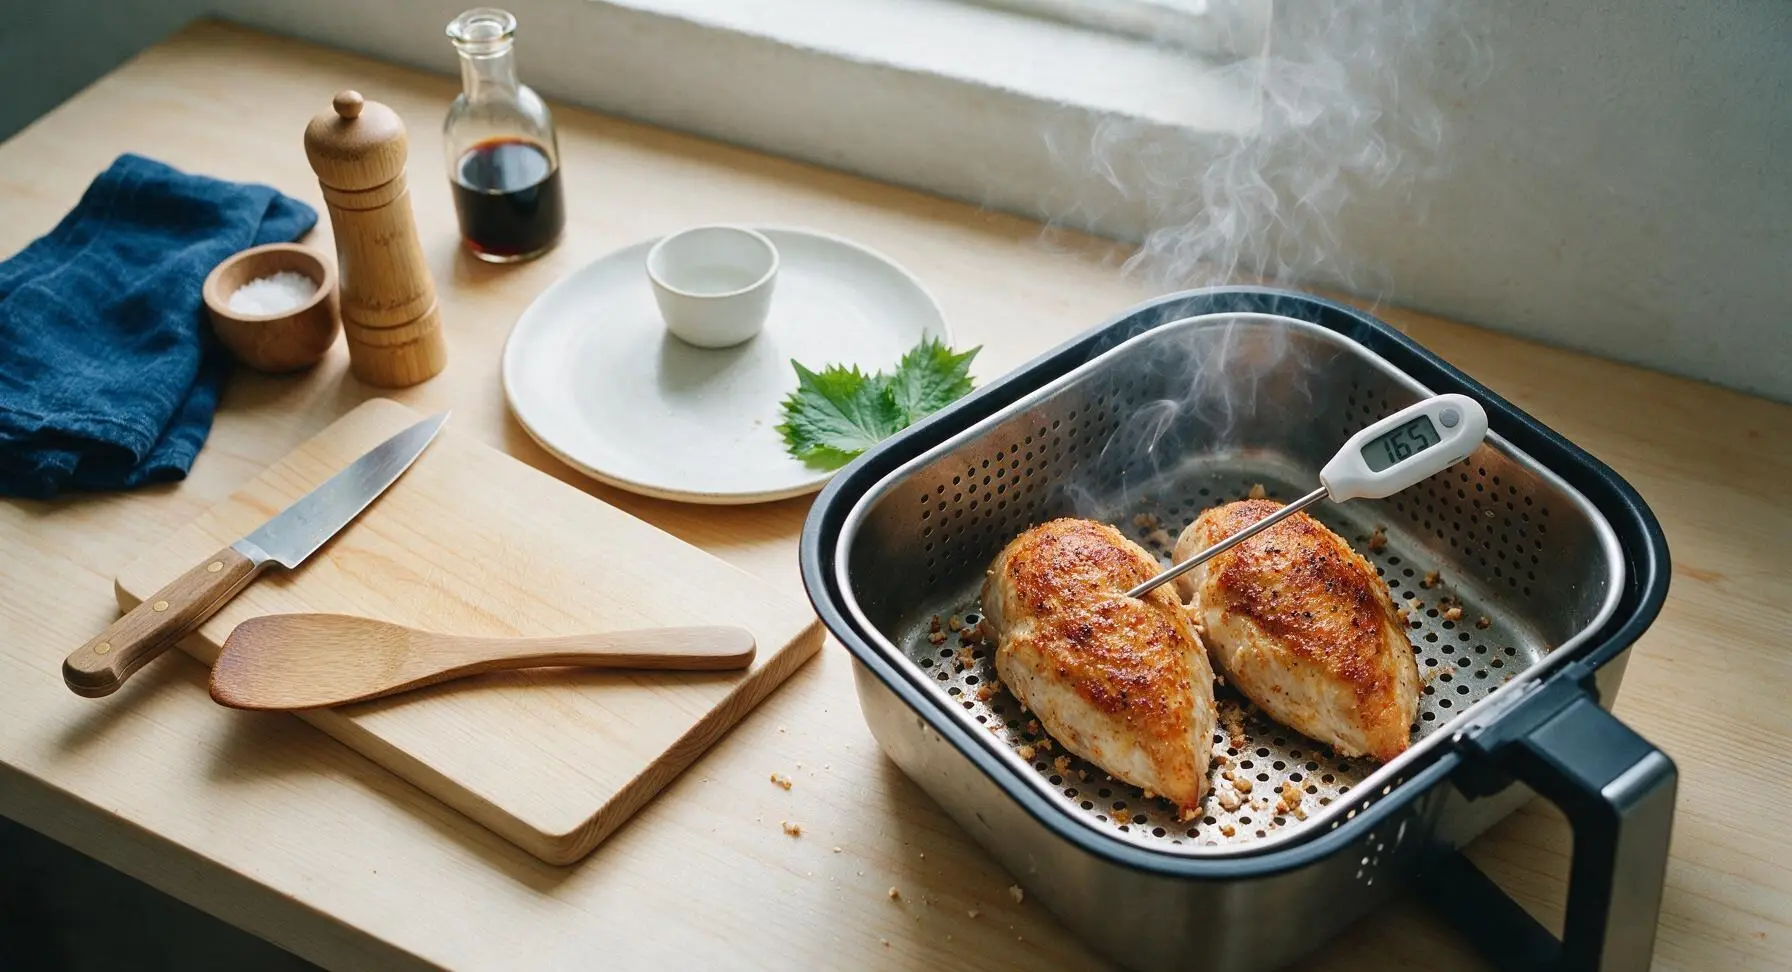
Step 8
step8:Verify Doneness
9

Rest Chicken Breasts

Use the tongs to transfer the cooked chicken breasts from the air fryer basket to the clean center of the light maple cutting board. Loosely tent a small sheet of aluminum foil over the top and let the chicken rest for 5 minutes. Resting allows muscle fibers to relax and reabsorb juices, ensuring moist chicken instead of dry, juice-leaking slices.
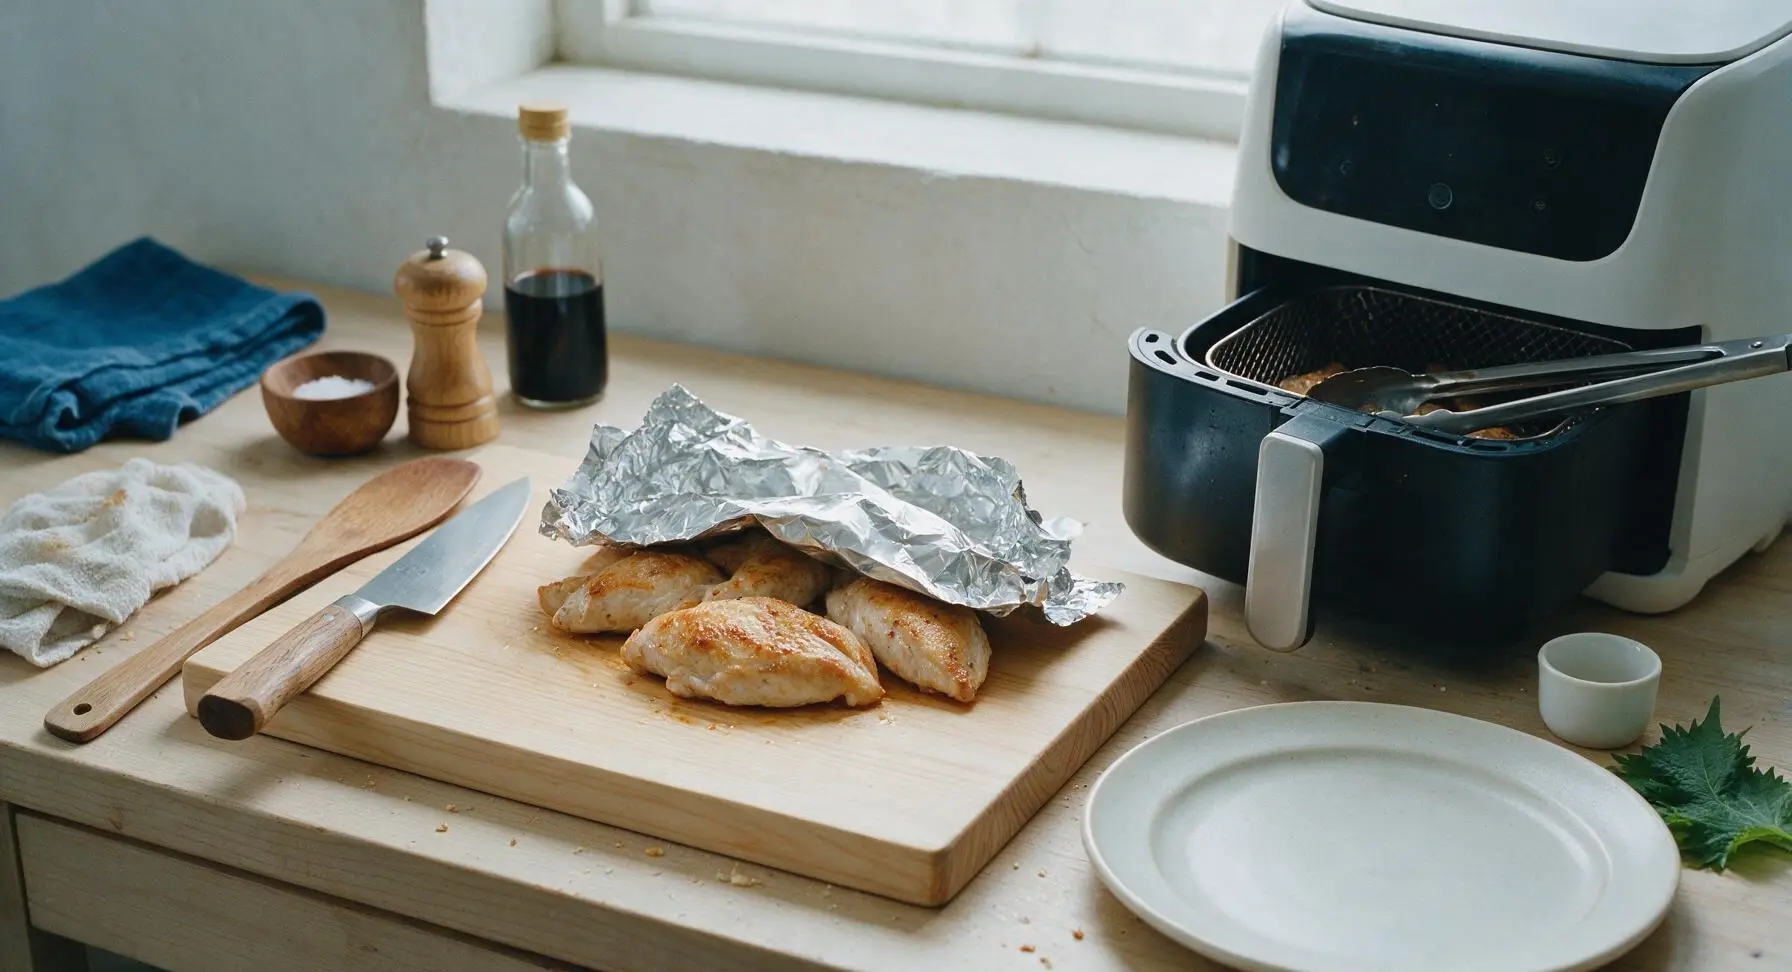
Step 9
step9:Rest Chicken Breasts
10

Slice and Plate

After the 5-minute rest, use the 8-inch chef knife to slice the chicken breasts diagonally into 1cm thick slices. Arrange the sliced chicken in a neat fan on the matte off-white ceramic dinner plate, garnish with 2 tbsp chopped fresh flat-leaf parsley, and serve with lemon wedges on the side.
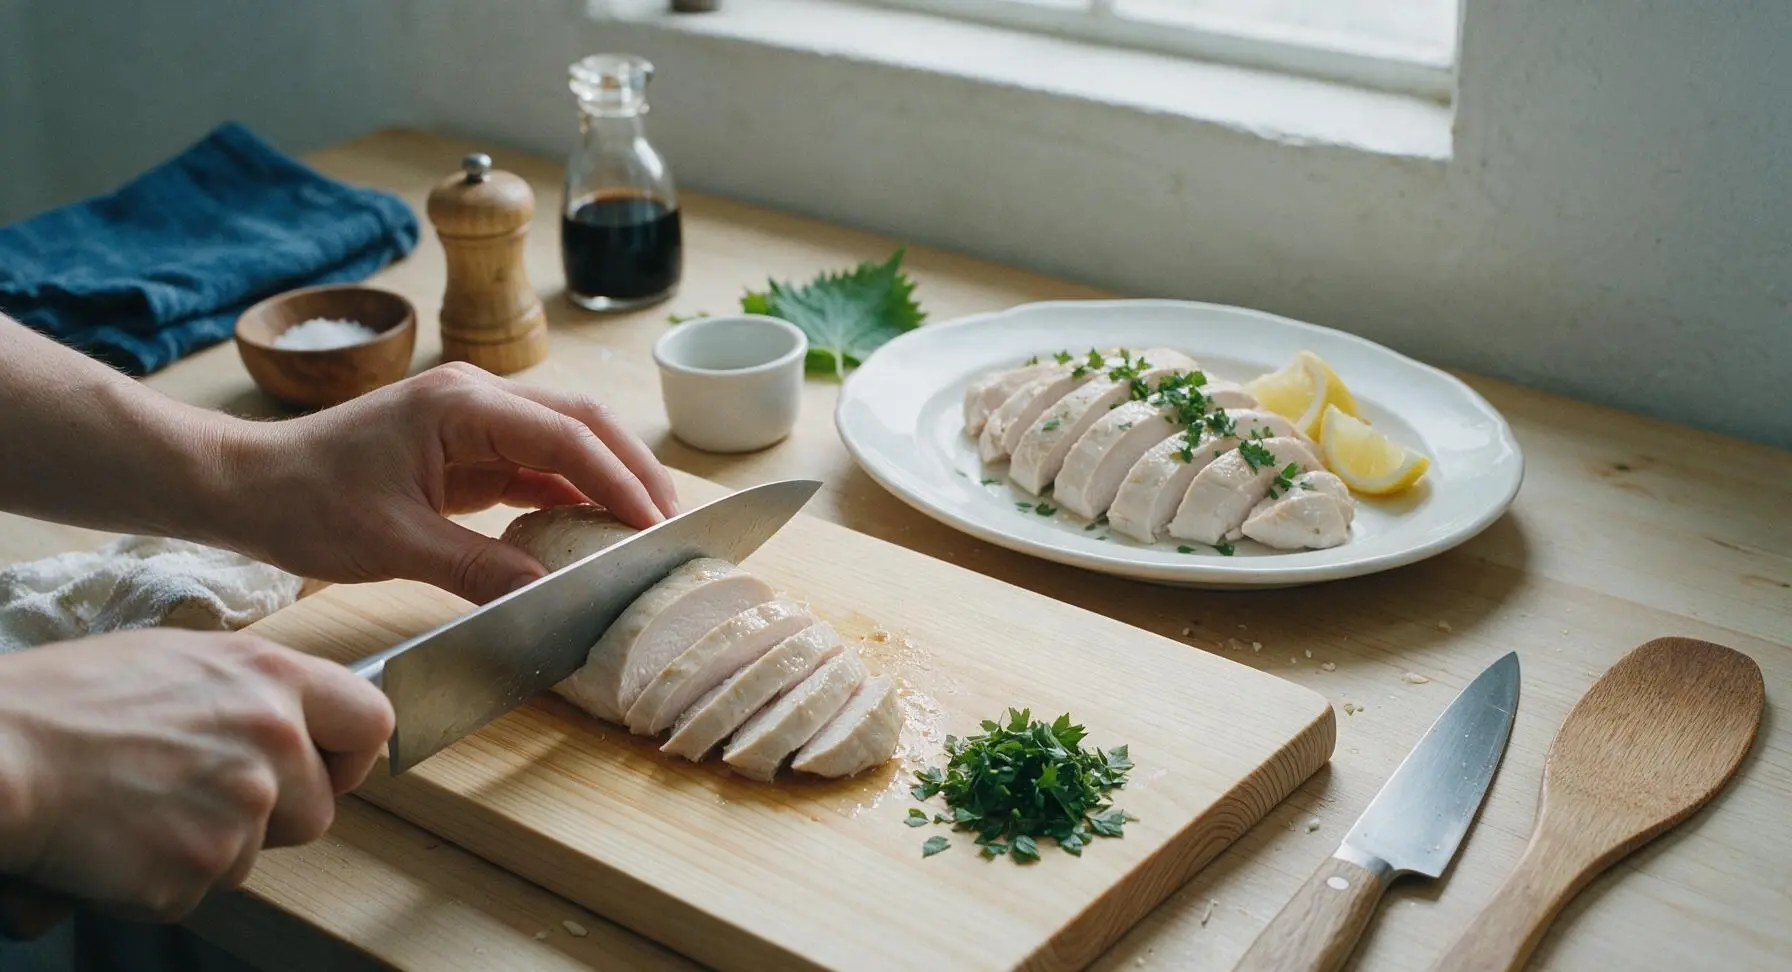
Step 10
step10:Slice and Plate

Tips

1.Always pat chicken completely dry before adding oil and seasoning: any residual surface moisture will create steam in the enclosed air fryer, preventing a crisp, golden exterior and leading to rubbery, bland chicken.
2.Avoid overcrowding the air fryer basket: leave at least ½ inch of open space between each breast to allow rapid hot air circulation; if using a smaller 4-quart air fryer, cook the chicken in two separate batches to avoid undercooked, soggy spots.
3.Never skip the 5-minute rest period after cooking: slicing chicken immediately after removing it from heat causes all the hot, flavorful juice to run out onto the plate, leaving you with dry, tough meat even if you cooked it to the correct internal temperature.


✨ You May Also Like

Main Course
🍜 United Kingdom

A showstopping classic of tender seared beef, savory mushroom duxelles, and crisp prosciutto wrapped in flaky golden puff pastry, baked to juicy perfection.

⏱️ 2 hours 1Main Course ★ 4.7
Main Course
🍜 India

Tender charred marinated chicken simmered in a rich, spiced creamy tomato sauce, this iconic Anglo-Indian curry pairs perfectly with basmati rice or warm naan.

⏱️ 50 minuteMain Course ★ 4.6
Main Course
🍜 Thailand

Classic tangy, sweet, and savory Thai stir-fried rice noodles with shrimp, tofu, and crunchy garnishes, balancing all five core Thai flavor profiles.

⏱️ 30 minuteMain Course ★ 4.5
Main Course
🍜 United Kingdom

Crispy golden beer-battered cod and fluffy double-fried chips, served with tangy tartar sauce and malt vinegar: the timeless, beloved British pub comfort classic.

⏱️ 45 minuteMain Course ★ 4.7
Main Course
🍜 Mexico

Smoky, chile-marinated pork tacos with caramelized pineapple, fresh cilantro, and lime: a beloved classic Mexican street food perfect for casual summer gatherings.

⏱️ 1 hour 45Main Course ★ 4.8
Main Course
🍜 United States

Crunchy Fritos corn chips layered with savory beef chili and melted cheddar, topped with cool, zesty fixings for a beloved, cozy Tex-Mex comfort food.

⏱️ 35 minuteMain Course ★ 4.8

cook chicken breast in air fryer:Frequently Asked Questions

1.How do I keep air fryer chicken breast from turning out dry and tough? ▾
The number one culprit is overcooking! Use an instant-read thermometer to pull breasts when they hit 160°F at the thickest point—carryover cooking will bring them to the food-safe 165°F as they rest. Pound thicker ends to an even 1-inch thickness first, coat lightly with olive oil to lock in moisture, and never overcrowd the basket so hot air circulates evenly.
2.Do I need to preheat my air fryer before cooking chicken breast? ▾
For the crisp, golden seasoned crust this recipe promises, yes—preheat your air fryer to 375°F for 3 to 5 minutes before adding chicken. Preheating kicks off the browning Maillard reaction immediately when the chicken hits the basket, prevents sticking, and cuts down on uneven cooking so you don’t end up with soggy, under-seasoned spots.
3.Can I use frozen chicken breasts for this recipe instead of thawed? ▾
You can, but you’ll need to adjust your cook time and method for food safety and best texture. First, brush frozen breasts with olive oil and seasonings, then cook at 360°F for 20 to 25 minutes, flipping halfway, until the internal temp hits 165°F. Note the crust won’t be as crisp, and texture will be slightly less even than with fully thawed chicken.
4.How long should I cook boneless, skinless chicken breasts in the air fryer? ▾
For evenly pounded 1-inch thick breasts at 375°F, total cook time is 9 to 11 minutes, flipping halfway at the 5-minute mark. Always defer to internal temperature over strict cook times, though: thicker 1.5-inch breasts can take 12 to 14 minutes, and smaller cutlets may finish cooking in as little as 7 minutes.
5.How do I season air fryer chicken breast so it doesn’t taste bland? ▾
Stick to the simple, balanced blend in this recipe for bold, reliable flavor: first coat breasts evenly with extra-virgin olive oil to help seasonings stick, then apply a generous layer of kosher salt, garlic powder, and smoked paprika. Don’t skimp on the salt—it penetrates meat to boost juiciness as much as flavor, rather than just sitting on the crust.
6.Do I have to flip chicken breast while it cooks in the air fryer? ▾
Yes, flip your chicken breasts once halfway through cook time for the most even results. Flipping ensures both sides get equal exposure to circulating hot air, so you get a consistent crisp golden crust on every surface instead of one over-browned side and one pale, soggy side. Use tongs to flip gently so you don’t tear the developing seasoned crust.
7.Why do I need to let chicken rest after air frying, and how long is long enough? ▾
Let cooked chicken breasts rest on a clean plate or cutting board for 5 full minutes before slicing or serving. As the meat rests, hot, redistributed juices lock back into the muscle fibers instead of running out all over your plate when you cut in, which guarantees that juicy, tender bite this recipe is known for. Tent loosely with foil if you want to hold heat.
8.Is this air fryer chicken breast good for weekly meal prep? ▾
Absolutely—this recipe is ideal for weekly meal prep, since it works perfectly in salads, wraps, and grain bowls. Let cooked chicken cool completely, then store in an airtight container in the fridge for up to 4 days. Slice it right before use to keep meat as juicy as possible, and reheat slices gently at 350°F for 2 to 3 minutes if you don’t want it cold.
9.Why is my chicken seasoning powdery instead of forming a nice crisp crust? ▾
Powdery, flaky seasoning almost always traces back to one of two easy fixes: first, make sure you coat the chicken with a thin, even layer of extra-virgin olive oil before applying spices, so seasonings adhere instead of sitting loose on the surface. Second, don’t pile seasonings too thick—stick to a light, even dusting for a crisp, flavorful crust that doesn’t flake off.

Comments (13)

yesterday

Y’all, I made this for my family dinner last night and my 3 kids (who normally turn their noses up at plain chicken) DEVOURED it and said it’s their new favorite. I was shocked how juicy it was with only 14 minutes of cook time? No brining, no weird tricks, super easy even on a busy school night. 10/10 will be adding this to our weekly rotation!

yesterday

Wait did you pound your chicken first? I’ve had issues with uneven thickness leading to dry edges before!

2 hours ago

Great question! I do recommend pounding the thicker end of the breast to an even 1-inch thickness if you have time, it helps everything cook evenly so you don’t get those dry edges! So glad your family loved the recipe :)

3 days ago

Game. Changer. I do meal prep for my whole gym crew every Sunday and chicken breast is always the most boring, dry part of the container. Tried this recipe this week and every single person texted me asking for the recipe. No more sad chalky chicken! The cook time is perfect too, I can throw a batch in while I roast veggies on the side.

2 days ago

That makes me so happy to hear! This recipe is perfect for meal prep because the chicken stays juicy for up to 4 days in the fridge, which is a total win for busy weeks. Thanks for sharing!

5 days ago

OMG, as someone who barely knows how to boil water, this was so easy to pull off in my tiny dorm air fryer! No fancy ingredients, 14 minutes total, and it tasted way better than the sad dining hall chicken. I’ve made it 3 times in the last week already lmao

1 week ago

Brought this to our neighborhood potluck last weekend and people were coming back for thirds! I was worried it would be bland because it’s so simple, but the seasoning blend is perfect, and the air fryer gives it that little crisp edge without drying it out. Only complaint is I should have made double the batch, it was gone in 10 minutes.

5 days ago

Oh I brought this to my office potluck too! Total hit, I didn’t even tell people it was air fryer chicken, they thought I grilled it lmao

3 days ago

That’s the best compliment! I love that the crisp exterior makes people think it’s grilled, no backyard required. Next time definitely make a double batch, I’ve learned that lesson the hard way too 😂

30 minutes ago

Just got my first air fryer last week and this was the first recipe I tried! I was fully expecting to mess it up, but 14 minutes exactly like the guide said and it was perfect. Juicy, flavorful, no burnt bits. Who knew chicken breast could be this good without slathering it in sauce?

5 minutes ago

Welcome to the air fryer club! This was my go-to recipe when I first got mine too, it’s basically foolproof. Once you nail this try adding a little paprika or parmesan to the seasoning mix for a fun twist!

2 days ago

So happy I found this recipe! I’ve been looking for easy, gluten free weeknight dinners that don’t require a million ingredients, and this checks every box. It’s juicy, the seasoning is flavorful without being overpowering, and I can pair it with literally any side I have in the fridge. 14 minutes from fridge to plate is exactly what I need on nights I get home late from work.

yesterday

So glad this works for your dietary needs! You’re so right, it’s the most versatile protein—pair it with salads, roasted veggies, rice, even slice it up for sandwiches, it works for everything. Thanks for leaving a review!

2 weeks ago

Quick, easy, no mess? Sign me up. I don’t have time to do a bunch of dishes after work, and the air fryer basket cleans up in 2 minutes flat. The chicken came out juicy every single time I’ve made it, which is 4 times and counting. Zero complaints from me or the teenager in my house, which is basically a miracle.

5 minutes ago

Wait, mine came out a little dry when I followed the cook time exactly? Maybe my air fryer runs hot? Flavor was good though, just not as juicy as the photos made it look. I’ll probably knock a minute or two off the cook time next time I try it.

just now

Oh I had the same issue at first! Turns out I was using super thick chicken breasts, like almost 2 inches thick. Once I pounded them down a little and checked the temp at 12 minutes it was perfect!

just now

Sorry to hear it came out a little dry! Air fryer models do vary in temperature, so checking the internal temp (165°F at the thickest part) is always a good call. Also, making sure your chicken isn’t stacked in the basket helps too—give each piece a little space for air flow! Hope your next batch turns out perfectly juicy.

just now

This is my new go-to post-workout protein! I used to hate making chicken breast because it always took forever and came out dry, but 14 minutes in the air fryer? No brainer. I season it a little extra with garlic powder and red pepper flakes and it’s chef’s kiss. High protein, low effort, exactly what I need after a long run.

just now

Oh the red pepper flakes addition sounds amazing! I’ve been sticking to the basic seasoning but I’m definitely adding that when I make this tomorrow. Thanks for the tip!

1 week ago

I was skeptical that air fryer chicken could be as juicy as my cast iron skillet version, but color me impressed! The outside has that perfect little crisp, the inside is tender and juicy and SO good, and I don’t have to heat up my whole kitchen with the oven in this summer heat. This recipe is a keeper for sure.

2 days ago

Made this for a date night last night and my partner thought I spent way more time on dinner than I actually did! The chicken looked and tasted like something from a nice restaurant, but it was so easy to throw together while we had a glass of wine. We paired it with roasted broccoli and mashed potatoes, total hit. 10/10, will be making this for future date nights too.

yesterday

Love that! There’s nothing better than a meal that looks fancy but takes almost no effort, perfect for date nights when you don’t want to be stuck in the kitchen the whole time. Sounds like you put together the perfect spread!

3 days ago

I sliced up the leftover chicken and put it on a salad for lunch today and it was still just as juicy as it was last night! Usually leftover chicken gets that weird dry, rubbery texture after being in the fridge, but this held up perfectly. I’ll be making a double batch every week just for quick salads and wraps now.

2 hours ago

Y’all I’m 22 and just moved into my first apartment, this is the first thing I’ve ever cooked that didn’t come out burnt or totally inedible. The directions are so clear, it’s impossible to mess up! My roommate even asked if I ordered takeout lmao. So stoked to have this in my back pocket for easy dinners now.

30 minutes ago

Welcome to cooking! This is such a great starter recipe, once you get comfortable with it you can play around with different seasonings and sauces, it’s super versatile. Congrats on the first successful dinner!

5 minutes ago

That’s the best news I’ve heard all day! There’s no better feeling than nailing your first home cooked meal, especially when it impresses the roommate. Can’t wait to hear what other recipes you try as you get more comfortable in the kitchen!



