
cook raw chicken in air fryer
intro
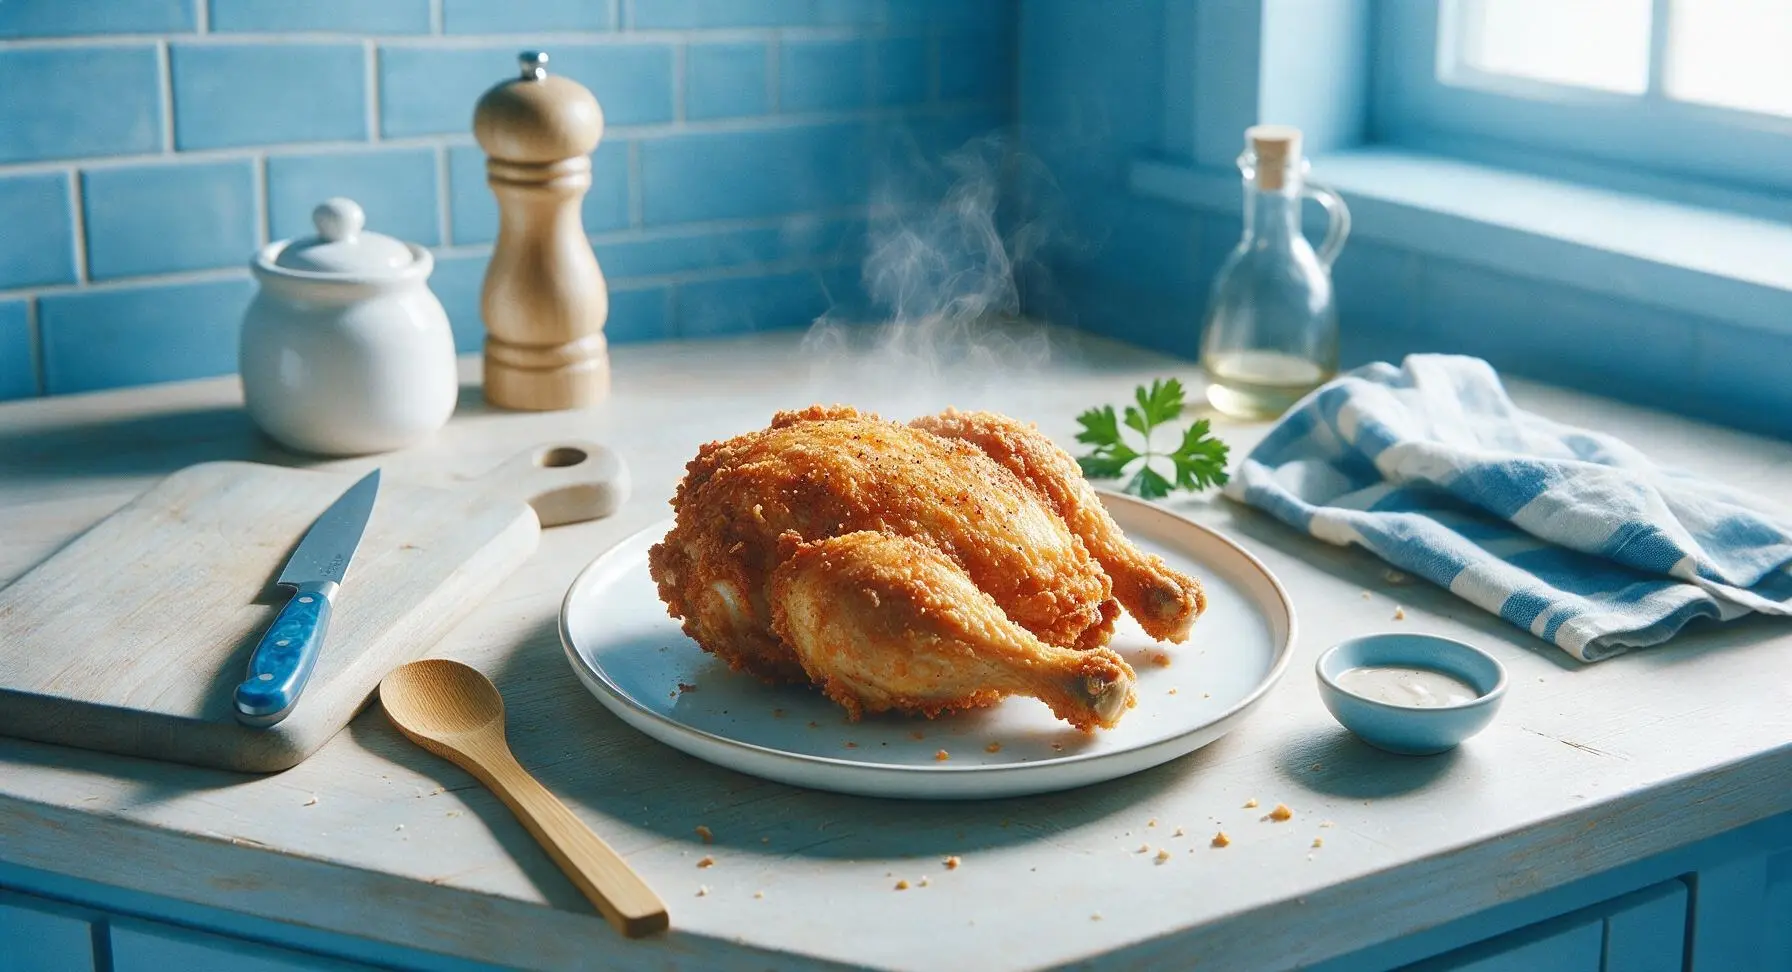
Shatteringly crisp golden skin, juicy tender meat, and zero deep-fry mess—this simple air fryer chicken cooks in 22 minutes for a satisfying, no-fuss weeknight main.
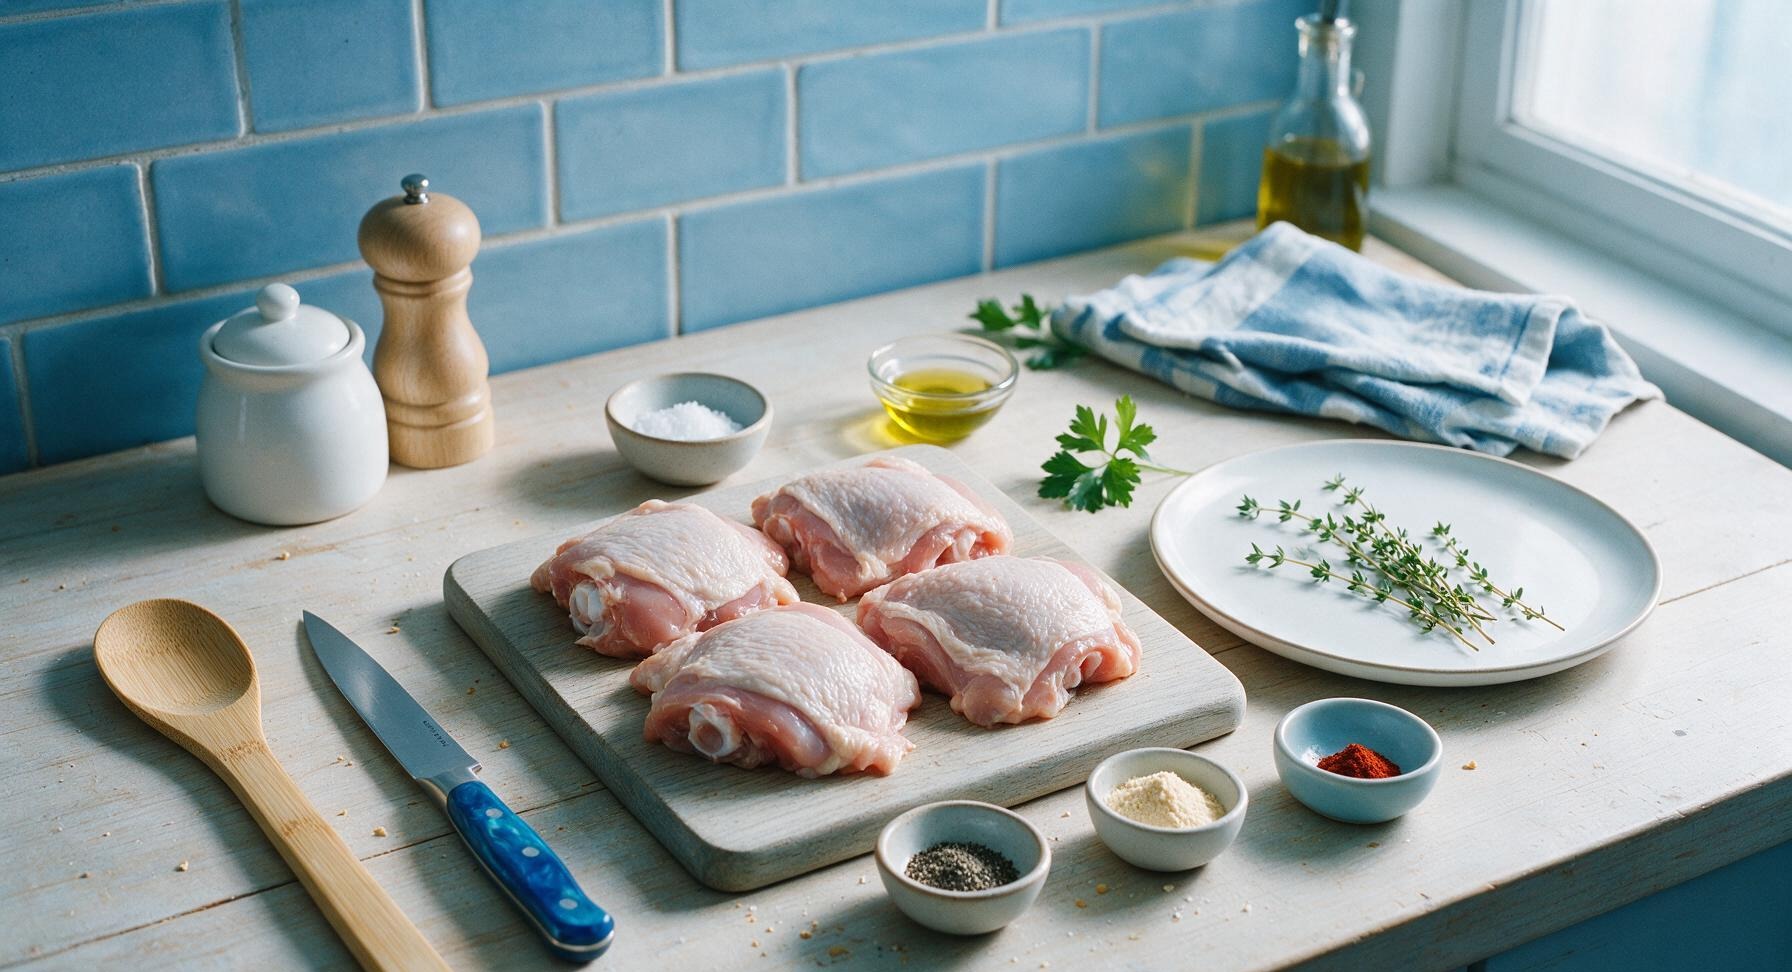
Ingredients
Steps
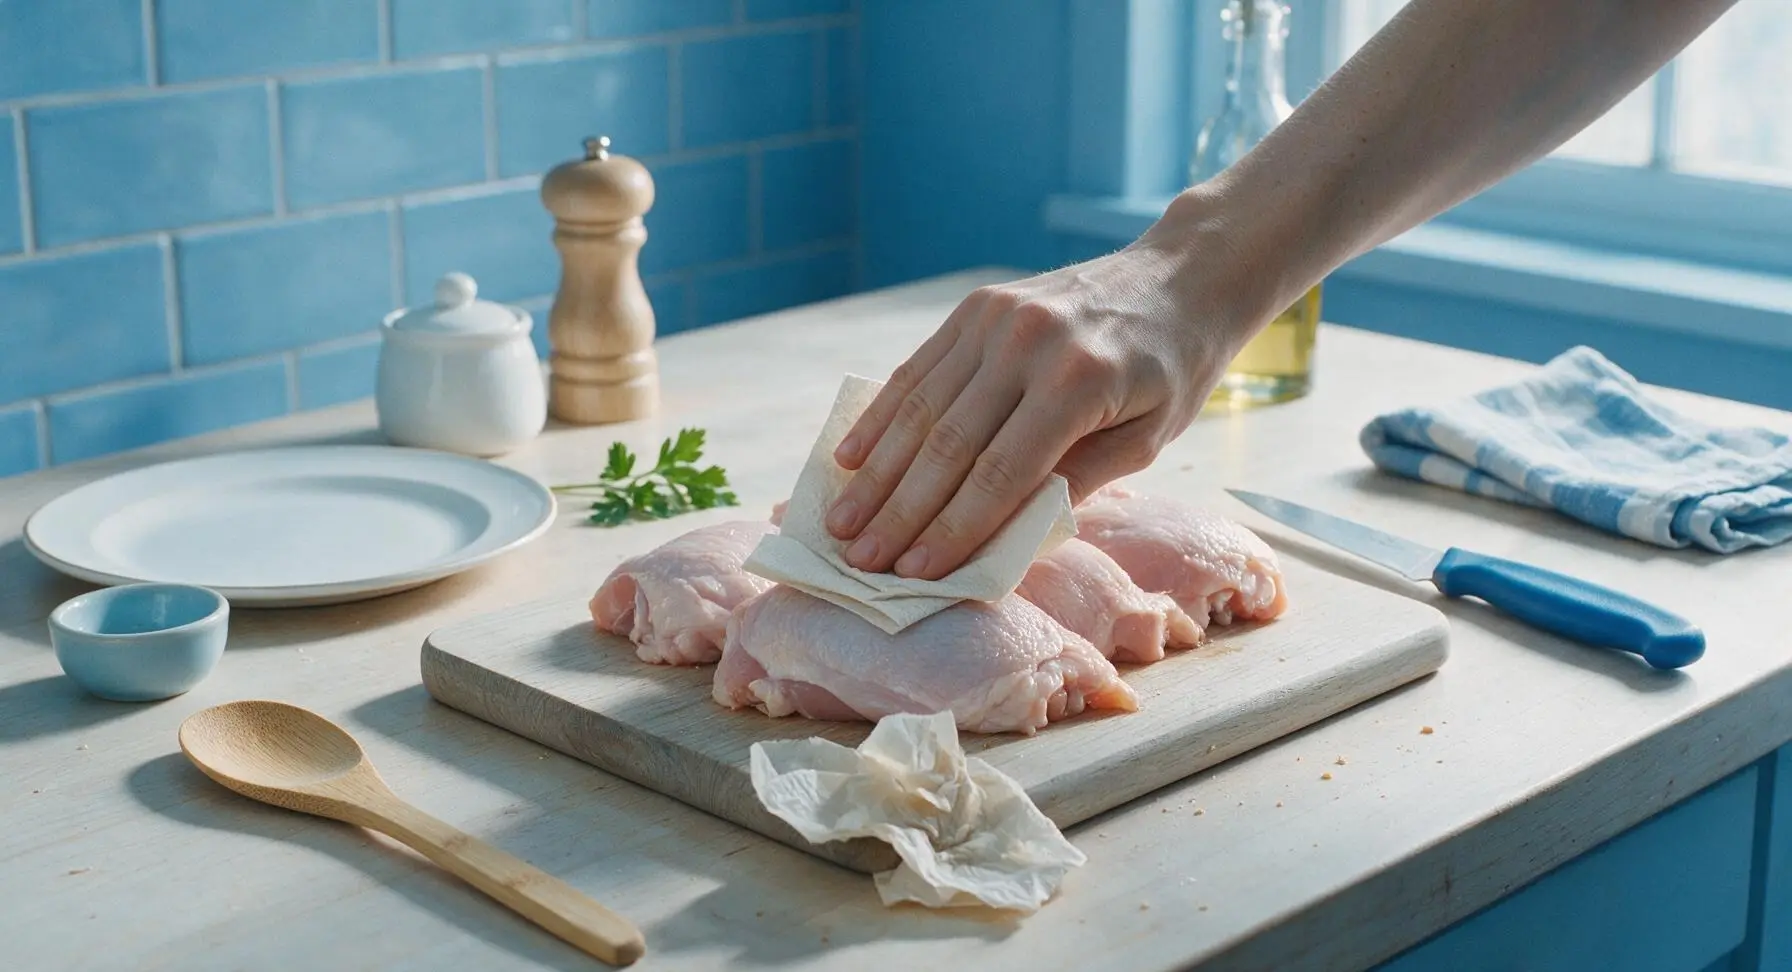
Pat Chicken Dry
Remove chicken thighs from packaging, discard packaging, and place the thighs on the light maple cutting board. Tear 2 sheets of unbleached paper towel from the roll at back left, and firmly pat every surface of the chicken—especially the skin side—until completely dry to the touch. Discard used paper towels in a nearby bin. Dry skin is the most critical factor for achieving crispy, non-rubbery air fryer chicken skin.
Mix Seasoning Blend
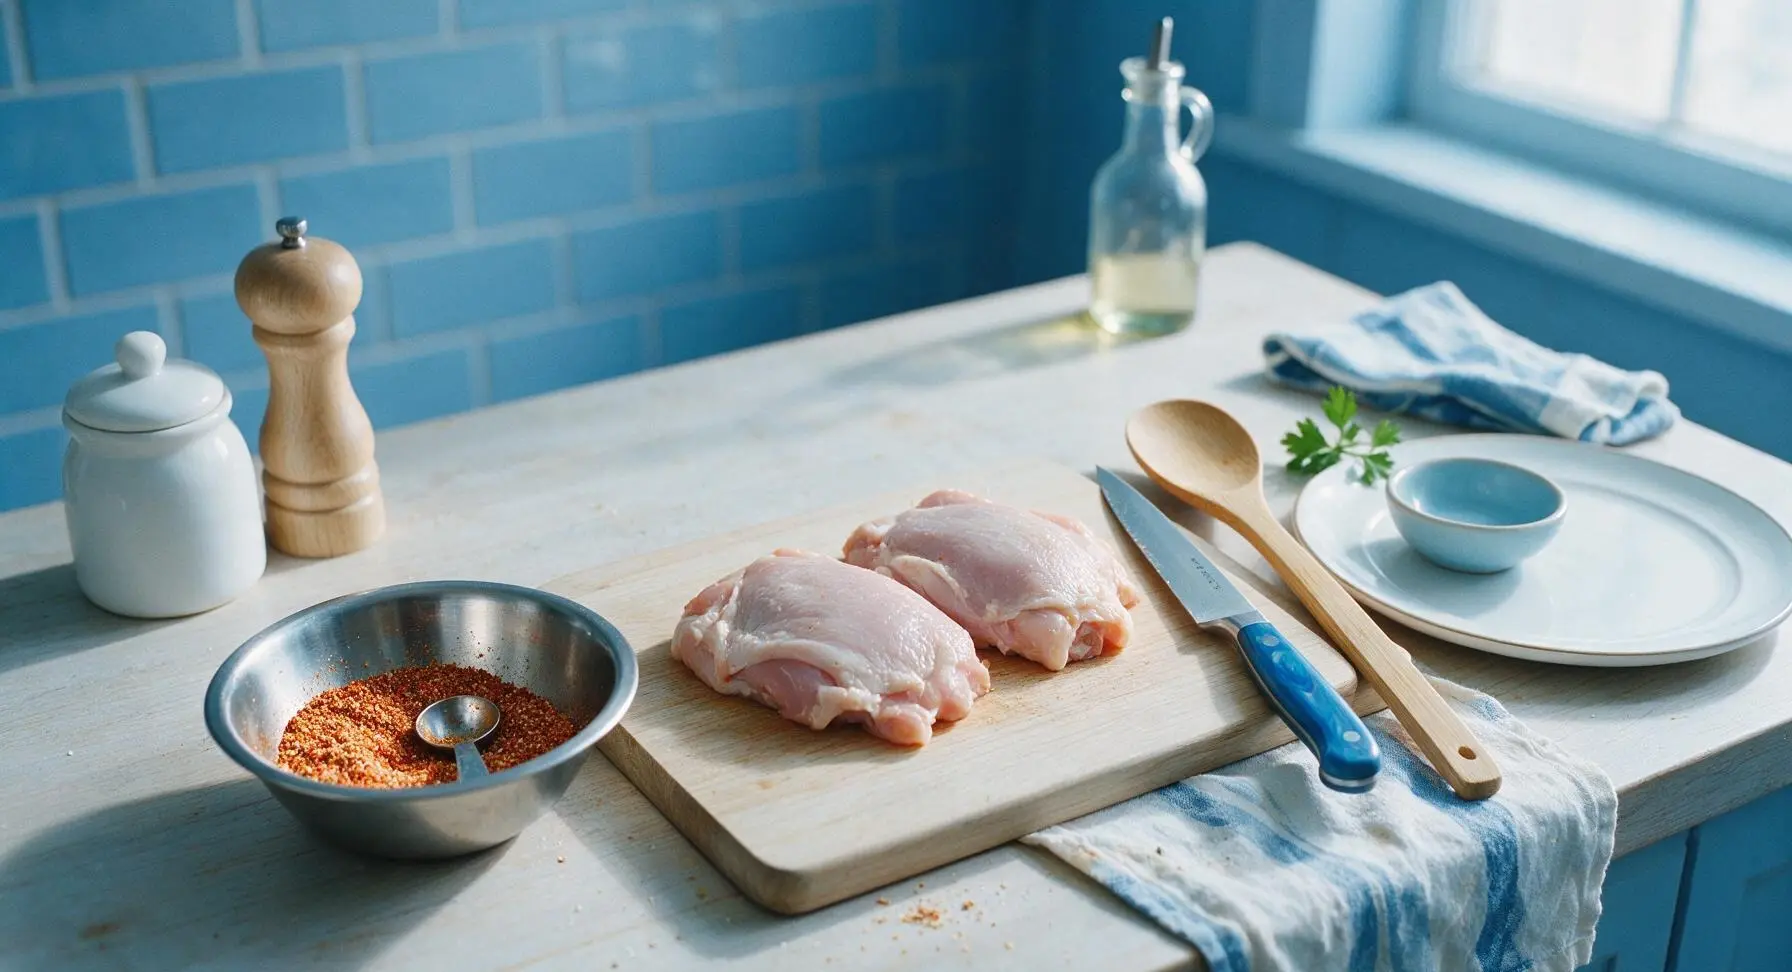
In the small stainless steel mixing bowl positioned left of the cutting board, combine 1 teaspoon kosher salt, 1/2 teaspoon freshly ground black pepper, 1/2 teaspoon garlic powder, and 1/4 teaspoon smoked paprika. Stir with the smallest stainless steel measuring spoon until spices are evenly mixed, with no dark clumps of paprika remaining in the light reddish-tan blend.
Coat with Thin Oil Layer
Drizzle 1 teaspoon of olive oil poured from the glass bottle at back center evenly over all sides of the chicken thighs. Use clean hands to rub the oil into the skin and meat, creating a thin, even coating. Wipe away any oil drips on the cutting board—there should be no pools of oil on the chicken or board, as excess oil will cause smoking in the air fryer.
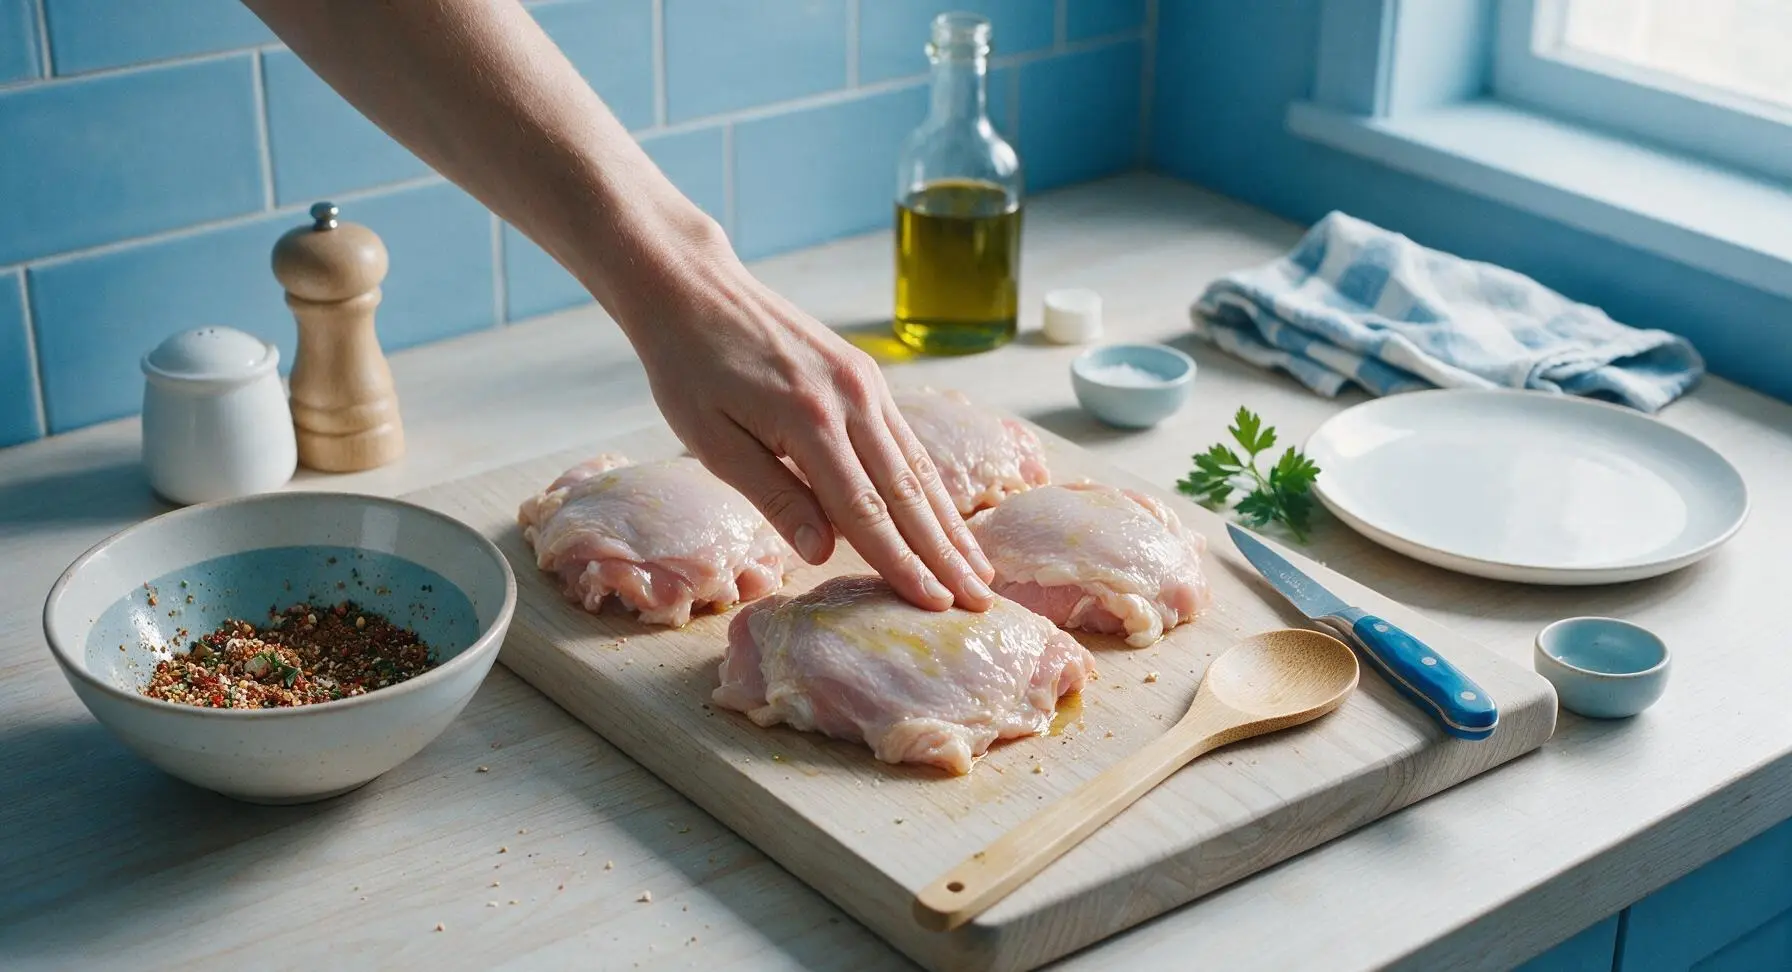
Season All Sides Evenly
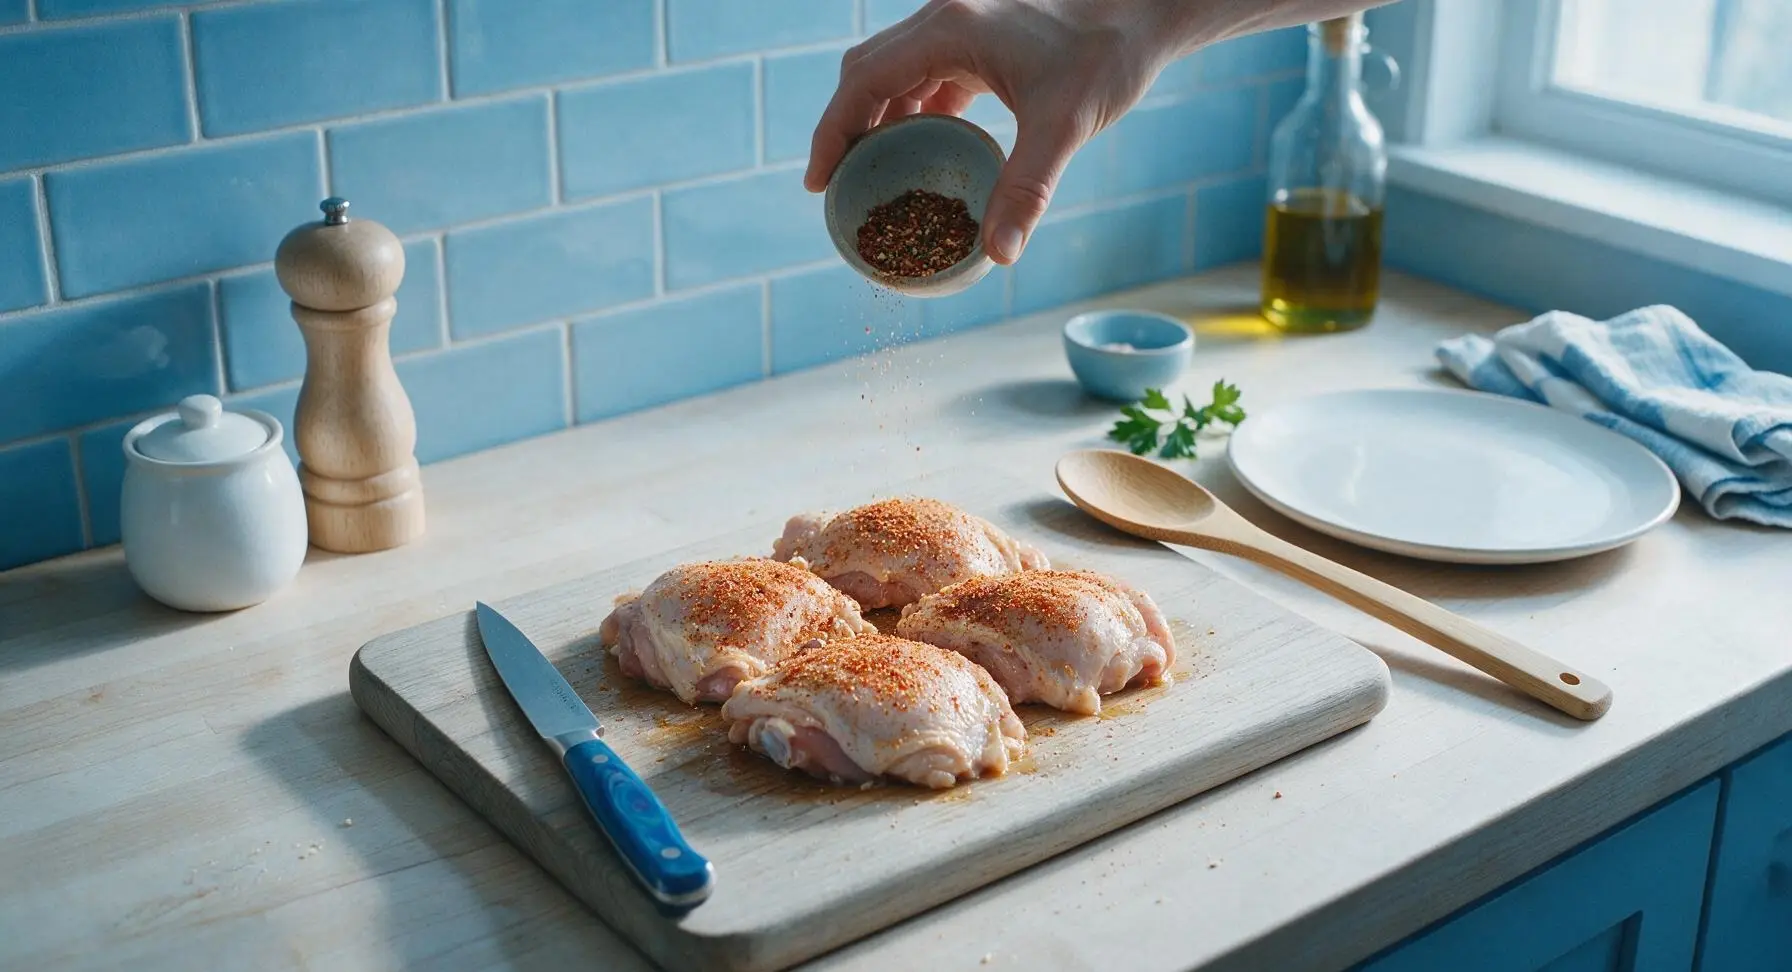
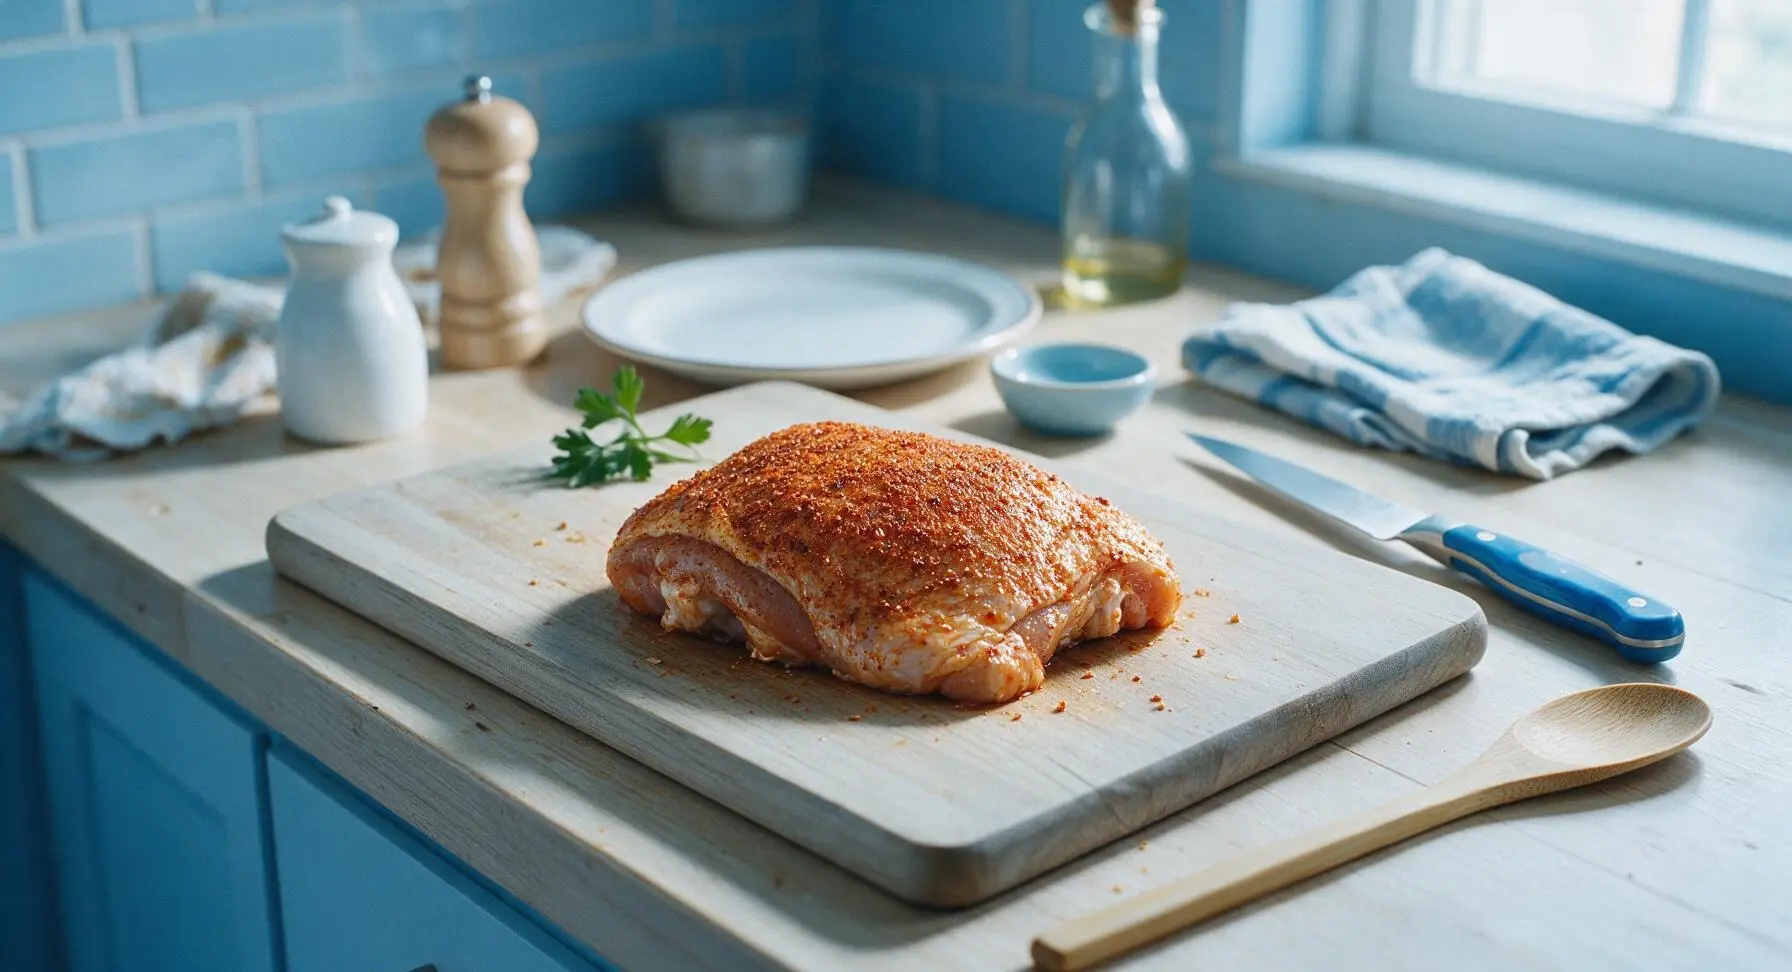
Sprinkle the mixed spice blend over every surface of the oiled chicken thighs, applying roughly 3/4 of the blend to the skin side for maximum flavor. Gently press the spices into the skin and meat so they adhere, rather than falling off when the chicken is transferred. The skin should have a light, even dusting of reddish-tan spice, with no large bare patches.
Preheat Air Fryer
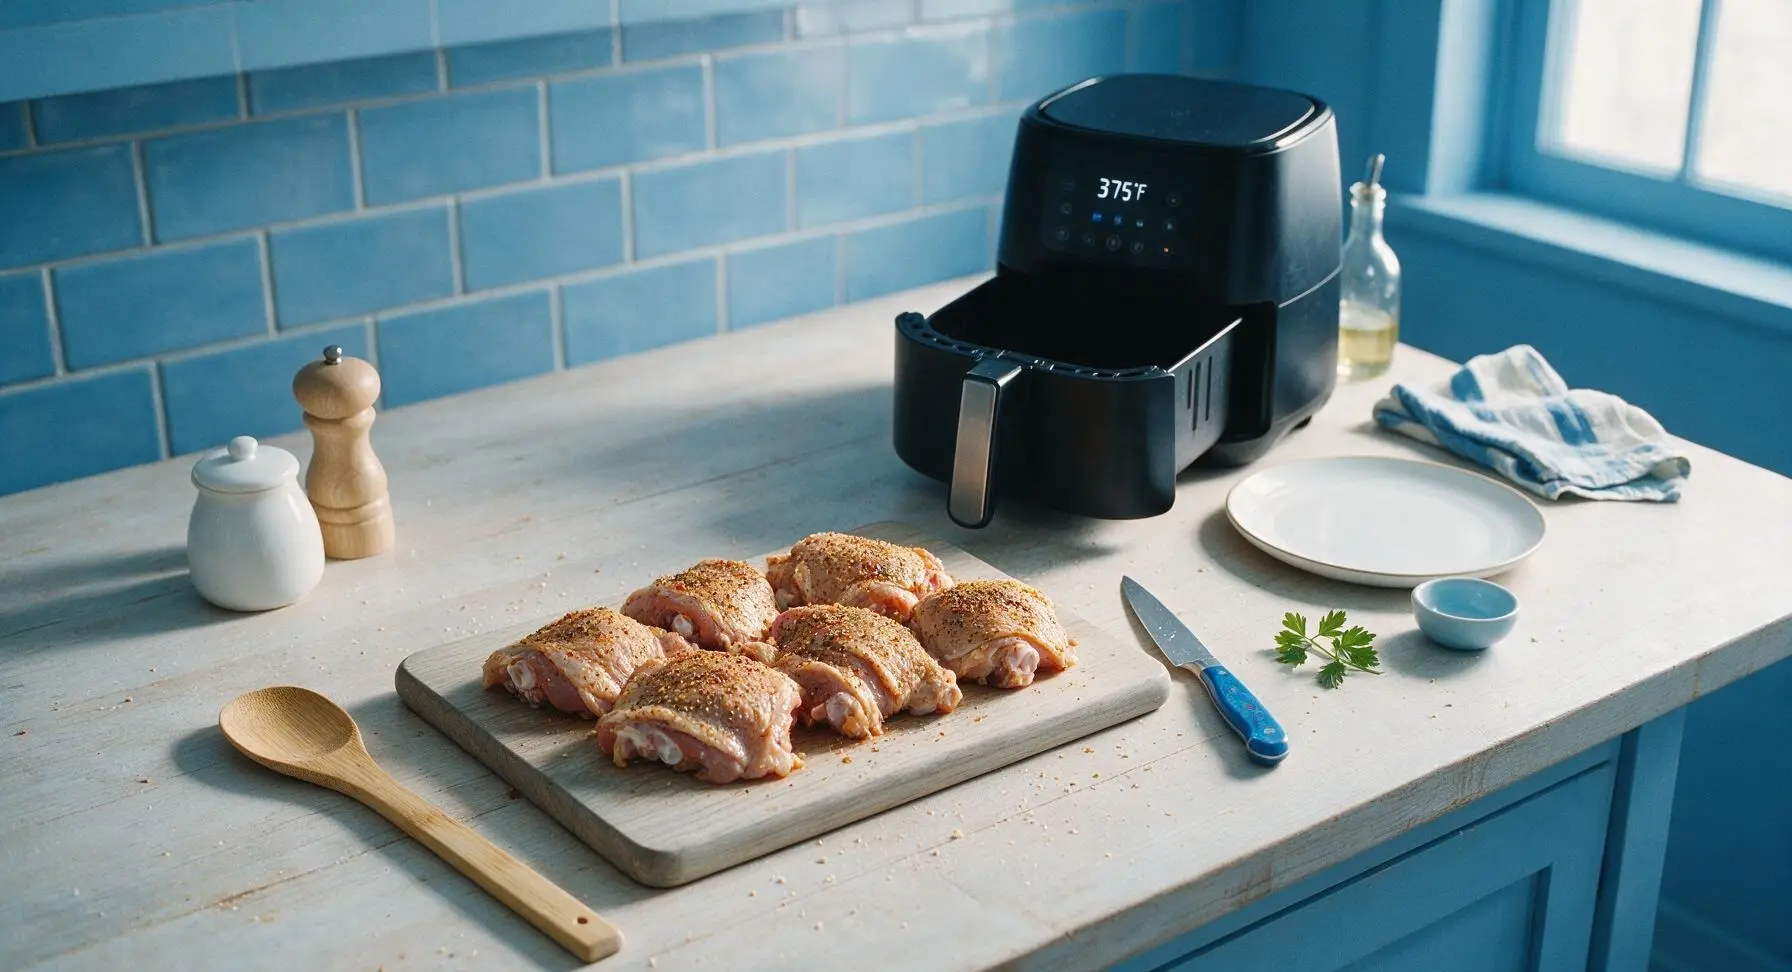
Slide the basket out of the matte black air fryer at back right, close the unit, and preheat to 375°F (190°C) for 3 minutes. Preheating ensures the chicken skin hits a hot basket surface immediately, which prevents sticking and jumpstarts the skin crisping process.
Arrange Chicken in Basket
Use the stainless steel silicone-tipped tongs to place the seasoned chicken thighs in the preheated air fryer basket, skin-side up. Leave 1cm of open space between each thigh to allow hot air circulation—do not stack the chicken, as this will cause steaming instead of crisping. Pluck 2 thyme sprigs from the fixed bunch next to the pepper grinder, and tuck them into the basket around the chicken for subtle, earthy aroma.
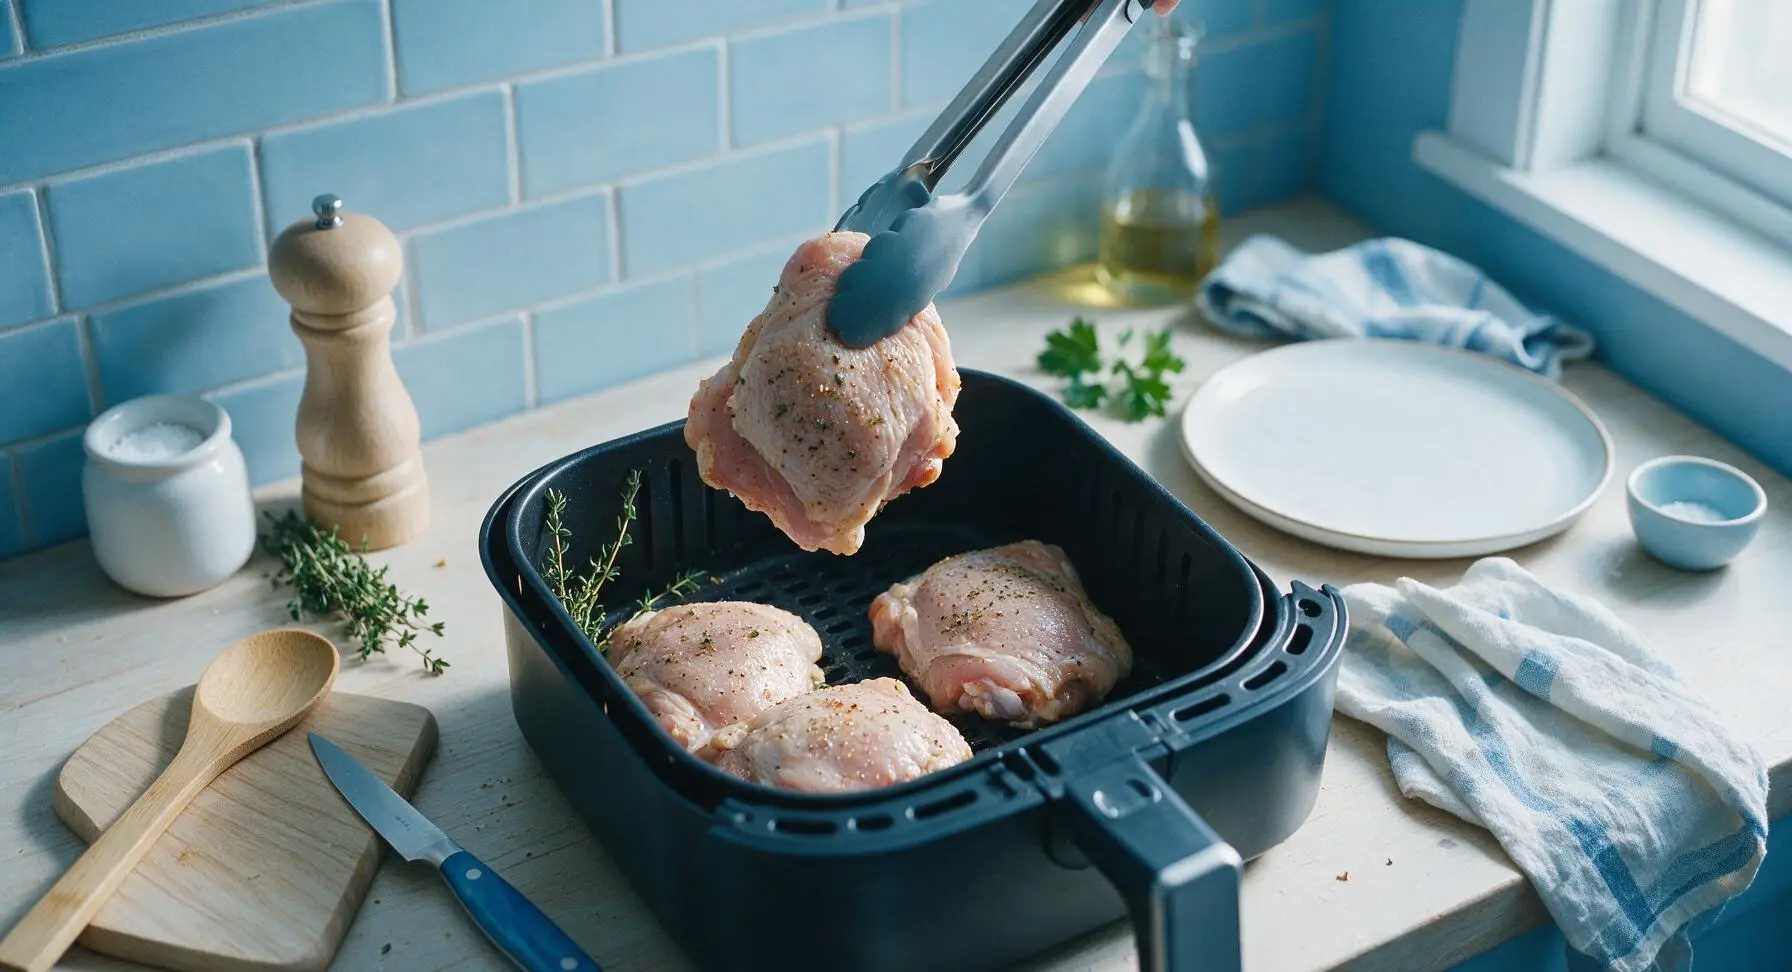
Cook Chicken Undisturbed
Slide the basket back into the air fryer, and cook at 375°F (190°C) for 12 minutes. Do not open the air fryer during this cooking window, as dropping the internal temperature will slow skin crisping and increase total cook time. The skin will begin to render fat and turn pale golden during this period.
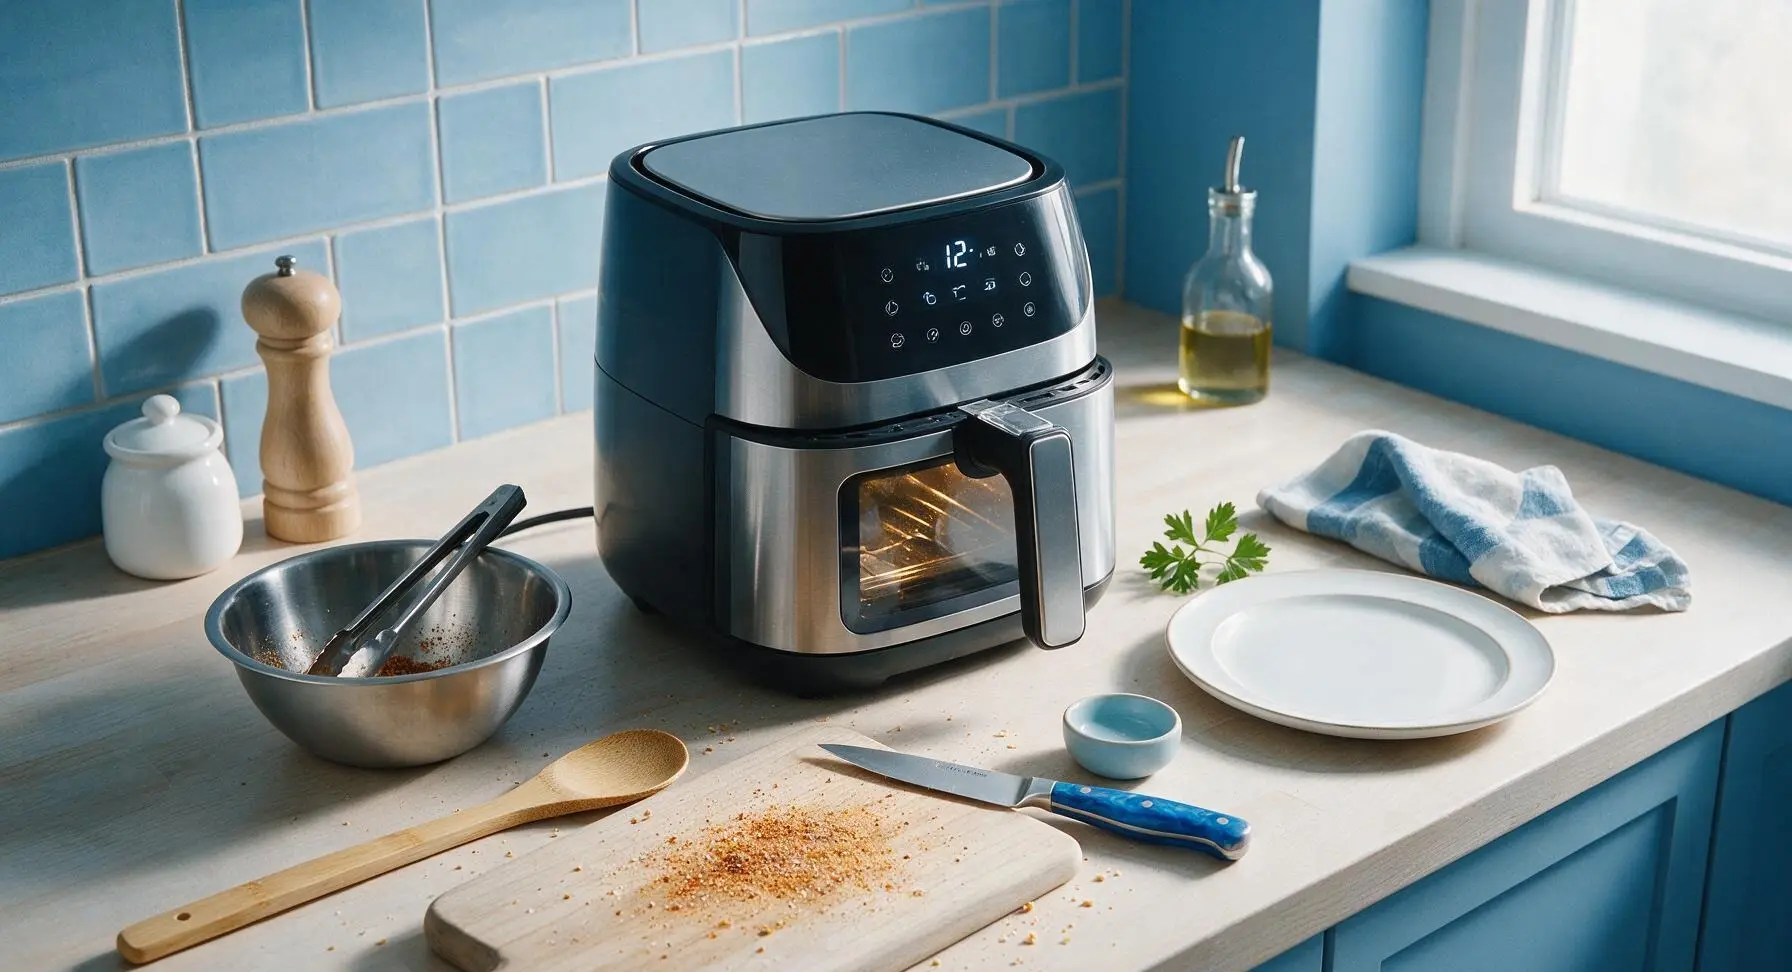
Flip Chicken Thighs
When the 12-minute timer goes off, pull the air fryer basket out carefully (it will be hot). Use the silicone-tipped tongs to flip each chicken thigh so the skin side is now facing down against the basket. The partially cooked skin will be light golden, with a small amount of rendered clear fat pooling in the bottom of the basket.
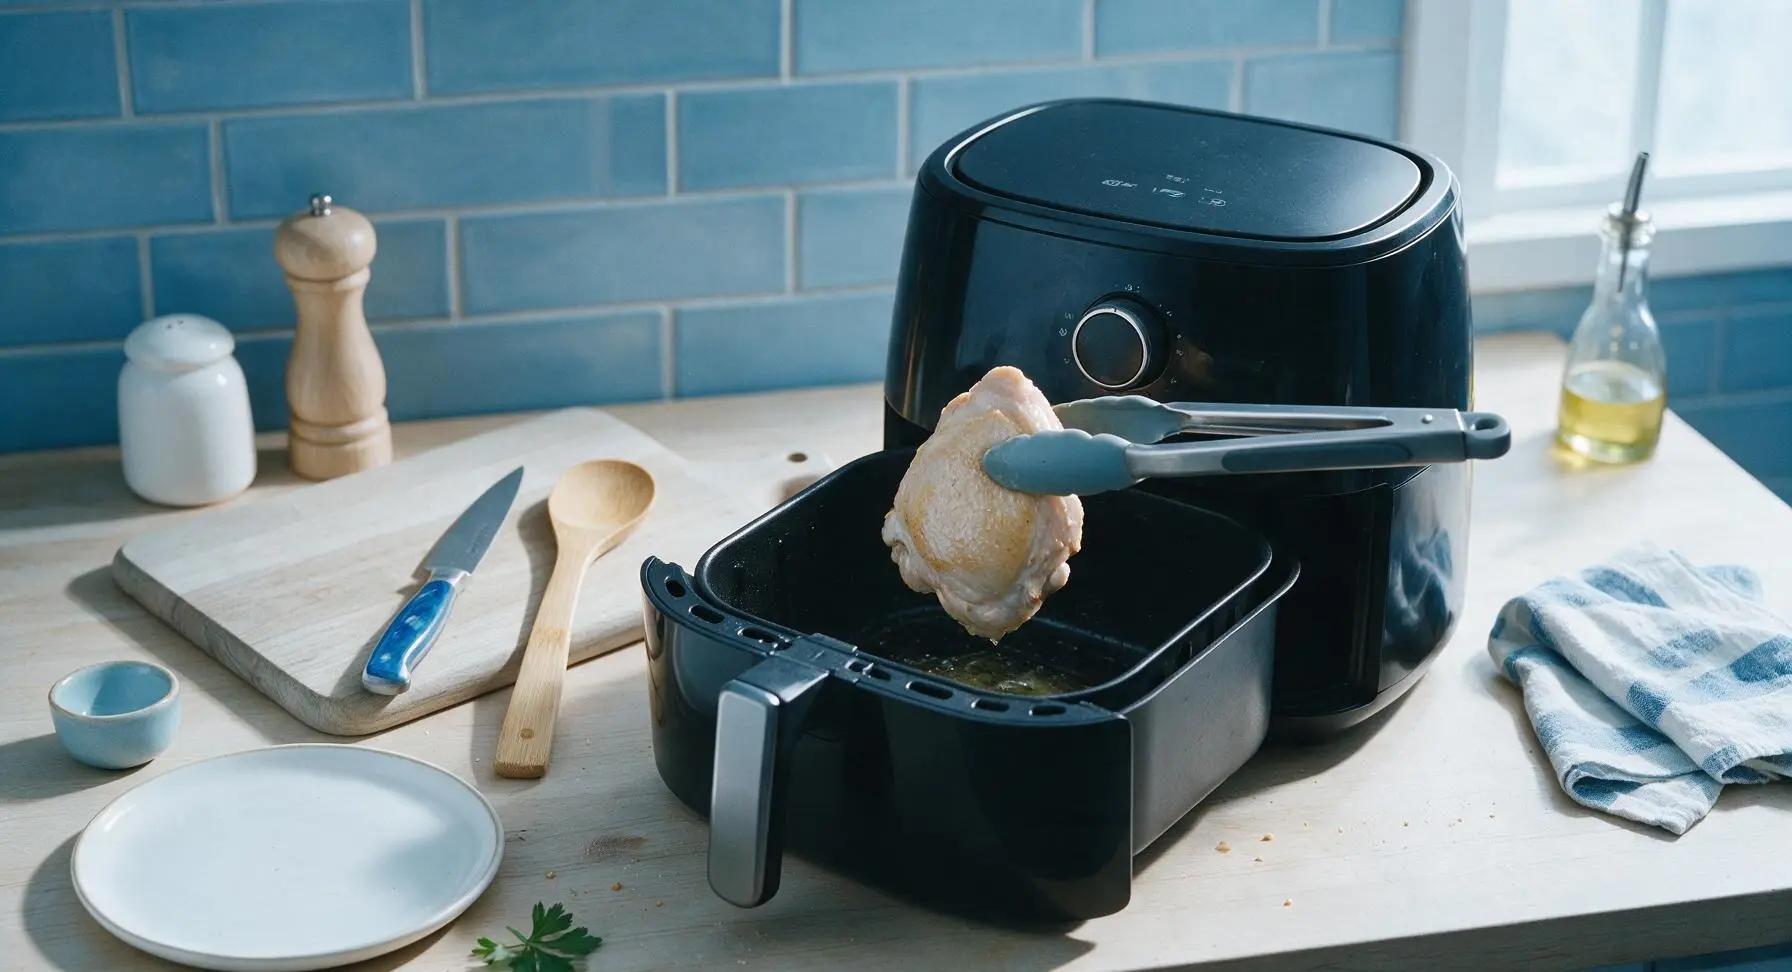
Finish Cooking Through
Return the basket to the air fryer, and cook for an additional 10 minutes at 375°F (190°C). For food safety, confirm the chicken reaches an internal temperature of 165°F (74°C) at the thickest part, not touching bone. When fully cooked, the skin will be deep golden and crispy, with clear (not pink) juices running when the meat is pierced. Total cook time is 22 minutes.
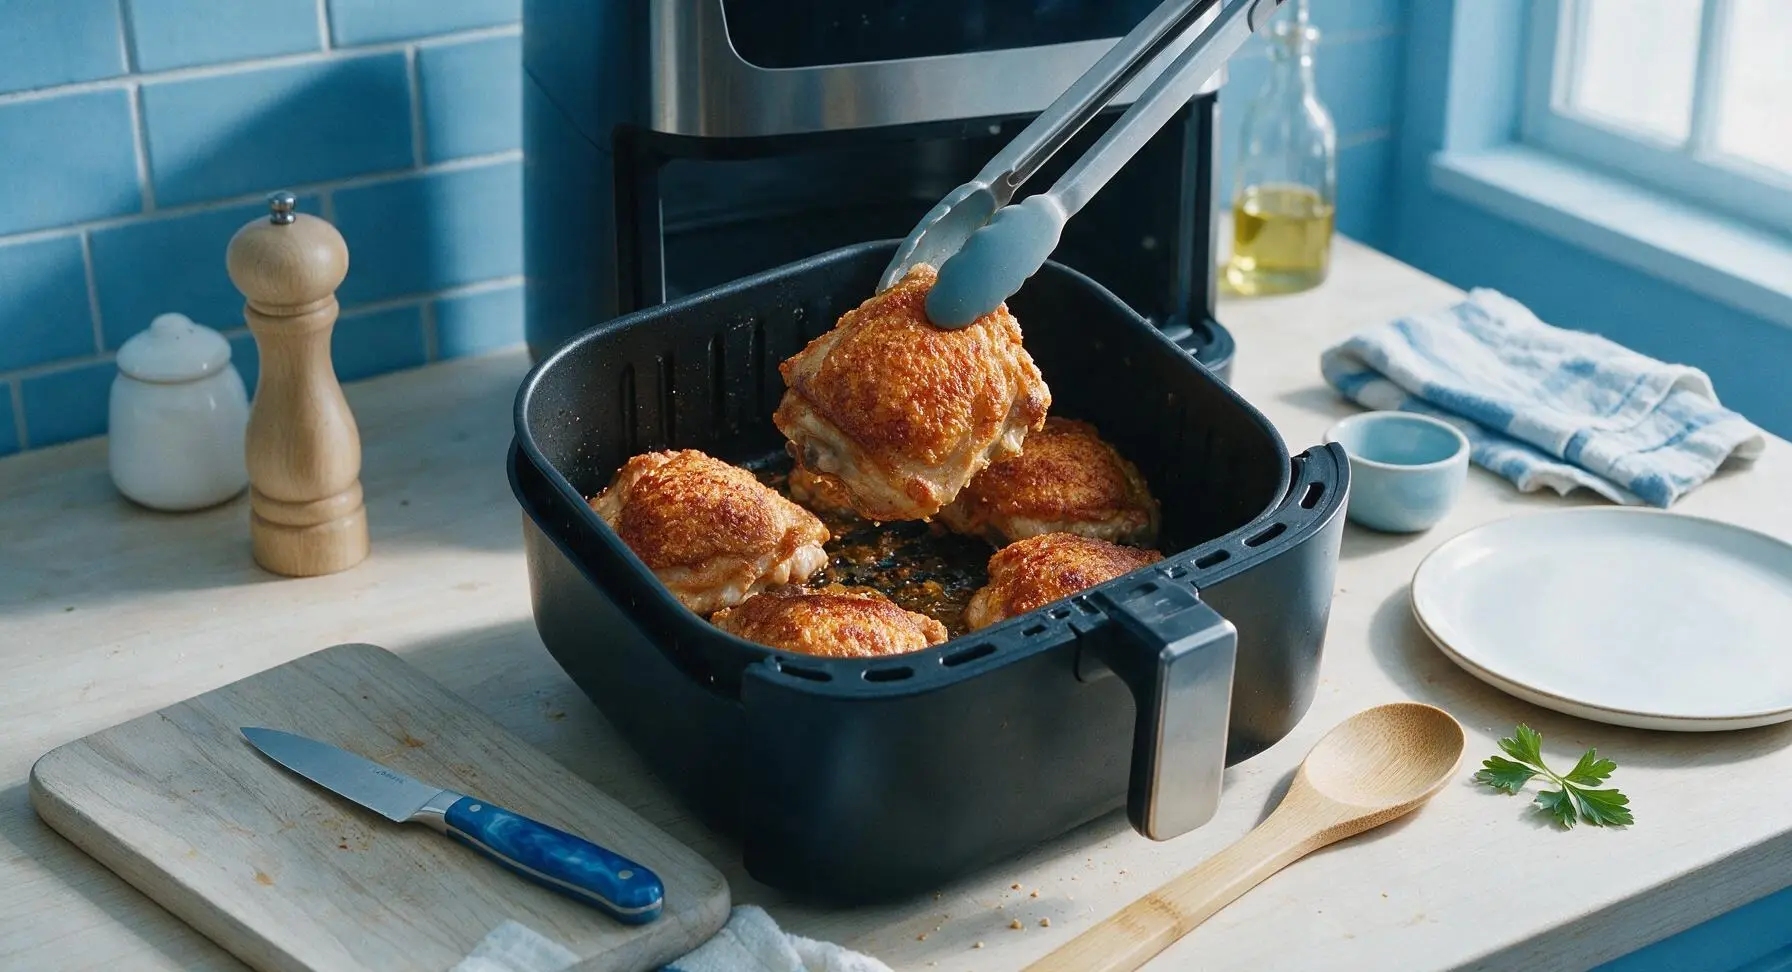
Rest Chicken Briefly
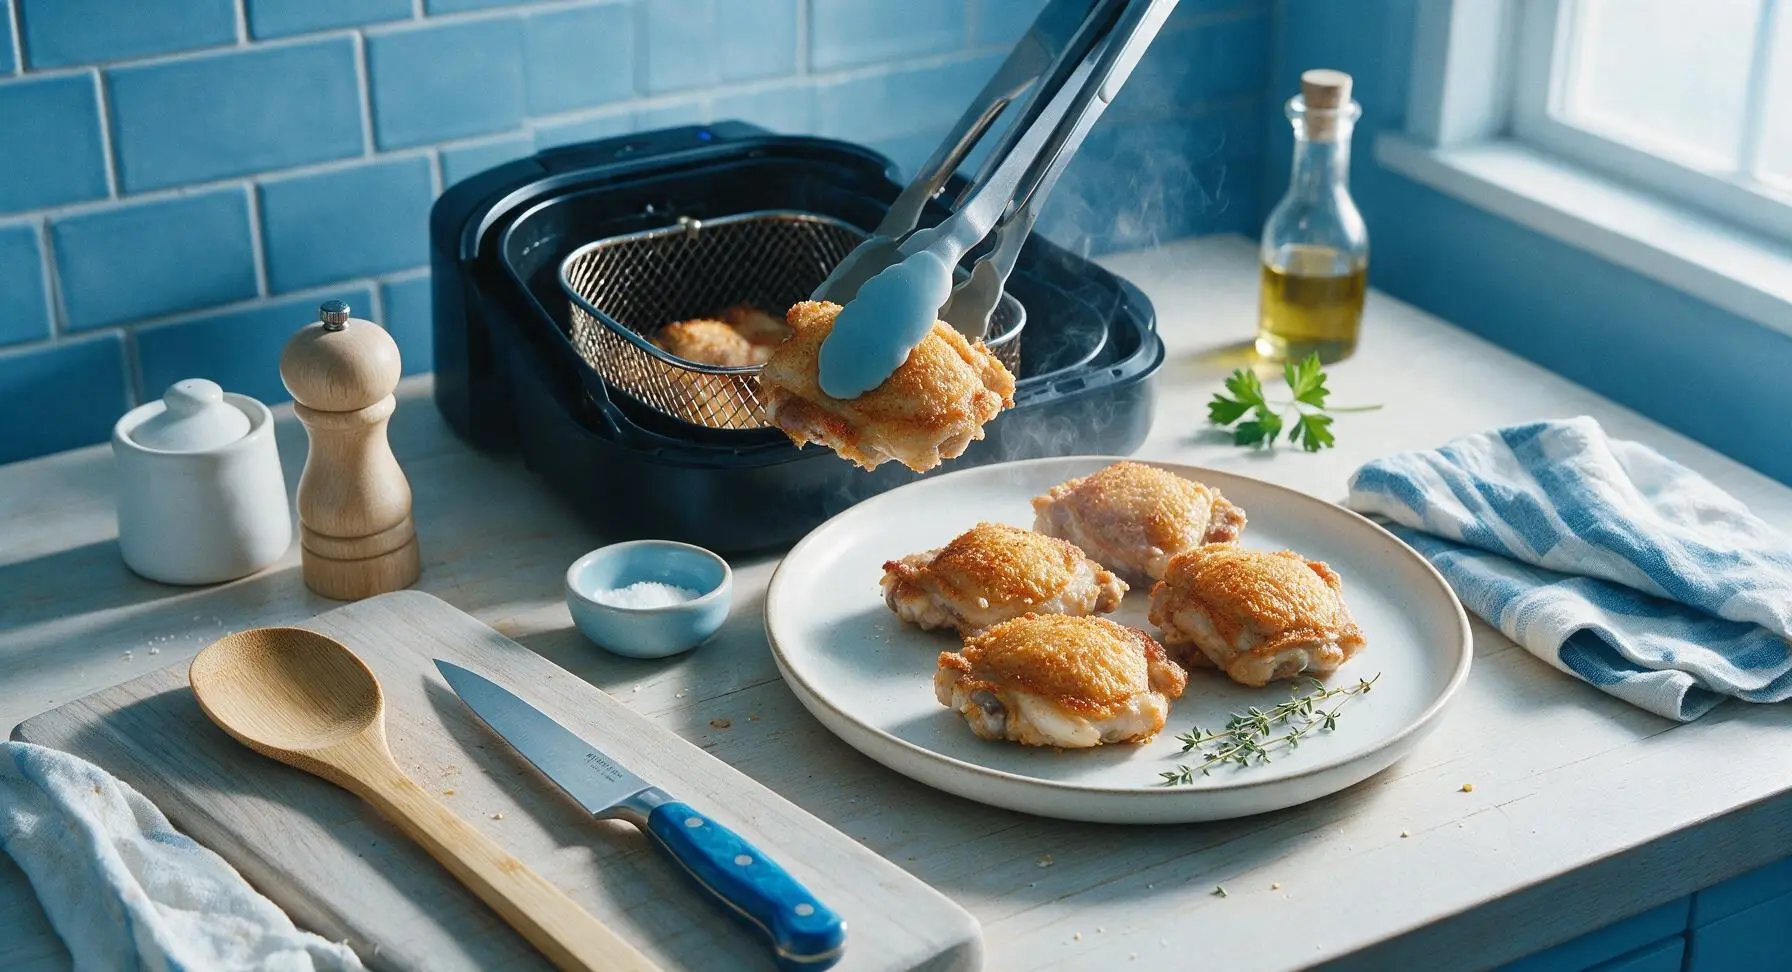
Use the tongs to transfer the cooked chicken thighs from the air fryer basket to the matte cream ceramic dinner plate, pulled slightly forward from its front right storage spot. Let the chicken rest for 3 minutes to allow juices to redistribute back into the meat, rather than running out when cut. Pluck the remaining fresh thyme sprigs from the bunch, and scatter them over the chicken as garnish.
Tips
2.Avoid overcrowding the air fryer basket: if cooking for a larger group, work in batches rather than stacking or overlapping thighs. Unobstructed hot air flow around every piece is required for even cooking and consistent crisping on all sides.
3.Skip heavy oil coatings: you only need 1 teaspoon of total oil for 4 thighs, as the chicken skin will render plenty of its own fat during cooking. Excess oil will cause unpleasant smoke inside the air fryer and leave the skin greasy instead of light and crisp.






OMG this recipe is a total game changer! I’ve tried so many air fryer chicken recipes that come out dry or the crust falls off, but this was perfectly juicy inside and crispy outside even when I made it for my kid’s soccer team potluck last night. Cook time was spot on 22 minutes too, super easy for a weeknight. 10/10 will make again!
First time using my air fryer ever and I nailed this on the first try! I was so nervous I’d undercook it or burn the crust, but following the exact steps gave me that perfect crunch without drying out the chicken breast. My roommate said it tastes better than the fast food crispy chicken we get down the street. SO good!
Added this to my weekly meal prep rotation! I made a big batch on Sunday, portioned it out with roasted veggies and rice, and it reheated beautifully in the air fryer at 350 for 3 minutes — no soggy crust at all. Perfect for busy work weeks when I don’t have time to cook every night.
Okay I was skeptical because I usually mess up chicken, but this was so easy even I couldn’t screw it up! My 7 year old asked for seconds, which is basically a Michelin star in our house. Only thing I did different was add a little extra paprika to the breading for a tiny kick. Will absolutely be making this for our next family dinner.
Made this in my tiny dorm air fryer last night and it saved me from ordering takeout for the third night in a row! Super cheap ingredients, no fancy equipment needed, and it came out crispy as hell. Only note is I had to cook it an extra 2 minutes because my air fryer runs a little cool, but that’s just my unit being janky.
I swapped the regular breadcrumbs for gluten free panko and this came out perfectly crisp! I was worried the GF breading would get mushy or fall off, but it stuck great and had that same satisfying crunch I remember from regular crispy chicken. My whole family (even the non-GF folks) loved it.
Made this for our neighborhood block party this past weekend and people were asking me for the recipe left and right! Everyone kept saying how juicy the chicken was, even after it sat out on the food table for an hour. I used drumsticks and thighs since they’re easier to eat standing up, total hit.
This is a great base recipe! I added a teaspoon of cayenne and a little garlic powder to the breading to give it more of a Nashville hot vibe, and it was chef’s kiss. The chicken stayed so juicy even with the extra seasoning, no dry bits at all. Super easy to customize to your taste.
I can’t believe how fast this comes together! 22 minutes total cook time means I can get home from work, throw this in the air fryer, and have dinner on the table before my partner even finishes walking the dog. No messy deep frying, no oil splatters all over the stove, just perfect crispy chicken. 10/10 weeknight staple.