
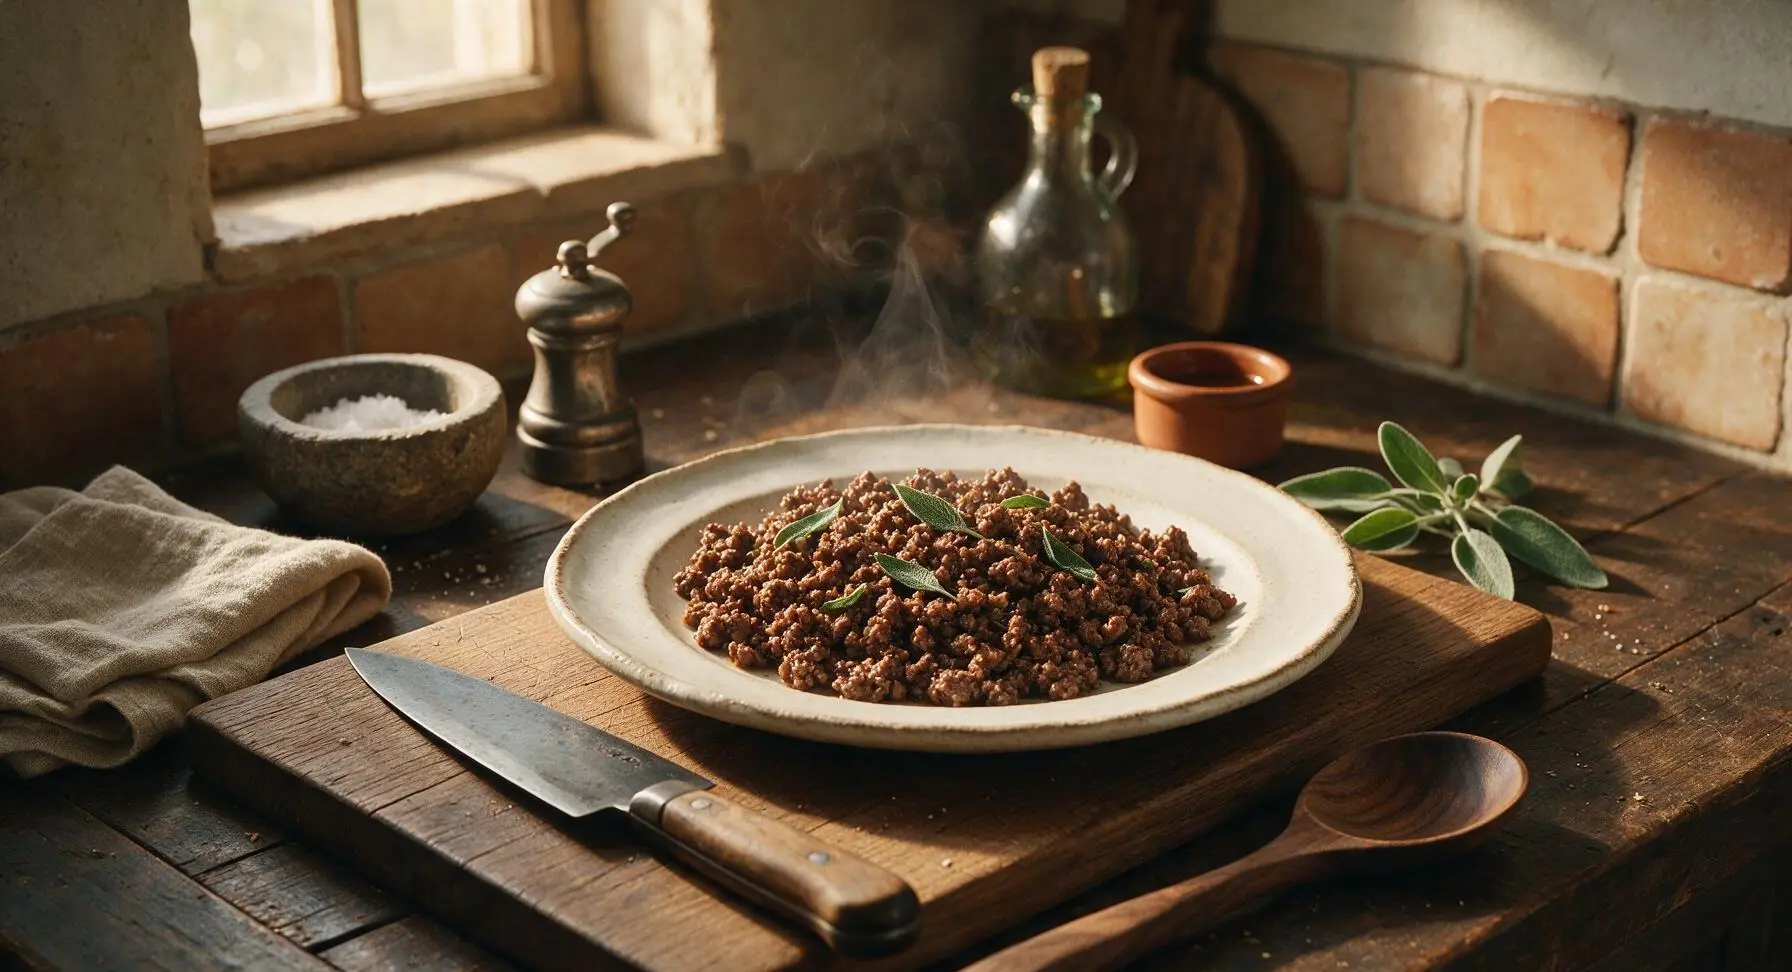
cooked ground beef

title 1
cooked ground beef
⏱️ cook time 10 minutes
🍽️ servings 4
⚡ Difficulty easy

intro

Juicy, deeply browned, perfectly seasoned ground beef is the ultimate versatile weeknight staple, ideal for tacos, pasta, casseroles, and sloppy joes with zero mushy grey results.

Ingredients
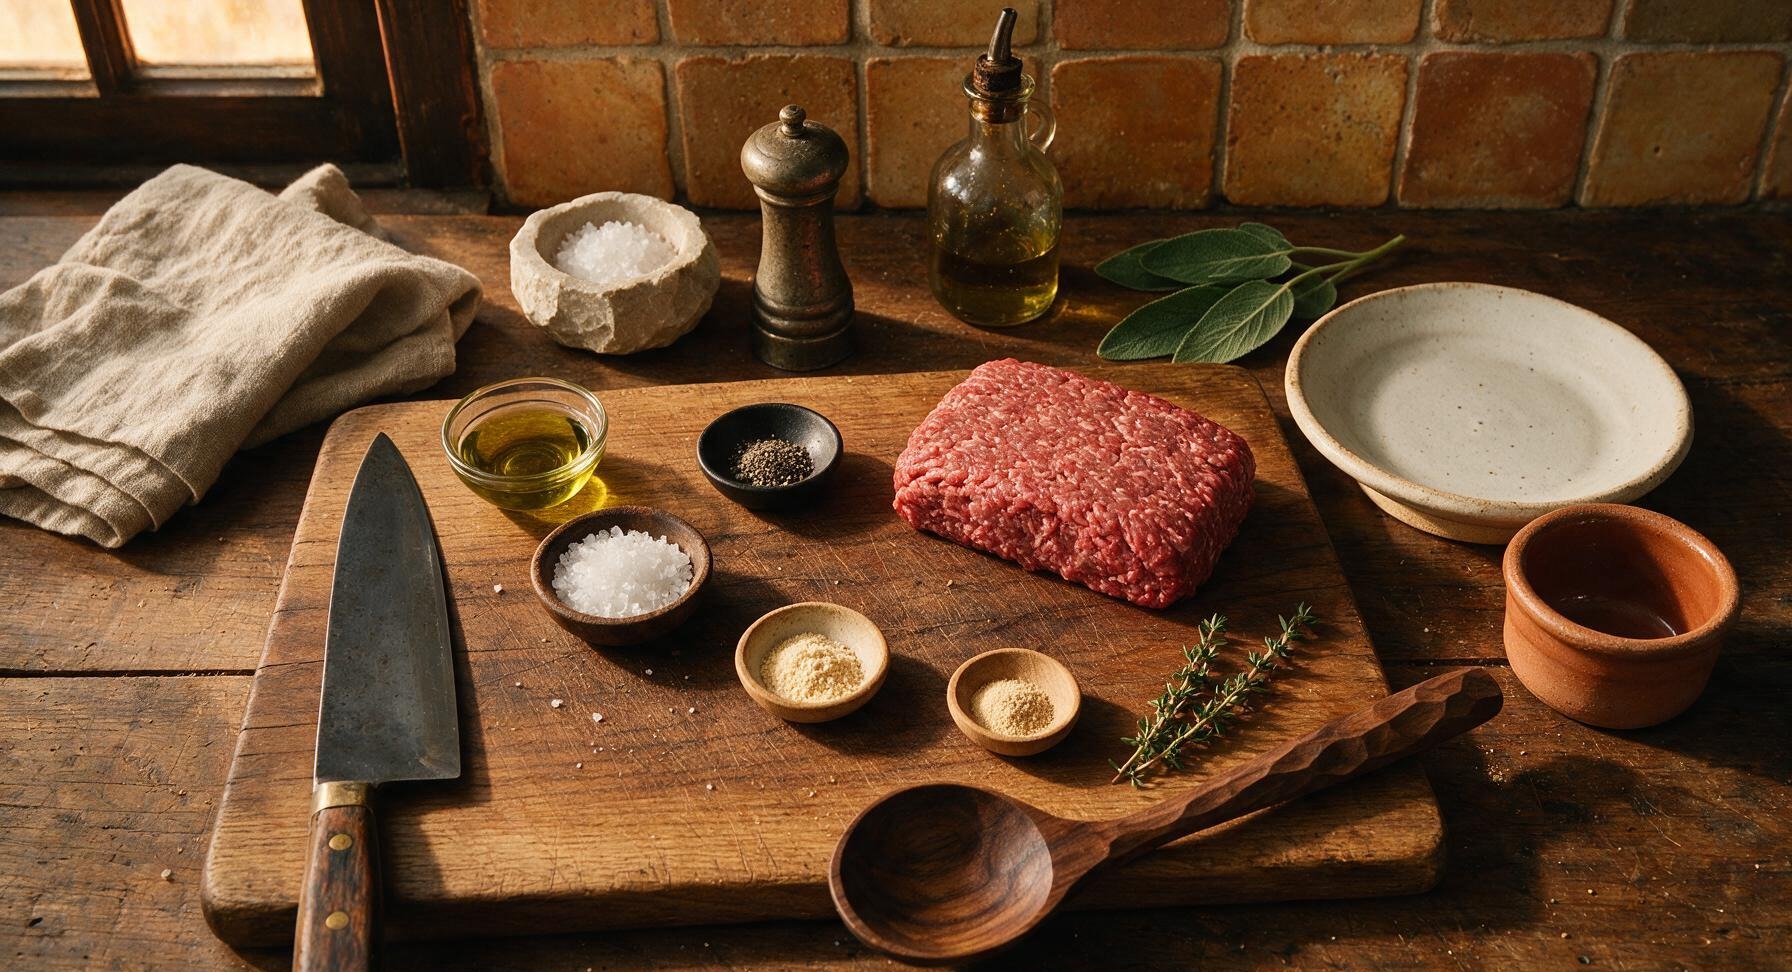
85/15 lean ground beef 450g (1 lb)
Neutral avocado oil 1 teaspoon
Kosher salt 1 teaspoon
Freshly ground black pepper 1/2 teaspoon
Garlic powder 1/2 teaspoon
Onion powder 1/4 teaspoon
Fresh thyme (optional garnish) 2 sprigs

Steps

1

Preheat the Skillet

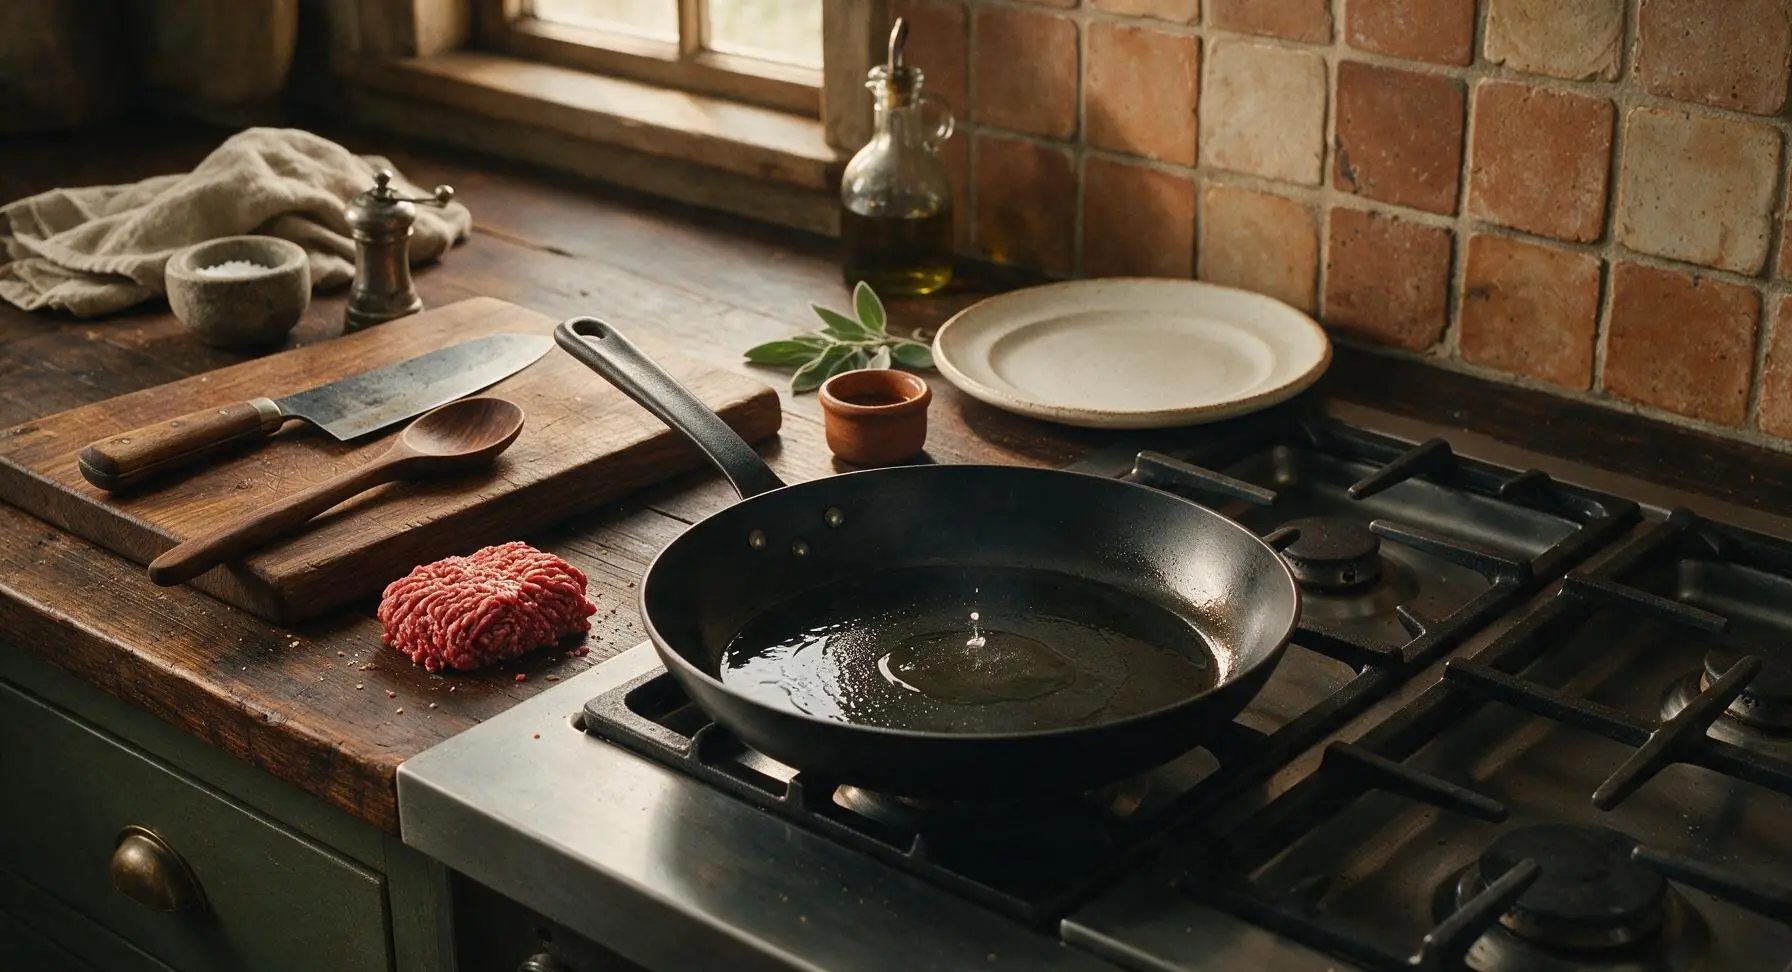
Retrieve the 12-inch matte black carbon steel skillet from lower cabinet storage and place it on the left cooktop burner over medium heat (350°F / 175°C pan surface temperature). Add 1 teaspoon of neutral avocado oil, and swirl to coat the pan bottom evenly. Heat for 2 minutes, until the oil shimmers slightly but does not smoke. Test temperature by flicking a single drop of water into the pan: it should dance across the surface and evaporate in 2-3 seconds when ready.
Step 1
step1:Preheat the Skillet
2

Add Beef to Hot Pan

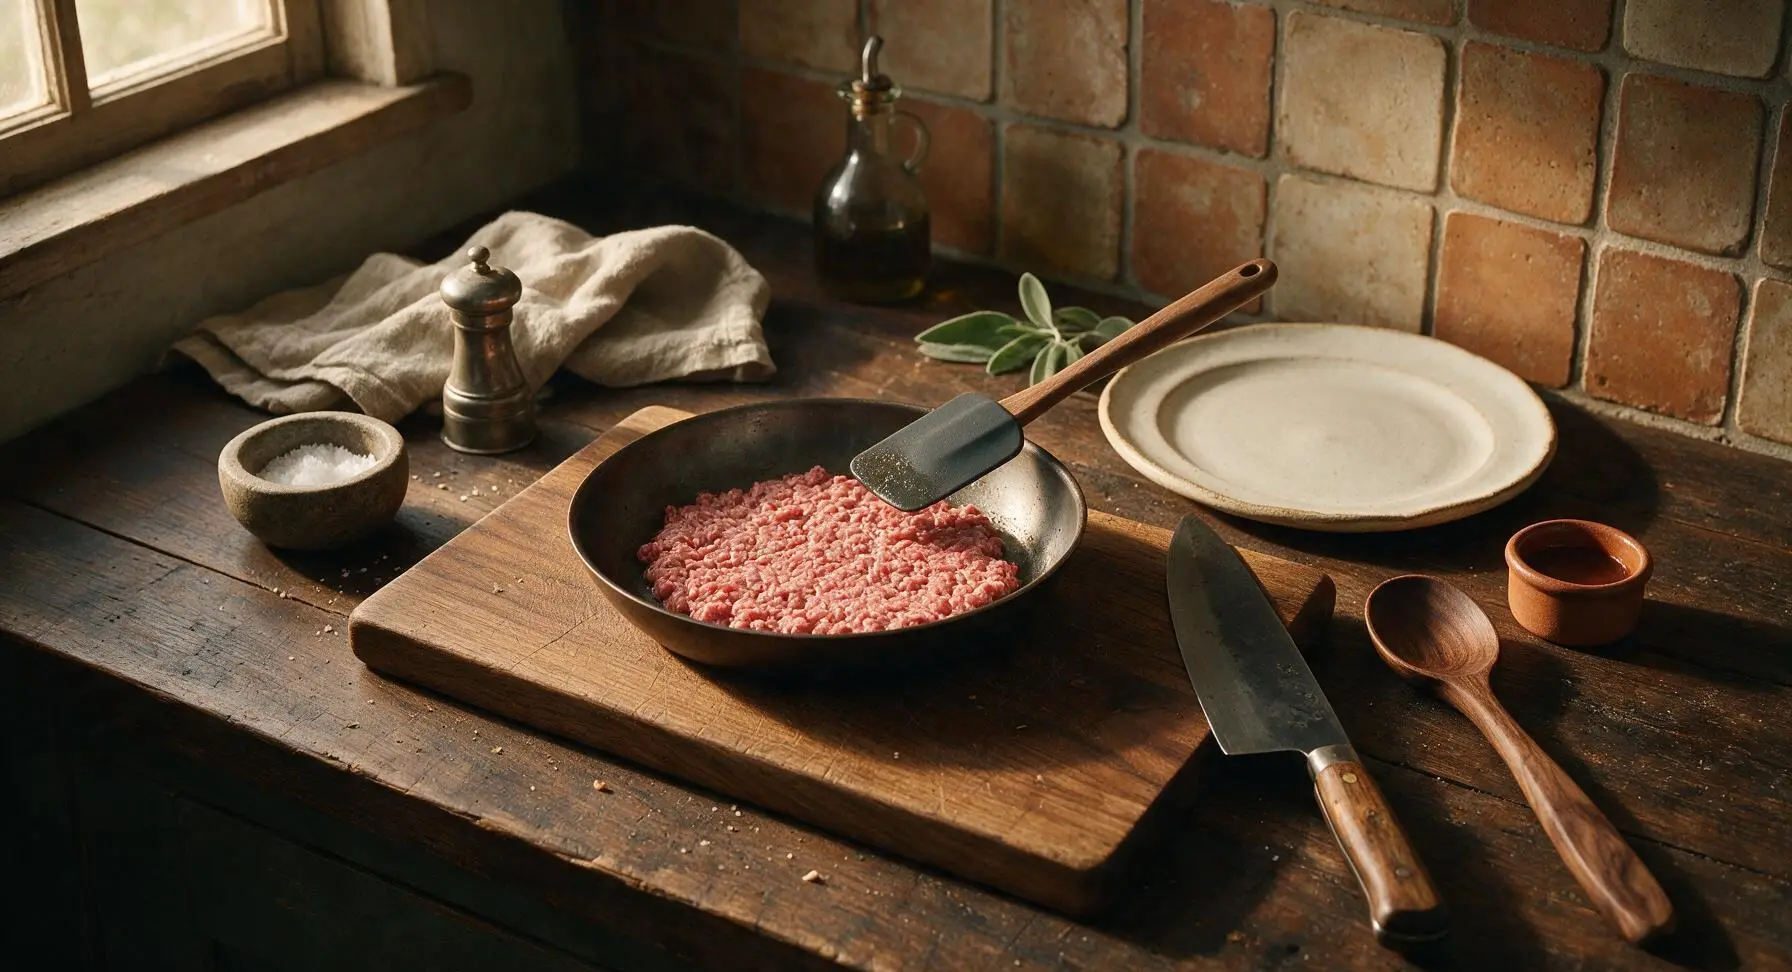
Carefully add the full 450g portion of ground beef to the preheated skillet, spreading it into a single rough even layer across the pan surface with the edge of the charcoal silicone spatula. Do not press, stir, or break the beef into small pieces immediately after adding.
Step 2
step2:Add Beef to Hot Pan
3

Sear for Deep Browning

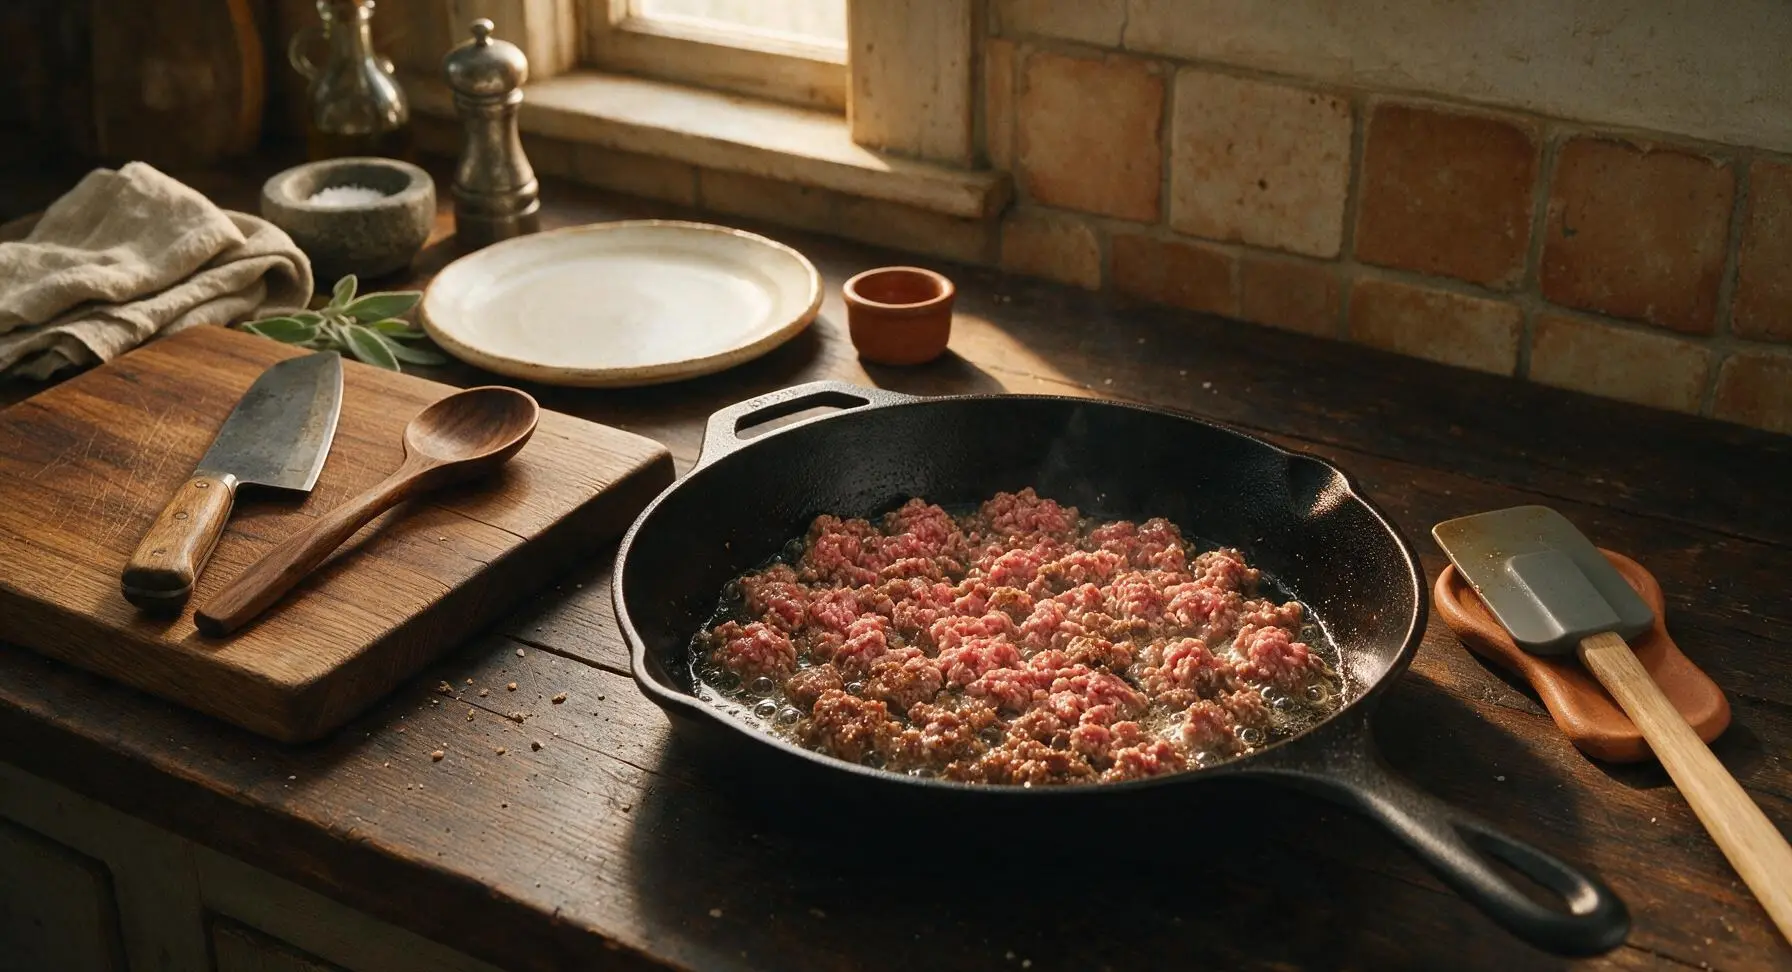
Let the ground beef cook completely undisturbed for 3 full minutes on medium heat. This uninterrupted pan contact creates the savory Maillard reaction browning that builds rich, meaty flavor, instead of steaming the meat into grey, mushy crumbles. Visual cue: the edges of the beef touching the pan will turn deep golden brown, and small amounts of clear rendered fat will bubble gently around the crumbles.
Step 3
step3:Sear for Deep Browning
4

Break Beef into Crumbles

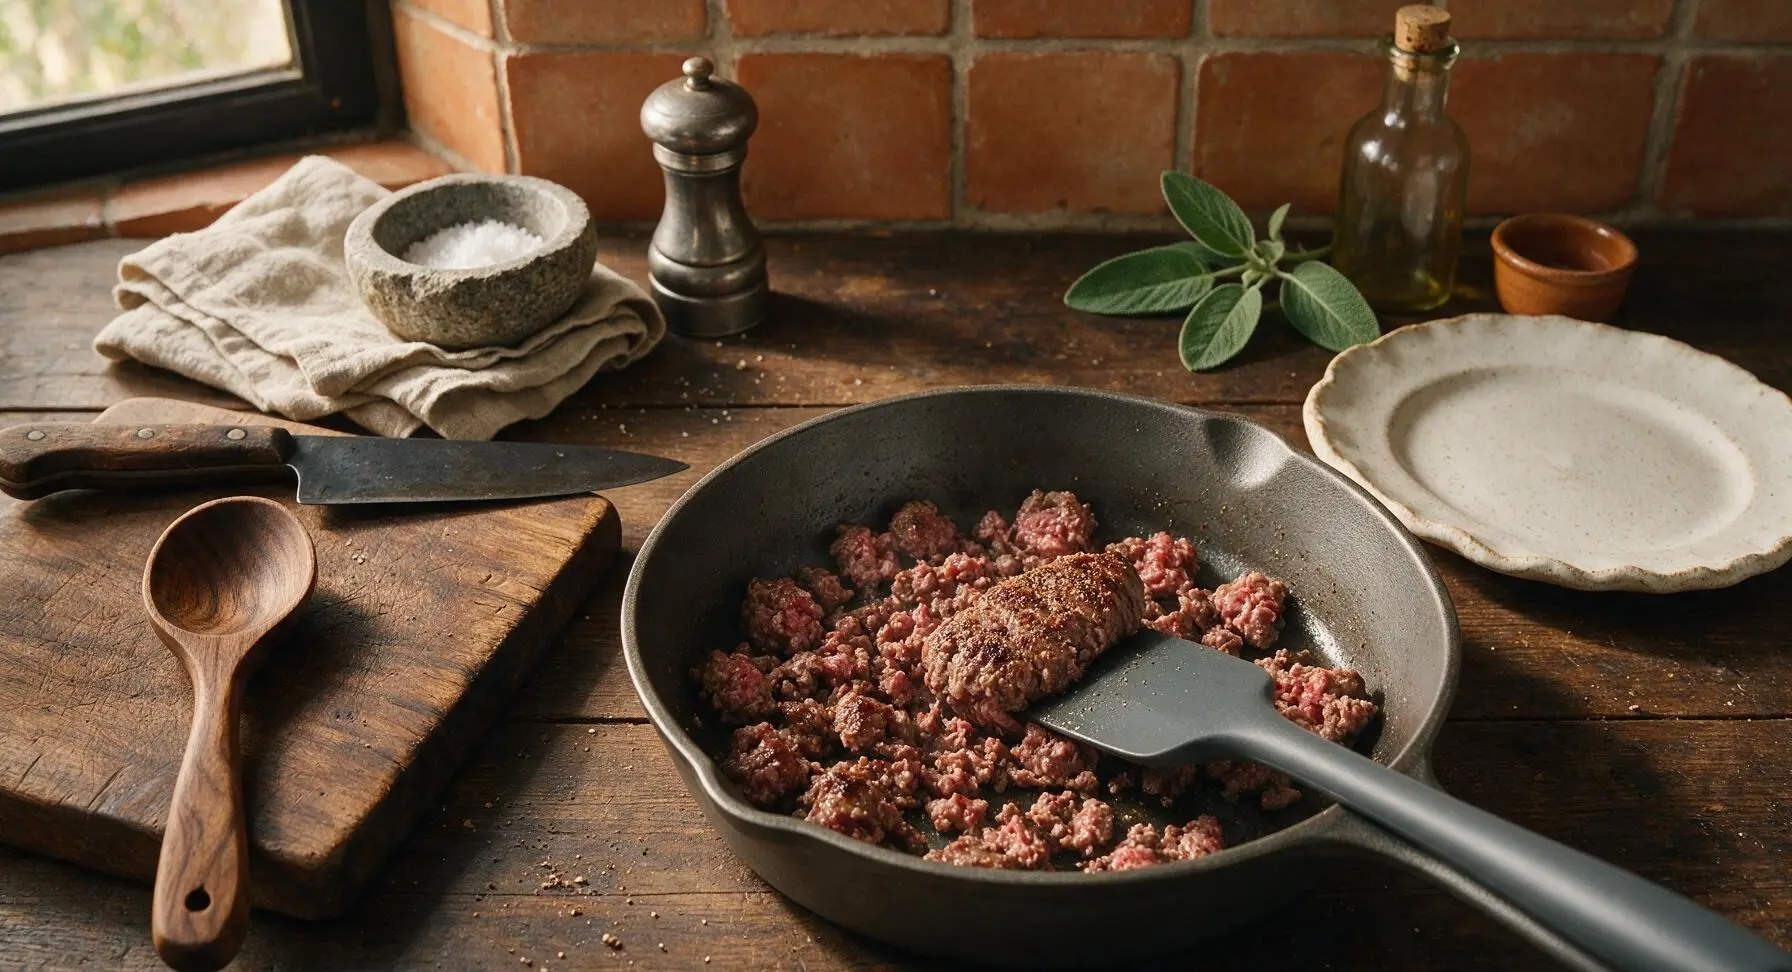
After the 3-minute sear, use the flexible silicone spatula to flip large sections of the beef to brown the uncooked side. Break the meat into uneven crumbles between ¼-inch and ½-inch in size by pressing the spatula edge against the pan to split cooked chunks. Avoid mashing the beef into too-fine crumbles, as this creates dry, grainy texture.
Step 4
step4:Break Beef into Crumbles
5

Season Cooking Beef Evenly

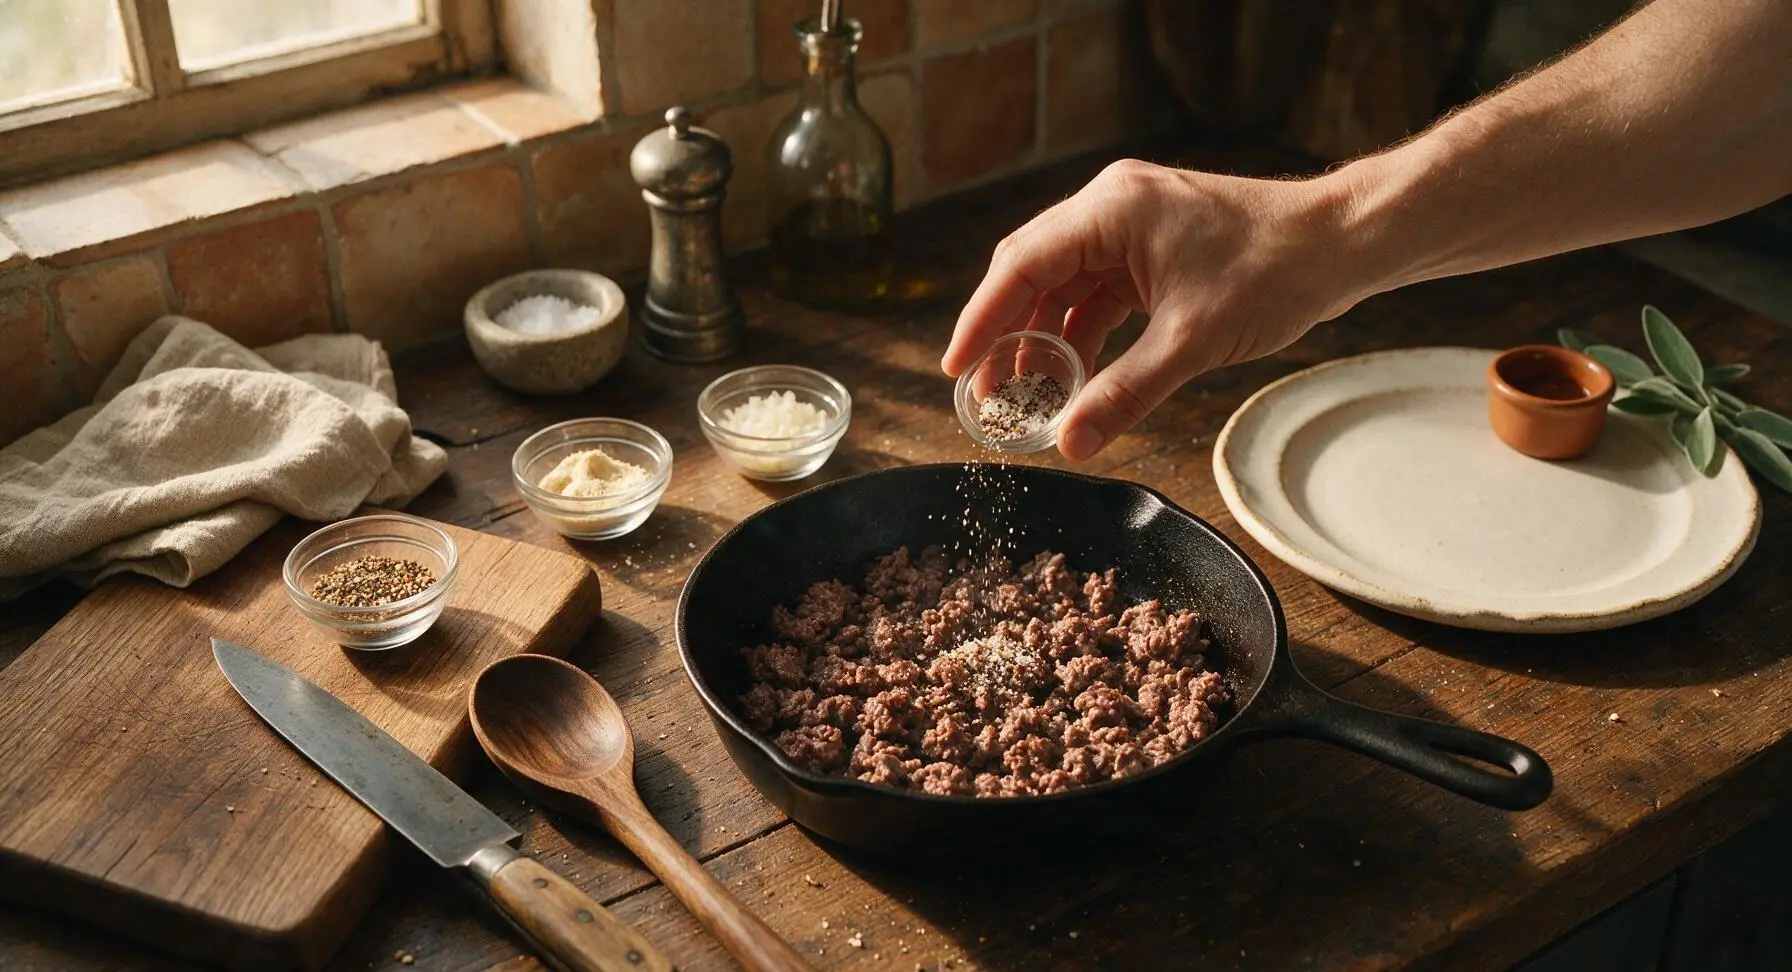
Sprinkle the measured kosher salt, freshly ground black pepper, garlic powder, and onion powder evenly over the partially cooked beef crumbles. Stir gently with the silicone spatula to distribute spices evenly across all crumbles. Continue cooking for 3-4 more minutes, stirring occasionally, until no pink color remains on any crumble (internal temperature reaches 160°F / 71°C for food safety).
Step 5
step5:Season Cooking Beef Evenly
Step 5
step5:Season Cooking Beef Evenly
6

Drain Excess Grease

Once the beef is fully cooked with no remaining pink, turn off the cooktop heat. Tilt the skillet slightly to push all beef crumbles to the raised left side of the pan, letting excess rendered golden grease pool at the lower right edge. Retrieve the stainless steel slotted spoon from its back-left utensil holder, and use it to carefully scoop out and discard excess grease, leaving 1-2 teaspoons of fat in the pan for flavor. Never rinse cooked beef under water, as this washes away savory flavor.
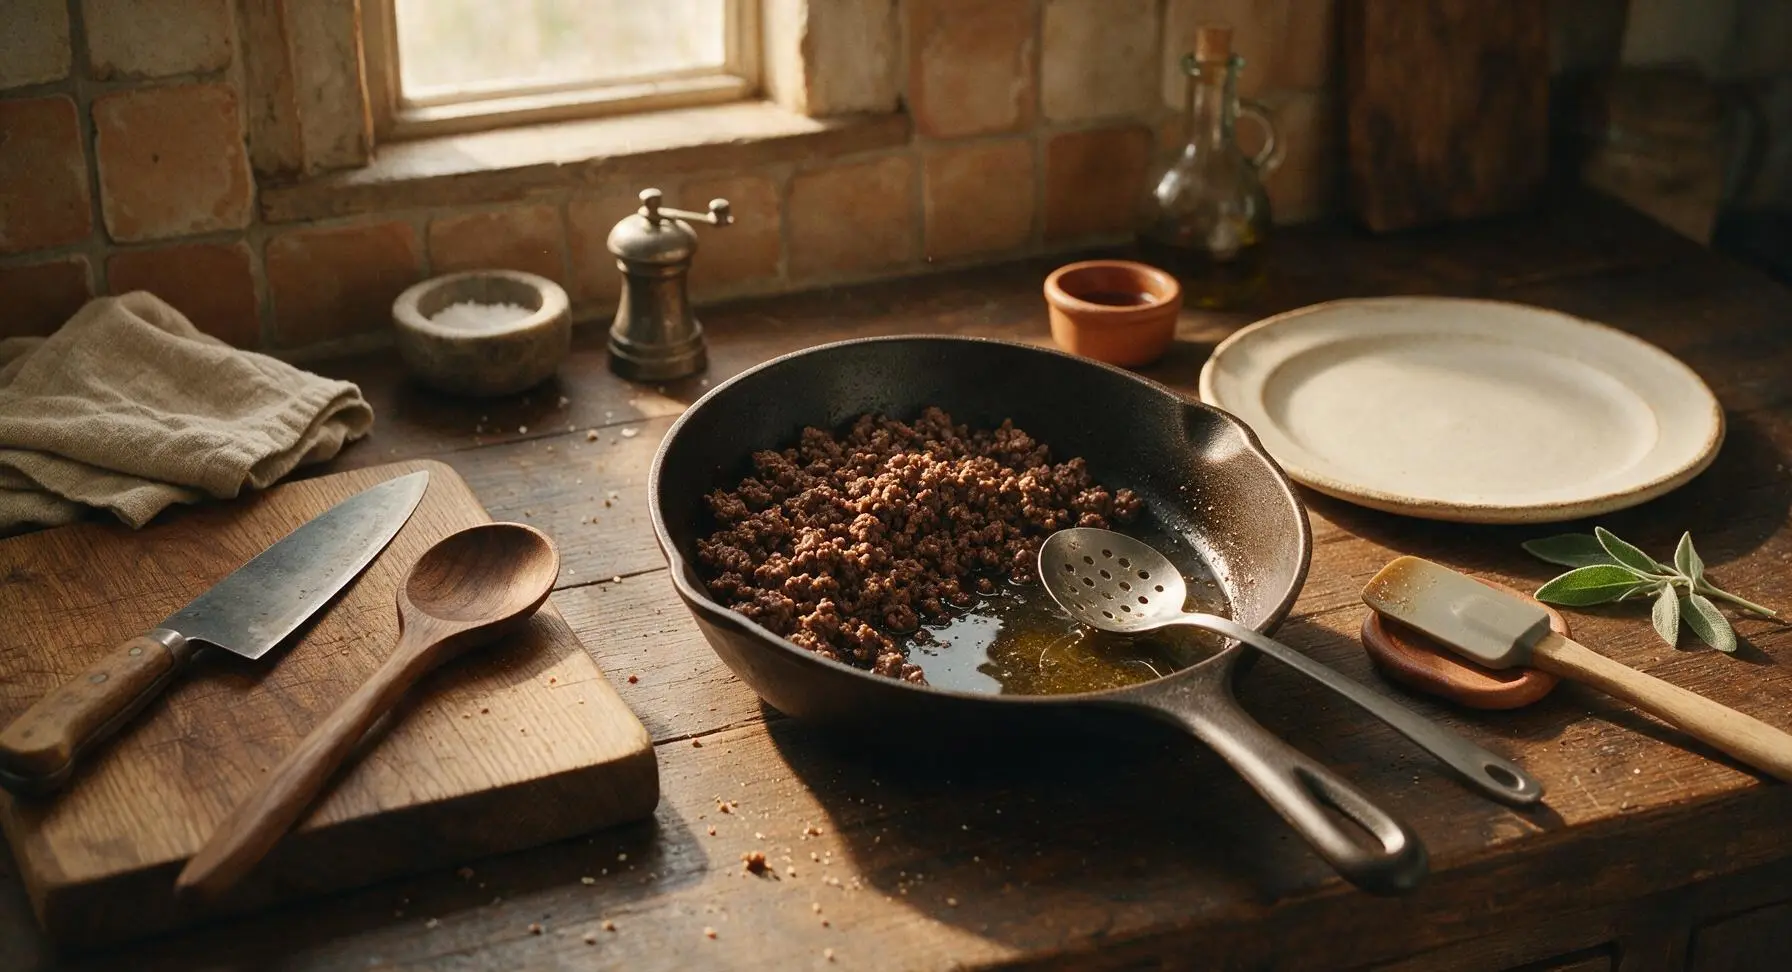
Step 6
step6:Drain Excess Grease
7

Rest Beef to Redistribute Juices

Let the cooked ground beef rest in the off-heat skillet for 2 full minutes, allowing juices to redistribute back into the crumbles instead of running out when transferred. Return the slotted spoon to its back-left utensil holder after use. Taste one small crumble, and add extra salt or pepper if desired to match your preference.
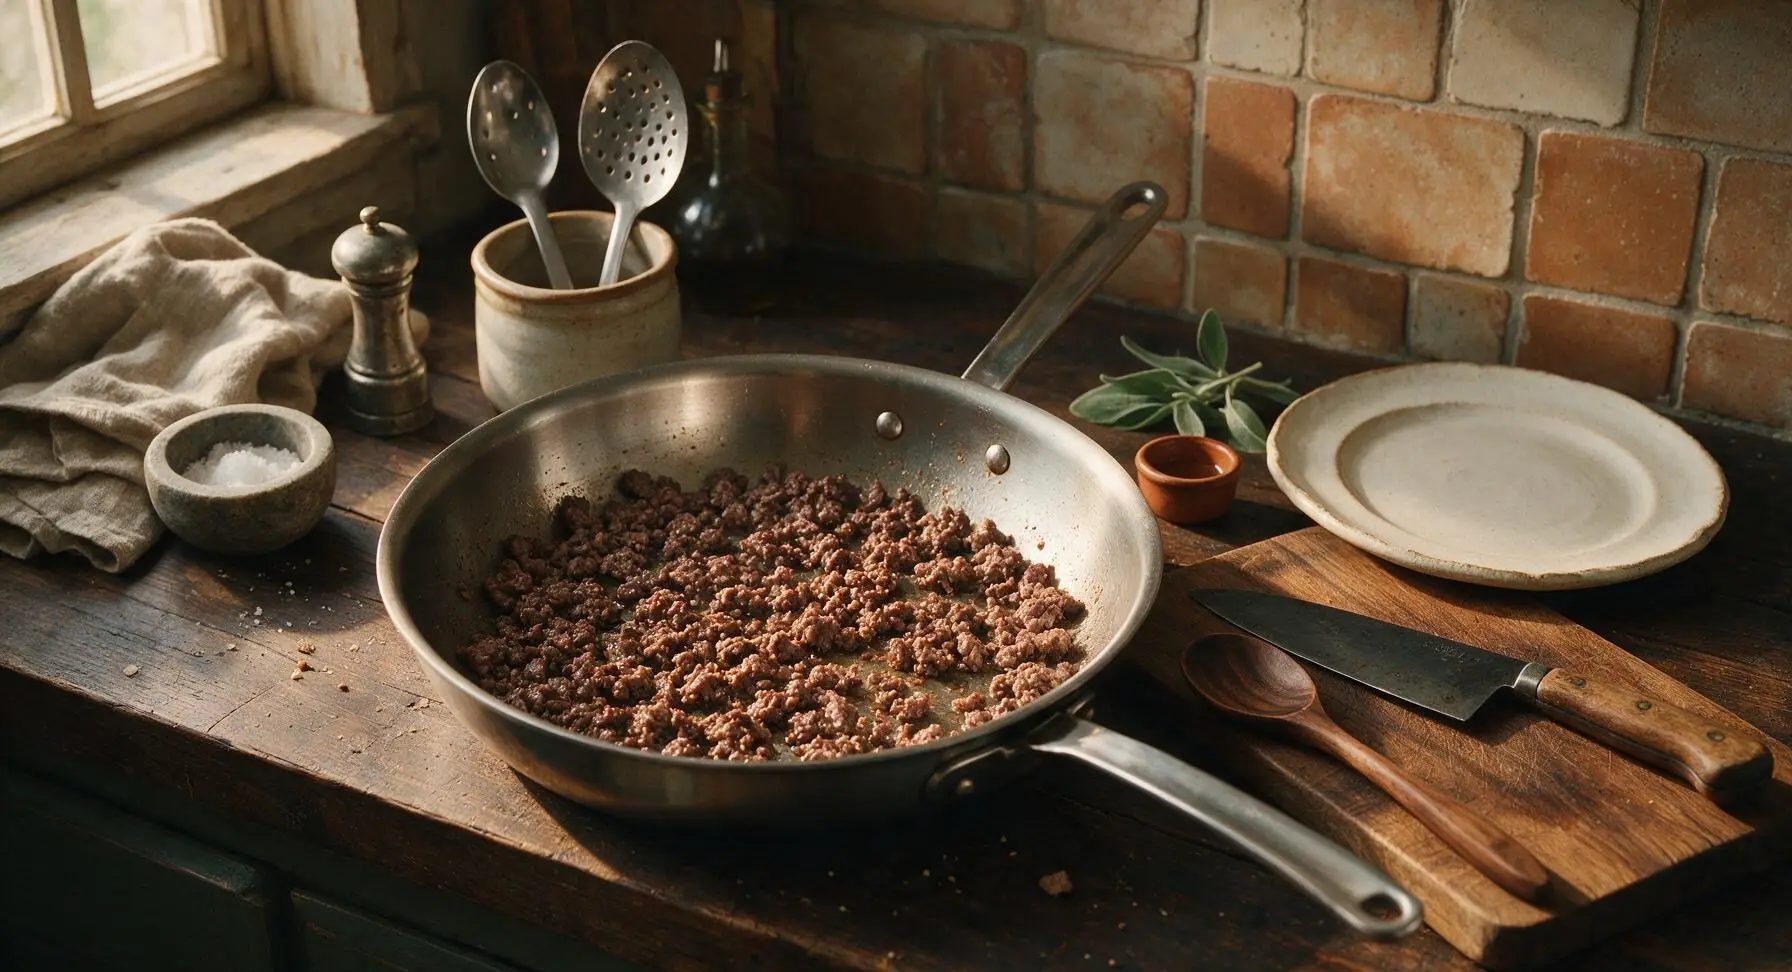
Step 7
step7:Rest Beef to Redistribute Juices
8

Transfer to Serving Plate

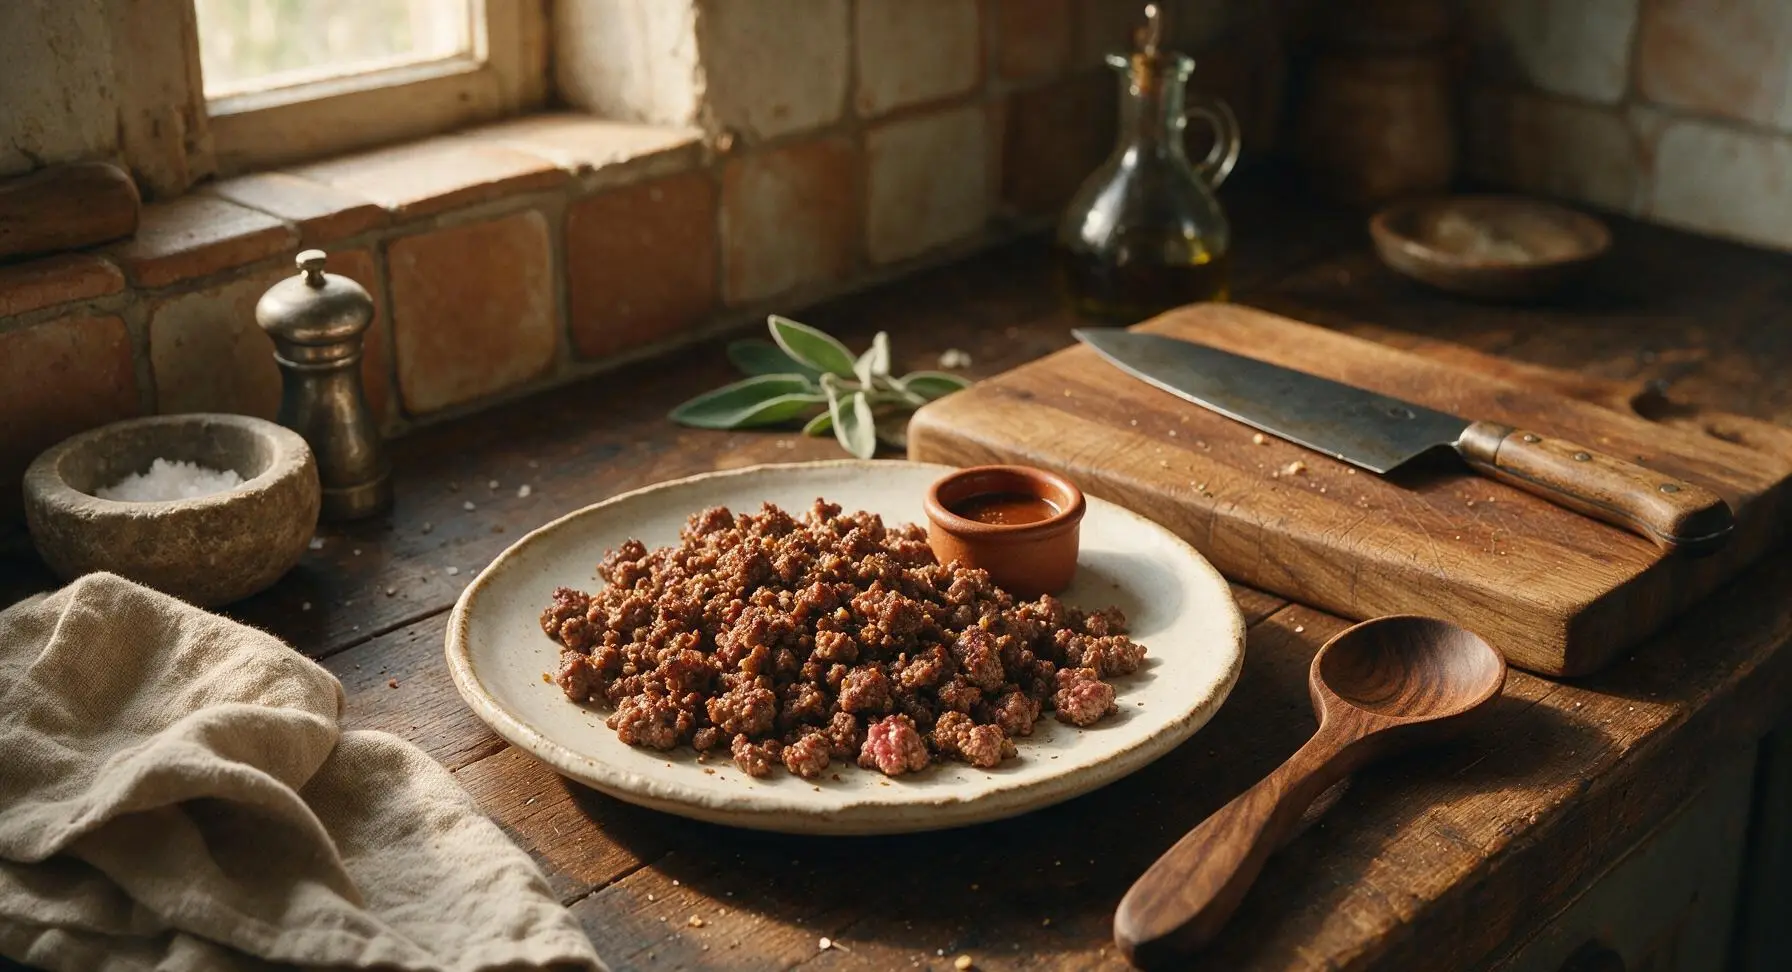
Use the silicone spatula to scoop the rested cooked ground beef onto the matte warm off-white ceramic dinner plate in its fixed position to the right of the cooktop, mounding it gently in the center. Garnish with a few fresh thyme leaves plucked from the windowsill potted plant for a subtle bright, herby aroma, if desired.
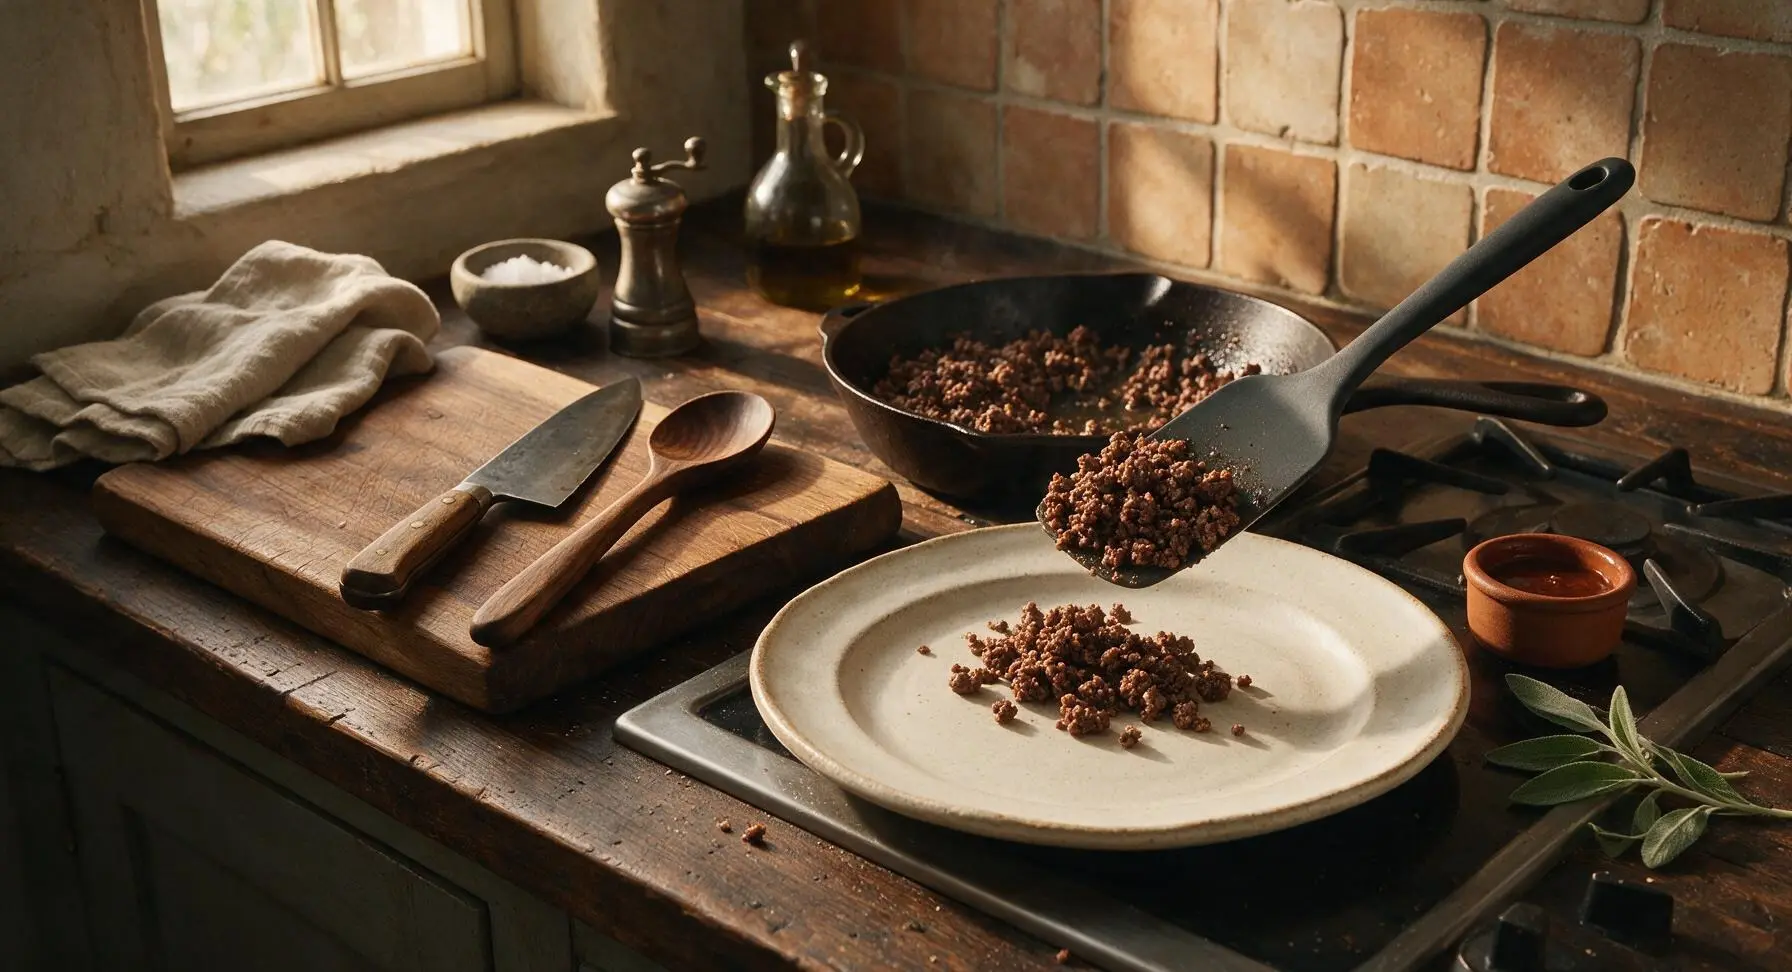
Step 8
step8:Transfer to Serving Plate

Tips

1.Choose 85/15 lean ground beef for ideal results: extra-lean blends (90/10 or higher) cook up dry and bland, while fattier blends (70/30) produce excess grease and feel heavy when eaten, even after draining.
2.Resist the urge to stir the beef constantly during the first few minutes of cooking: uninterrupted contact with the hot pan is required to build the deep, savory Maillard browning that gives beef its rich, meaty taste, rather than grey, steamed, flavorless crumbles.
3.Skip rinsing cooked beef under running water after draining: this washes away the flavorful browned fond bits stuck to crumble surfaces and dilutes seasoning, resulting in watery, bland beef. Blot excess grease with a paper towel if you want to reduce fat content further instead of rinsing.


✨ You May Also Like

Main Course
🍜 United Kingdom

A showstopping classic of tender seared beef, savory mushroom duxelles, and crisp prosciutto wrapped in flaky golden puff pastry, baked to juicy perfection.

⏱️ 2 hours 1Main Course ★ 4.7
Main Course
🍜 India

Tender charred marinated chicken simmered in a rich, spiced creamy tomato sauce, this iconic Anglo-Indian curry pairs perfectly with basmati rice or warm naan.

⏱️ 50 minuteMain Course ★ 4.6
Main Course
🍜 Thailand

Classic tangy, sweet, and savory Thai stir-fried rice noodles with shrimp, tofu, and crunchy garnishes, balancing all five core Thai flavor profiles.

⏱️ 30 minuteMain Course ★ 4.5
Main Course
🍜 United Kingdom

Crispy golden beer-battered cod and fluffy double-fried chips, served with tangy tartar sauce and malt vinegar: the timeless, beloved British pub comfort classic.

⏱️ 45 minuteMain Course ★ 4.7
Main Course
🍜 Mexico

Smoky, chile-marinated pork tacos with caramelized pineapple, fresh cilantro, and lime: a beloved classic Mexican street food perfect for casual summer gatherings.

⏱️ 1 hour 45Main Course ★ 4.8
Main Course
🍜 United States

Crunchy Fritos corn chips layered with savory beef chili and melted cheddar, topped with cool, zesty fixings for a beloved, cozy Tex-Mex comfort food.

⏱️ 35 minuteMain Course ★ 4.8

cooked ground beef:Frequently Asked Questions

1.Why does my ground beef always turn out grey and mushy instead of deeply browned? ▾
That mushy grey result almost always comes from overcrowding the pan, stirring too early, or cooking on too low heat. Use a large, wide skillet, preheat it over medium-high before adding beef, spread the meat in a thin even layer, and let it sit undisturbed for 3–4 minutes first. That lets the Maillard browning reaction build deep, savory flavor instead of steaming the meat.
2.Why do you recommend 85/15 lean ground beef specifically for this recipe? ▾
85/15 ground beef hits the ideal sweet spot for juiciness, flavor, and structure. Leaner blends (90/10 or higher) cook up dry, crumbly, and flat-tasting, while fattier blends like 80/20 or 70/30 render so much excess grease you’ll have to pour off most of the tasty, seasoned fat, leaving finished dishes oily or washed out.
3.Can I use a different type of oil instead of avocado oil for this recipe? ▾
Absolutely, as long as you pick a neutral, high-smoke-point option. Avocado oil works perfectly here because it won’t burn at the medium-high heat we use for browning, and it doesn’t add competing flavor. Great swaps include canola oil, light (not extra-virgin) olive oil, or grapeseed oil. Skip butter for this step—it burns too quickly at the heat needed for deep, even browning.
4.When is the best time to add the salt, pepper, and garlic powder to the cooking beef? ▾
For even, well-integrated flavor, add ⅔ of your kosher salt and black pepper right after you first break up the beef following its initial 3–4 minute undisturbed sear. Add the garlic powder in the last 60 seconds of cooking. Adding garlic powder too early makes it burn and turn bitter, while salting too late leaves seasoning only sitting on the meat’s surface instead of melding in.
5.How small should I break up the ground beef as it cooks? ▾
That depends slightly on what you’re using the beef for, but for general all-purpose use, break it into ¼- to ½-inch crumbles with a stiff spatula or wooden spoon after its initial sear. Don’t over-mash as you work—pressing too hard squeezes out all the juicy, flavorful fat and leaves you with dry, tiny pebbly bits that don’t hold up well in sauce, tacos, or casseroles.
6.Do I need to drain all the grease off the beef after cooking? ▾
With 85/15 ground beef, you’ll usually only have 1–2 tablespoons of rendered fat left, which is packed with rich, beefy flavor—you won’t need to drain it for most recipes. If you accidentally used a fattier blend and have more than 3 tablespoons of grease, spoon off the excess instead of dumping the whole pan in a colander, which rinses away hard-earned seasoning and browning flavor. Never pour grease down your drain, it causes major pipe clogs.
7.Can I cook this ground beef straight from frozen if I forgot to thaw it ahead of time? ▾
You can in a pinch, but you won’t get that perfect deep browning if you toss a solid frozen block straight into the pan—it will steam instead of sear. If you’re crunched for time, use your microwave’s defrost setting to soften the block just enough to break it into loose chunks first, then cook as directed with 2–3 extra minutes of cook time. For ideal, non-grey results, fully thawed beef is always best.
8.Why does this recipe call for kosher salt instead of regular table salt? ▾
Kosher salt has larger, flakier crystals that make it far easier to season evenly as you cook, without accidentally over-salting. Table salt is extremely dense and fine-grained, so if you swap it measure-for-measure for kosher salt, you’ll end up with unpalatably salty beef. If you only have table salt on hand, use half the volume of kosher salt called for, adding it slowly and tasting as you go.
9.How do I know when the ground beef is fully cooked and safe to eat? ▾
For food safety, ground beef needs to reach an internal temperature of 160°F as measured with an instant-read thermometer, with no remaining raw pink spots in the thickest crumbles. Don’t rely on color alone to test doneness: sometimes beef browns before it hits a safe temperature, and occasionally it can hold a faint pink tinge even when fully cooked, so a thermometer is always the most reliable bet.
10.Can I add extra seasonings, like taco spice or diced onion, to this base recipe? ▾
Absolutely! This recipe is built to be a neutral, perfectly cooked base you can customize for any dish. If you’re making taco meat, add your taco seasoning blend in the last 2 minutes of cooking; if you want diced onion, sauté it in the pan for 3 minutes before adding the beef. Just skip adding watery ingredients like tomato sauce too early, as that will steam the meat and ruin that deep browning.
11.My beef always sticks to the pan when I try to sear it—what am I doing wrong? ▾
That almost always means your pan isn’t hot enough, or you’re trying to stir the beef too early. Preheat your skillet over medium-high for 2 full minutes before adding the avocado oil, then add the beef and let it sit undisturbed. The meat will naturally release from the pan once it develops a nice browned crust—if it’s sticking when you first try to flip it, give it another 30–60 seconds before trying again.
12.How long will this cooked ground beef stay fresh in the fridge or freezer? ▾
Stored in a sealed airtight container, cooked ground beef will stay fresh in the fridge for 3–4 days, which makes it perfect for quick weeknight meal prep. It freezes beautifully too: portion it into labeled freezer bags, squeeze out all excess air to prevent freezer burn, and it will keep for up to 3 months. Thaw it in the fridge overnight before tossing into pasta, casseroles, or taco fillings.
13.Why does my garlic powder always taste bitter when I cook it with ground beef? ▾
Garlic powder burns extremely quickly when exposed to high, direct pan heat, which creates that harsh, bitter off-flavor many people run into. That’s why this recipe adds it in the last 60 seconds of cooking, once the beef is almost done and you can turn the heat down slightly. If you love a bolder garlic kick, you can also sauté a couple cloves of fresh minced garlic for 30 seconds before adding the beef instead of using powder.
14.Do I need to rinse raw ground beef before cooking it? ▾
Never rinse raw ground beef before cooking it! Rinsing washes off the surface meat proteins that help build that deep, savory Maillard browning you want, and it splashes harmful bacteria all over your sink, countertops, and nearby utensils, creating a serious cross-contamination risk. If the beef has excess surface moisture from packaging, just pat it gently with a paper towel to help it sear better.
15.Can I use this cooked ground beef right away for dishes like sloppy joes or chili? ▾
Absolutely! This all-purpose perfectly browned beef is ready to use as a base for almost any ground beef dish straight from the pan. For sloppy joes, just stir in your sauce and let it simmer 5 minutes to let flavors meld; for chili, toss it straight into the pot with your beans, tomatoes, and spices. You won’t need to cook it any further once it hits that 160°F food-safe internal temperature.
16.What type of pan works best for getting that perfect, even brown on ground beef? ▾
A heavy-bottomed stainless steel or cast iron skillet works best, because it holds even, consistent high heat without hot spots that burn or steam meat. If you only have a nonstick skillet, that works too—just make sure it’s rated for high-heat cooking, and use silicone or wood utensils to avoid scratching the coating as you break up the beef. Skip thin, lightweight aluminum pans, which create patchy, uneven browning.

Comments (19)

2 days ago

OMG this is such a game changer! I’ve been overcooking my ground beef for years and it always comes out dry and crumbly. Followed this exactly, 10 minutes total, perfect for taco night last night. My kids went back for seconds, even my picky 7 year old! SO good.

yesterday

That makes our day to hear! So glad it worked for taco night—nothing beats a taco dinner the whole family loves, especially the picky eaters 😊

1 week ago

This is now my go-to for Sunday meal prep! I batch cook 3 lbs of ground beef at a time for lunches all week, and this method leaves it juicy even after reheating. Game changer for my work week, no more sad dry beef in my burrito bowls.

5 days ago

Wait do you let it cool completely before portioning it out for the fridge? I’ve had issues with excess moisture making my meal prep containers soggy before!

3 days ago

Great question! We recommend draining any excess fat first, then letting it cool for 10-15 minutes before portioning into airtight containers to cut down on sogginess. It’ll keep great for 3-4 days in the fridge!

yesterday

Super easy, no fancy tools needed. I threw this together after work last minute for spaghetti night and it turned out perfect. No weird burnt bits, no raw spots, exactly what I needed on a chaotic Tuesday.

3 days ago

Made this for my neighborhood potluck over the weekend to use in sliders, and people were asking me for the recipe left and right! Who knew perfectly cooked ground beef could steal the show at a cookout?

2 days ago

What seasonings did you add for the sliders? I’m making them for a tailgate next weekend and need ideas!

30 minutes ago

Wait I’m a total beginner and I was so nervous I’d undercook it and make my roommates sick, but the timing was spot on! 10 minutes exactly, no pink left but still super juicy. 10/10 for people who can barely boil water like me lmao

5 minutes ago

Same! I’ve burned ground beef so many times I stopped buying it, but this felt foolproof. I made mine for loaded nachos last night and it slapped

just now

We love that this works for new cooks! No fancy skills required, just a hot pan and a little patience. Loaded nachos sound like the perfect use for it 😋

5 days ago

Perfect base for so many recipes! I used this for stuffed bell peppers last night and it held up so well, didn’t get mushy at all while baking. Love that it’s just a simple, no-fuss method with no weird add-ins.

3 days ago

Stuffed bell peppers sound delicious! We love that this ground beef works as a blank canvas for whatever recipe you’re making, from peppers to pasta to casseroles.

2 weeks ago

Usually I only grill, but it was pouring rain yesterday so I had to cook inside. Tried this method for burger helper and my kid said it was better than the usual. Wild. Will use again when I can’t fire up the grill.

1 week ago

I’ve been using a super complicated method with boiling water and all that nonsense for years to get non-clumpy ground beef. This was so much simpler and the texture was way better. Who knew I was wasting so much time?

5 days ago

Wait the boiling water method was such a trend a few years back right? I tried it once and it made the beef taste so watery, never going back after this!

2 hours ago

Quick question—does this work for extra lean ground beef too? I usually buy 93/7 because my husband watches his fat intake, and I feel like it always dries out no matter what I do.

30 minutes ago

Great question! It absolutely works for 93/7 extra lean beef—just make sure you don’t break it up into too-tiny crumbles right away, and pull it off the heat as soon as there’s no pink left to keep it juicy!

5 minutes ago

I used 93/7 with this method last week and it was perfect! I added a tiny splash of beef broth at the end just for extra moisture and it was chef’s kiss

1 week ago

Made this for our family movie night loaded nacho bar last Friday and everyone raved. The beef was so flavorful even before I added taco seasoning because it browned so evenly. Total win for our weekly movie nights now!

5 days ago

A loaded nacho bar is such a good idea! I’m stealing that for my kid’s next sleepover, this ground beef will be perfect for it.

3 days ago

Ground beef is the cheapest protein I can buy right now, so this method is a lifesaver. No more ruining half the pan because I cook it too hot, I get perfectly edible beef every time for way less than takeout.

2 weeks ago

Used this for my award-winning chili this weekend and it took first place at the local chili cookoff! The even browning gave it such a deep, rich flavor without any weird chewy bits. I’m crediting this recipe for the win tbh.

1 week ago

Wait did you drain the fat before adding it to the chili? I always get confused if I should leave it for flavor or drain it!

1 week ago

I drained most of it but left about a tablespoon in for extra flavor! Worked perfectly, the judges kept commenting on how great the texture was.

yesterday

Love that there’s no weird browning sauce or random additives in this method. It’s just plain ground beef cooked right, which is perfect for my IBS because I don’t have to worry about hidden ingredients triggering a flare up.

yesterday

We’re so glad this works for you! Simple, straightforward ingredients and methods are always our priority, so everyone can enjoy a good meal without stress.

2 days ago

Wait I never thought to use this method for ground beef in my breakfast hash! Cooked it up perfect, tossed in some potatoes and eggs, and it was the best weeknight dinner I’ve made in months. 10/10, super versatile.

5 days ago

This is perfect for my keto meal plan! Juicy, high protein, no extra carbs from weird seasonings or sauces, cooks in 10 minutes so I don’t have to spend hours in the kitchen after the gym. Obsessed.

3 days ago

Same! I mix mine with a little cream cheese and taco seasoning for a quick keto taco bowl, it’s so good when the beef is juicy instead of dry and chalky.

2 days ago

That cream cheese taco bowl idea sounds incredible! We’re big fans of easy post-gym meals that don’t skimp on flavor, so we’ll have to try that hack ourselves.

just now

Tried this tonight and it was pretty good, but mine stuck to the pan a little bit? I used a stainless steel pan, maybe I had the heat too high? Flavor was great though, just a little stuck on bits.

just now

Thanks for the feedback! Stainless steel pans can run a little hot, so we recommend turning the heat down to medium (not medium-high!) for stainless, and letting the pan preheat for a minute before adding the beef to cut down on sticking. Give it another try next time!

just now

I had the same issue the first time! Turned the heat down like the recipe says for stainless and zero sticking the second go around, you got this!

2 weeks ago

I’ve been cooking ground beef the same way for 40 years and thought I had it down, but my granddaughter showed me this recipe and wow—this method is way faster and comes out even better than my old way. Even old dogs can learn new tricks I guess!

1 week ago

This is our favorite comment ever! It means so much that even folks who’ve been cooking for decades love this method. Pass that cooking wisdom right along to your granddaughter too 😊

1 week ago

Made 4 lbs of this for my fantasy football draft party last weekend for cheeseburger sliders and chili cheese dips. Zero complaints, all my friends were too busy eating to even talk trash about my fantasy team. 10/10, will make every game day.

5 minutes ago

This is the best base for my one pot pasta dishes! I don’t even have to take the beef out of the pan after browning, just toss in the pasta, sauce, and water and it all cooks together. Saves me so many dishes on busy school nights, which is a total win in my book.



