
cooking bacon in the oven on a rack

title 1
cooking bacon in the oven on a rack
⏱️ cook time 18 minutes
🍽️ servings 4
⚡ Difficulty easy

intro

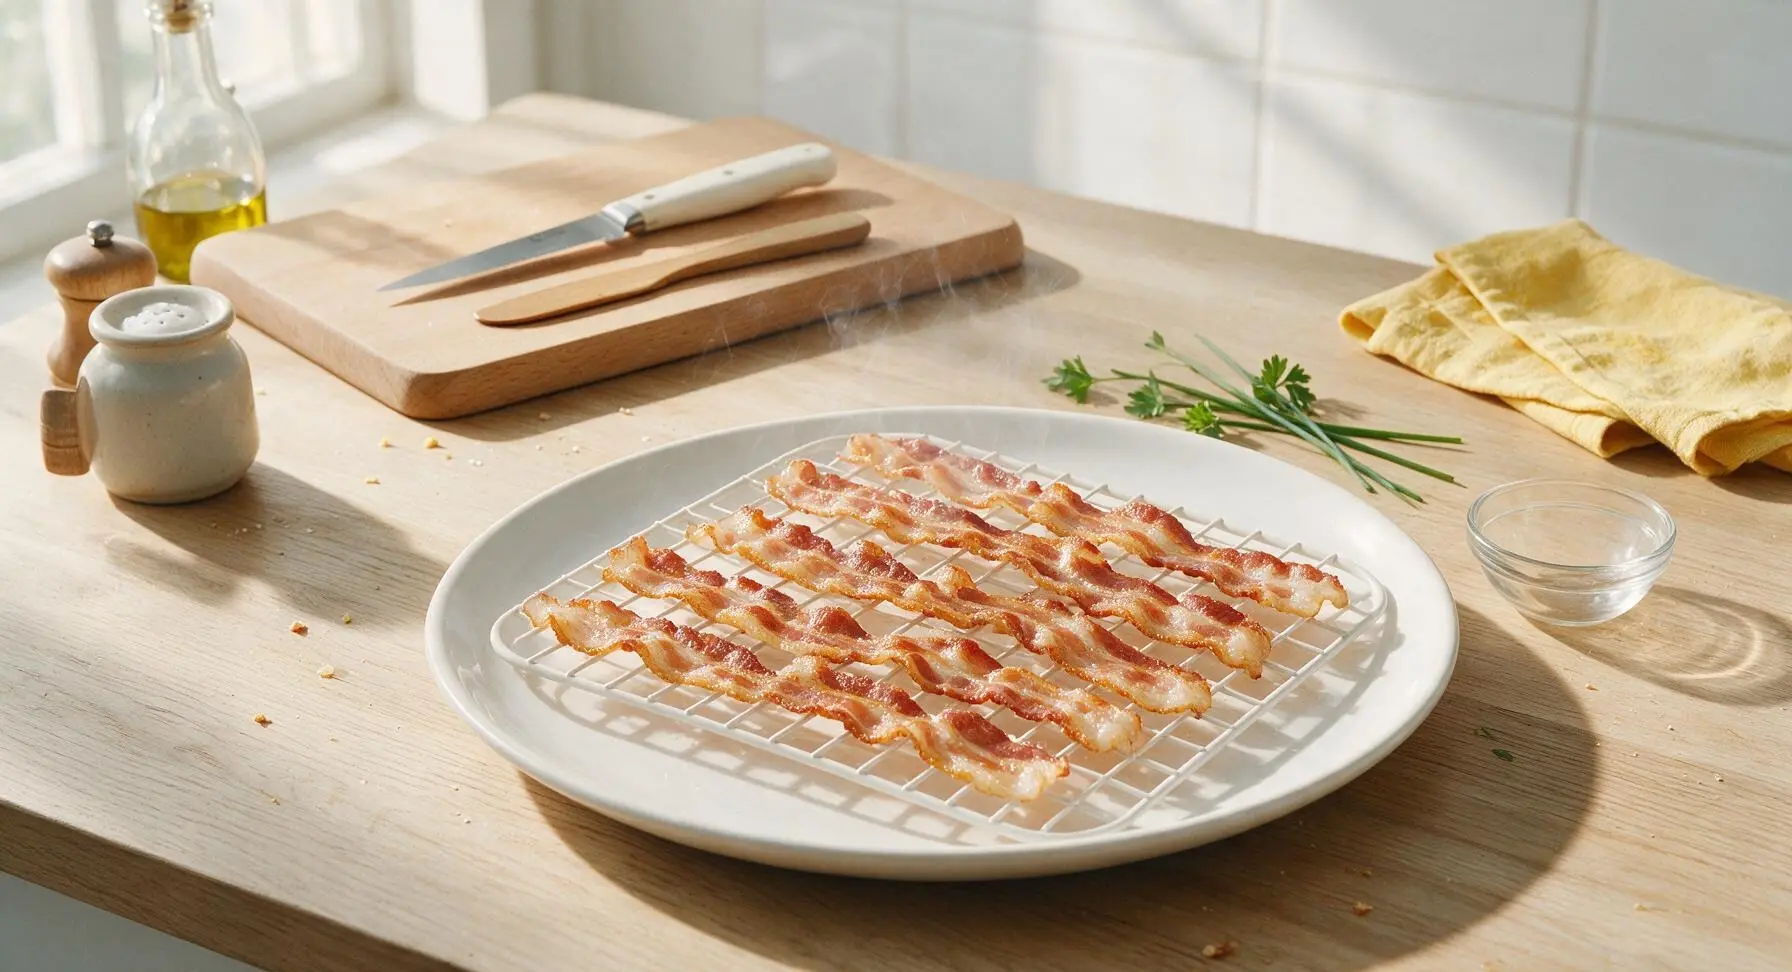
Crisp, evenly rendered, splatter-free bacon cooked on an oven rack: no flipping, no greasy stovetop mess, perfect golden results every time.

Ingredients
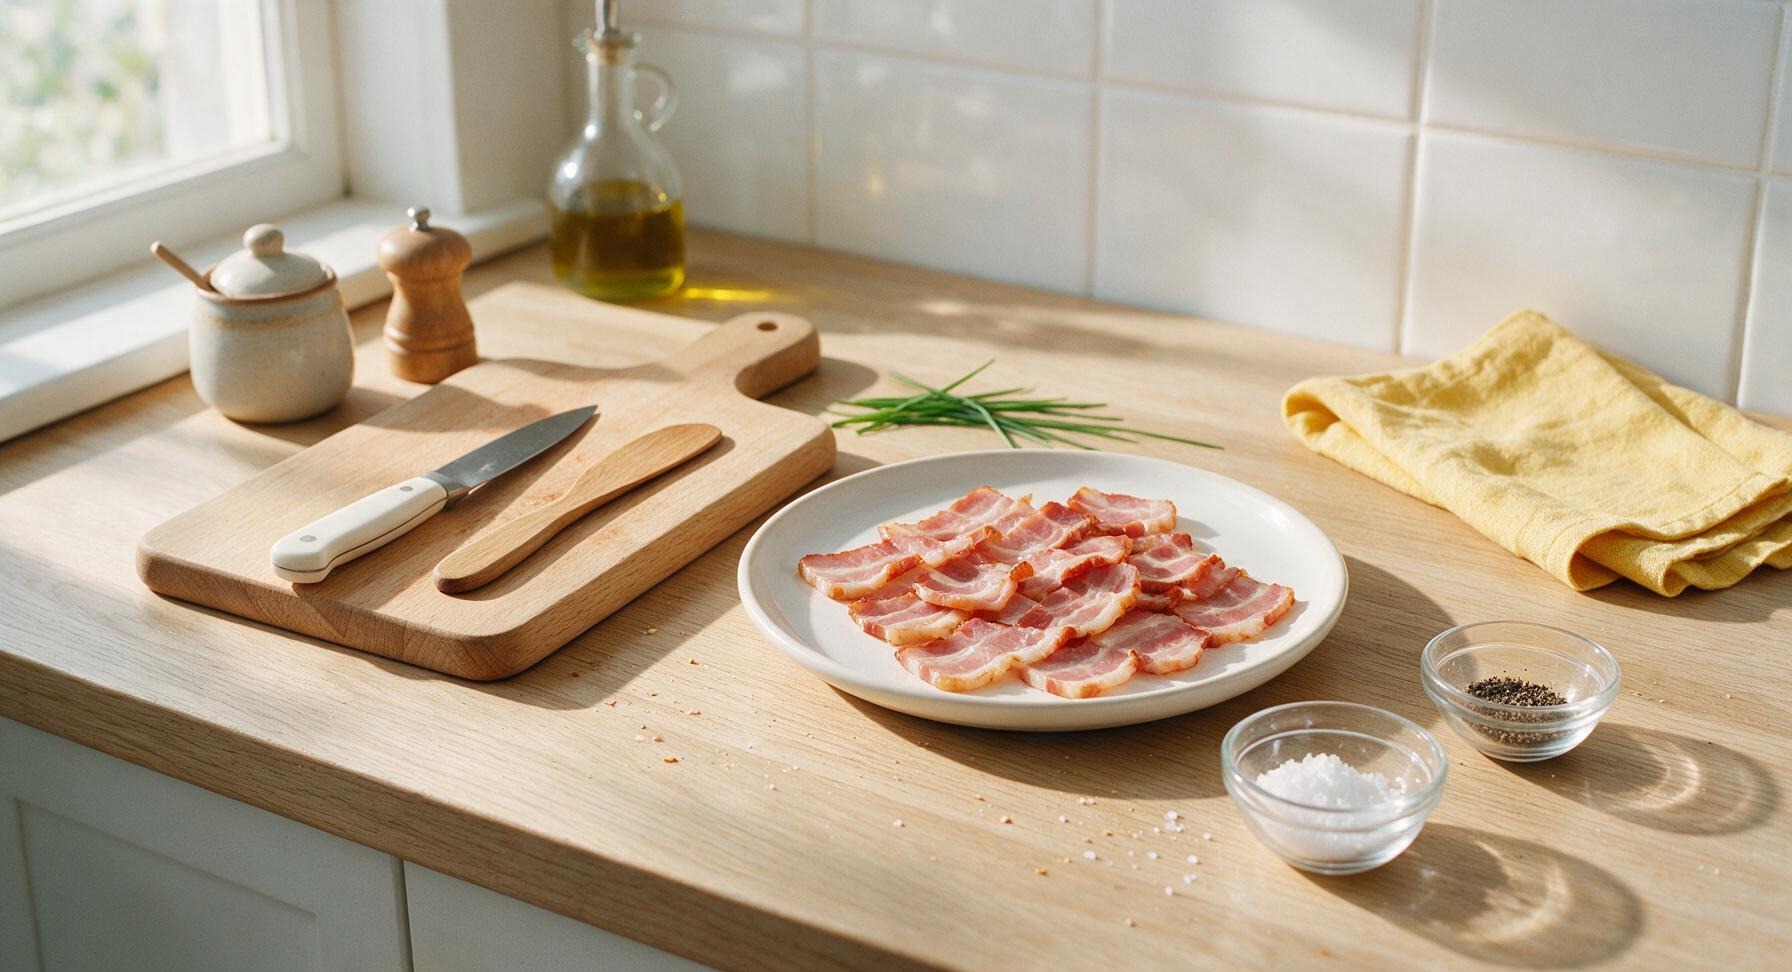
Thick-cut pork bacon 12 oz (approx 12 slices)
Flaky sea salt 1/4 tsp
Freshly ground black pepper (optional) 1/8 tsp

Steps

1

Preheat Oven, Line Pan

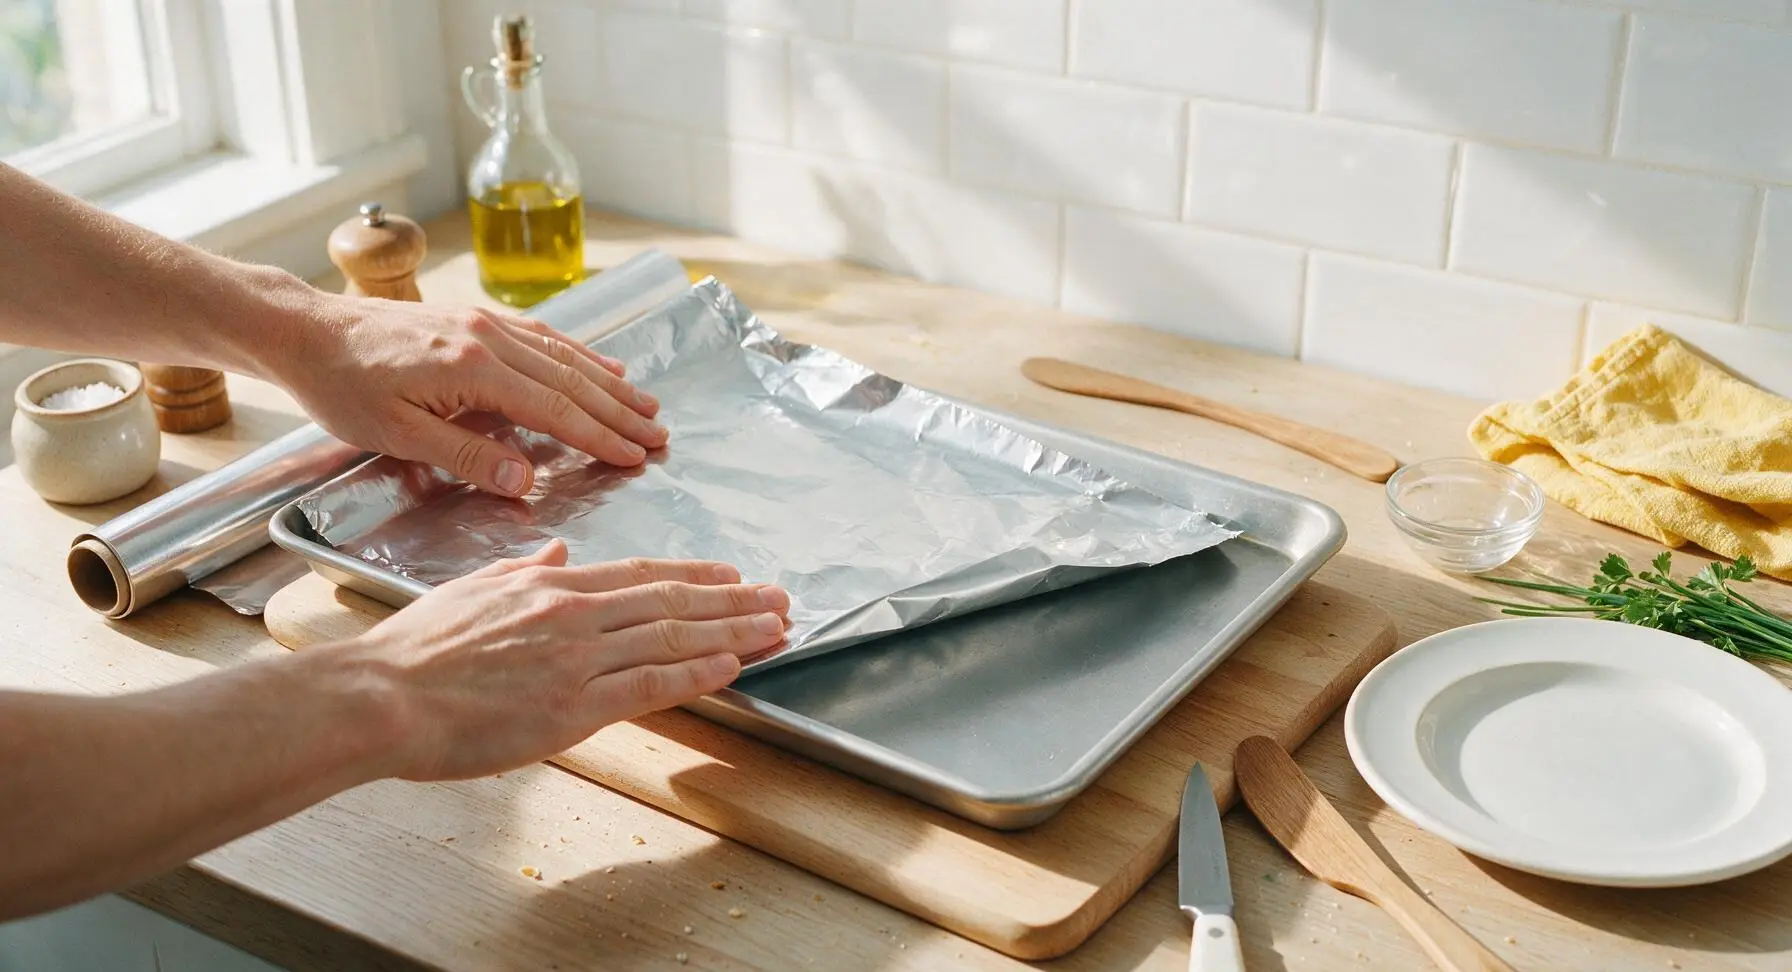
Adjust your oven rack to the middle position, then preheat the oven to 400°F (200°C). Tear a 20-inch sheet of heavy-duty aluminum foil large enough to line the entire interior and 1-inch raised sides of the 18x13 inch matte silver baking sheet. Press the foil smoothly into the pan, crimping edges tight to the rim to catch all rendered bacon grease and make cleanup completely effortless. Do not use broil setting at any point, as high direct heat will burn bacon edges before fat renders.
Step 1
step1:Preheat Oven, Line Pan
2

Set Rack in Pan

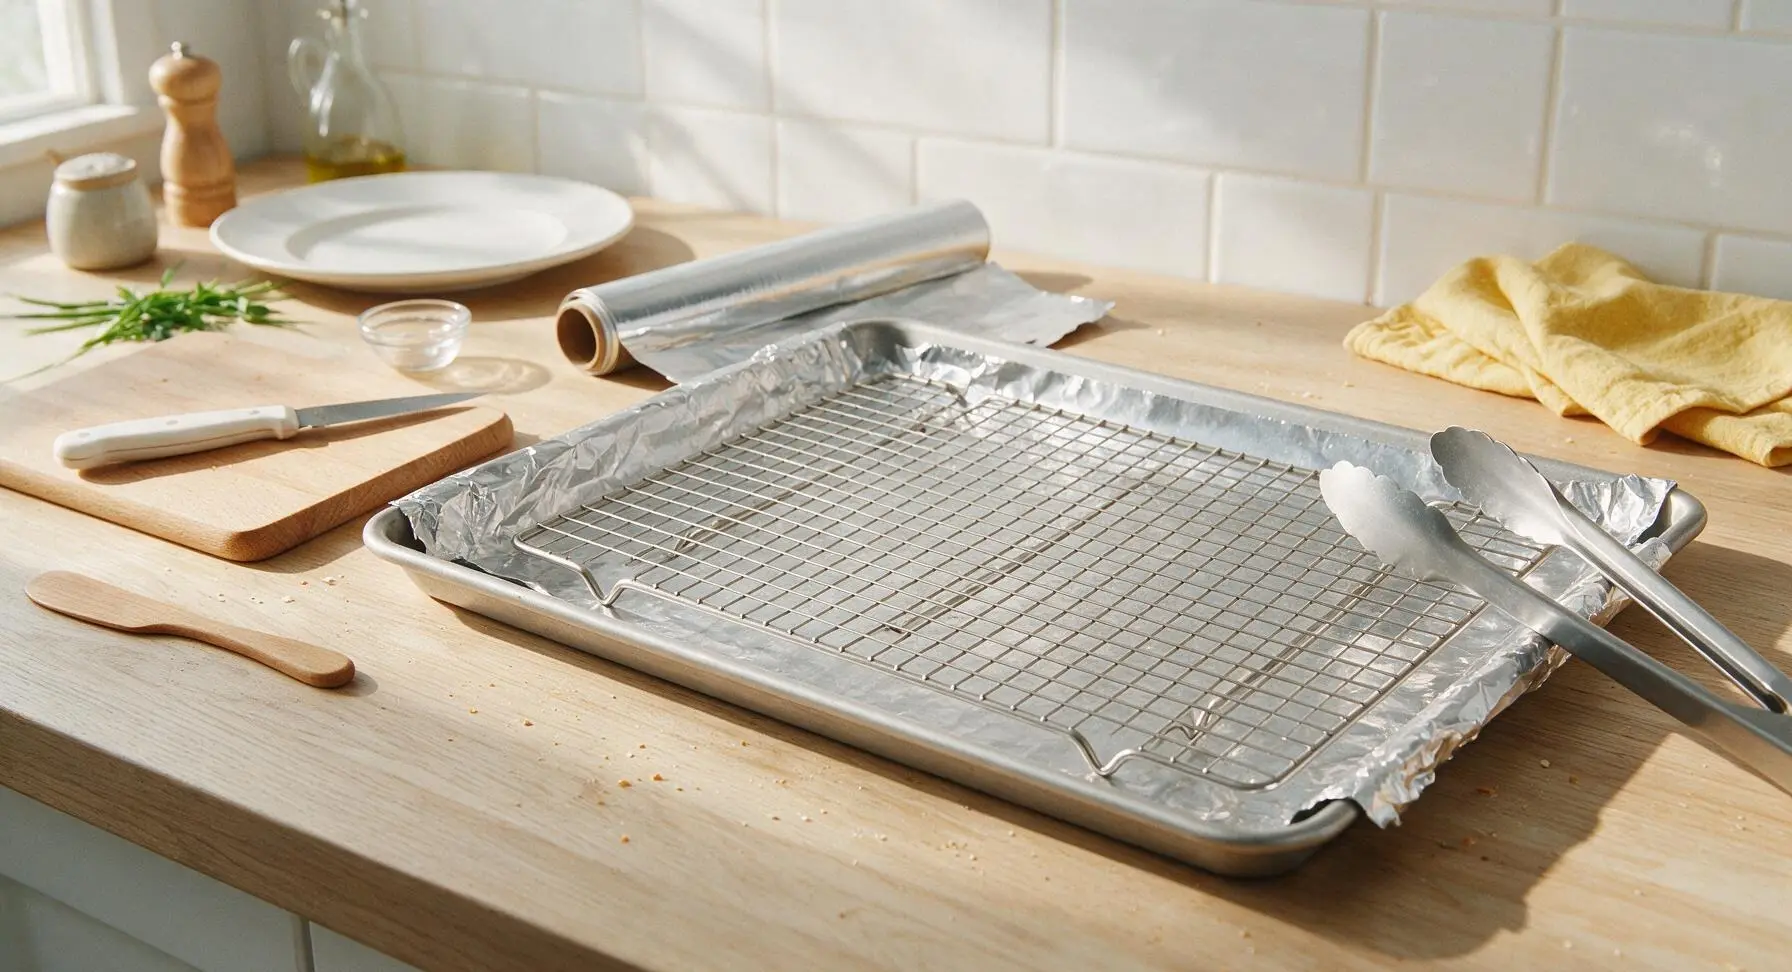
Set the matte silver stainless steel wire cooling rack directly inside the foil-lined baking sheet, ensuring it sits level with its ½-inch raised feet resting flat on the pan bottom. The ½-inch gap between the rack and foil surface is critical: it allows hot oven air to circulate fully under the bacon for even crisping on all sides, lets grease drip away so bacon does not sit in pooled fat, and eliminates the need to flip slices during cooking. A light coating of nonstick spray on the rack is optional, but not required for thick-cut bacon.
Step 2
step2:Set Rack in Pan
3

Arrange Bacon Slices

Remove the thick-cut bacon slices from their packaging, separating each strip carefully to avoid tearing the meat. Lay slices in a single, even layer across the wire rack, leaving ¼-inch of space between each strip to allow unobstructed air flow. Do not overlap slices, as overlapping sections will steam instead of crisping. For a full 12oz package, angle slices slightly diagonally to fit all strips without crowding the rack.
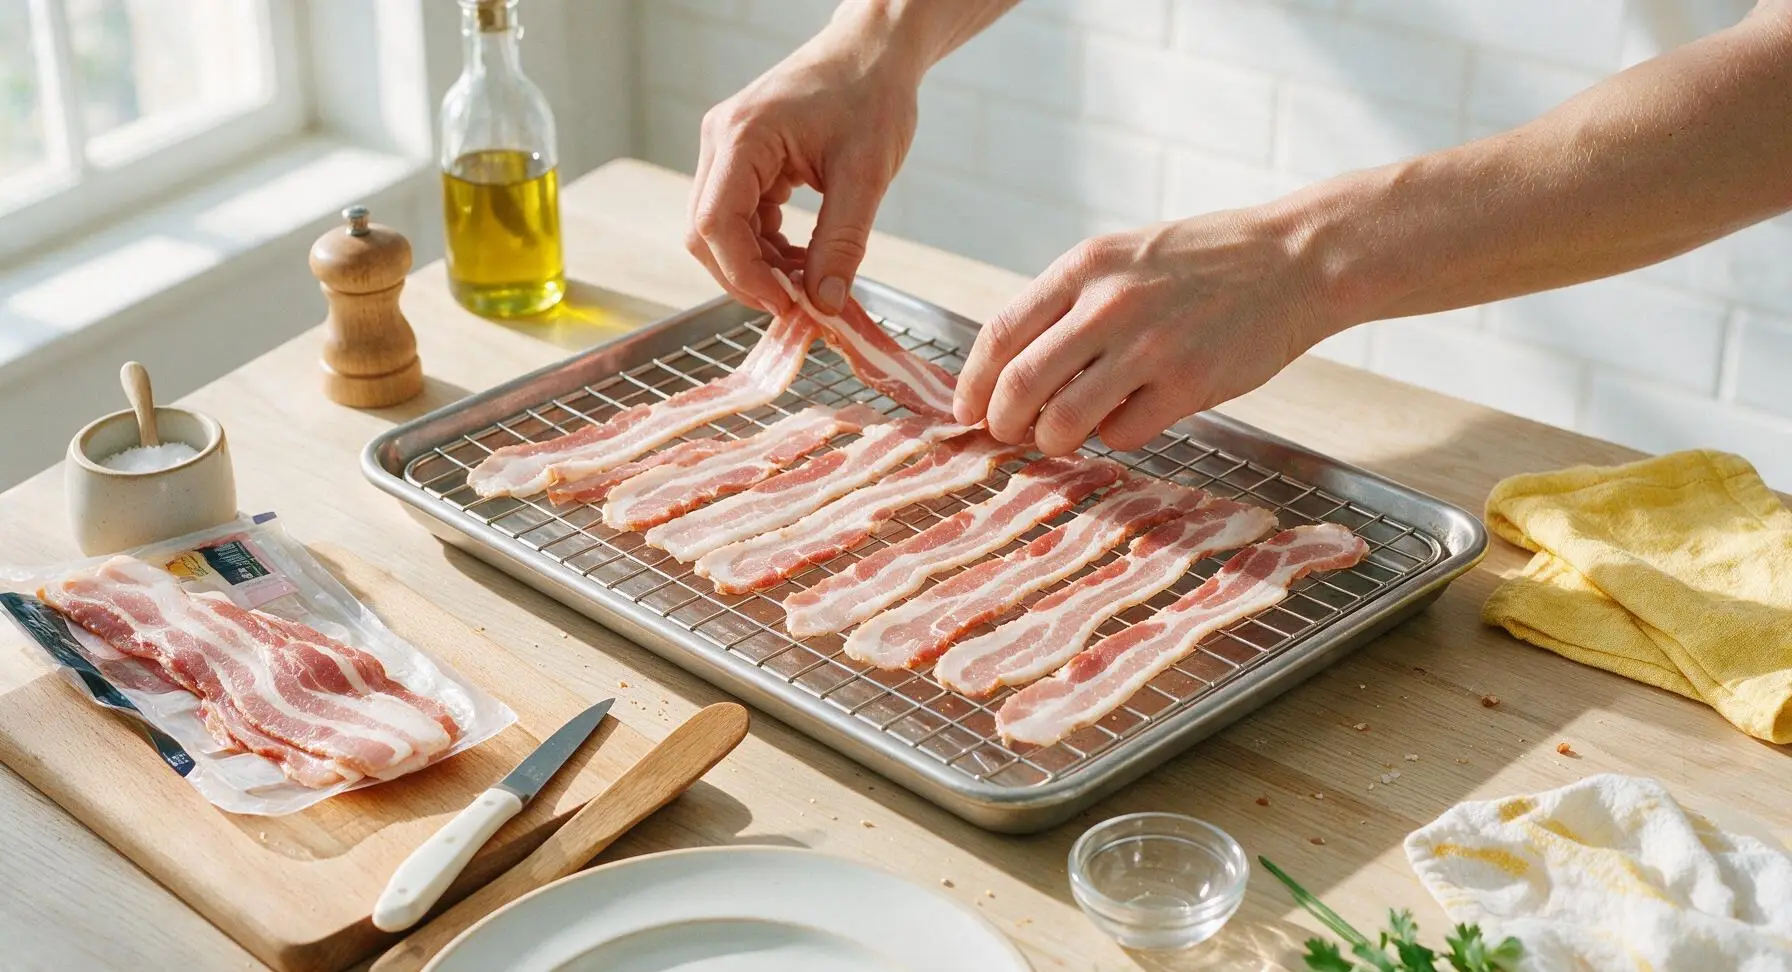
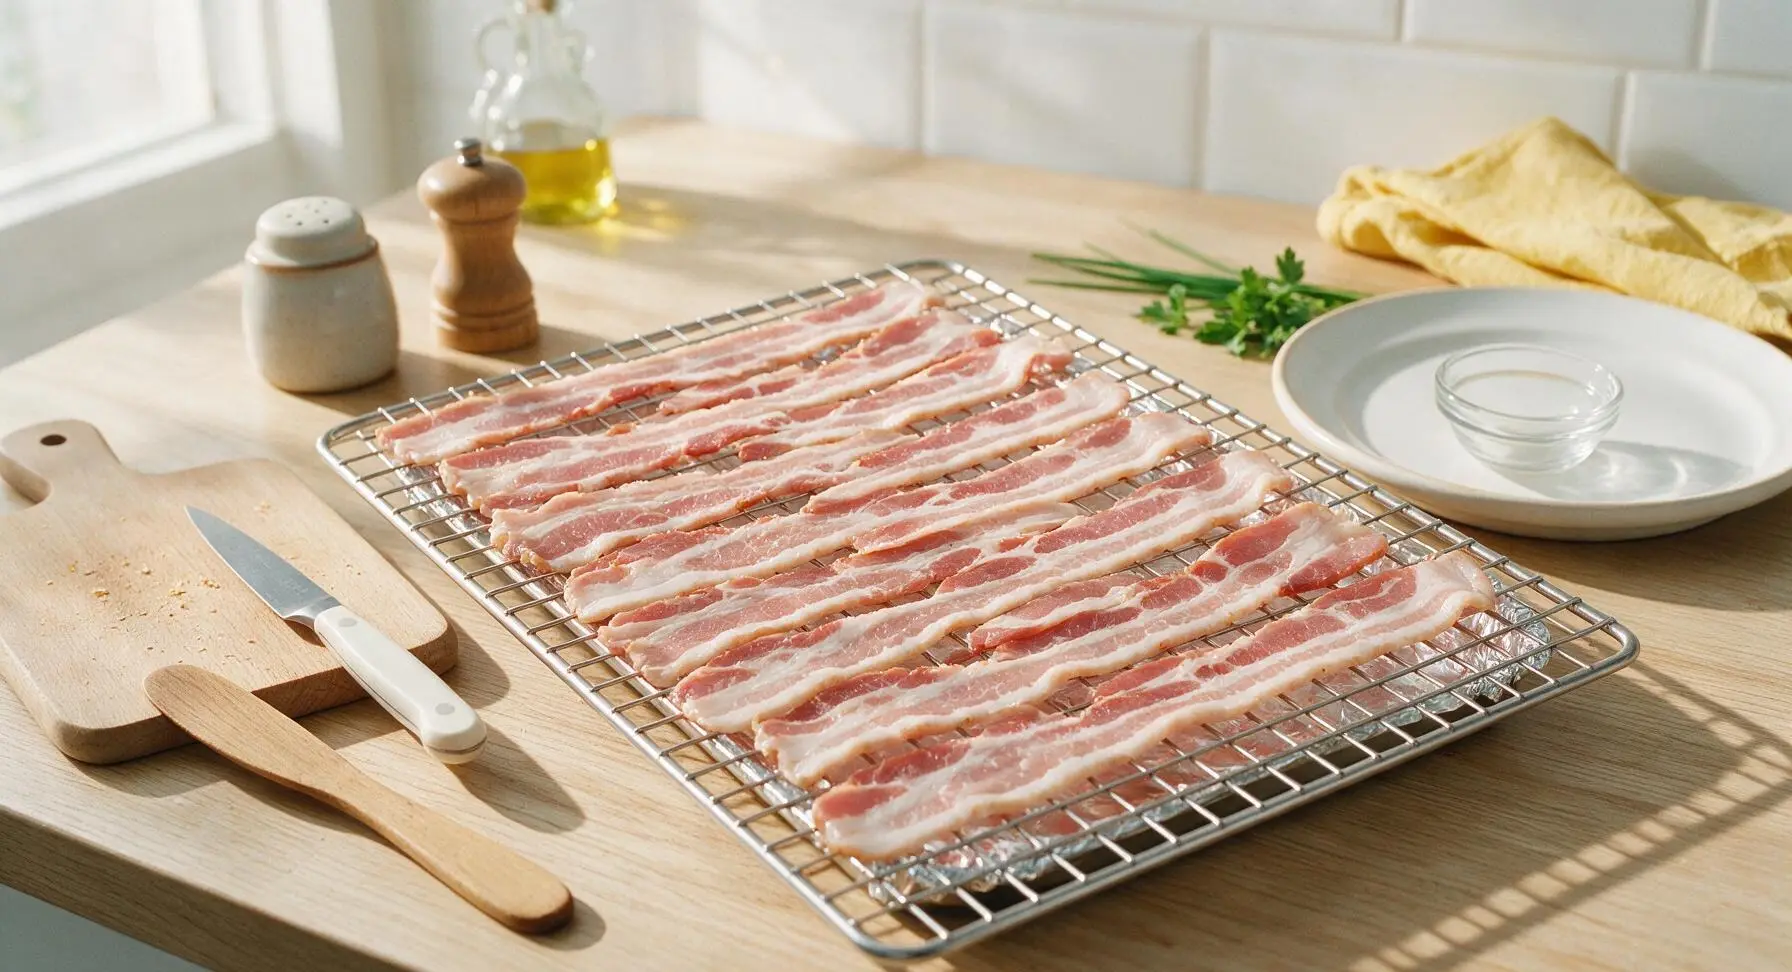
Step 3
step3:Arrange Bacon Slices
Step 3
step3:Arrange Bacon Slices
4

Bake Until Golden

Carefully transfer the baking sheet with rack and arranged bacon to the preheated middle oven rack. Bake for 15-20 minutes, without opening the oven door for the first 12 minutes to maintain consistent oven temperature. Thinner cut bacon will finish cooking closer to 15 minutes, while thick-cut bacon will take 18-20 minutes. Watch for deep golden-brown color, slightly curled edges, and gently bubbling rendered fat as key visual cues of doneness.
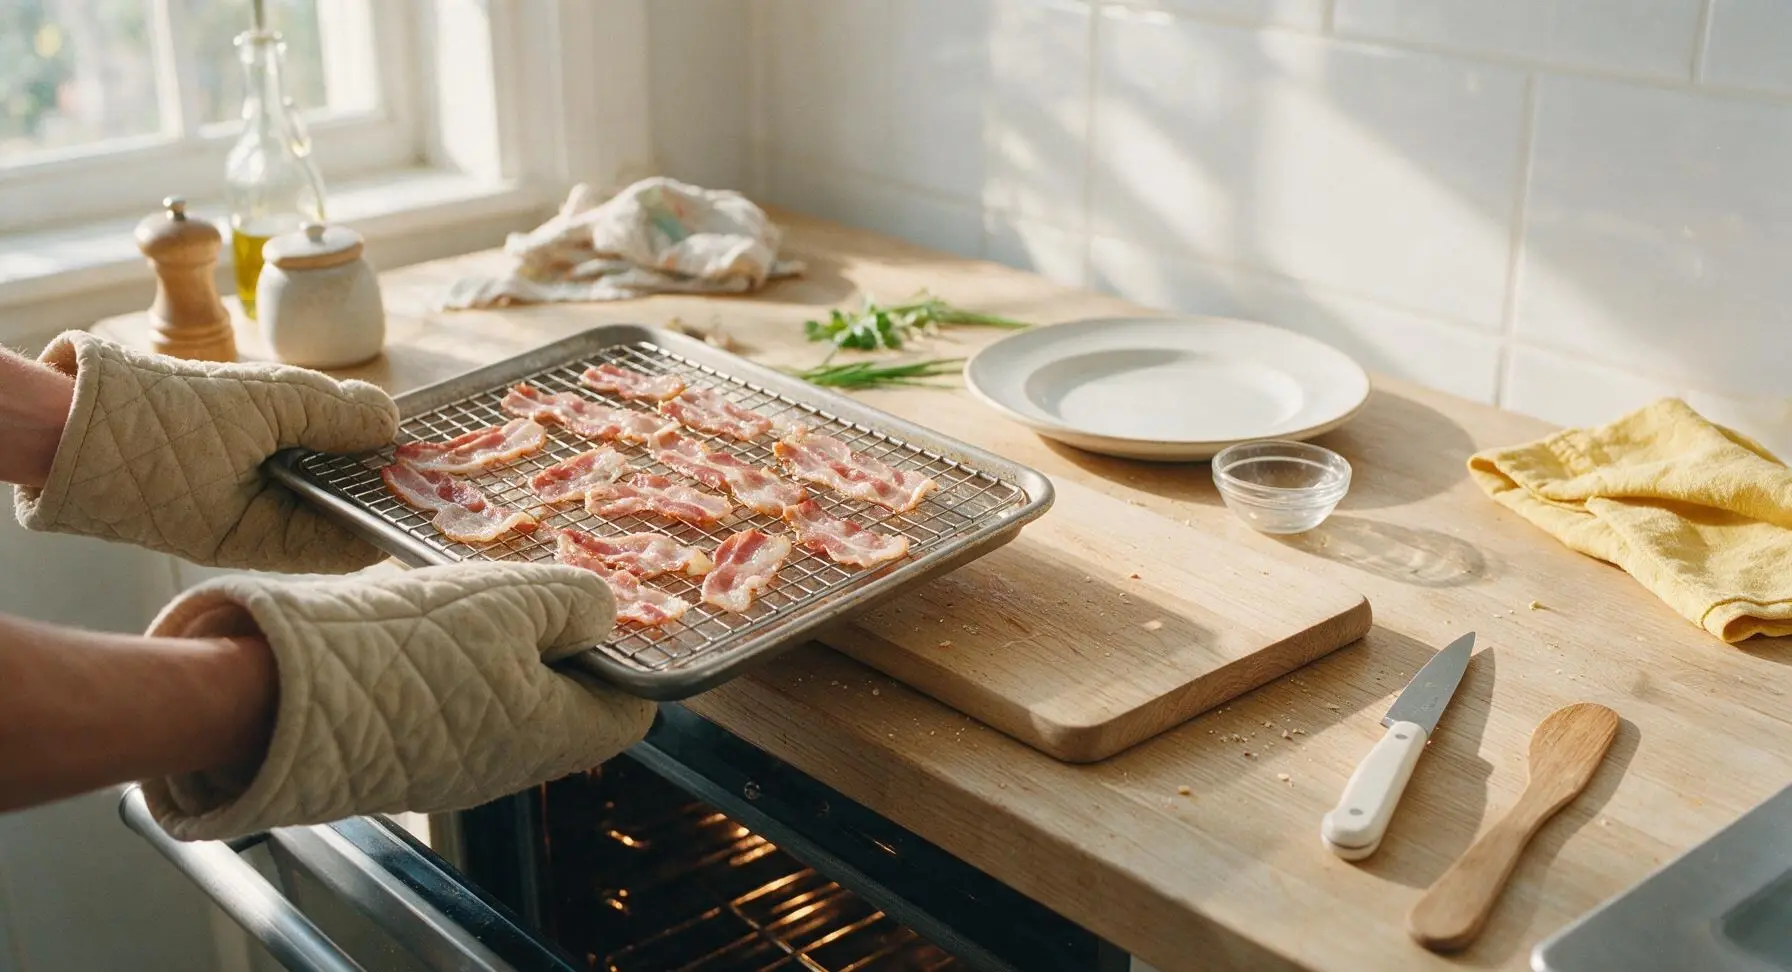
Step 4
step4:Bake Until Golden
5

Check Doneness Level

After 15 minutes of baking, pull the oven rack out slightly to check bacon doneness. Bacon is ready when it reaches a deep golden amber color, edges are slightly curled, and fat is fully rendered with no raw, translucent white sections remaining. For extra-crispy bacon, cook for 1-2 additional minutes, watching extremely closely to avoid burning, as bacon can go from perfectly crisp to charred in under 60 seconds.
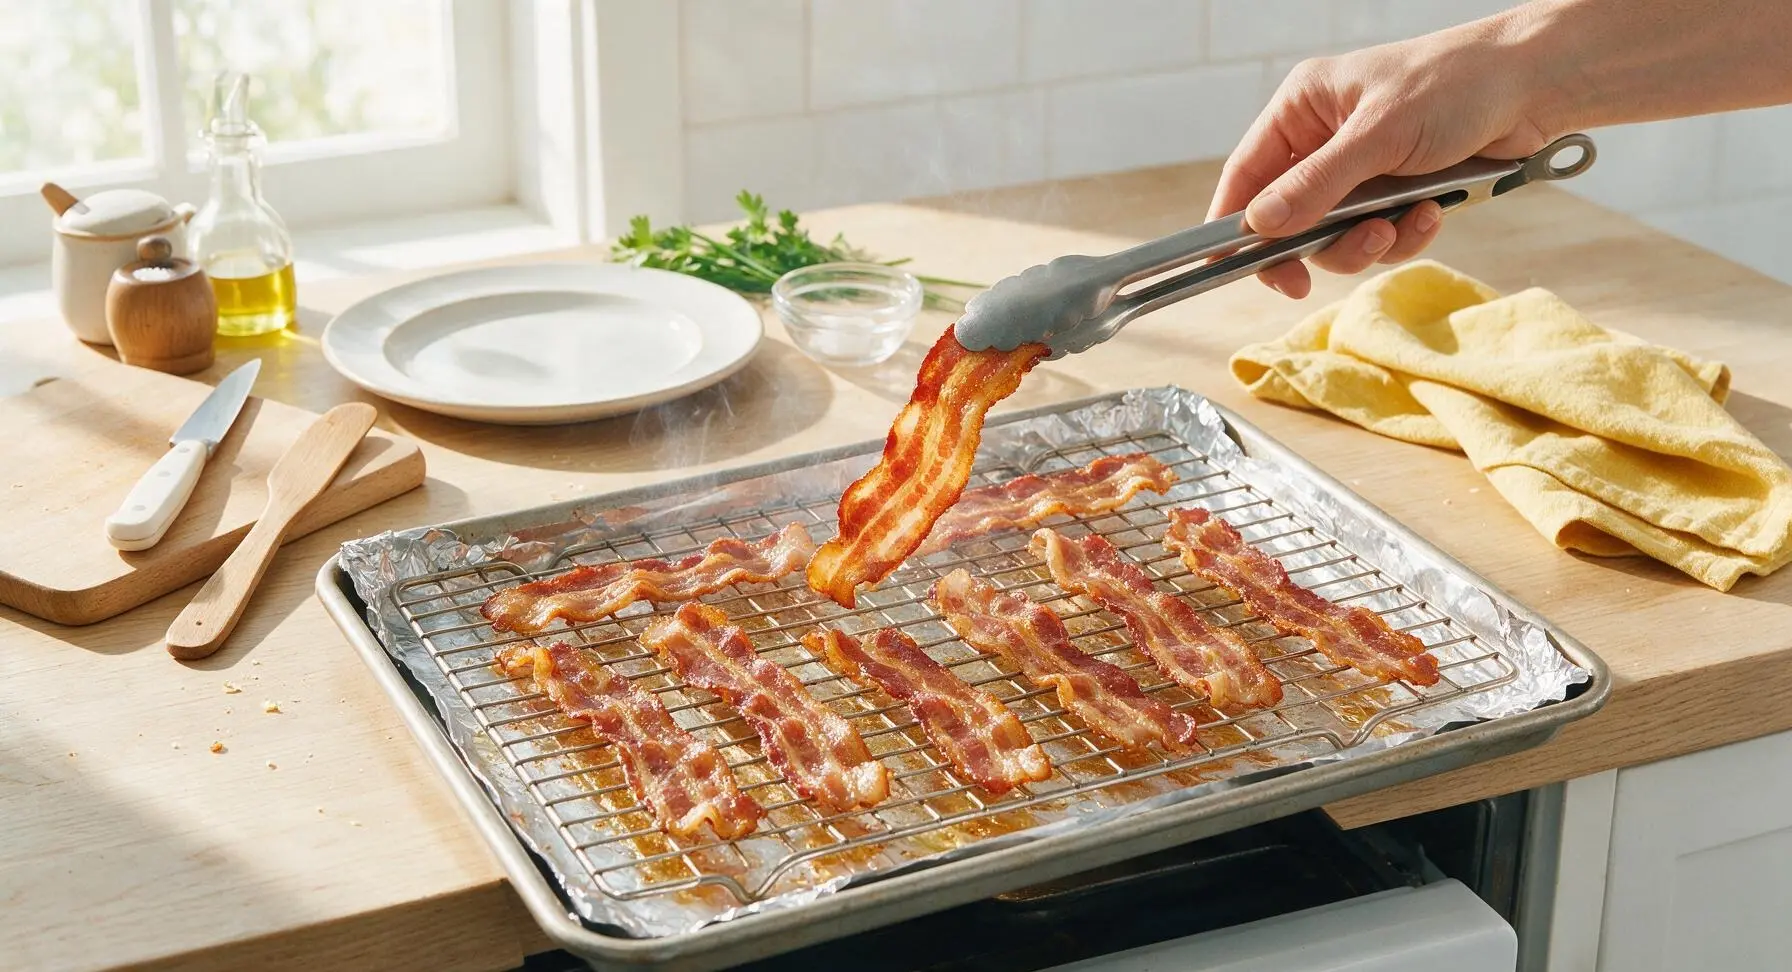
Step 5
step5:Check Doneness Level
6

Drain Excess Grease

Once bacon reaches your desired crispness, use the silicone-tipped tongs to transfer strips immediately from the wire rack to the cream white ceramic dinner plate lined with 2 layers of white paper towel. Let bacon rest for 1 minute to allow excess surface grease to absorb into the paper towels; this will keep strips crisp instead of soggy. Do not let bacon cool fully on the wire rack, as residual heat from the pan will continue to cook strips and may make them overly brittle.
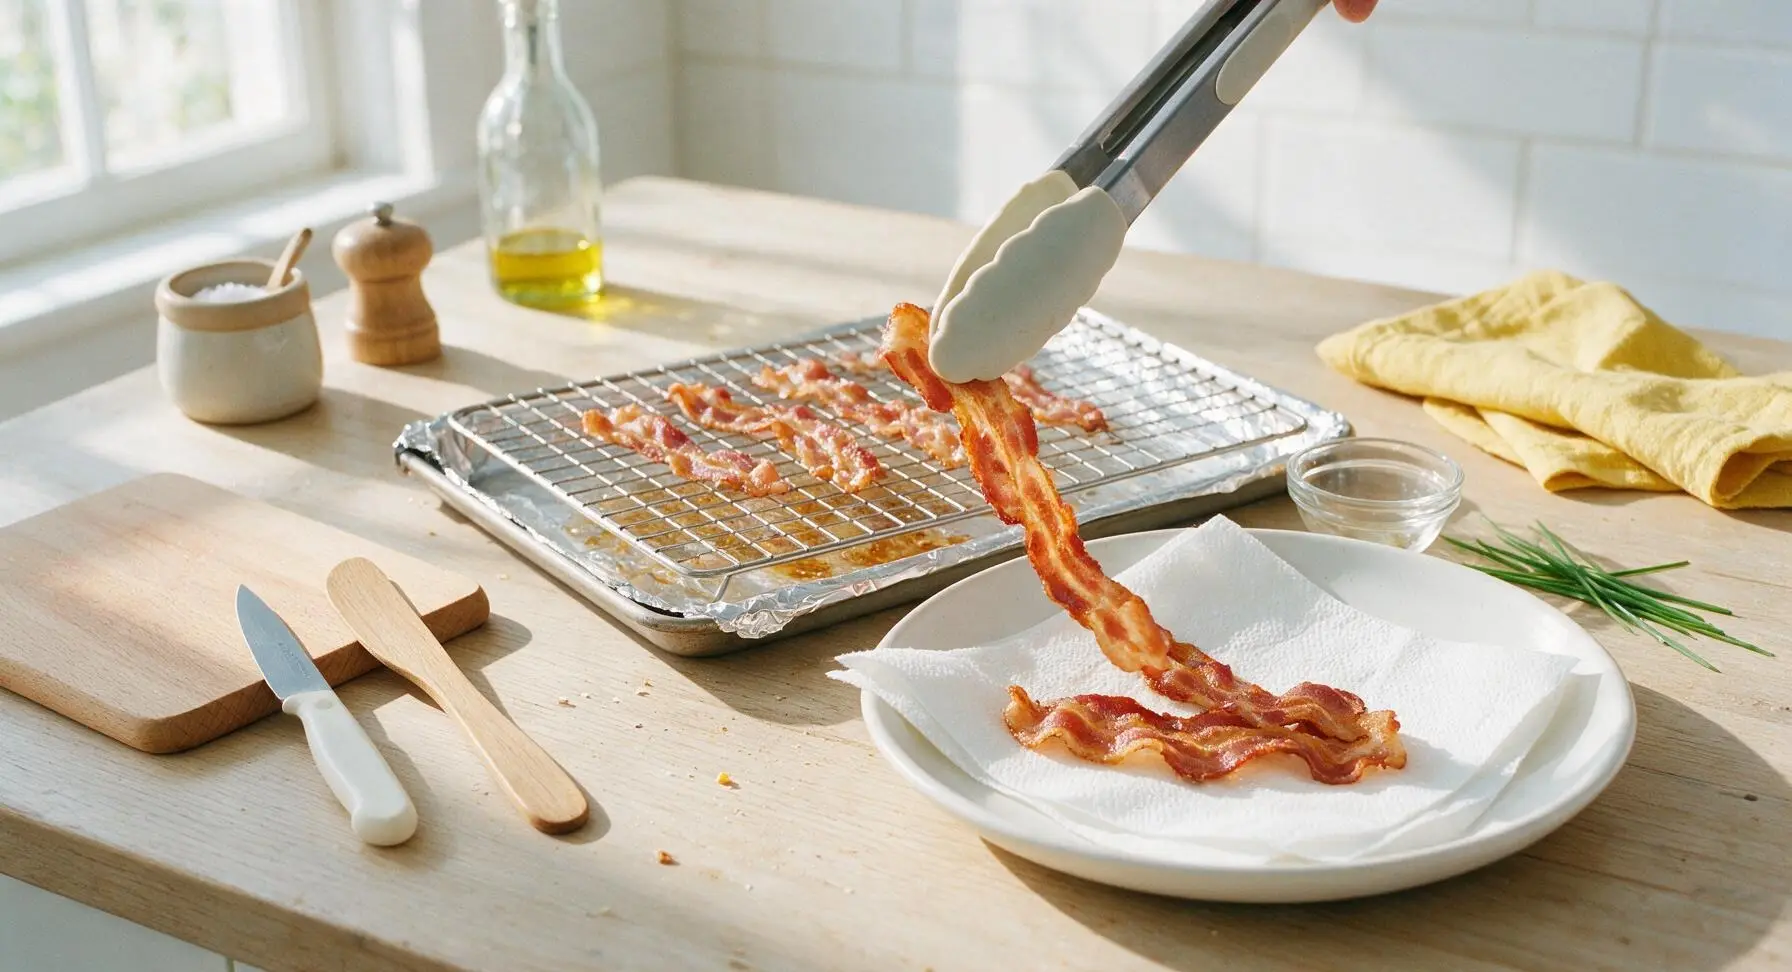
Step 6
step6:Drain Excess Grease
7

Season and Serve

While the bacon is still warm, sprinkle lightly with flaky sea salt and a tiny pinch of freshly ground black pepper if desired. Remove and discard the grease-stained paper towels from the plate, then arrange bacon strips neatly for serving. Let the grease in the foil-lined pan cool completely for 30 minutes before folding up the foil and discarding, or strain and save the rendered bacon fat in a glass jar for other cooking uses.
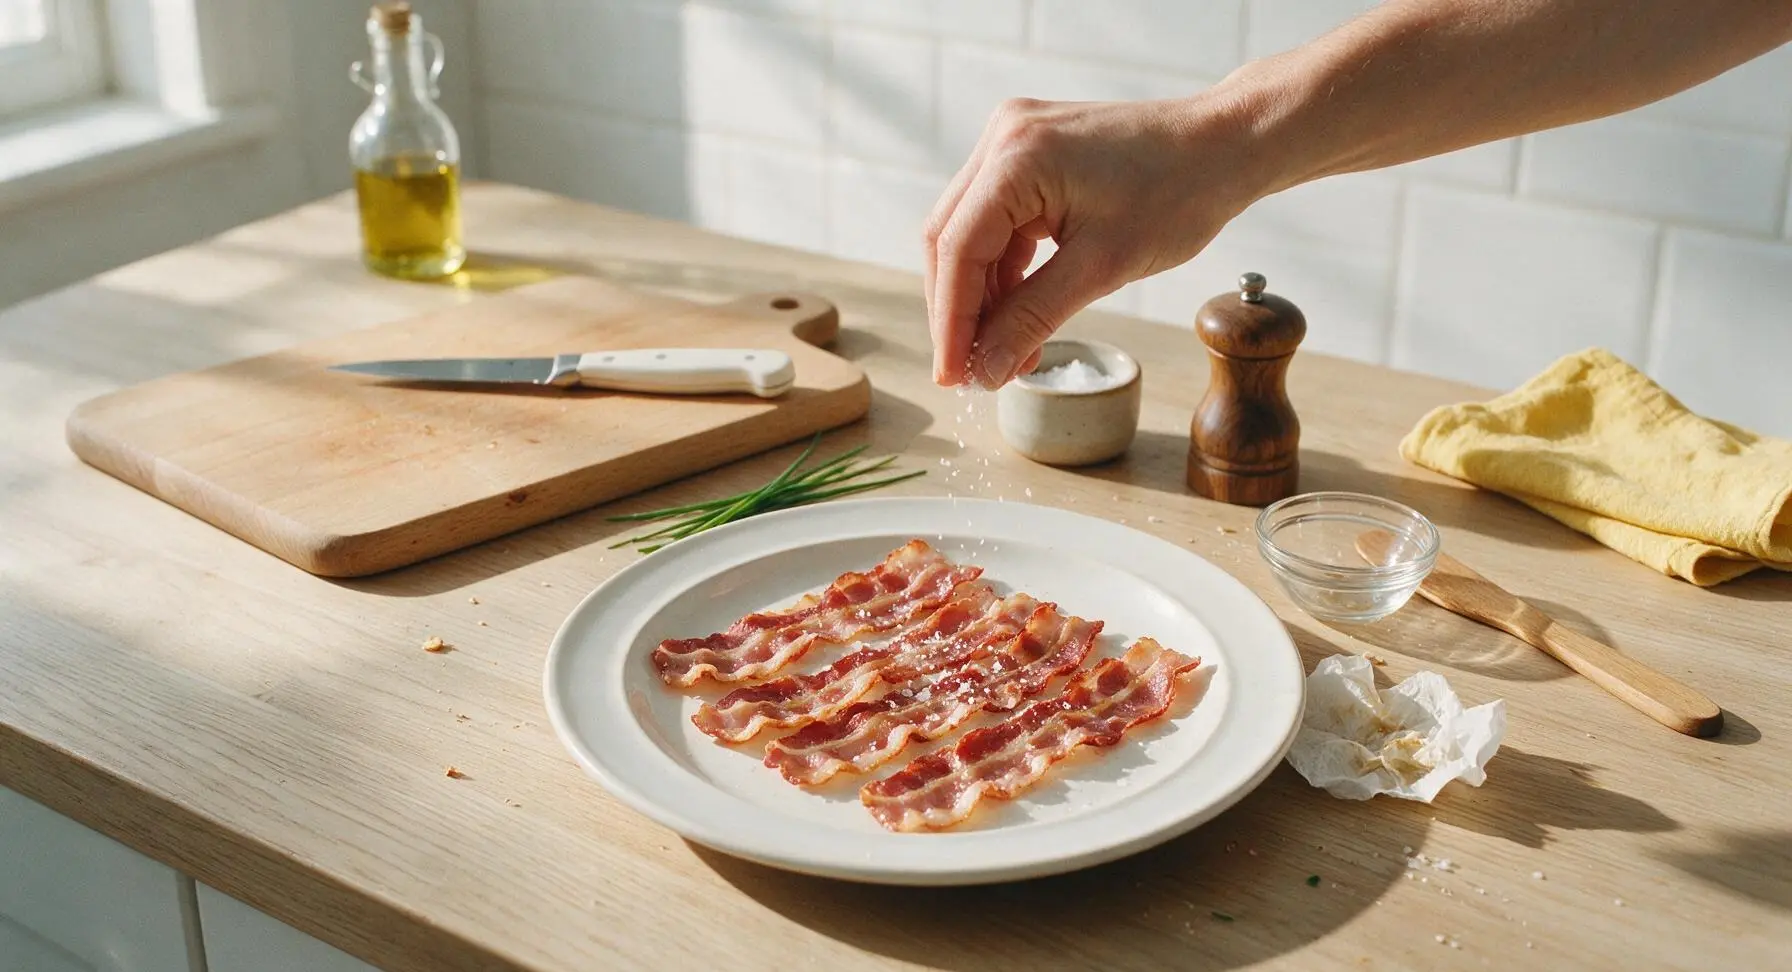
Step 7
step7:Season and Serve

Tips

1.If using thin-cut bacon, line the wire rack with a sheet of parchment paper cut to fit before laying down strips: thin slices shrink significantly as they cook and can slip through the ½-inch grid gaps, falling into the grease below.
2.Never set the oven higher than 400°F for rack-cooked bacon: higher temperatures cause bacon fat to splatter heavily inside the oven, burn strip edges before the fat fully renders, and lead to unevenly cooked, bitter-tasting bacon.
3.Allow rendered bacon grease to cool fully in the foil-lined pan for 30 minutes before handling: pouring hot grease down drains causes permanent pipe clogs over time, and solidified cooled grease can be easily discarded or stored for frying eggs, roasting potatoes, or making savory dressings.


✨ You May Also Like

Breakfast
🍜 United States

Crisp-edged, fluffy lard griddle cakes are a nostalgic homestyle staple, with rich savoriness from rendered lard, perfect topped with maple syrup or savory gravy.

⏱️ 25 minuteBreakfast ★ 4.8
Breakfast
🍜 United States

Flaky, buttery homemade buttermilk biscuits smothered in creamy, peppery pork sausage gravy: a beloved, hearty Southern American comfort food classic.

⏱️ 35 minuteBreakfast ★ 4.8
Breakfast
🍜 United States

Golden, custardy brioche stuffed with sweet cream cheese and fresh berries, pan-fried to crisp perfection. An indulgent, cozy breakfast perfect for slow weekend mornings.

⏱️ 30 minuteBreakfast ★ 4.7
Breakfast
🍜 United States

Flaky, buttery Southern-style biscuits stuffed with savory salty country ham, a portable, satisfying classic perfect for casual on-the-go meals.

⏱️ 25 minuteBreakfast ★ 4.8
Breakfast
🍜 United States

Iconic puffy baked pancake popularized in Seattle, with crisp golden edges and soft custardy center, served warm with classic sweet toppings.

⏱️ 35 minuteBreakfast ★ 4.6
Breakfast
🍜 United States

Fluffy, golden pancakes studded with juicy peak-summer mixed berries, drizzled with maple syrup for a bright, comforting, crowd-pleasing family breakfast.

⏱️ 25 minuteBreakfast ★ 4.7

cooking bacon in the oven on a rack:Frequently Asked Questions

1.Do I really need to use a rack, or can I cook bacon directly on the baking sheet? ▾
You can cook it directly on the sheet, but you won’t get that perfectly even, all-over crisp without a rack. Elevating bacon lets hot oven air circulate around every strip, lets excess rendered fat drip away instead of letting bacon sit in grease, and eliminates the need for flipping halfway through. Direct sheet cooking leads to soggy, uneven spots and extra hands-on work.
2.What oven temperature works best for this method, and do I need to preheat? ▾
Stick to 400°F (375°F if using convection) for the most consistent results, and always preheat your oven fully for 10 to 12 minutes before adding the bacon. A fully preheated oven renders fat gradually instead of shocking it, cuts down on cook time, and prevents strips from sticking to the rack as they start to cook.
3.How thick should the bacon be for this rack-cooked method? ▾
Thick-cut bacon (about 1/8-inch thick per slice) is ideal here, because it holds its shape on the rack, renders slowly without burning, and gets that perfect chewy-crisp texture most people love. Thin regular-cut bacon works too, but cut cook time by 3 to 5 minutes to avoid brittle, overcooked strips that slip through rack gaps.
4.Should I line the baking sheet under the rack for easier cleanup? ▾
Absolutely—this is the biggest hack for zero-mess bacon. Line the rimmed baking sheet under the rack with heavy-duty aluminum foil or parchment paper before adding the rack and bacon. All rendered fat drips onto the liner, so once everything cools, you just lift the liner out and toss it, no scrubbing caked-on grease required.
5.Will this method cause bacon grease to splatter all over my oven? ▾
This method is nearly splatter-free, which is one of its biggest perks over stovetop cooking! Because bacon cooks slowly with even, dry oven heat instead of direct high burner heat, you won’t get the violent grease pops that coat your stovetop. For extra protection, lay a loose foil sheet over the rack for the first 10 minutes of cook time.
6.Do I really not have to flip the bacon at all while it cooks? ▾
Nope, no flipping required when you use a rack! The open grid of the rack lets hot air reach both the top and bottom of every strip evenly as it cooks, so both sides crisp up at the same rate. Flipping is unnecessary extra work, and it can cause partially cooked, soft bacon to tear or stick to the rack if moved too early.
7.How long does it take to cook bacon to perfect crispness in the oven? ▾
For standard thick-cut bacon at 400°F, plan for 18 to 22 minutes total, depending on how crispy you like it. Start checking at the 16-minute mark, since home oven temperatures can vary slightly. Look for deep golden, wavy edges and evenly rendered fat—pull it early for chewier bacon, or leave it 2 minutes extra for shatter-crisp strips.
8.Why is my bacon sticking to the rack when I try to remove it? ▾
Sticking almost always happens for one of three reasons: your oven wasn’t fully preheated, you moved the bacon too early before fat rendered, or your rack has caked-on old food residue from previous uses. You don’t need to grease the rack, but a quick pre-use scrub and waiting for fat to render eliminates 99% of sticking issues.
9.Can I season the bacon with anything other than salt and pepper? ▾
Absolutely! Flaky sea salt and black pepper make a perfect simple base, but you can add a pinch of brown sugar for candied bacon, smoked paprika for extra smokiness, cayenne for heat, or light ranch seasoning before baking. Just go light on sugary seasonings, since they burn quickly at 400°F if applied too heavily.
10.What should I do with the rendered bacon fat that drips onto the sheet? ▾
That rendered fat is liquid gold, so don’t throw it out! Once you finish cooking, let the fat cool for 10 minutes until it’s liquid but not scalding, then strain it through a fine-mesh sieve into a glass jar. Store it sealed in the fridge for up to 3 months to use for frying eggs, roasting veggies, or adding smoky flavor to dishes.
11.Can I use a regular wire cooling rack for this recipe, or do I need a special oven rack? ▾
As long as your wire cooling rack is labeled oven-safe (most heavy-duty stainless steel racks are), it works perfectly for this recipe. Avoid thin, nonstick-coated cooling racks not rated for high heat, as their coating can chip or release fumes at 400°F. Make sure the rack fits snugly in your rimmed sheet to prevent slips.
12.My bacon came out chewy and under-crisped—what went wrong? ▾
Chewy, under-rendered bacon usually stems from one of two issues: your oven temperature was too low, or you pulled the bacon out too early before the white fat fully rendered. Use an inexpensive oven thermometer to confirm your oven is calibrated correctly, and cook until fat is translucent and golden, not opaque white, for crisp results.
13.Can I cook frozen bacon with this rack method, or do I need to thaw it first? ▾
You can absolutely cook frozen bacon on the rack without thawing first! Just add 5 to 7 minutes to the total cook time, and arrange frozen strips in a single layer with no overlapping. Even oven heat will thaw and cook strips evenly, though you may want to start checking for doneness a minute early to avoid overcooking.
14.Do I need to leave space between bacon strips on the rack? ▾
Yes, leave about 1/4 inch of space between each strip, and don’t overlap them at all. If strips are touching or layered, the contact points won’t get proper air circulation, leading to soft, undercooked, pale patches. A standard half-sheet pan with a fitted rack holds about 12 thick-cut bacon strips perfectly spaced for even cooking.
15.Should I let bacon come to room temperature before baking, or use it straight from the fridge? ▾
There’s no need to let bacon come to room temperature first—cold bacon straight from the fridge works perfectly for this method. Starting with cold bacon actually helps fat render more gradually as the oven heats, leading to more even cooking and less shrinkage than room-temperature bacon that seizes up fast when it hits hot air.
16.How do I store leftover cooked bacon, and reheat it without sogginess? ▾
Let cooked bacon cool fully, then store it in an airtight container lined with paper towels in the fridge for up to 5 days. To reheat, lay strips back on a wire rack in a 350°F oven for 3 to 4 minutes until hot and crisp again. Skip the microwave, which turns bacon rubbery and soggy by trapping steam against the strips.
17.Will small bacon pieces fall through the gaps in the rack while cooking? ▾
Thick-cut bacon is sturdy enough that it won’t fall through standard 1/2-inch rack gaps as it cooks, even as it shrinks slightly. If you’re using extra-thin bacon or cooking chopped bacon bits, lay a slit-cut piece of parchment over the rack to catch small pieces while still letting air circulate and fat drip away freely.

Comments (19)

2 days ago

Used this method for our weekend brunch potluck with the neighbors and everyone was asking how I got the bacon so evenly crispy. No more standing over a hot skillet flipping strips while guests show up! So easy, zero mess, absolutely perfect every time. Already added this to my regular meal prep rotation for weekday breakfasts too.

5 days ago

As someone who burns literally 50% of everything I cook, this was foolproof. Set a timer for 18 minutes, didn’t even peek, and it came out exactly like the photos. Didn’t even have to flip it?? Wild. My roommate thought I ordered takeout breakfast lmao. SO good.

1 week ago

Great basic method! I lined my baking sheet with parchment under the rack for even easier cleanup, and cooked my extra-thick cut bacon for 22 minutes total since it was a little heftier than standard. Turned out great, only knocked a star because the 18 minute mark was a little too floppy for my preference with thick cut.

2 weeks ago

Made this to go with our pancake breakfast last Sunday and even my super picky father-in-law said it was the best bacon he’d ever had. Love that the grease drips away so it’s not sitting in a pool of fat while it cooks. Tastes way less greasy than pan-fried for sure.

just now

OMG, just pulled a batch out for my kids’ before-school breakfast and this was so hands off I could pack lunches while it cooked. My kids loved it, asked for seconds before I even got my own plate! No splatters all over my stovetop to scrub after, which is a win in my book. Crispy, salty, perfect. Will be a weekly staple.

3 days ago

Made two sheet pans worth of this for our office breakfast potluck yesterday and every single strip was gone in 10 minutes. People were going back for thirds! So much easier than making batch after batch in a pan. Game changer for feeding a crowd.

2 hours ago

Wait, do I need to preheat the oven first? I almost just stuck the bacon in before turning the oven on oops. Also can I use parchment paper under the rack to catch the grease so cleanup is easier?

1 hour ago

Great question! Yes, preheat your oven to 400°F before popping the tray in, and lining the baking sheet under the rack with parchment or aluminum foil is 100% recommended for super fast cleanup—just make sure the foil/parchment doesn’t cover the rack itself so air can circulate!

yesterday

This method works so well for turkey bacon too! I did 16 minutes instead of 18 since turkey bacon is thinner, and it came out perfectly crispy without getting that weird rubbery texture I usually get when I pan fry it. Only wish I’d thought to try this sooner!

12 hours ago

Oh thanks for the turkey bacon tip! I always struggle to get mine crispy without burning it, I’ll have to try the 16 minute mark next time I make a batch.

5 minutes ago

Just made this, literally just took the first bite and I’m blown away. Why did no one tell me baking bacon on a rack was this easy? I’ve been wasting so much time dodging grease splatters for years. This is chef’s kiss.

just now

So glad it worked out for you! Nothing beats perfectly crispy bacon without the stovetop mess, right? Thanks for giving the recipe a try!

5 days ago

Tasted great, but my oven runs hot so by 18 minutes the edges were pretty charred. I think next time I’ll drop the temp by 25 degrees and check it at 15 minutes to avoid burning. Still way less mess than frying, though!

4 days ago

Same thing happened to me! My oven is super old and runs hot too, 16 minutes at 375 was perfect for me, no burnt edges at all. Definitely play around with the timing based on your oven!

1 week ago

I make a batch of this every Sunday to add to breakfast sandwiches, salads, and even wrap around chicken for quick family weeknight dinners. It stays good in the fridge for 4-5 days no problem, and reheats in 30 seconds in the microwave. Absolute meal prep essential.

6 days ago

Love that meal prep hack! Pre-making a batch of bacon on Sunday is such a time saver for quick weekday meals, and we’re big fans of using leftover baked bacon on salads too. Great call!

2 weeks ago

Hosted a bridal shower brunch last weekend and made 3 packs of bacon using this method. I was able to bake two sheets at a time by rotating them halfway, and every batch came out consistent. No one guessed I didn’t slave over a skillet for an hour!

12 days ago

Wait, do you rotate the sheets top to bottom rack when you do two at a time? I tried doing two sheets once and the top one got way crispier than the bottom, would love to nail that for my next brunch!

2 days ago

Solid recipe! I sprinkled a little smoked paprika and black pepper on the bacon before baking and it elevated it so much. The rack method lets the seasoning stick really well instead of sliding off in a pool of grease like it does when I pan fry.

1 day ago

That seasoning hack sounds incredible! We love adding a little black pepper or even a light dusting of brown sugar for a sweet-savory twist too. So glad you enjoyed it!

yesterday

I was always scared to make bacon because my cat would jump on the counter and get hit with grease splatters when I fried it on the stove. This method? No splatters, oven door stays closed the whole time, cat is safe, bacon is perfect. Win win win.

20 hours ago

Oh my gosh same! My dog is always underfoot when I cook and I was terrified hot grease would splatter on him. The oven method is a total game changer for pet owners lmao

3 days ago

I used really thick cut artisanal bacon for this and 18 minutes left it way too chewy for my taste. I ended up putting it back in for 7 more minutes to get it to the crispiness I like. Is this timing only for regular thin grocery store bacon?

2 days ago

Dude thick cut always needs extra time! I do thick cut from our local butcher all the time and 23-25 minutes is perfect, no chew at all. Just keep an eye on it after 20 minutes so it doesn't burn.

2 days ago

Great question! The 18 minute cook time is calibrated for standard 1/16” thick grocery store bacon. For extra-thick cut bacon, we recommend adding 4-7 minutes to the cook time, checking at the 20 minute mark for your preferred crispiness. Hope that helps!

1 week ago

I made this last weekend and it was so good! Only issue is I don’t actually own a wire rack so I put it straight on the foil lined sheet, and it was a little greasier than I expected. Wait, do I have to use a wire rack to get the full non-greasy effect? I’m craving bacon again for breakfast this weekend and want to get it right!

6 days ago

I’ve done it without a rack before! It still tastes good, you just have to flip it halfway through and it won’t get as evenly crispy on both sides, and it’ll sit in the grease a little more. Still better than stovetop frying imo!

6 days ago

You can absolutely make it without a rack if you don’t have one handy! Just flip the bacon halfway through cooking to help it crisp evenly, and drain the strips on a paper towel lined plate when they come out to soak up excess grease. The rack just helps air circulate for all-over crispiness without flipping, but it’s not required!

2 weeks ago

Tried this last weekend with a little maple syrup brushed on the last 2 minutes of cook time and it was INSANE. Crispy, salty, a little sweet, perfect for brunch. My husband asked if we can have it every single Sunday now lmao.

12 days ago

Oh that maple syrup trick sounds so good! Do you use regular pancake maple syrup or the real dark stuff? I’ve been wanting to make candied bacon but didn’t want to deal with the stovetop mess.

11 days ago

I just used the regular pure maple syrup I had in the fridge for pancakes! Just a light brush, don’t douse it or it’ll get sticky and burn. It’s so good, you have to try it!

5 days ago

Loved how the bacon came out, but I felt like the grease dripped through my rack and got all over the edges of my baking sheet even with foil, so I still had a little scrubbing to do. Any tips for less cleanup?

4 days ago

Great question! For zero-scrub cleanup, make sure your sheet of foil or parchment comes all the way up the sides of the baking sheet, not just covering the flat bottom. That way any splatters or dripping grease stays on the liner instead of getting on the pan edges. Works like a charm!

3 days ago

Second the foil up the sides trick! I used to just line the bottom too and had the same issue, once I started crimping the foil up the edges cleanup takes literally 30 seconds, no scrubbing required.

30 minutes ago

Wait, can I put the bacon in a cold oven or do I have to wait for preheat? I’m making this for my girlfriend for our first anniversary brunch and I don’t want to mess it up lmao, I’m so nervous.

5 minutes ago

Bro definitely preheat first! I tried putting it in a cold oven once and half of it was undercooked and the other half got overcrisped. Preheat to 400, set the timer for 18, you got this, she’s gonna love it!

just now

You’ve got this! Definitely wait for the oven to fully preheat to 400°F before putting the bacon in for even, consistent cooking. The fact you’re making her homemade bacon already means you’re killing the anniversary brunch game—enjoy!



