
cooking bacon in water on stove
intro
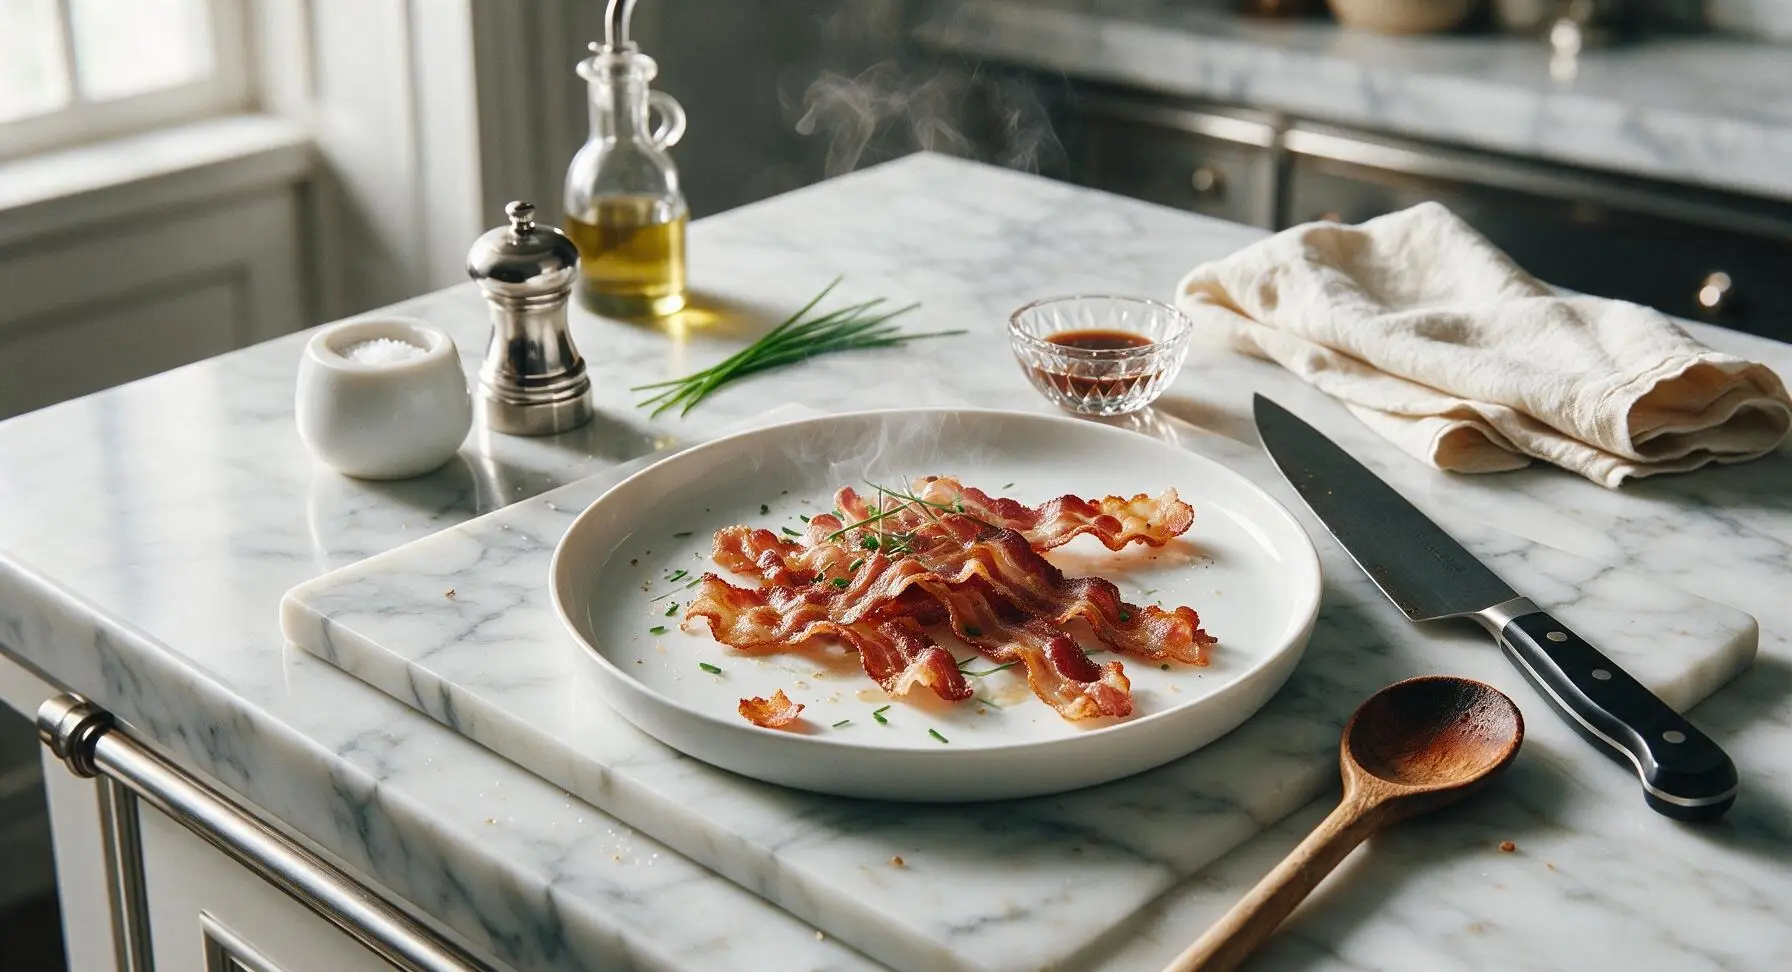
This genius no-splatter stovetop method produces perfectly crisp, evenly cooked bacon with no burnt edges, minimal cleanup, and tender, meaty centers every time.
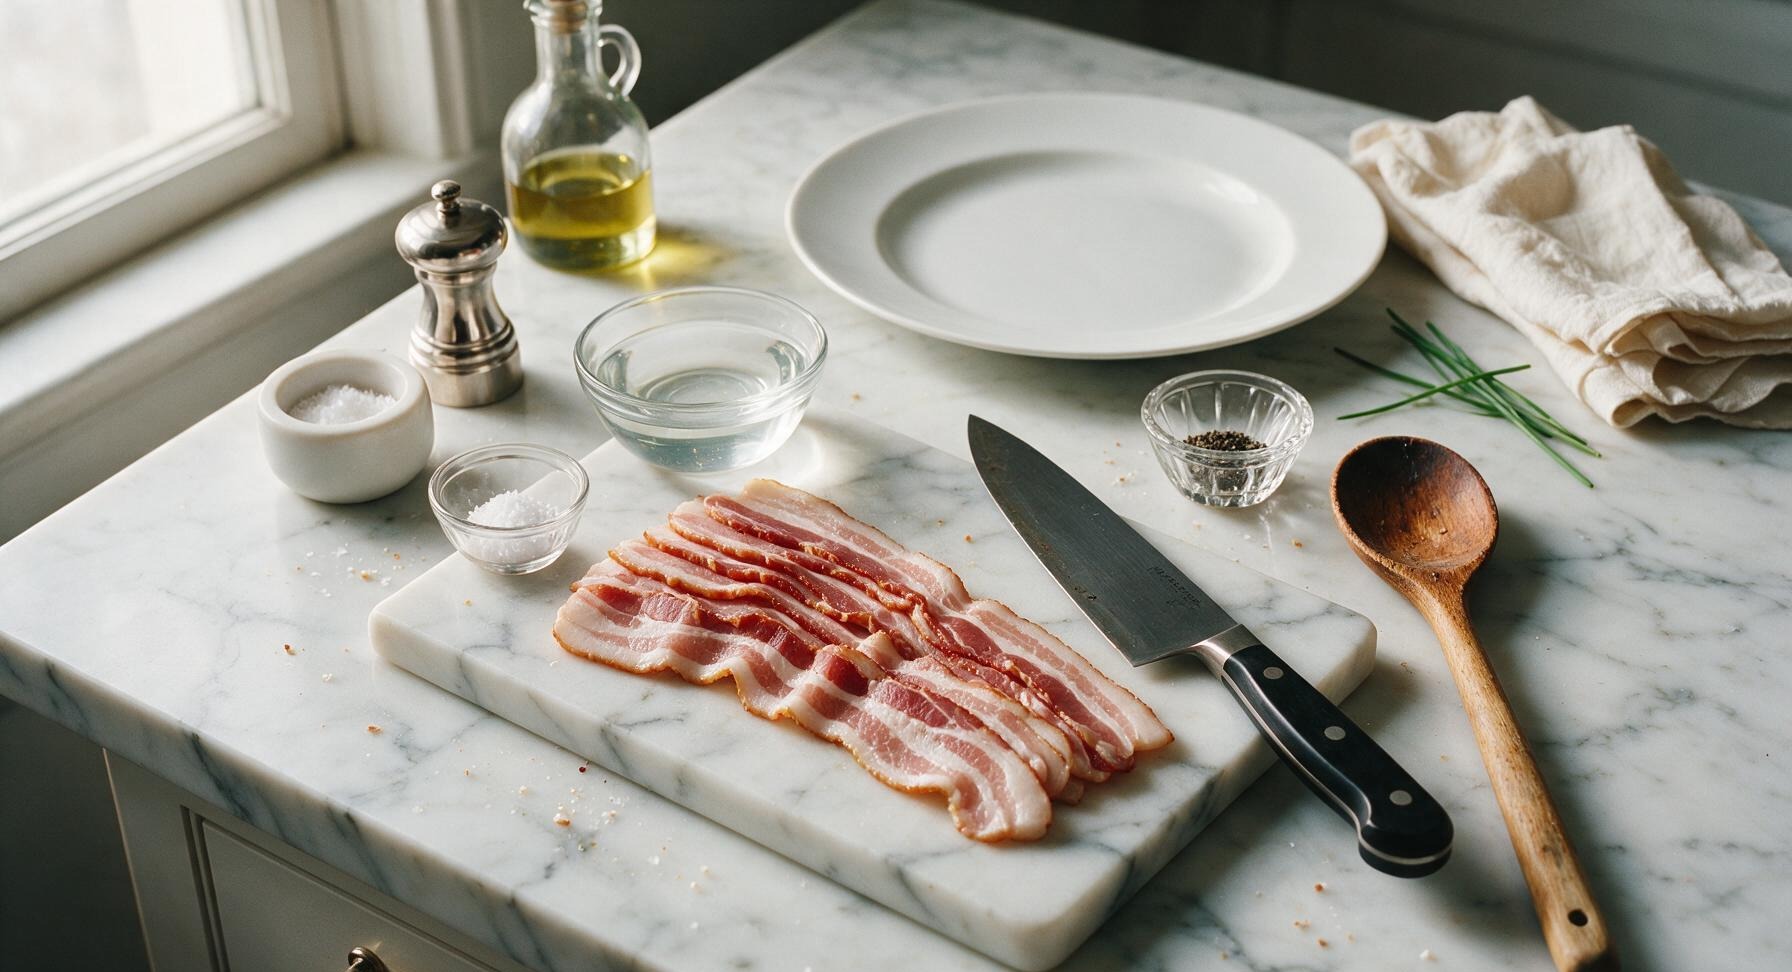
Ingredients
Steps
Arrange bacon in skillet
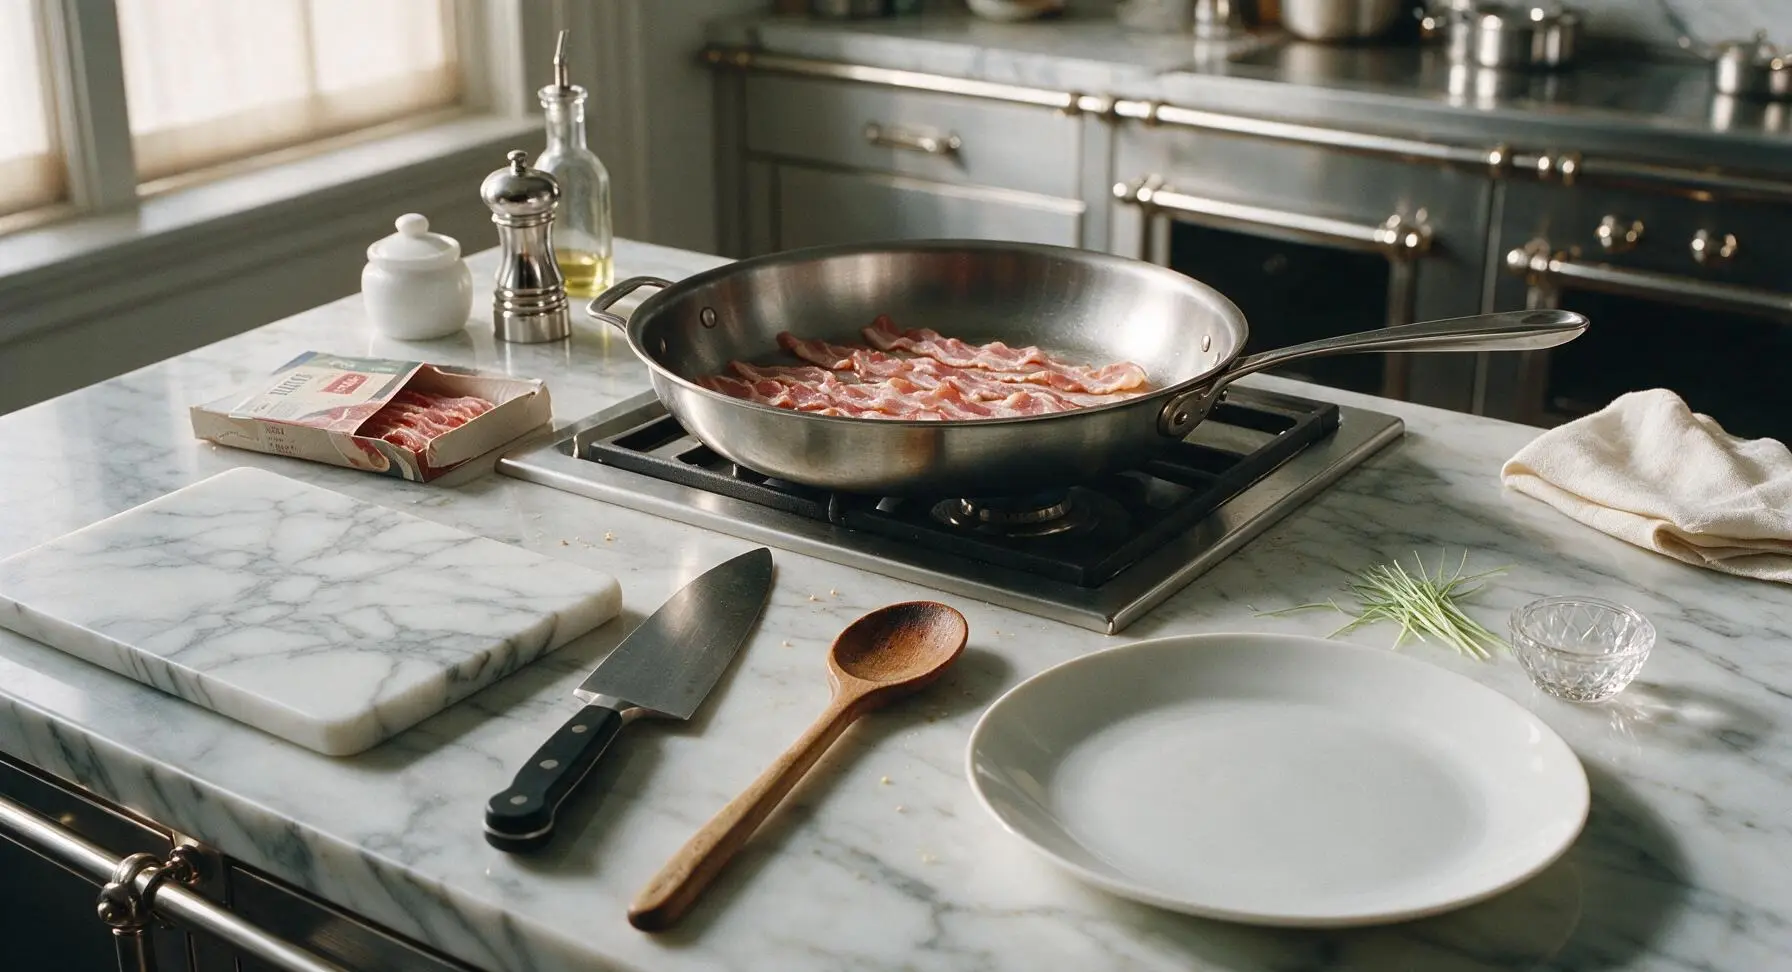
Set the 12-inch heavy-gauge stainless steel skillet on the stovetop burner (do not preheat). Remove bacon slices from their packaging, and arrange in a single, loosely overlapping layer across the bottom of the cold skillet. Overlap is fine at this stage, as the bacon will shrink significantly as it cooks; do not add any oil, grease, or cooking spray.
Add cold water to pan
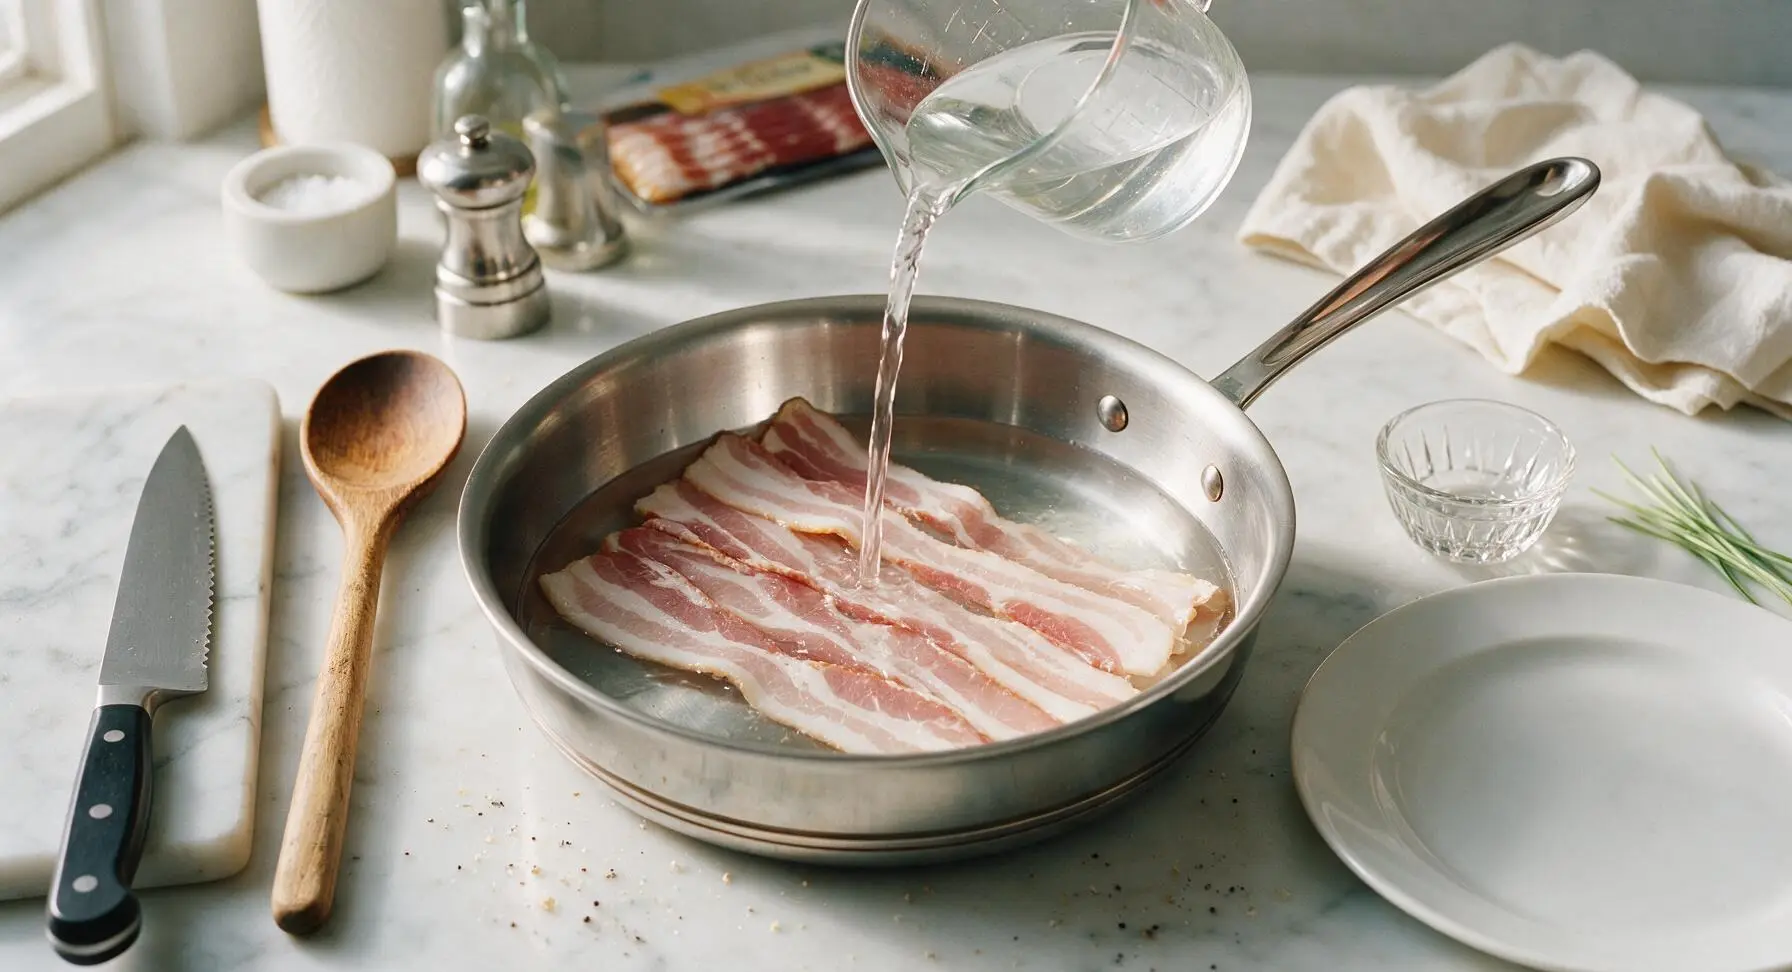
Pour exactly ½ cup of cold tap water from the glass measuring cup into the skillet, adding just enough to barely cover the top surface of the bacon strips. The water creates a temperature buffer that prevents the bacon from searing too quickly, eliminating hot spots that cause burnt edges and reducing initial grease splatter by up to 90%.
Bring water to boil
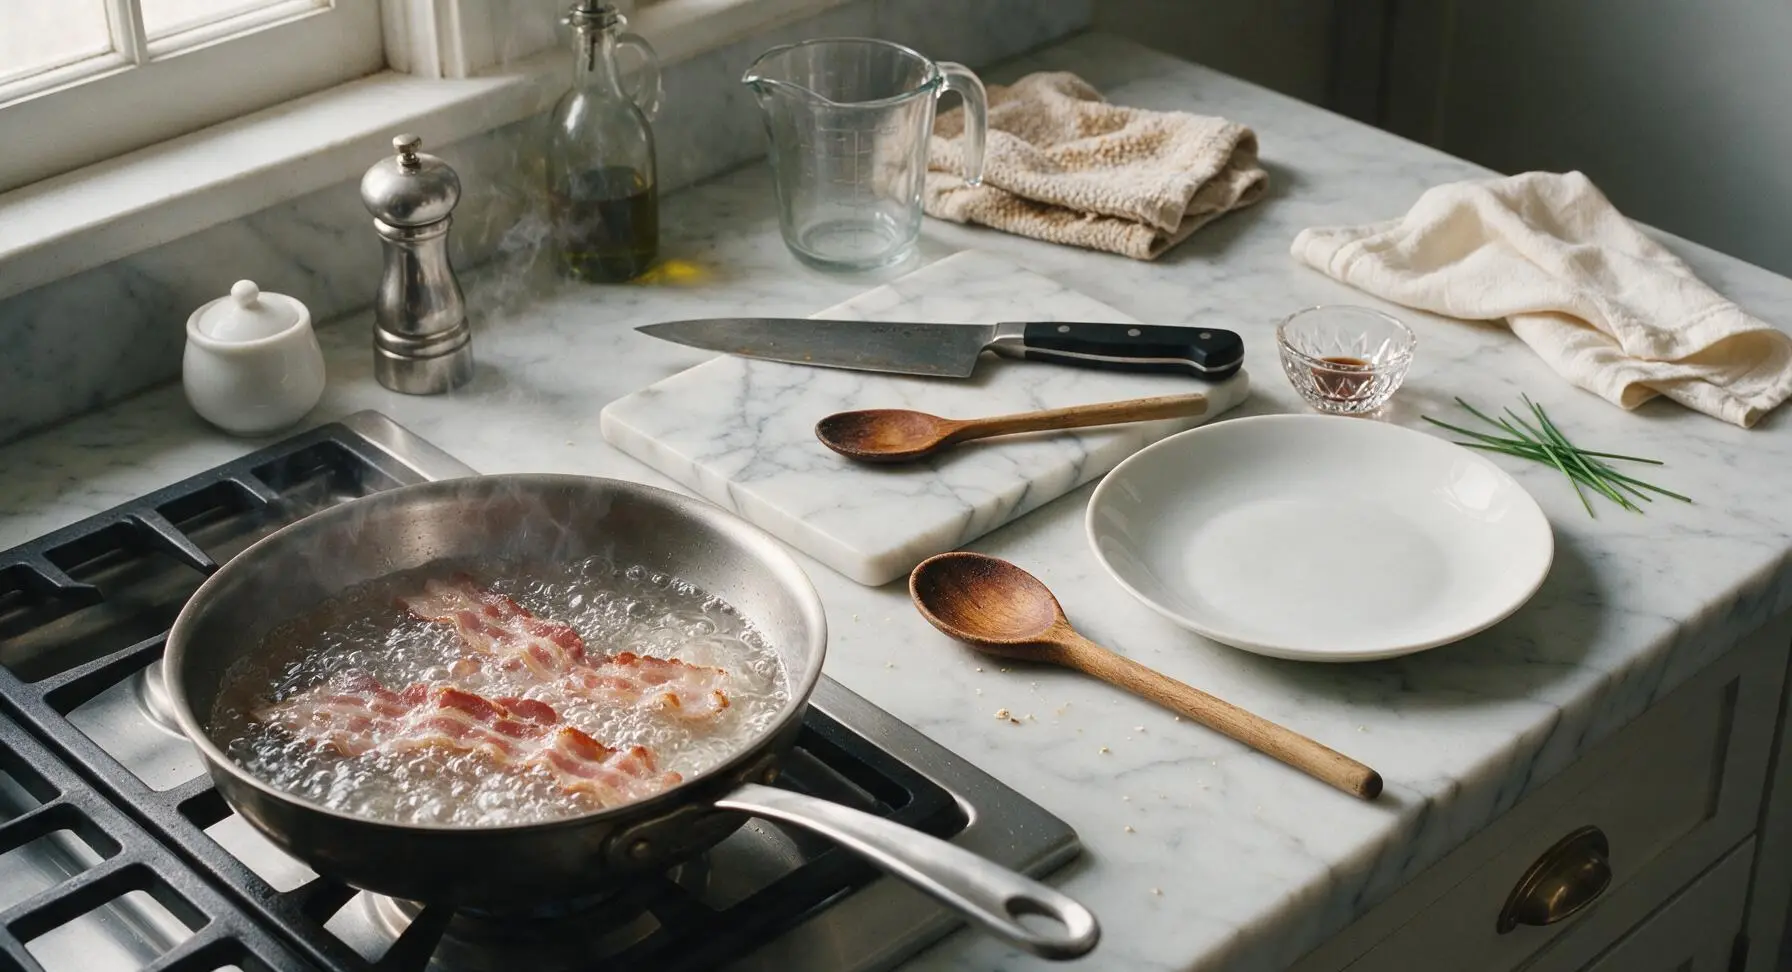
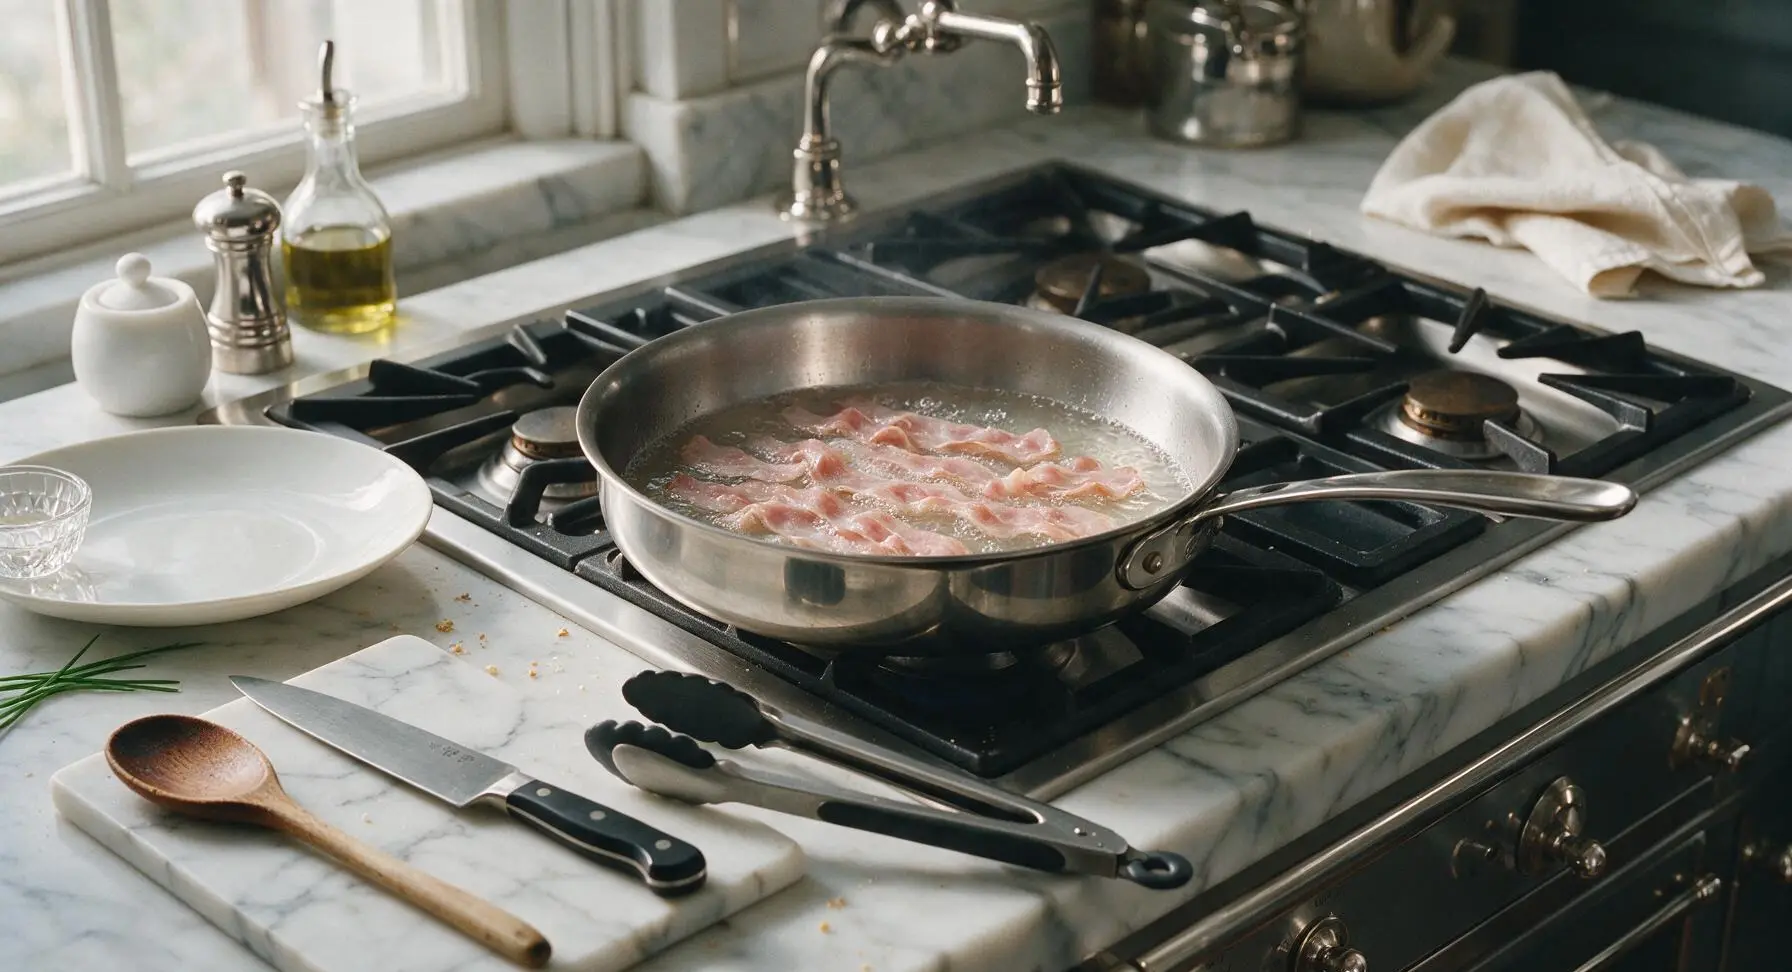
Turn the stovetop burner to medium-high heat (375°F / 190°C), and bring the water to a full rolling boil. Do not cover the pan. This takes approximately 3-4 minutes; you will see large, steady bubbles breaking across the entire pan surface, with thin, clear steam rising steadily when the boil is reached.
Simmer until water evaporates
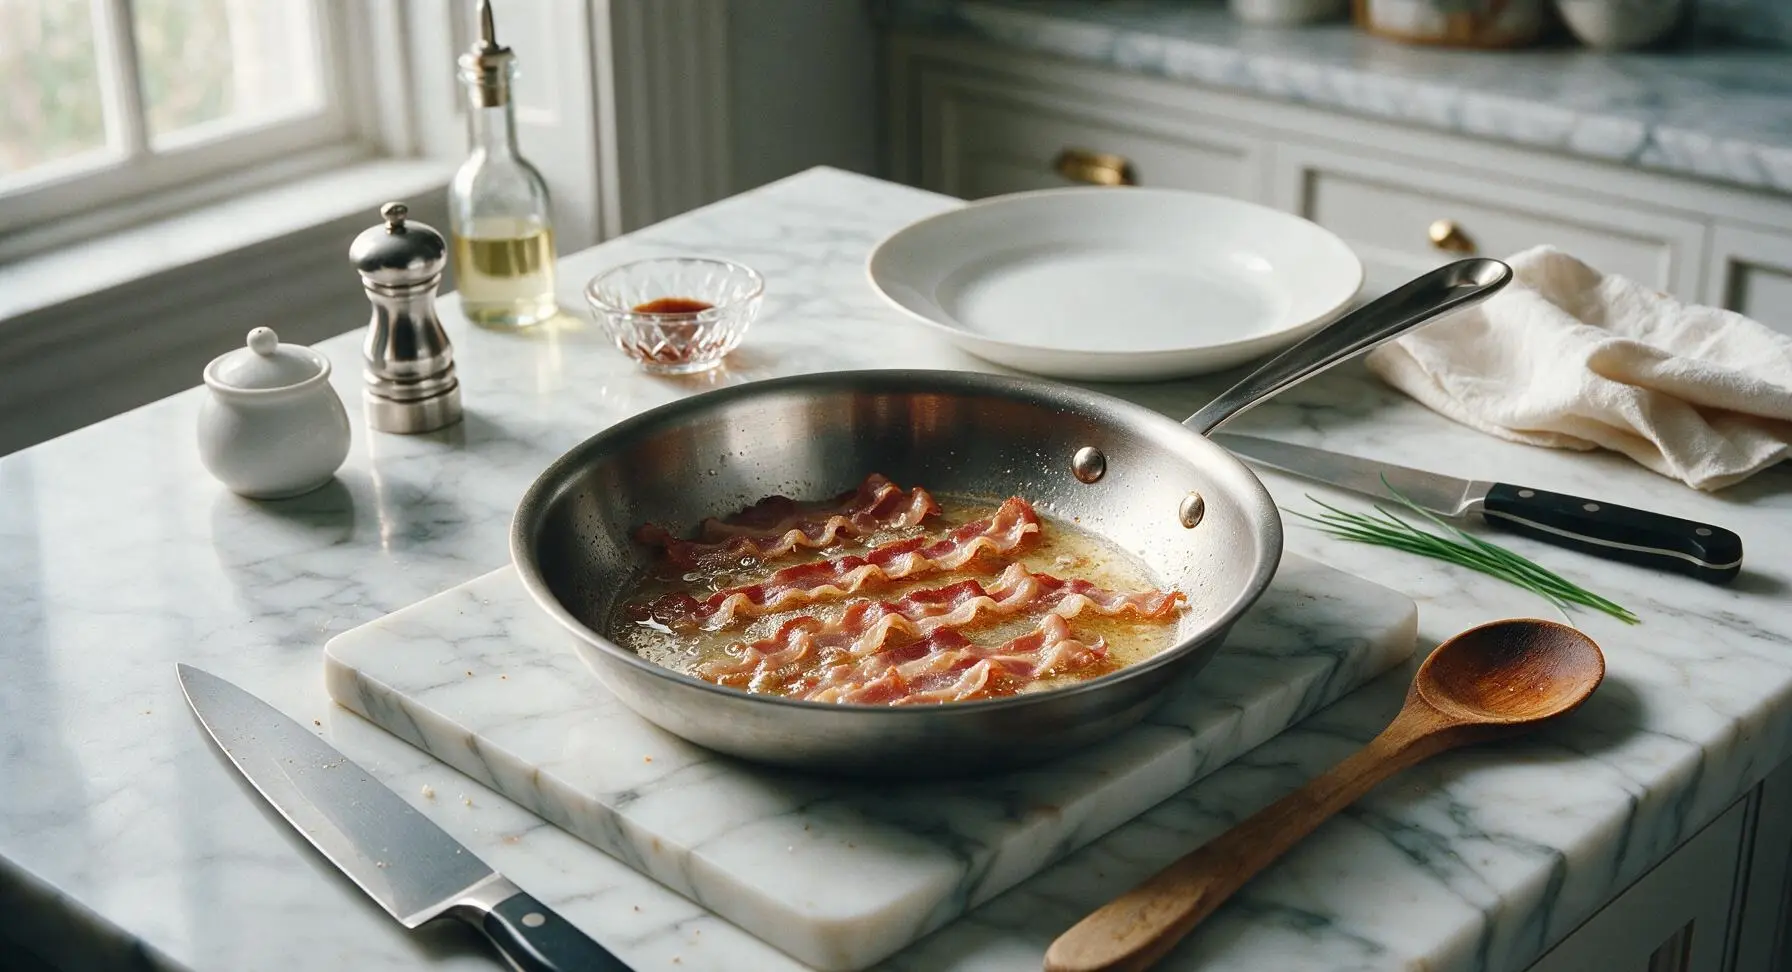
Once the water reaches a full rolling boil, reduce the heat to medium (325°F / 160°C) to maintain a gentle, steady simmer. Cook for 5-6 minutes, until all water has completely evaporated from the pan. You will know the water is gone when the loud bubbling sound is replaced by the sharp, gentle sizzle of rendered bacon fat.
Cook to desired crispness
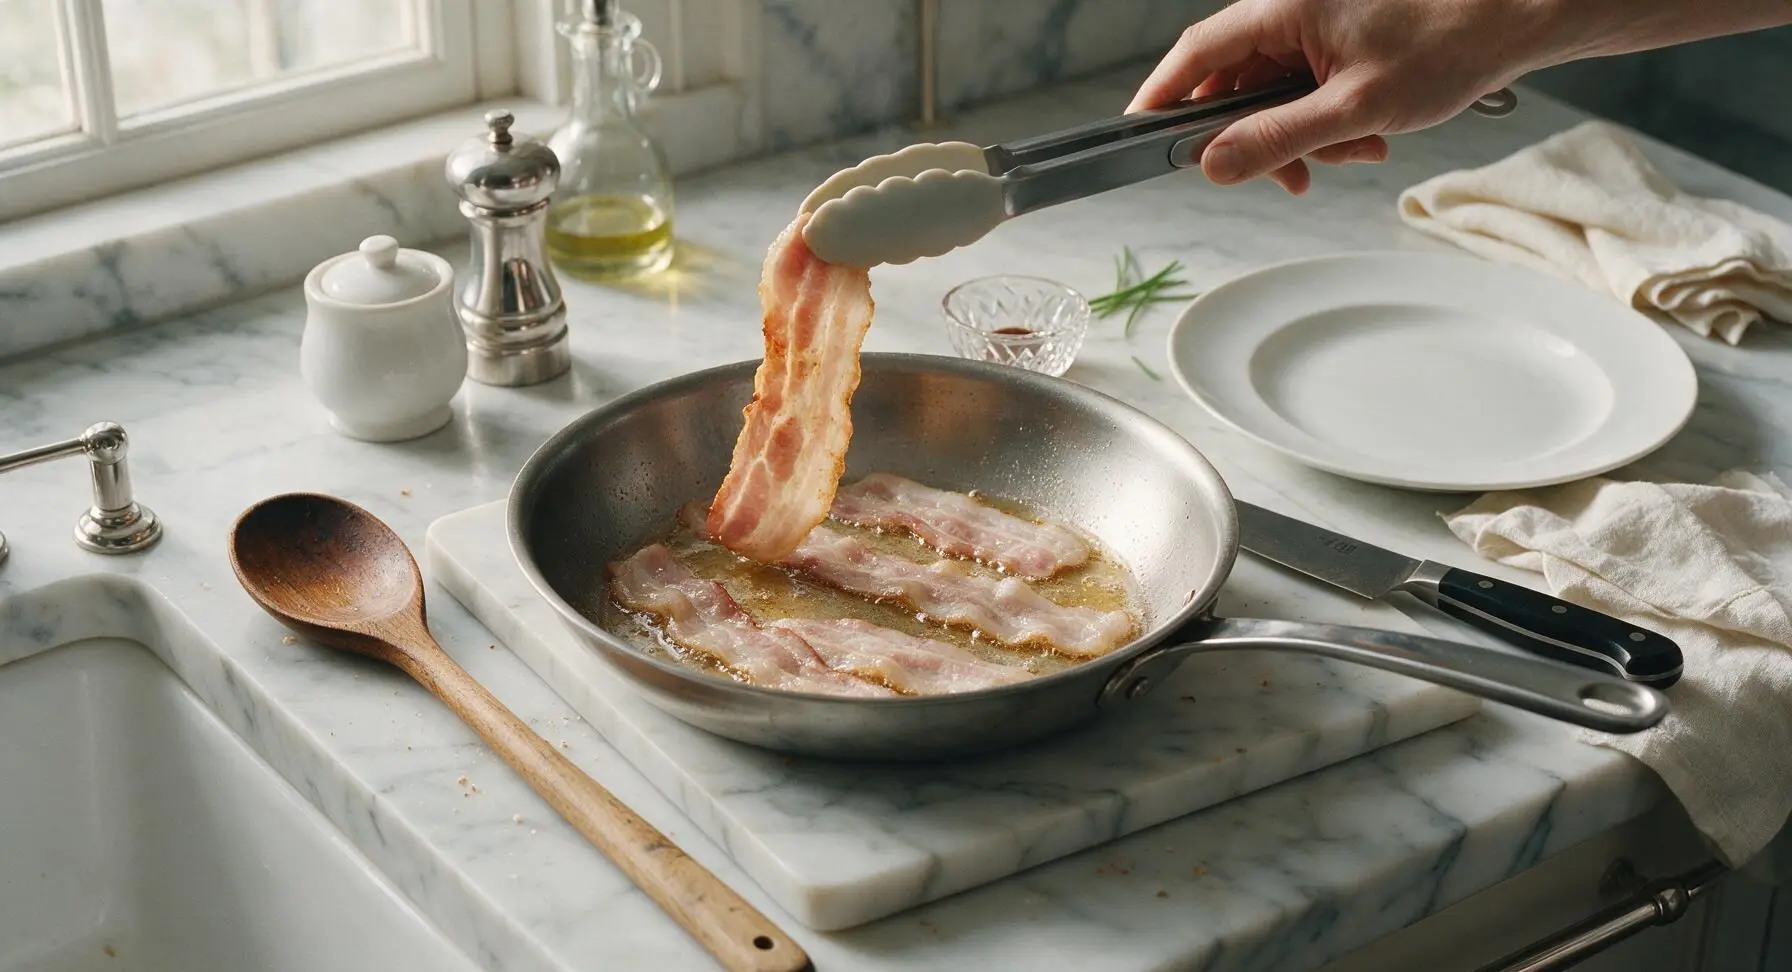
Once all water has evaporated, reduce the heat to medium-low (275°F / 135°C). Use the silicone-tipped tongs to flip the bacon strips every 1-2 minutes, cooking for 3-4 additional minutes. Cook until the bacon is deep golden-brown, with evenly curled edges and no raw pale pink sections remaining; add 1 extra minute of cooking for extra-crispy bacon, watching closely to avoid burning.
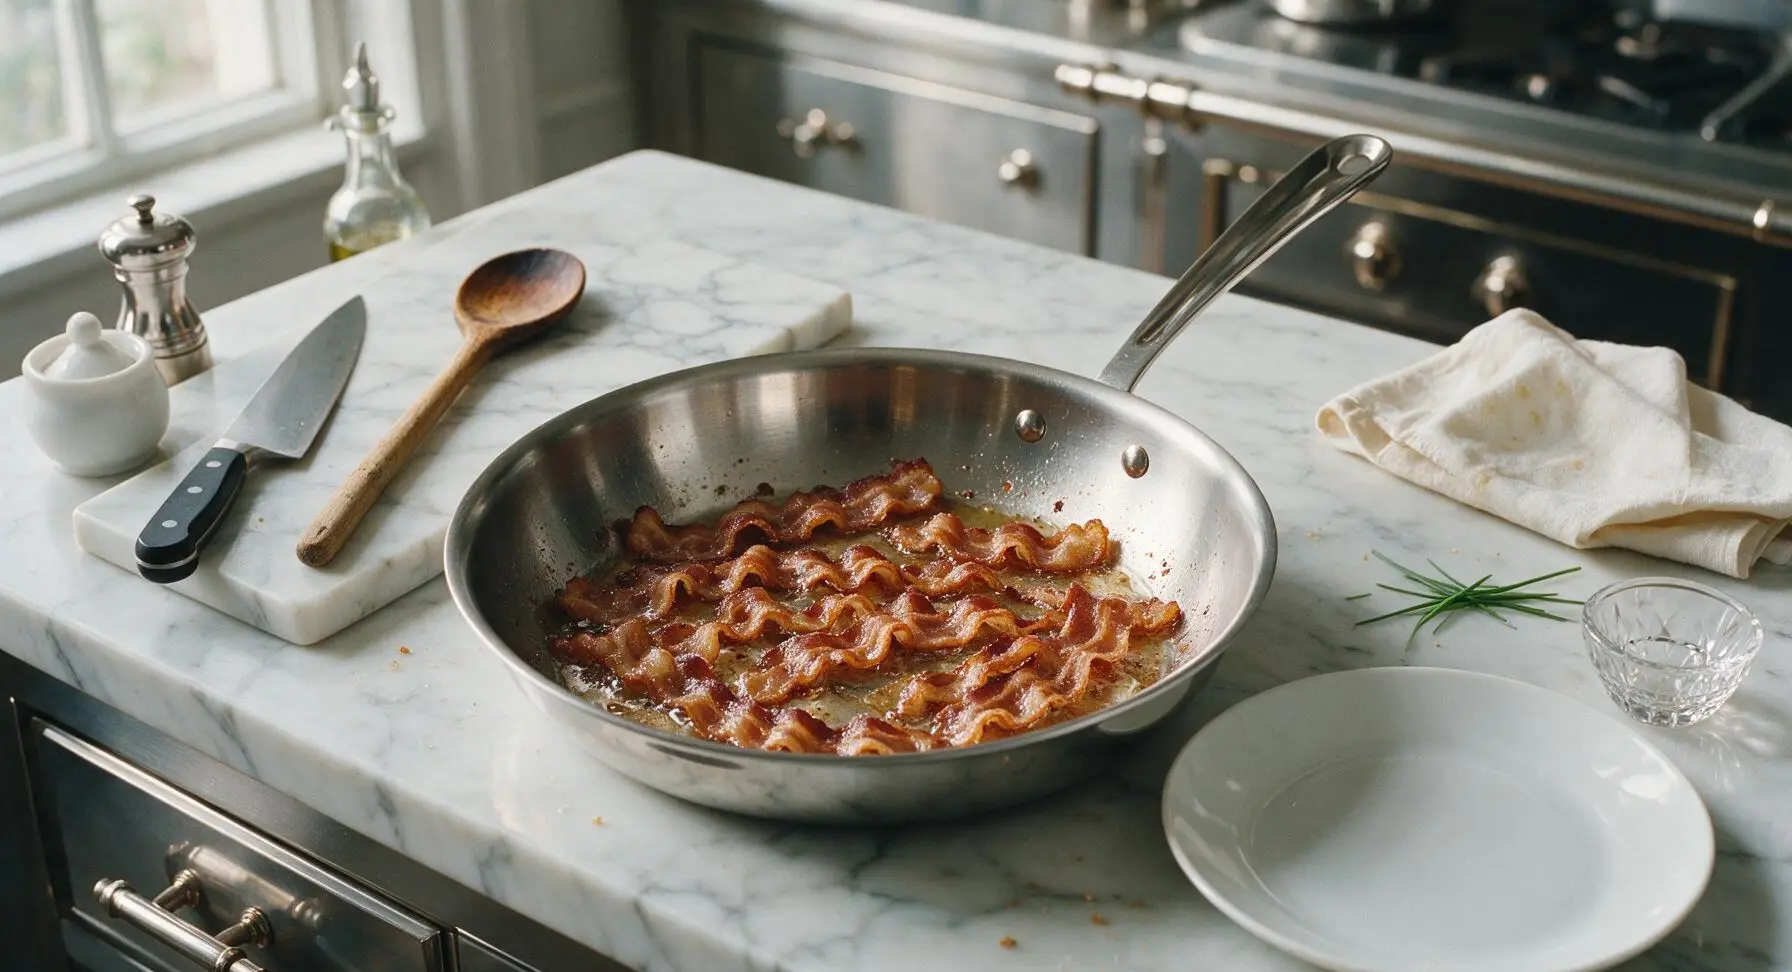
Drain cooked bacon strips
Use the tongs to lift each cooked bacon strip from the skillet, and transfer them directly to the chrome wire cooling rack set over the aluminum baking sheet. Let the bacon drain for 1 full minute to allow excess rendered fat to drip down onto the baking sheet; this keeps bacon crisp, rather than soggy from sitting in pooled grease. Avoid draining bacon directly on stacked paper towels, as trapped steam from the hot bacon will soften the crisp edges.
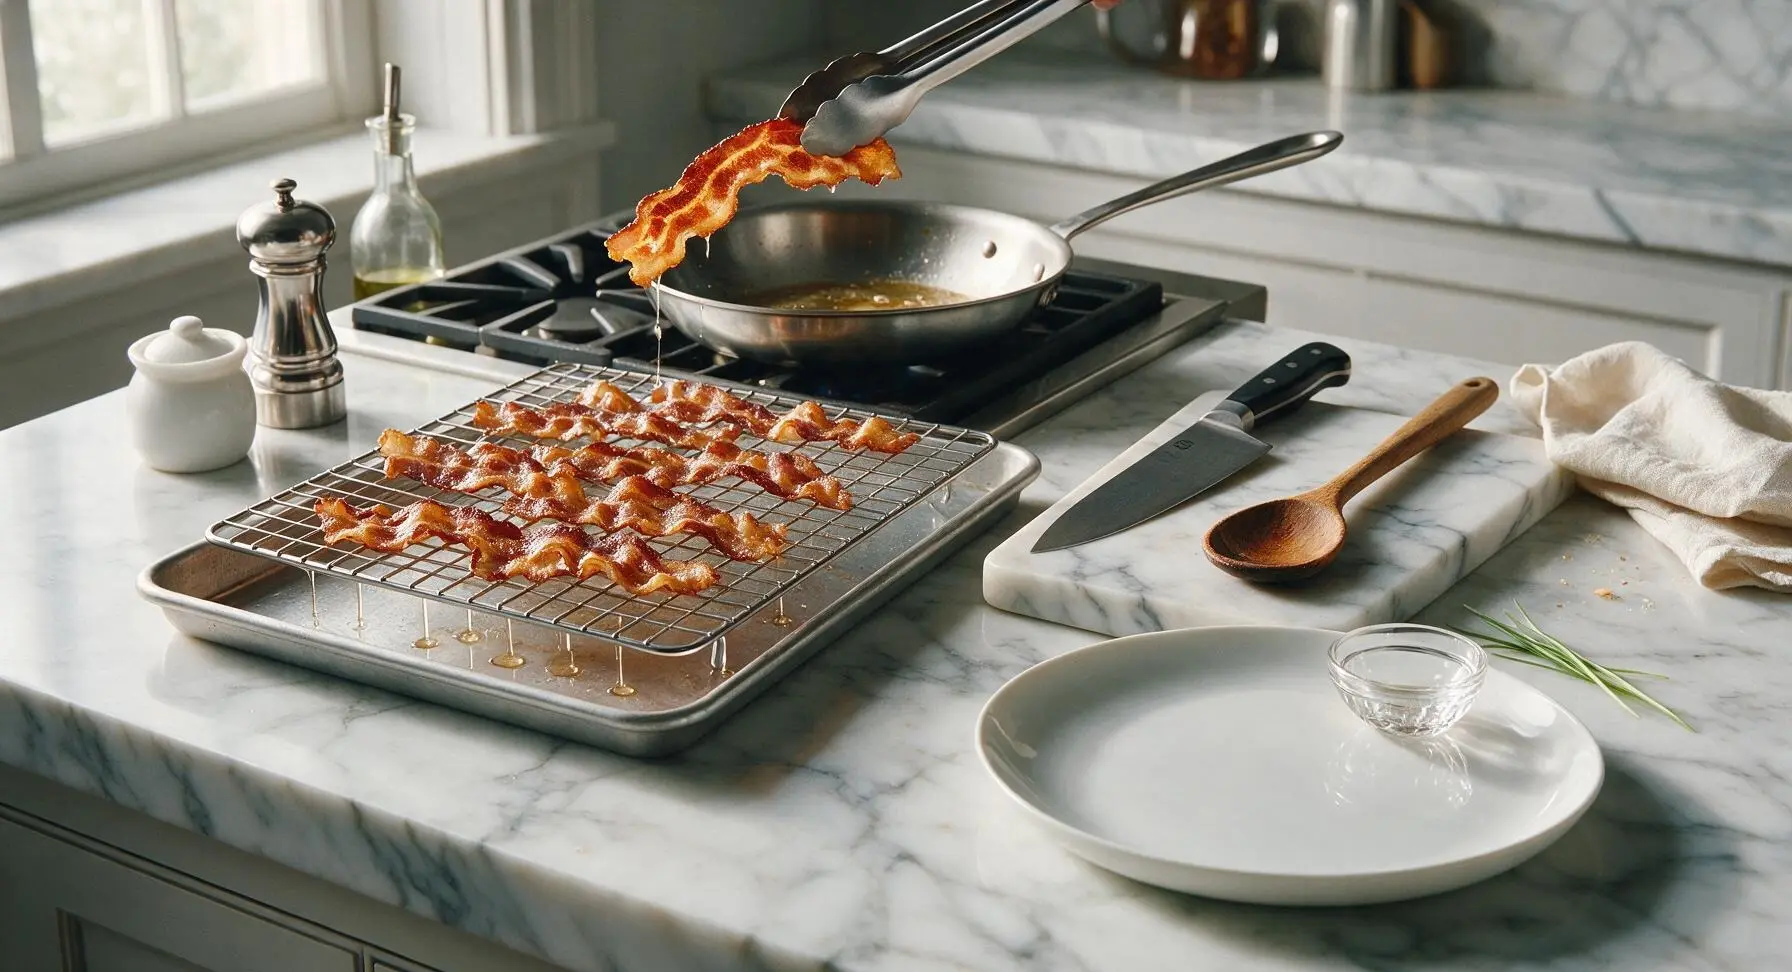
Season and plate bacon
After 1 minute of draining, transfer the bacon strips to the matte cream white ceramic breakfast plate. Sprinkle lightly with ¼ teaspoon flaky sea salt and a pinch of freshly ground black pepper (if using), and serve immediately while the bacon is hot and crisp.
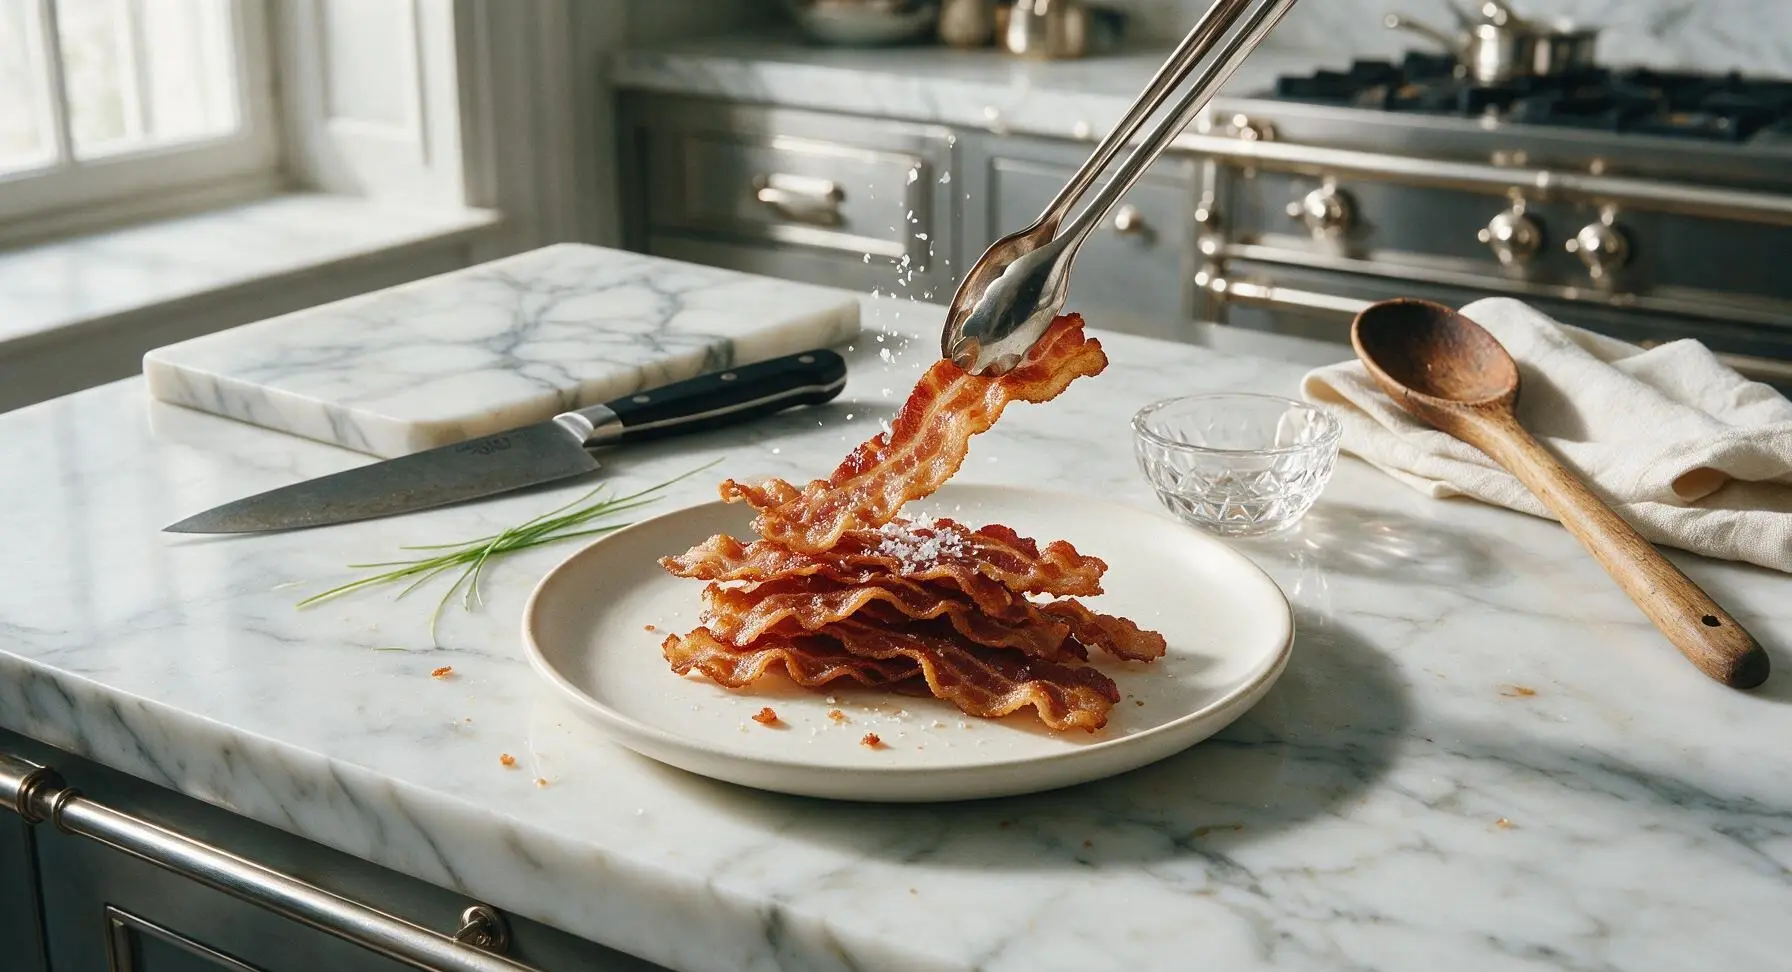
Tips
2.Never cover the skillet during any stage of cooking: trapping condensation under a lid will drip back onto the bacon, making it soggy instead of crisp, and can cause boiling water to bubble over onto your stovetop for extra cleanup.
3.Save the rendered bacon fat left in the skillet once it cools slightly: pour it through a fine mesh strainer into a heatproof glass jar, store it in the refrigerator for up to 3 months, and use it to fry eggs, roast potatoes, or sauté greens for rich, smoky flavor with zero waste.






OMG this is a total game changer! I’ve been burning my bacon on the stovetop for YEARS because I crank the heat too high, but adding the water? It came out perfectly crispy, no burnt edges, zero grease splatters all over my stove. My husband thought I picked it up from our favorite brunch spot! 12 minutes total is so fast too, perfect for quick weekday breakfasts.
Made this for Sunday breakfast with the kids yesterday and they devoured every single piece! No chewy, rubbery bits like I usually get when I make bacon in the oven. It was crispy all the way through, even the thicker cut pieces I used. Only thing I’ll note is I added a tiny pinch of black pepper right when it finished crisping up, chef’s kiss. Will absolutely be making this again for our next family brunch.
Wait, water with bacon? I was super skeptical when my cousin sent me this recipe, but I tried it last night for burger night and WOW. It didn’t make the bacon soggy at all like I thought it would? How does that even work? Crispier than when I fry it on high heat, way less mess. My only tiny complaint is I wish I’d made a double batch because my roommates stole half of it before I could even build my burgers.
This is perfect for my weekly meal prep! I make a big batch of bacon on Sundays to add to breakfast sandwiches, salads, and even wrap around chicken for weeknight dinners, and I used to hate how much my stove got covered in grease every time. This method left basically zero splatters, and the bacon stayed crispy even when I stored it in the fridge for 3 days! 10/10.
Tried this for the first time tonight after seeing it pop up on my feed. Super easy, even for someone like me who burns toast half the time. Cook time was exactly 12 minutes like the recipe said, no guesswork needed. I used thick cut applewood smoked bacon and it came out perfectly crisp, no floppy bits, no charred black edges. Will be ditching my microwave bacon tray for this method from now on. SO good.
Hosted a potluck brunch last weekend and made 2 pounds of bacon using this method, and people were asking me for the trick all morning! I was worried it wouldn’t work for a big batch, but I just did it in two batches on my stovetop and it came out perfect every time. No standing over the pan dodging grease splatters, so I was actually able to chat with my guests instead of being stuck in the kitchen. Total win.
Wait a second, I grew up watching my grandma cook bacon in a skillet with a little water and I thought that was just her weird old trick! I stopped doing it a few years ago because my friends made fun of me for it, but I tried this recipe again this morning and it’s just as good as I remember. Crispy, evenly cooked, no splatters. Why did I ever listen to them?!