
cooking hot dogs in oven

title 1
cooking hot dogs in oven
⏱️ cook time 15 minutes
🍽️ servings 4
⚡ Difficulty easy

intro

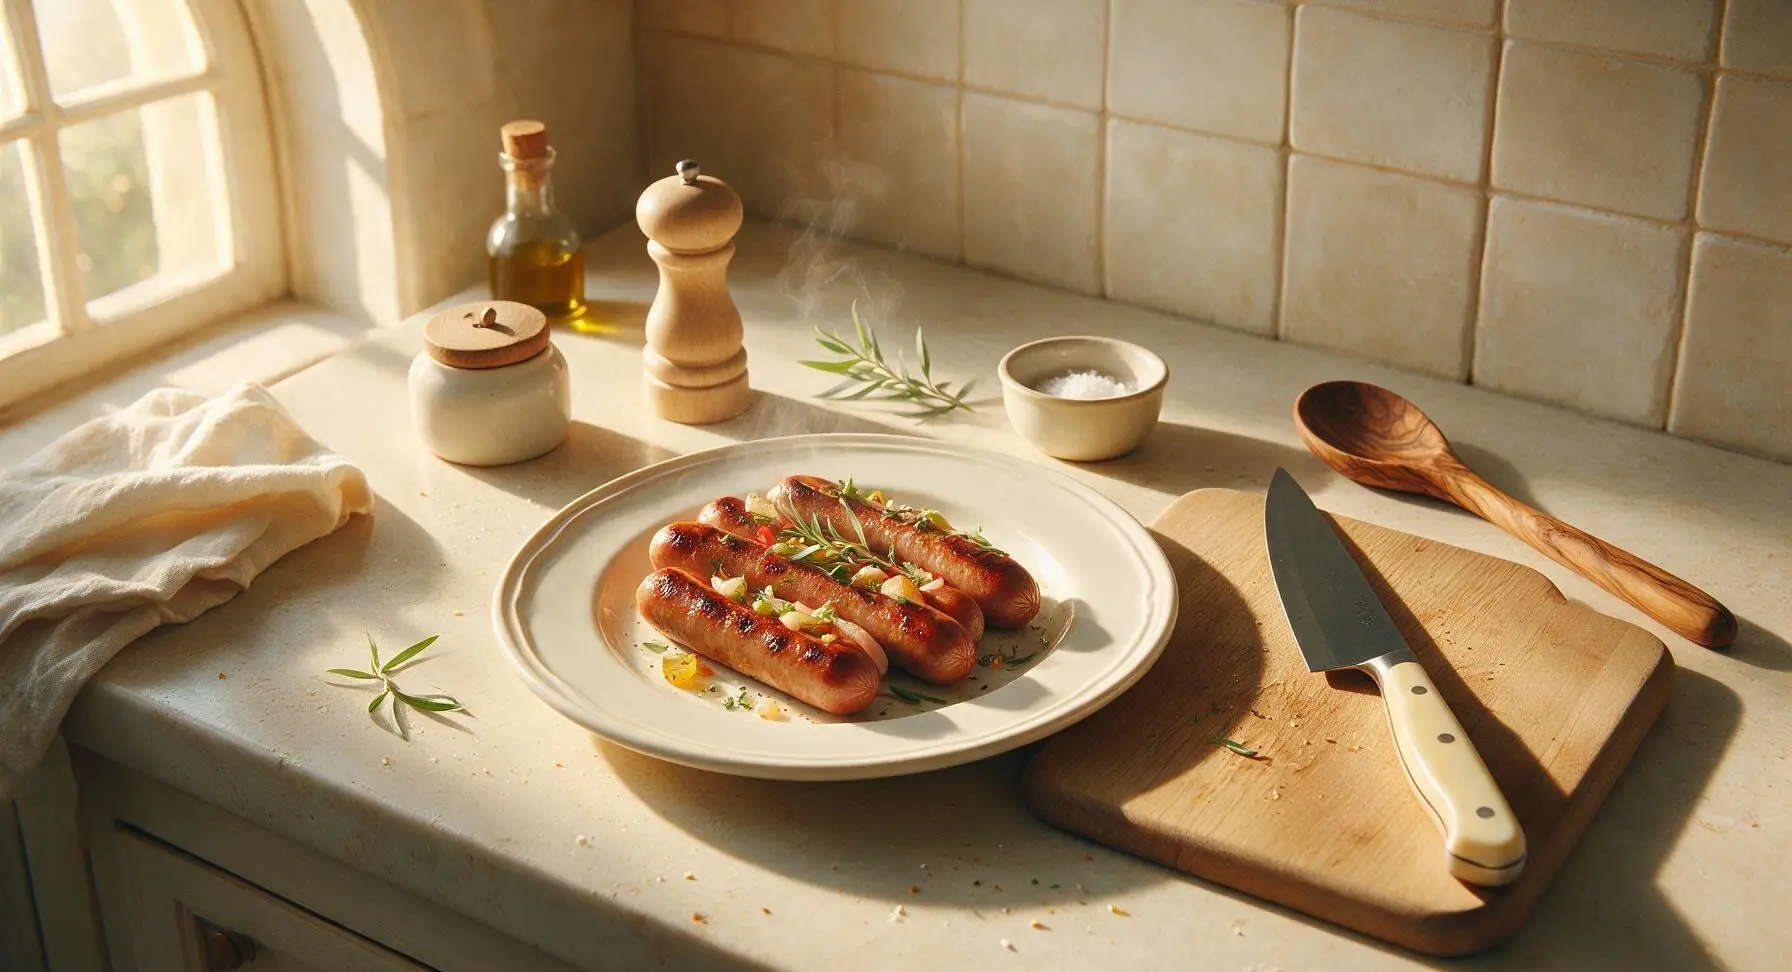
Juicy, snappy oven-cooked hot dogs with crisp, slightly charred edges, no outdoor grill required. Ready in 20 minutes total for a fast, satisfying, family-friendly meal.

Ingredients
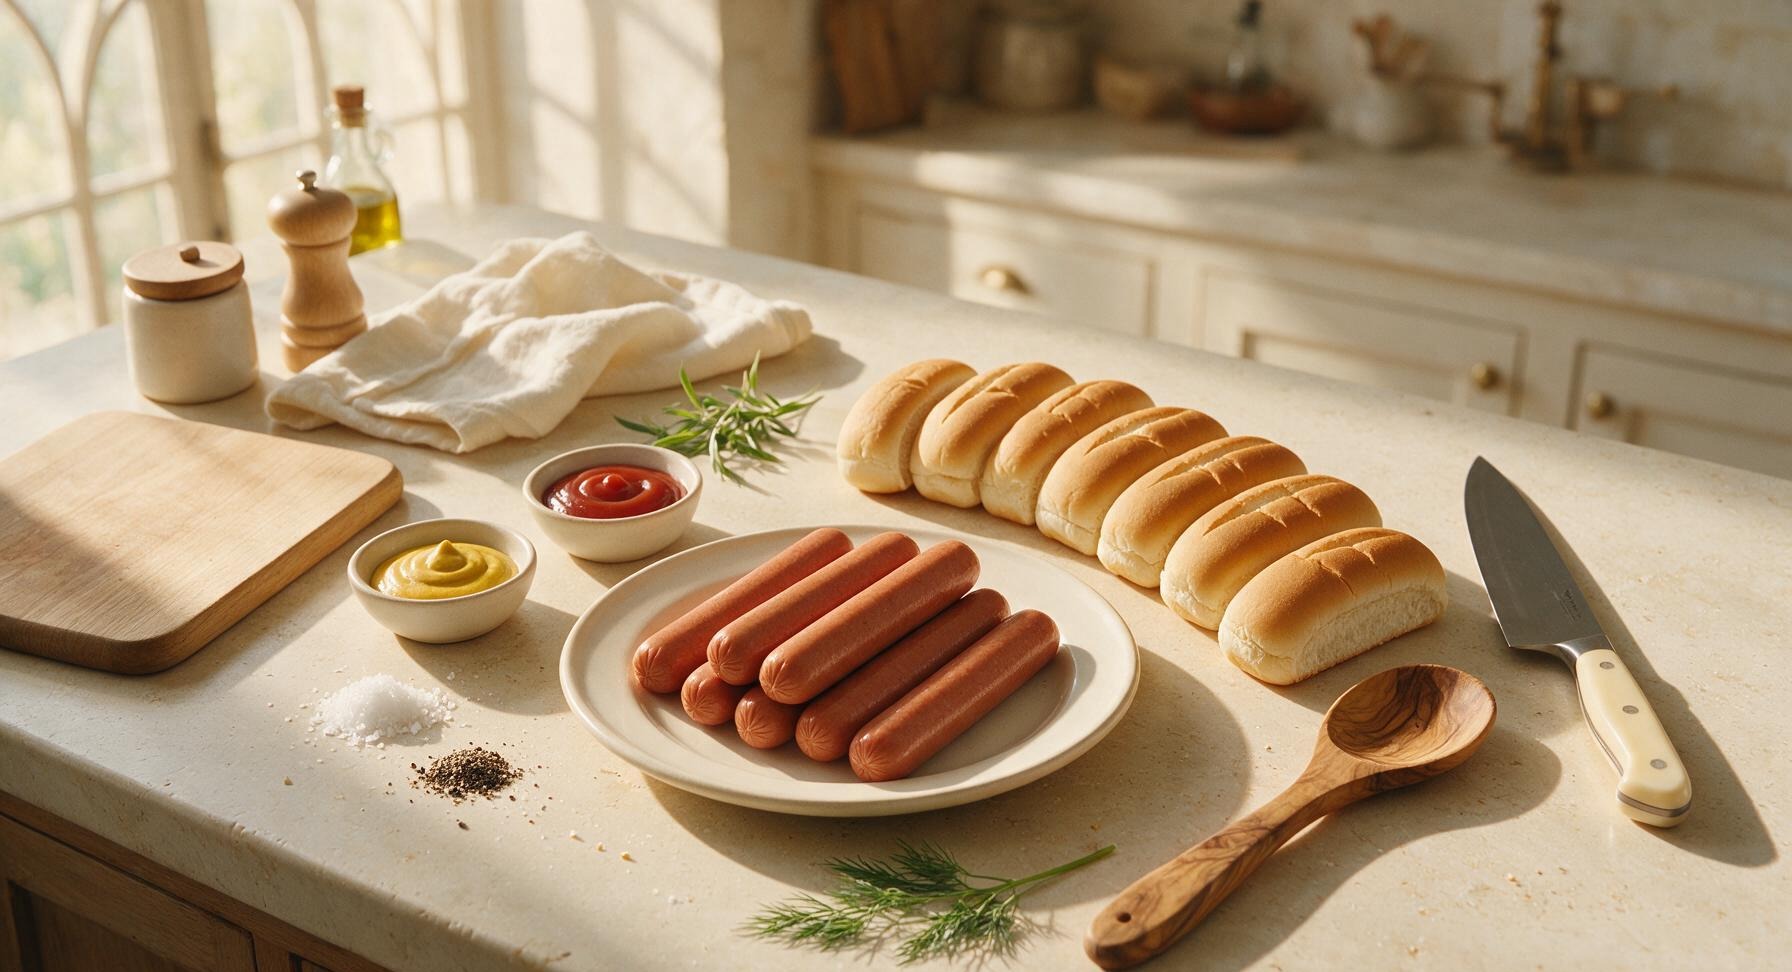
All-beef hot dogs 8 count (450g total)
Split-top white hot dog buns 8 count
Coarse kosher salt 1/4 teaspoon
Freshly ground black pepper 1/8 teaspoon
Yellow mustard 2 tablespoons
Ketchup 2 tablespoons
Fresh dill 2 sprigs

Steps

1

Preheat Oven and Prep Pan

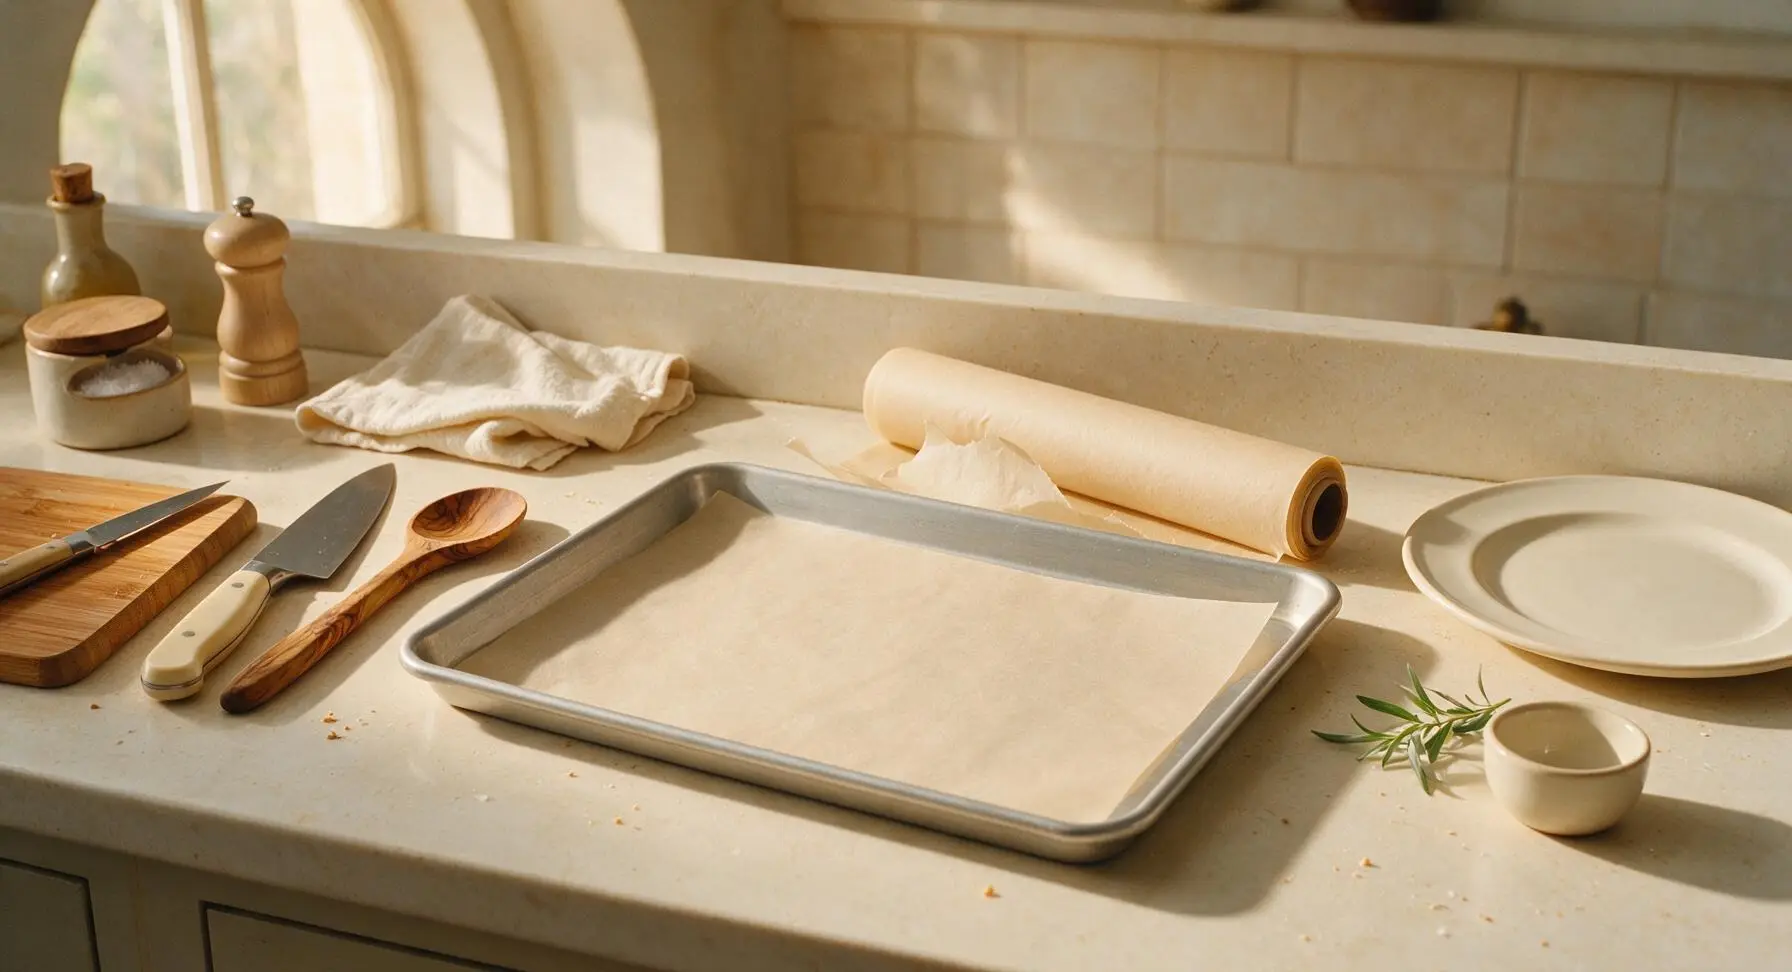
Adjust your oven rack to the middle position, then preheat the oven to 400°F (200°C). Tear a sheet of unbleached parchment paper from the roll to fit the 33x45cm rimmed aluminum baking sheet, laying it flat across the pan surface with no paper overhang to avoid burning. Set the lined pan on the center of the counter.
Step 1
step1:Preheat Oven and Prep Pan
2

Score Hot Dog Surfaces

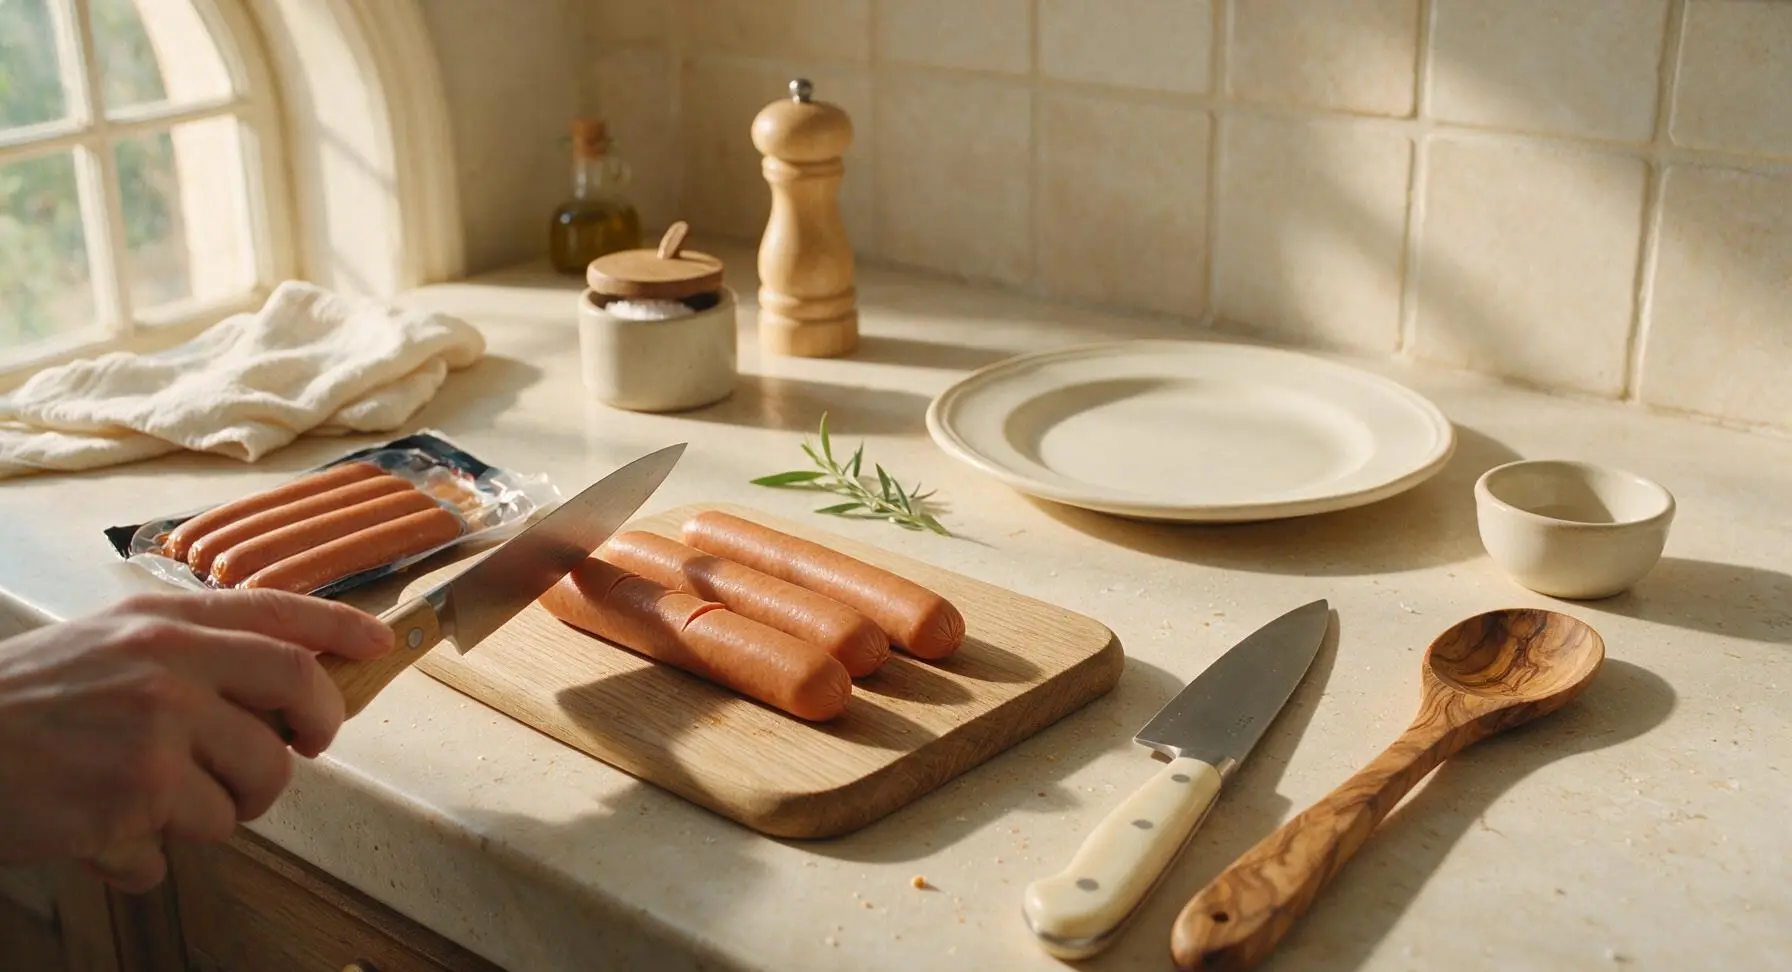
Remove the hot dogs from their vacuum-sealed package, then pat them lightly dry with a corner of the striped cotton kitchen towel to remove excess surface moisture—this ensures crisp, snappy edges instead of soggy, steamed skins. Place 2-3 hot dogs at a time on the bamboo cutting board. Use the paring knife to make 3-4 shallow, diagonal 1/4-inch deep cuts across the top of each hot dog, spaced 1 inch apart. These cuts prevent the hot dogs from bursting as they heat, and create crispy edges as fat renders. Never cut all the way through the sausage, as this will cause juices to leak out during cooking.
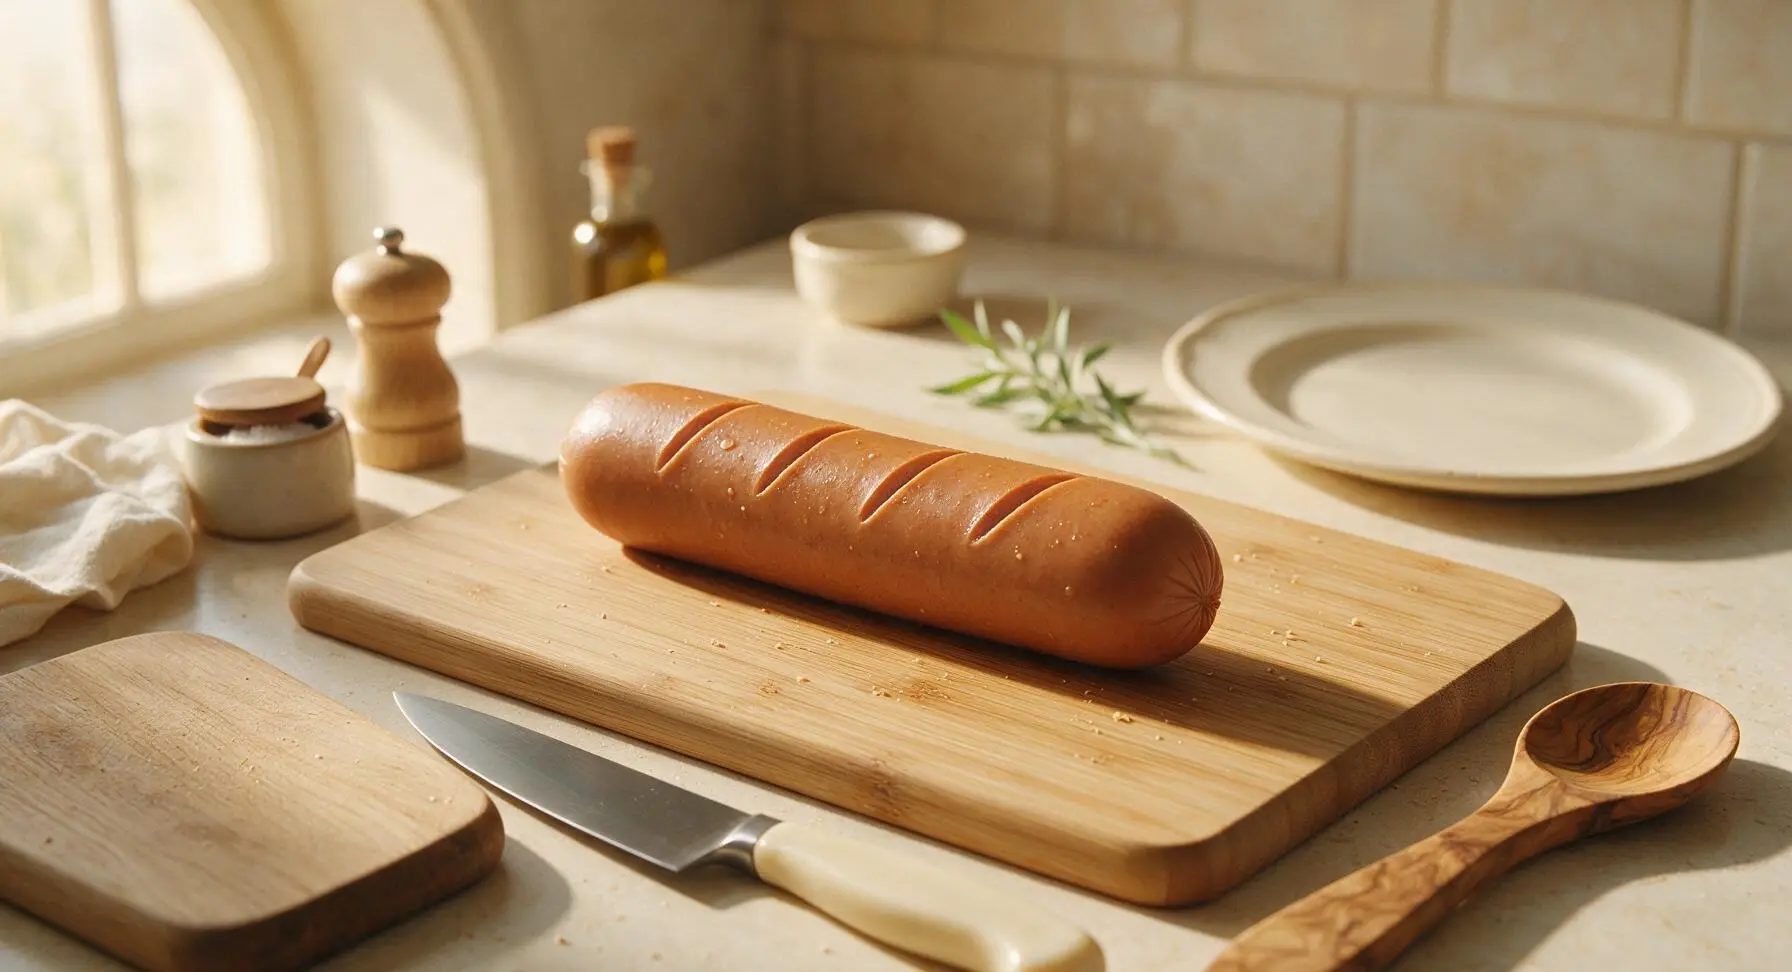
Step 2
step2:Score Hot Dog Surfaces
Step 2
step2:Score Hot Dog Surfaces
3

Arrange Dogs on Pan

Place all 8 scored hot dogs on the parchment-lined baking sheet, spacing them 1 inch apart to allow hot oven air to circulate evenly around every sausage. Lightly season the tops with the 1/4 teaspoon kosher salt and 1/8 teaspoon black pepper—use a light hand, as cured hot dogs already contain high levels of sodium.
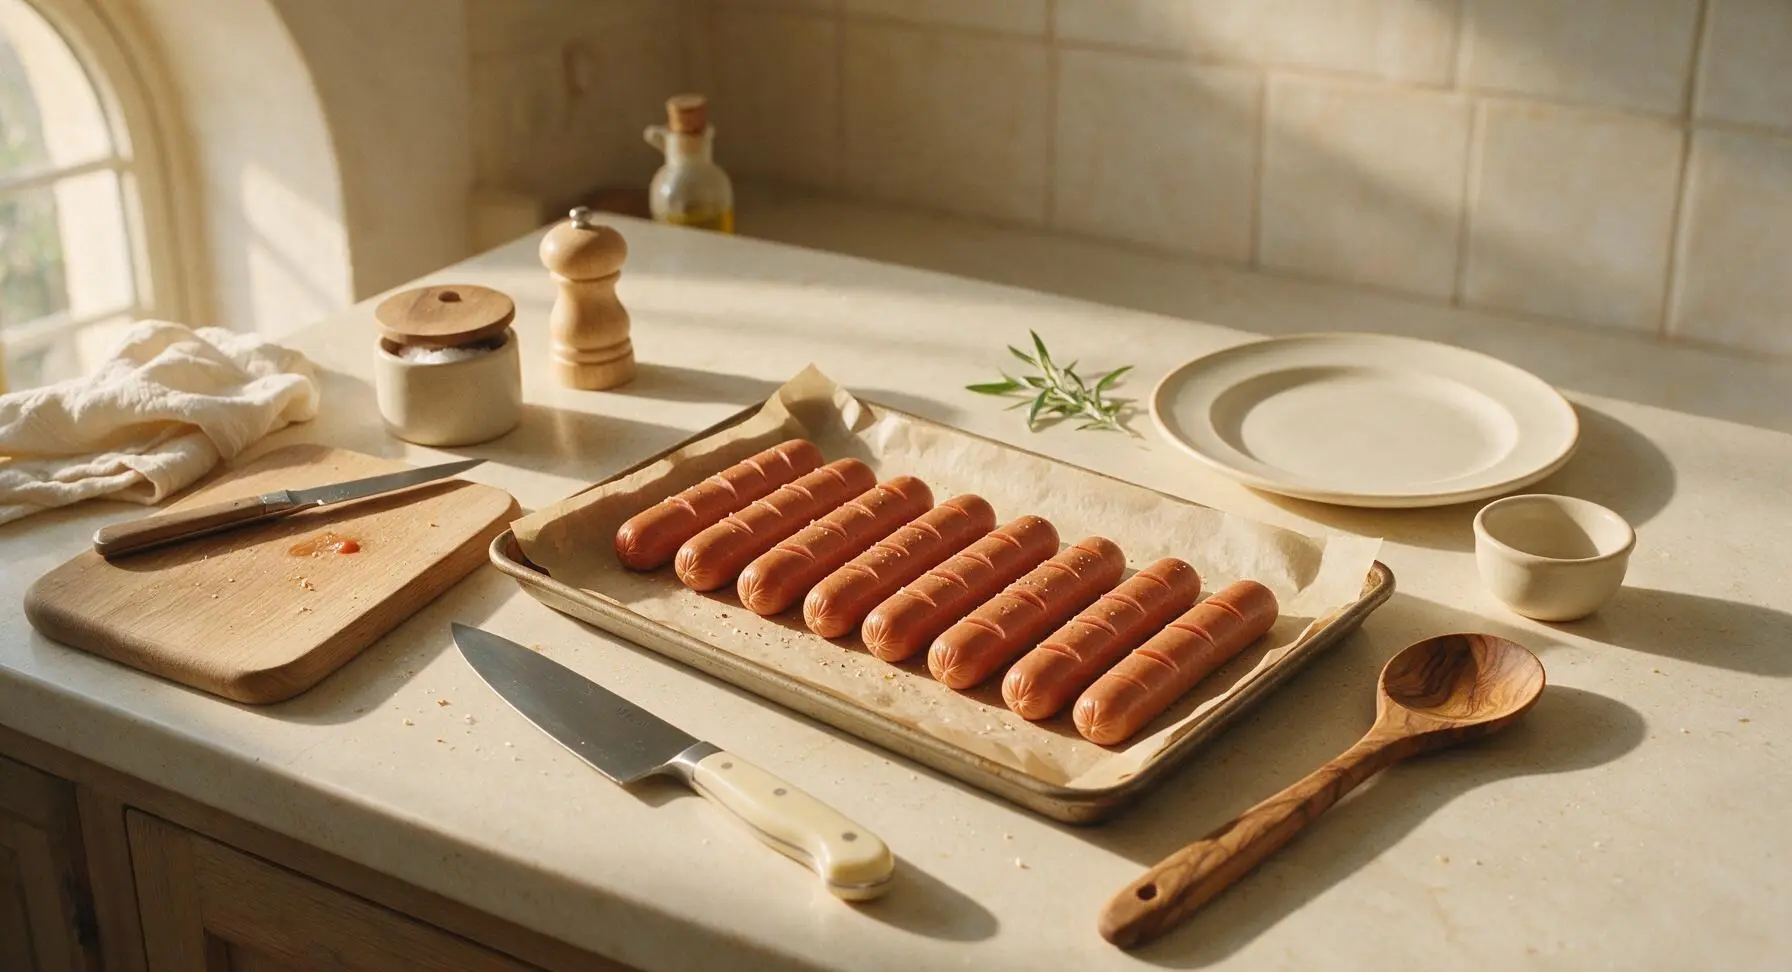
Step 3
step3:Arrange Dogs on Pan
4

Bake Until Plump and Juicy

Carefully slide the baking sheet onto the middle oven rack. Bake for 10 minutes at 400°F (200°C). The hot dogs will plump up noticeably, and the scored cuts will begin to curl open slightly as they cook. Avoid opening the oven door during this first 10 minutes to maintain a consistent internal oven temperature for even cooking.
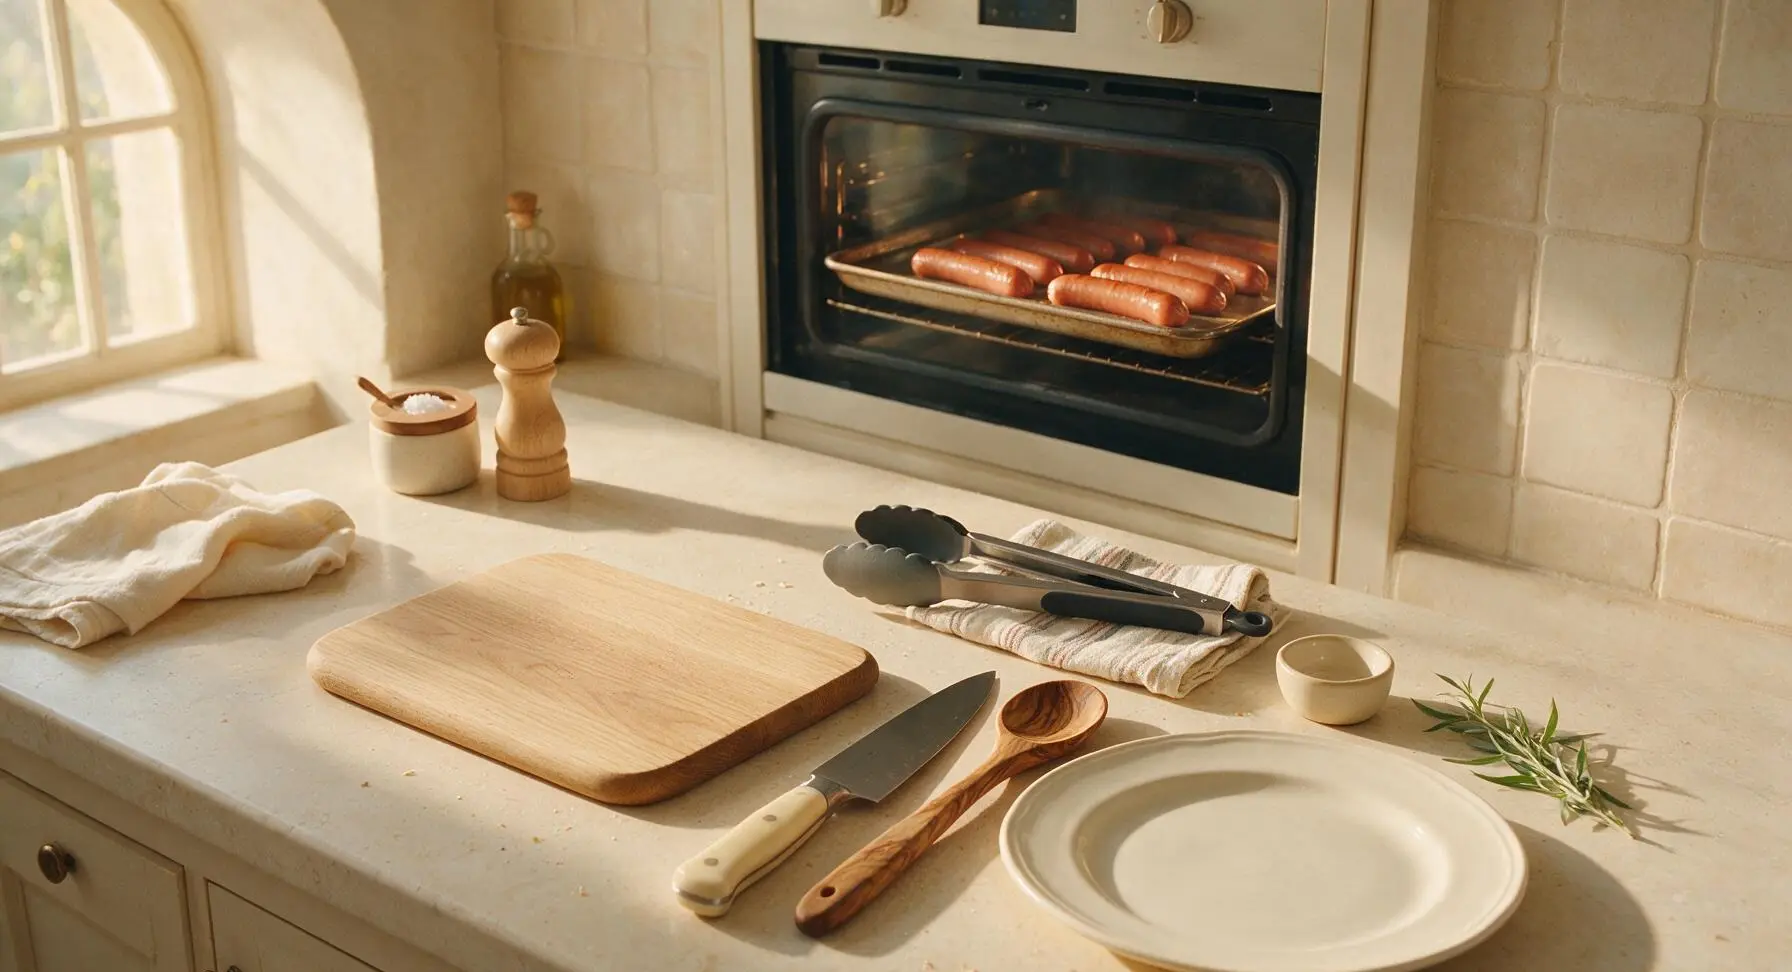
Step 4
step4:Bake Until Plump and Juicy
5

Broil for Snappy Edges

After 10 minutes of baking, turn the oven to high broil (500°F/260°C). Broil for 2-3 minutes, watching closely the entire time, until the scored edges of the hot dogs turn deep golden brown with small, slightly charred spots, and the sausages sizzle audibly. Use the kitchen tongs to flip the hot dogs once halfway through broiling to crisp both sides evenly.
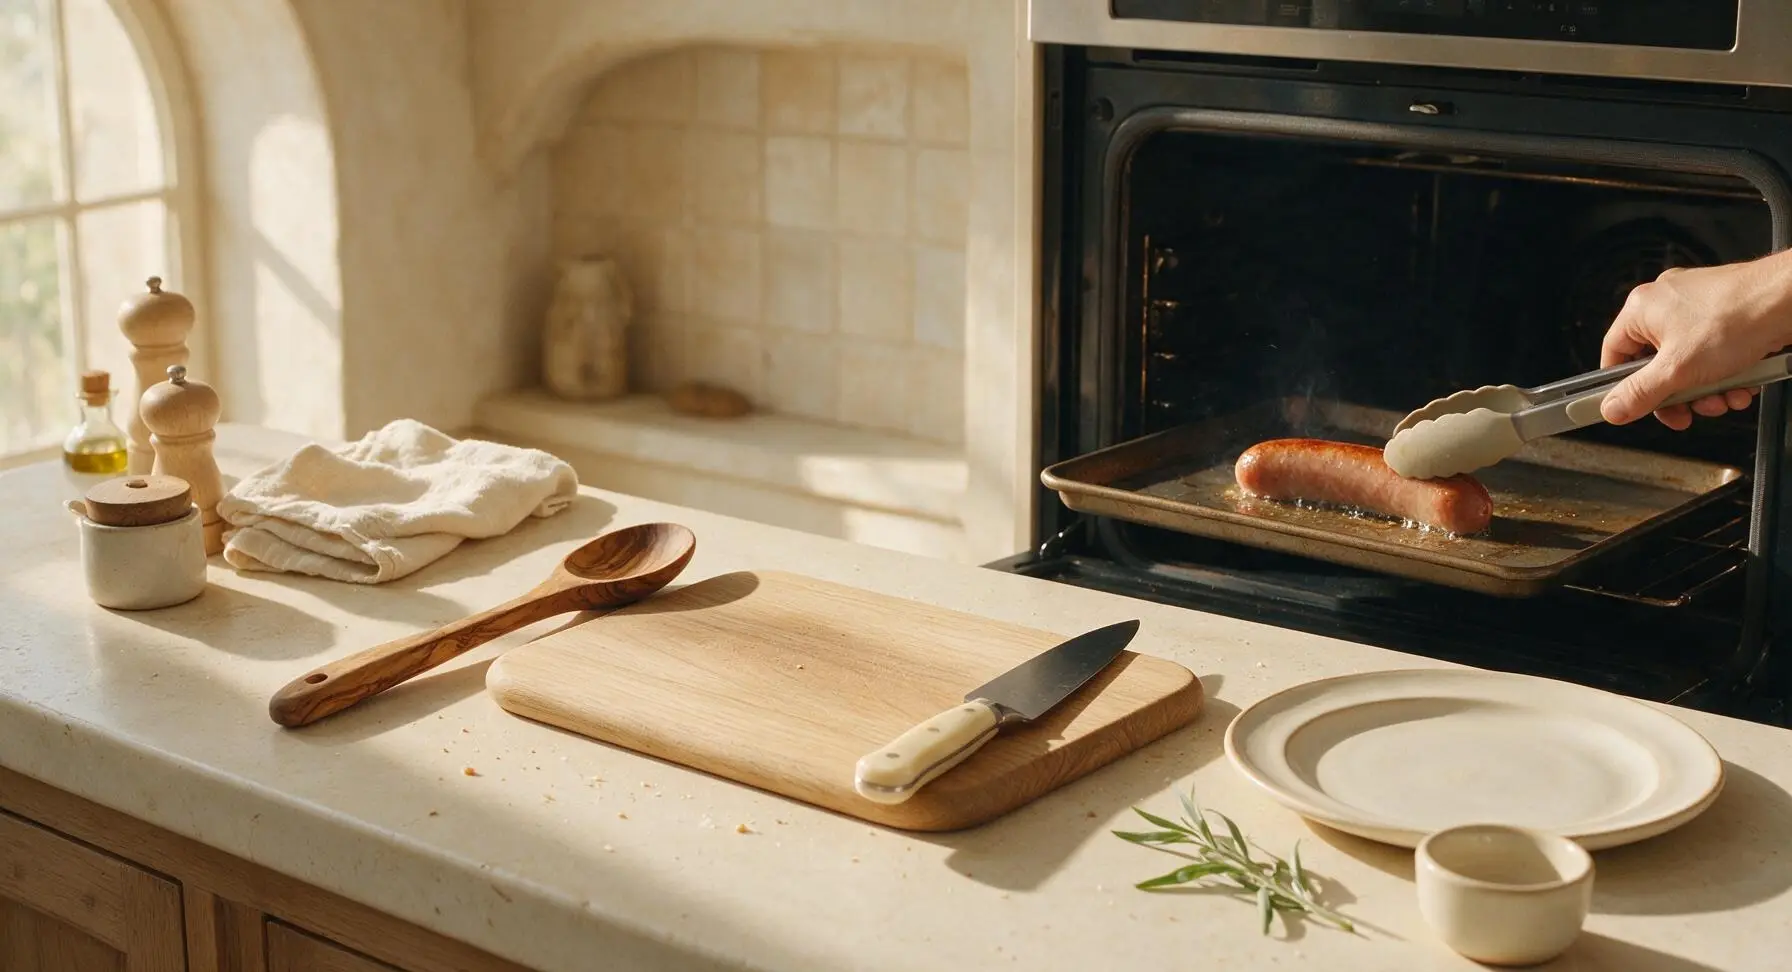
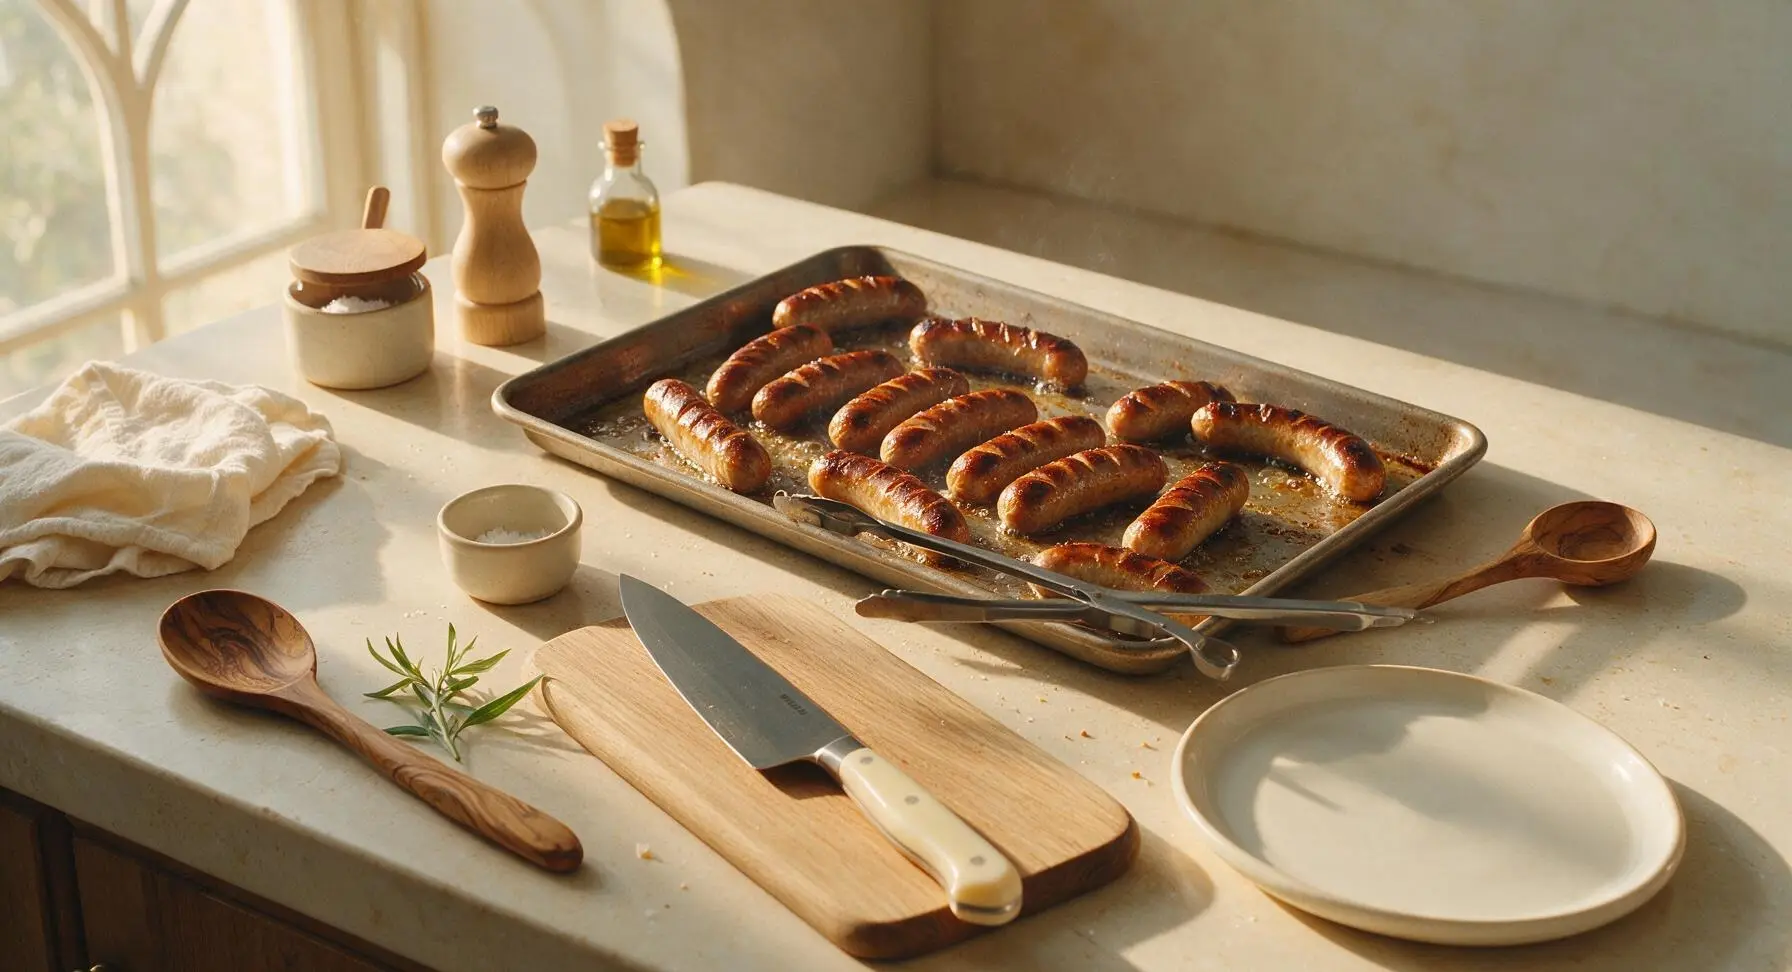
Step 5
step5:Broil for Snappy Edges
Step 5
step5:Broil for Snappy Edges
6

Warm and Toast Buns

Use the tongs to transfer all cooked hot dogs from the baking sheet to a clean, stacked off-white dinner plate. Arrange the split hot dog buns cut-side down on the same parchment-lined baking sheet, using the residual oven heat from the broiler (no temperature adjustment needed). Toast for 1-2 minutes until the cut sides are lightly golden and soft, not crispy. Watch closely to avoid burning the thin bread.
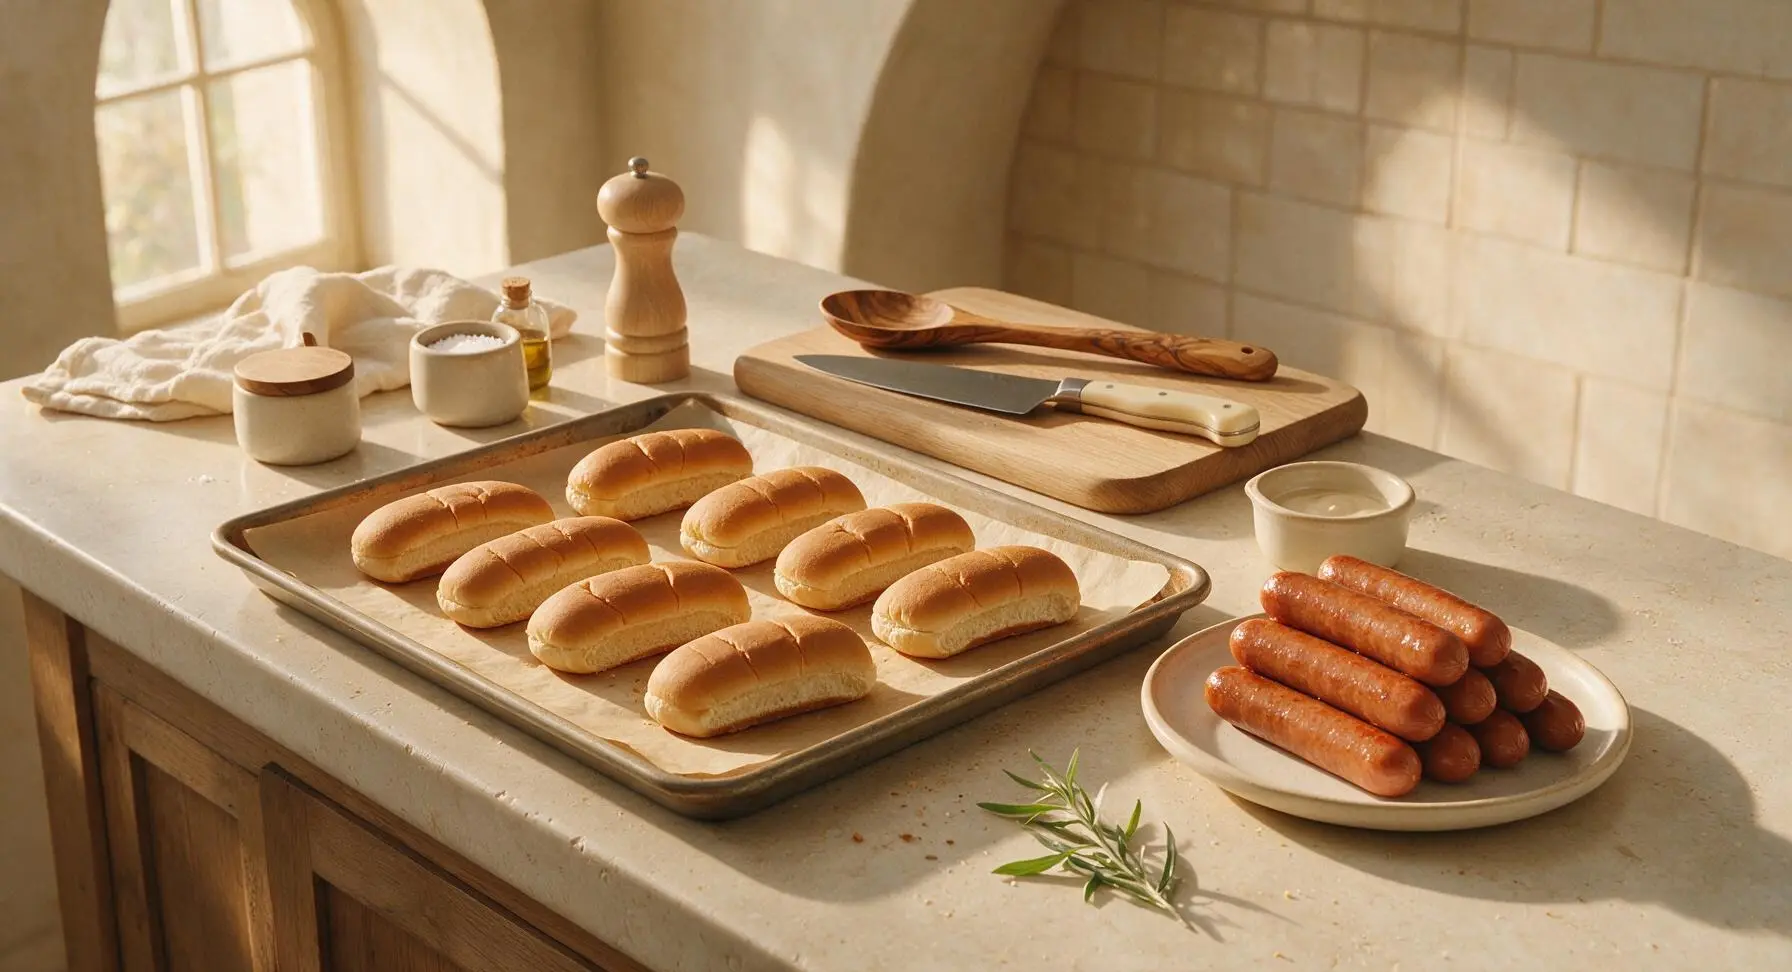
Step 6
step6:Warm and Toast Buns
7

Assemble and Plate Hot Dogs

Remove the toasted buns from the oven, then tuck one cooked hot dog into each bun. Drizzle with yellow mustard and ketchup as desired, then garnish each hot dog with a tiny sprig of fresh dill for a bright, herby contrast. Serve immediately while the hot dogs are hot and the buns are soft.
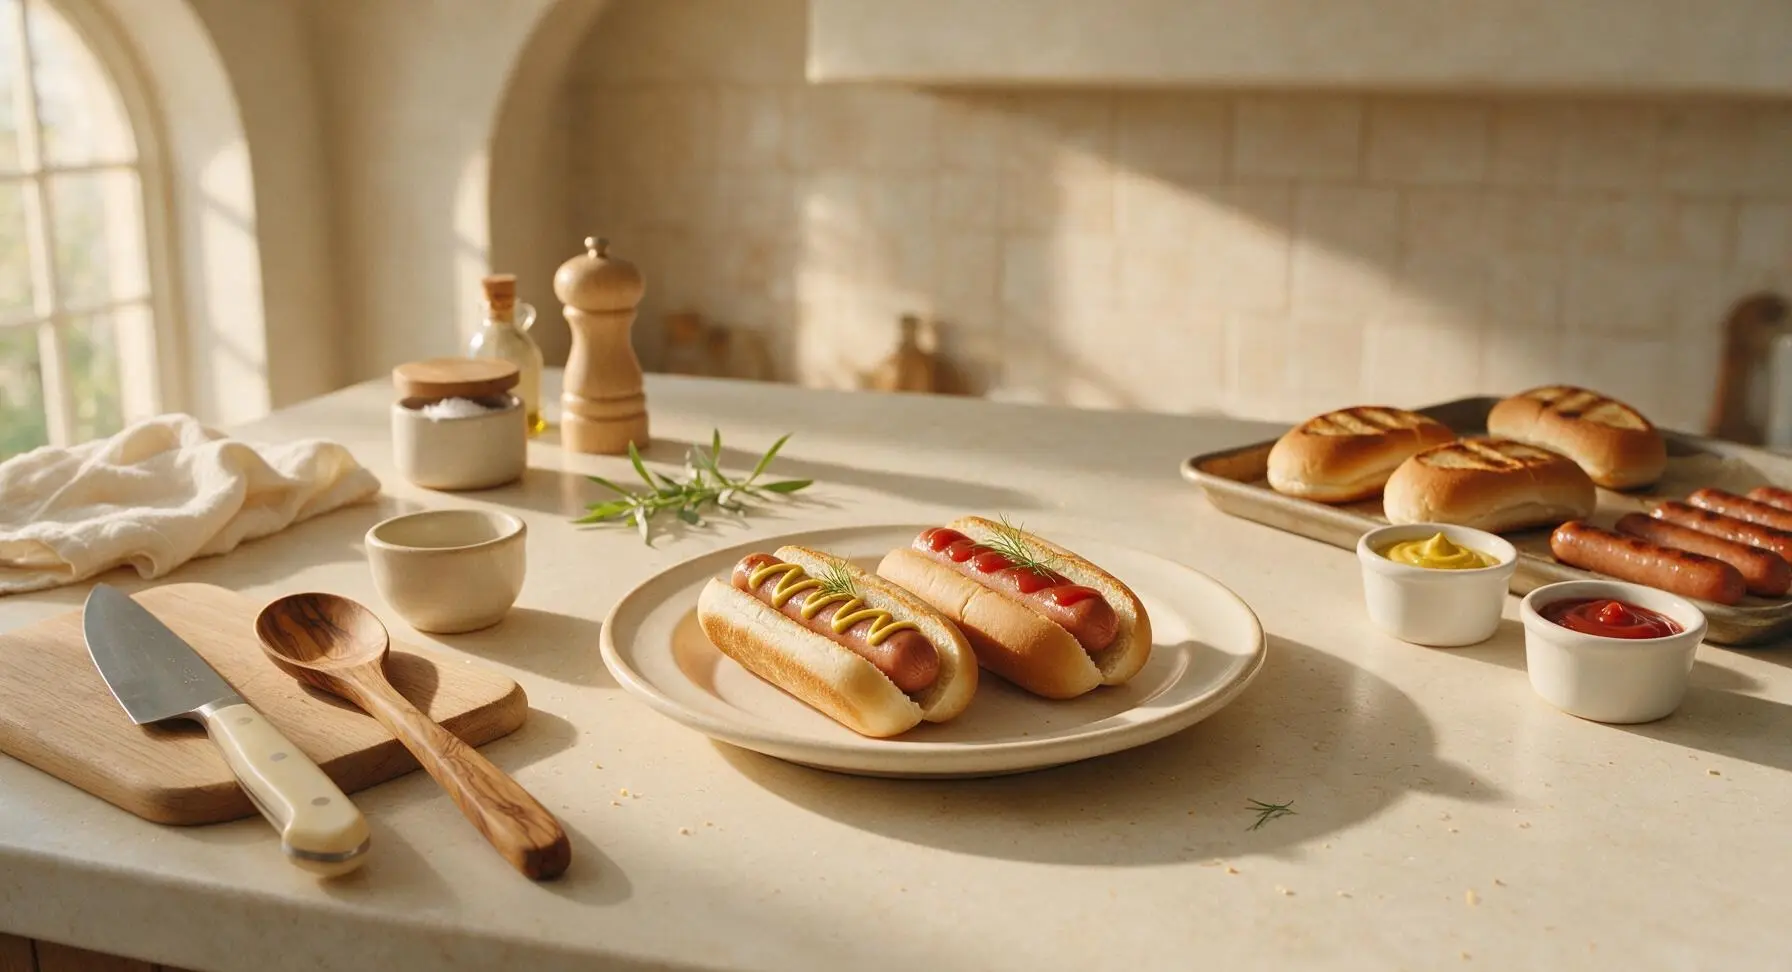
Step 7
step7:Assemble and Plate Hot Dogs

Tips

1.Leave 1 inch of space between hot dogs on the baking sheet: tight spacing traps steam from rendered fat, which will leave hot dogs soggy instead of giving them crisp, snappy skins.
2.Never leave the oven unattended during the broil step: broiler elements exceed 500°F, and hot dogs can go from perfectly charred to blackened and burnt in as little as 30 seconds, so check progress every 60 seconds.
3.Skip adding extra oil or cooking spray to the parchment paper: hot dogs render enough natural fat as they cook to crisp their edges, and added oil will make the final dish greasy and cause unnecessary oven splatter.


✨ You May Also Like

Main Course
🍜 United Kingdom

A showstopping classic of tender seared beef, savory mushroom duxelles, and crisp prosciutto wrapped in flaky golden puff pastry, baked to juicy perfection.

⏱️ 2 hours 1Main Course ★ 4.7
Main Course
🍜 India

Tender charred marinated chicken simmered in a rich, spiced creamy tomato sauce, this iconic Anglo-Indian curry pairs perfectly with basmati rice or warm naan.

⏱️ 50 minuteMain Course ★ 4.6
Main Course
🍜 Thailand

Classic tangy, sweet, and savory Thai stir-fried rice noodles with shrimp, tofu, and crunchy garnishes, balancing all five core Thai flavor profiles.

⏱️ 30 minuteMain Course ★ 4.5
Main Course
🍜 United Kingdom

Crispy golden beer-battered cod and fluffy double-fried chips, served with tangy tartar sauce and malt vinegar: the timeless, beloved British pub comfort classic.

⏱️ 45 minuteMain Course ★ 4.7
Main Course
🍜 Mexico

Smoky, chile-marinated pork tacos with caramelized pineapple, fresh cilantro, and lime: a beloved classic Mexican street food perfect for casual summer gatherings.

⏱️ 1 hour 45Main Course ★ 4.8
Main Course
🍜 United States

Crunchy Fritos corn chips layered with savory beef chili and melted cheddar, topped with cool, zesty fixings for a beloved, cozy Tex-Mex comfort food.

⏱️ 35 minuteMain Course ★ 4.8

cooking hot dogs in oven:Frequently Asked Questions

1.What oven temperature gives the juiciest, snappiest hot dogs without drying them out? ▾
Preheat your oven to 400°F (200°C) for the best results — this sweet spot renders just enough fat to create that classic snappy casing and light, charred edges in 10–12 minutes, no drying out. Going lower will steam the dogs instead of crisping them, while temperatures over 425°F cause casings to split early and leak flavorful juices.
2.Do I need to score or slit my hot dogs before putting them in the oven? ▾
Skip deep scores if you want maximum juiciness! A single tiny ¼-inch slit on the top of each dog prevents messy, unexpected casing splits as they heat, but deep cuts let all the rich, flavorful fat render out and drip onto the pan, leaving dry, bland hot dogs with no signature snap.
3.Can I line my baking sheet with foil to make cleanup easier? ▾
Absolutely, and it even helps with more even browning! Line a rimmed baking sheet with heavy-duty foil, then arrange hot dogs in a single layer with ½ inch of space between each for air circulation. You won’t need extra oil — the fat rendering from all-beef dogs prevents sticking and creates those crisp, craveable edges.
4.How do I keep the split-top white hot dog buns from getting soggy? ▾
Toast your split-top buns during the last 2–3 minutes of the hot dogs’ cook time for perfect texture. Pull the oven rack out slightly, nestle the split buns directly on the oven rack next to the dogs, and they’ll develop soft, warm centers with a lightly crisp crust. Don’t leave them in longer, or they’ll turn hard and crumbly.
5.Can I use turkey or plant-based hot dogs instead of all-beef with this method? ▾
You absolutely can, just make small adjustments for best results. Turkey and plant-based dogs have far less fat than all-beef options, so they’ll cook 2–3 minutes faster and won’t render enough fat for charred edges. Give them a light spritz of neutral cooking oil before baking to get that same snappy, crisp exterior without drying.
6.When should I add the kosher salt, black pepper, and yellow mustard for the best flavor? ▾
Wait to add your seasonings until the hot dogs are fresh out of the oven! Lightly sprinkle coarse kosher salt and freshly ground black pepper right when you pull them off the baking sheet so the seasonings stick to the warm, slightly fatty surface. Add yellow mustard after tucking dogs into toasted buns to keep its bright, tangy flavor sharp.
7.How do I know when the hot dogs are done without overcooking them? ▾
Pre-packaged all-beef hot dogs are fully cured, so you only need to heat them to a safe internal temperature of 140°F (60°C), which takes 10–12 minutes at 400°F. They’re perfect when casings are slightly wrinkled, dotted with light golden char spots, and plump. If they curl tight or split wide open, they’re overcooked.

Comments (3)

3 days ago

OMG, this is such a game changer! I’ve always boiled or grilled hot dogs and they always come out either dried out or soggy, but these were SO juicy and perfectly snappy all the way through. My kids loved it, even went back for seconds — my super picky 7 year old usually picks all the toppings off and only eats half the dog! Threw a sheet pan of tater tots in the oven right alongside them for zero-fuss family dinner, 10/10 will be adding this to my regular weeknight rotation!

3 days ago

So happy these were a hit with your family, especially your picky eater! The one-pan tater tot trick is one of our go-to weeknight moves too, cuts down on dishes so much.

2 days ago

Wait, same sheet pan as tater tots? That’s genius! I made these for a potluck last weekend when my grill died mid-cook and everyone raved, I can’t wait to try the one-pan version for my next tailgate.

yesterday

Was super skeptical about cooking hot dogs in the oven, always thought you needed a grill to get that good snap. Tried these last night when our grill ran out of propane mid-prep for our game night spread. They were way juicier than I expected! Only reason I’m not giving 5 stars is I wish I’d known to line the pan with foil first, got a little burnt gunk stuck that took forever to scrub off.

yesterday

Great callout about the foil! We always recommend lining your sheet pan to make cleanup a total breeze, so glad these saved your game night when the grill conked out. Quick pro tip: toss your buns on the top rack for the last 2 minutes of cook time to get them perfectly toasty too!

2 hours ago

Total game changer for my weekly meal prep! I batch cooked a dozen of these on Sunday to grab for quick work lunches all week, and they reheat perfectly in 30 seconds in the microwave without getting all rubbery like boiled hot dogs do. Topped mine with sauerkraut and spicy brown mustard today and it felt like I was eating a ballpark dog at my desk, SO good. 15 minute cook time? Can’t beat that for an easy prep day.



