
cooking hot dogs in toaster oven
intro
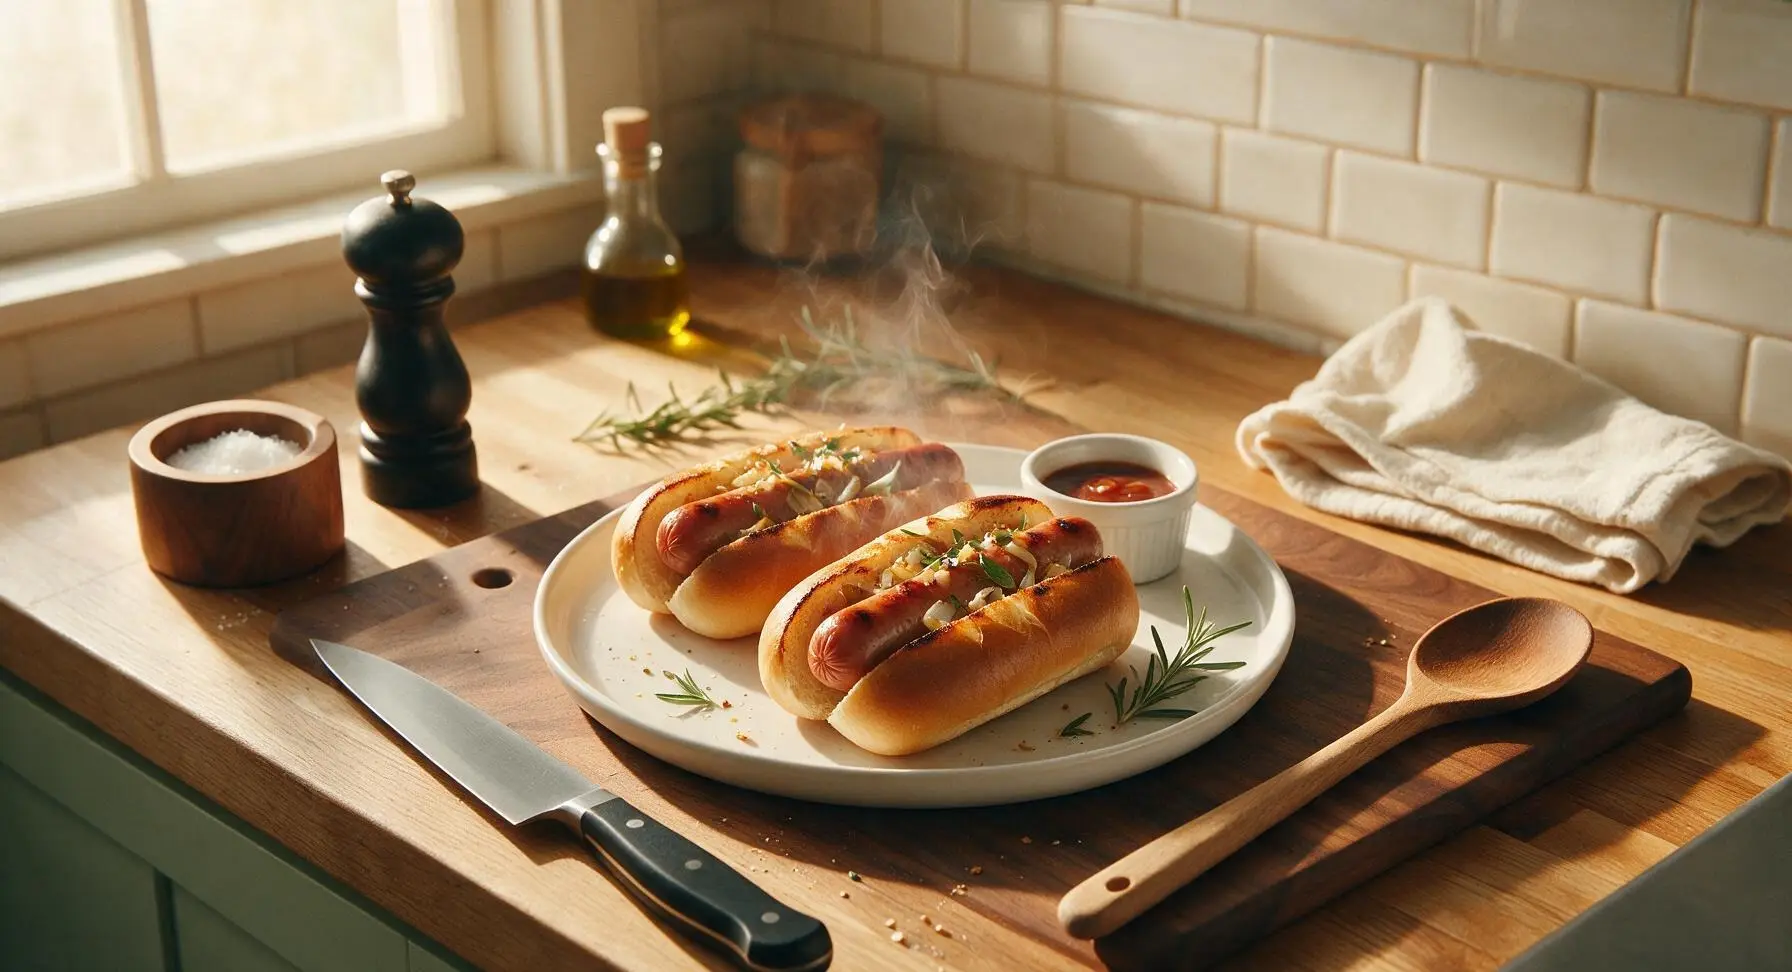
Juicy, snappy hot dogs with perfectly crisp toasted buns, made in minutes in the toaster oven—no grill, no mess, for fast, satisfying casual meals.
Ingredients
Steps
Preheat Toaster Oven
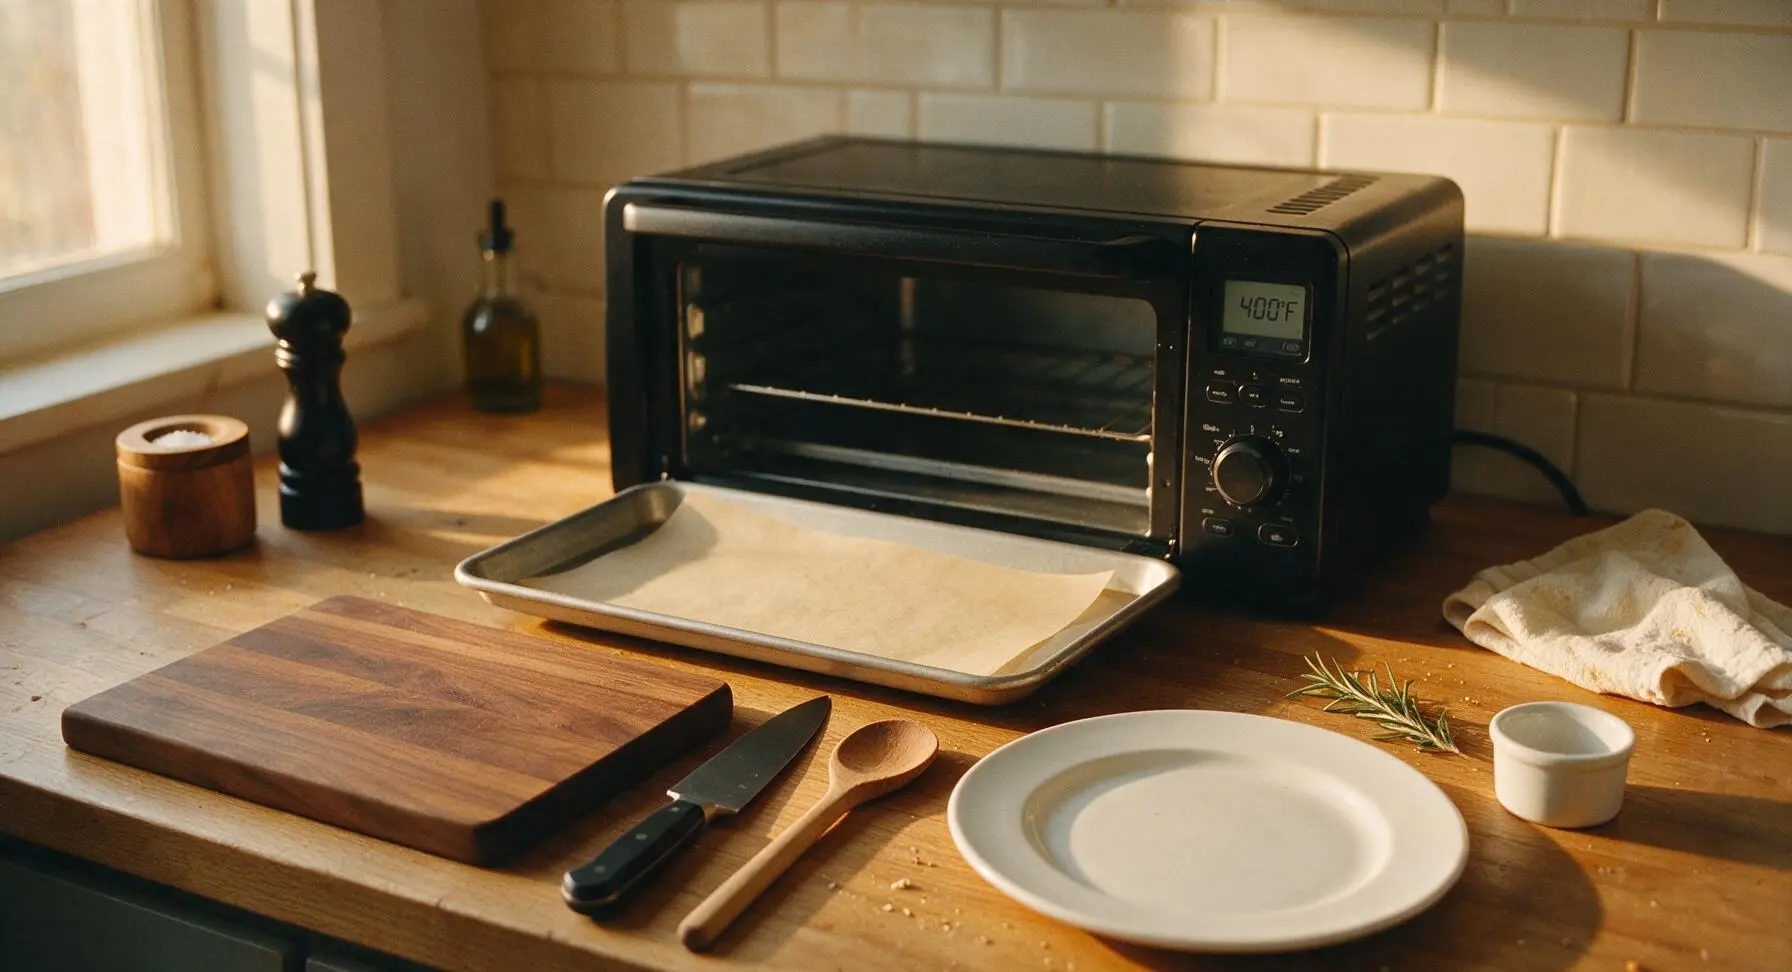
Adjust the toaster oven's chrome wire rack to the middle position, set the appliance to bake mode at 400°F (200°C), and preheat for 3 minutes. Pull the matte aluminum baking tray from its lower storage slot in the toaster oven, and line it with a 22x18cm sheet of unbleached parchment paper to cut down on post-cooking scrubbing.
Score Hot Dog Casings
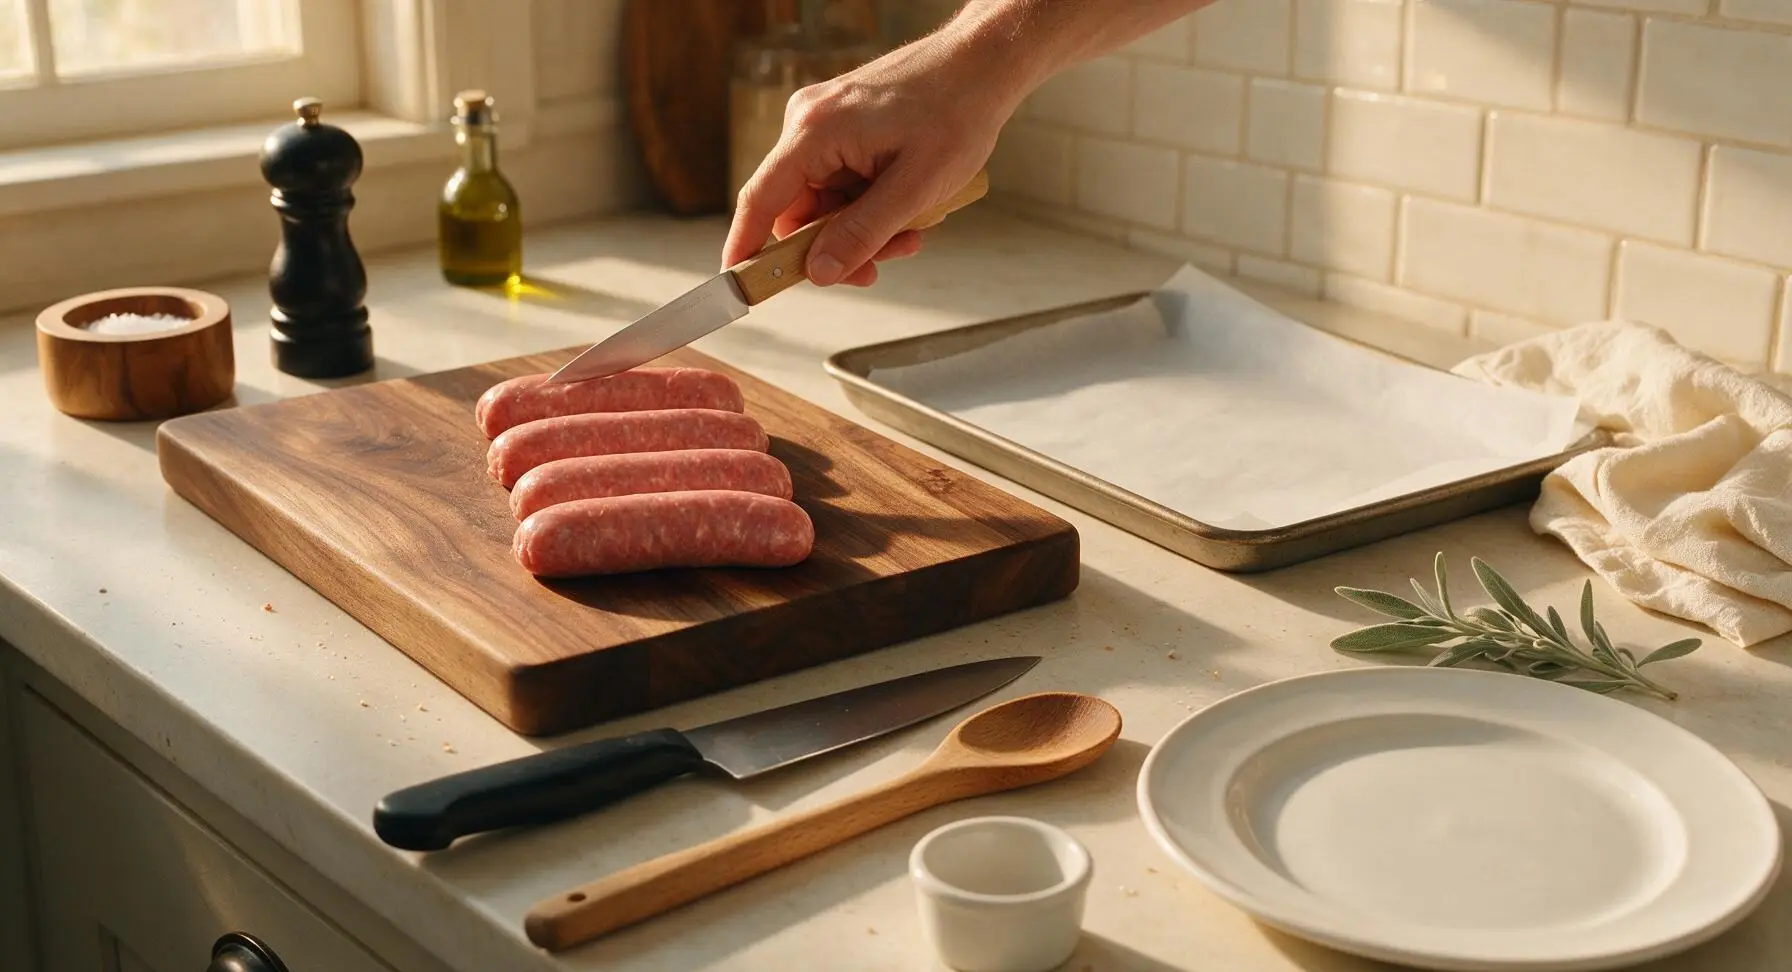
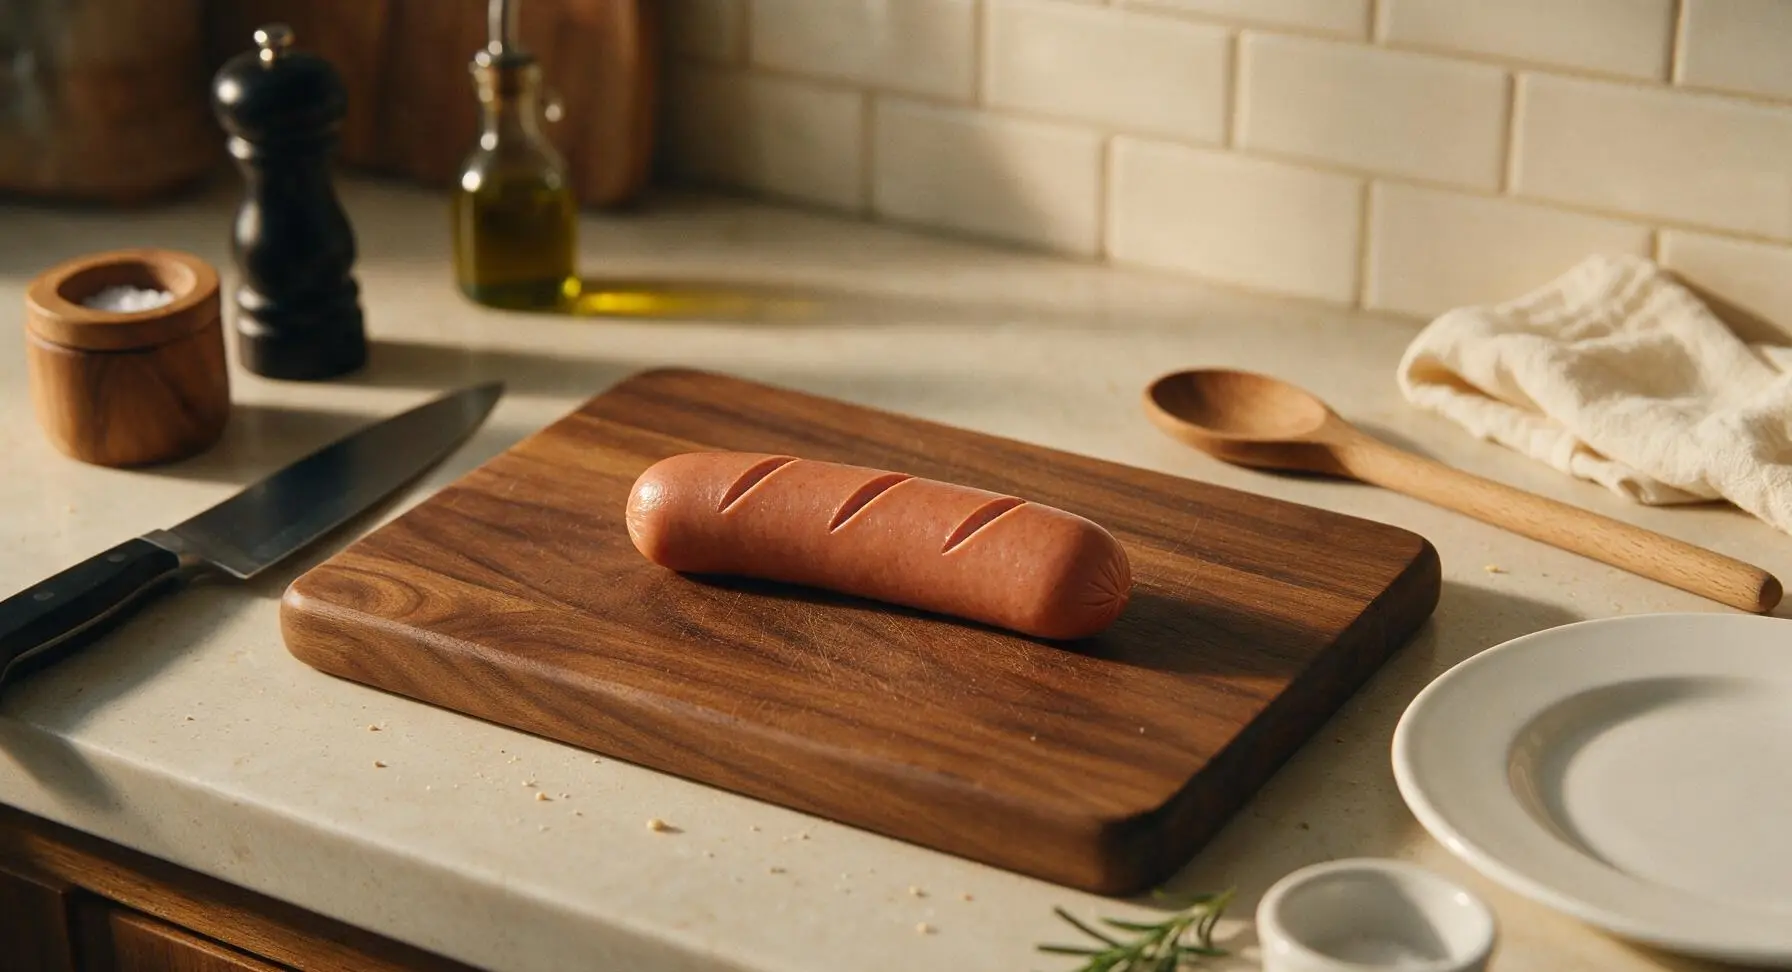
Remove the 4 all-beef hot dogs from their packaging, and pat them lightly dry with the corner of the heather gray cotton towel to remove excess packaging moisture. Set the hot dogs on the honey birch cutting board. Use the wood-handled paring knife to make 3 shallow, diagonal 1/4-inch deep cuts across the top of each hot dog, spaced 1 inch apart. These cuts prevent casings from bursting during cooking and create crisp, caramelized edges as natural fat renders out.
Arrange Hot Dogs on Tray
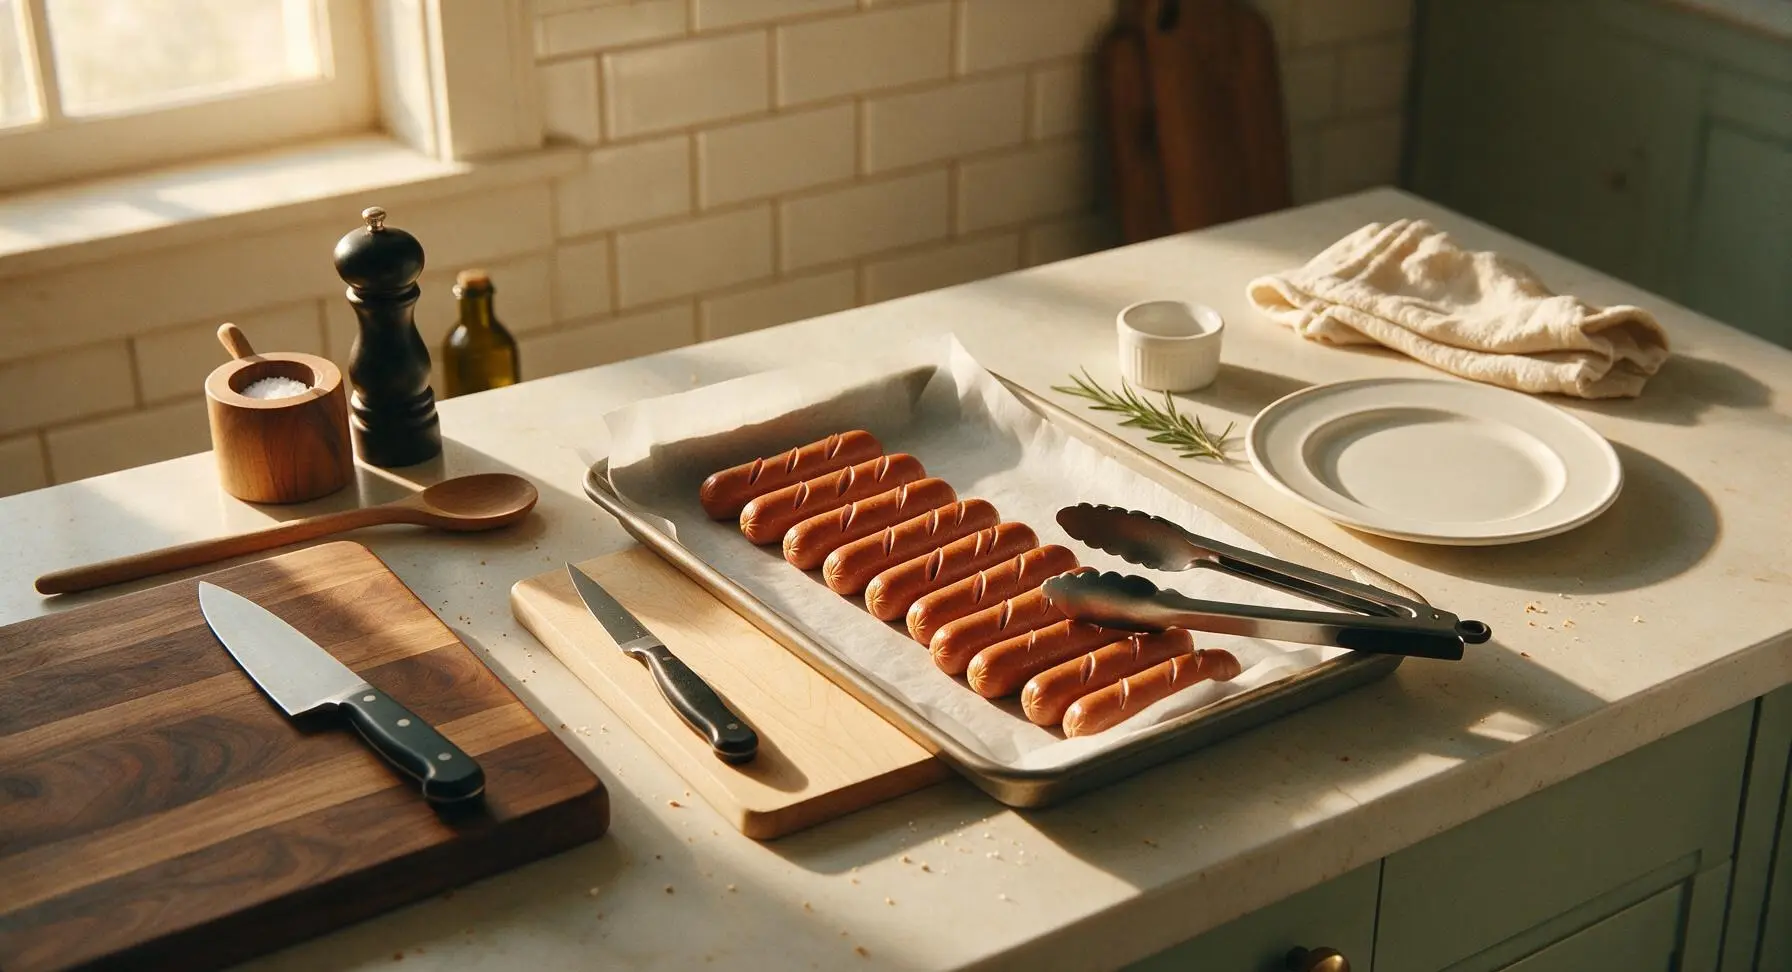
Use the silicone-grip stainless steel tongs to transfer the scored hot dogs to the lined baking tray, spacing them 2.5cm (1 inch) apart to allow hot air to circulate evenly around each link. If using a smaller 2-slice toaster oven, cook the hot dogs in two batches to avoid overcrowding, which leads to uneven browning.
Bake Hot Dogs Until Plump
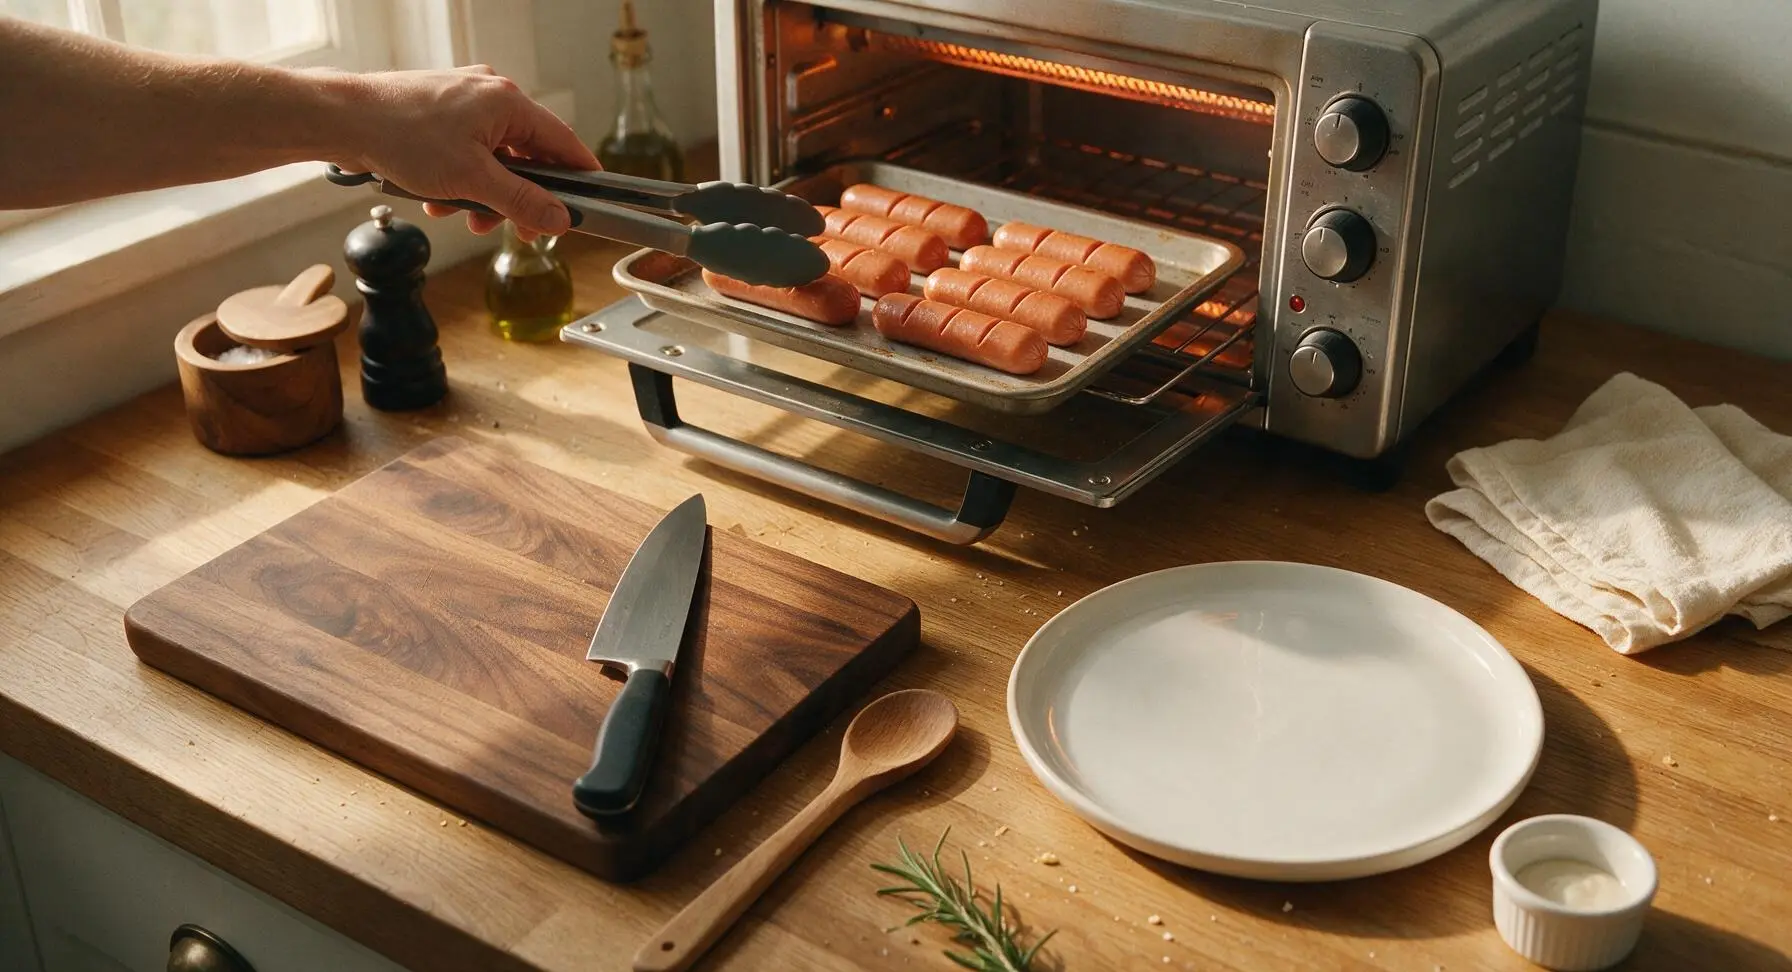
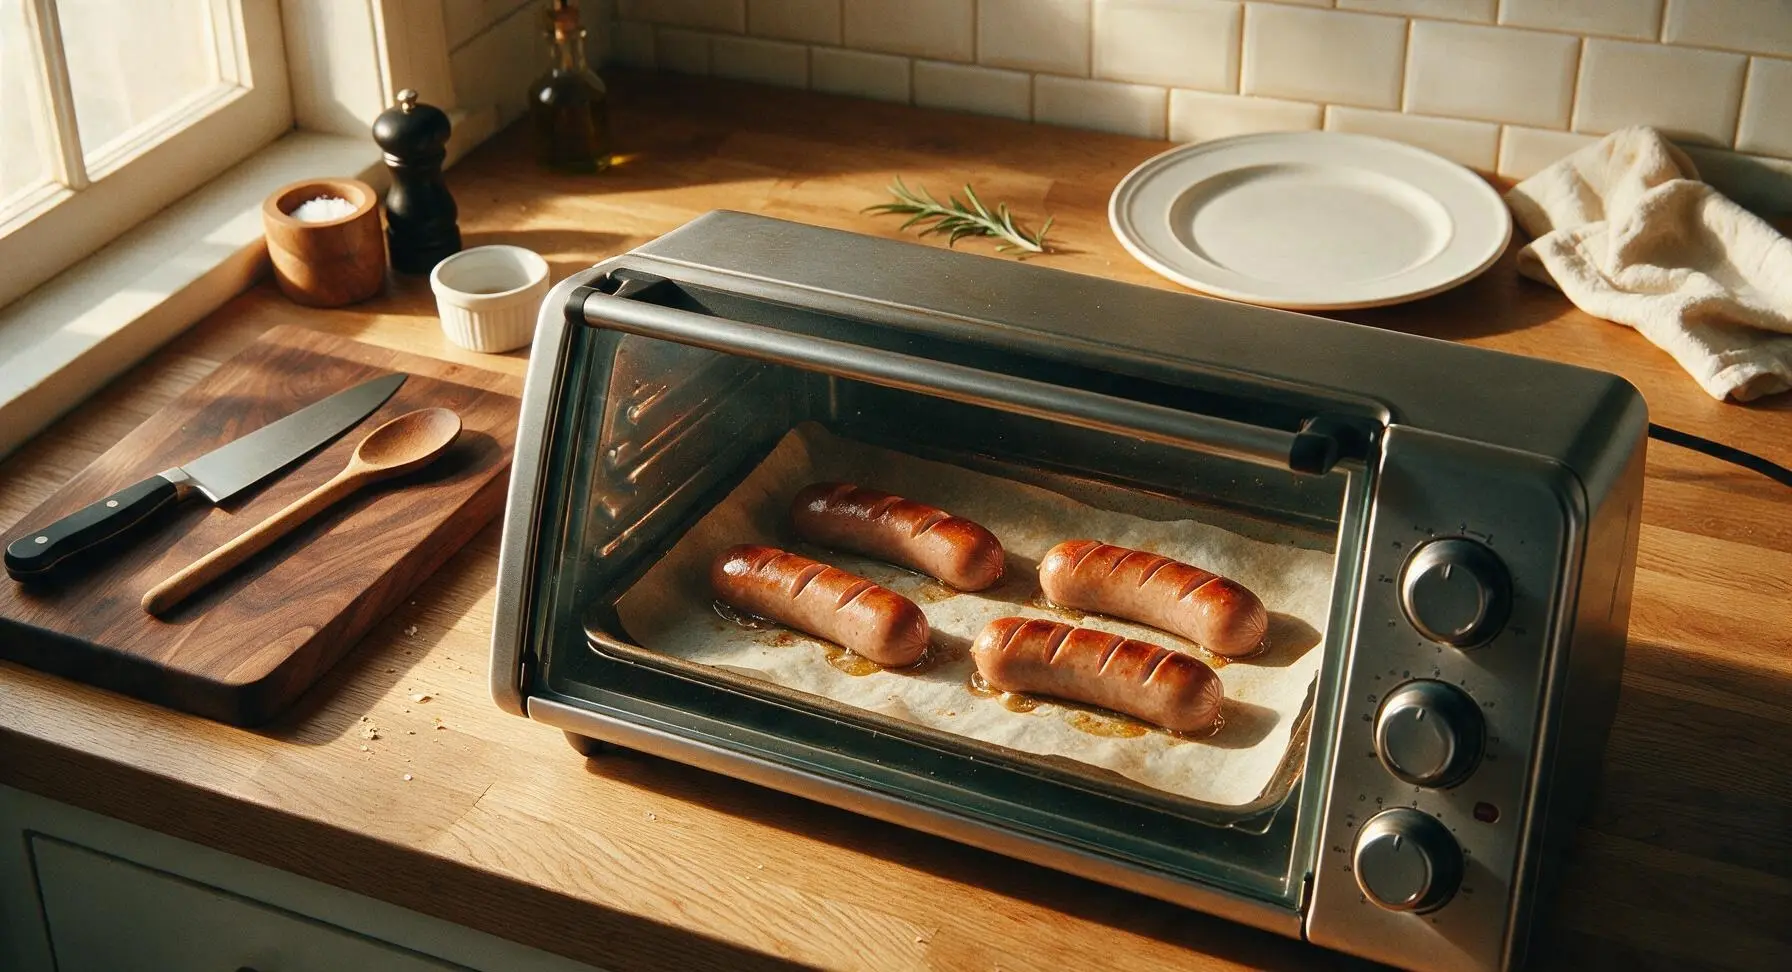
Carefully slide the baking tray onto the middle rack of the preheated toaster oven. Bake for 6 minutes total, using tongs to flip each hot dog once at the 3-minute mark to ensure even browning on all sides. Hot dogs are fully cooked when casings are slightly wrinkled, plump, and dotted with light golden char spots at the scored edges, with no split casings.
Toast Buns to Crisp
Once hot dogs are cooked, use tongs to transfer them from the tray to the birch cutting board to rest for 1 minute, which lets juices redistribute for a juicier bite. Place 4 split-top hot dog buns cut-side down directly on the same warm baking tray—no need to wipe the tray, as the thin layer of rendered hot dog fat will add rich, savory flavor to the toasted buns. Slide the tray back into the toaster oven and toast for 1–2 minutes, watching closely to avoid burning, until the cut surfaces of the buns are light golden brown and slightly crisp at the edges.
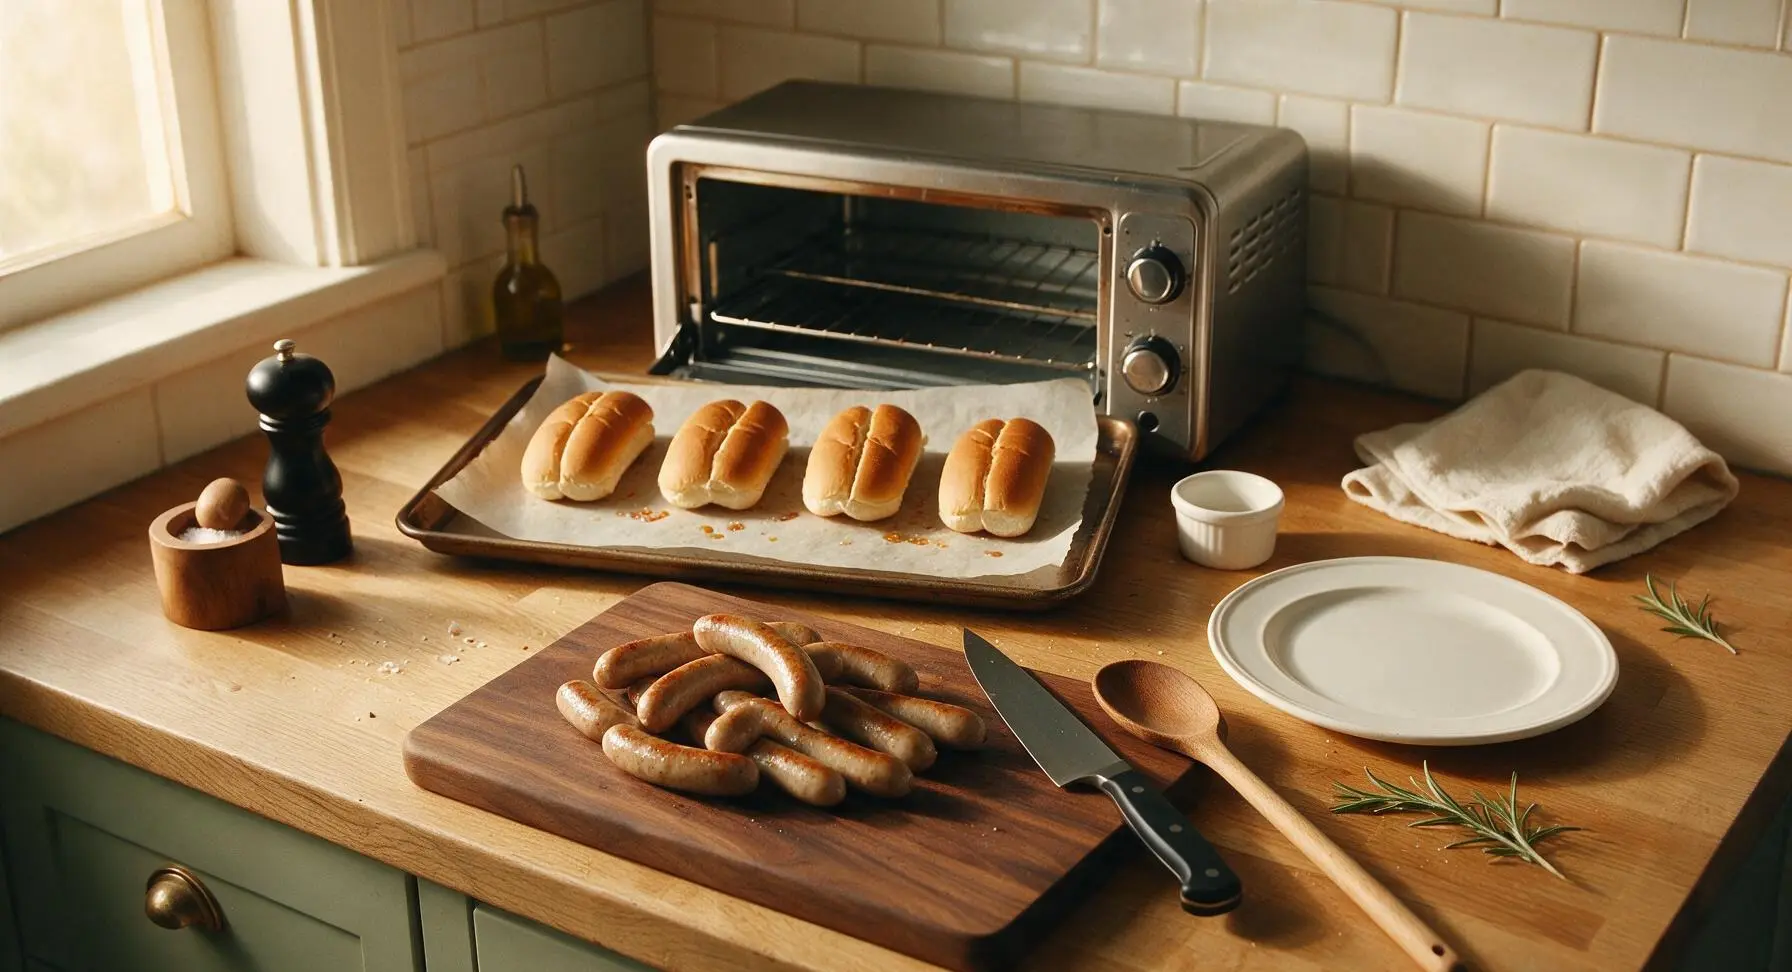
Nestle Dogs in Buns
Use tongs to pull the tray of toasted buns from the toaster oven, flipping each bun cut-side up and arranging them in a single row on the matte off-white stoneware dinner plate. Lift one rested hot dog with the tongs and nestle it snugly into each toasted bun, pressing lightly to seat the dog in the soft bun center.
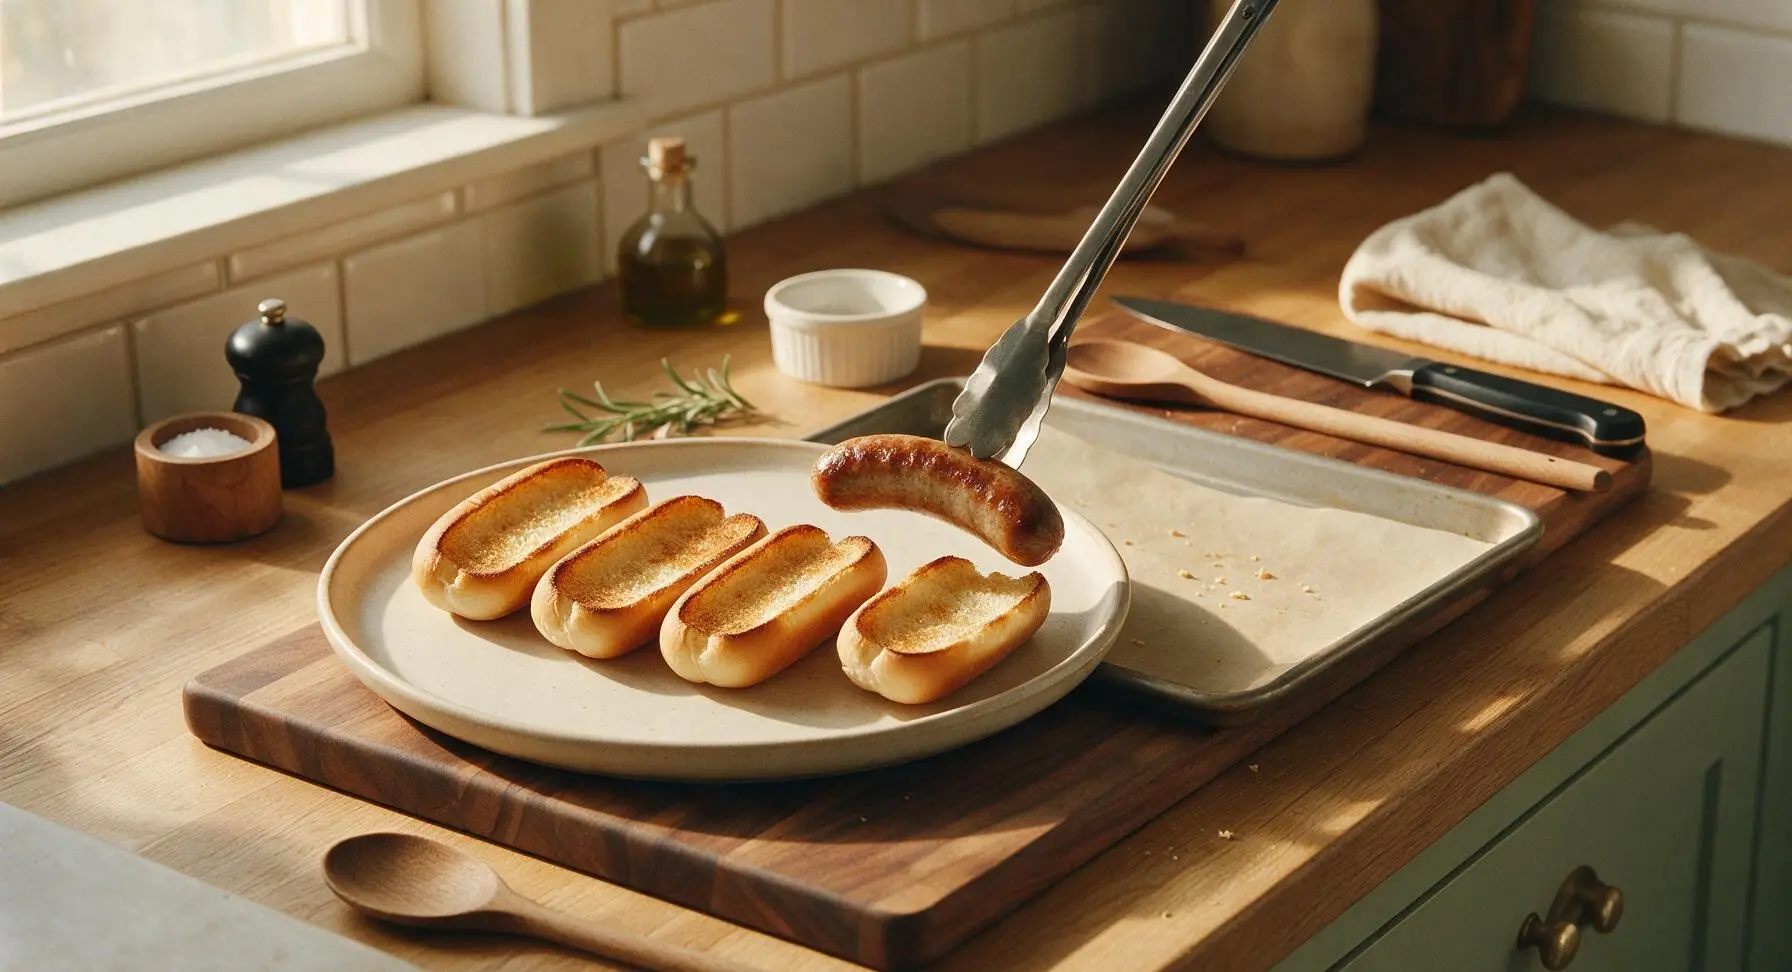
Add Condiments and Serve
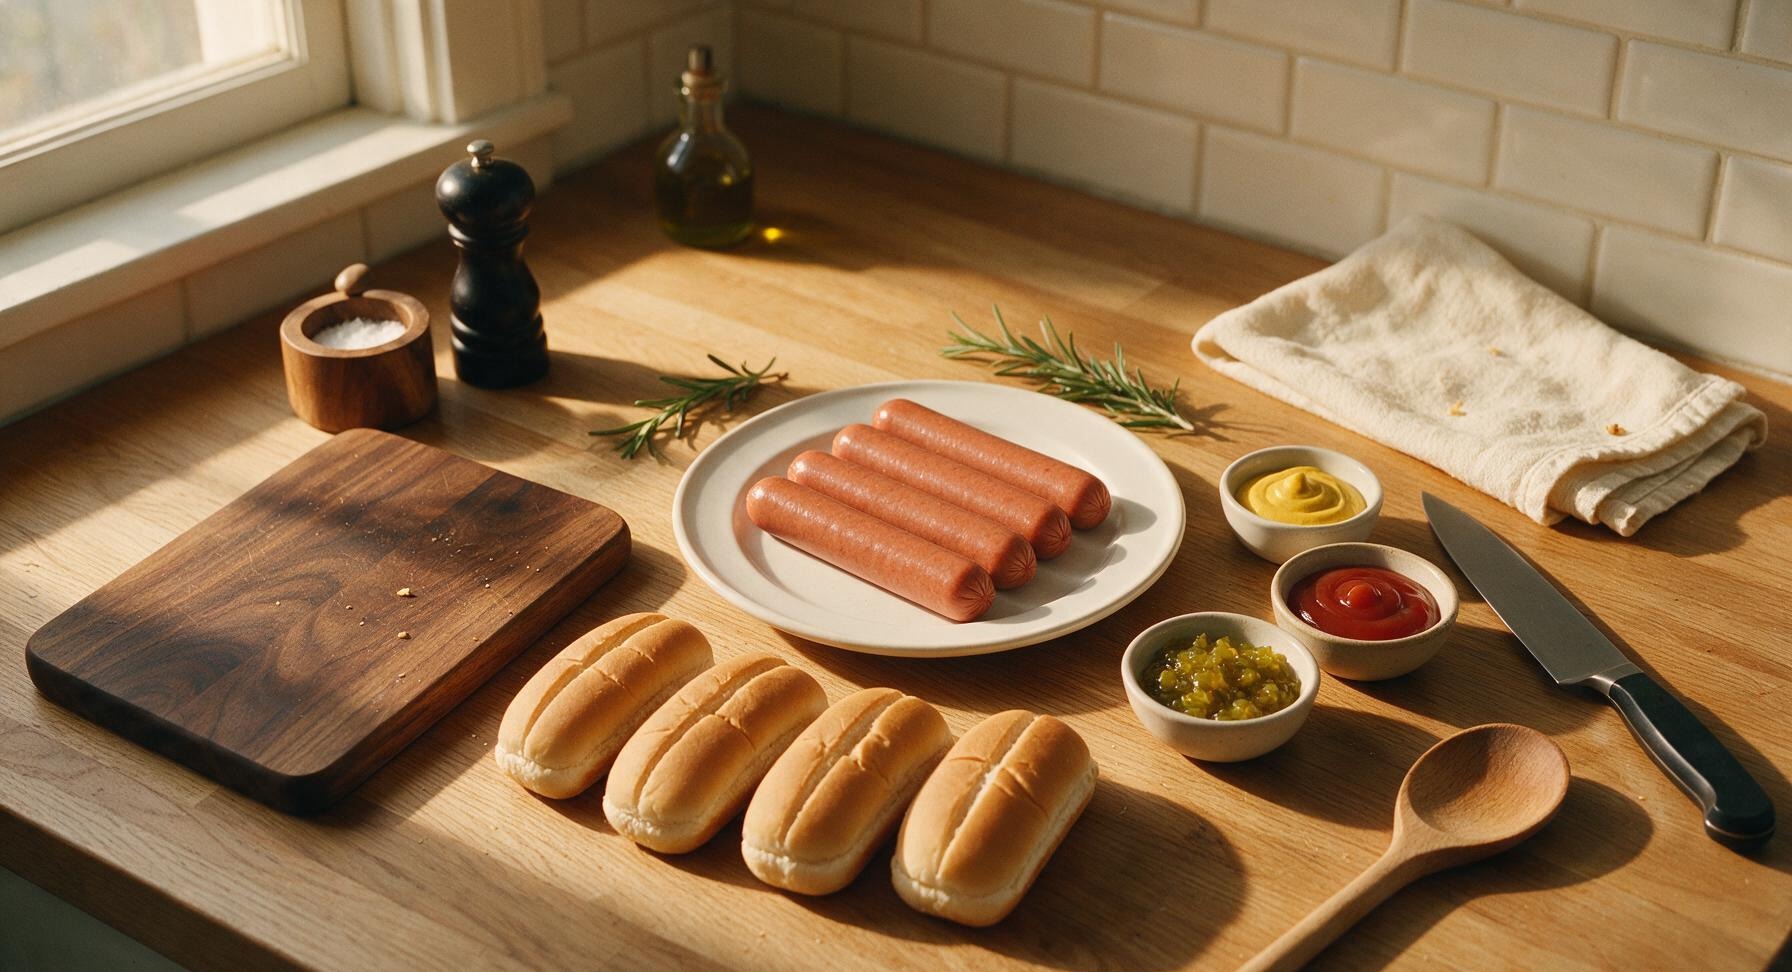
Drizzle yellow mustard and ketchup in thin zigzag patterns across the top of each hot dog, then top with a small dollop of sweet pickle relish. Serve immediately while the hot dogs are juicy and the buns are warm and crisp.
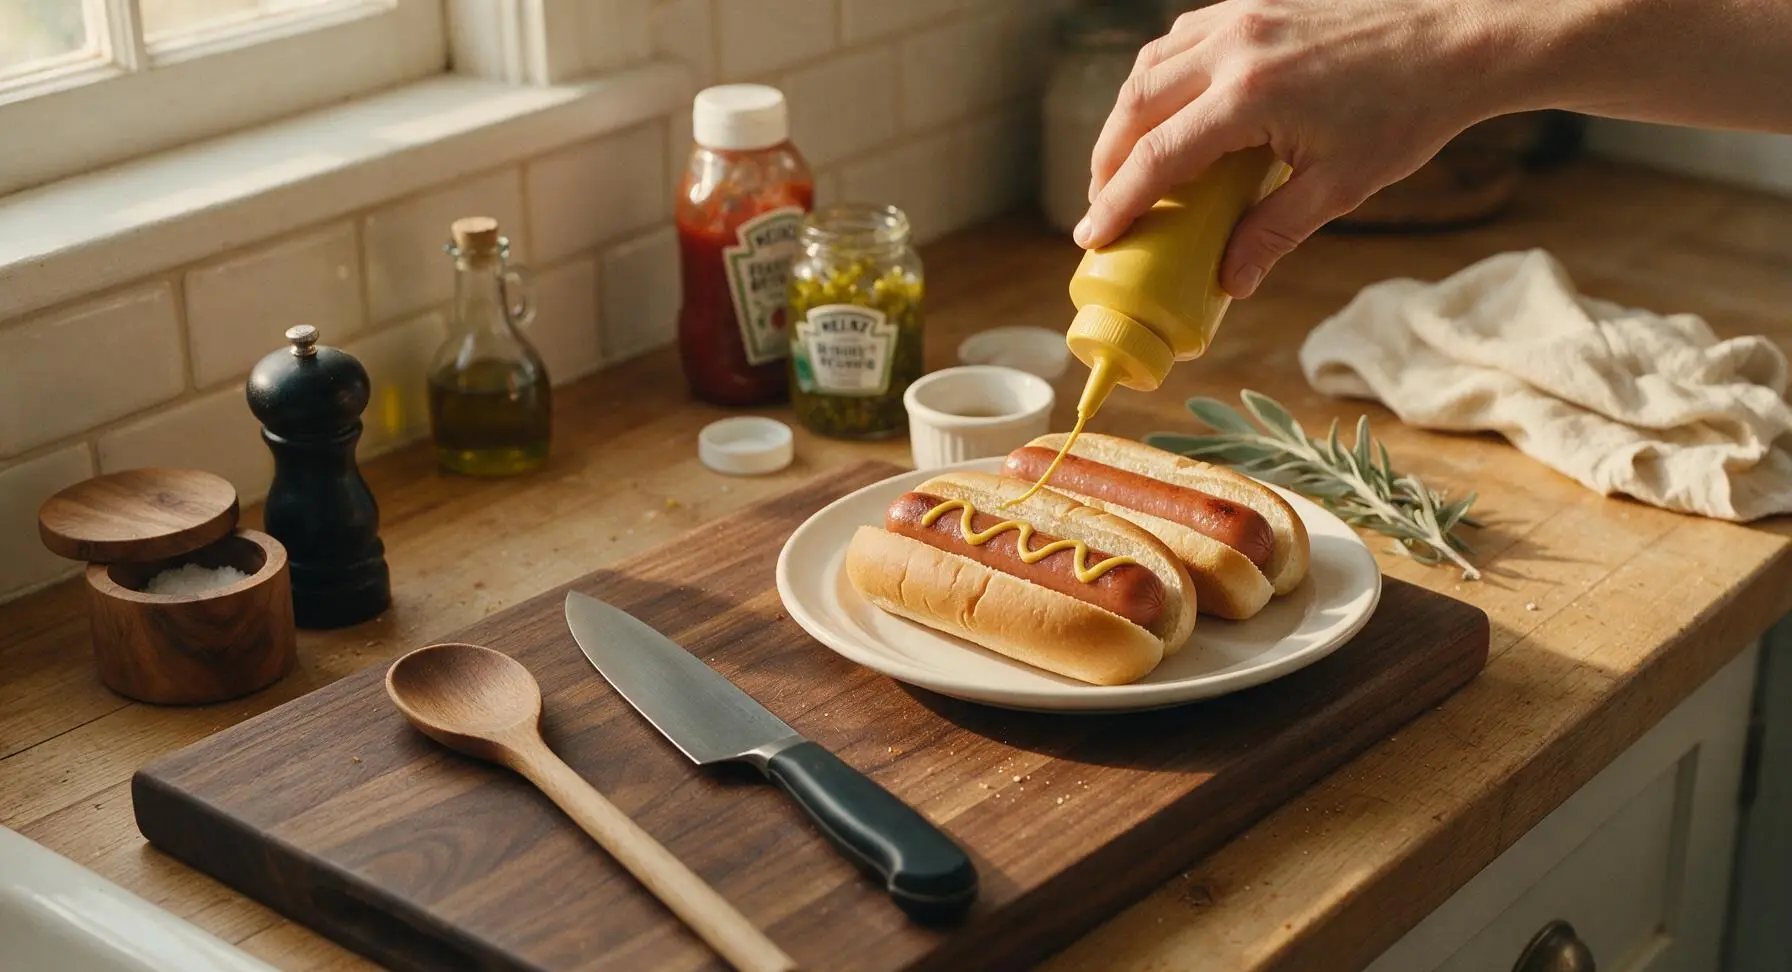
Tips
2.Leave 1 inch of space between hot dogs on the baking tray: proper spacing allows hot toaster oven air to circulate evenly, creating consistent browning and crisp casings instead of steamed, soggy links.
3.Check buns after 1 minute of toasting: toaster oven heating elements reach very high temperatures, and cut bun surfaces can go from perfectly golden to charred black in as little as 30 seconds, so never leave them unattended.






OMG this is such a game changer! I’ve been boiling hot dogs for my kids for years and never thought to toss them in the toaster oven for 8 minutes? They came out perfectly crispy on the outside, no soggy mess! My kids loved it — my 7 and 9 year old devoured theirs before I even got the buns toasted. Will be making these every weeknight for quick dinners fr.
Super easy weeknight win! I brought these to my neighborhood potluck last weekend and people kept asking how I got the hot dogs to have that perfect snap. No fancy equipment needed, just my little countertop toaster oven, done in 8 minutes flat? No heating up the whole kitchen in this Florida heat, thank GOD.
Meal prep lifesaver! I cook a batch of these every Sunday for quick grab-and-go lunches during the work week. They hold up way better than I thought they would, way less cleanup than grilling too. Only note: if you like extra char, leave them in for an extra minute, just keep an eye so they don’t burn.
My grandson showed me this recipe when he visited last week and I was skeptical at first — I’ve been grilling hot dogs for 50 years! But these came out SO good, even better than the grill on a rainy day when I don’t want to stand outside. So easy even this old lady didn’t mess it up!