
cooking tater tot casserole from frozen

title 1
cooking tater tot casserole from frozen
⏱️ cook time 45 minutes
🍽️ servings 6
⚡ Difficulty easy

intro

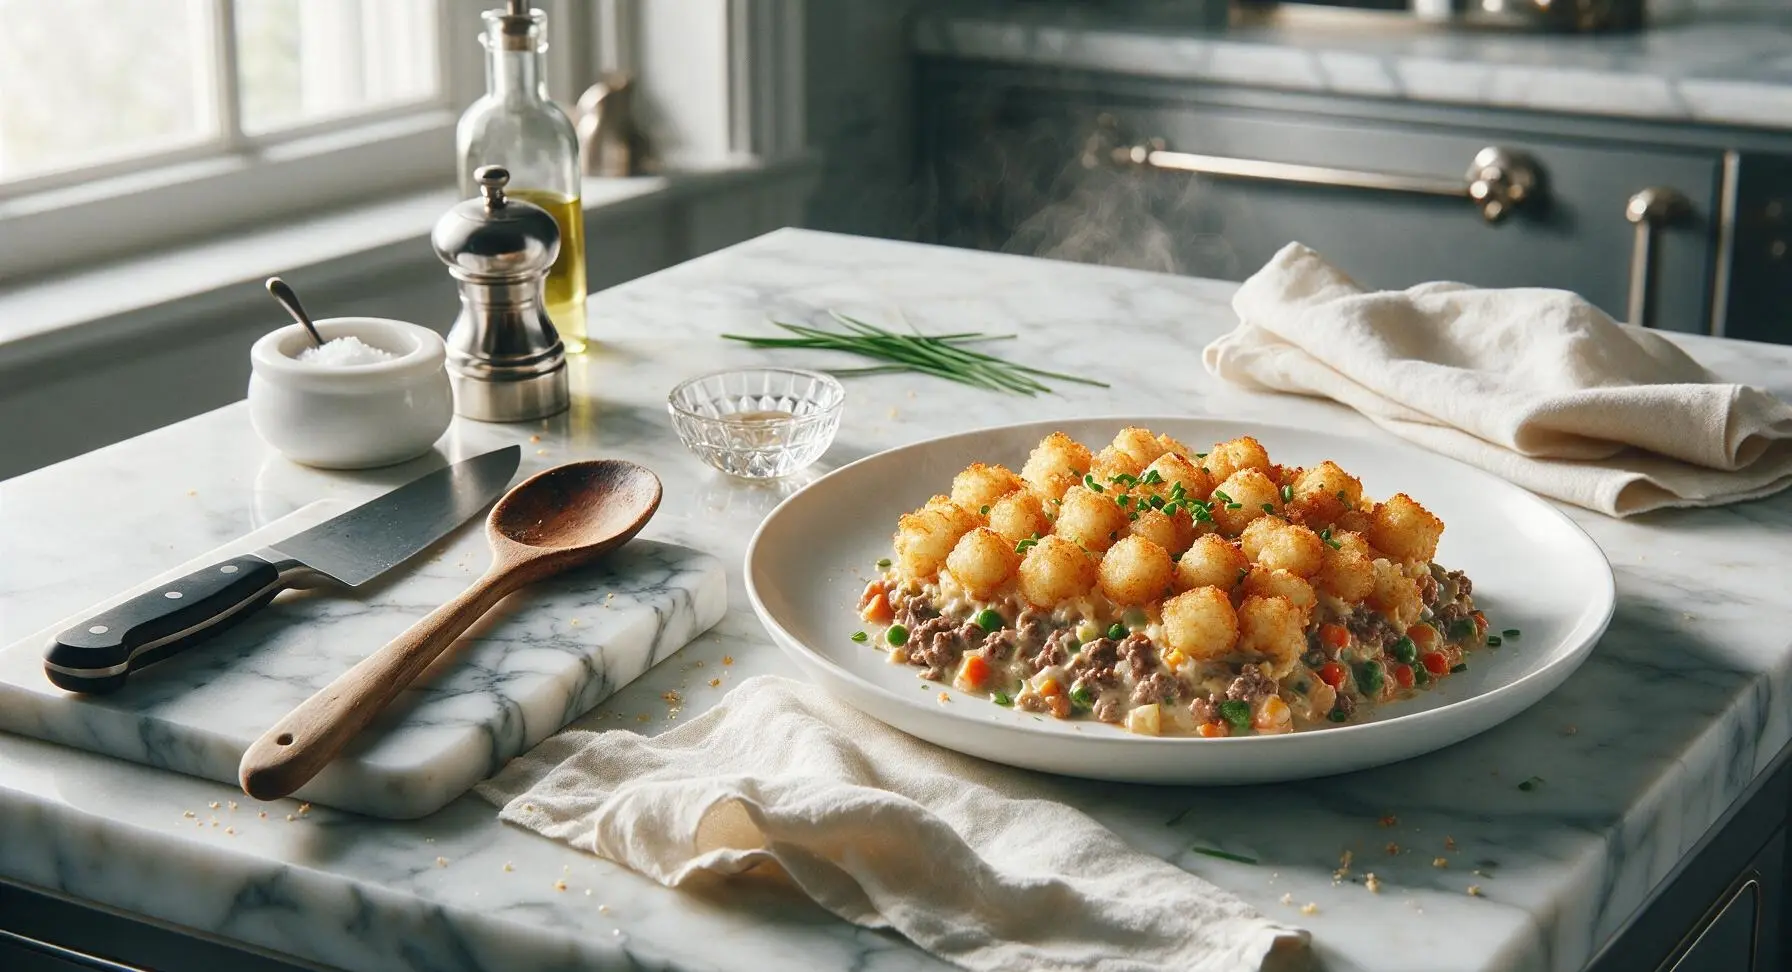
Crispy golden frozen tater tots top a rich, creamy ground beef and vegetable filling for cozy, low-prep comfort food perfect for busy cold-weather nights.

Ingredients
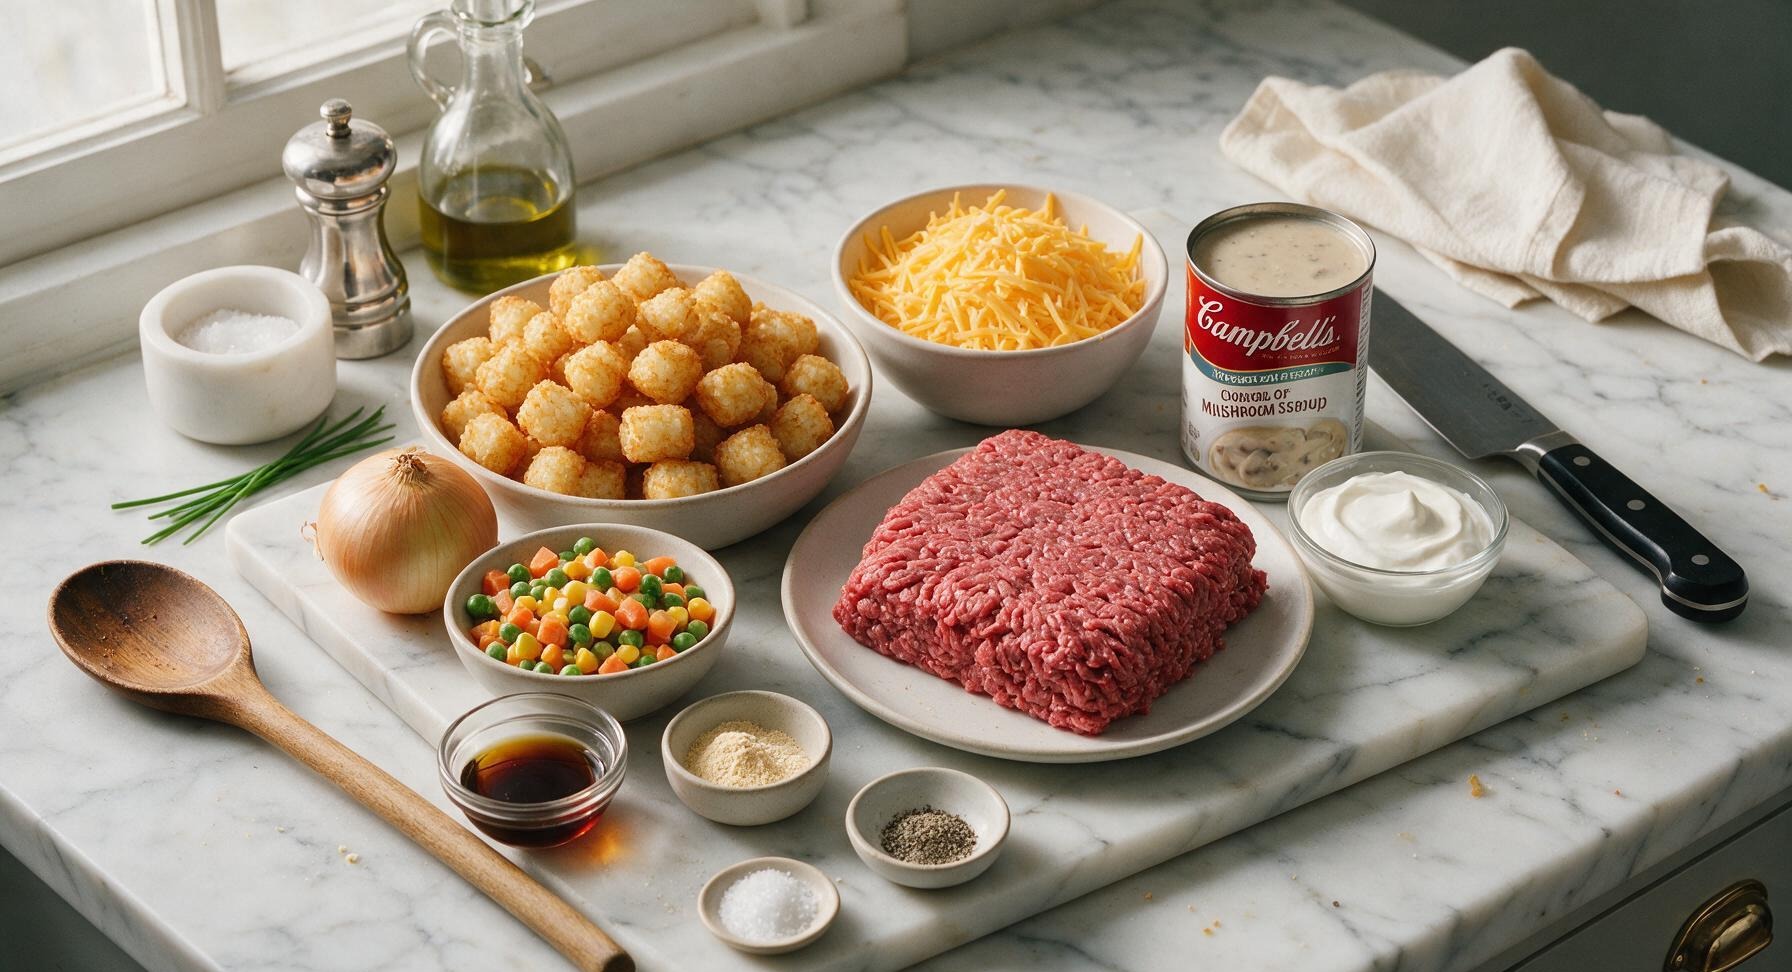
Frozen tater tots 32 oz (900g)
Lean ground beef (90/10) 1 lb (450g)
Shredded sharp cheddar cheese 2 cups (220g)
Condensed cream of mushroom soup 10.5 oz (300g) can
Small yellow onion 1 piece (110g)
Frozen mixed vegetables (peas, carrots, corn) 1 cup (150g)
Full-fat sour cream 1/2 cup (120g)
Worcestershire sauce 2 tbsp
Garlic powder 1 tsp
Onion powder 1/2 tsp
Kosher salt 1 tsp
Ground black pepper 1/2 tsp

Steps

1

Preheat and Prep Dish

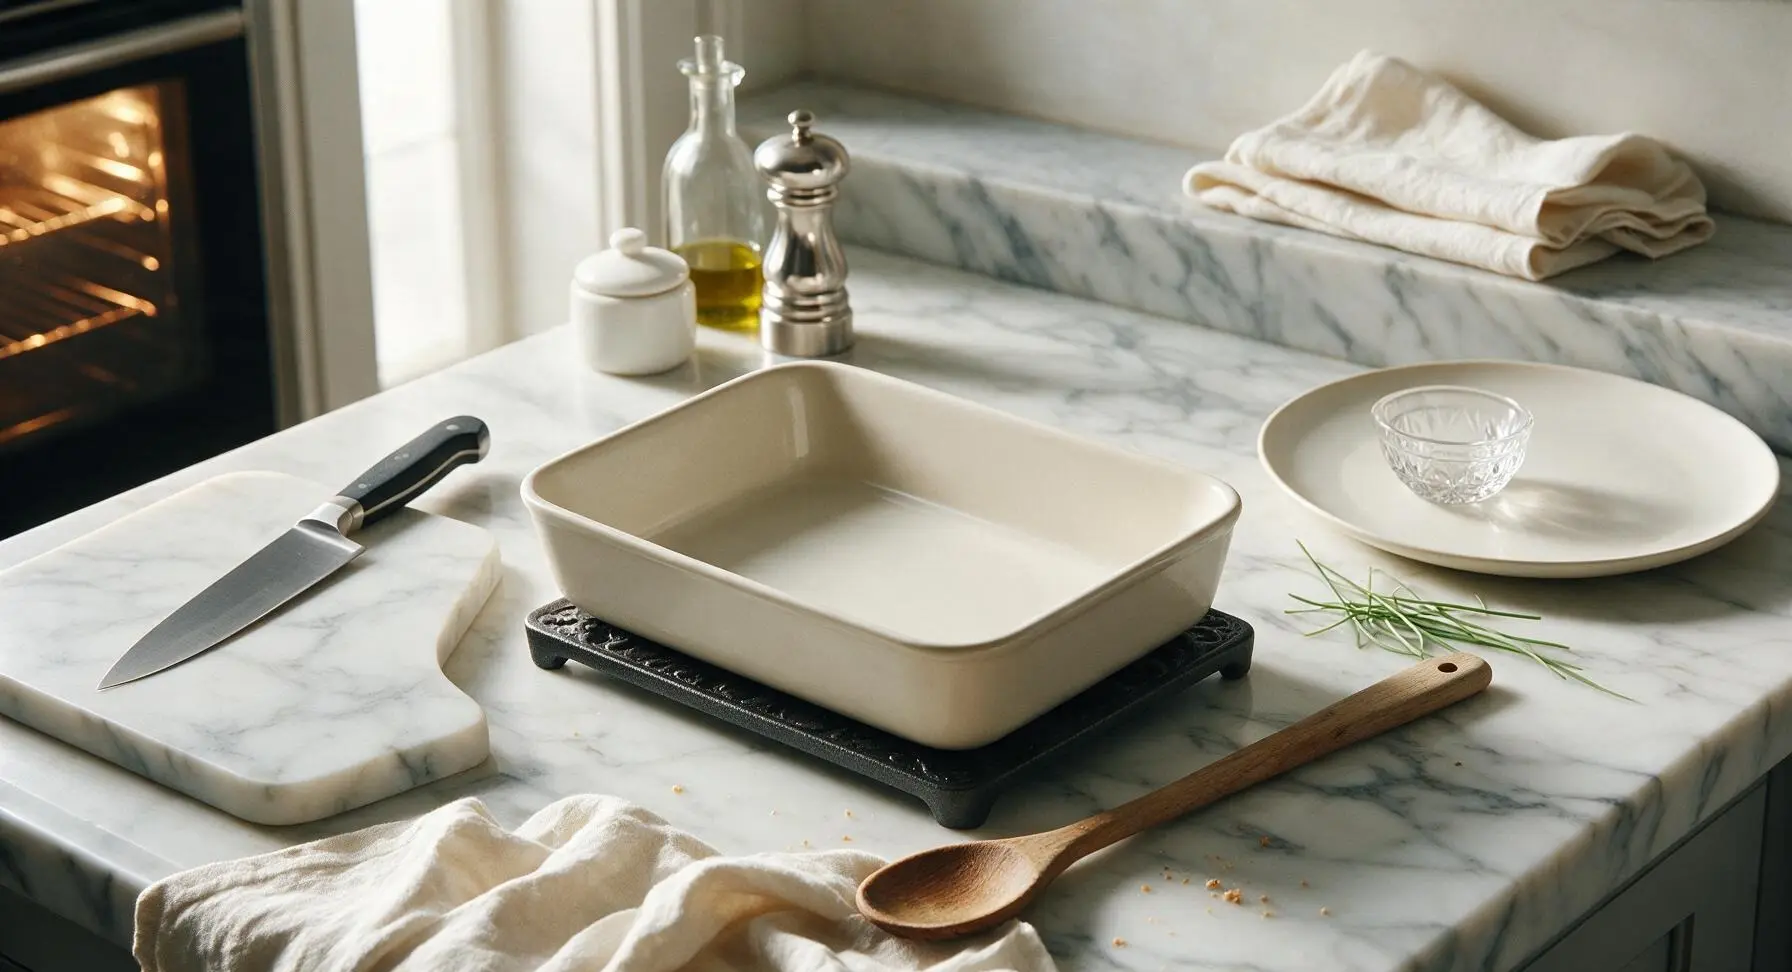
Adjust your oven rack to the middle position, then preheat the oven to 375°F (190°C). Set the 9x13 inch matte cream white ceramic baking dish on the cast iron trivet on the soapstone counter. No greasing is needed, as the meat and cheese filling will release enough fat to prevent sticking.
Step 1
step1:Preheat and Prep Dish
2

Dice the Onion

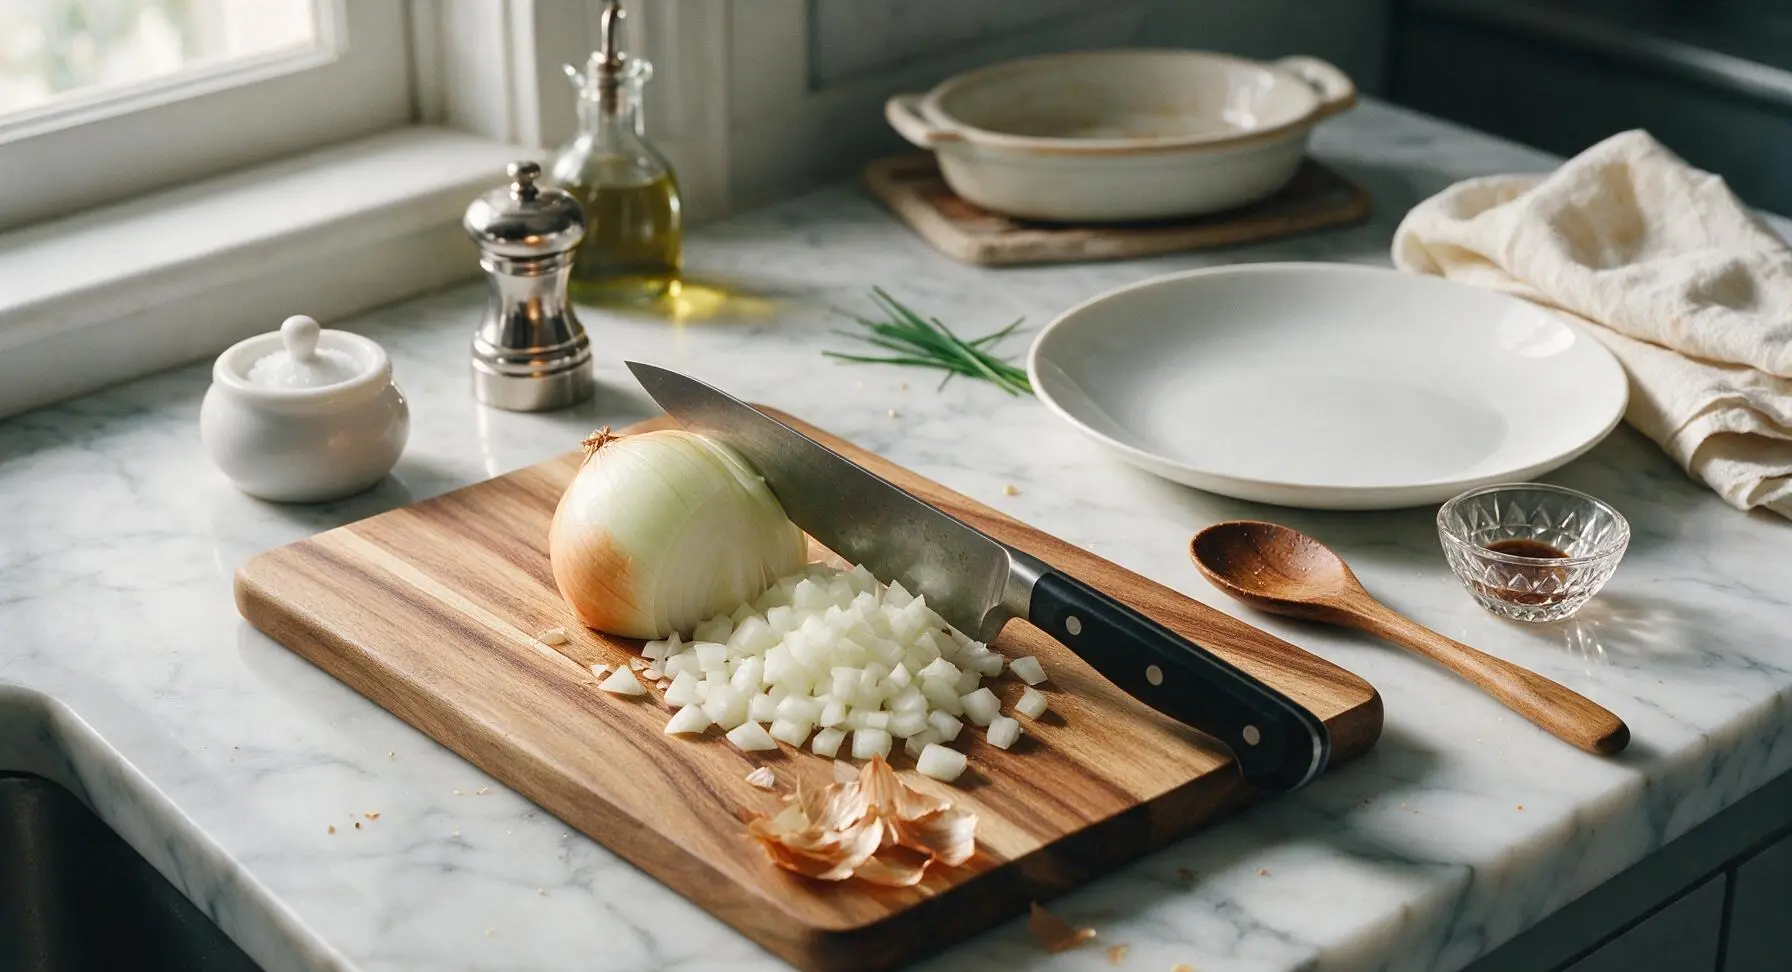
Place the small yellow onion on the acacia wood cutting board. Using the 8-inch walnut-handled chef knife, trim the tough root and stem ends, peel away the papery outer skin, and dice the onion into uniform 1/4-inch pieces. Gather discarded papery skins at the corner of the board to discard later.
Step 2
step2:Dice the Onion
3

Brown Ground Beef

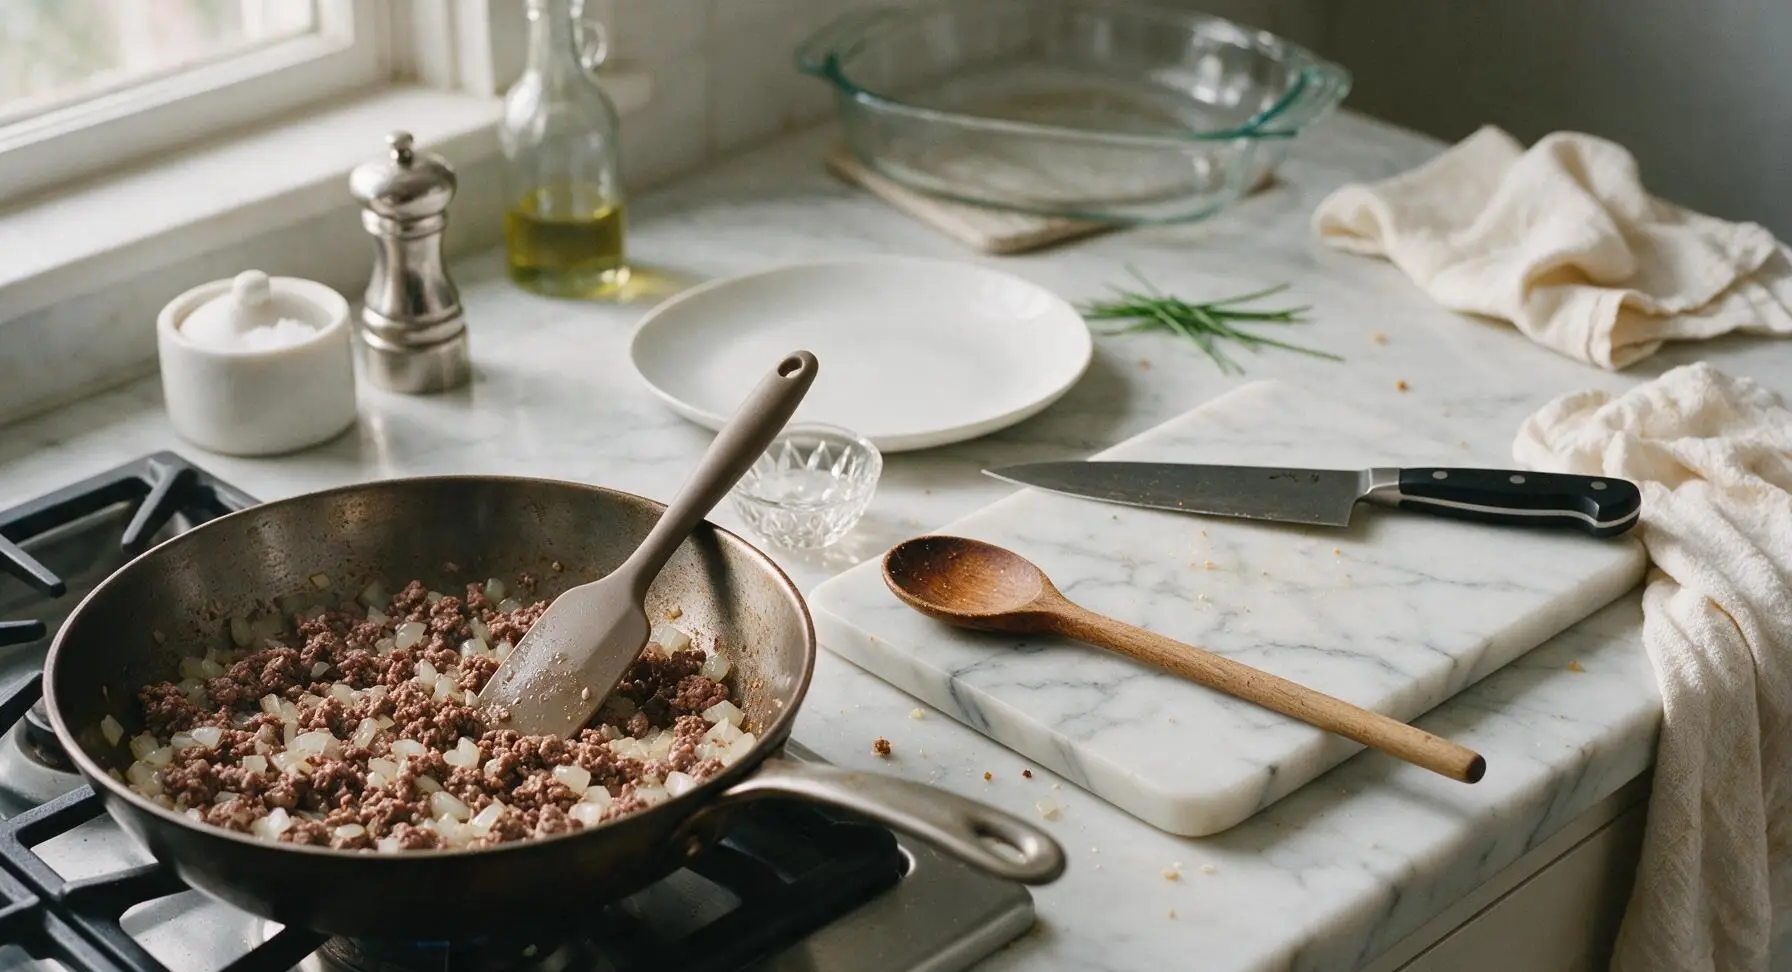
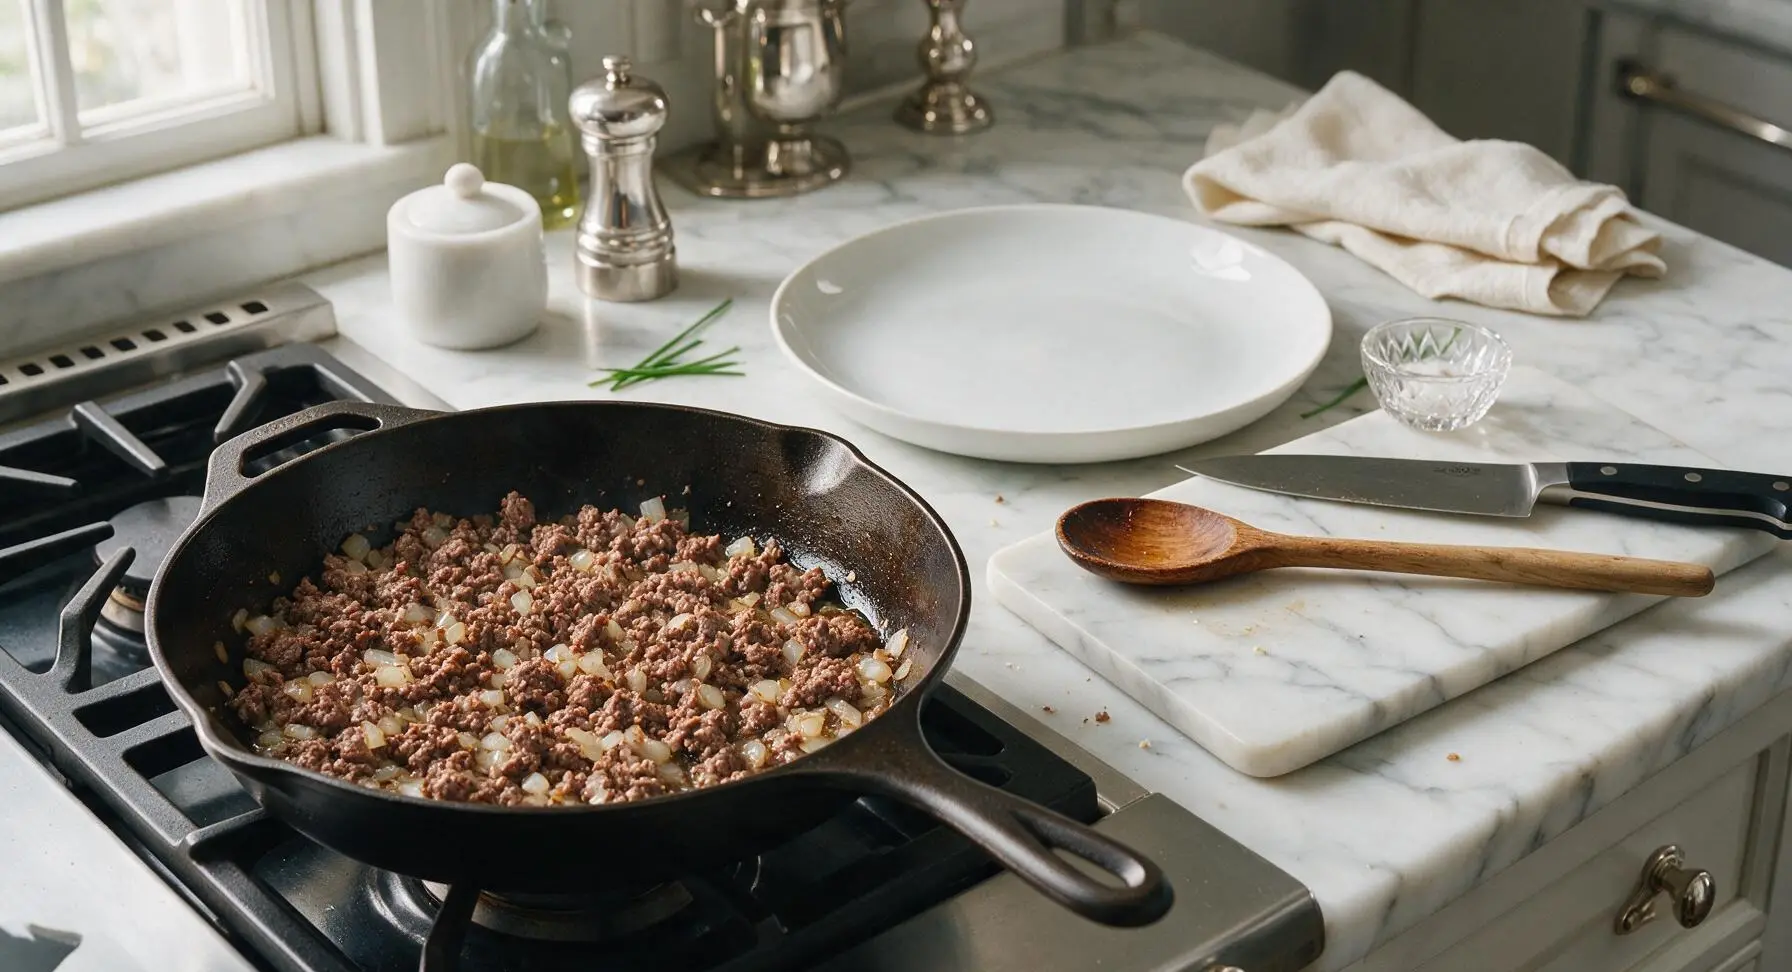
Place the 12-inch seasoned carbon steel skillet on the left gas stovetop burner over medium heat. Add the diced onion and ground beef to the pan, breaking the beef apart into small crumbles with the deep taupe silicone spatula as it cooks. Cook for 5 minutes, stirring occasionally, until the beef is fully browned with no visible pink remaining and the onion is soft and translucent. Carefully tilt the pan and drain off any excess rendered grease into a heatproof container to avoid a greasy final casserole.
Step 3
step3:Brown Ground Beef
Step 3
step3:Brown Ground Beef
4

Mix Creamy Filling

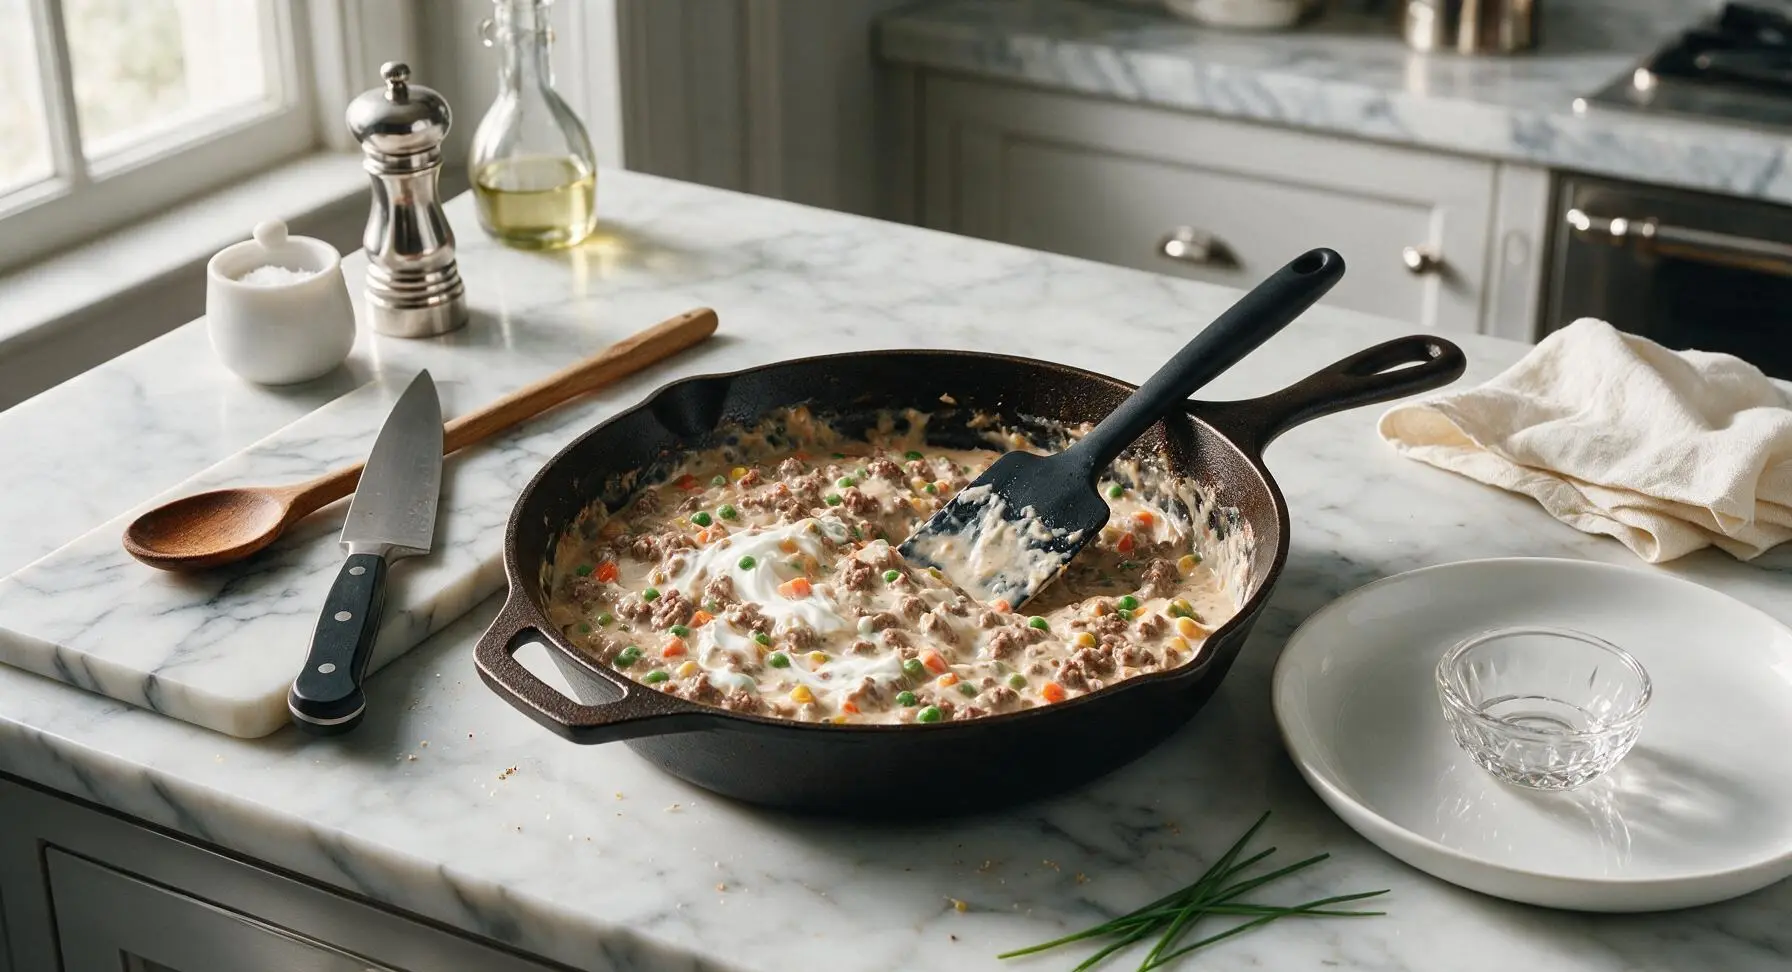
Reduce stovetop heat to low. Add the undiluted condensed cream of mushroom soup, sour cream, Worcestershire sauce, frozen mixed vegetables, garlic powder, onion powder, kosher salt, and black pepper to the skillet with the browned beef. Stir with the silicone spatula until all ingredients are fully combined into a thick, evenly mixed creamy sauce, about 1 minute. Do not thaw the frozen mixed vegetables first—they will cook through perfectly during baking.
Step 4
step4:Mix Creamy Filling
5

Layer Filling Base

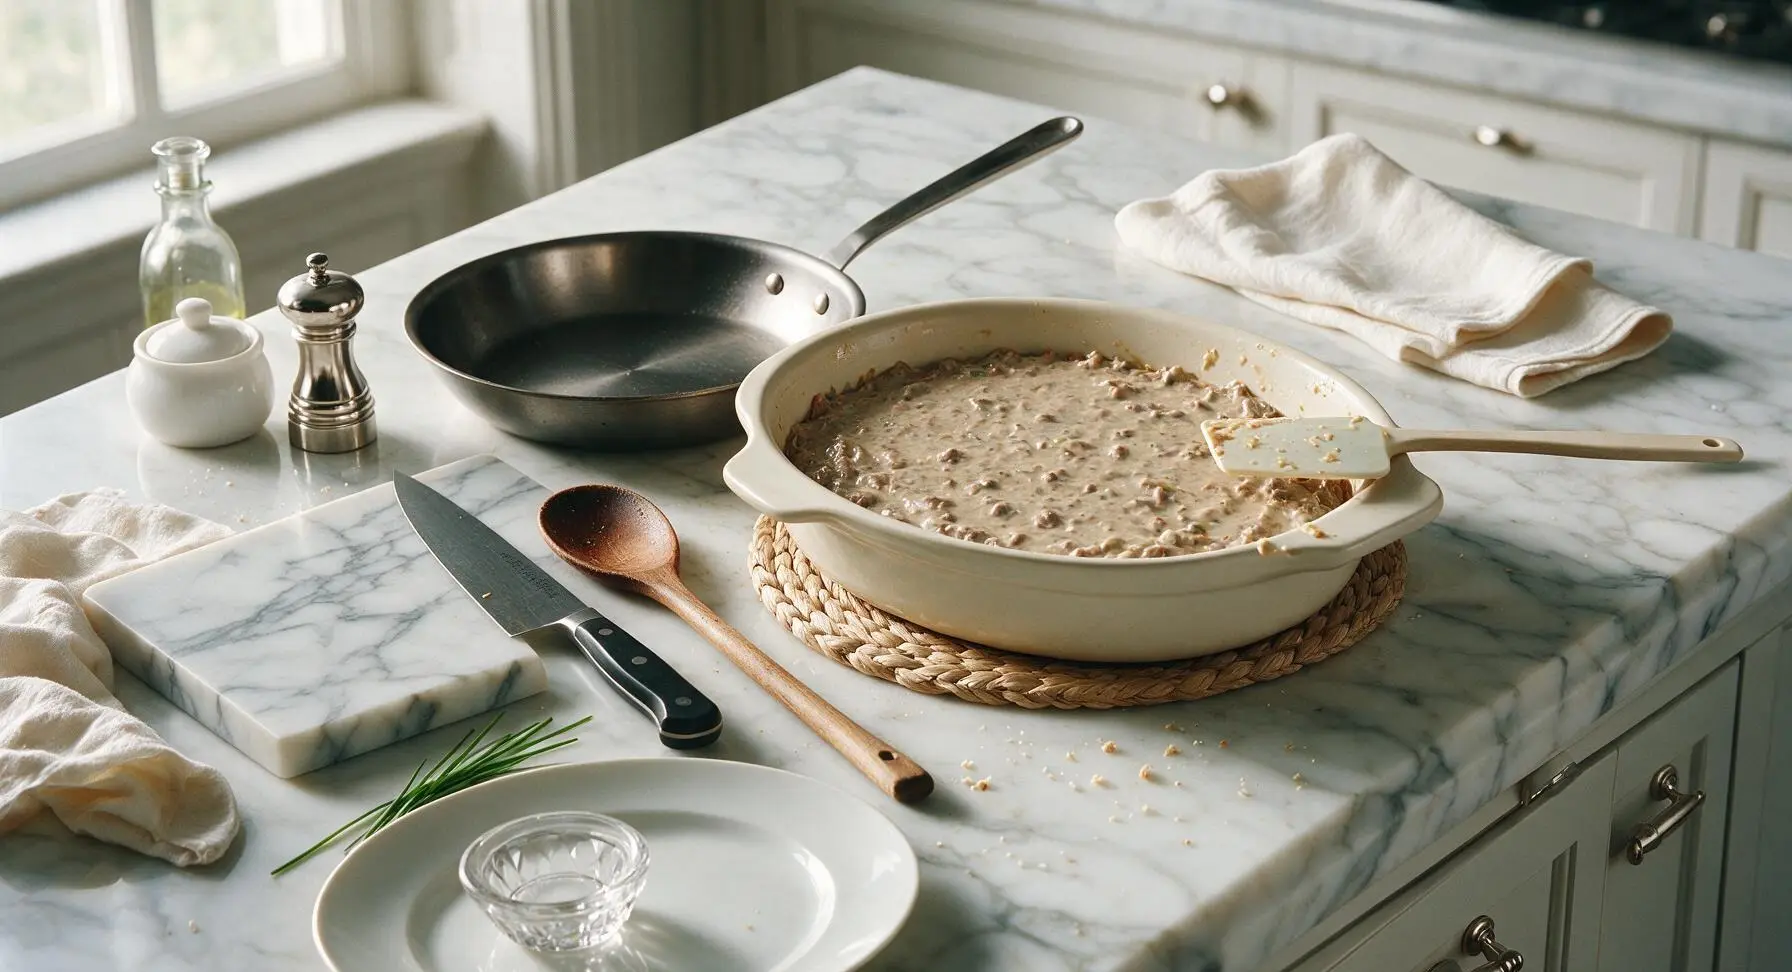
Pour the entire creamy beef and vegetable mixture from the skillet into the prepared ceramic baking dish. Use the silicone spatula to spread the filling into a perfectly even, flat layer across the bottom of the dish, ensuring consistent thickness from edge to edge for even cooking.
Step 5
step5:Layer Filling Base
6

Add Cheddar Layer

Sprinkle 1 1/2 cups of the shredded sharp cheddar cheese in an even layer over the top of the beef filling, leaving a 1/4-inch border around the dish edge to prevent cheese from burning onto the sides as it melts. Reserve the remaining 1/2 cup of cheese for the final minutes of baking.
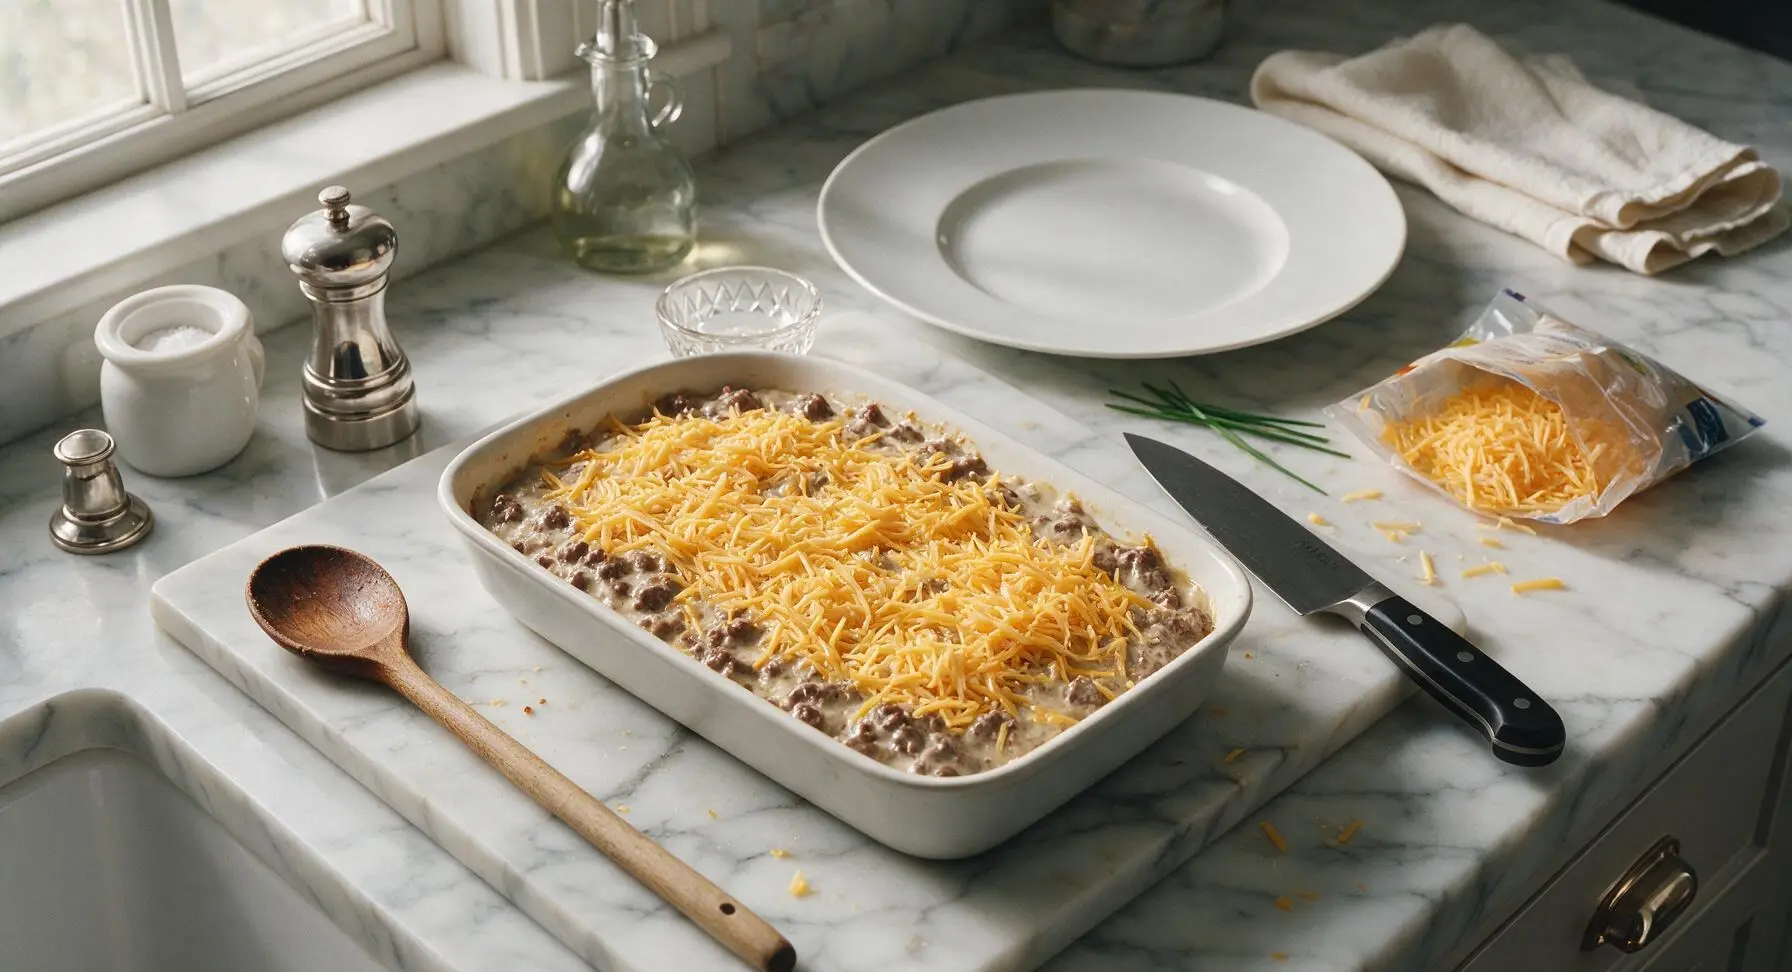
Step 6
step6:Add Cheddar Layer
7

Arrange Frozen Tots

Remove the frozen tater tots directly from the freezer (do not thaw, as this leads to soggy tots). Arrange the tots in tight, even rows across the top of the cheese layer, flat side down, covering the entire surface of the casserole. No gaps are needed between tots—they will crisp evenly as they bake.
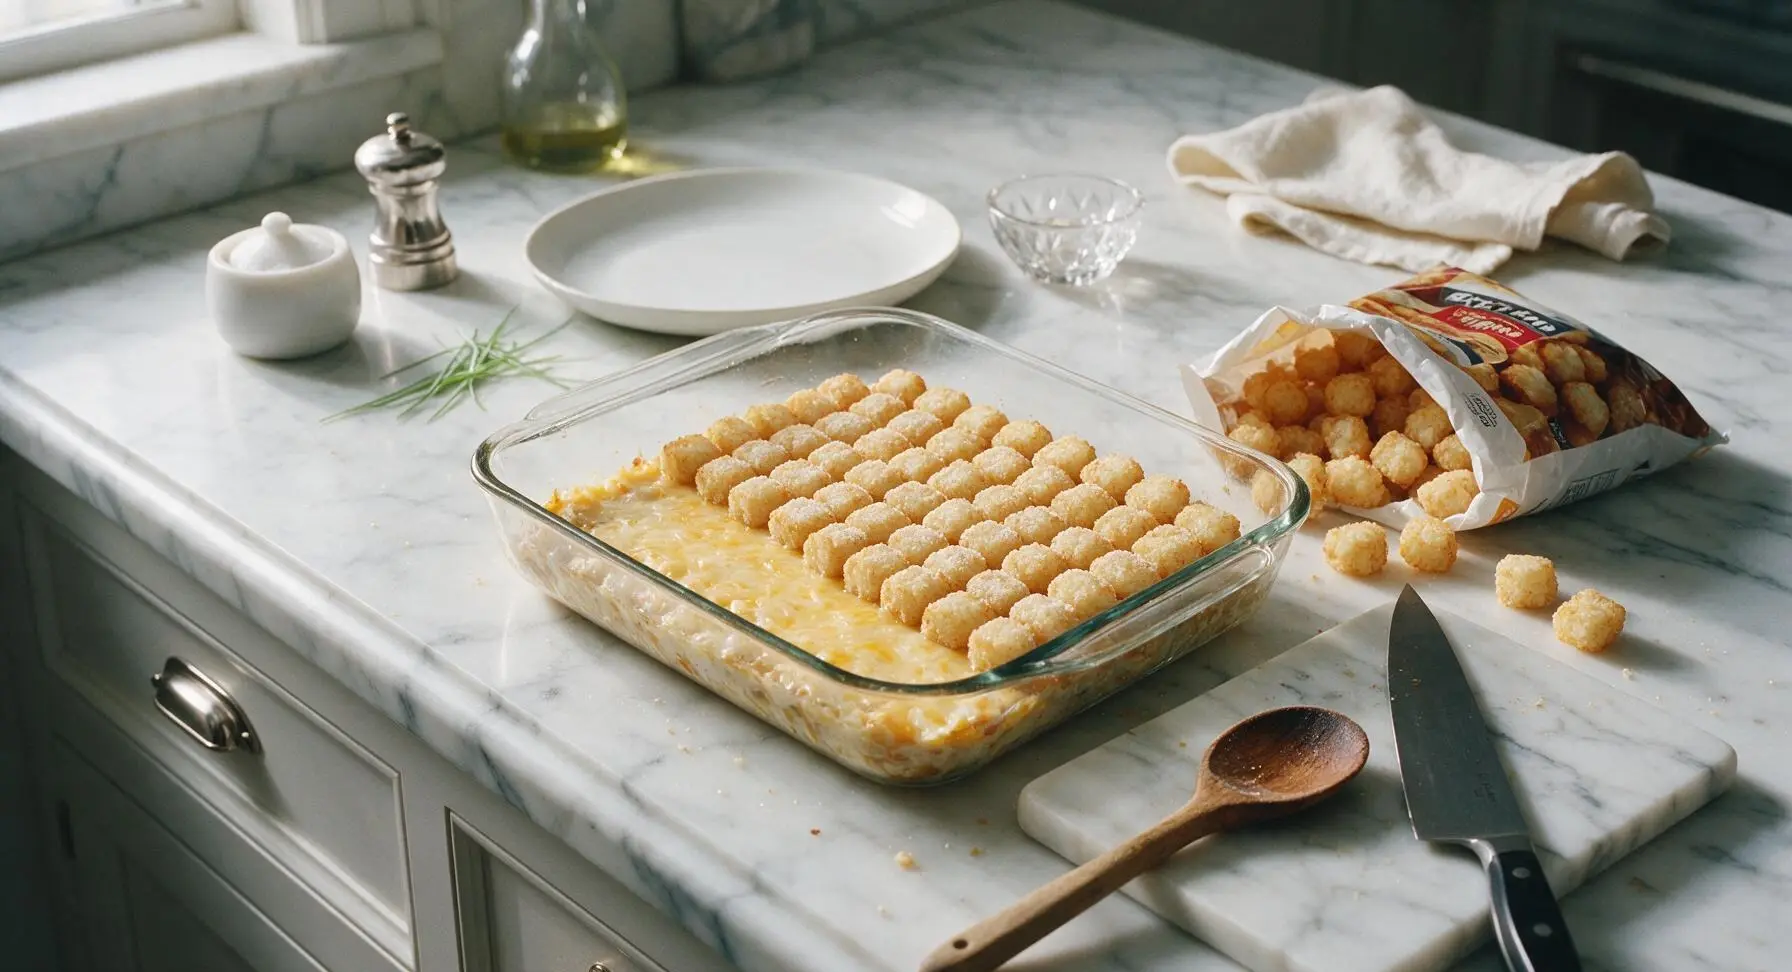
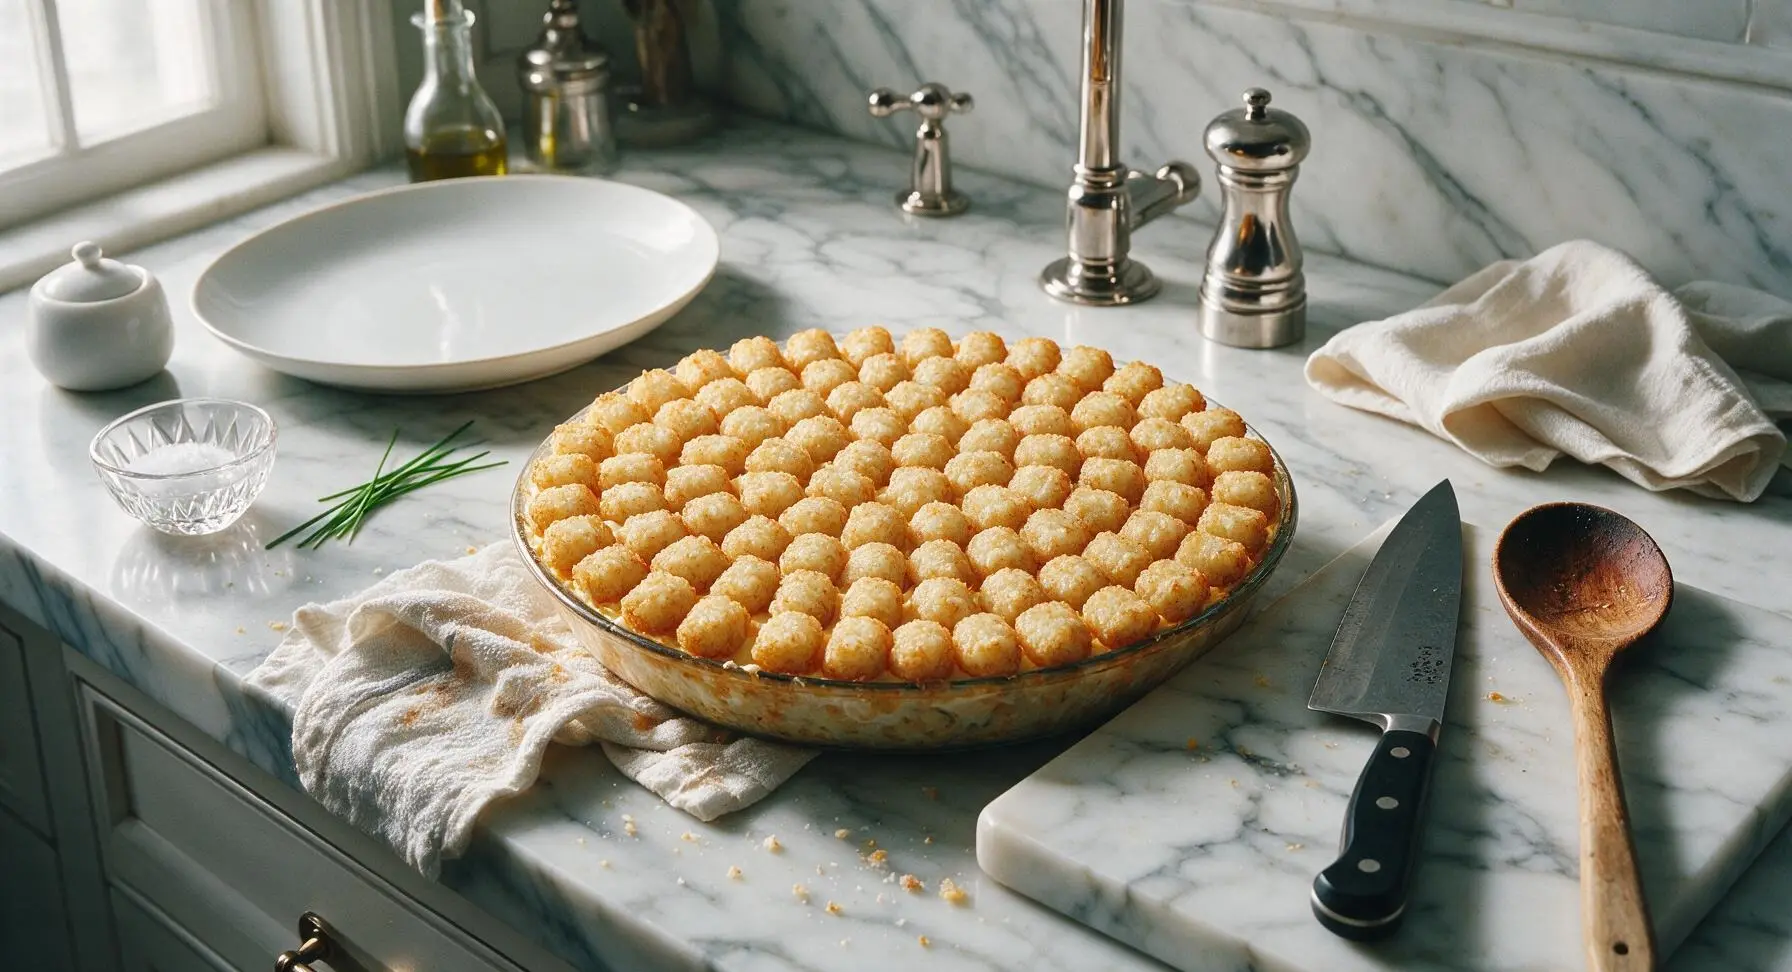
Step 7
step7:Arrange Frozen Tots
Step 7
step7:Arrange Frozen Tots
8

Bake to Golden Crisp

Carefully place the baking dish on the middle oven rack. Bake uncovered for 35 minutes, then carefully pull the dish out, sprinkle the reserved 1/2 cup cheddar cheese over the tater tots, and return to the oven for 5 additional minutes. The casserole is done when the tater tots are deep golden and crispy on the edges, the filling is bubbling hot around the dish sides, and the added cheese is fully melted. Remove from the oven and let rest 5 minutes before serving to allow the filling to set.
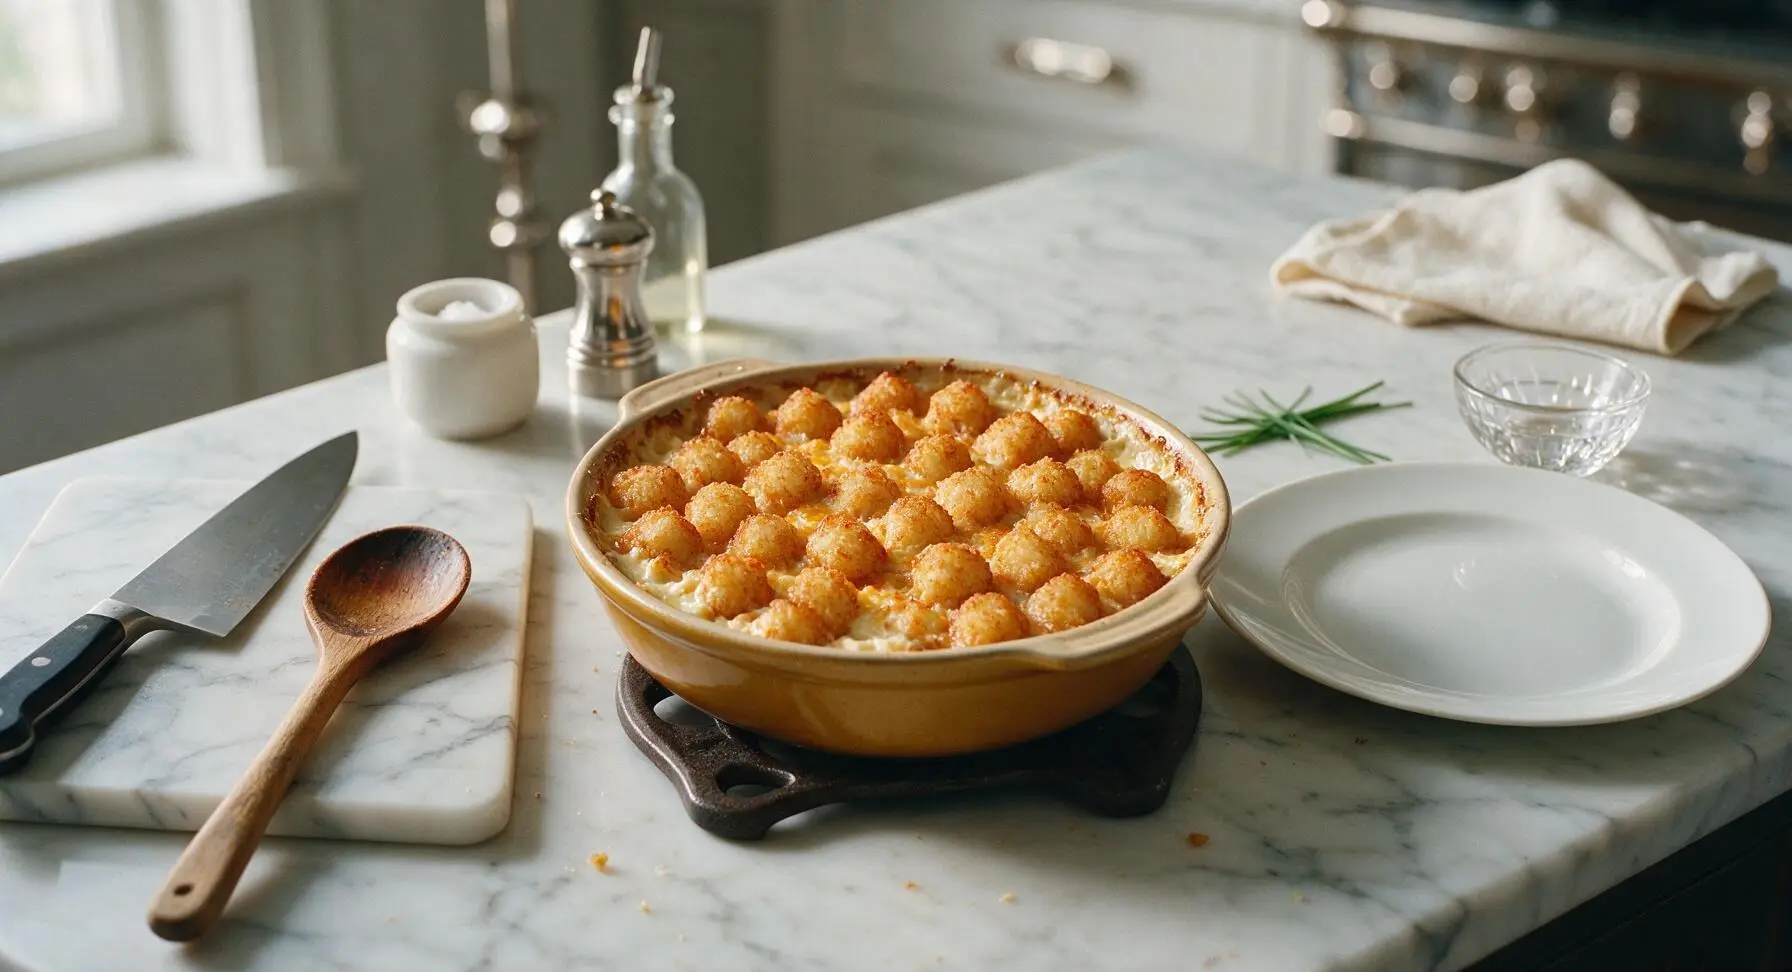
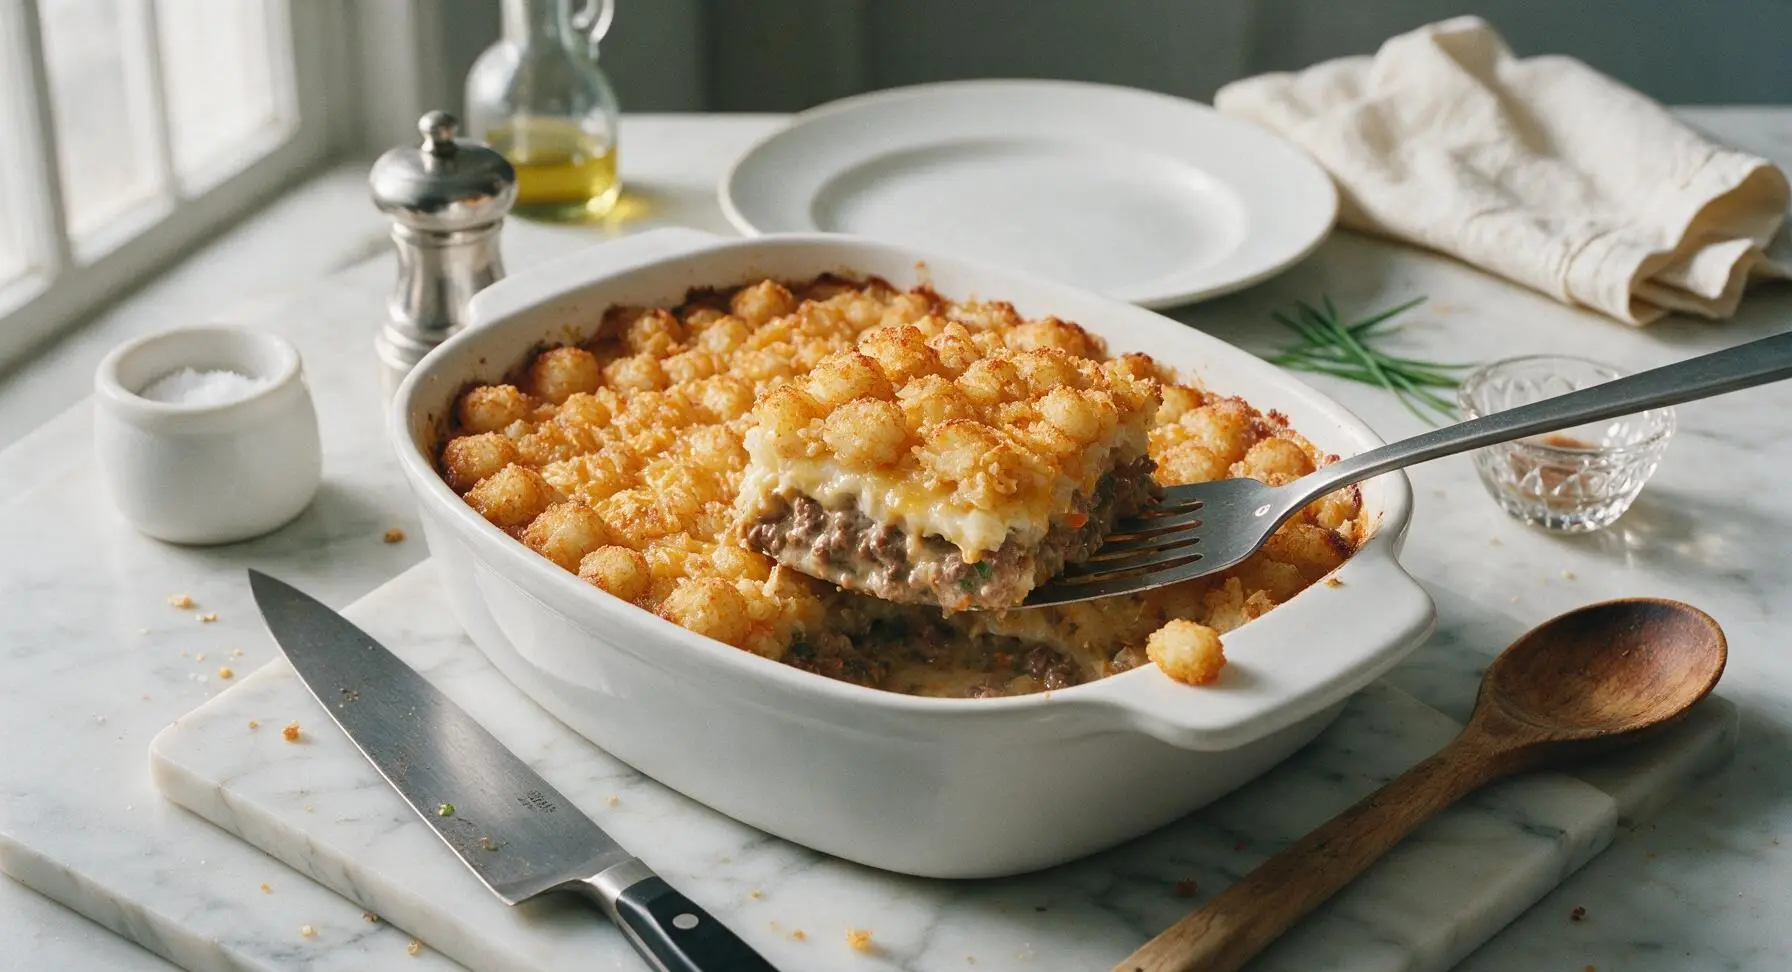
Step 8
step8:Bake to Golden Crisp
Step 8
step8:Bake to Golden Crisp

Tips

1.Skip thawing frozen tater tots and mixed vegetables: cooking them straight from the freezer prevents excess moisture release that leads to soggy crusts and watery filling, resulting in crispier tots and a thicker, creamier base.
2.Always drain excess rendered grease from browned ground beef: leftover grease will pool in the filling, making the casserole taste overly heavy and seeping up into the tater tot layer to make it soft instead of crisp.
3.Let the casserole rest 5 minutes after baking: this short rest allows the hot creamy filling to set slightly, so portions hold their neat square shape when served instead of sliding apart into a loose mess.


✨ You May Also Like

Main Course
🍜 United Kingdom

A showstopping classic of tender seared beef, savory mushroom duxelles, and crisp prosciutto wrapped in flaky golden puff pastry, baked to juicy perfection.

⏱️ 2 hours 1Main Course ★ 4.7
Main Course
🍜 India

Tender charred marinated chicken simmered in a rich, spiced creamy tomato sauce, this iconic Anglo-Indian curry pairs perfectly with basmati rice or warm naan.

⏱️ 50 minuteMain Course ★ 4.6
Main Course
🍜 Thailand

Classic tangy, sweet, and savory Thai stir-fried rice noodles with shrimp, tofu, and crunchy garnishes, balancing all five core Thai flavor profiles.

⏱️ 30 minuteMain Course ★ 4.5
Main Course
🍜 United Kingdom

Crispy golden beer-battered cod and fluffy double-fried chips, served with tangy tartar sauce and malt vinegar: the timeless, beloved British pub comfort classic.

⏱️ 45 minuteMain Course ★ 4.7
Main Course
🍜 Mexico

Smoky, chile-marinated pork tacos with caramelized pineapple, fresh cilantro, and lime: a beloved classic Mexican street food perfect for casual summer gatherings.

⏱️ 1 hour 45Main Course ★ 4.8
Main Course
🍜 United States

Crunchy Fritos corn chips layered with savory beef chili and melted cheddar, topped with cool, zesty fixings for a beloved, cozy Tex-Mex comfort food.

⏱️ 35 minuteMain Course ★ 4.8

cooking tater tot casserole from frozen:Frequently Asked Questions

1.Do I need to thaw frozen tater tots before assembling and baking the casserole? ▾
No, never thaw your tater tots for this recipe! Arrange them straight from the freezer bag in an even layer over the filling right before baking. Thawing leads to soggy, mushy tots, while baking from frozen lets the outside crisp up to that perfect golden crunch while the inside stays light and fluffy.
2.Can I use a fattier ground beef blend instead of the recommended 90/10 lean? ▾
You can, but 90/10 lean beef is ideal to avoid a greasy final casserole. If you use an 80/20 blend, be sure to fully drain all rendered fat from the pan after browning the beef before adding soup and veggies, otherwise excess oil will make the filling soggy and weigh down the top tater tots.
3.What can I use as a substitute for condensed cream of mushroom soup? ▾
You have several easy swaps! Use an equal amount of condensed cream of chicken, cream of celery, or a homemade 10-oz batch of thick creamy mushroom sauce made with a simple roux, milk, and sautéed mushrooms. Just make sure your swap is thick, not runny, to keep the filling from making tots soggy.
4.How do I make sure the top tater tots stay crispy instead of getting soggy? ▾
Two simple tricks guarantee crispy tots: First, keep the beef and vegetable filling thick, not soupy, when you spread it in the dish, so excess moisture doesn’t steam the tots from below. Second, arrange tots in a single, loosely spaced layer instead of piling them, so hot oven air can circulate around every piece.
5.Can I prep this casserole ahead to freeze before baking? ▾
Yes, this recipe is perfect for make-ahead freezer meals! Assemble fully cooled beef and veggie filling in a freezer-safe 9x13 dish, top with still-frozen tater tots, wrap tightly in two layers of plastic wrap and heavy foil, and freeze for up to 3 months. Bake straight from frozen, adding 15-20 minutes to the total cook time.
6.What extra vegetables can I add to the filling without ruining the texture? ▾
You can mix in drained canned corn, frozen peas and carrots, diced steamed green beans, or sautéed bell peppers, just stick to 1 to 1.5 cups total of extra add-ins. Pat any canned or cooked veggies dry first to remove excess moisture, which would make the filling runny and soften the top tots.
7.Should I cover the casserole with foil while it bakes? ▾
Cover the dish with foil for the first 25 minutes of baking to let the filling heat through evenly without burning the tater tot tops, then remove the foil for the final 15-20 minutes. This uncovered final bake lets the tater tots crisp up fully and the shredded cheddar melt into a gooey, savory layer.
8.What’s the best way to reheat leftover tater tot casserole? ▾
For the crispiest, best-tasting results, reheat portions or the whole leftover casserole in a 350°F oven, covered loosely with foil, for 15-20 minutes until heated all the way through. Microwaving works in a pinch, but it will make tater tots soft and chewy instead of crisp, so skip it if you have the time.
9.Can I make this recipe dairy-free? ▾
Absolutely! Swap the shredded sharp cheddar for your favorite dairy-free cheddar-style shred, or leave the cheese out entirely. Replace the condensed cream of mushroom soup with a dairy-free condensed soup alternative or homemade dairy-free creamy mushroom sauce to keep the rich, cozy filling texture without any dairy.
10.How small should I dice the yellow onion for the filling? ▾
Dice the onion into uniform ¼-inch pieces so it cooks fully and blends evenly into the beef filling without leaving big, crunchy raw onion chunks. Sauté the diced onion right along with the ground beef as it browns, so it turns soft and sweet before you mix in the soup and other filling ingredients.
11.Why is my casserole filling runny when I take it out of the oven? ▾
Runny filling almost always comes from two common missteps: either you didn’t drain excess rendered fat from the browned beef, or you added watery vegetables without patting them dry first. If your filling looks thin before adding tots, stir in 2 tablespoons of plain breadcrumbs to thicken it up.
12.Can I add extra seasonings to boost the casserole’s flavor? ▾
Absolutely! The base recipe is mild and kid-friendly, so feel free to add ½ teaspoon of garlic powder, a pinch of smoked paprika, a dash of Worcestershire sauce, or a sprinkle of black pepper to the beef filling as it cooks. Go easy on added salt, since condensed soup is already fairly high in sodium.
13.What size baking dish works best for this recipe? ▾
A standard 9x13-inch (3-quart) glass or ceramic baking dish is ideal. It gives you enough space to spread the filling in an even 1-inch layer, then arrange the tater tots in a single layer on top without overcrowding, so every bite gets a perfect ratio of creamy filling to crispy, golden tot.

Comments (16)

2 days ago

OMG this was such a game changer for our busy weeknight dinners! I threw this together in 10 minutes before my oldest’s soccer practice, popped it in the oven, and it was ready by the time we got home. My kids devoured every bite, even the picky one who turns his nose up at 90% of the food I make. 10/10 will be in our regular rotation for sure!

1 week ago

Made this for our neighborhood potluck last weekend and people were coming back for thirds! I added a little extra shredded cheddar on top the last 10 minutes of baking and it was *chef’s kiss*. Only thing is I wish I’d doubled the recipe, it was gone in 15 minutes flat!

5 days ago

So happy to hear it was a potluck hit! Adding extra cheddar the last 10 minutes is such a pro move, it gets all melty and perfectly crispy without burning. Next time definitely double it—this casserole always disappears fast!

3 days ago

Wait, do I need to thaw the tater tots first? I’m planning to make this for my son’s birthday dinner tomorrow and don’t want to mess it up. This looks way easier than the other casserole recipes I was scrolling through!

2 days ago

No need to thaw them! I made this last week and tossed the frozen tots straight on top, they came out perfectly crispy on the outside and fluffy inside. Saved me so much time waiting for them to defrost!

2 days ago

Great question! You absolutely don’t need to thaw the tater tots first—using them straight from the freezer helps them hold their shape and get that perfect crisp while baking. Hope your son loves the birthday dinner!

yesterday

SO good. I’ve tried at least 4 different tater tot casserole recipes over the years and this one is by far the easiest and tastiest. The cook time is exactly 45 minutes like it says, no guessing if the middle is done if you follow the instructions. Brought it to a work potluck yesterday and three coworkers asked for the recipe before I even left.

5 minutes ago

Does this freeze well after baking? I do Sunday meal prep for the whole week and want to portion this out for quick lunches between meetings.

just now

I froze half of mine after baking last month and it reheated perfectly in the microwave! Just let it cool completely before portioning into airtight containers, it stays good for up to 3 months in the freezer. Made my work lunches so easy that week!

2 weeks ago

Made this in my tiny dorm oven last night and it was a hit with my roommates! I used ground turkey instead of ground beef because that’s what I had on hand, and it still slapped. So cheap to make too, perfect for a college student on a budget.

1 week ago

Ground turkey swap is genius! I’ve been trying to cut back on red meat and was worried this casserole wouldn’t hit the same, can’t wait to try your version. Thanks for the tip!

1 week ago

Love the ground turkey swap! It’s such a flexible recipe, you can easily swap proteins or add in extra veggies like corn or green beans if you have them lying around. So glad you and your roommates enjoyed it on a college budget!

1 week ago

I’ve been making tater tot casserole for my grandkids for 40 years, and let me tell you, this recipe is just as good as my old handwritten one! It’s simple, no fancy ingredients, and tastes like pure comfort food. I added a can of cream of mushroom like I always do and it turned out perfect.

30 minutes ago

My kids beg for this at least once a week now! I love that I can prep all the layers the night before, stick the dish in the fridge, and just pop it in the oven when I get home from carpool. No rushing around the kitchen trying to get dinner on the table after a long day of running kids around.

5 minutes ago

Prepping it the night before is such a smart hack! It gives the flavors a little extra time to meld together too, which makes it taste even better when it bakes. So happy it’s making your weeknights less stressful!

5 days ago

Made this for game day last Sunday and it was the perfect tailgate food! Served it with a side of hot sauce for dipping and my buddies wouldn’t stop raving. Way better than ordering pizza for the group, and way cheaper too.

3 days ago

Hot sauce dip is a game changer! I usually serve mine with sour cream but I’m definitely breaking out the buffalo sauce next time I make this for our watch party. Sounds unreal.

3 days ago

So glad it worked for game day! Hot sauce, sour cream, even ranch make great dippers for this casserole. It’s such a crowd-pleaser for watch parties, no one ever leaves hungry!

2 hours ago

Wait, has anyone tried adding veggies to this? I want to sneak some extra greens in for my toddler who refuses to eat anything that looks like a vegetable.

30 minutes ago

I stirred in a cup of finely chopped steamed broccoli and a half cup of corn into the meat layer last time I made it! My toddler had no clue it was there, he ate two full servings. Just make sure the veggies are cut really small so they don’t stand out.

2 days ago

First time making a casserole ever and this was so easy! I was nervous I’d burn it or mess up the layers, but the instructions were super straightforward and it came out perfect. My roommate said it’s the best thing I’ve ever cooked, lol.

yesterday

Way to go on your first casserole! That makes us so happy to hear—we design our easy recipes specifically to be accessible for new cooks, no fancy skills required. Can’t wait to hear what you cook next!

3 days ago

I was skeptical that a recipe with only 5 main ingredients could taste this good, but wow. I seasoned the ground beef with a little garlic powder and paprika for extra flavor, and it was perfect. My husband went back for a second helping before he even finished his first plate, which says a lot because he’s super picky about casseroles.

1 week ago

This tastes exactly like the tater tot casserole my elementary school cafeteria used to serve! Total nostalgia trip. I’ve been chasing that flavor for years and this is the first recipe that’s nailed it. So stoked I found this.

5 days ago

Oh honey, I know that cafeteria casserole taste! This one hits the same because it doesn’t have all those weird fancy add-ins that food bloggers try to stuff into classic recipes these days. Glad you found it too!

5 days ago

There’s nothing quite like that nostalgic cafeteria comfort food! We kept this recipe classic on purpose, no weird gimmicks, just the cozy, familiar flavor everyone remembers. So happy it brought back good memories for you!

yesterday

How long do you recommend letting it cool before serving? The last tater tot casserole I made was so runny when I pulled it out of the oven, I want to make sure this one sets properly.

2 hours ago

Let it sit for 5 full minutes after you pull it out of the oven! It sets up perfectly in that time, no runny middle. I used to cut into mine right away too and it was always a mess, that 5 minute wait makes all the difference.

just now

SO good, I made this last night for my partner and we ate almost the whole pan between the two of us. I topped mine with a little crumbled bacon for extra savoriness and it was chef’s kiss. Easy, fast, minimal cleanup—what more could you ask for in a weeknight meal?

30 minutes ago

I messed up and bought crispy tater tots instead of the regular ones, will that still work? I don’t have time to run back to the grocery store before dinner tonight!

5 minutes ago

I accidentally did that last month! It actually works even better, the extra crispy tots hold up really well to the meat and sauce layer and don’t get soggy at all. No need to run to the store, it’ll turn out great!

just now

Crispy tater tots will work perfectly! You might even find you like them better, since they stay nice and crunchy on top even under the sauce layers. No grocery store run needed, enjoy your dinner!



