
cooking whole chicken in air fryer

title 1
cooking whole chicken in air fryer
⏱️ cook time 50 minutes
🍽️ servings 4
⚡ Difficulty easy

intro

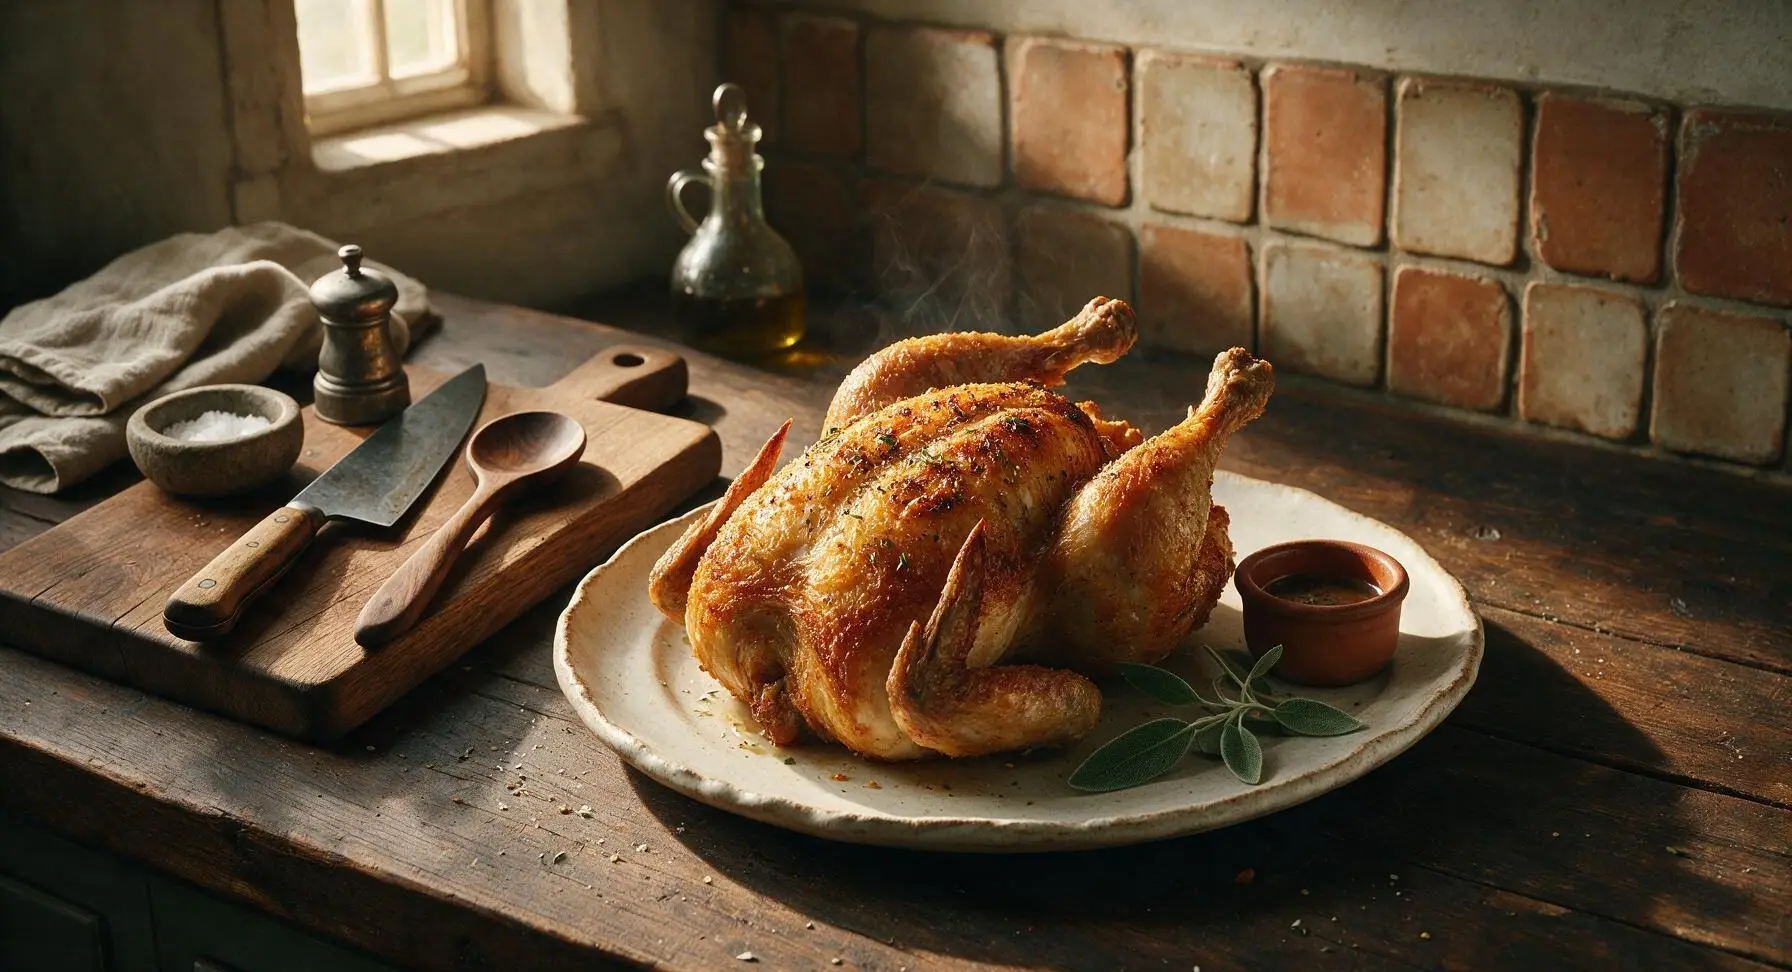
Shatteringly crisp, juicy whole chicken made fast in the air fryer, simply seasoned with herbs and lemon, perfect for a cozy family meal with zero oven preheat hassle.

Ingredients
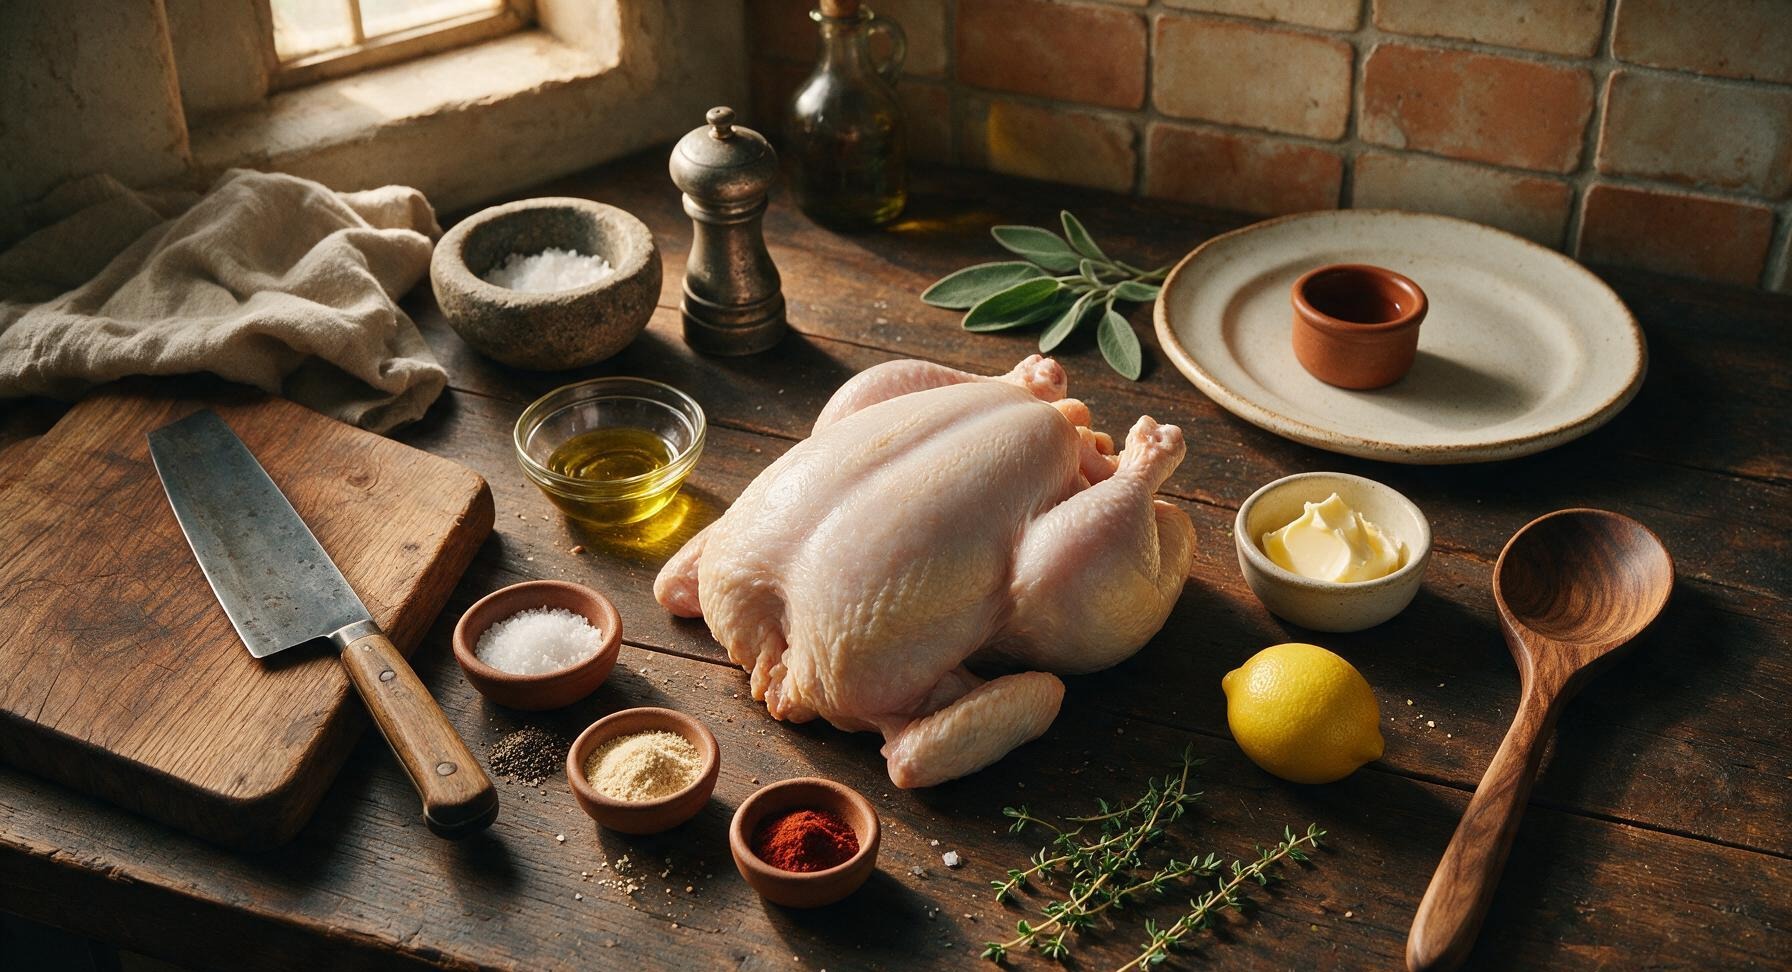
Whole chicken (giblets removed) 1.8kg (4lb)
Kosher salt 1 tablespoon
Freshly ground black pepper 1 teaspoon
Garlic powder 1 teaspoon
Smoked paprika 1/2 teaspoon
Extra-virgin olive oil 1 teaspoon
Unsalted butter 2 tablespoons (28g), softened
Medium lemon 1 whole
Fresh thyme sprigs 5 sprigs

Steps

1

Pat Chicken Dry

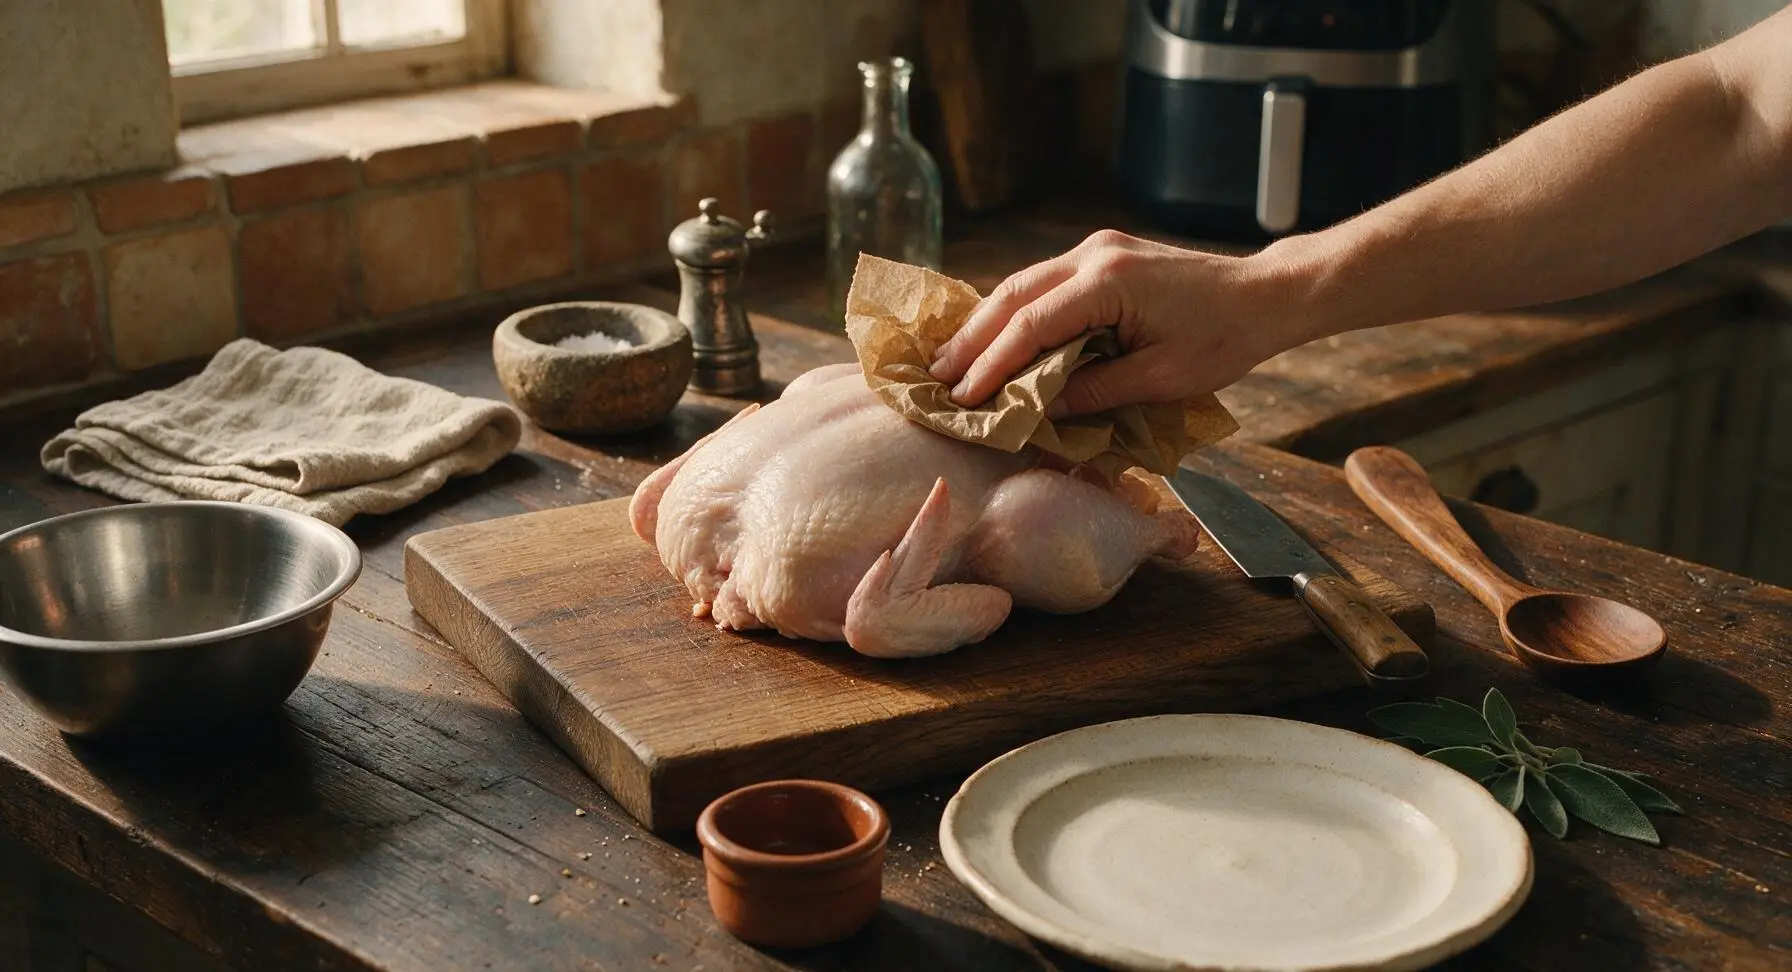
Remove the 4lb (1.8kg) whole chicken from its packaging, reach into the internal cavity to pull out any enclosed giblets or neck pieces (reserve for stock if desired). Set the chicken on the light maple cutting board. Pat every surface of the chicken—outer skin and internal cavity—completely dry with paper towels, until no damp, slick spots remain on the skin. Properly dried skin is the critical first step to shatteringly crisp results, as residual moisture will steam instead of crisp in the air fryer.
Step 1
step1:Pat Chicken Dry
2

Season Chicken Cavity

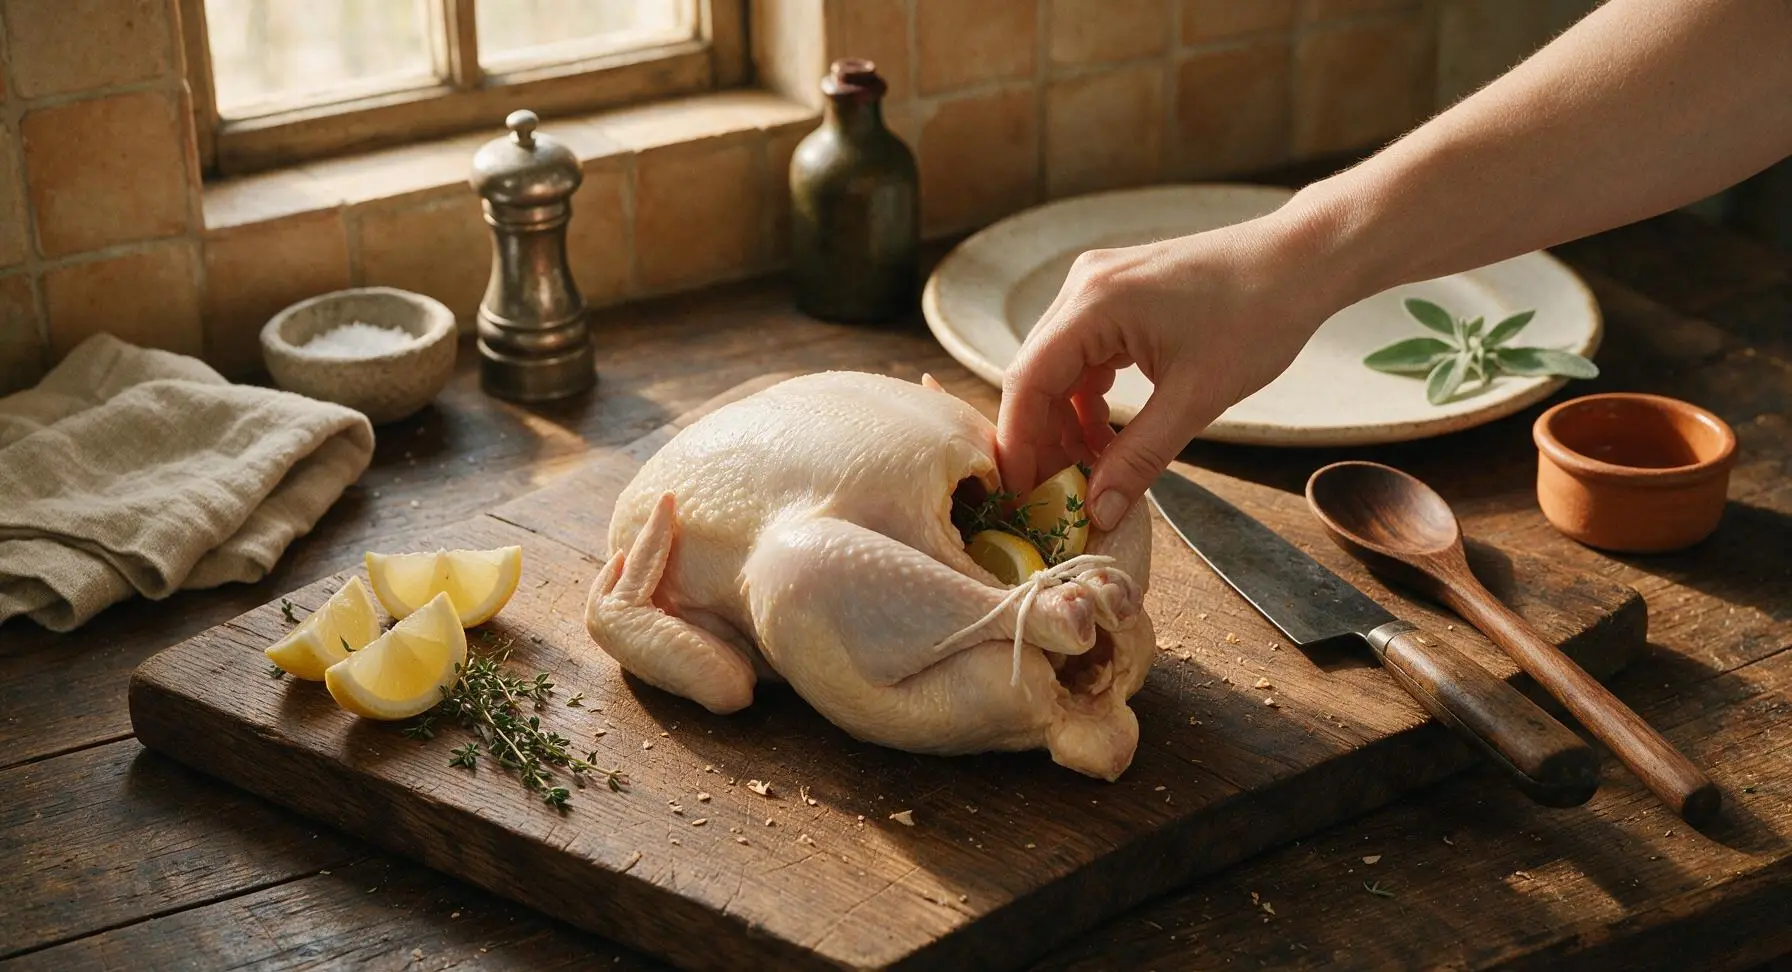
Drizzle 1/2 teaspoon of olive oil inside the chicken cavity, then add 1/2 teaspoon kosher salt, 1/4 teaspoon freshly ground black pepper, 2 fresh thyme sprigs, and the lemon cut into 4 equal wedges. Rub the seasoning gently around the inside of the cavity to distribute evenly. The aromatics in the cavity will steam as the chicken cooks, infusing the meat with bright, herby flavor without making the outer skin soggy.
Step 2
step2:Season Chicken Cavity
3

Truss and Oil Skin

Tuck the wing tips behind the chicken’s back to prevent them from burning during cooking, then use a short length of kitchen twine to tie the drumsticks together tightly so the chicken holds a compact, even shape. Rub the remaining 1/2 teaspoon olive oil all over the outer skin of the chicken, covering every surface in a thin, even layer with no heavy, pooled oil. The thin oil layer helps seasoning adhere and encourages even, golden browning across the skin.
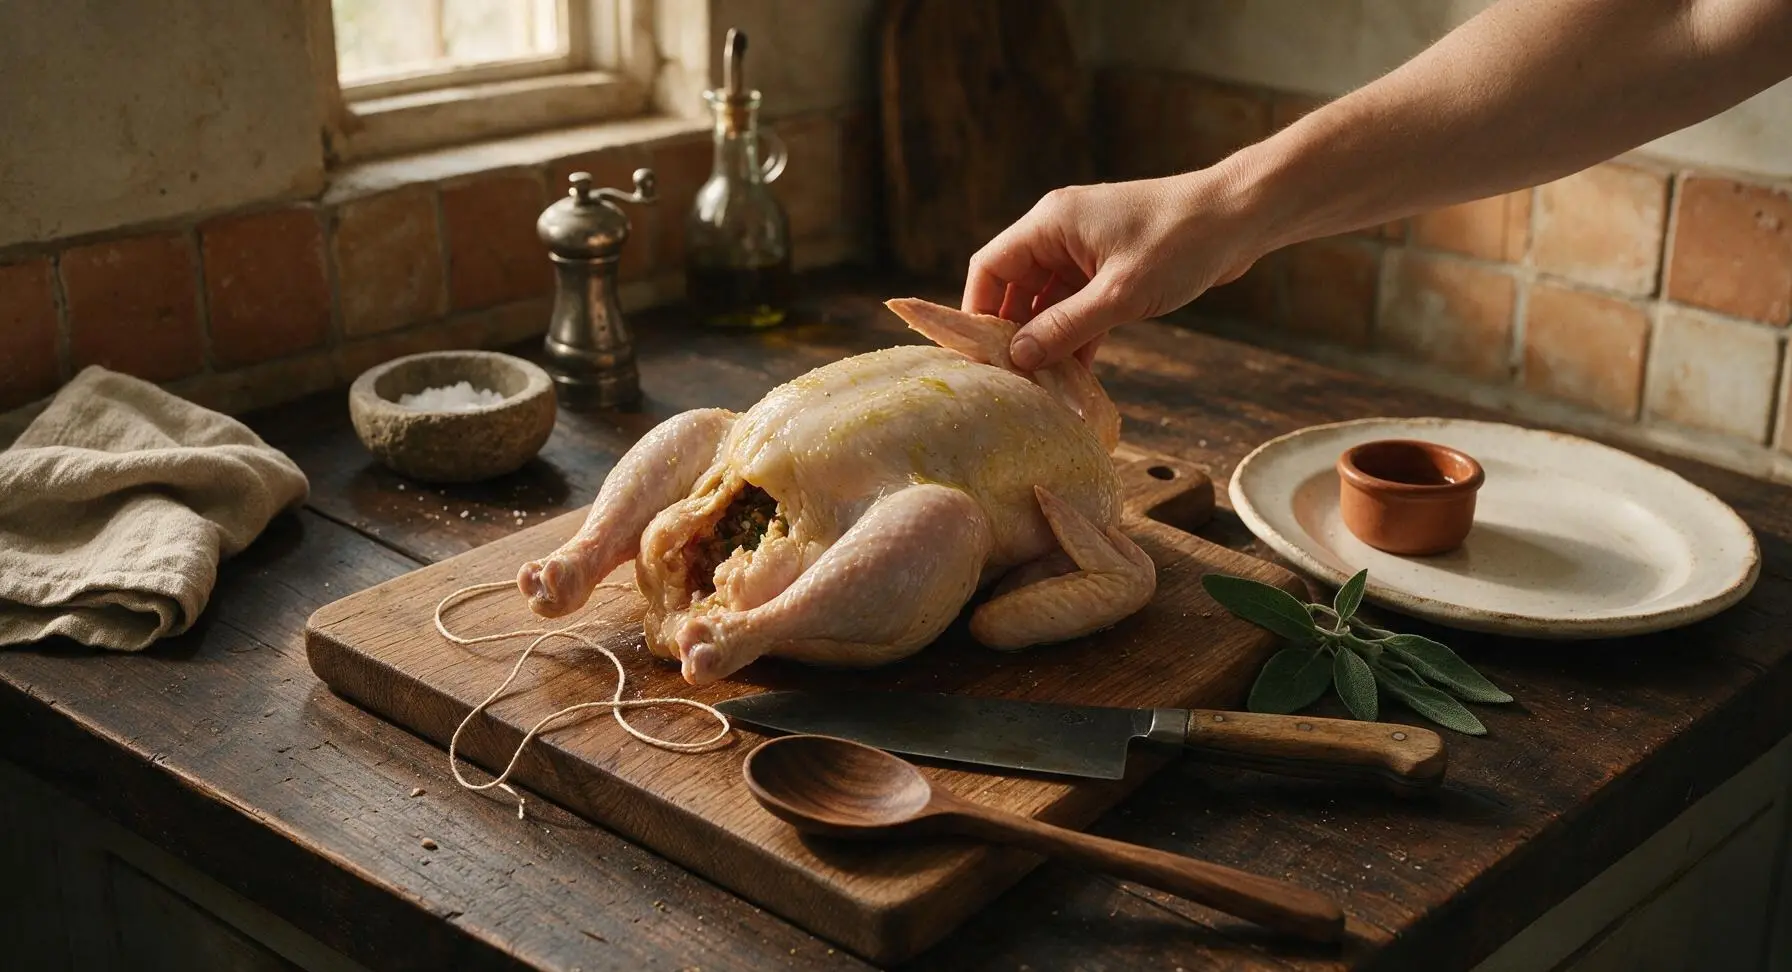
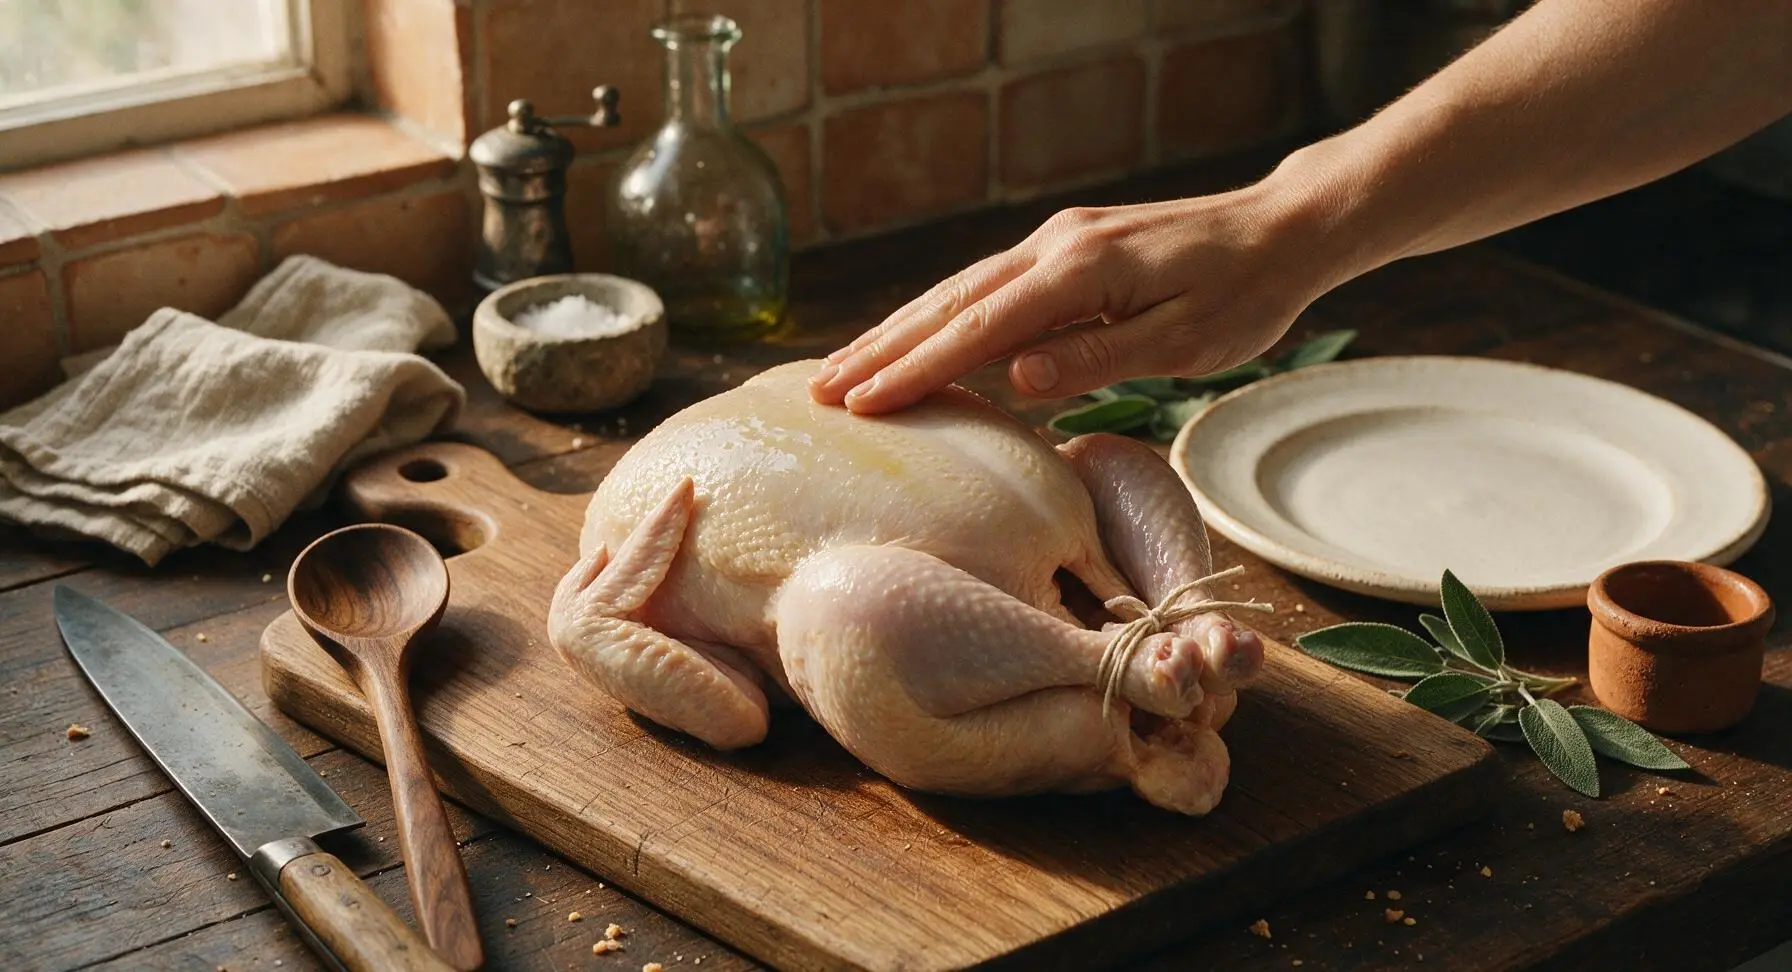
Step 3
step3:Truss and Oil Skin
Step 3
step3:Truss and Oil Skin
4

Coat with Dry Rub

Mix the remaining 2 1/2 teaspoons kosher salt, 3/4 teaspoon black pepper, garlic powder, and smoked paprika in the small stainless steel mixing bowl, stirring with the olive wood spoon until evenly combined. Sprinkle the spice blend evenly over every outer surface of the chicken—breast, thighs, drumsticks, and back—pressing gently to help the seasoning stick to the oiled skin. Do not rub the seasoning into the skin, as this can create patchy, uneven coverage; a light, even sprinkle is ideal.
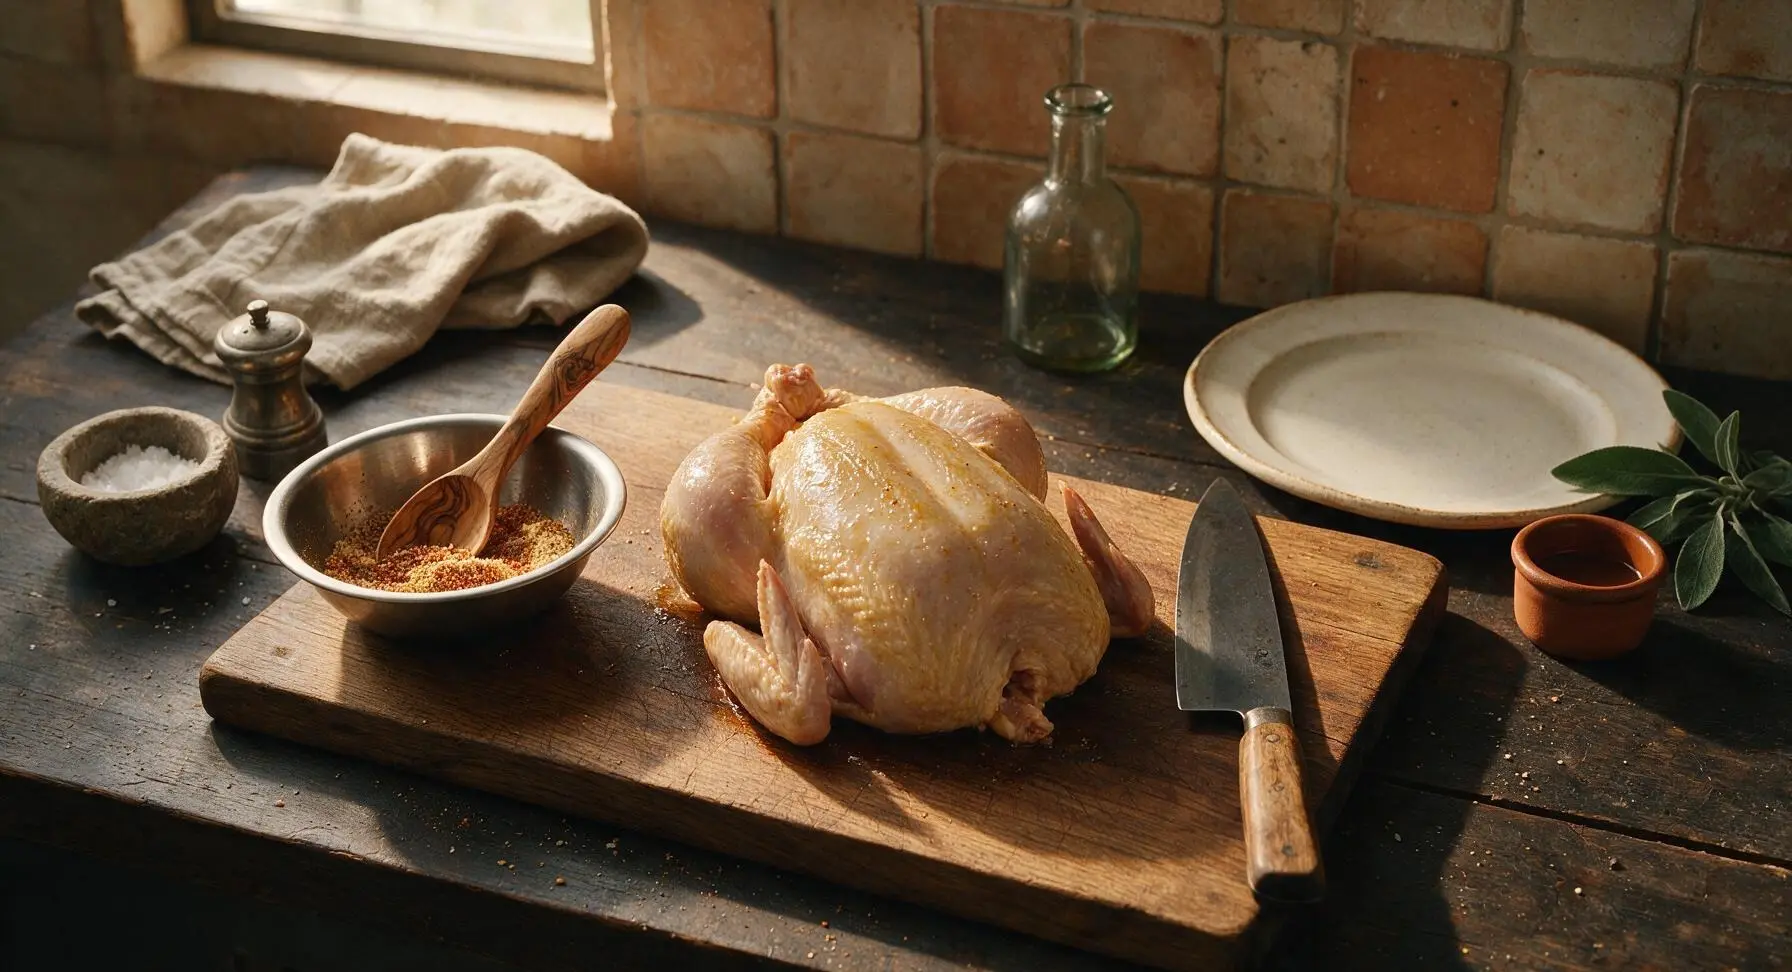
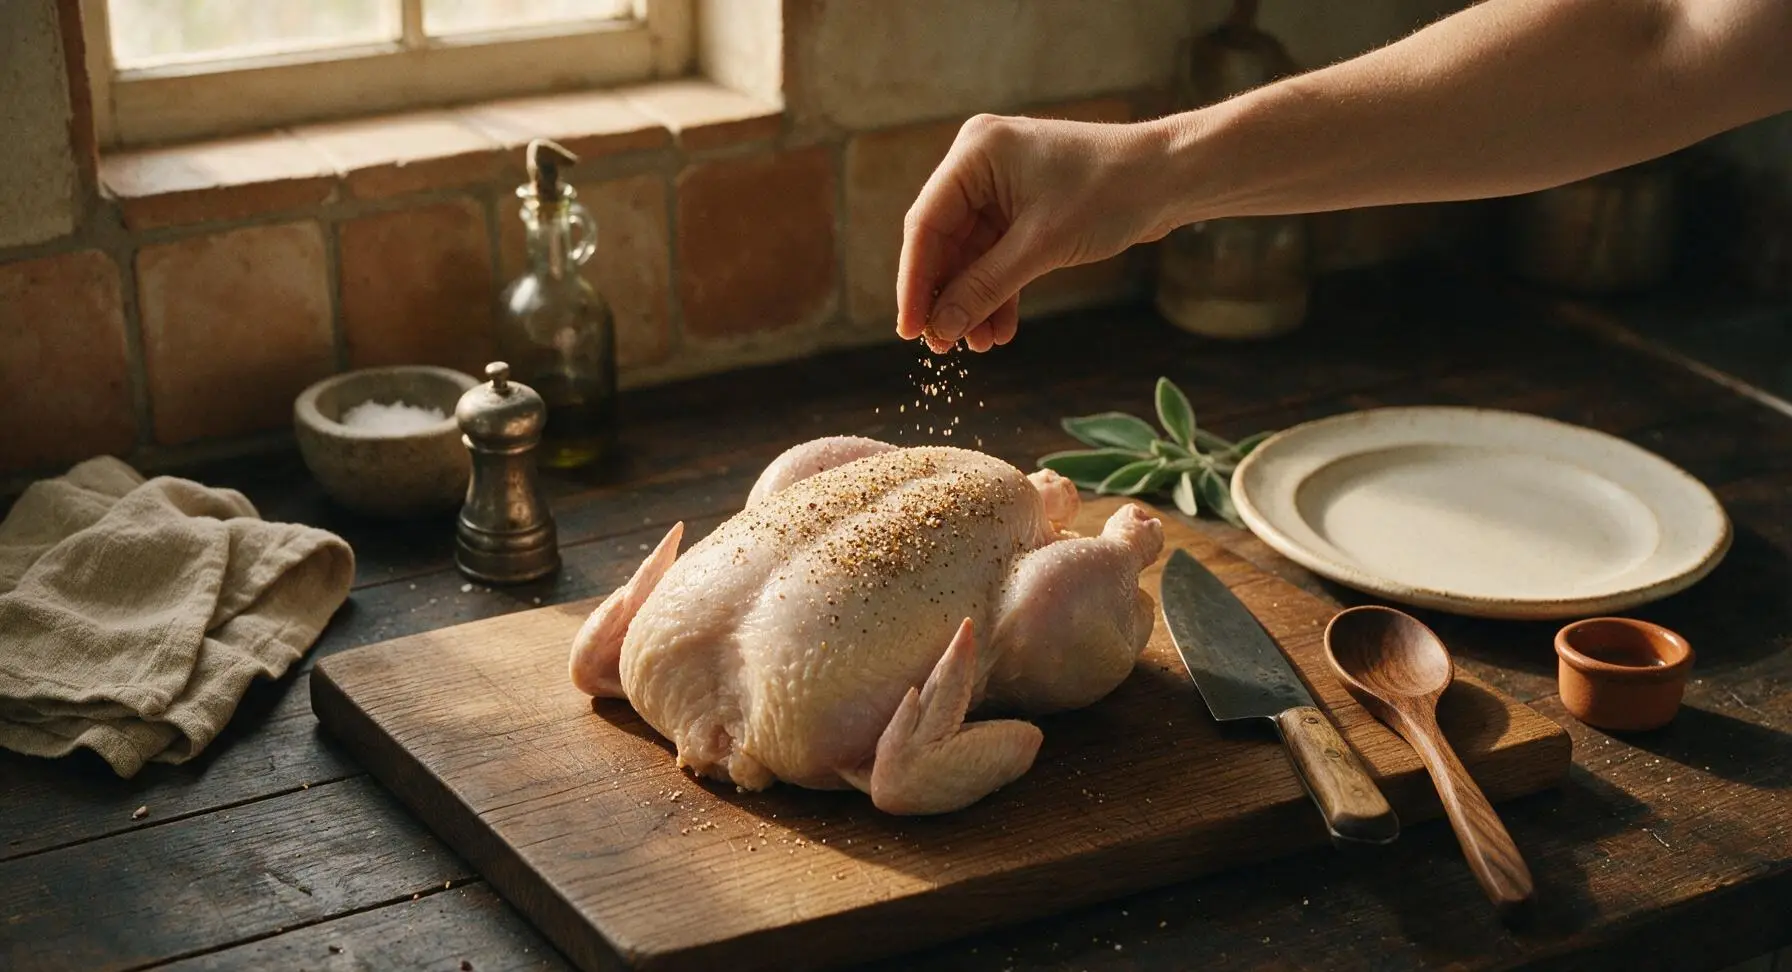
Step 4
step4:Coat with Dry Rub
Step 4
step4:Coat with Dry Rub
5

Cook First Side Down

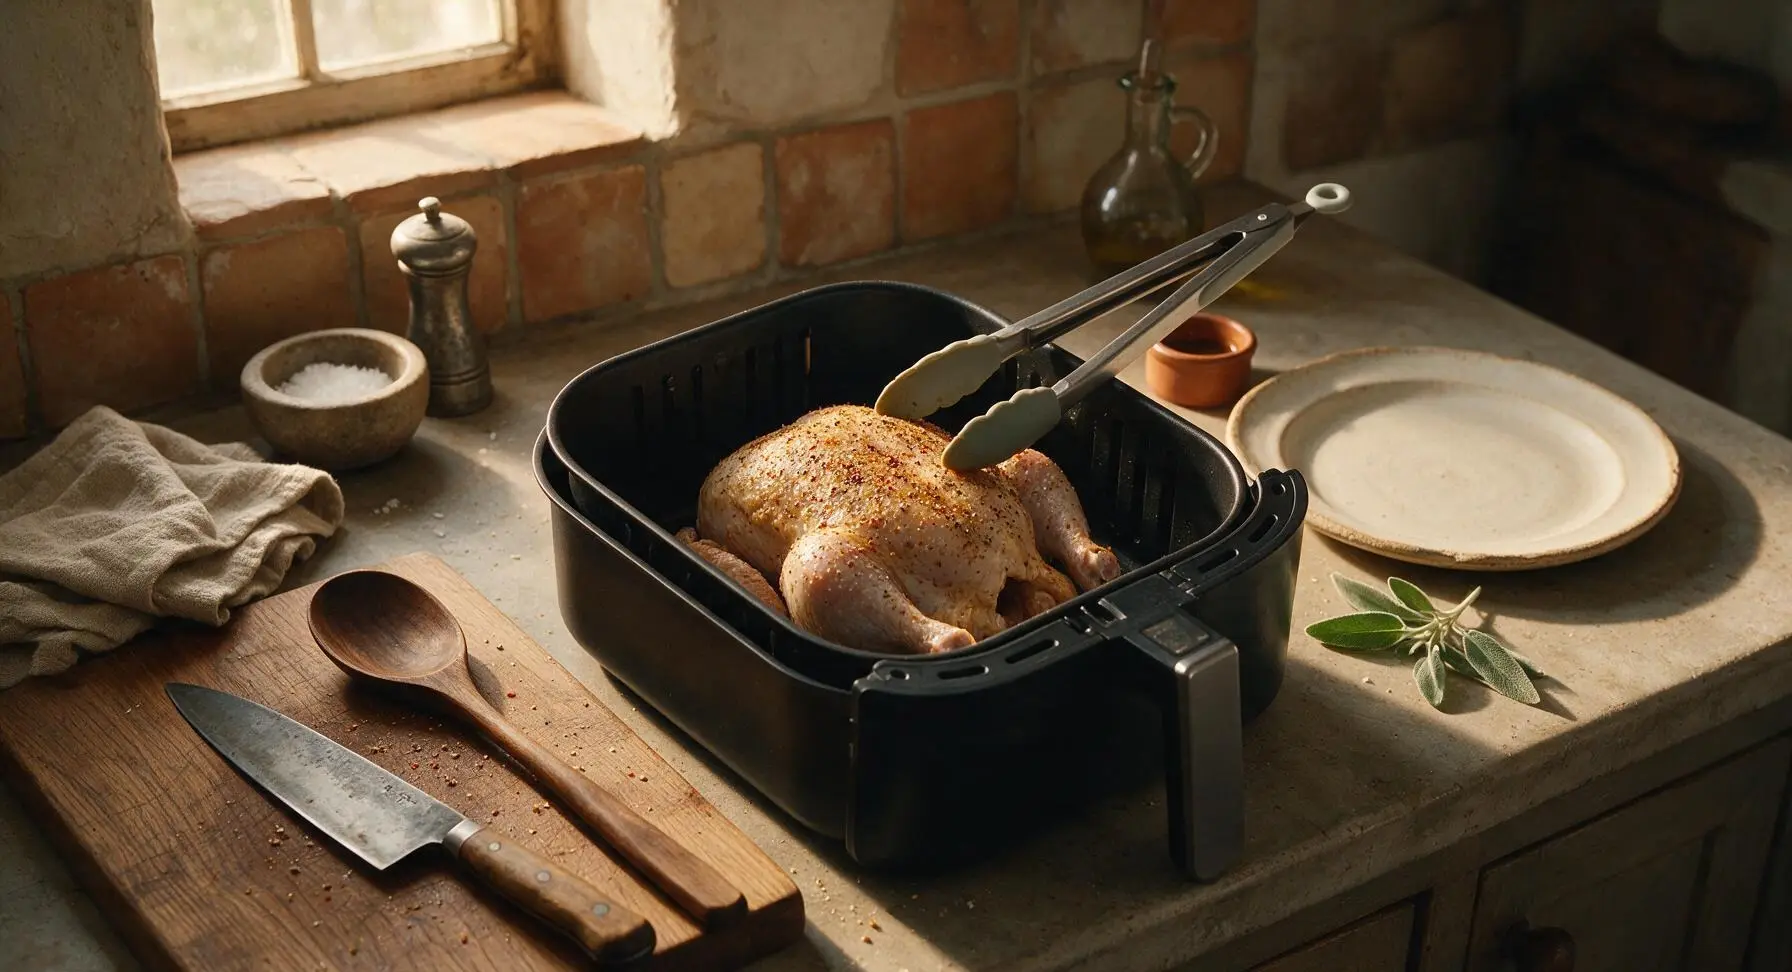
Preheat the air fryer to 375°F (190°C) for 3 minutes. Once preheated, use the silicone-tipped tongs to lift the seasoned chicken and place it breast-side down in the air fryer basket, ensuring it is not touching the top heating element and there is 1/2 inch of open space around the bird for unobstructed air flow. Cook for 25 minutes at 375°F. Do not spray the basket with nonstick cooking spray, as rendered chicken fat will naturally prevent sticking.
Step 5
step5:Cook First Side Down
6

Flip Chicken to Finish

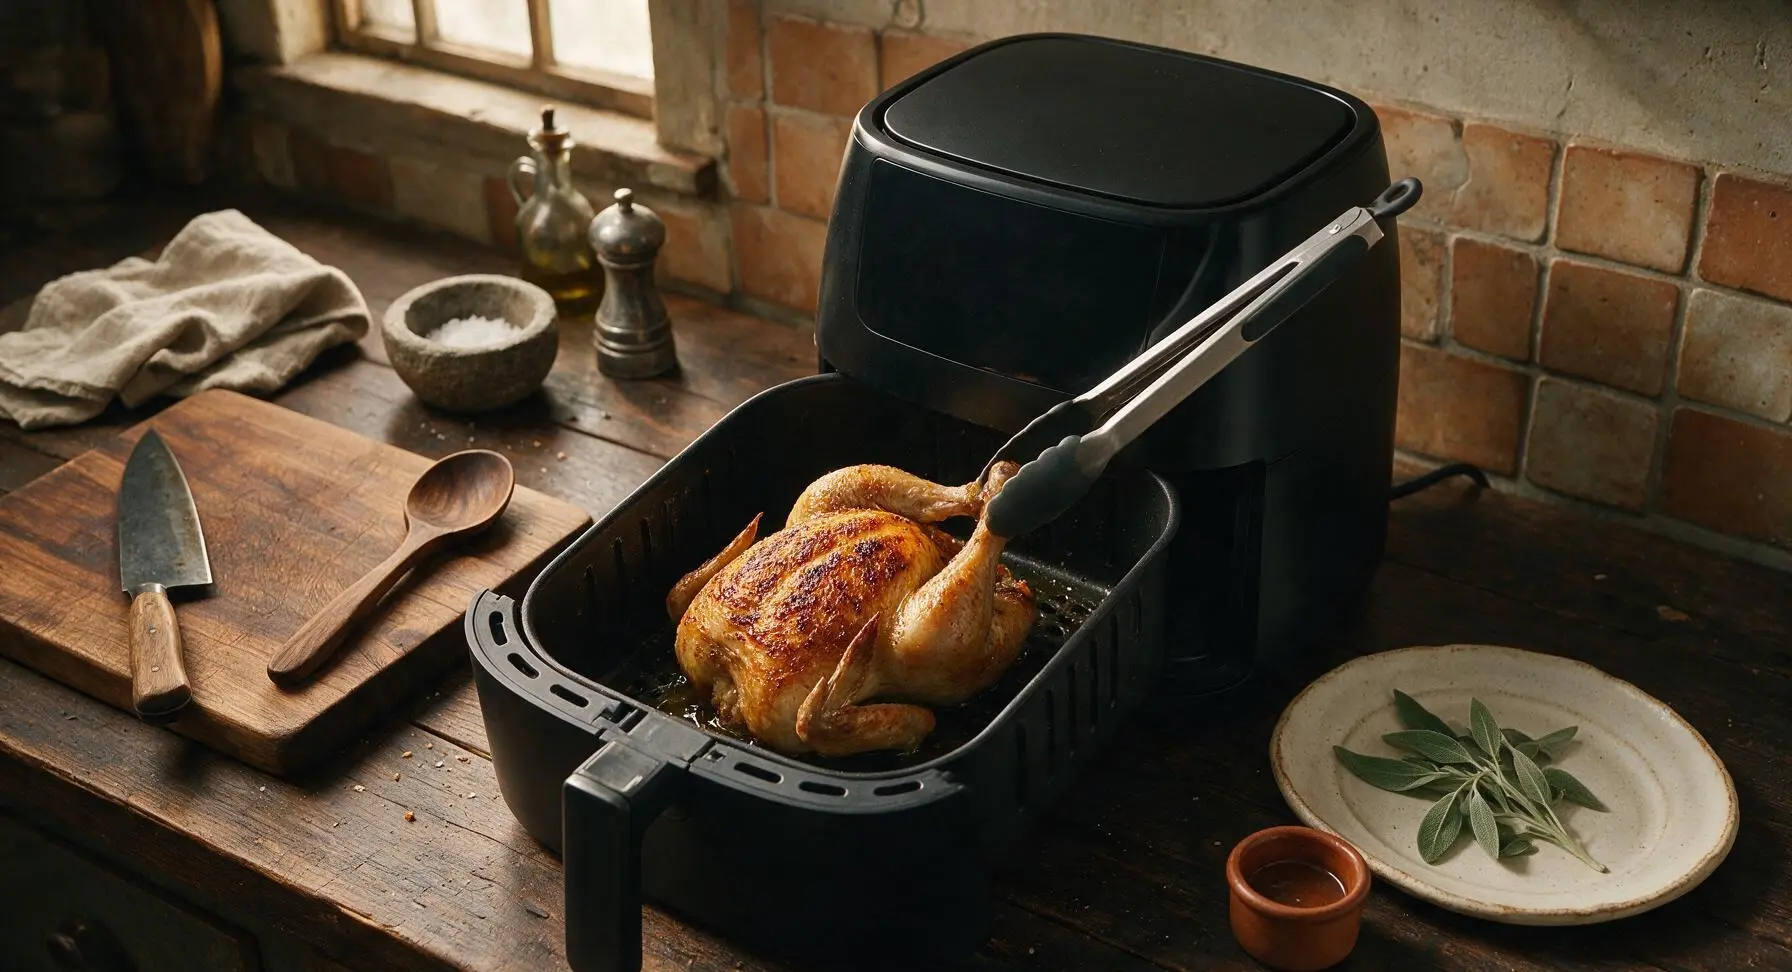
After the first 25 minutes of cooking, pull the air fryer basket out carefully to avoid hot splatters. Use the silicone-tipped tongs to gently grip the chicken drumsticks and flip the bird so it is breast-side up. Take care as hot rendered fat will have collected in the bottom of the basket. Return the basket to the air fryer and cook for an additional 25 minutes at 375°F, until the skin is deep golden and crisp across all exposed surfaces.
Step 6
step6:Flip Chicken to Finish
7

Check Internal Temperature

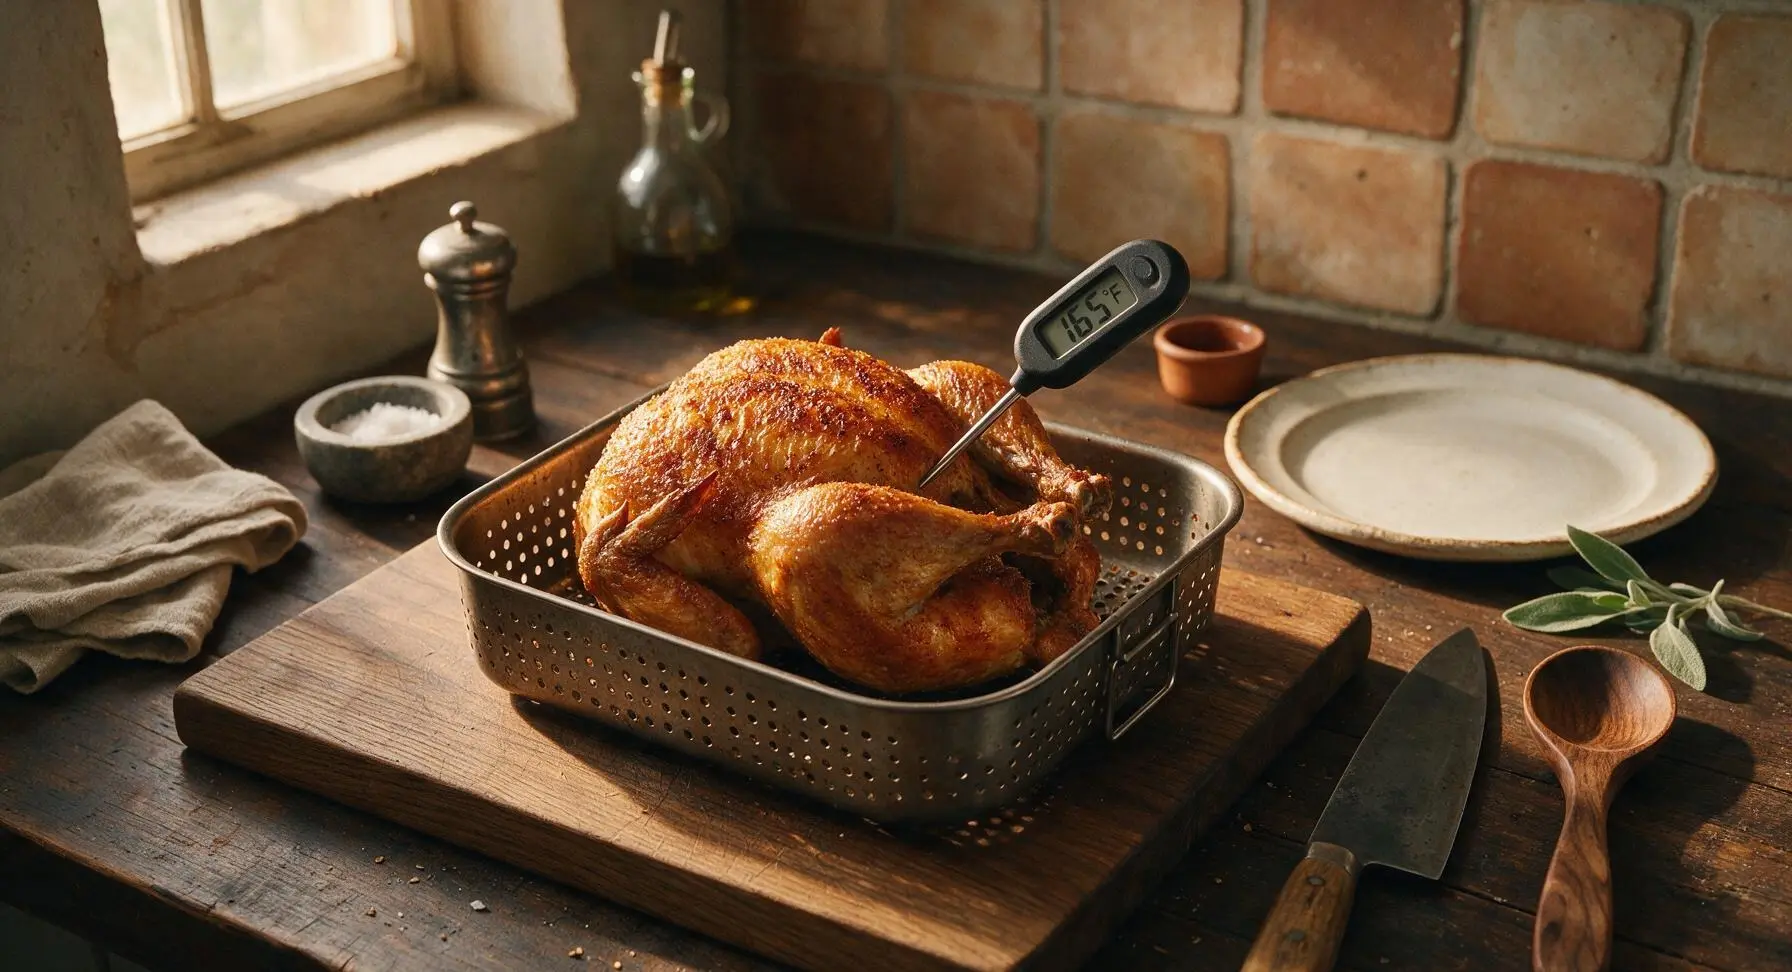
Once the full 50 minutes of cook time are complete, insert the digital instant-read thermometer into the thickest part of the chicken thigh, taking care not to touch the bone, which will give a falsely high reading. The chicken is fully cooked when the thermometer reads 165°F (74°C). If the temperature is lower, return the chicken to the air fryer and cook in 3-minute increments until the correct temperature is reached. If wing tips are browning faster than the rest of the bird, cover them with small pieces of aluminum foil for remaining cook time.
Step 7
step7:Check Internal Temperature
8

Rest Before Serving

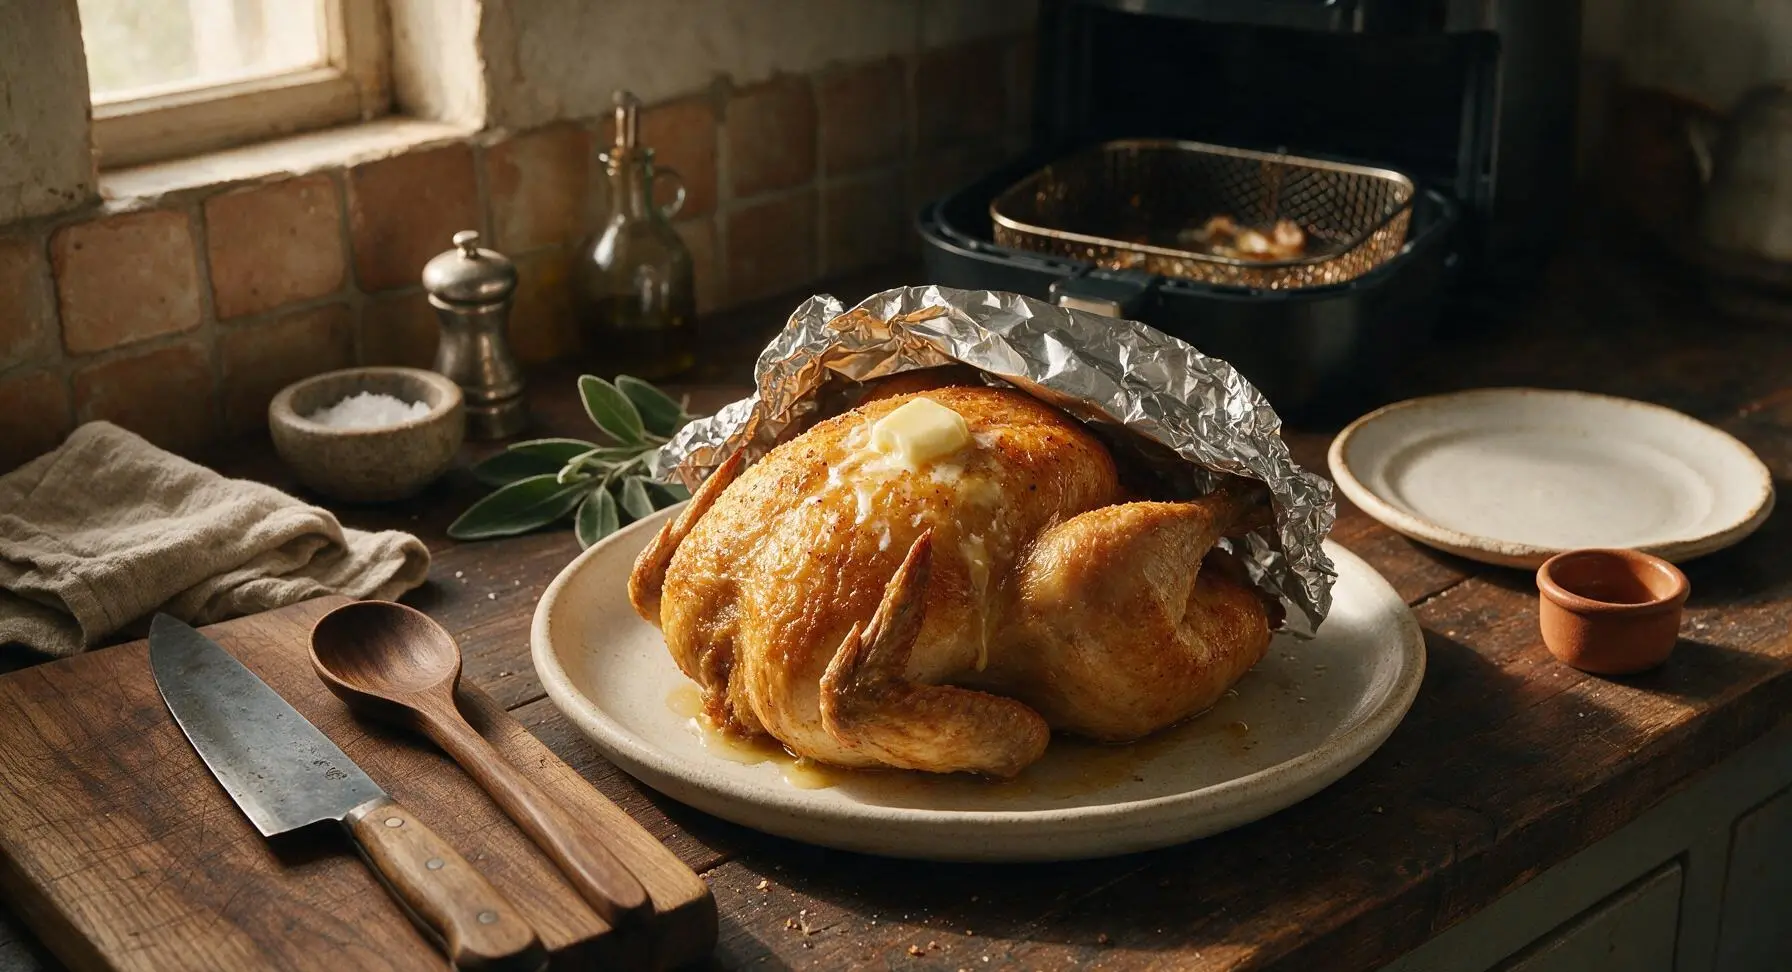
Use the silicone-tipped tongs to carefully lift the cooked chicken out of the air fryer basket, transferring it to the matte cream stoneware platter. Dot the top of the hot chicken skin with the 2 tablespoons of softened unsalted butter, letting it melt and run down the sides of the bird. Loosely tent a small piece of aluminum foil over the chicken and let it rest for 10 minutes before carving. Resting allows muscle fibers to relax and reabsorb juices, so every bite stays moist instead of juice running out onto the platter when cut.
Step 8
step8:Rest Before Serving

Tips

1.Skip rinsing your raw chicken: Rinsing poultry spreads harmful bacteria around your sink and countertop, and adds extra surface moisture that will prevent skin from crisping properly in the air fryer. Patting dry with paper towels is all the prep needed for safe, crisp results.
2.Size your chicken to your air fryer: A 4lb chicken fits perfectly in a 6-quart basket-style air fryer, but if you have a smaller 4-quart unit, use a 3lb chicken instead to leave 1/2 inch of air flow space around the bird. Poor air circulation leads to unevenly cooked, soggy skin.
3.Resist the urge to open the air fryer frequently: Every time you pull the basket out to check on the chicken, hot air escapes and drops the cooking temperature, which adds cook time and can lead to less crispy skin. Only open the basket at the 25-minute mark to flip the bird, then again when total cook time is complete to check temperature.


✨ You May Also Like

Main Course
🍜 United Kingdom

A showstopping classic of tender seared beef, savory mushroom duxelles, and crisp prosciutto wrapped in flaky golden puff pastry, baked to juicy perfection.

⏱️ 2 hours 1Main Course ★ 4.7
Main Course
🍜 India

Tender charred marinated chicken simmered in a rich, spiced creamy tomato sauce, this iconic Anglo-Indian curry pairs perfectly with basmati rice or warm naan.

⏱️ 50 minuteMain Course ★ 4.6
Main Course
🍜 Thailand

Classic tangy, sweet, and savory Thai stir-fried rice noodles with shrimp, tofu, and crunchy garnishes, balancing all five core Thai flavor profiles.

⏱️ 30 minuteMain Course ★ 4.5
Main Course
🍜 United Kingdom

Crispy golden beer-battered cod and fluffy double-fried chips, served with tangy tartar sauce and malt vinegar: the timeless, beloved British pub comfort classic.

⏱️ 45 minuteMain Course ★ 4.7
Main Course
🍜 Mexico

Smoky, chile-marinated pork tacos with caramelized pineapple, fresh cilantro, and lime: a beloved classic Mexican street food perfect for casual summer gatherings.

⏱️ 1 hour 45Main Course ★ 4.8
Main Course
🍜 United States

Crunchy Fritos corn chips layered with savory beef chili and melted cheddar, topped with cool, zesty fixings for a beloved, cozy Tex-Mex comfort food.

⏱️ 35 minuteMain Course ★ 4.8

cooking whole chicken in air fryer:Frequently Asked Questions

1.What size whole chicken works best in a standard air fryer for this recipe? ▾
For a standard 5–6 quart air fryer, opt for a 3.5–4 pound whole chicken with giblets fully removed first. This size leaves enough open space around the bird for consistent hot air circulation, which is non-negotiable for that shatteringly crisp skin instead of soggy, steamed patches. If you have an 8+ quart model, you can go up to a 5 pound bird easily.
2.Why isn’t my chicken skin getting crispy when I make this in the air fryer? ▾
The number one culprit is excess moisture on the skin. Pat the entire chicken completely dry with paper towels before applying your simple blend of salt, pepper, garlic powder, and smoked paprika, skip heavy oil coatings, and make sure you aren’t overcrowding the basket. Unobstructed hot air flow and a dry skin surface are non-negotiable for that signature shatteringly crisp finish.
3.Do I need to preheat my air fryer before cooking the chicken? ▾
You don’t need a long preheat like you would for a conventional oven, but a quick 3-minute preheat at 375°F helps the skin start crisping the second you set the chicken in the basket, rather than slowly warming up which causes uneven cooking and soggier spots. It also cuts down on total cook time slightly, which is a nice bonus.
4.How do I know when the chicken is fully cooked and safe to eat? ▾
Always use an instant-read meat thermometer instead of guessing by cook time alone. Stick the probe into the thickest part of the thigh, away from bone, and look for a reading of 165°F to meet USDA food safety standards. Let the chicken rest 10 minutes before carving so juices redistribute for extra juicy meat.
5.Can I tuck lemon and fresh herbs into the chicken cavity for extra flavor? ▾
Absolutely! That’s a fantastic way to add bright, layered flavor without weighing down the crisping skin. Tuck a couple halved lemons, a few sprigs of fresh thyme or rosemary, and a couple crushed garlic cloves into the cavity before cooking. Just don’t pack it too tight, as you want mild air flow through the cavity for even cooking.
6.Do I need to flip the chicken partway through air frying? ▾
I recommend starting the chicken breast-side down for the first two-thirds of cook time, then flipping it breast-side up for the final third. This position lets fat render out of the back and thighs first, keeps delicate breast meat from drying out, and ensures every inch of skin gets even hot air exposure for uniform crispness.
7.Can I use regular table salt instead of kosher salt for the seasoning? ▾
You can, but you’ll need to adjust the amount to avoid over-salting your chicken. Kosher salt has larger, flakier grains that are less dense than fine table salt, so if swapping, use half the volume of table salt compared to the called-for kosher salt. Season evenly across the entire skin for consistent, well-balanced flavor.
8.How do I keep the chicken breast from drying out before the thighs finish cooking? ▾
Positioning is key here! Starting the chicken breast-side down for most of the cook time lets juicier dark meat cook faster while the delicate breast is shielded from direct, intense hot air. If you notice the breast browning too quickly before the thighs hit 165°F, you can loosely tent a small piece of foil over the breast for the last 5 minutes of cooking.
9.Can I cook this recipe straight from frozen if I forgot to thaw my chicken? ▾
I don’t recommend cooking a whole frozen chicken in the air fryer for this recipe. The outside skin will burn and over-crisp long before the center thaws and reaches a safe internal temperature, leading to uneven, potentially unsafe results. Always thaw your chicken fully in the fridge for 1–2 days before cooking for best texture.
10.What sides pair well with this crispy air fryer chicken for a family meal? ▾
It pairs beautifully with simple, cozy sides that don’t require oven space while your air fryer is in use. Whip up creamy mashed potatoes, a crisp green salad, quick stovetop buttered corn, or flaky buttermilk biscuits while the chicken rests after cooking. The bright herb and lemon seasoning complements almost any classic family dinner side.
11.How should I store leftover chicken, and how long will it keep? ▾
Let leftover chicken cool completely within 2 hours of cooking, then store carved pieces or the remaining whole bird in an airtight container in the fridge for up to 4 days. The crispy skin will soften when chilled, but you can reheat slices in the air fryer at 350°F for 3–4 minutes to bring back much of that signature crunch without drying the meat out.

Comments (3)

2 days ago

OMG this was such a game changer for our weekly Sunday family dinner! I was so sick of drying out whole chickens in the oven, but this came out so crispy on the outside and juicy all the way through, even the white meat! My 3 kids practically fought over the drumsticks, and my husband asked when we’re making it again. Only thing I did was toss a little extra paprika in the rub because we love a smoky kick. 10/10 will be making this for our next potluck too!

yesterday

Wait did you truss the chicken first? I tried a different air fryer whole chicken recipe last month and the wings got burnt to a crisp because I didn’t tie them down, wondering if I need to grab twine before I test this out this weekend!

2 hours ago

So thrilled your family enjoyed the recipe, Jenny! Adding extra paprika for that smoky kick is such a tasty call. To answer your question too, Tom: trussing is totally optional! If you tuck the wing tips under the bird and tie the legs loosely together, you’ll get super even cooking and no burnt edges, but you don’t need special twine to pull this off if you don’t have it on hand.

1 week ago

Perfect easy recipe for meal prep! I cook one of these every Sunday now, and it shreds so nicely to use in salads, wraps, and quick tacos throughout the week. Cook time was spot on for my 6 quart air fryer, no adjustments needed at all. The skin is SO crispy, I don’t even miss roasting it in the oven anymore. Only gripe is I wish I made two, because I ran out of leftovers by Wednesday!

5 days ago

Love that this is a staple in your weekly meal prep rotation, Mike! Great call noting the cook time works perfectly for 6 quart air fryers. Quick pro tip: if you find yourself running out of leftovers mid-week, a 4.5-5 lb chicken usually yields enough meat for 4-5 servings, perfect for stretching through those busy work days!

30 minutes ago

Just pulled this out of my air fryer and WOW, my whole condo smells insane! I was so nervous to cook a whole chicken for the first time ever (I’m a total newbie in the kitchen) but the steps were so straightforward I didn’t mess anything up! The skin is shatteringly crispy, just like the recipe says, and the meat is so juicy I didn’t even need extra sauce. Already sent this link to my little sister who just got her first air fryer for college graduation!



