
corned beef hash canned

title 1
corned beef hash canned
⏱️ cook time 15 minutes
🍽️ servings 4
⚡ Difficulty easy

intro

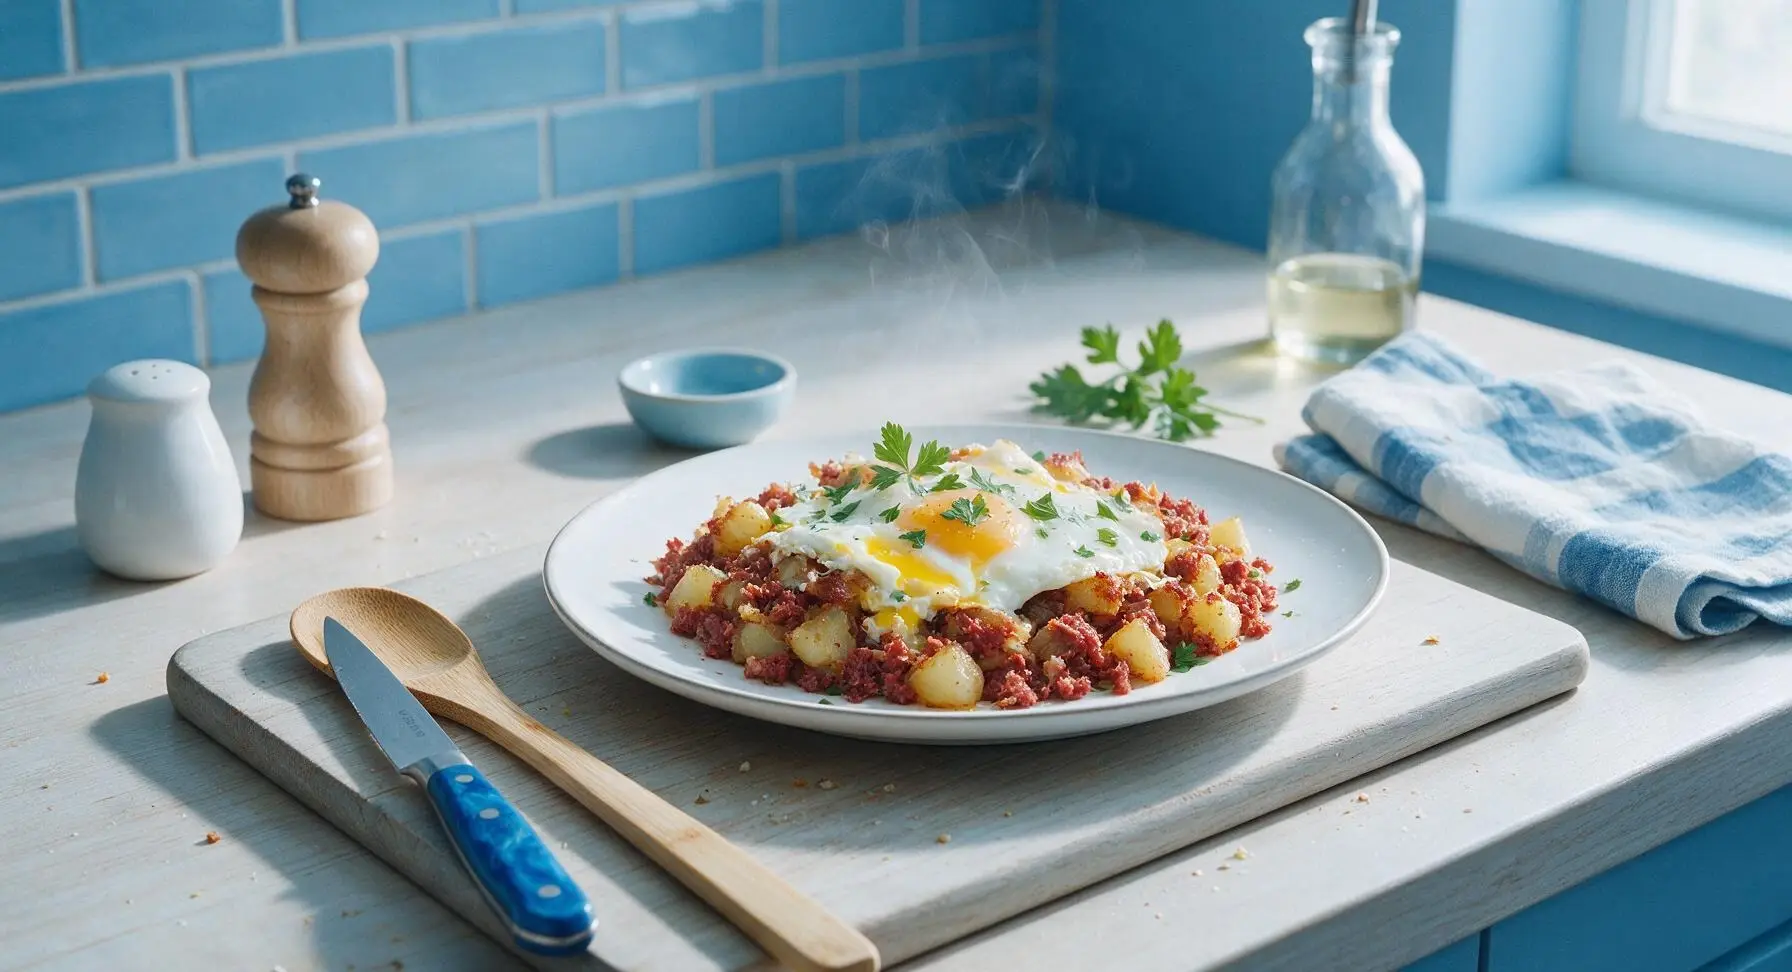
Crispy, savory canned corned beef hash with crunchy golden edges, tender potato chunks, and runny fried eggs—pantry-staple comfort ready in 20 minutes, no fancy ingredients required.

Ingredients
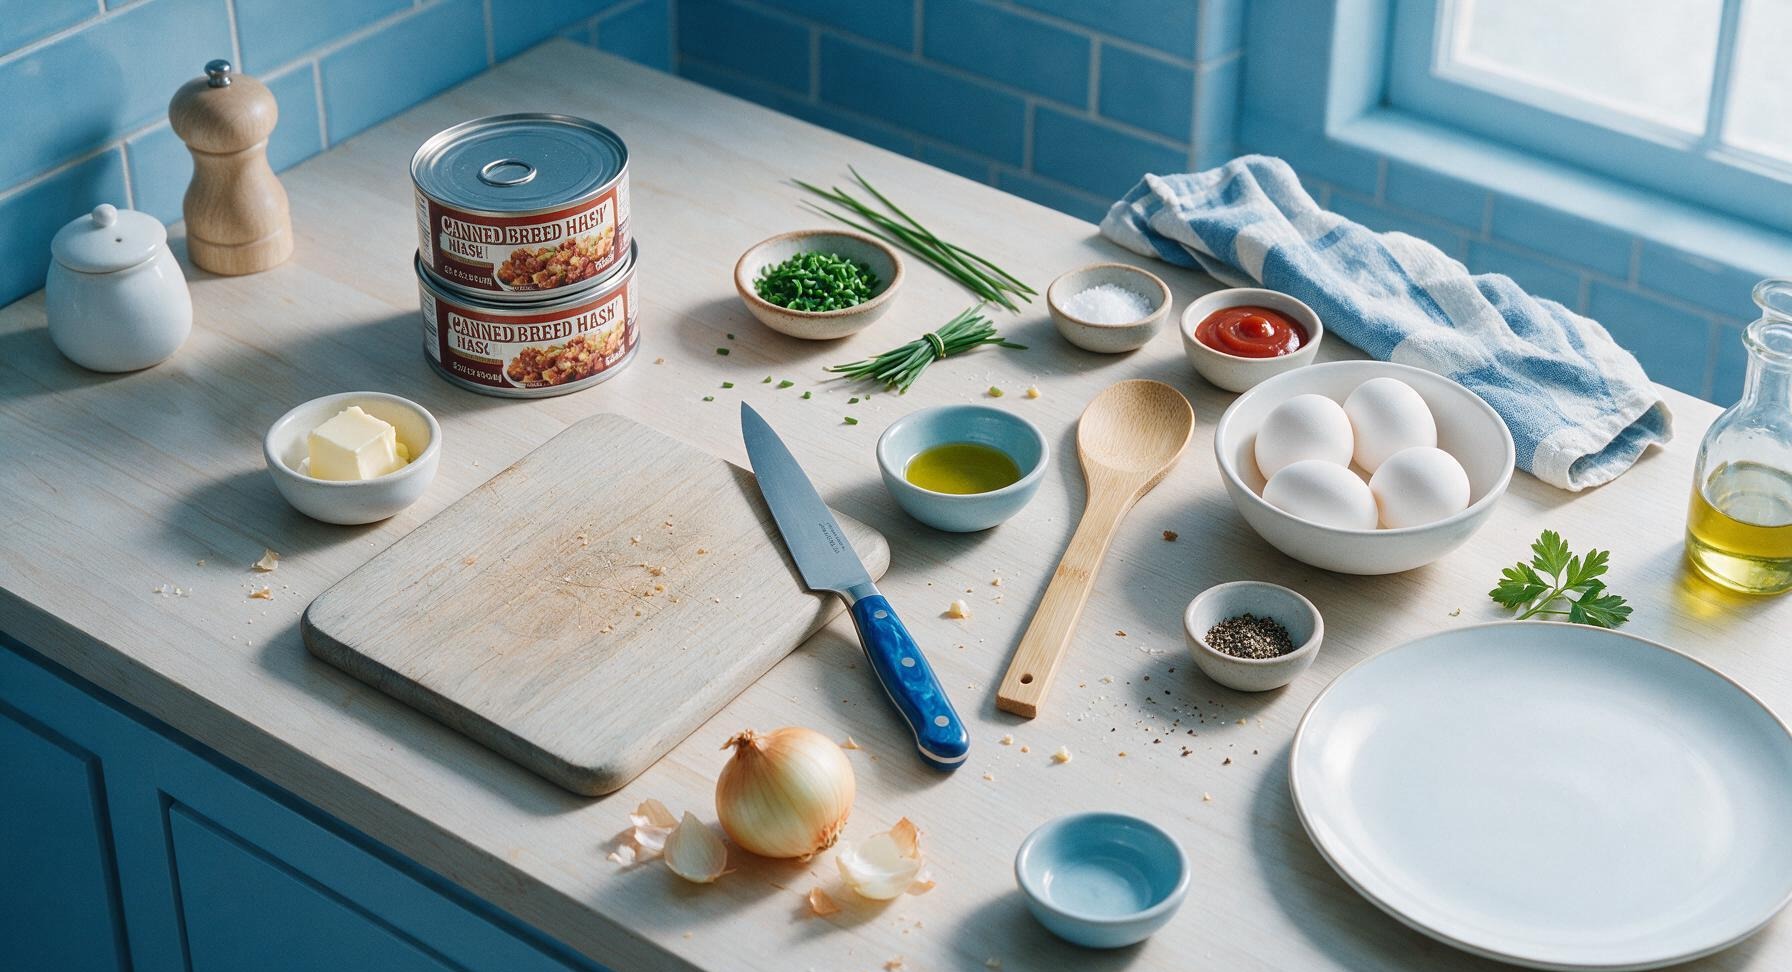
Canned corned beef hash 2 (12oz/340g) cans
Yellow onion 1 small (150g)
Unsalted butter 1 tbsp
Extra-virgin olive oil 1 tbsp
Large eggs 4
Fresh chives 2 tbsp, chopped
Kosher salt 1/4 tsp
Freshly ground black pepper 1/4 tsp
Ketchup (optional, for serving) 1/4 cup

Steps

1

Dice the yellow onion

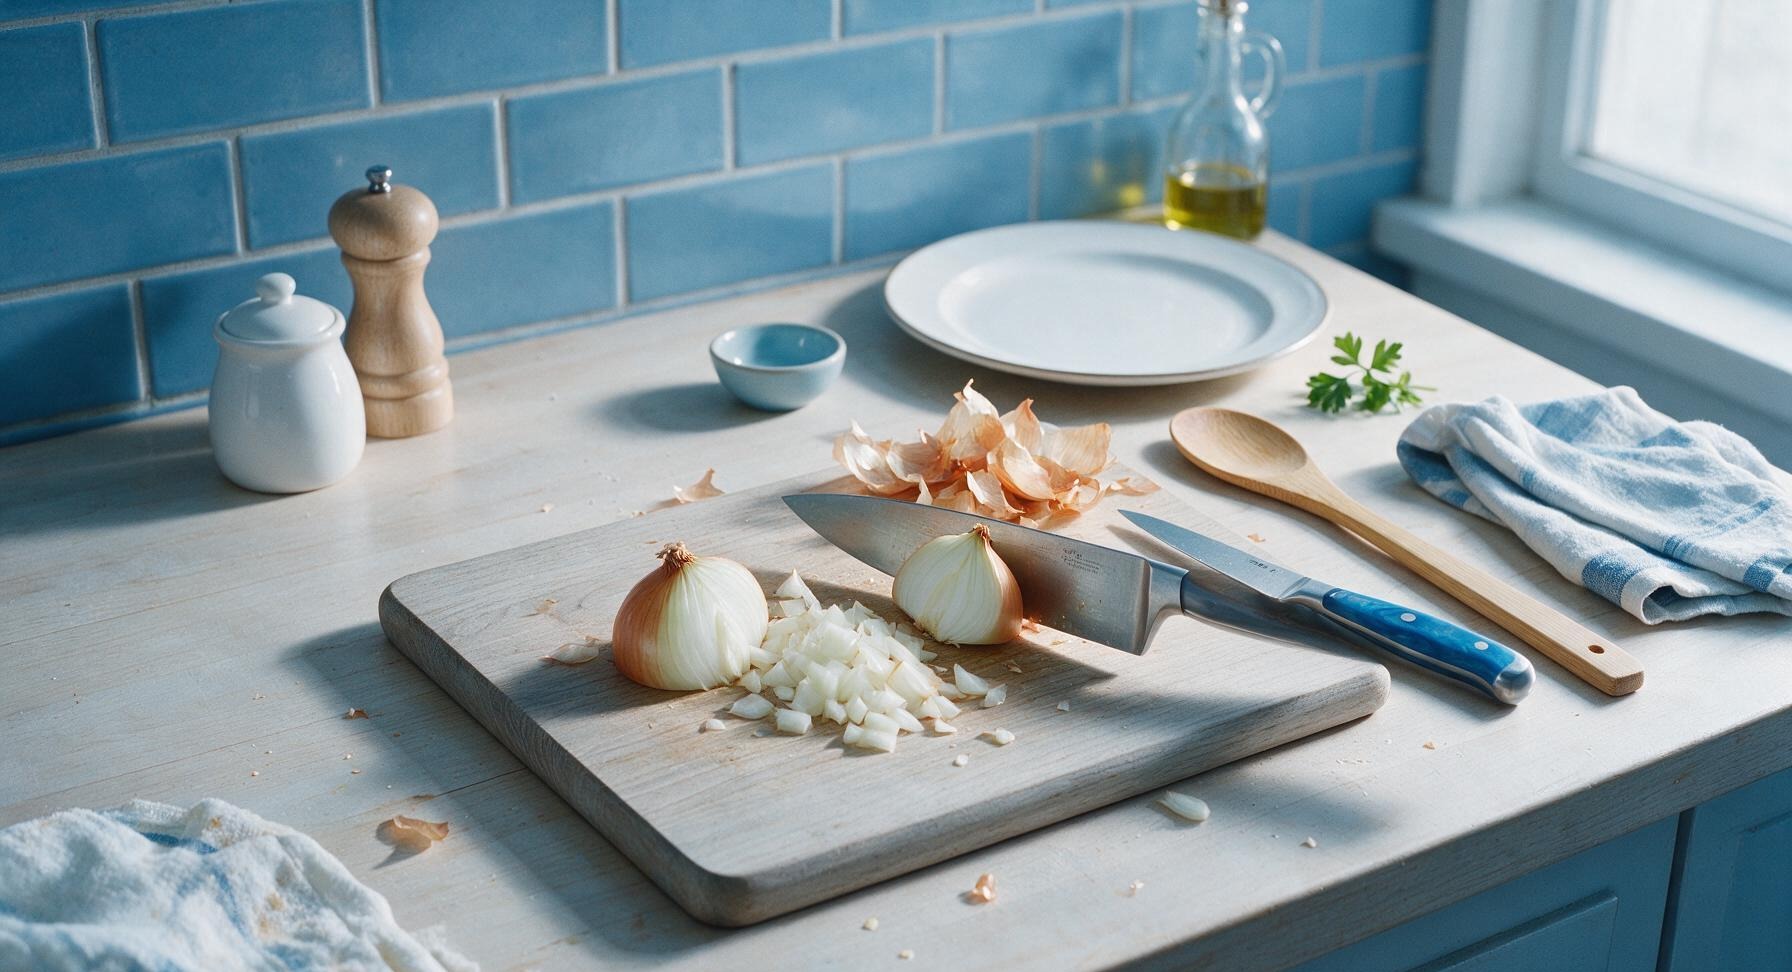
Place the small yellow onion on the light brown wooden cutting board. Use the 8-inch chef knife to trim the root and stem ends, peel off the papery outer skin, then dice the onion into uniform 1/4-inch pieces. Set diced onion aside in a small loose pile on the corner of the board. Wipe any small onion bits from the cutting board with the edge of the knife.
Step 1
step1:Dice the yellow onion
2

Open the hash cans

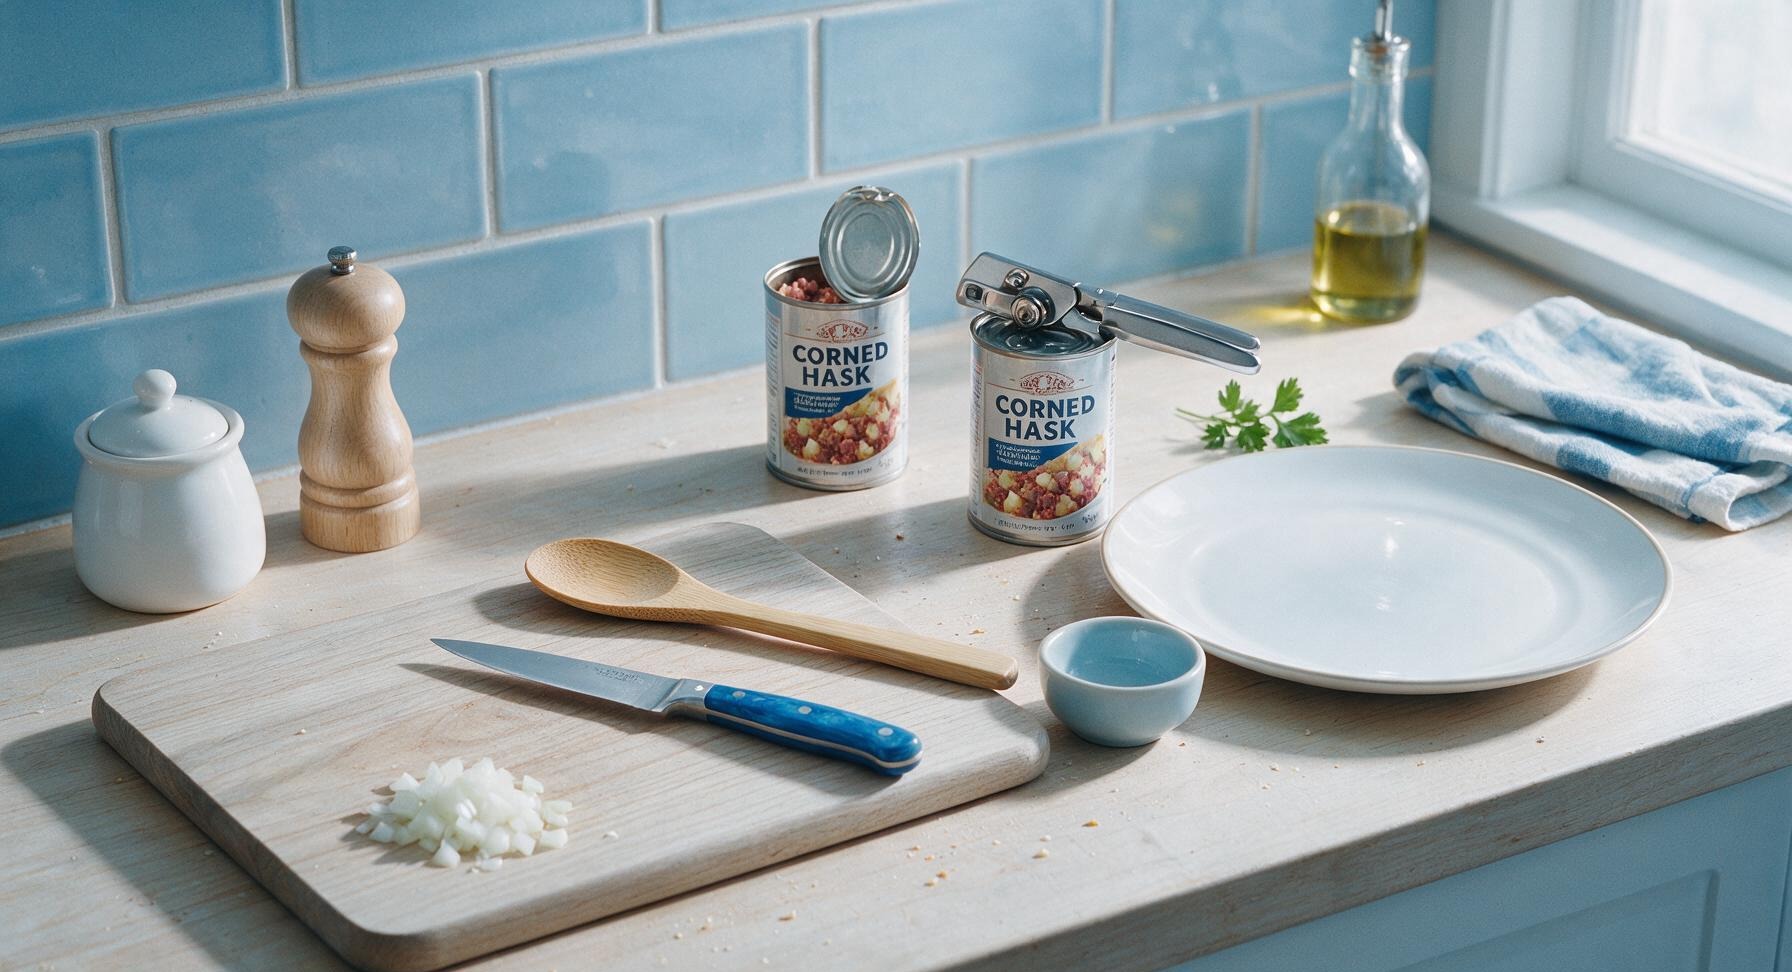
Retrieve the manual stainless steel can opener from the back-right utensil holder. Use it to remove both lids from the two cans of corned beef hash. Hold each can at a slight angle over the cutting board to drain any excess thin brine from the cans (do not rinse the hash). Loosen the hash from the can sides with a small nudge from the knife tip if it sticks.
Step 2
step2:Open the hash cans
3

Preheat the skillet

Retrieve the 12-inch seasoned carbon steel skillet from the lower cabinet and place it centered on the matte black induction cooktop. Set heat to medium (375°F / 190°C). Add 1 tablespoon olive oil and 1 tablespoon unsalted butter to the skillet, allowing the butter to melt fully and foam slightly, about 1 minute, until it just begins to smell nutty. Return the can opener to the back-right utensil holder.
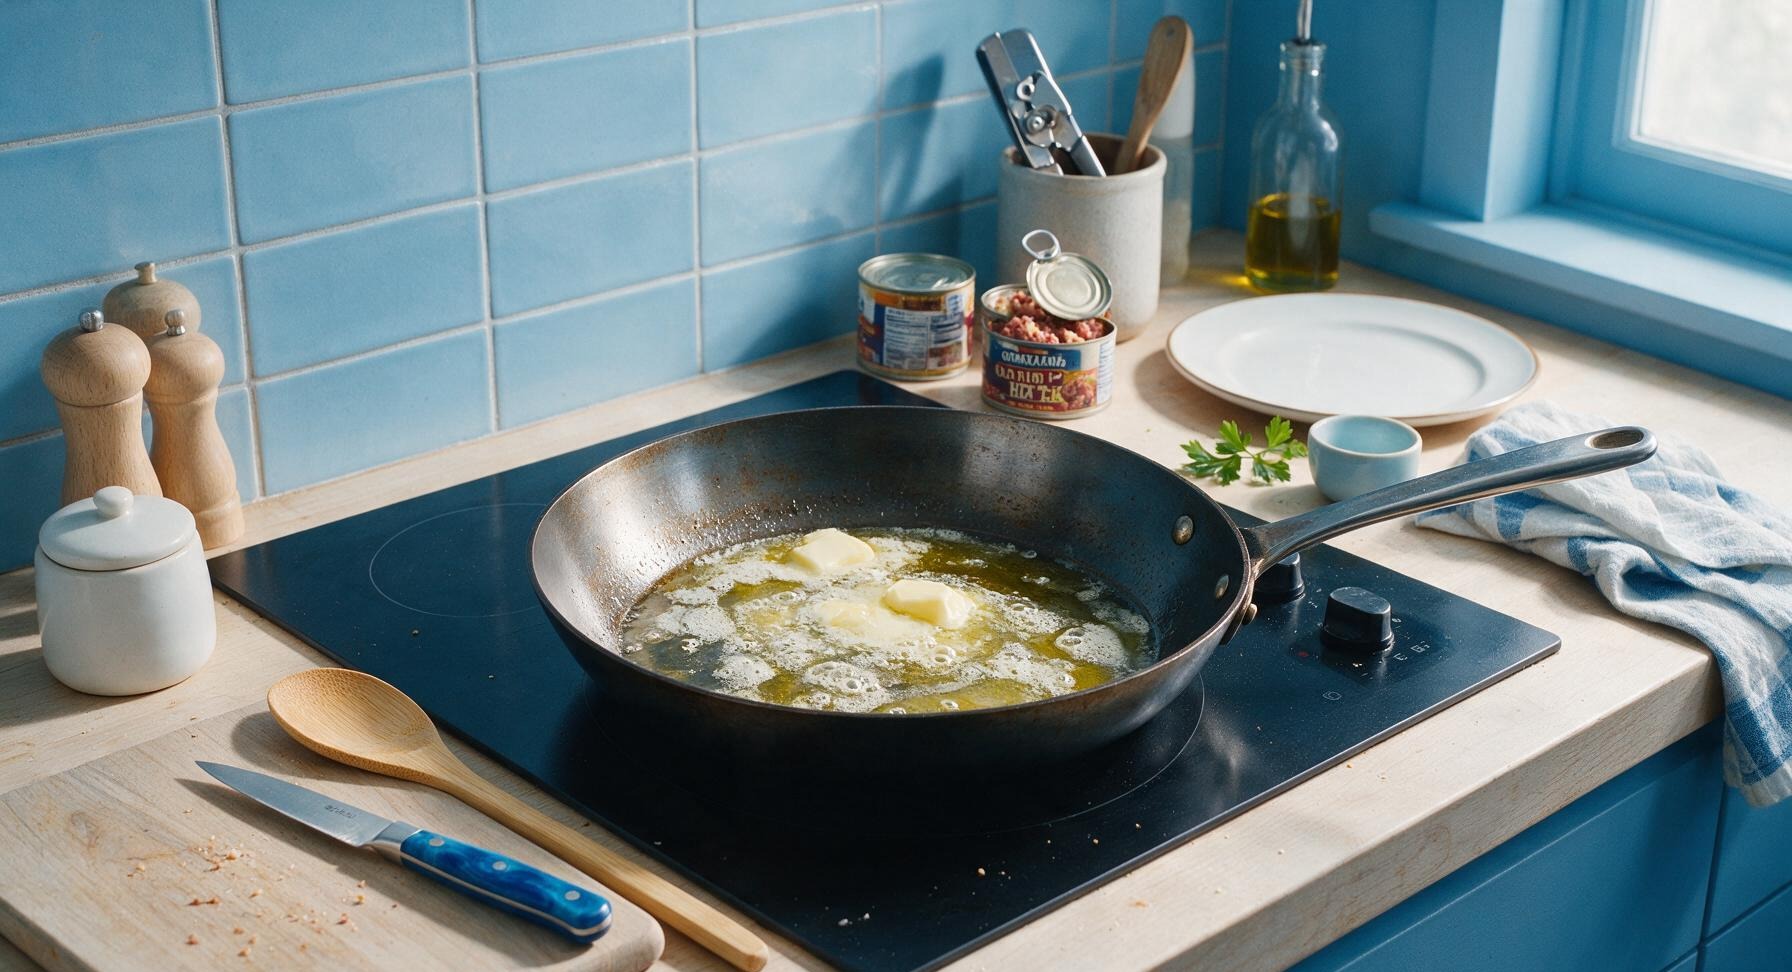
Step 3
step3:Preheat the skillet
4

Sauté the diced onion

Retrieve the black silicone spatula from the utensil holder. Add the diced 1/4-inch onion pieces to the melted butter and oil in the skillet. Stir with the spatula to coat the onion evenly. Cook for 3 minutes, stirring occasionally, until the onion turns soft and translucent, with just a hint of golden color at the edges. Season with a tiny pinch of kosher salt.
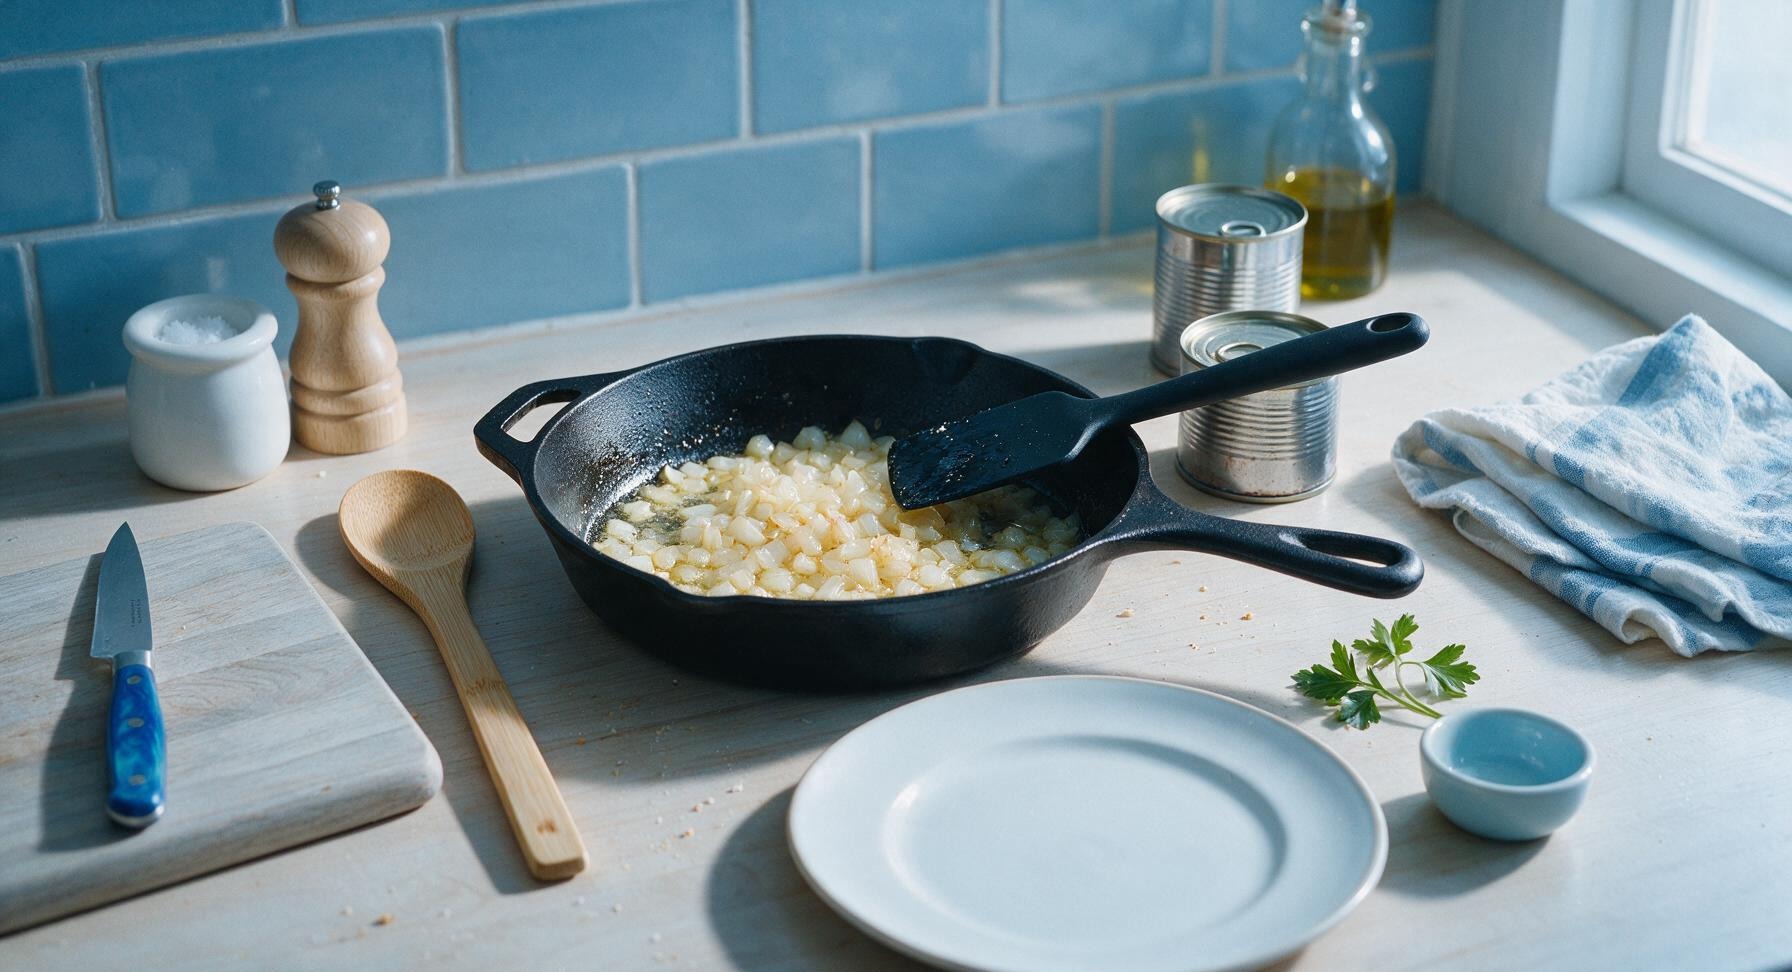
Step 4
step4:Sauté the diced onion
5

Add hash to skillet

Tip both cans of corned beef hash directly into the skillet with the sautéed onion. Use the silicone spatula to spread the hash in an even, thin 1/2-inch thick layer across the entire pan bottom. Do not stir immediately after spreading—this is key for building a crispy crust.
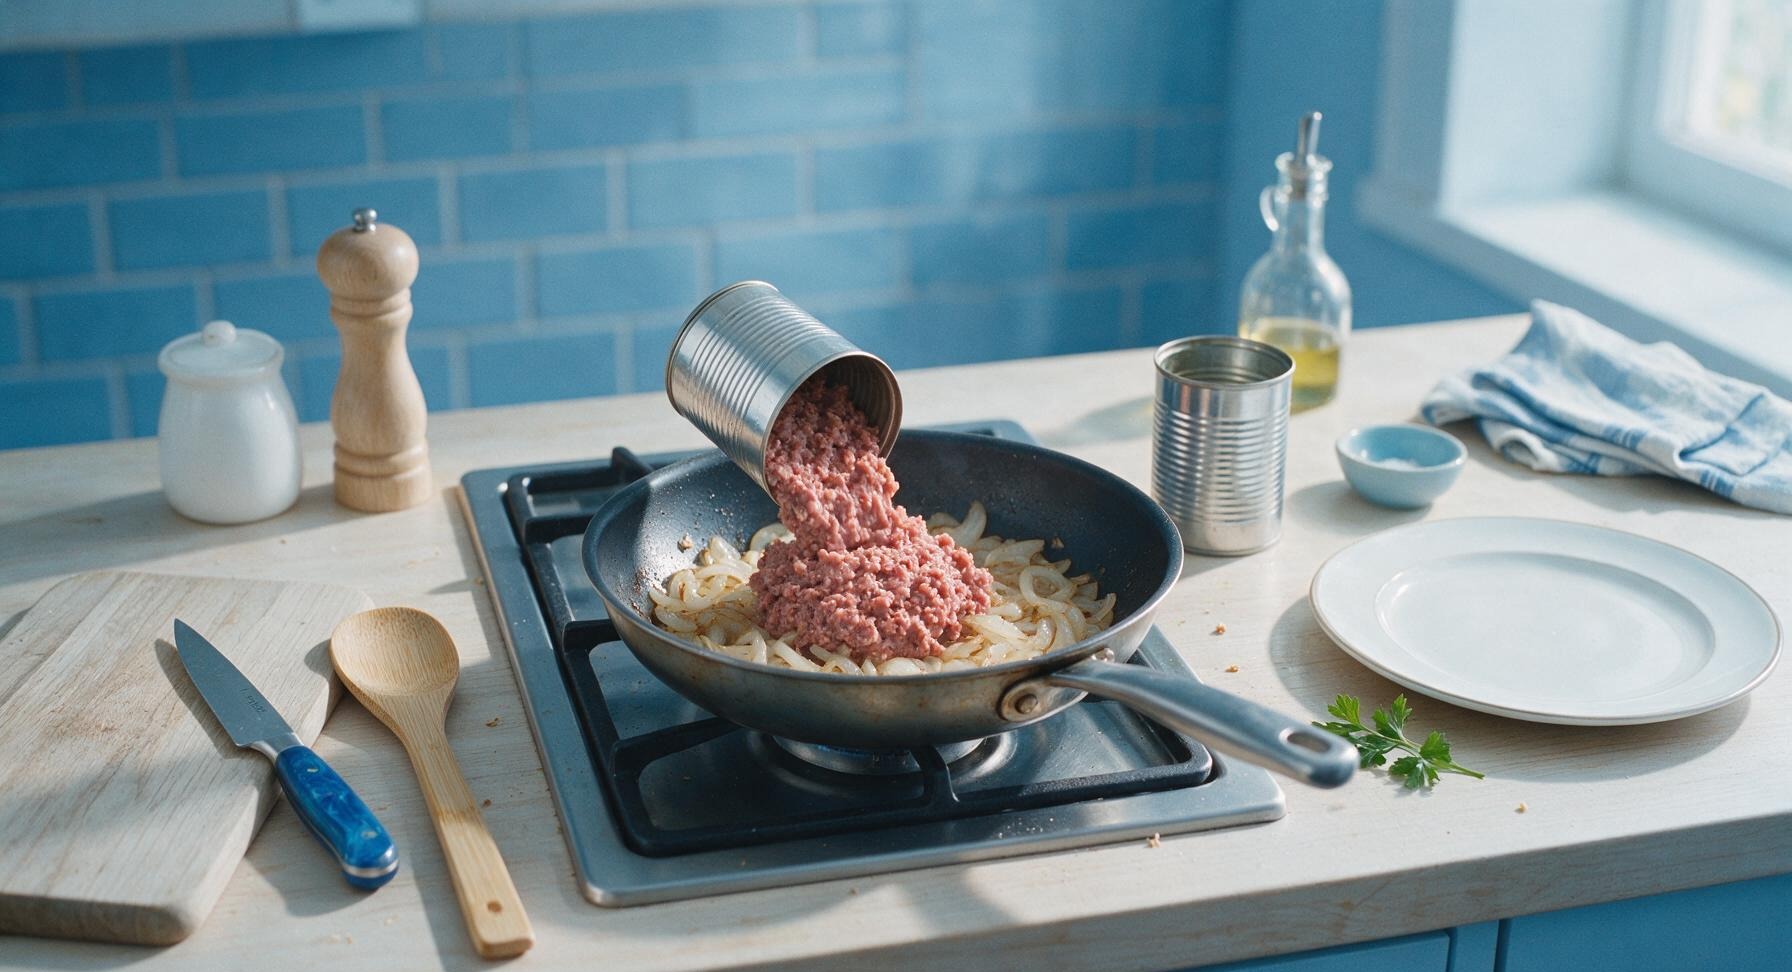
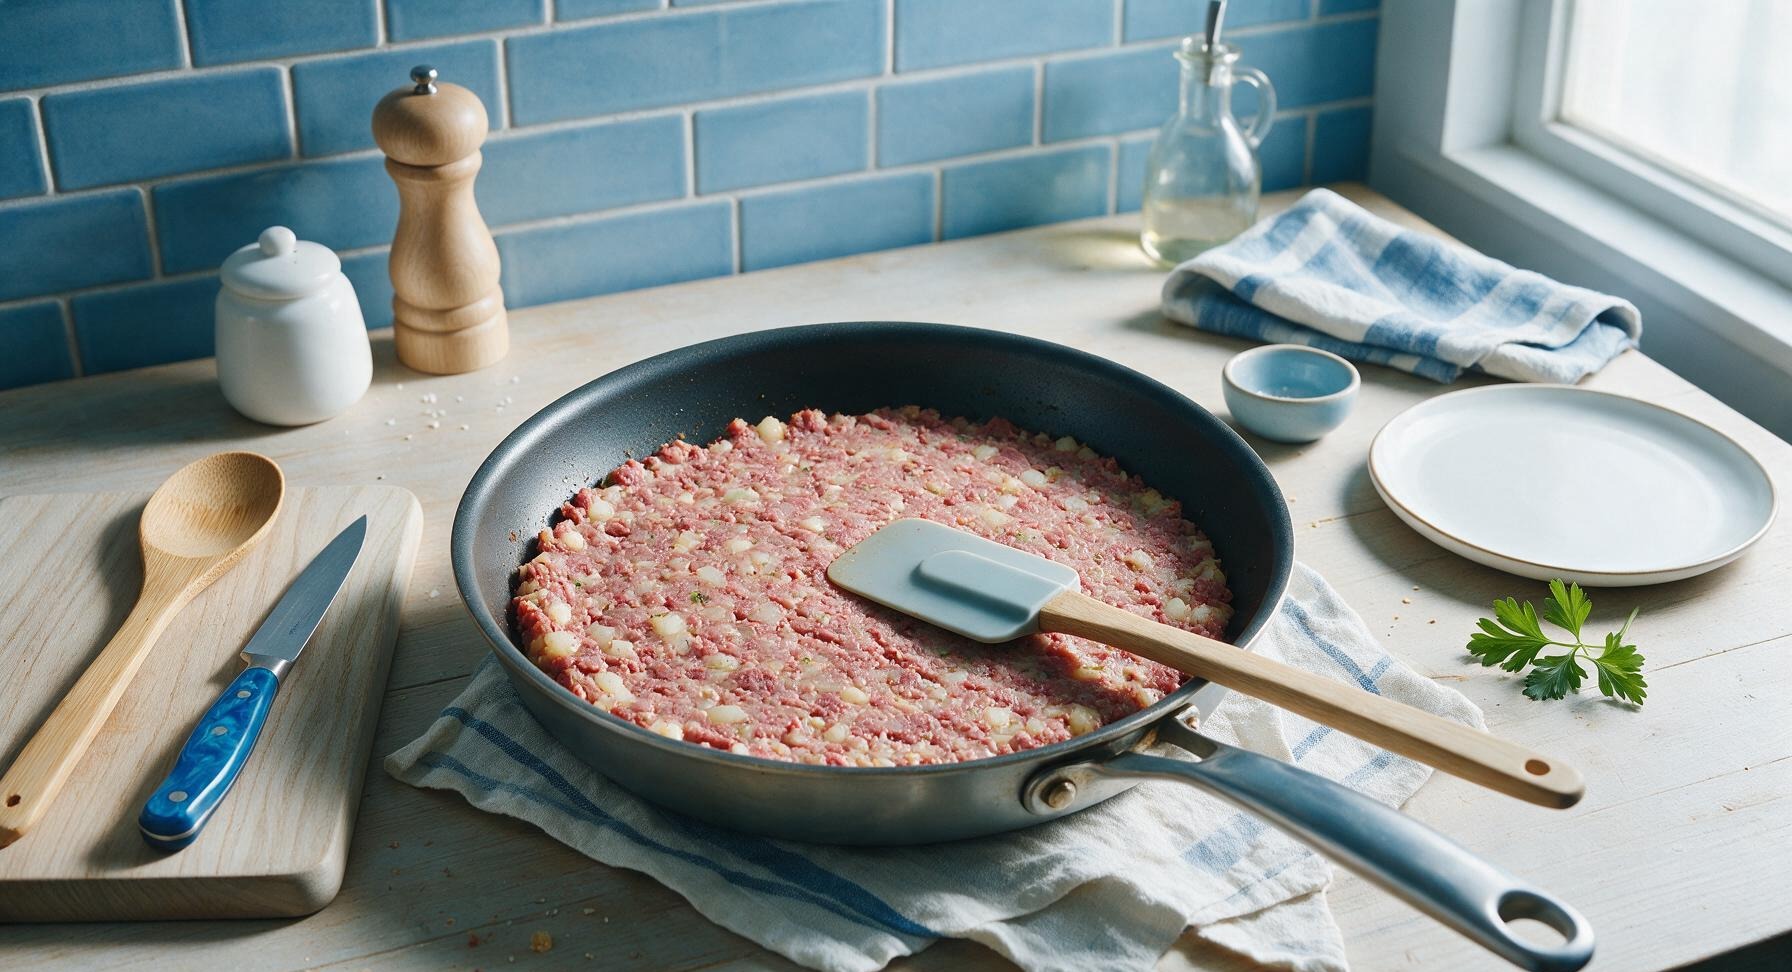
Step 5
step5:Add hash to skillet
Step 5
step5:Add hash to skillet
6

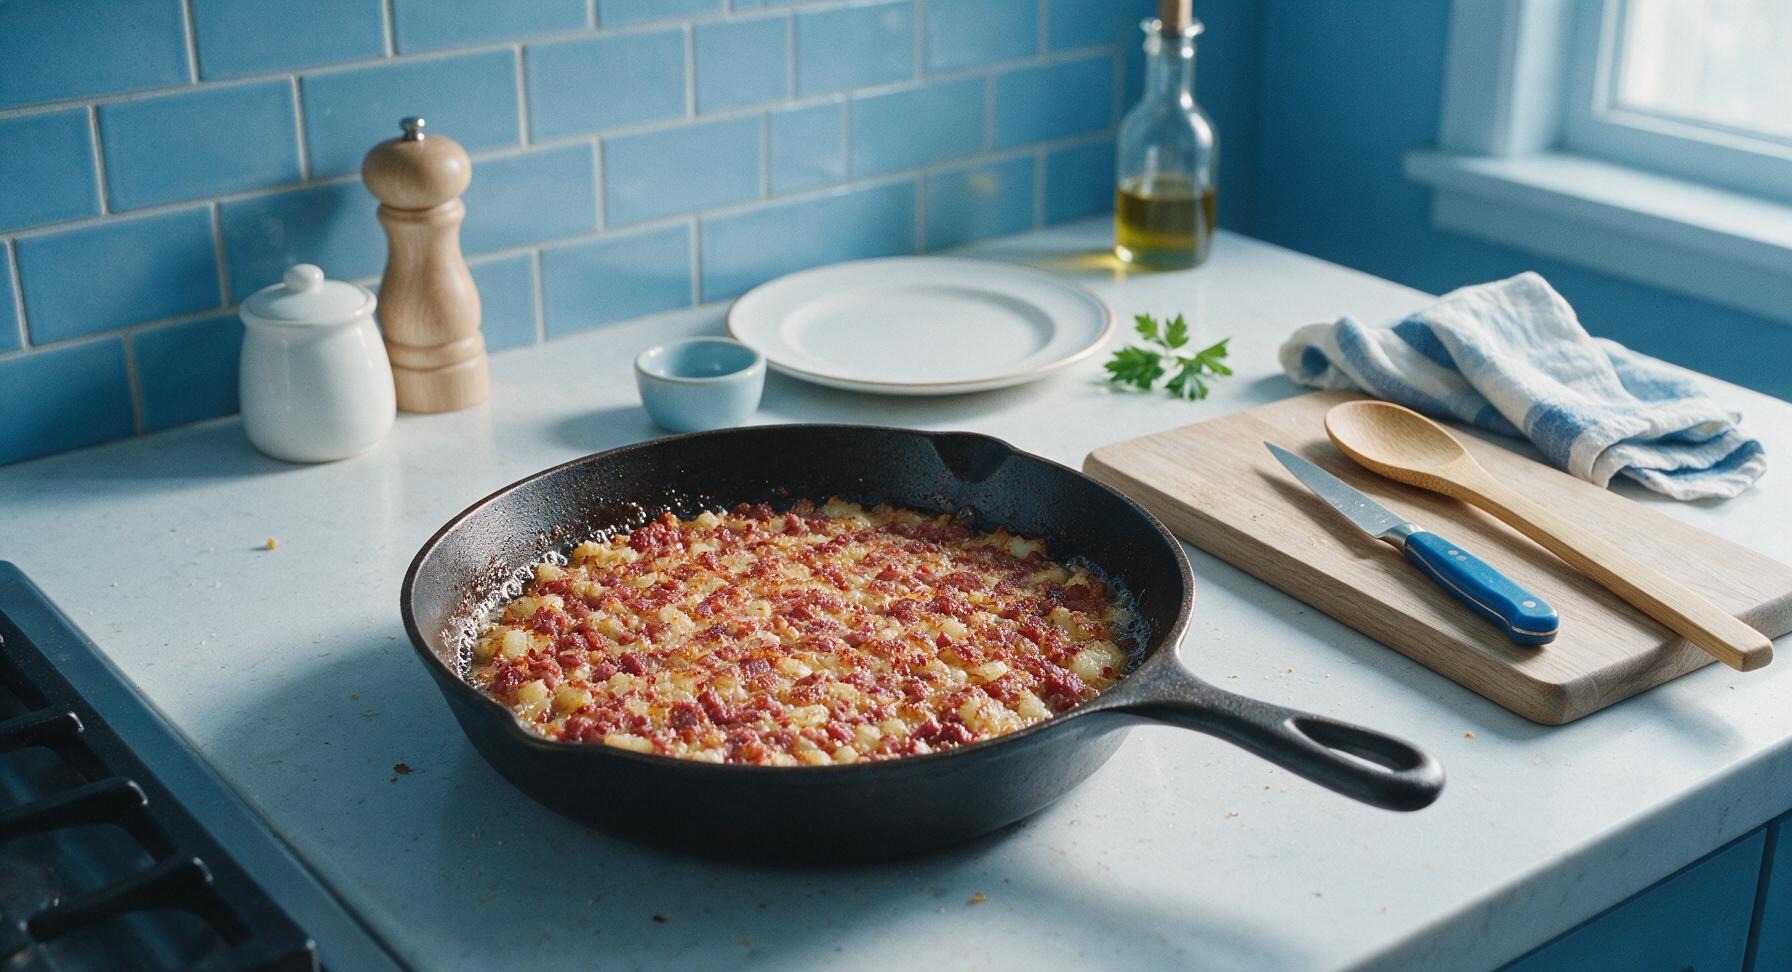
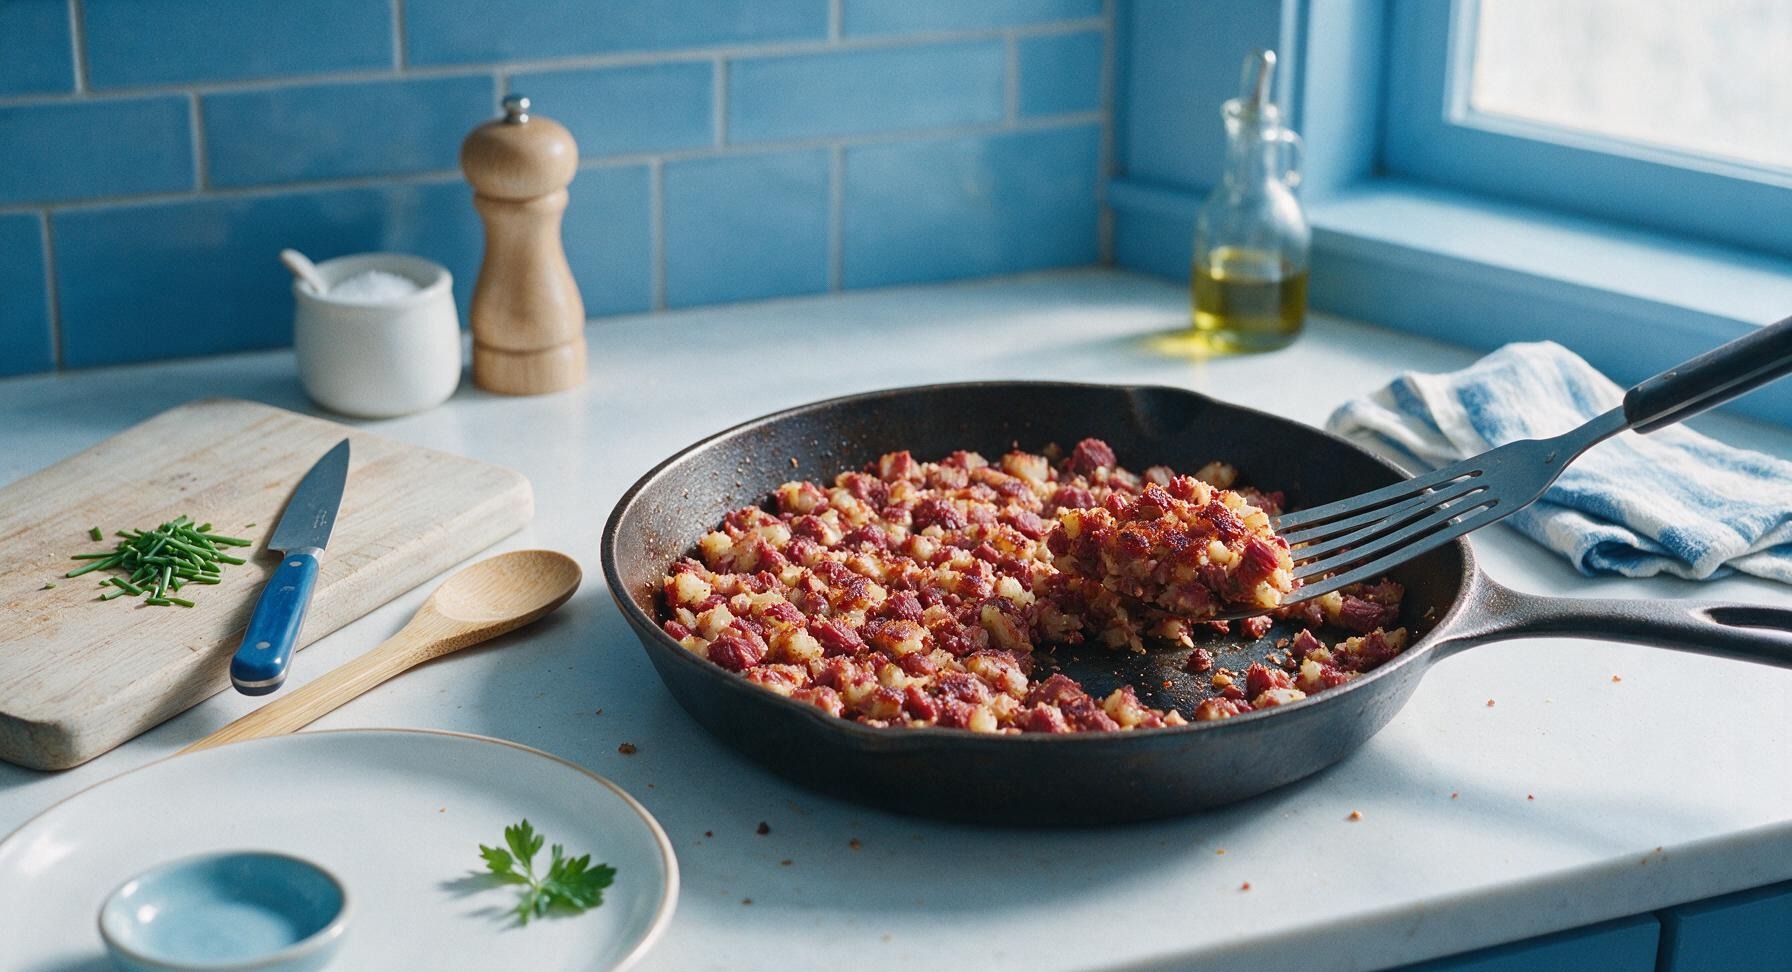
Cook until crispy

Let the hash cook undisturbed over medium heat for 6 minutes, until the bottom layer forms a deep golden-brown, crunchy crust. While the hash cooks, use the chef knife to chop the fresh chives into 1/4-inch pieces on the wooden cutting board, then set aside. Use the spatula to flip the hash in large sections, breaking it into rough 1-inch chunks as you turn it. Spread it back into an even layer, and cook undisturbed for another 5 minutes to crisp the second side. The final hash should have 50% crispy browned edges and 50% soft, tender interior.
Step 6
step6:Cook until crispy
Step 6
step6:Cook until crispy
7

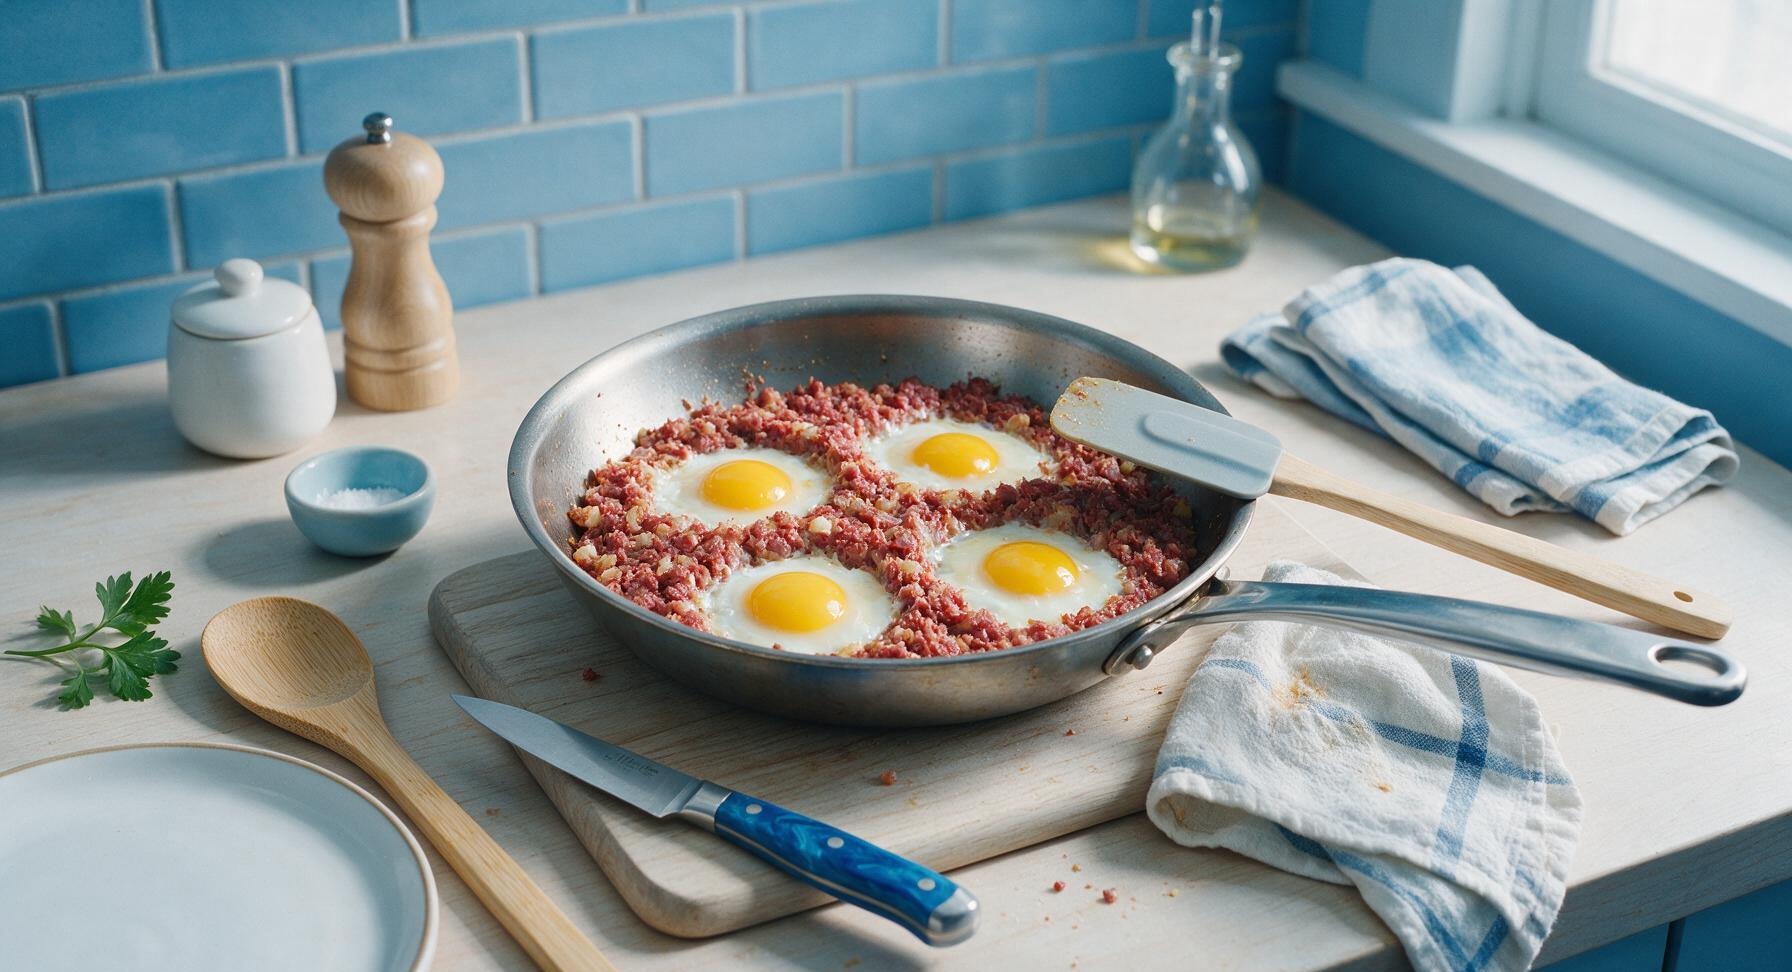
Cook the fried eggs

Use the spatula to push the crisped hash into four shallow wells in the skillet. Crack one egg directly into each well. Reduce heat to medium-low (325°F / 160°C), and cook uncovered for 3-4 minutes, until the egg whites are fully opaque and set, and the yolks remain runny and bright golden. If you prefer firmer yolks, cook 1 minute longer. Season eggs lightly with remaining kosher salt and a grind of black pepper.
Step 7
step7:Cook the fried eggs
8

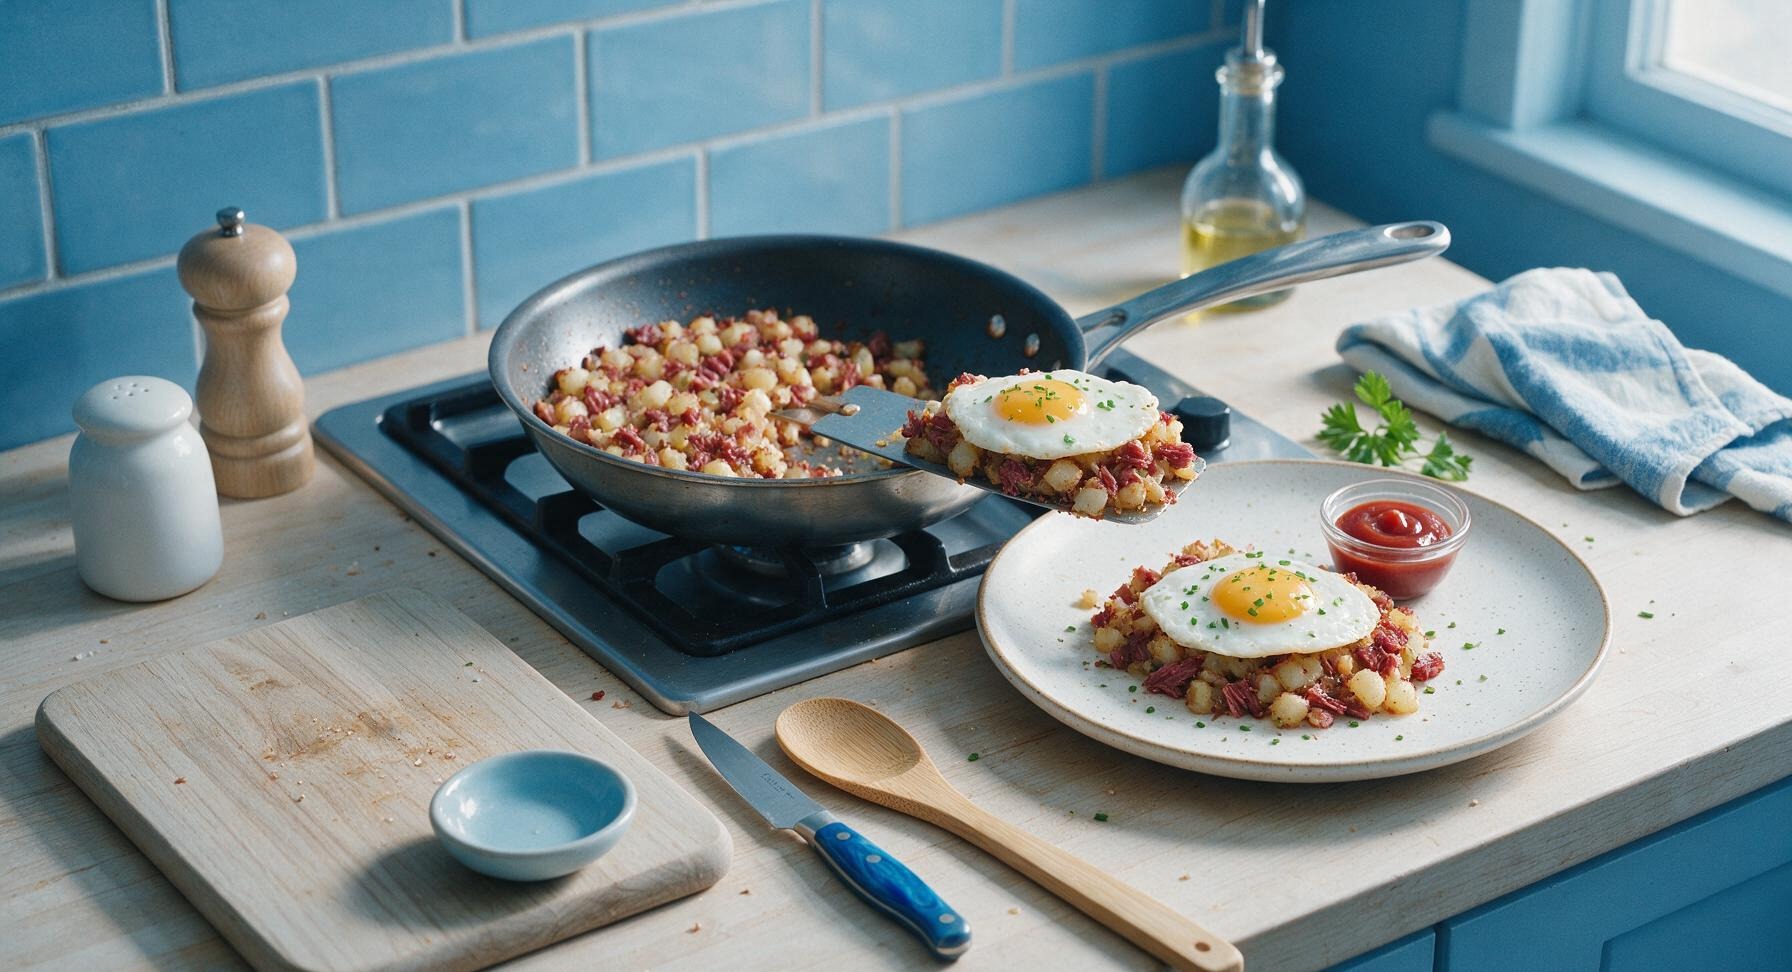
Plate and garnish

Retrieve the speckled cream white ceramic dinner plates from the lower shelf. Use the spatula to scoop one portion of hash topped with one egg onto each plate. Sprinkle the reserved chopped chives evenly across all four plates. Serve with a small clear glass ramekin of ketchup on the side, if desired.
Step 8
step8:Plate and garnish

Tips

1.Resist the urge to stir the hash constantly as it cooks: leaving it undisturbed for full 6-minute intervals allows the potato and corned beef to form a deep, crunchy crust instead of turning soft and mushy.
2.Drain excess thin brine from the canned hash before adding it to the pan: too much trapped liquid will steam the hash instead of frying it, preventing those signature crispy diner-style edges.
3.Use a heavy-bottomed carbon steel or cast iron skillet for this recipe; thin nonstick pans do not retain enough consistent heat to create an even crisp crust without burning patches of the hash.


✨ You May Also Like

Breakfast
🍜 United States

Crisp-edged, fluffy lard griddle cakes are a nostalgic homestyle staple, with rich savoriness from rendered lard, perfect topped with maple syrup or savory gravy.

⏱️ 25 minuteBreakfast ★ 4.8
Breakfast
🍜 United States

Flaky, buttery homemade buttermilk biscuits smothered in creamy, peppery pork sausage gravy: a beloved, hearty Southern American comfort food classic.

⏱️ 35 minuteBreakfast ★ 4.8
Breakfast
🍜 United States

Golden, custardy brioche stuffed with sweet cream cheese and fresh berries, pan-fried to crisp perfection. An indulgent, cozy breakfast perfect for slow weekend mornings.

⏱️ 30 minuteBreakfast ★ 4.7
Breakfast
🍜 United States

Flaky, buttery Southern-style biscuits stuffed with savory salty country ham, a portable, satisfying classic perfect for casual on-the-go meals.

⏱️ 25 minuteBreakfast ★ 4.8
Breakfast
🍜 United States

Iconic puffy baked pancake popularized in Seattle, with crisp golden edges and soft custardy center, served warm with classic sweet toppings.

⏱️ 35 minuteBreakfast ★ 4.6
Breakfast
🍜 United States

Fluffy, golden pancakes studded with juicy peak-summer mixed berries, drizzled with maple syrup for a bright, comforting, crowd-pleasing family breakfast.

⏱️ 25 minuteBreakfast ★ 4.7

corned beef hash canned:Frequently Asked Questions

1.Why isn’t my hash getting crispy, even when I cook it for a long time? ▾
The #1 culprit is stirring too often! Spread your hash in a thin, even layer across a preheated, oiled cast iron or nonstick skillet, then let it cook undisturbed for 6-7 minutes per side before flipping. Avoid piling hash high in the pan—cook in batches if your skillet is small, as trapped steam will turn it soggy instead of crisp.
2.Can I use frozen diced potatoes instead of the potatoes in the canned hash? ▾
Absolutely! If you want extra potato texture, thaw 1 cup of frozen diced hash browns first and pat them completely dry with paper towels to remove excess ice crystals before tossing them with the canned corned beef hash. Extra moisture from unthawed, wet potatoes will kill that crispy crunch you’re going for, so don’t skip the drying step.
3.Do I need to drain the canned corned beef hash before cooking? ▾
You don’t need to fully drain it, but tip the open can over your sink for 10-15 seconds to pour off any excess loose, gelatinous can brine. The small amount of rendered fat and moisture in the can adds great flavor, but too much free liquid will steam the hash instead of letting it develop those signature golden, crunchy edges.
4.What’s the best pan to use for extra crispy hash? ▾
A well-seasoned cast iron skillet is my top pick—it retains heat incredibly evenly and creates that perfect, shatteringly crisp crust without sticking. If you don’t have cast iron, a heavy-bottomed nonstick skillet works great too; just avoid thin, lightweight pans that develop hot spots, which burn parts of the hash before it crisps.
5.How do I get perfect runny fried eggs to pair with the hash? ▾
Cook your eggs right in the same skillet after you move the finished hash to a plate to rest. Melt a tiny pat of butter over medium-low heat, crack eggs in, and cook 2-3 minutes until whites are fully set but yolks are still jiggly. Spoon a little hot butter over the whites as they cook to set them faster without overcooking the yolk.
6.Can I add extra veggies to this hash without making it soggy? ▾
Definitely! Diced bell pepper, finely chopped jalapeño, or shredded cabbage all work great, but sauté them first for 3-4 minutes and pat dry before adding the canned hash. Veggies release a lot of water as they cook, so pre-cooking them separately ensures they don’t leach moisture and turn your crispy texture mushy.
7.How long do leftovers keep, and how do I reheat hash to stay crispy? ▾
Leftovers will keep in an airtight container in the fridge for 3-4 days. Skip the microwave—it turns hash rubbery and soggy. Reheat it in a dry skillet over medium heat, spread in a thin layer, and cook 3-4 minutes per side until it crisps back up, just like it was fresh off the stove.
8.Why does the recipe use both butter and olive oil for cooking? ▾
Great question! Olive oil has a higher smoke point, so it prevents the butter from burning as the pan heats up to the high temperature you need for crispy hash. The butter adds that rich, nutty, savory depth of flavor plain olive oil can’t match, so the combination gives you no burnt bits, great flavor, and perfect crunch.
9.Can I scale this recipe up to make it for a large crowd? ▾
You absolutely can! For groups larger than 3-4 people, cook the hash in batches on two sheet pans in a 425°F oven instead of the stovetop. Spread it in a thin, even layer across oiled pans, bake 15 minutes, flip, then bake 10 more minutes until crispy. This method cuts down on stovetop work and makes evenly crisp hash for a group.
10.How can I make this hash less salty, since canned corned beef is high in sodium? ▾
Canned corned beef hash can be high in sodium, so if you’re watching salt intake, rinse the canned hash very quickly under cool water and pat it completely dry with paper towels before cooking. You can also toss in extra unsalted diced cooked potato or a squeeze of fresh lemon juice at the end to balance salty flavor without ruining texture.
11.Do I have to add the yellow onion, or can I skip it? ▾
You can absolutely skip the onion if you don’t have it on hand or don’t enjoy the flavor! If you skip it, add a pinch of garlic powder and a tiny sprinkle of smoked paprika to the hash as it cooks to replace that savoriness the onion adds. If you do use onion, dice it fine so it softens fully before the hash finishes crisping.
12.Why does my hash stick to the pan when I try to flip it? ▾
Sticking almost always happens for one of two reasons: your pan wasn’t hot enough when you added the hash, or you tried to flip it too early. Let the first side cook undisturbed for the full 6-7 minutes—once it develops a deep golden crust, it will release easily from the pan without scraping, and you’ll get those perfect crispy chunks.
13.Can I freeze leftover cooked corned beef hash? ▾
You can freeze fully cooled cooked hash for up to 3 months in a sealed, freezer-safe bag. Let it thaw fully in the fridge overnight before reheating, and be sure to press out as much excess moisture as you can with paper towels before reheating in a hot skillet to bring back the crisp texture, as freezing makes it release extra water.
14.What are easy topping ideas to make this hash feel more special? ▾
My go-to quick toppings are a sprinkle of sliced green onion, a dash of hot sauce, a pinch of flaky sea salt, or a dollop of sour cream. For a heartier twist, add a few slices of avocado, a spoonful of chunky salsa, or a sprinkle of shredded sharp cheddar the last minute of cooking so it melts lightly over the crispy hash.
15.Can I make this recipe egg-free or vegan? ▾
Absolutely! Skip the eggs for a simple egg-free meal, or swap in vegan butter and a plant-based canned corned beef alternative for a fully vegan version. For that same rich, runny element that pairs so well with crispy hash, top servings with a dollop of creamy tahini or a drizzle of spicy maple syrup instead of runny egg yolk.
16.What heat setting gives me crispy hash without burning it? ▾
Medium-high heat is the sweet spot! If your burner is too low, the hash will steam and turn mushy before it can crisp. If it’s cranked all the way to high, the outside will burn to a crisp before the onion softens and the potato chunks warm all the way through. Adjust as you go—if you smell burning, turn the heat down just a touch.

Comments (8)

2 days ago

OMG this is a total weeknight game changer! I’ve always hated how mushy canned corned beef hash gets when I make it, but following this trick to get it crispy? *Chef’s kiss* My three boys devoured two whole pans of it last night for dinner, and my oldest asked if we can have it for breakfast every Saturday now. So easy to throw together after soccer practice too, 15 minutes is no joke!

yesterday

Wait same! My kid has practice three nights a week and I’ve been scrambling for quick meals, adding this to my list for tomorrow! What did you serve with it?

yesterday

So glad your family loved it! This pairs perfectly with a side of runny fried eggs or some buttered toast for a super quick, filling meal. If you want to add a little veggie boost, toss in some diced bell peppers while you cook the hash too!

1 week ago

Made this for my camping trip meal prep last weekend and it slapped. Crispy on the edges, salty, perfect with a couple of fried eggs over the camp stove. Way better than the sad soggy hash I made on our last trip. Only note: I added a little extra paprika because I like a kick, would recommend. Super easy, minimal cleanup which is 10/10 for camping.

5 days ago

Love that you made this work for camping! The paprika addition sounds chef’s kiss, I’ll have to note that as a fun variation in the recipe next time I update it. Minimal cleanup is half the battle on trips, right?

yesterday

Tried this last night for a quick late dinner after work and wow, I haven’t had corned beef hash this good since my grandma used to make it! The crispy edges make all the difference, I never thought to press it down in the pan and leave it alone for a few minutes instead of stirring it nonstop. So simple but such a huge difference. Will be making this on repeat.

3 days ago

Game changer for my Sunday meal prep! I made a big batch of this Sunday afternoon, portioned it out with eggs, and it reheated perfectly all week for breakfast. I was worried it would get soggy in the fridge, but the crispy bits stayed nice and crunchy even after microwaving? Wild. 15 minutes to make a whole week of breakfasts? I’m never buying frozen hash again.

2 days ago

Wait how long did it keep in the fridge for? I’m trying to prep for next week and want to make sure it lasts! Did you add any extra veggies to yours?

2 days ago

It kept great for 5 days! I tossed in some diced onion and bell pepper when I cooked it, added a little extra flavor without any extra work. Just make sure to let it cool completely before portioning it into containers so it doesn’t get steamy and soggy!

2 hours ago

SO good and so cheap! I’m a broke college student with basically no cooking skills and I pulled this off perfectly first try. Canned corned beef is like $2, a potato was leftover from my roommate’s grocery run, total meal cost was barely anything and it tasted way better than the dining hall hash. My roommate stole half of it and asked for the recipe lmao

30 minutes ago

Dude same! I made this last week when my meal plan ran out, added a little hot sauce on top and it was insane. Way better than eating instant noodles for the third night in a row

5 days ago

I made this for our neighborhood potluck brunch last weekend and people were asking me for the recipe left and right! Everyone couldn’t believe it only took 15 minutes and used canned corned beef. I did add a handful of shredded cheddar on top at the end because who doesn’t love cheese, and it was chef’s kiss. Only reason it’s not 5 stars is I wish I’d made a double batch, it was gone in 10 minutes flat! Will absolutely be making this for every brunch from now on.

3 days ago

That cheese addition sounds incredible! So happy it was a hit at your potluck, I’ll definitely be trying that cheddar trick next time I make it for my own brunch. Sorry the batch ran out so fast, that’s always the sign of a good recipe though!

2 days ago

Wait I made this for my book club brunch too and the same thing happened! Everyone raved about it, I added a little hot honey drizzle on top and it was *chef’s kiss*

2 weeks ago

I’ve been making corned beef hash for years and I can’t believe how much better it gets when you actually let it crisp up instead of stirring it the whole time. I used to wonder why diner hash was so much better than mine, turns out that’s the trick! Super easy, no fancy ingredients, tastes just like my favorite diner’s version. Great recipe.

1 week ago

So glad the crisping trick worked for you! That’s the secret to getting that perfect diner-style texture, no fancy skills required. A little splash of hot sauce on top takes it to the next level if you’re a fan of heat!

30 minutes ago

Made this for breakfast for dinner last night with my two kids and they both ate every bite without complaining, which is basically a miracle in my house. I added a little diced onion and a pinch of garlic powder like I saw someone mention in the comments and it was perfect. 15 minutes from fridge to plate, which is exactly what I need on busy school nights. Will be adding this to our regular rotation.



