
Cornmeal Mush
intro
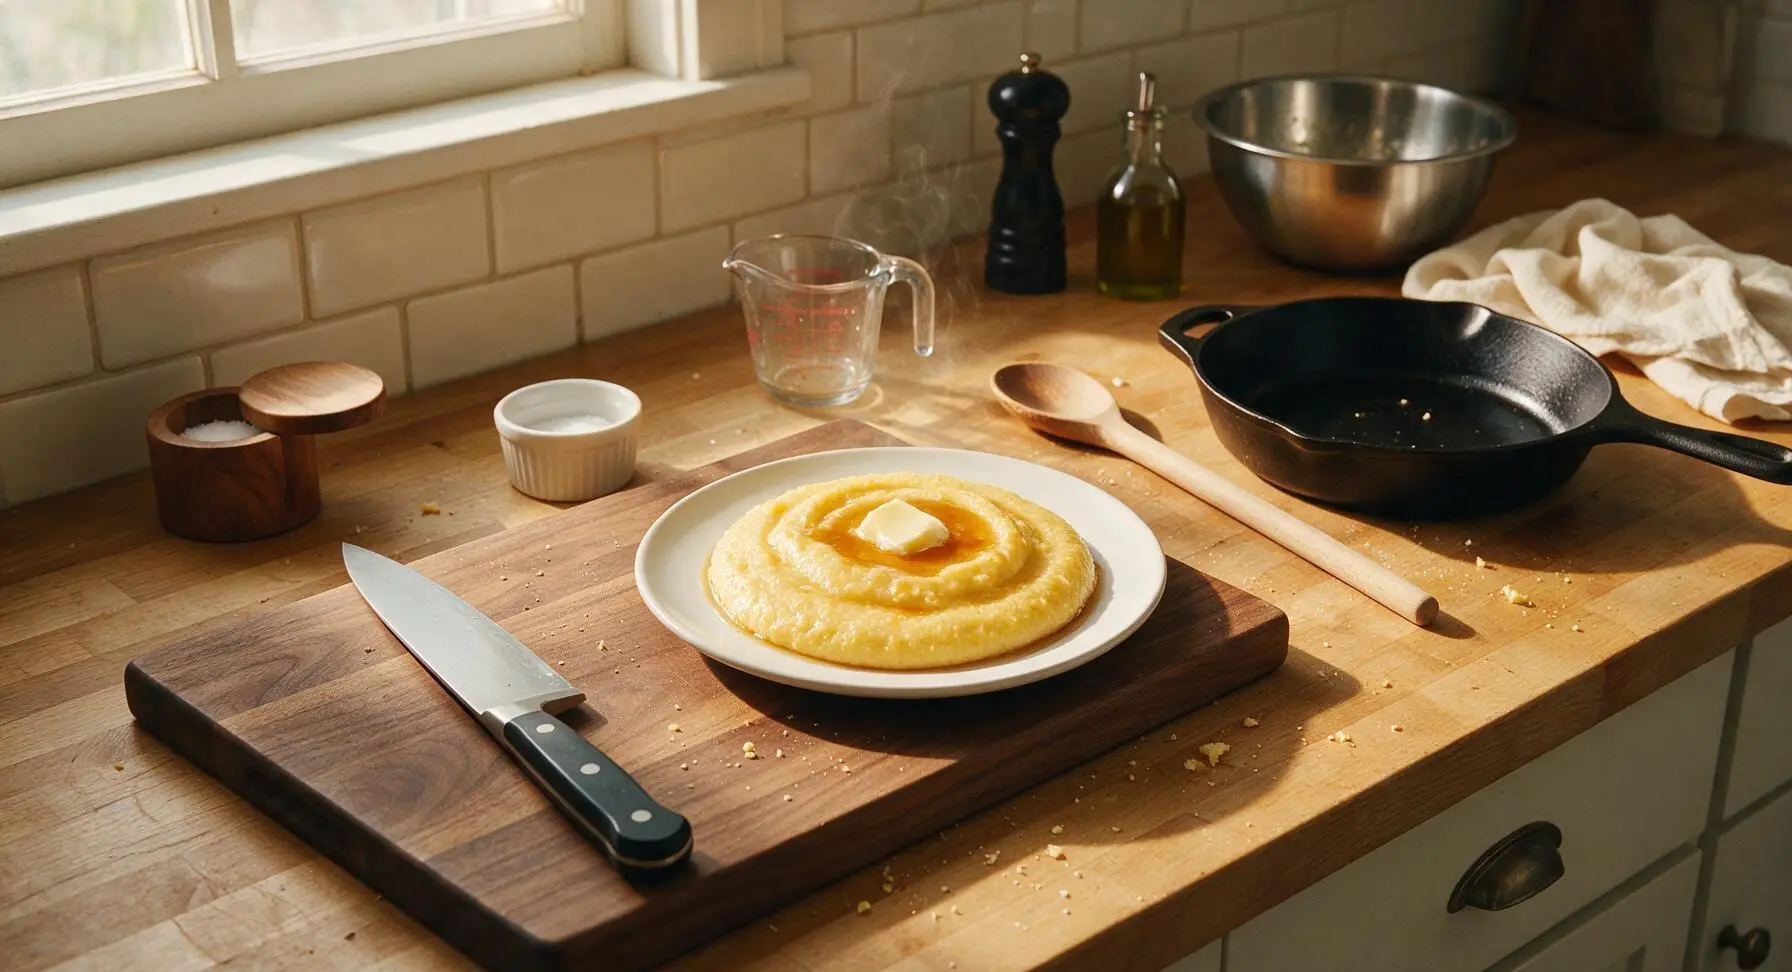
Silky, creamy golden cornmeal mush is a timeless, budget-friendly Appalachian American comfort food, warm and nourishing with sweet corn flavor, perfect topped with butter and maple syrup for cold winter mornings.
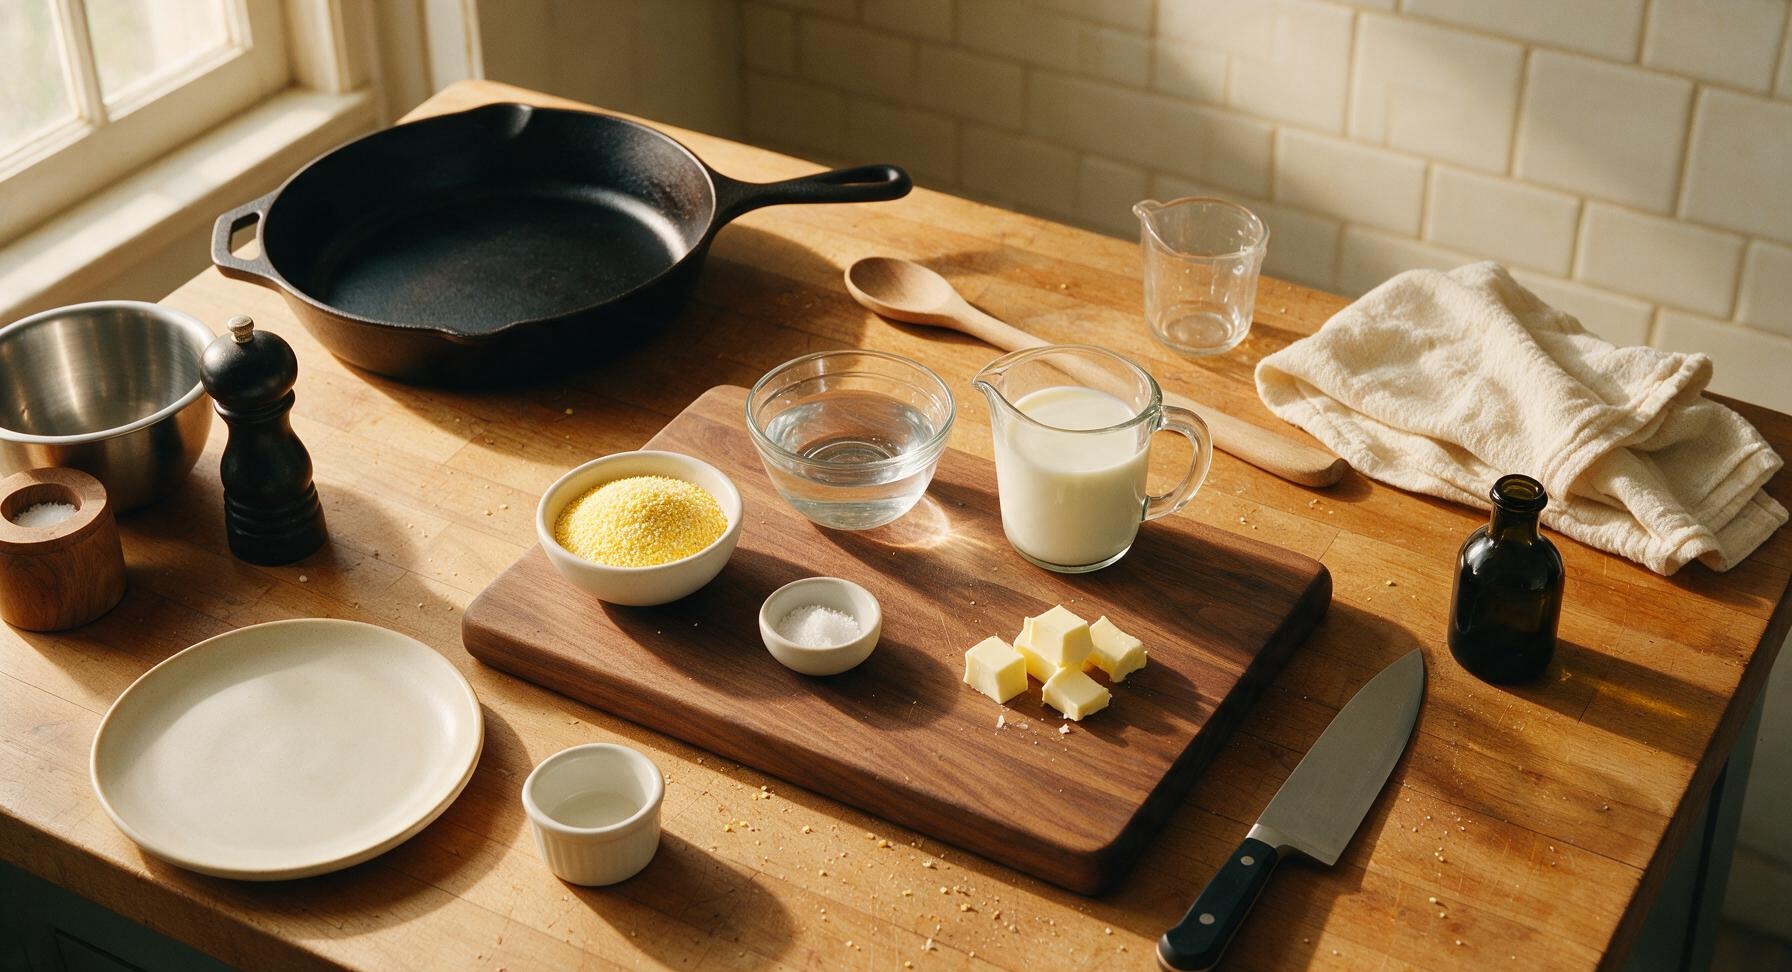
Ingredients
Steps
Heat Liquid in Saucepan
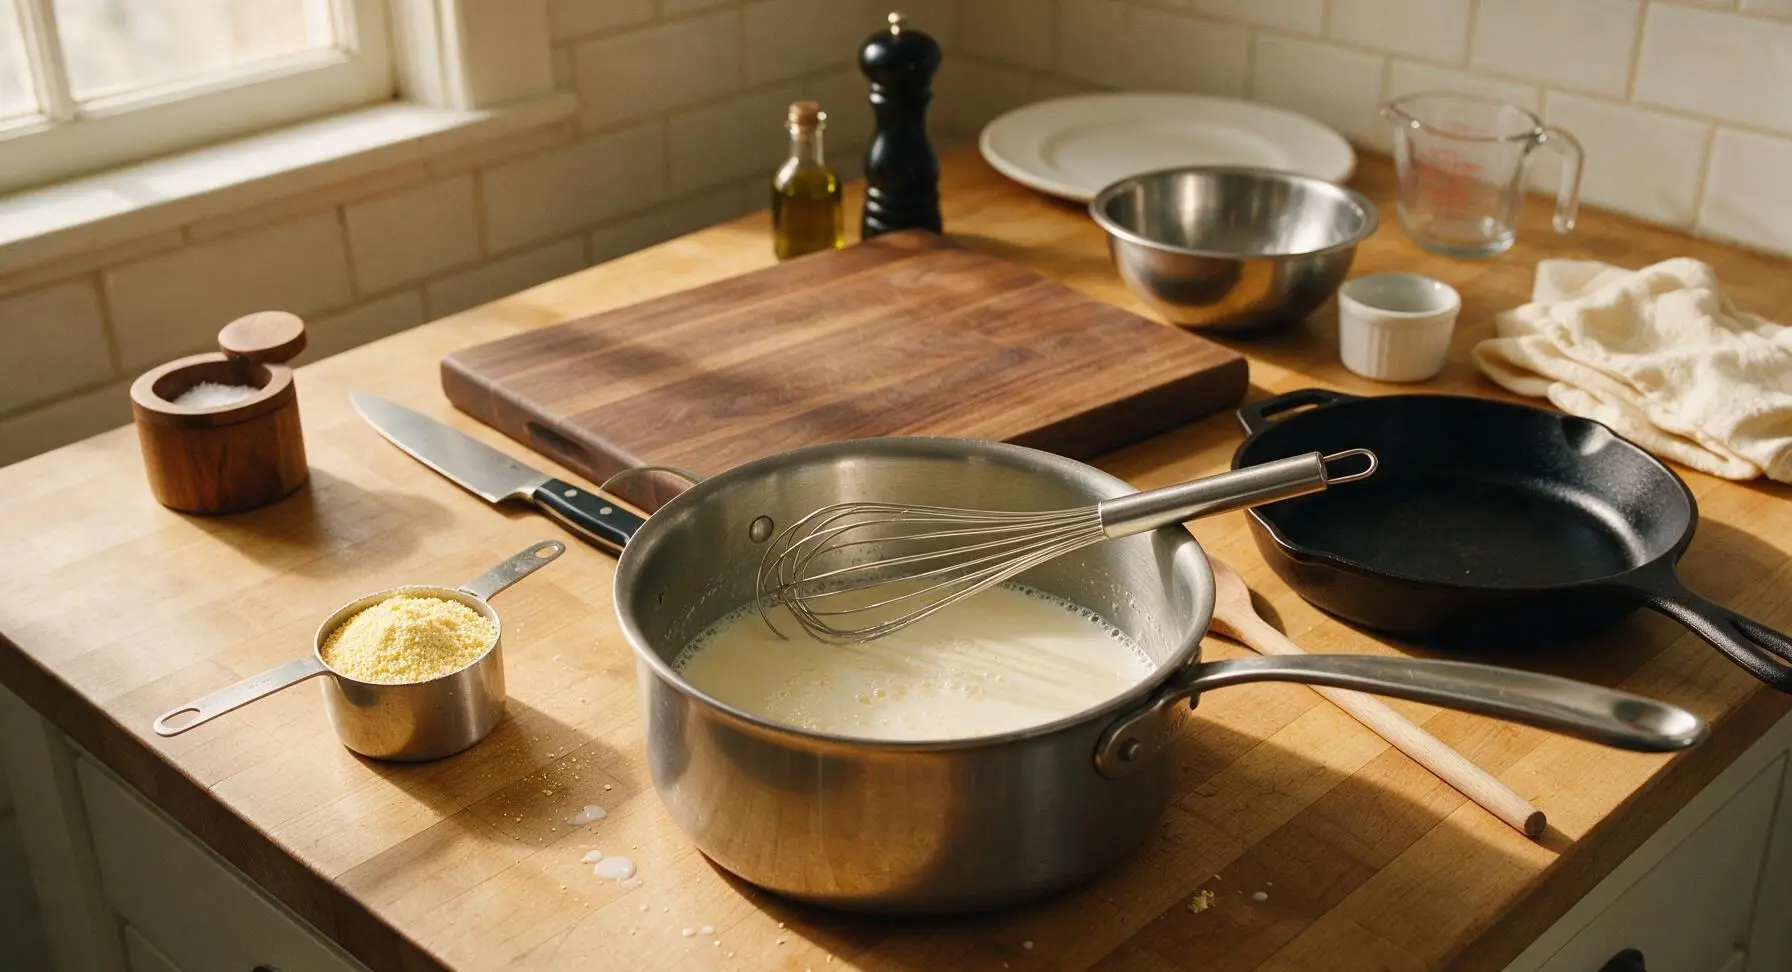
Place the 3-quart heavy-bottomed stainless steel saucepan on the stovetop over medium heat. Pour the measured 2 cups water and 2 cups whole milk from the 1L liquid measuring cup into the pan. Add 1/2 tsp fine sea salt and 1 tbsp of the unsalted butter, stirring once gently with the wire whisk to combine. Heat until the liquid reaches a gentle, rolling simmer (around 190°F / 88°C), with small bubbles breaking steadily at the surface – do not let it come to a hard, boiling froth, as this can cause milk to scald.
Whisk in Cornmeal Slowly
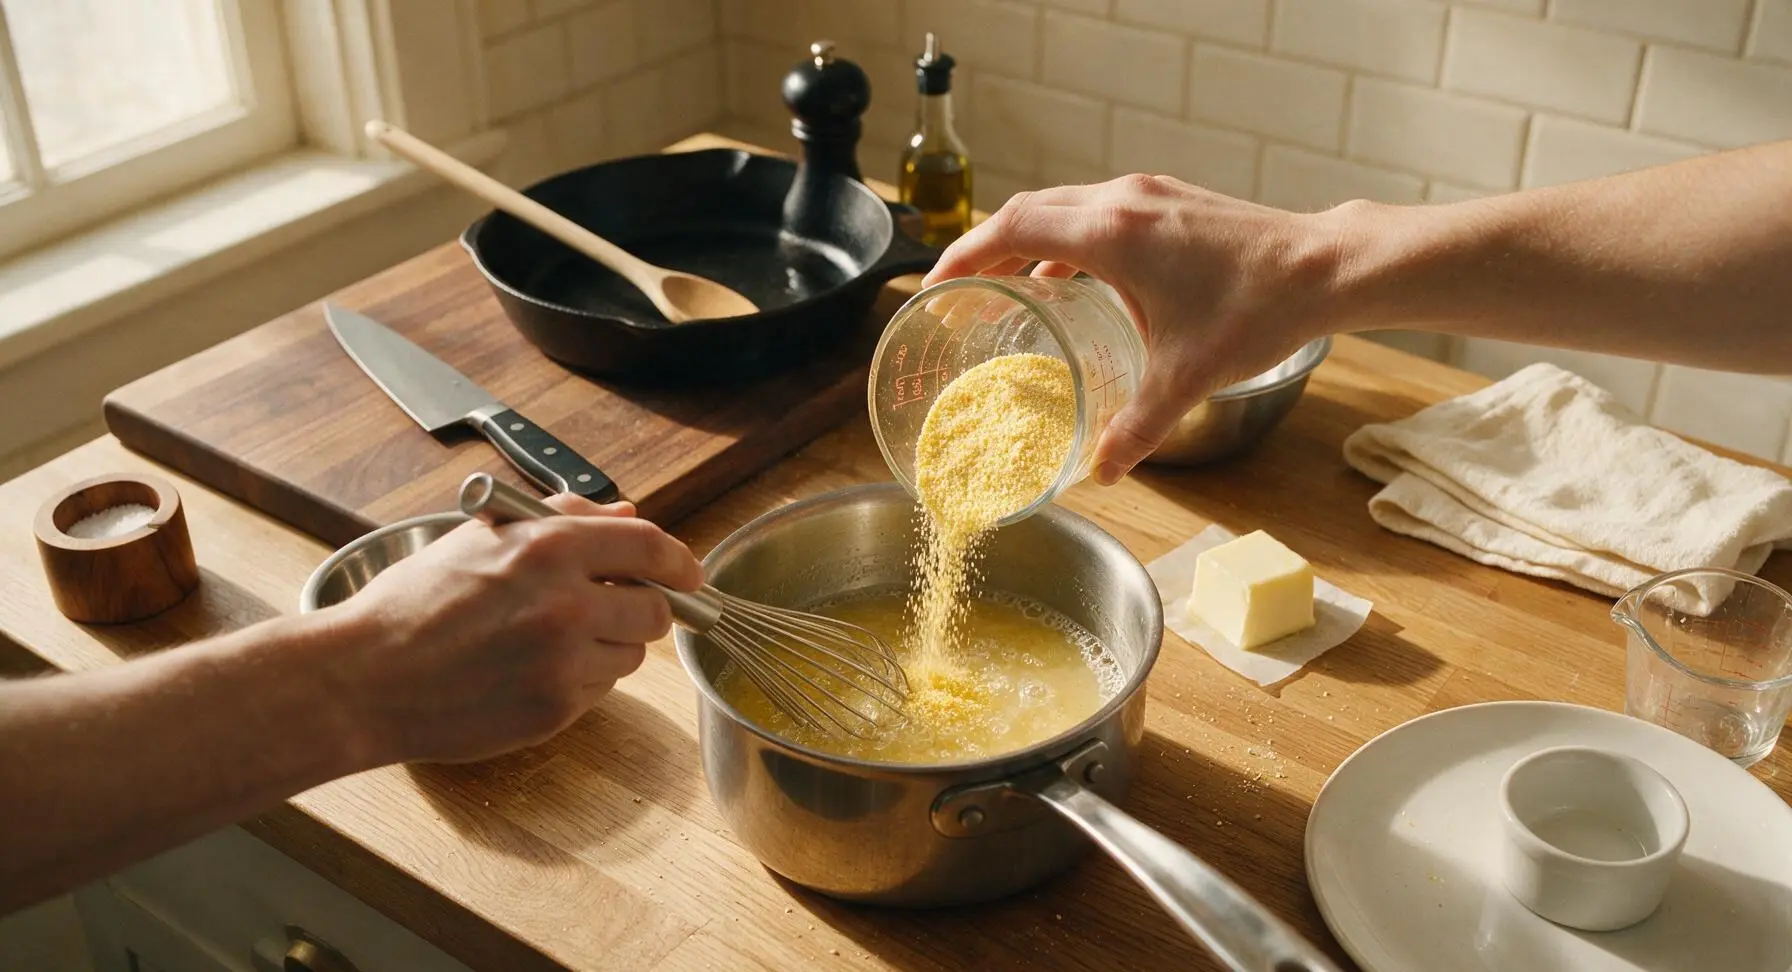
Once the liquid is at a steady gentle simmer, reduce heat to medium-low to maintain a low simmer. Hold the dry measuring cup of cornmeal 6 inches above the pan, and pour the cornmeal in an extremely thin, slow steady stream, whisking constantly and rapidly in circular motions with the stainless steel wire whisk as you pour. This slow pour and constant whisking is critical to prevent dry lumps from forming in the mush. Continue whisking for 1 full minute after all cornmeal is added, until no dry clumps are visible on the surface.
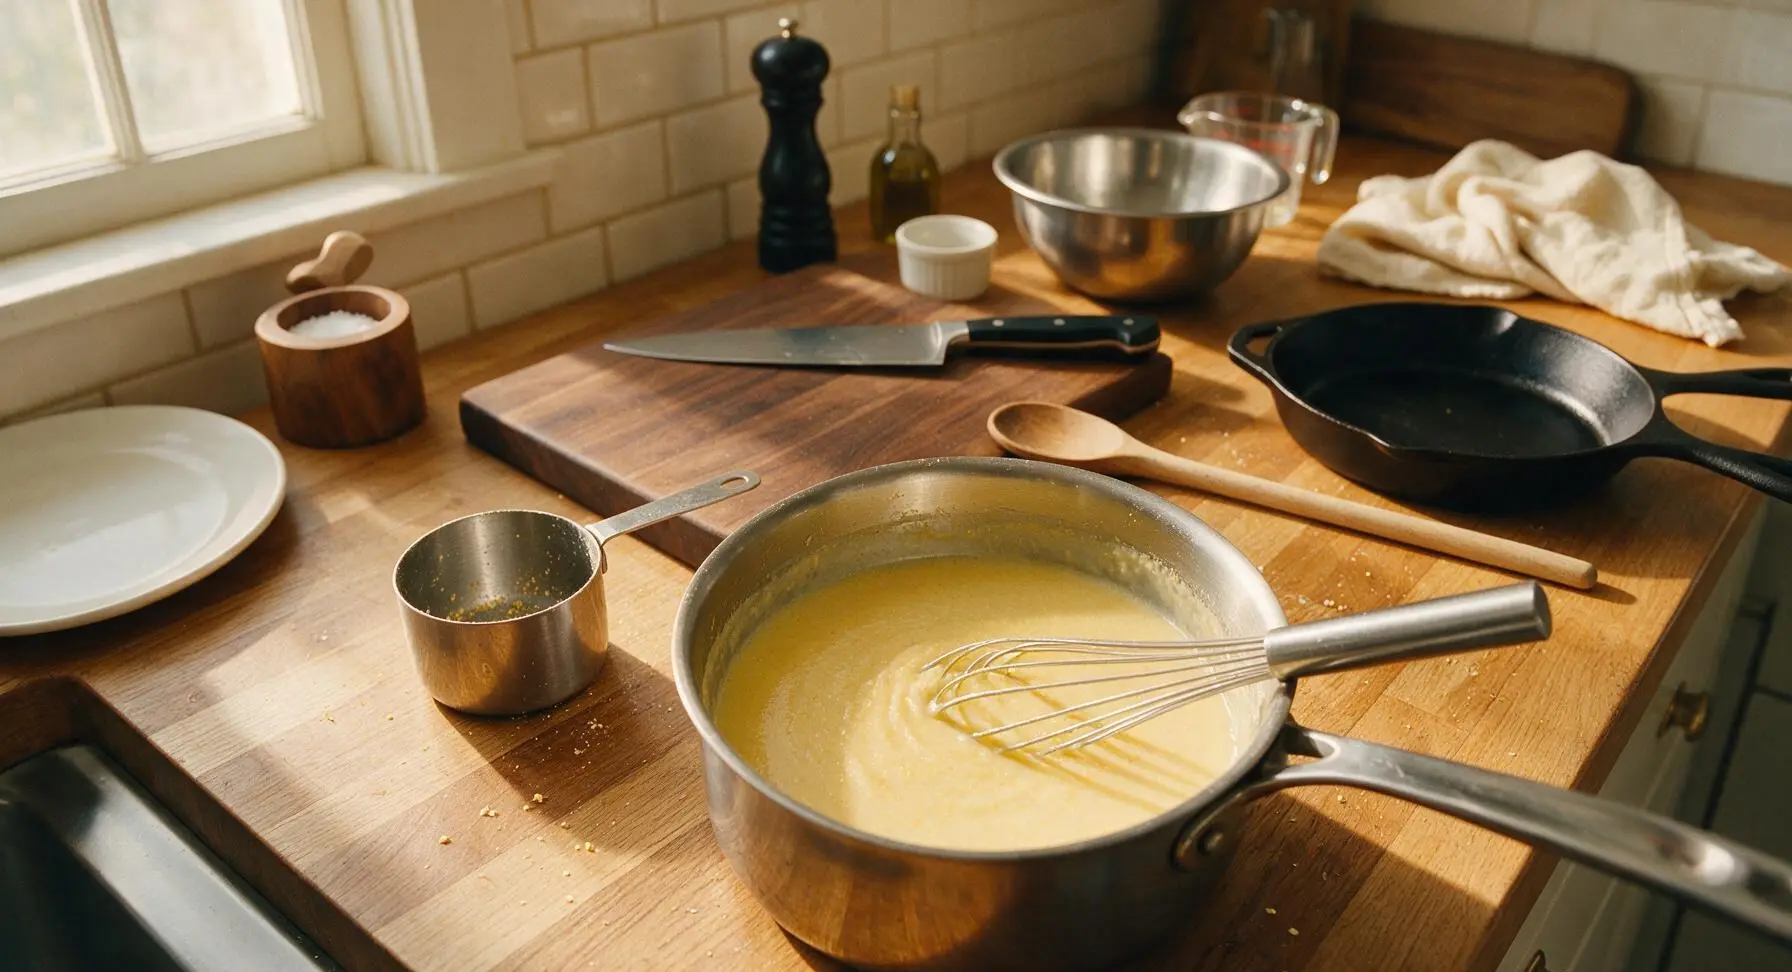
Simmer to Thicken Mush
Once the cornmeal slurry is completely smooth, swap the wire whisk for the long beech wood stirring spoon. Reduce heat to the lowest setting, and place the saucepan lid slightly ajar (leaving a 1cm gap) to allow steam to escape and prevent messy boil-overs. Let the mush simmer for 10 minutes, stirring thoroughly with the wooden spoon every 2 minutes, making sure to scrape the bottom and corners of the pan to prevent the cornmeal from sticking and burning. The mush is ready when it thickens to a smooth, porridge-like consistency that coats the back of the wooden spoon, and a line drawn with your finger across the spoon-coated back holds its shape without running.
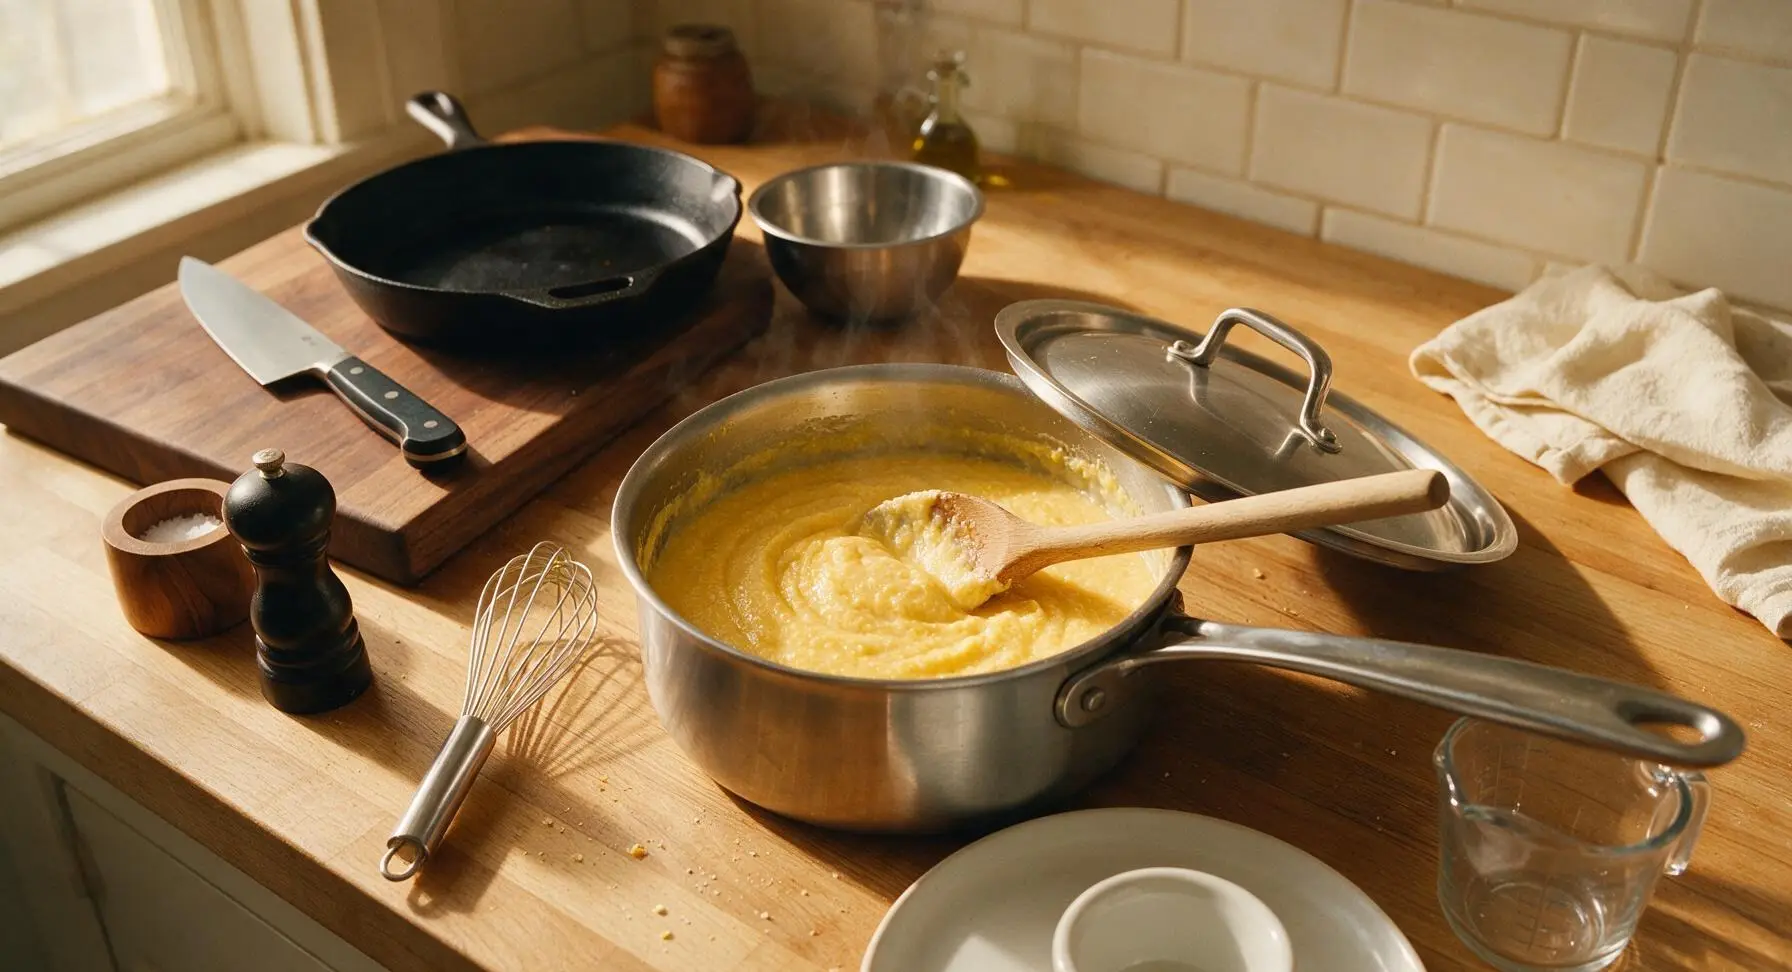
Finish with Creamy Butter
After 10 minutes of simmering, turn off the stovetop heat. Remove the lid from the pan, and add the remaining 1 tbsp of unsalted butter to the hot mush. Stir slowly and gently with the wooden spoon for 30 seconds, until the butter is fully melted and incorporated, giving the mush a glossy, rich golden sheen. Taste and adjust salt if needed, adding a tiny pinch more if the flavor tastes flat.
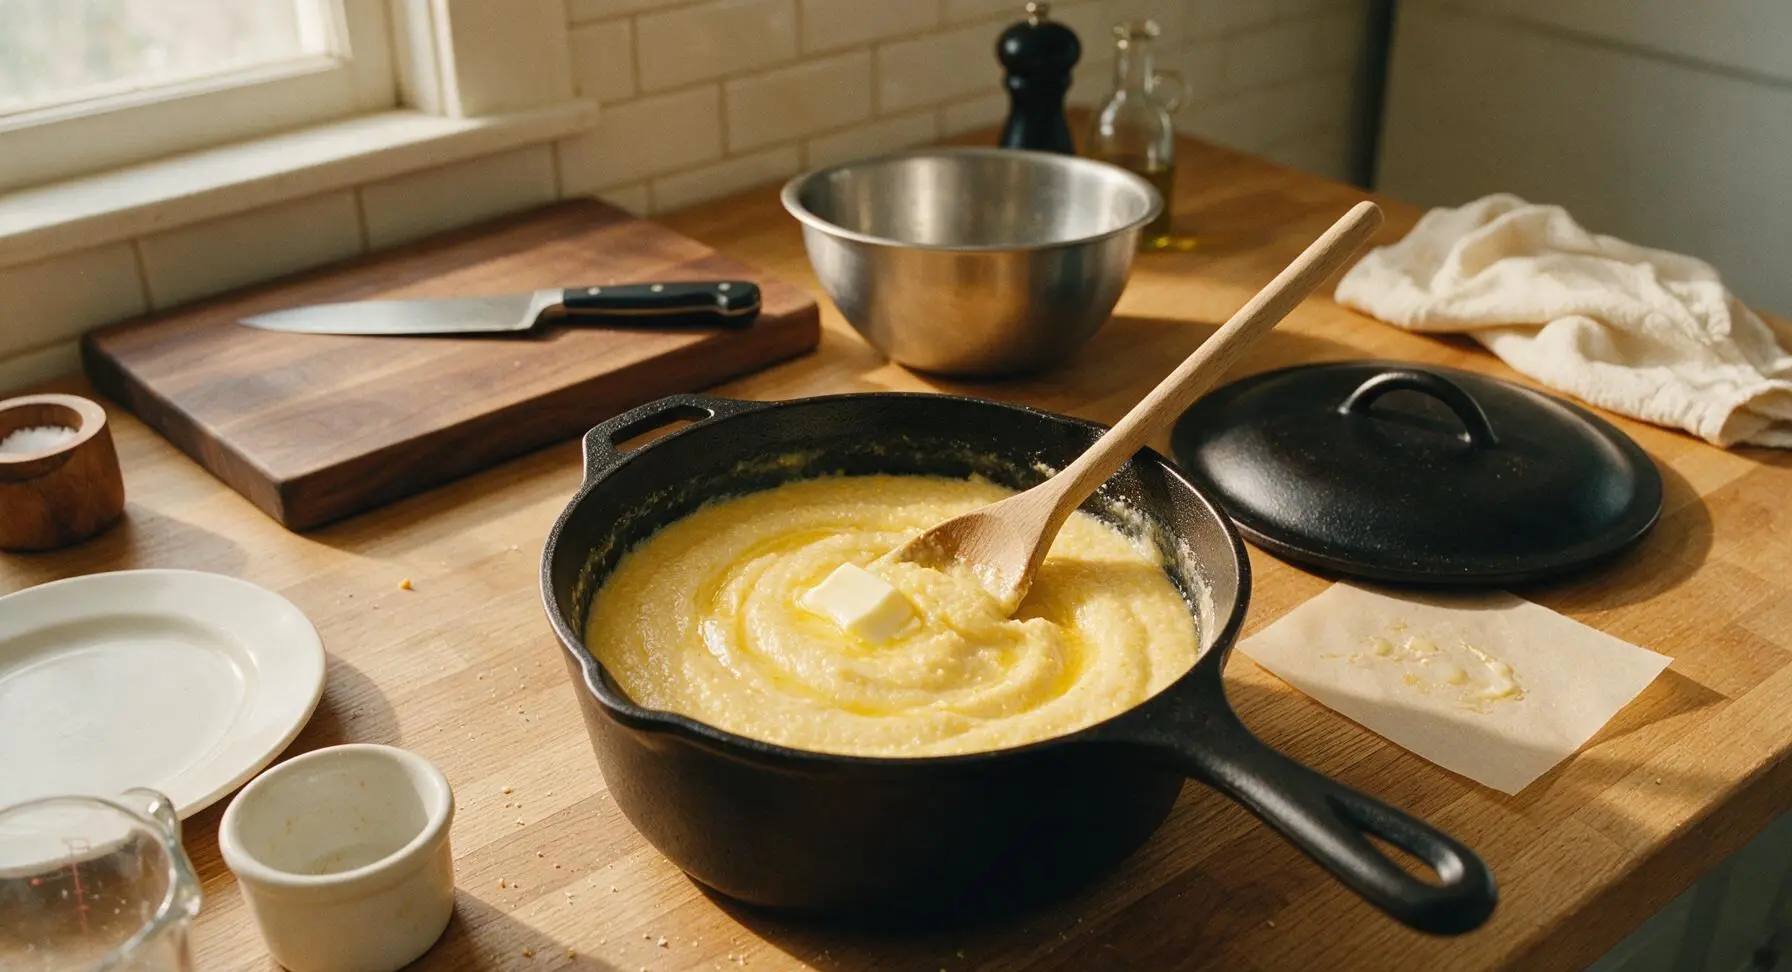
Rest Mush for Creaminess
Remove the saucepan from the stovetop, and let the mush rest, uncovered, for 2 full minutes. This short rest allows the cornmeal grains to fully absorb the liquid and soften, creating a silky, non-gritty texture, rather than a thin or grainy porridge. Do not stir during this rest period.
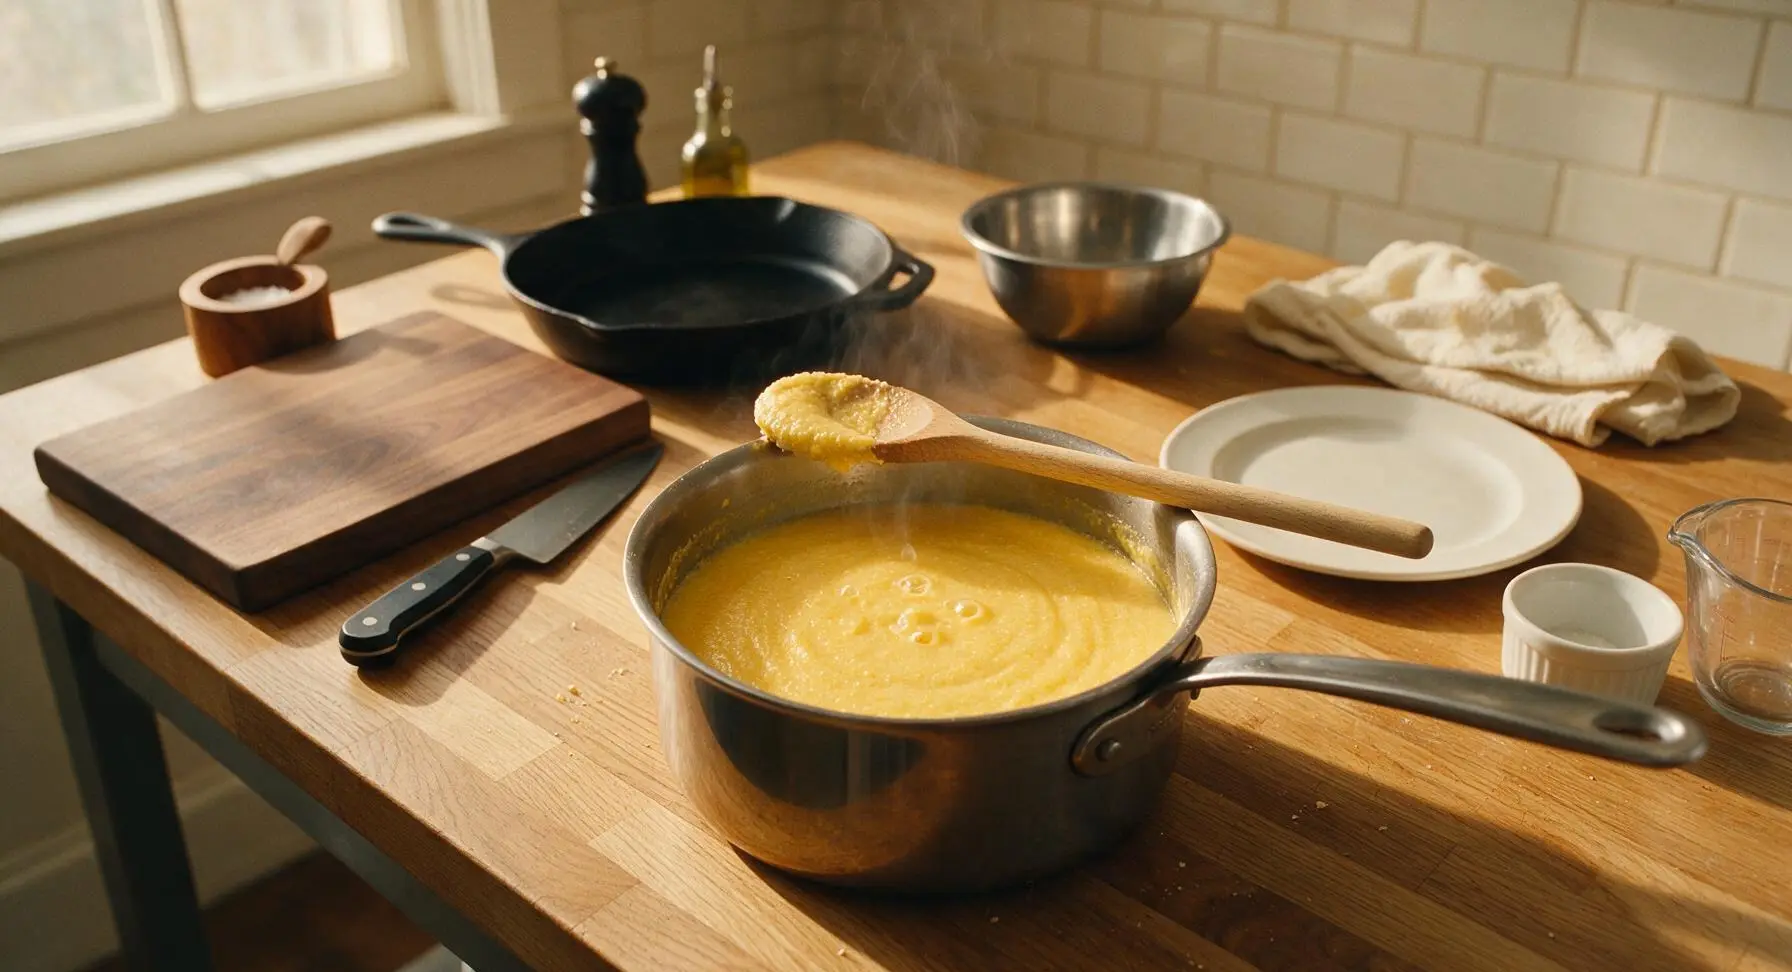
Portion into Serving Bowl
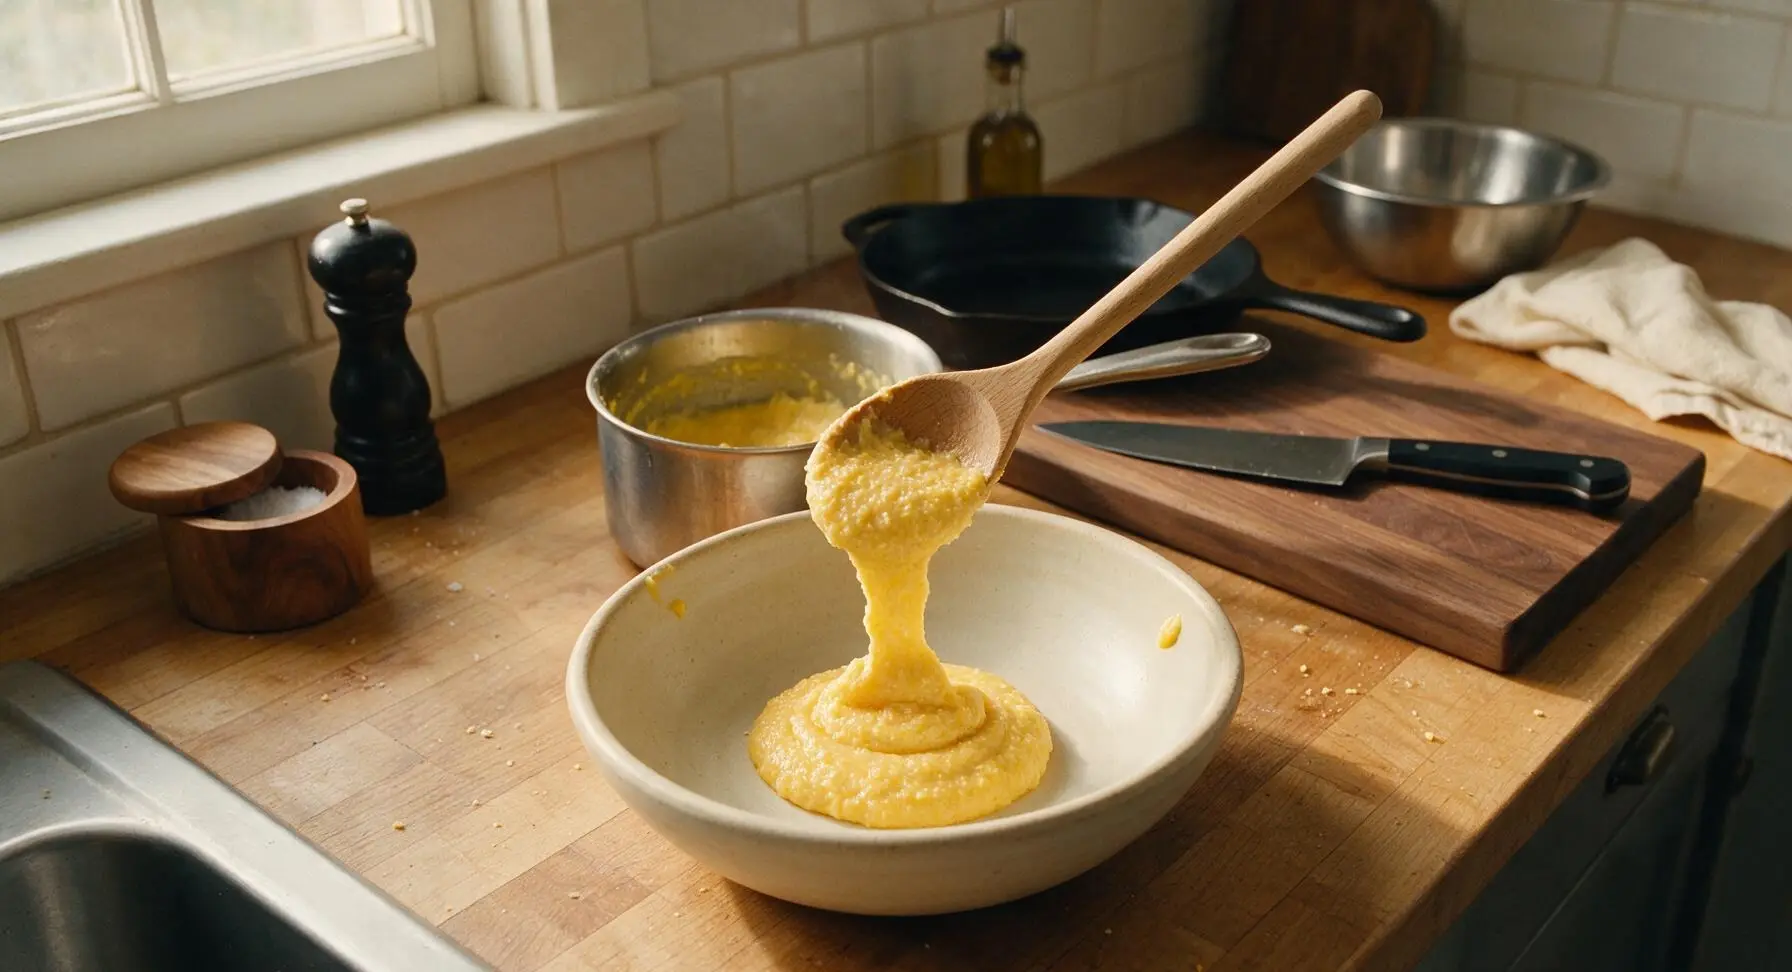
After the 2-minute rest, give the mush one final gentle stir with the wooden spoon to loosen it slightly. Ladle a generous 1-cup portion of the hot mush into the matte cream hand-thrown ceramic serving bowl, mounding it softly in the center of the bowl. Use the back of the spoon to create a small 2cm wide well in the top center of the mound, to hold melting butter and toppings.
Add Finishing Toppings
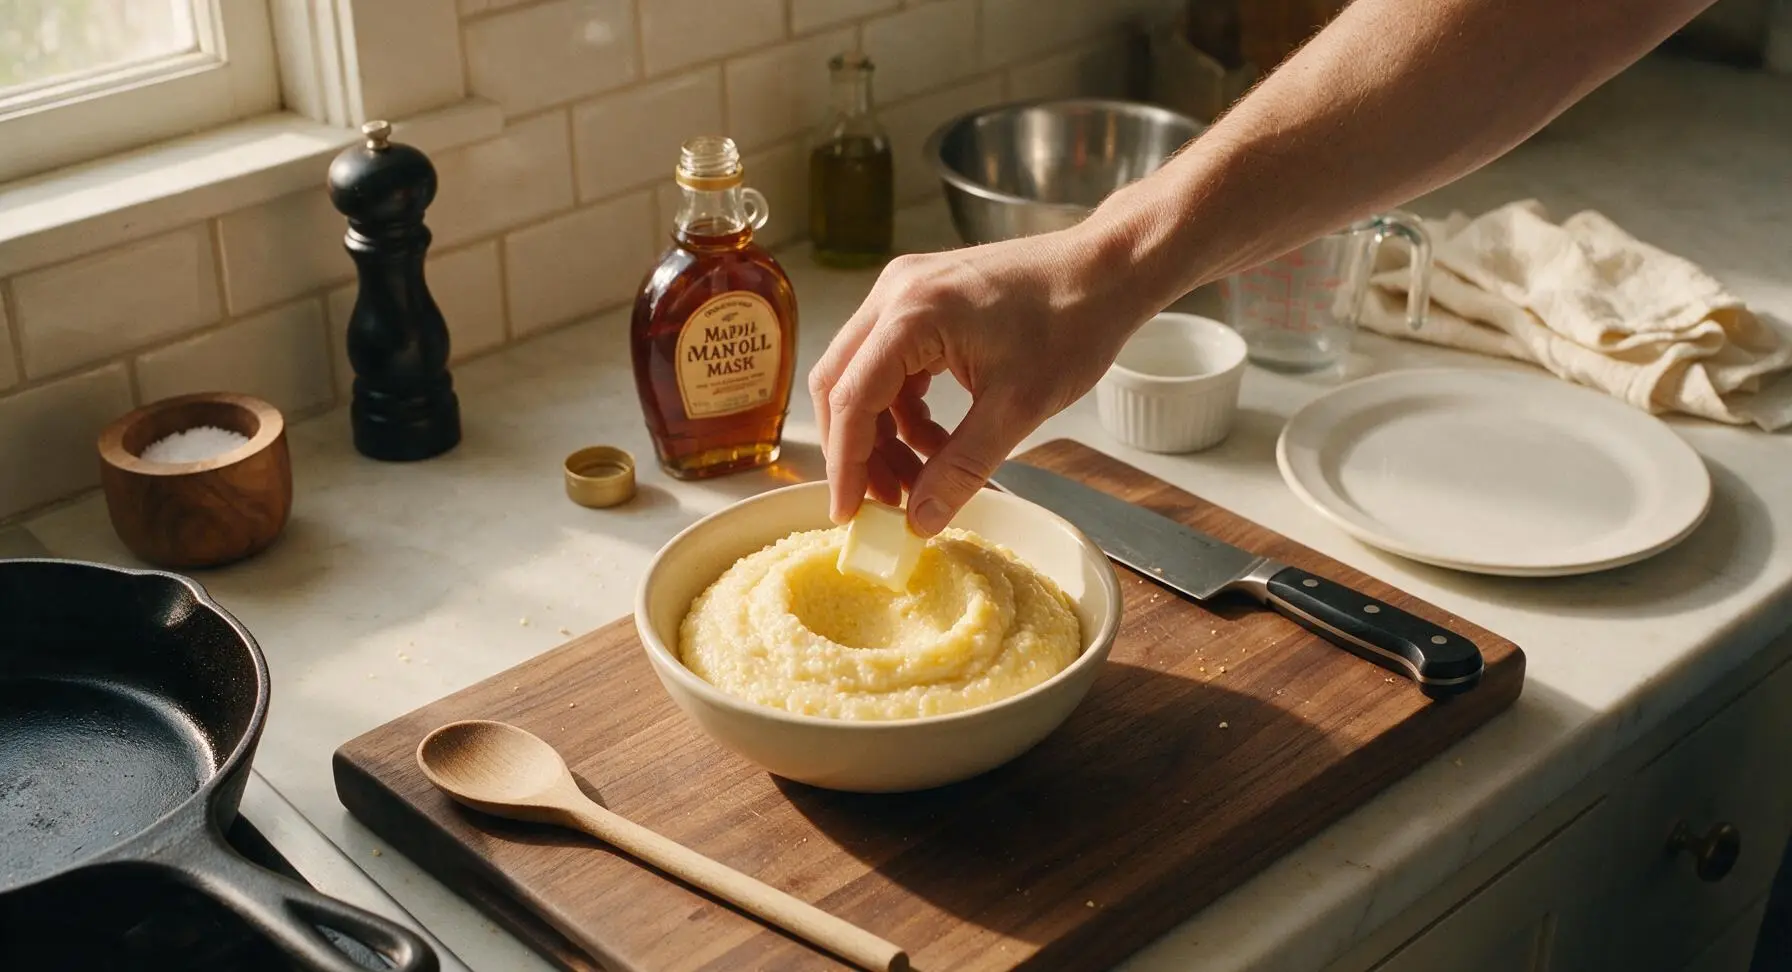
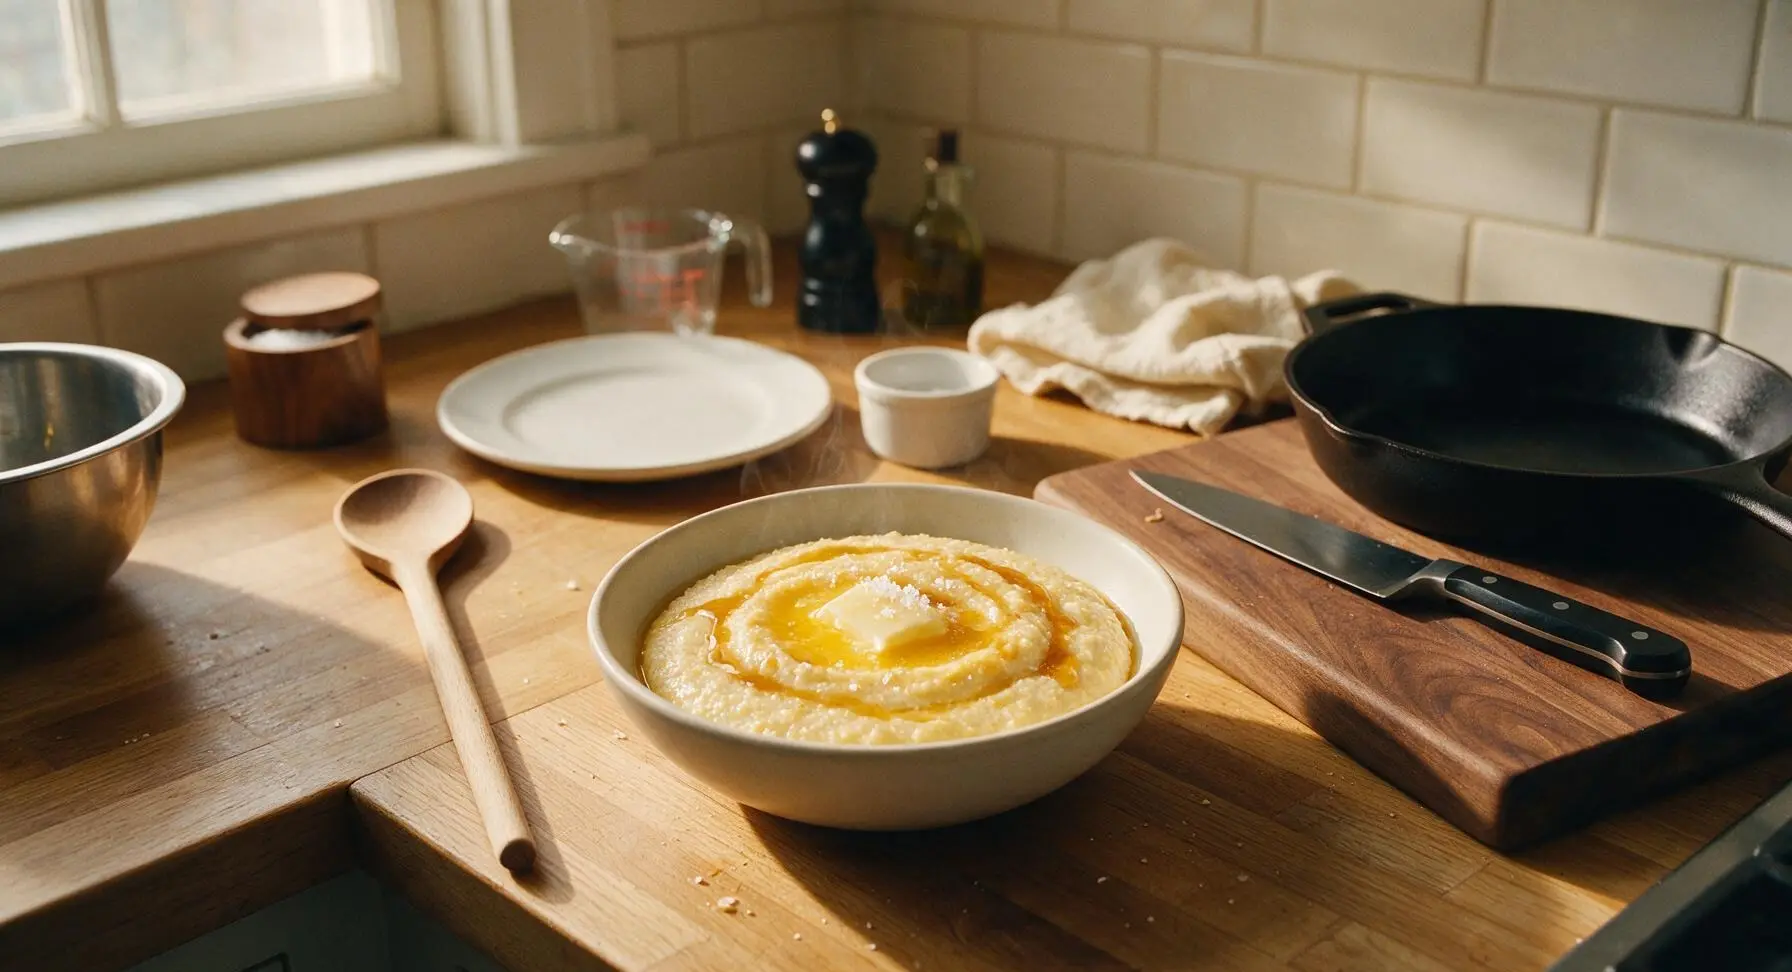
Place a 1-tsp pat of unsalted butter in the well at the top of the mounded mush, letting the residual heat melt it into a golden pool. Drizzle 1 tsp of pure maple syrup across the surface, letting thin trails run down the sides of the mush mound. Add a light pinch of flaky sea salt for a sweet-salty contrast, then serve immediately while hot, before the mush thickens too much as it cools.
Tips
2.Keep heat at the lowest setting during the 10-minute simmer, and stir thoroughly every 2 minutes while scraping the pan bottom and corners: cornmeal settles quickly and burns easily on hot pan surfaces, creating a bitter, off-flavor in the entire batch.
3.For classic fried mush (a beloved leftover preparation), pour extra cooled mush into a greased 9x5cm loaf pan, chill for 4 hours until fully firm, slice into 1cm thick slabs, and pan-fry in butter until crispy on both sides; serve with maple syrup for breakfast or savory gravy for dinner.






OMG this creamy cornmeal mush is SO good! I made it for breakfast this morning with a drizzle of maple syrup and a pat of salted butter, and my kids loved it so much they asked for seconds before they even finished their first bowl. That 15 minute cook time is perfect for busy school mornings too, no slaving over the stove forever! Total game changer for our weekday breakfast rotation, I can’t believe I never thought to make it from scratch instead of buying the pre-made stuff.
Grew up eating my grandma’s cornmeal mush down in East Texas and I was skeptical a random online recipe would hit the same, but this is spot on! Perfectly creamy, no gritty lumps as long as you whisk constantly like the directions say, and it’s super easy even for someone who burns toast half the time (guilty). I fried up leftover slices last night with a little crumbled breakfast sausage on top for dinner and it tasted exactly like childhood. 10/10 will be making this on repeat.
Great cheap, filling staple for weekly meal prep! I make a big pan of this every Sunday, cut it into squares, and pair it with roasted veggies and fried eggs for quick work-from-home lunches all week. It holds up so much better in the fridge than I expected—no weird mushy texture after reheating, and the difficulty level is truly easy even for total beginners. My only little tweak is adding a tiny pinch of smoked paprika and garlic powder to mine for a little extra savory kick, highly recommend trying that if you love bold flavor!