
Cornmeal Mush with Fried Egg

title 1
Cornmeal Mush with Fried Egg
⏱️ cook time 15 minutes
🍽️ servings 2
⚡ Difficulty easy

intro

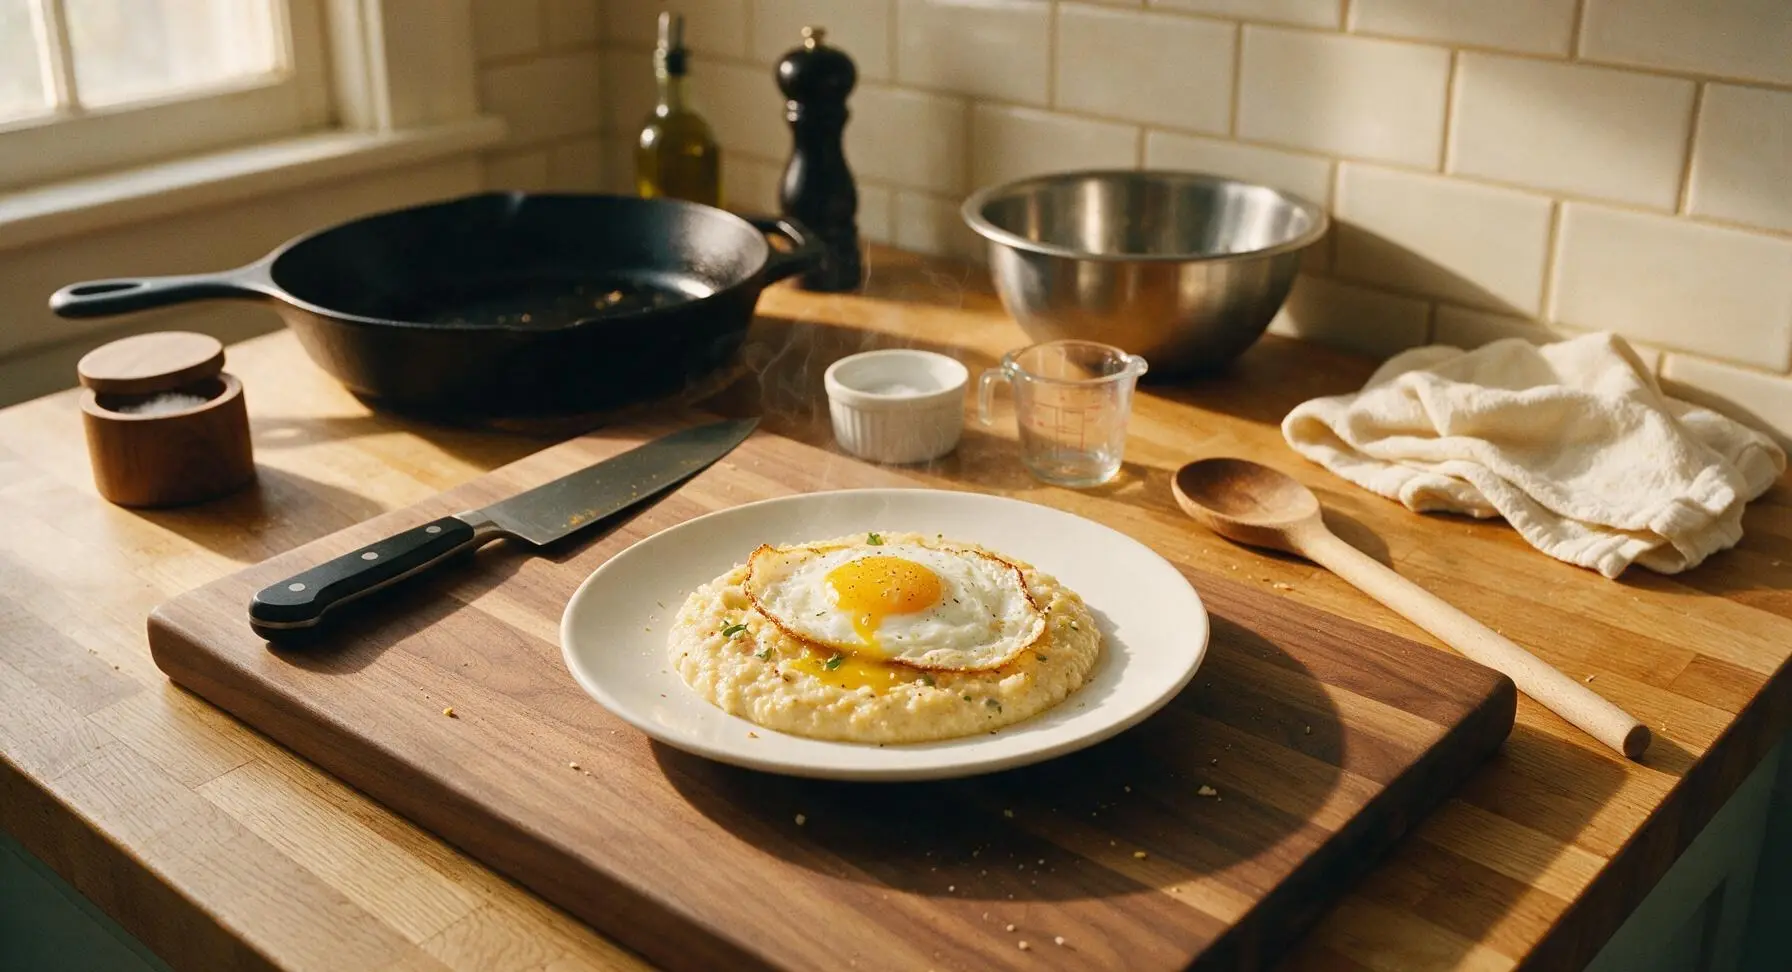
Creamy, savory stone-ground cornmeal mush topped with a crispy-edged runny-yolk fried egg: simple, hearty, budget-friendly comfort food ready in 20 minutes.

Ingredients
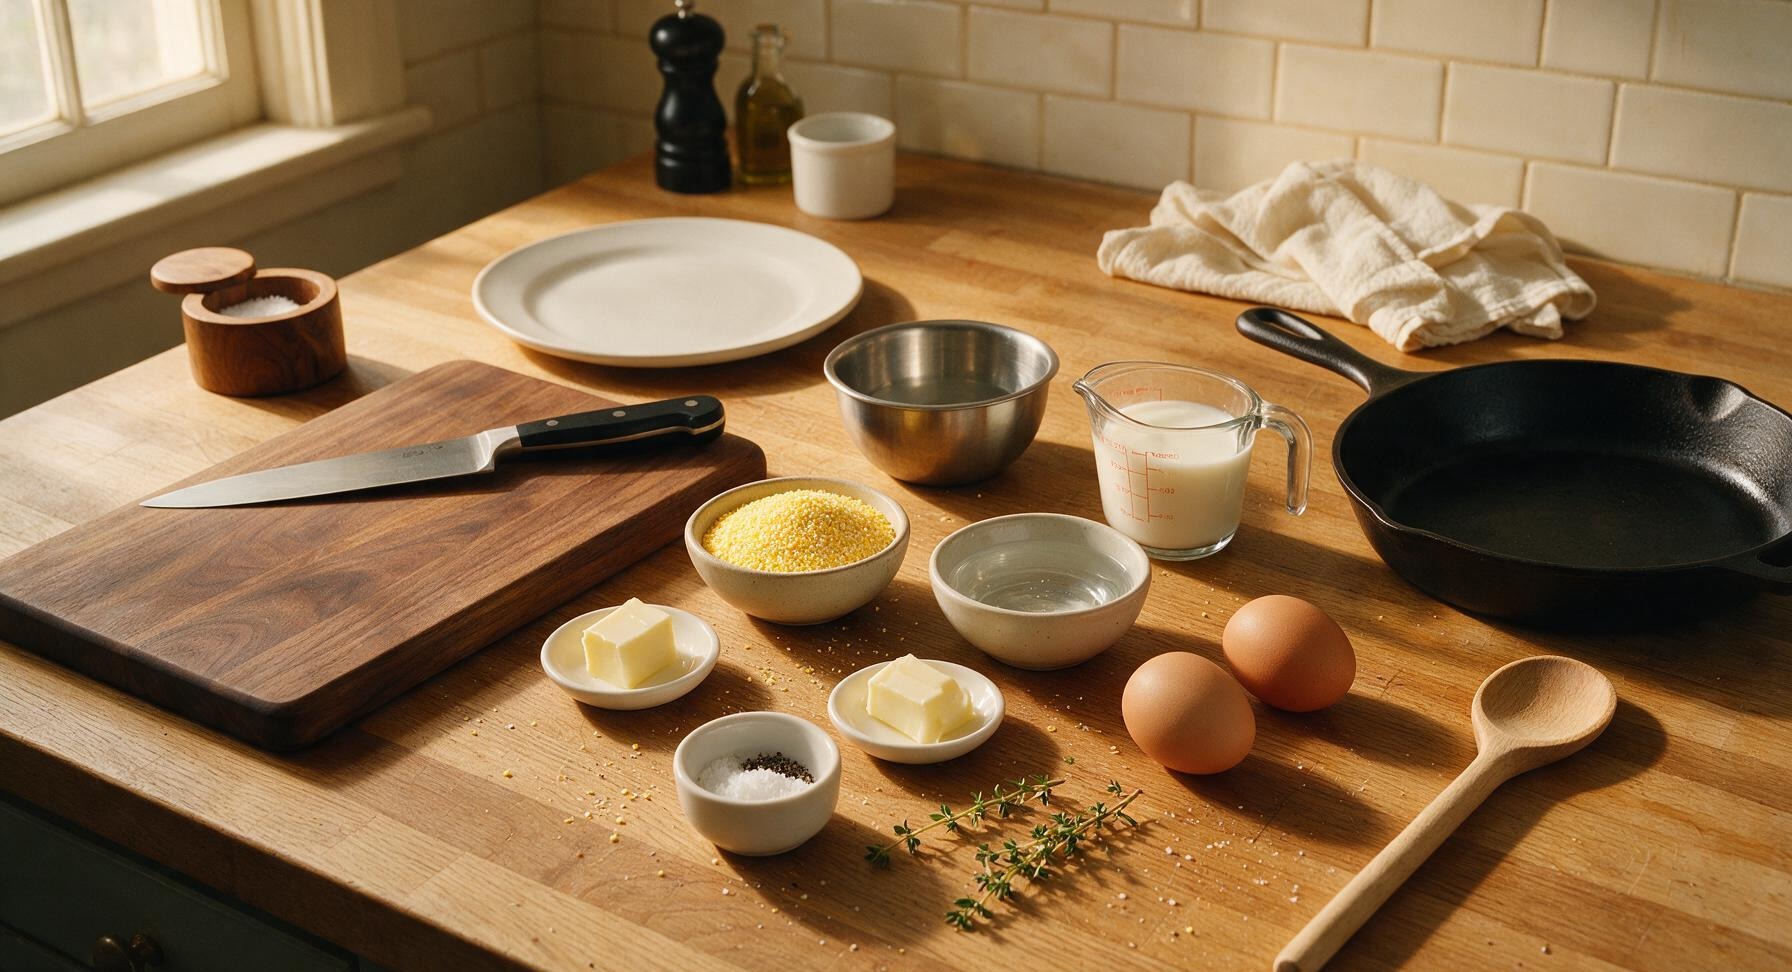
Coarse yellow stone-ground cornmeal 1 cup
Cold water 3 cups
Whole milk 1 cup
Unsalted butter 1.5 tablespoons, divided
Fine sea salt 1/2 teaspoon, divided
Freshly ground black pepper 1/4 teaspoon, divided
Large eggs 2
Fresh thyme sprigs 2, for garnish

Steps

1

Gather and Measure Ingredients

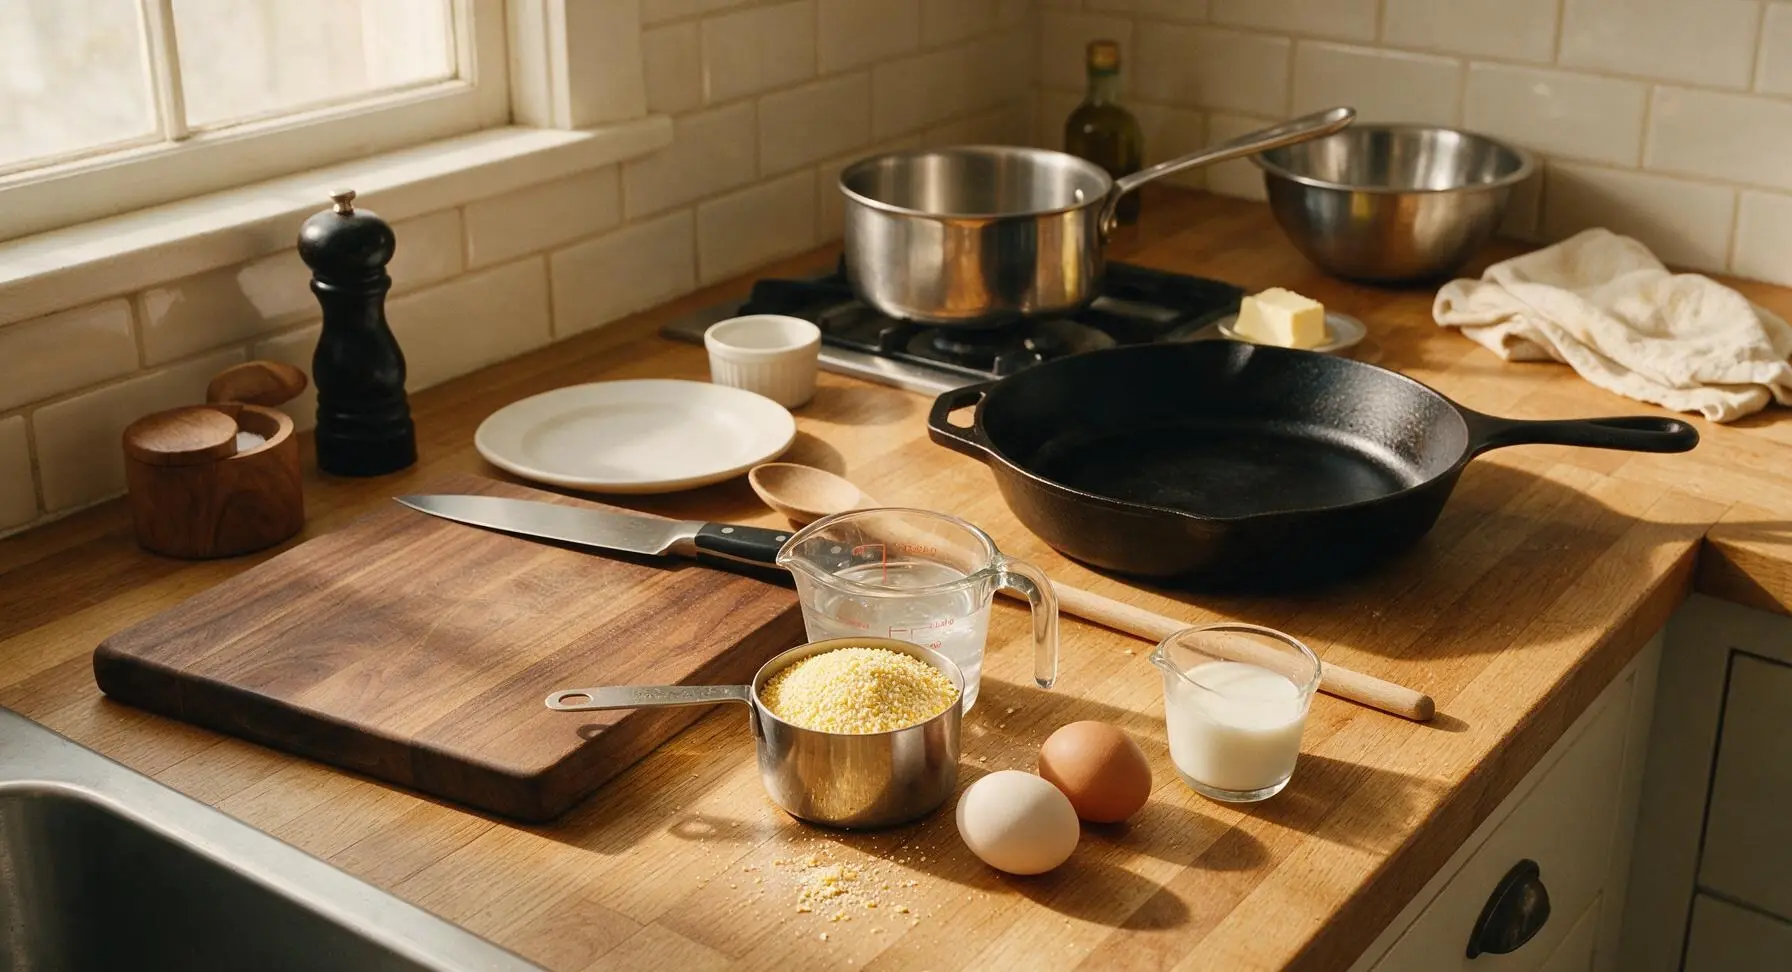
Use the stainless steel measuring cups to portion 1 cup coarse stone-ground cornmeal, 3 cups cold water, 1 cup whole milk, 1.5 tablespoons unsalted butter, and 1/2 teaspoon fine sea salt. Set the two large eggs near the stovetop so they are ready to fry once the mush is nearly done. No chopping or advance prep is needed for this simple recipe.
Step 1
step1:Gather and Measure Ingredients
2

Bring Liquid to Simmer

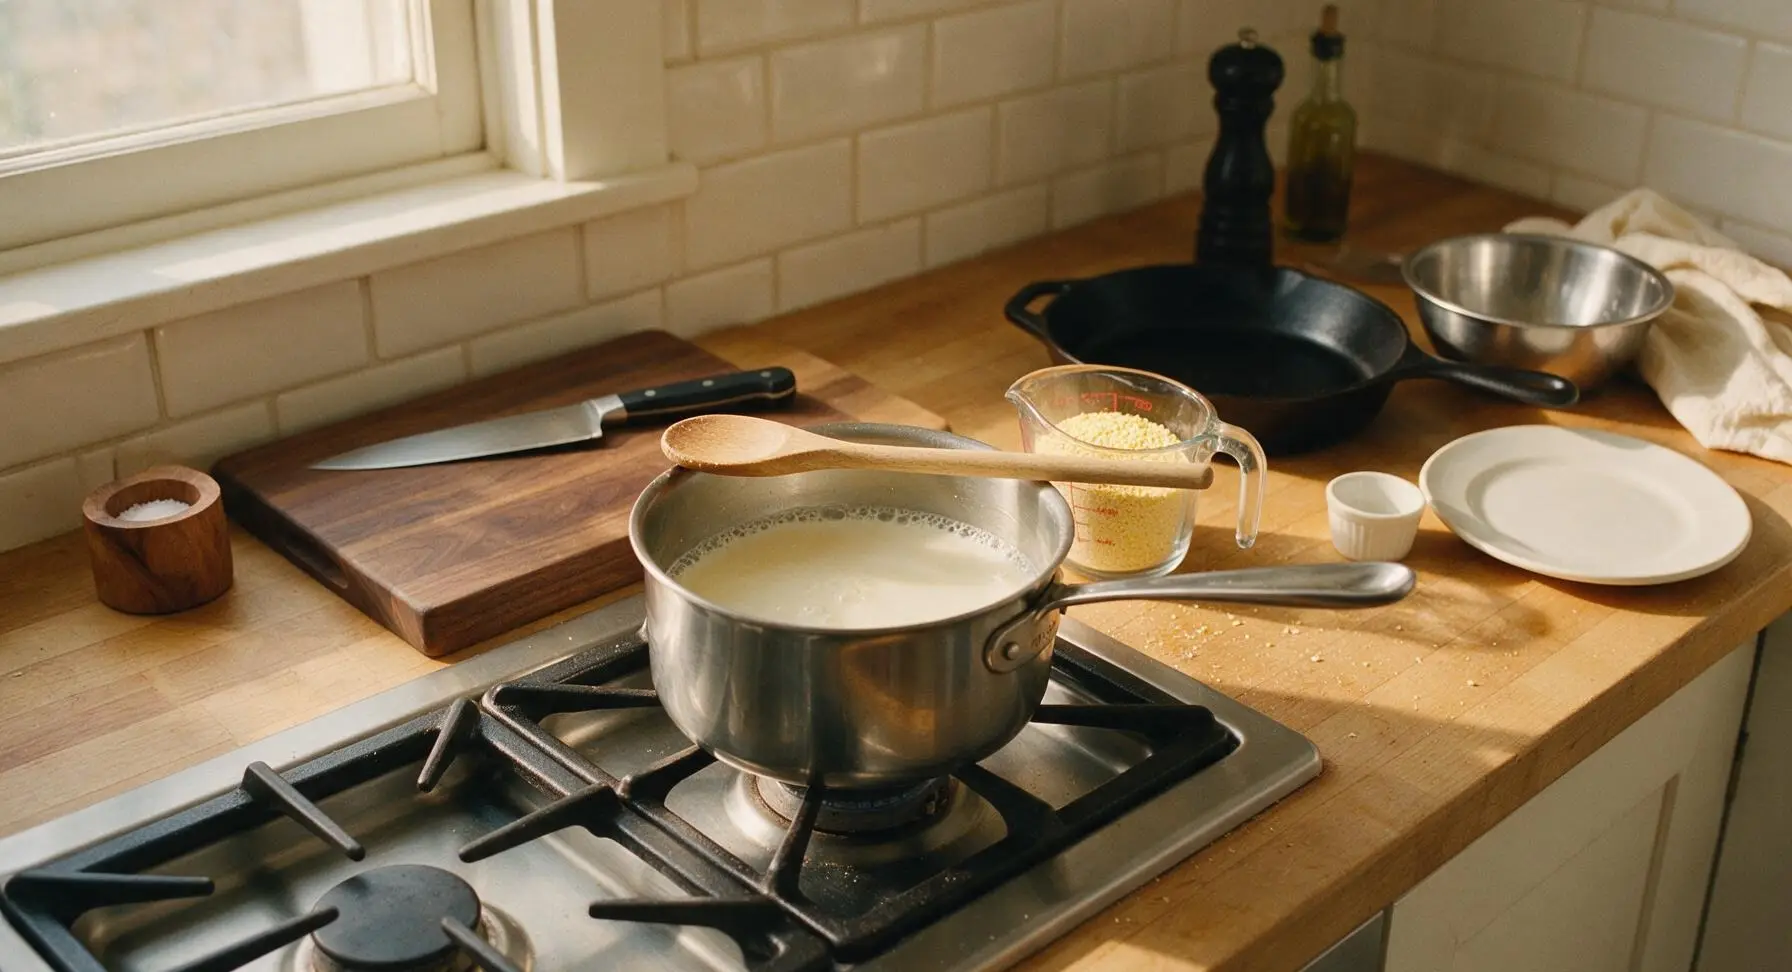
Pour the measured water and milk into the 2-quart stainless steel saucepan, set over medium heat. Add 3/8 teaspoon of the fine sea salt, and stir once with the beech wood stirring spoon. Bring the liquid to a gentle, rolling simmer (not a hard boil, which will cause milk to scald), about 4 minutes. Look for small, steady bubbles breaking around the pan edge to know it is ready.
Step 2
step2:Bring Liquid to Simmer
3

Whisk in Cornmeal Slowly

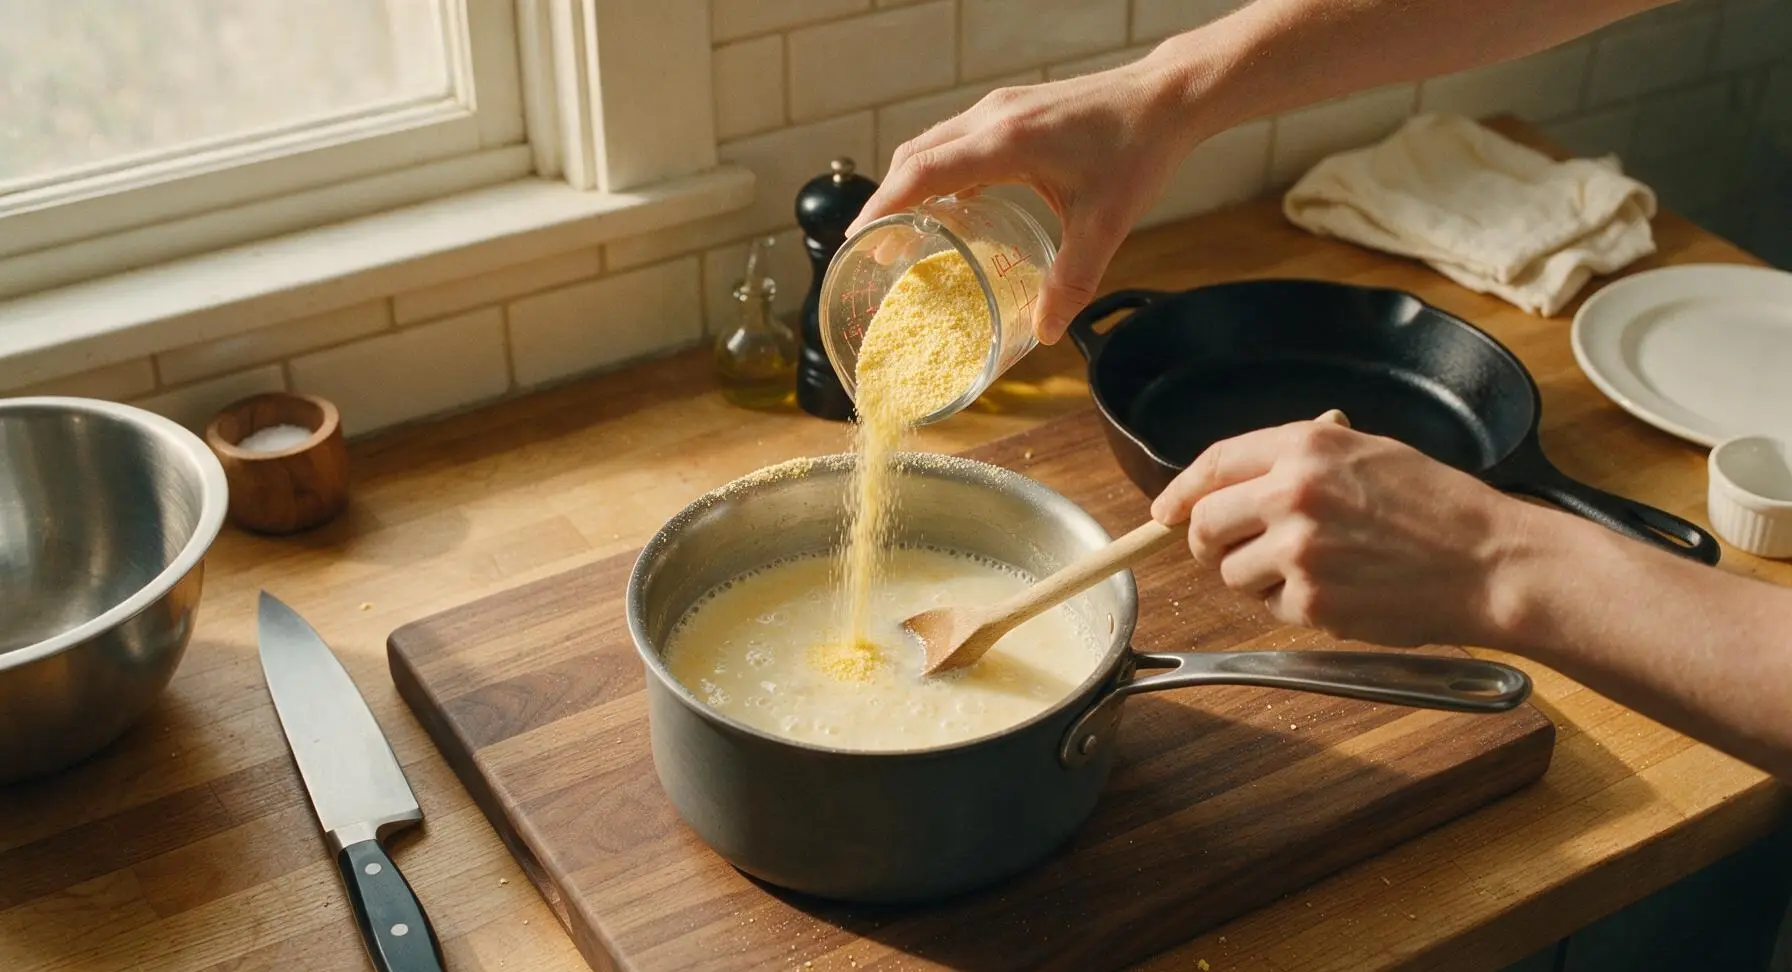
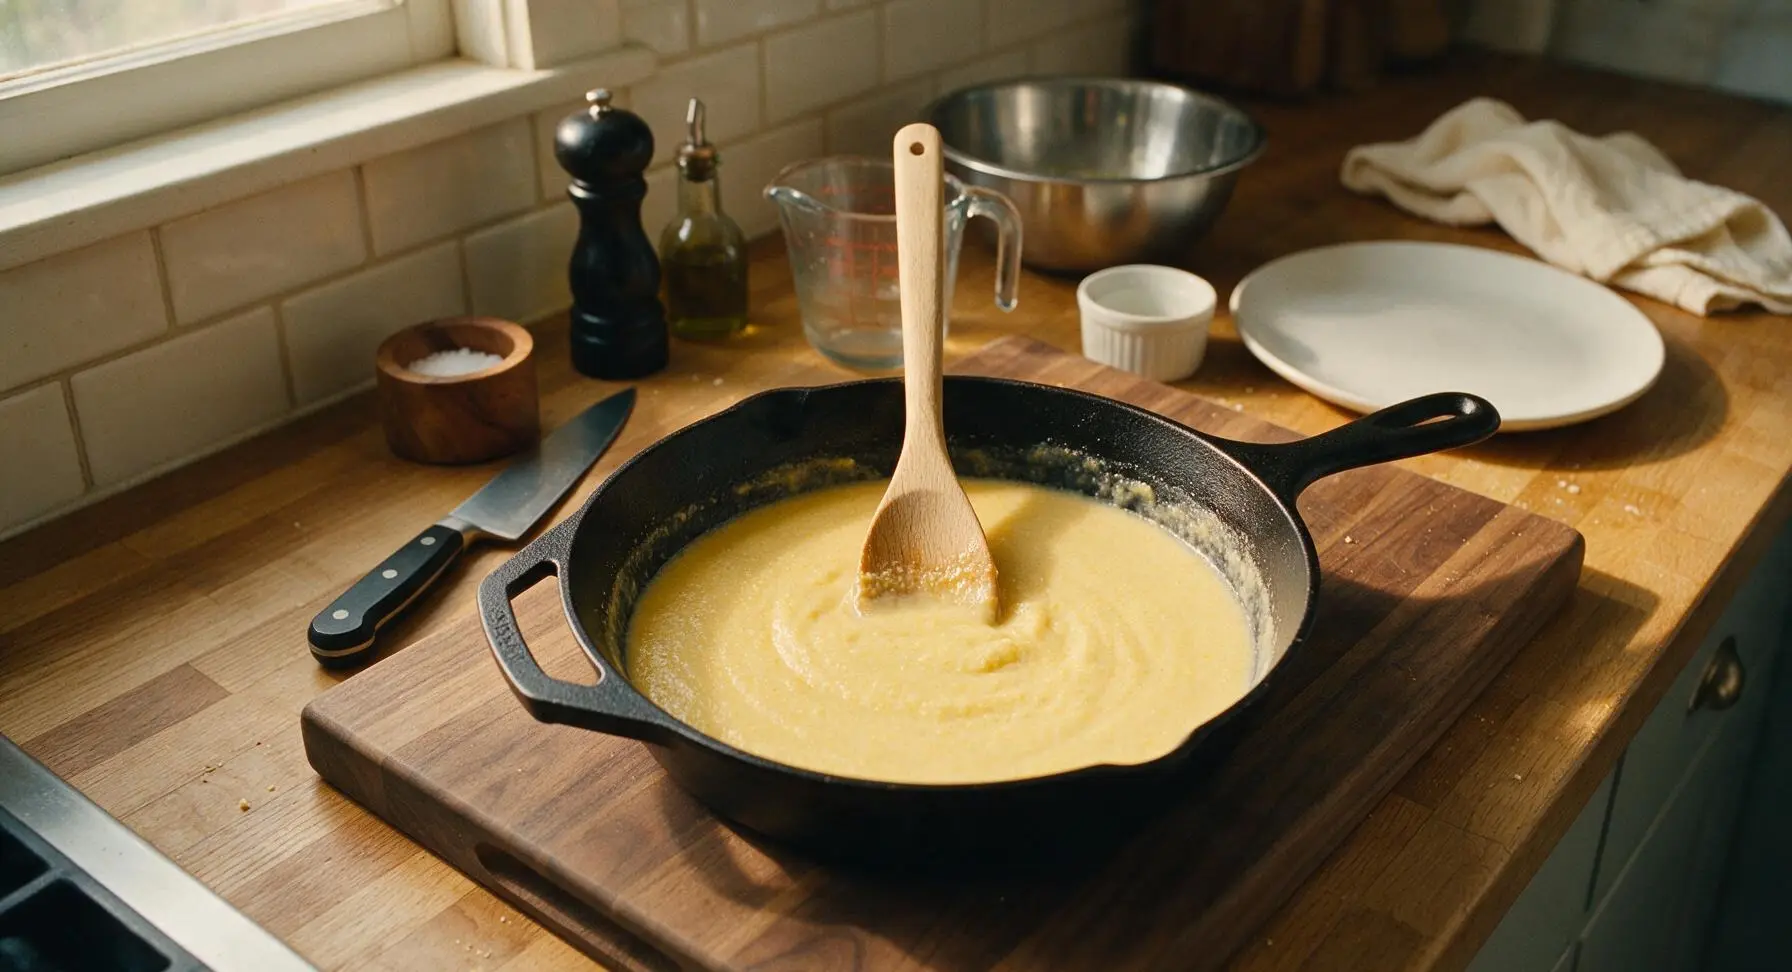
Once the liquid reaches a steady gentle simmer, slowly pour the measured cornmeal into the pan in a thin, steady stream, stirring constantly with the beech wood spoon to prevent lumps from forming. Never dump all the cornmeal in at once, as this creates dry, clumpy lumps that cannot be stirred smooth. Keep stirring until all cornmeal is fully incorporated into the liquid, about 1 minute.
Step 3
step3:Whisk in Cornmeal Slowly
Step 3
step3:Whisk in Cornmeal Slowly
4

Simmer Mush to Thicken

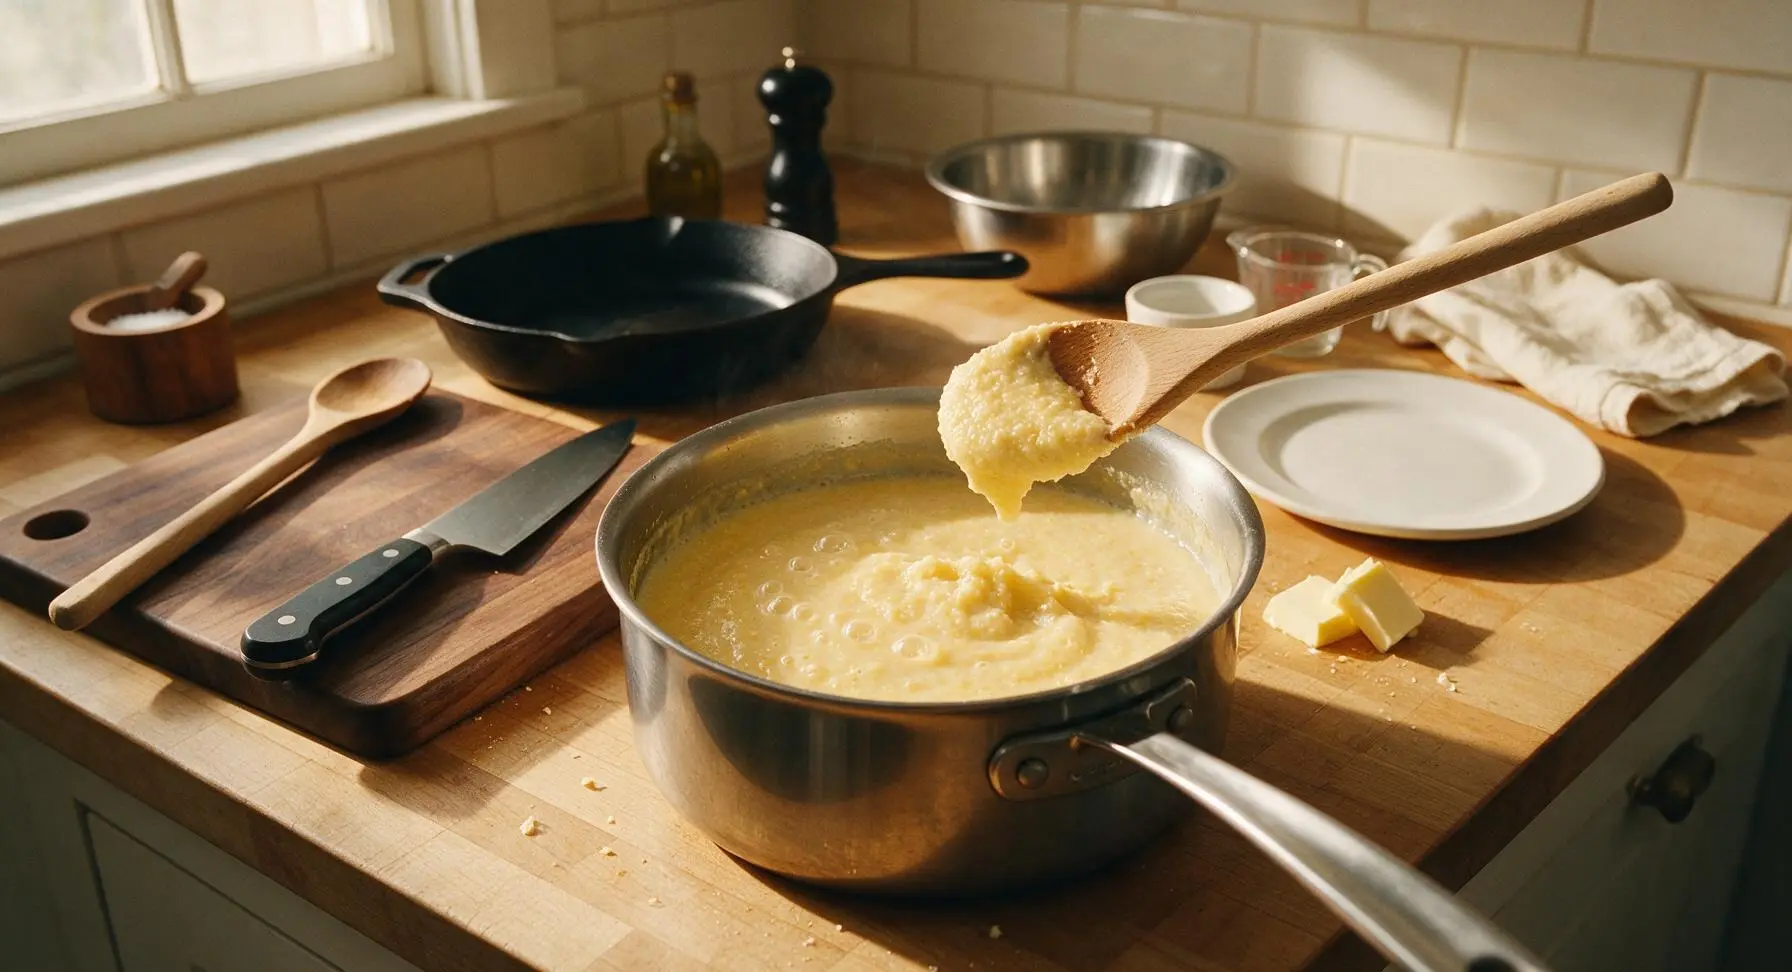
Reduce heat to medium-low to maintain a very gentle bubble, and cook the cornmeal for 10 minutes, stirring every 2 minutes with the beech wood spoon to prevent sticking on the pan bottom. The mush is done when it is thick enough to coat the back of the spoon, and a line drawn with your finger across the spoon-coated mush holds its shape without running. Stir in 1 tablespoon of the unsalted butter until fully melted and incorporated, then taste and add a pinch more salt if desired. Turn heat to the lowest setting to keep warm while you fry the eggs.
Step 4
step4:Simmer Mush to Thicken
5

Prep Skillet for Eggs

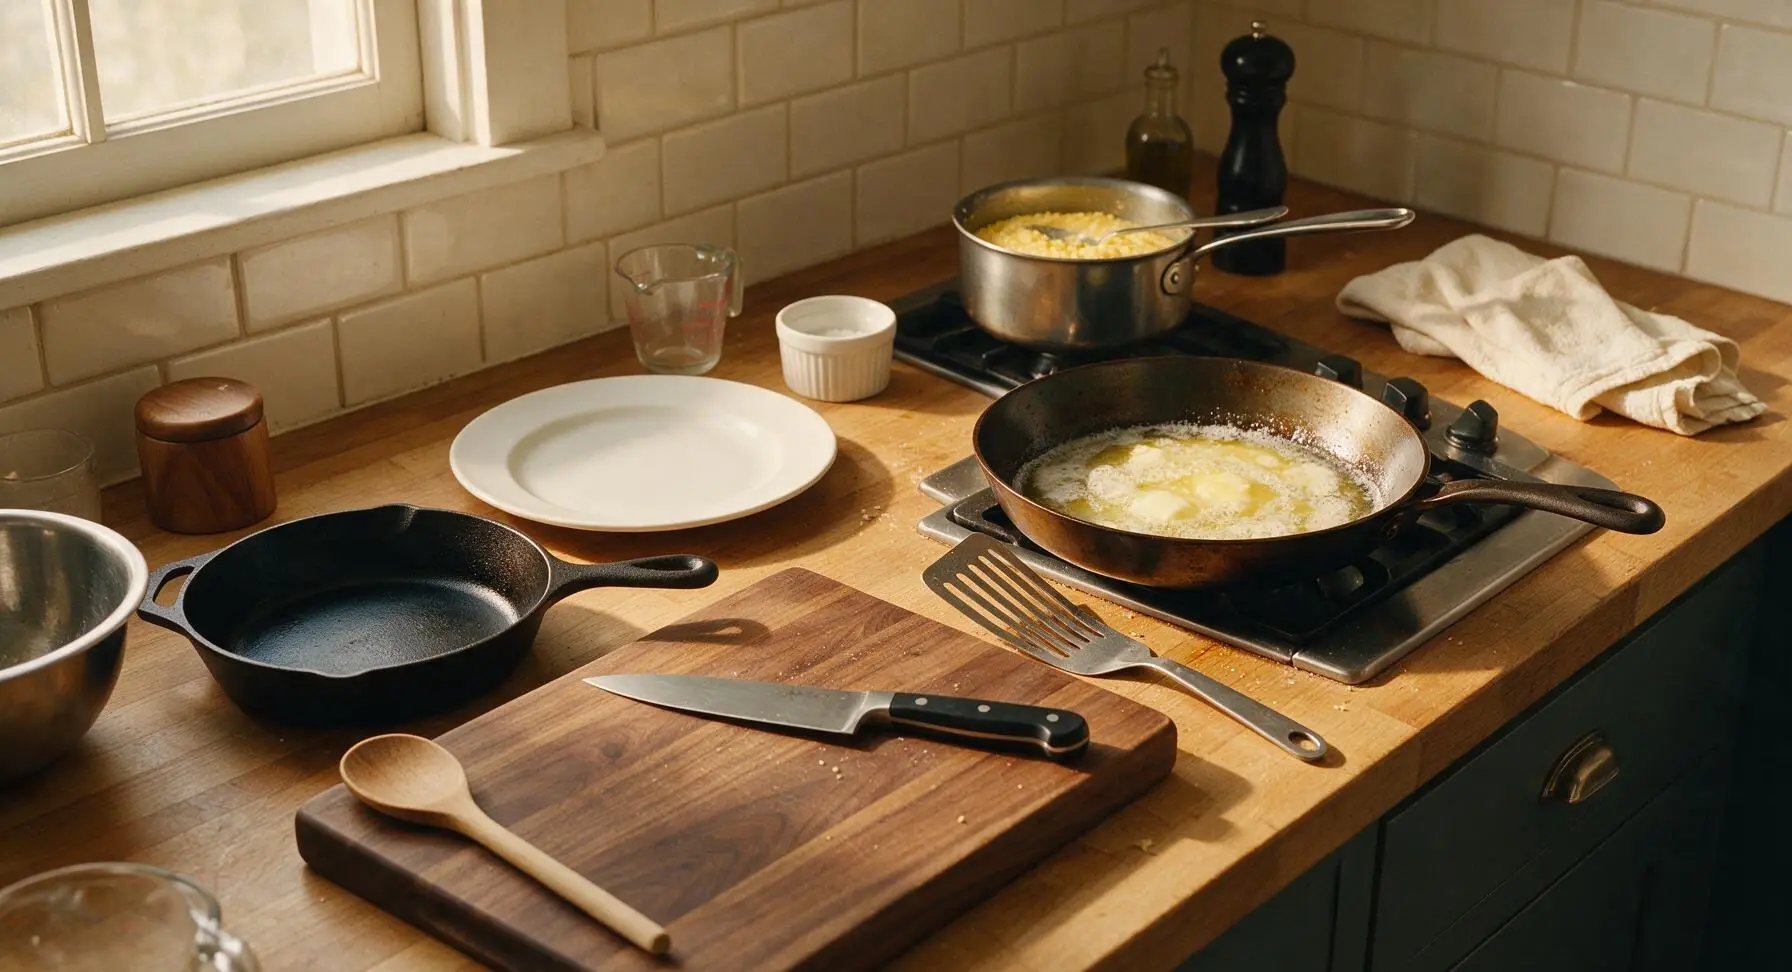
Place the 10-inch seasoned carbon steel skillet on the adjacent stovetop burner over medium heat. Add the remaining 0.5 tablespoon of unsalted butter, and swirl to coat the pan bottom as it melts. Wait 1 minute until the butter is foamy but not browned, and just starting to smell nutty. If the butter browns quickly, turn heat down slightly to avoid burning the egg edges.
Step 5
step5:Prep Skillet for Eggs
6

Fry Eggs Until Crisp-Edged

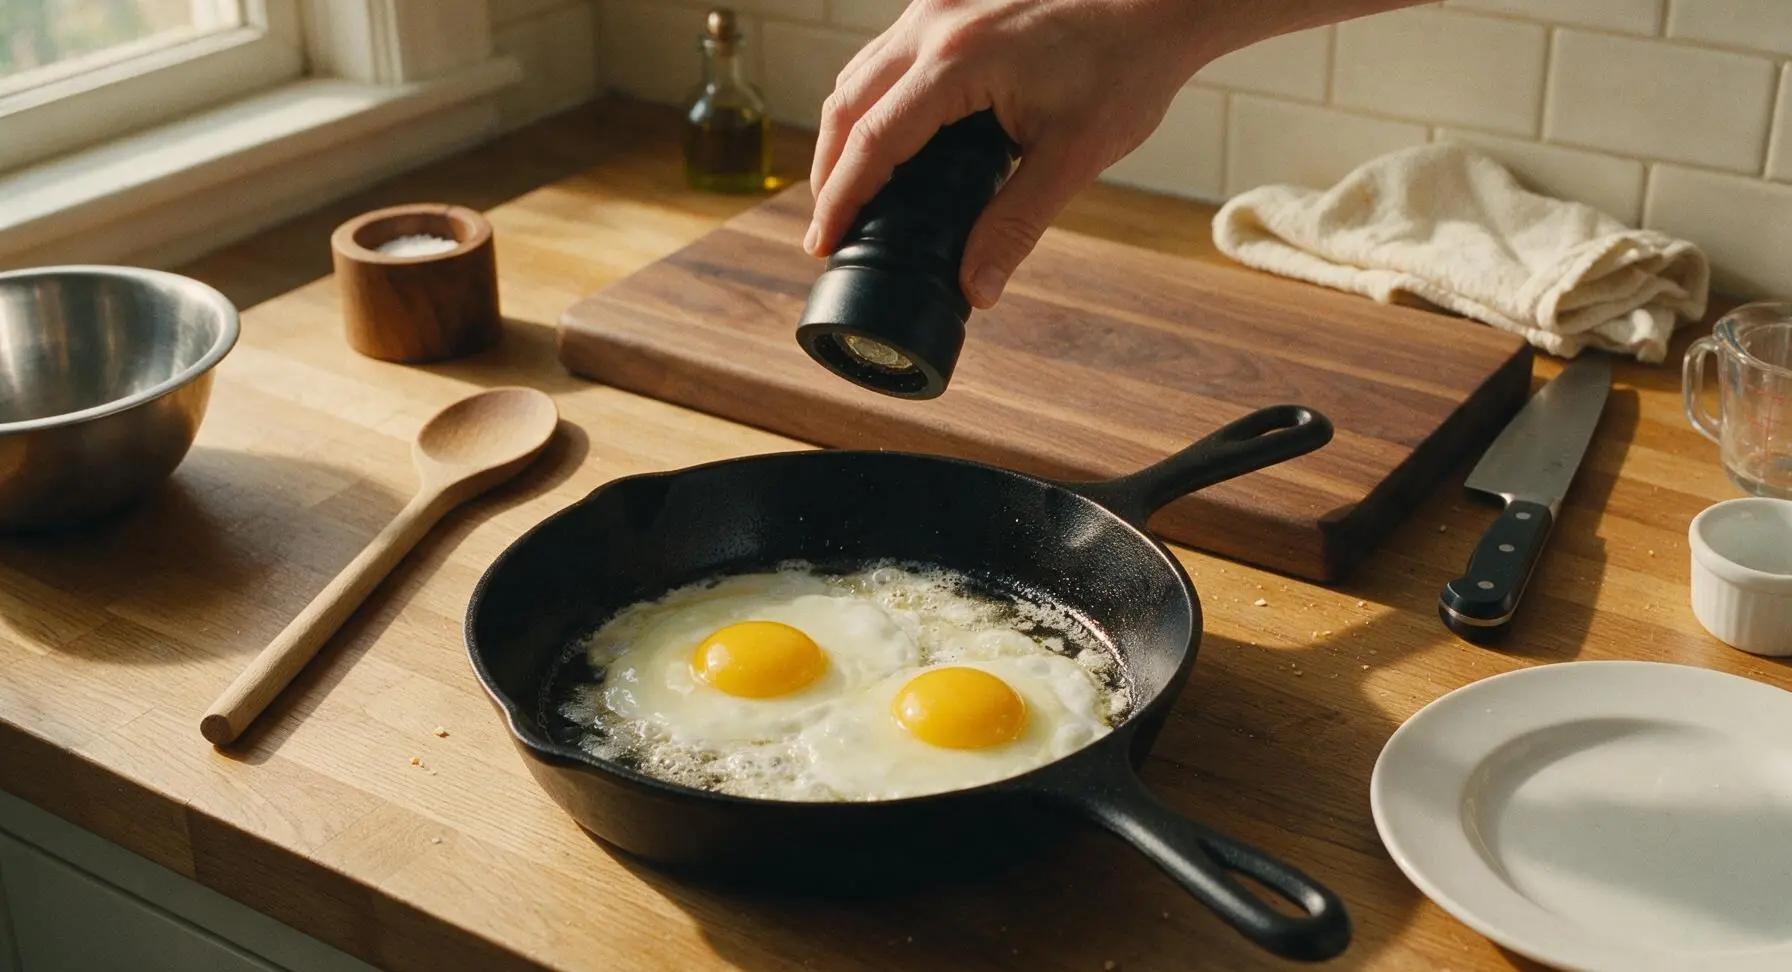
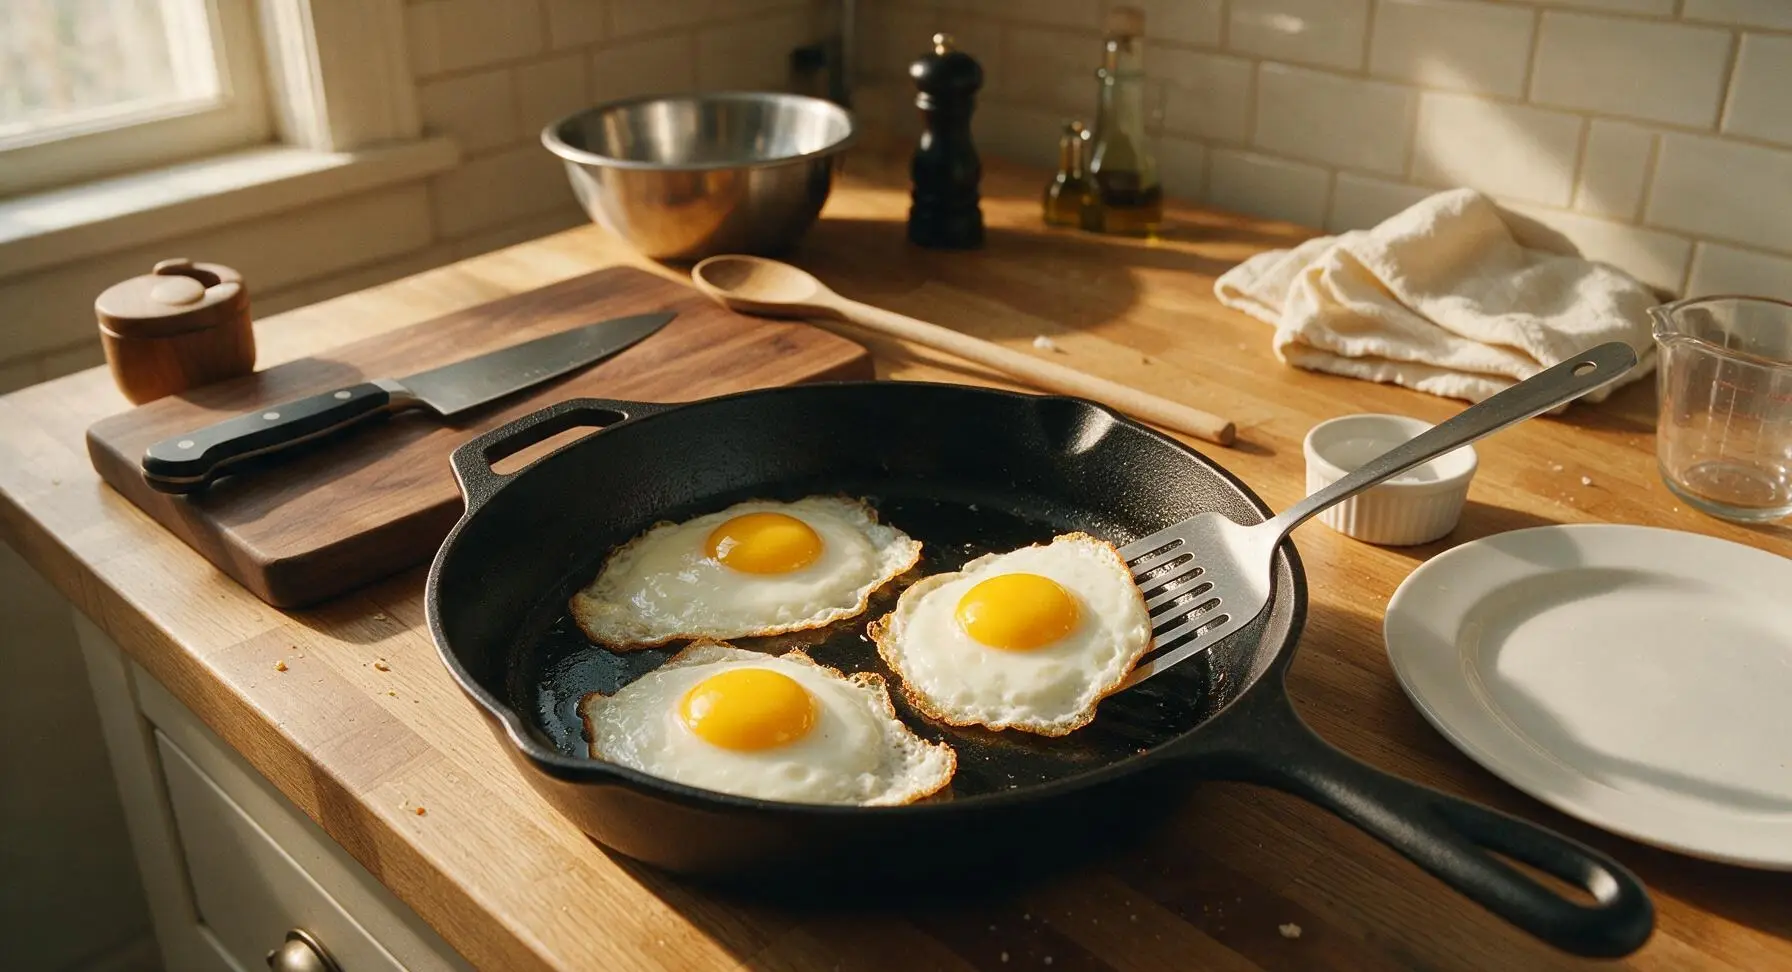
Carefully crack each egg into the buttered skillet, spacing them 5cm apart to avoid sticking. Season the top of each egg with the remaining 1/8 teaspoon sea salt and a pinch of freshly ground black pepper. Cook for 2-3 minutes for a runny sunny-side up yolk, or 4 minutes for a fully set yolk. The eggs are done when whites are fully opaque, with lacy, golden crispy edges around the perimeter. Do not flip the eggs if you want a runny yolk.
Step 6
step6:Fry Eggs Until Crisp-Edged
Step 6
step6:Fry Eggs Until Crisp-Edged
7

Plate and Serve Hot

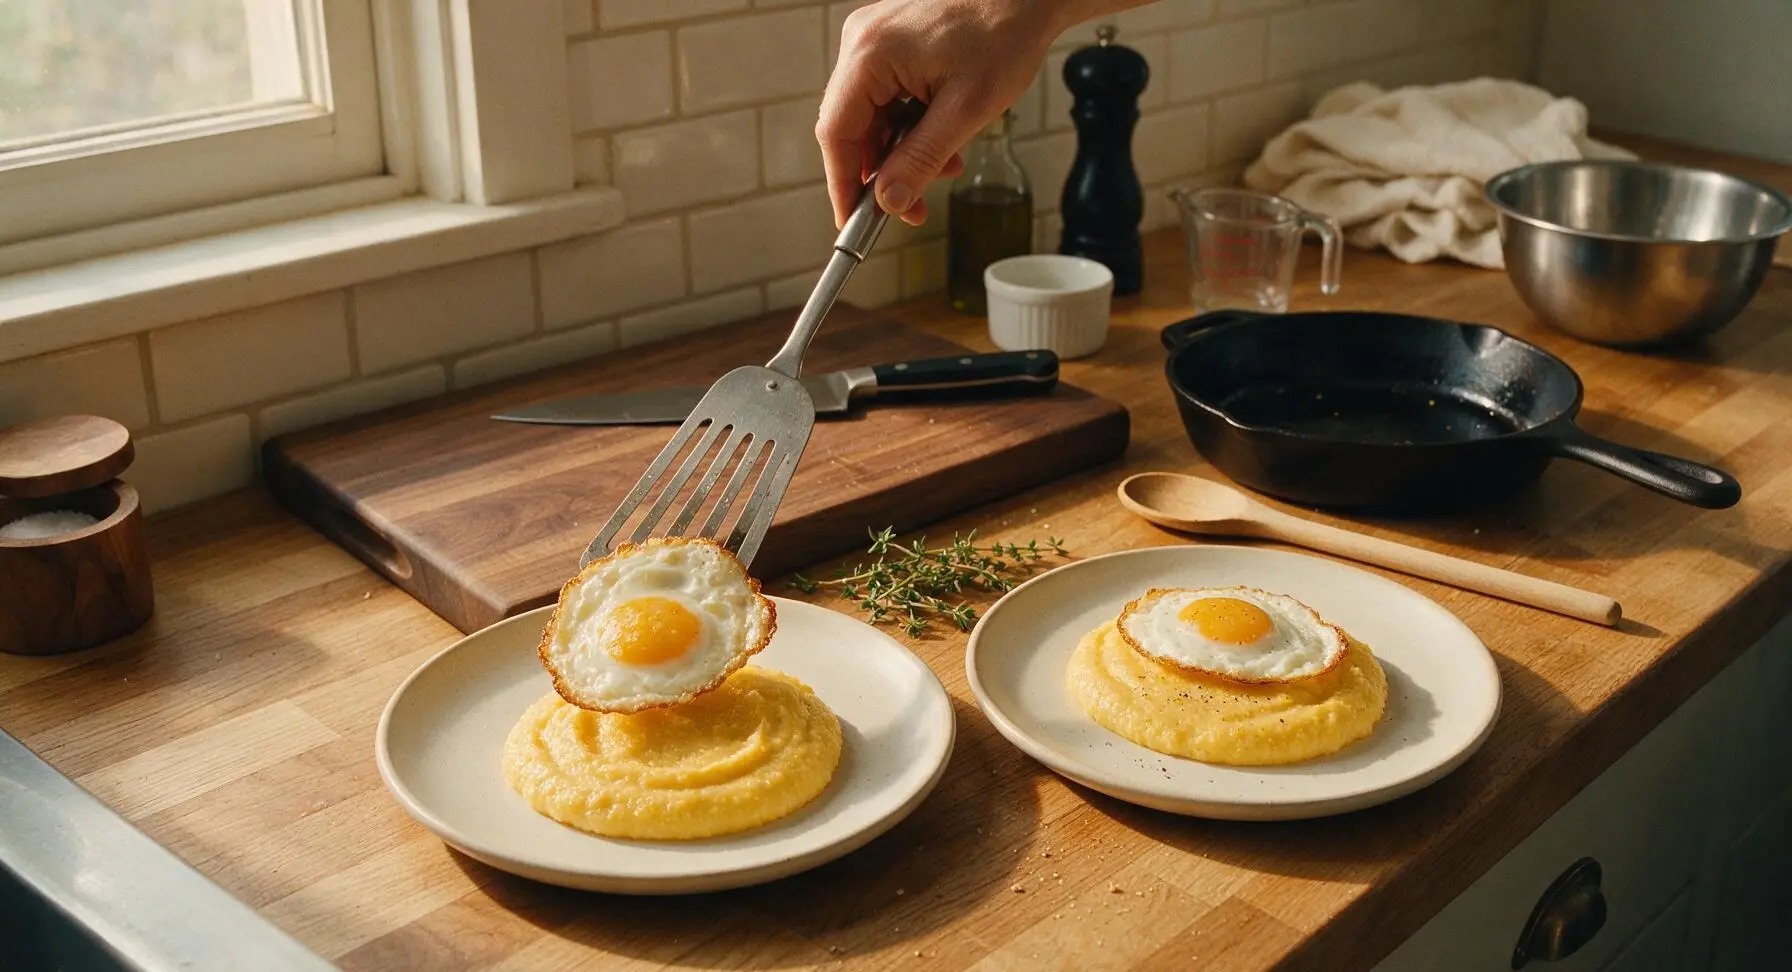
Scoop half of the warm cornmeal mush onto each matte off-white ceramic dinner plate, spreading it into a smooth, shallow mound with the back of the beech wood spoon. Use the slotted metal turner spatula to lift one fried egg carefully from the skillet, placing it directly on top of each mound of mush. Grind a light dusting of fresh black pepper over the top, garnish with a small fresh thyme sprig, and serve immediately while hot, so the yolk runs when cut into.
Step 7
step7:Plate and Serve Hot

Tips

1.Always pour cornmeal into simmering liquid in a thin, steady stream while stirring constantly, rather than dumping it all at once. This prevents dry, floury lumps that cannot be smoothed out later, ensuring a perfectly creamy, uniform mush texture.
2.Never cook cornmeal mush over high heat, as this will cause the bottom layer to scorch and stick before the corn grains fully soften. A low, gentle simmer ensures even cooking and a sweet, toasty corn flavor without burnt, bitter bits.
3.Cornmeal continues to absorb liquid as it sits, so if your mush thickens too much while you fry the eggs, stir in 1-2 tablespoons of warm milk or water to thin it back to a smooth, spreadable consistency before plating.


✨ You May Also Like

Breakfast
🍜 United States

Crisp-edged, fluffy lard griddle cakes are a nostalgic homestyle staple, with rich savoriness from rendered lard, perfect topped with maple syrup or savory gravy.

⏱️ 25 minuteBreakfast ★ 4.8
Breakfast
🍜 United States

Flaky, buttery homemade buttermilk biscuits smothered in creamy, peppery pork sausage gravy: a beloved, hearty Southern American comfort food classic.

⏱️ 35 minuteBreakfast ★ 4.8
Breakfast
🍜 United States

Golden, custardy brioche stuffed with sweet cream cheese and fresh berries, pan-fried to crisp perfection. An indulgent, cozy breakfast perfect for slow weekend mornings.

⏱️ 30 minuteBreakfast ★ 4.7
Breakfast
🍜 United States

Flaky, buttery Southern-style biscuits stuffed with savory salty country ham, a portable, satisfying classic perfect for casual on-the-go meals.

⏱️ 25 minuteBreakfast ★ 4.8
Breakfast
🍜 United States

Iconic puffy baked pancake popularized in Seattle, with crisp golden edges and soft custardy center, served warm with classic sweet toppings.

⏱️ 35 minuteBreakfast ★ 4.6
Breakfast
🍜 United States

Fluffy, golden pancakes studded with juicy peak-summer mixed berries, drizzled with maple syrup for a bright, comforting, crowd-pleasing family breakfast.

⏱️ 25 minuteBreakfast ★ 4.7

Cornmeal Mush with Fried Egg:Frequently Asked Questions

1.What’s the difference between cornmeal mush and polenta? ▾
Great question! While both are made from ground corn, classic cornmeal mush has a softer, creamier, spoonable porridge consistency, cooked with a mix of milk and water for gentle richness. Traditional polenta is usually cooked thicker with just water or stock, and often chilled to slice and pan-fry after cooking. This recipe leans into that cozy, breakfast-ready mush texture.
2.Can I use fine regular cornmeal instead of coarse stone-ground cornmeal? ▾
You can, but you’ll get a much smoother, less textured final mush that cooks much faster—plan for 3 to 5 minutes of cook time instead of 10 to 12, and stir regularly to avoid lumps. Coarse stone-ground cornmeal has a nuttier, deeper corn flavor and heartier bite that makes the dish feel more substantial, so it’s my top pick if you have it.
3.Why do you recommend starting cornmeal in cold water instead of boiling water? ▾
Starting cornmeal in cold liquid is my go-to no-lump hack! If you dump cornmeal straight into boiling water, the outer layer of the granules gelatinizes instantly, trapping dry powder inside that creates hard, unappetizing lumps. Whisking cornmeal into cold water first lets every granule hydrate evenly before it thickens, for perfectly smooth mush every time.
4.Can I make this recipe dairy-free? ▾
Absolutely! Swap the whole milk for unsweetened plain oat milk—it has the closest creamy, neutral flavor to dairy milk for this dish—and replace the unsalted butter with a high-quality plant-based butter or light extra-virgin olive oil. Keep the salt measurement the same, and taste at the end to adjust seasoning if your plant-based products are pre-salted.
5.How do I get that perfect crispy-edged, runny-yolk fried egg for topping? ▾
Heat 1 tablespoon of butter in a nonstick or well-seasoned cast iron skillet over medium-low heat until it foams, then crack the egg straight in. Let it cook undisturbed for 2 to 3 minutes, spooning a little melted butter over the top as it cooks, until the whites are fully set, edges are golden crisp, and the yolk stays soft and runny.
6.My cornmeal mush came out too thick—how do I fix that? ▾
No stress, that’s a super easy fix! Cornmeal continues to thicken as it sits off the heat, so just whisk in a splash more warm milk or warm water, a tablespoon at a time, until it reaches your preferred thick, spoonable porridge consistency. Keep in mind it will thicken a bit more as it cools on your plate, so err slightly on the looser side when adjusting.
7.How long do leftovers keep in the fridge? ▾
Stored in a sealed airtight container, leftover cornmeal mush will keep well for 3 to 4 days in the refrigerator. It will firm up significantly as it chills, which is perfect if you want to slice it and pan-fry it for a crispy side later. For soft, creamy servings, reheat gently on the stovetop with a splash of milk to restore the texture.
8.Can I stir mix-ins right into the cornmeal mush for extra flavor? ▾
Of course! This is an incredibly versatile base. Stir in a pinch of cracked black pepper, a sprinkle of shredded sharp cheddar, a dash of hot sauce, or even a spoonful of maple syrup for a sweet-savory twist right at the end of cooking. Avoid adding heavy mix-ins too early, as they can throw off the texture as the cornmeal cooks.
9.Is this recipe naturally gluten-free? ▾
As written, this recipe is 100% gluten-free, as long as you use certified gluten-free cornmeal. Regular stone-ground cornmeal is naturally free of gluten, but it’s sometimes processed on shared equipment with wheat products, so double-check the label if you’re cooking for someone with celiac disease or a severe gluten sensitivity.
10.Why does my fried egg stick to the pan even when I use butter? ▾
That almost always comes down to pan temperature! If your pan is too cold, the egg will stick before the whites have a chance to set; if it’s too hot, the butter will burn before the egg cooks through. Use a nonstick or well-seasoned cast iron pan, heat to medium-low before adding butter, and don’t move the egg until edges are crisp and set.
11.Can I use all water instead of a mix of water and milk for the mush? ▾
You can absolutely make this with 100% water if you don’t have milk on hand—it will still be tasty, just a little less rich and creamy. If you go that route, add an extra half tablespoon of butter to bump up the richness, and taste to adjust the salt at the end, since milk adds a subtle sweetness that balances corn flavor.
12.What’s the best way to reheat leftover cornmeal mush? ▾
The stovetop is best for retaining that signature creamy texture. Scoop leftover mush into a small saucepan, add a splash of milk or water, and heat over low, whisking occasionally, for 3 to 4 minutes until smooth and heated through. You can use the microwave in 30-second bursts, stirring between, but it may turn gummy if overheated.
13.Do I have to stir the mush constantly the whole time it cooks? ▾
You don’t need to stir nonstop the entire time, but you should give it a good whisk every 30 to 60 seconds once it starts to thicken. Coarse cornmeal sinks to the pot bottom easily, which can lead to scorching if left untouched too long. A silicone whisk works great to scrape the bottom and prevent burnt, bitter bits.
14.What other toppings work well with this dish besides a fried egg? ▾
There are so many delicious options! Try crumbled crispy bacon, sliced ripe avocado, a drizzle of hot honey, a sprinkle of chopped chives or green onions, a dollop of sour cream, or even a handful of roasted cherry tomatoes. The mild, creamy corn base pairs beautifully with bright, salty, crispy, or slightly sweet toppings.
15.Is this recipe a good option for weekday meal prep? ▾
It works perfectly for quick weekday breakfasts! Cook the cornmeal mush ahead, portion it into individual airtight containers, and store it in the fridge for up to 4 days. When you’re ready to eat, reheat the mush with a splash of milk, then fry a fresh egg to top it—you’ll have a hearty, filling breakfast ready in less than 5 minutes.

Comments (6)

30 minutes ago

Wow, I was skeptical about cornmeal mush because I thought it’d be bland, but this recipe is so easy and flavorful! I sprinkled a little extra black pepper and a dash of hot sauce on top of my fried egg, and it hit the spot. Perfect quick breakfast for when I don’t have a lot of time before work.

5 minutes ago

So glad you enjoyed it! A dash of hot sauce is such a great call, it adds the perfect little kick to cut through the creaminess of the cornmeal. Thanks for giving it a try!

yesterday

Made this for my family’s Saturday breakfast over the weekend, and everyone raved about it! I even cooked the cornmeal in a little chicken broth instead of plain water like I saw my grandma do back in the day, and it added such nice depth. 10/10, will be making this again for our next potluck brunch with the neighbors.

2 hours ago

Oh the chicken broth swap is genius! I’ve only ever made it with water before, I’m definitely trying that next time I whip this up. Do you use low sodium broth so it doesn’t get too salty?

30 minutes ago

Love the chicken broth swap, Jake! To answer Mia’s question too – low sodium broth works perfectly here, it lets you control the salt level to match your taste. Great call making this for potluck brunch, it holds up really well for a crowd!

3 days ago

Perfect easy recipe for my dorm kitchen! I don’t have a lot of fancy equipment, just a small pot and a cheap frying pan, and this turned out perfect first try. Way cheaper and tastier than getting breakfast from the campus diner, I’ll be making this at least twice a week now. Only reason it’s not 5 stars is I burned the edge of my egg a little, totally my fault though lmao

1 week ago

So happy I found this recipe! I’ve been looking for quick gluten-free breakfast ideas that don’t leave me hungry an hour later, and this is perfect. The cornmeal is so filling, and the protein from the egg keeps me full straight through my morning meetings. I topped mine with a little avocado slice too, chef’s kiss.

5 days ago

The avocado topping is such a good call! I added a sprinkle of red pepper flakes with mine last week and it was chef’s kiss, gotta try the avocado next round.

2 weeks ago

This takes me right back to my childhood! My papaw used to make cornmeal mush for breakfast every Sunday after church, and I haven’t been able to get it right for years until I tried this recipe. The texture is exactly how I remember it – creamy, not lumpy, perfect with the crispy fried egg on top. I cried a little when I took the first bite ngl.

1 week ago

Aww this makes my heart happy! My grandma made this too when I was little, I haven’t thought about it in forever. Is there a trick to getting no lumps in the cornmeal? Mine always turns out clumpy no matter what I do.

5 days ago

What a sweet memory, thank you for sharing! To avoid lumps, try whisking the cornmeal into cold water first before turning on the heat, and keep whisking as it thickens – works every time! Hope it keeps bringing back those happy Sunday memories.

5 days ago

Game changer for my weekly meal prep! I make a big batch of the cornmeal mush on Sunday, portion it out into containers, and fry up an egg each morning to go on top. Takes literally 5 minutes to get breakfast on the table during the work week, and it’s way more satisfying than oatmeal. 10/10, no notes.



