
Cornmeal Mush with Honey

title 1
Cornmeal Mush with Honey
⏱️ cook time 15 minutes
🍽️ servings 4
⚡ Difficulty easy

intro

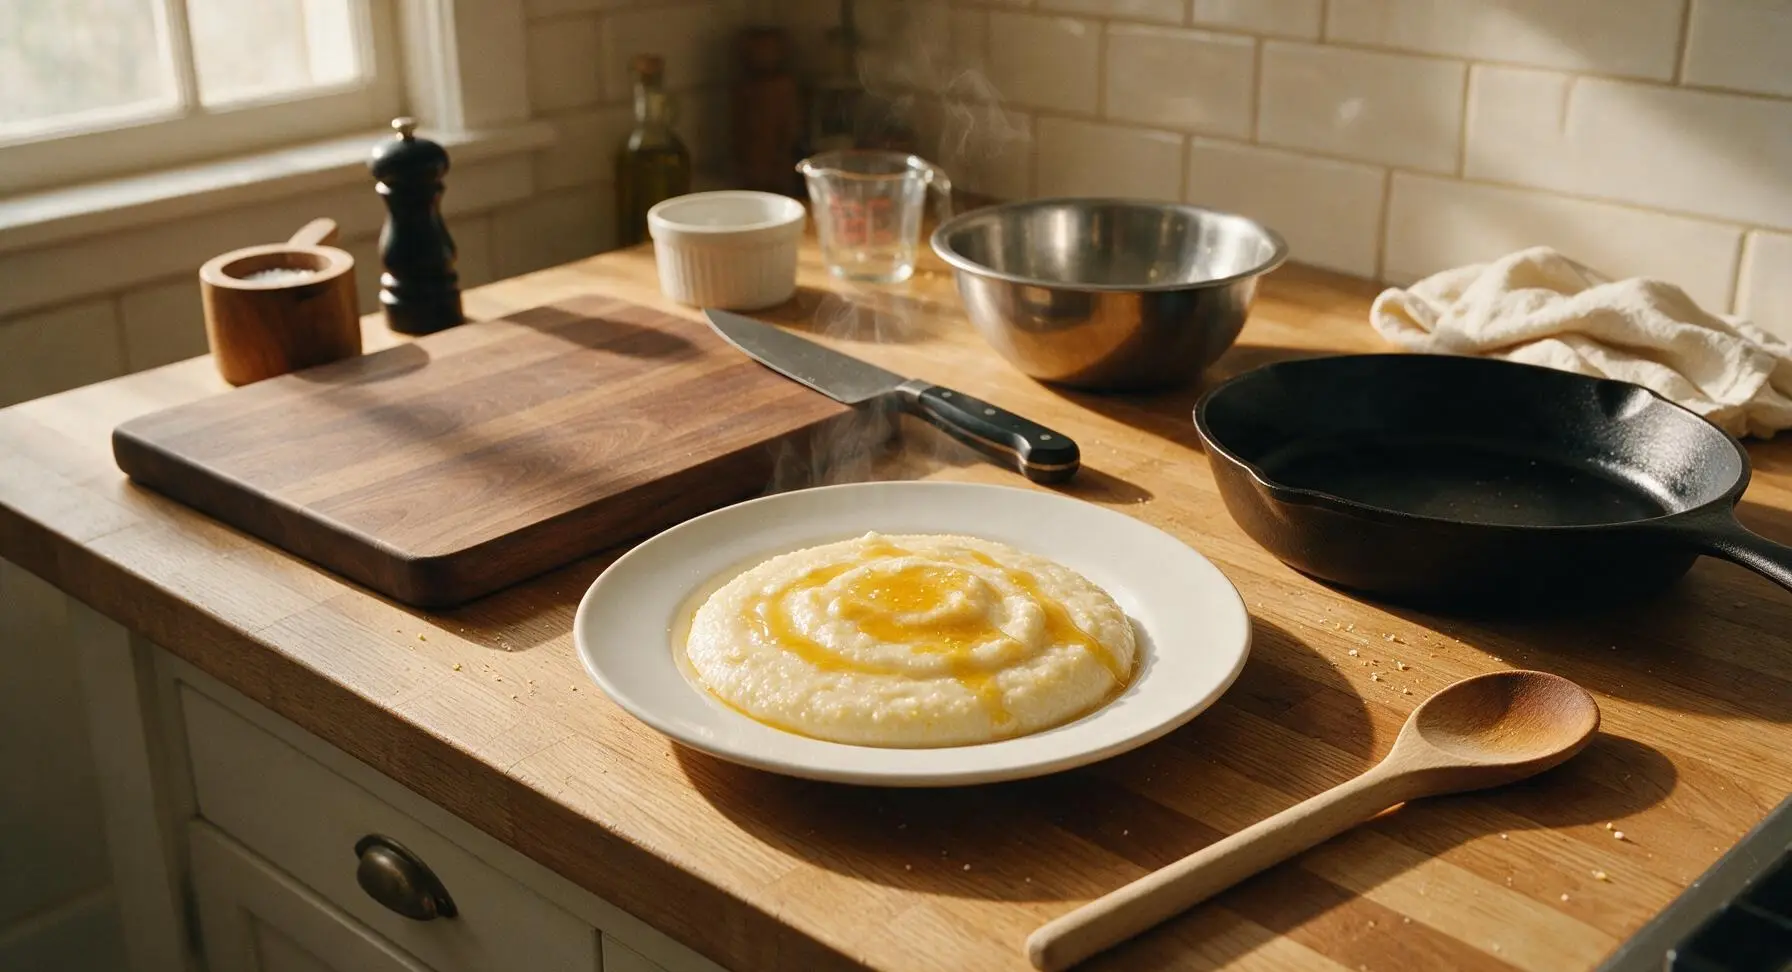
Creamy, velvety stone-ground cornmeal mush drizzled with golden wildflower honey: a nostalgic Appalachian comfort food ready in 20 minutes for warm, cozy bites.

Ingredients
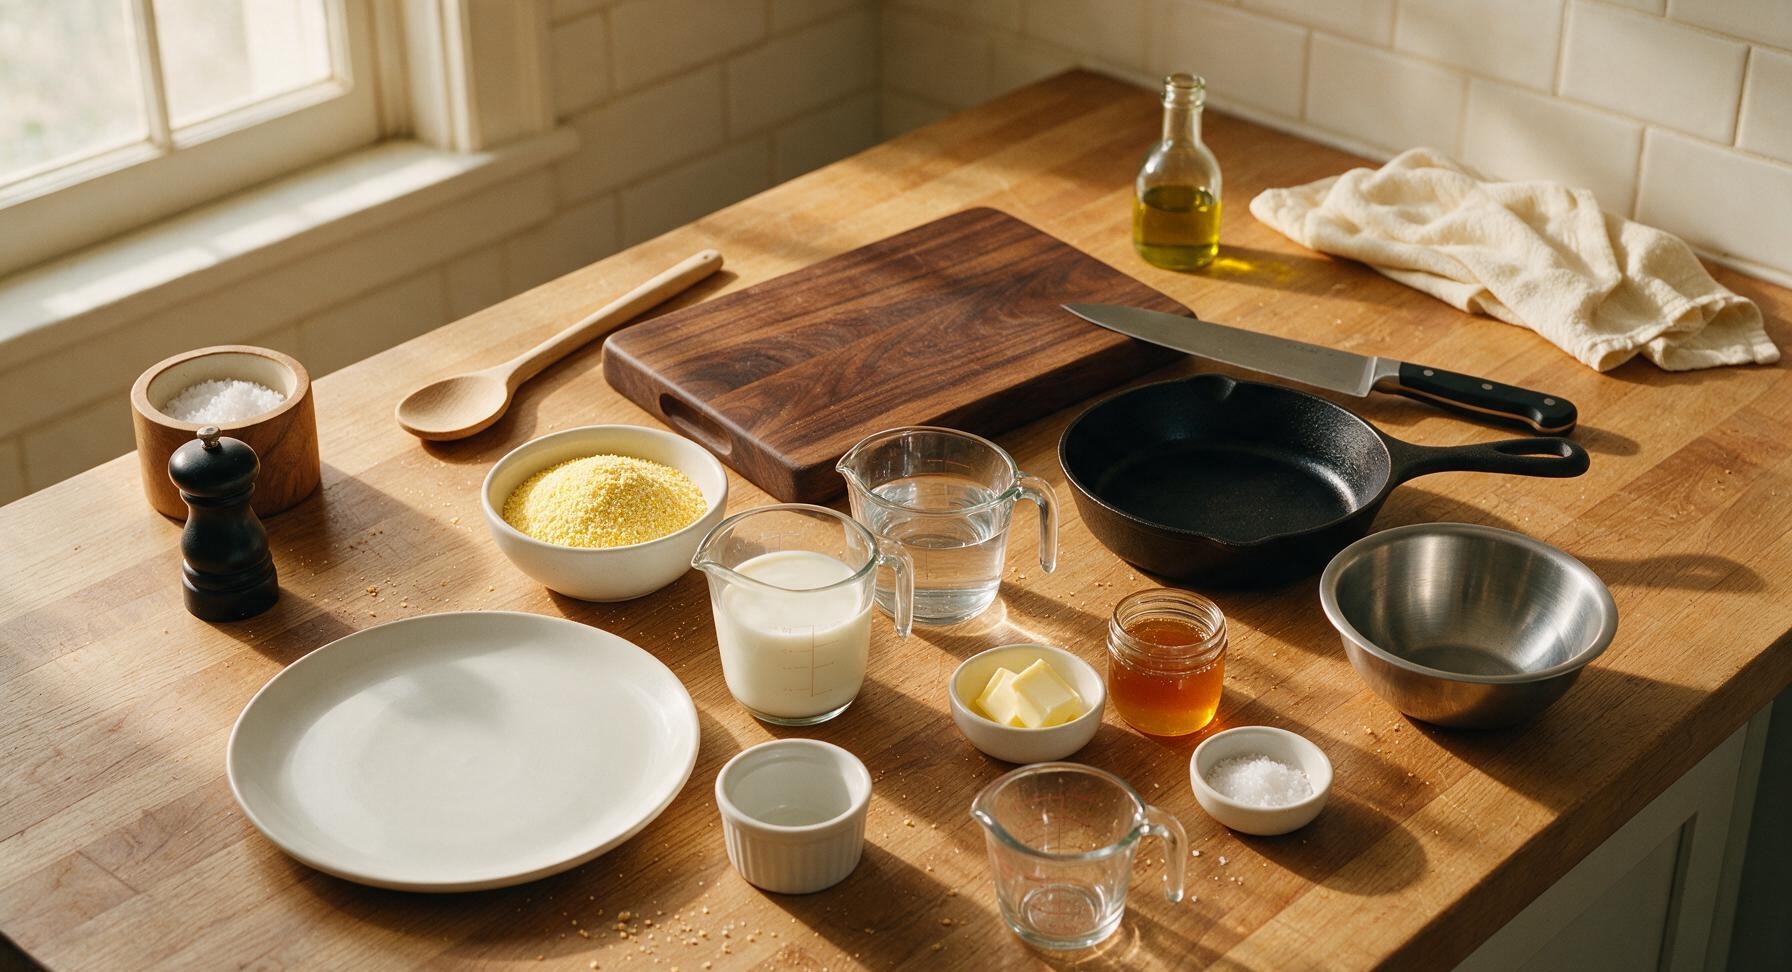
Stone-ground yellow cornmeal 1 cup (150g)
Whole milk 2 cups (480ml)
Water 2 cups (480ml)
Fine sea salt 1/4 tsp
Unsalted butter 2 tbsp (28g)
Wildflower honey 3 tbsp (60g)

Steps

1

Heat Base Liquids

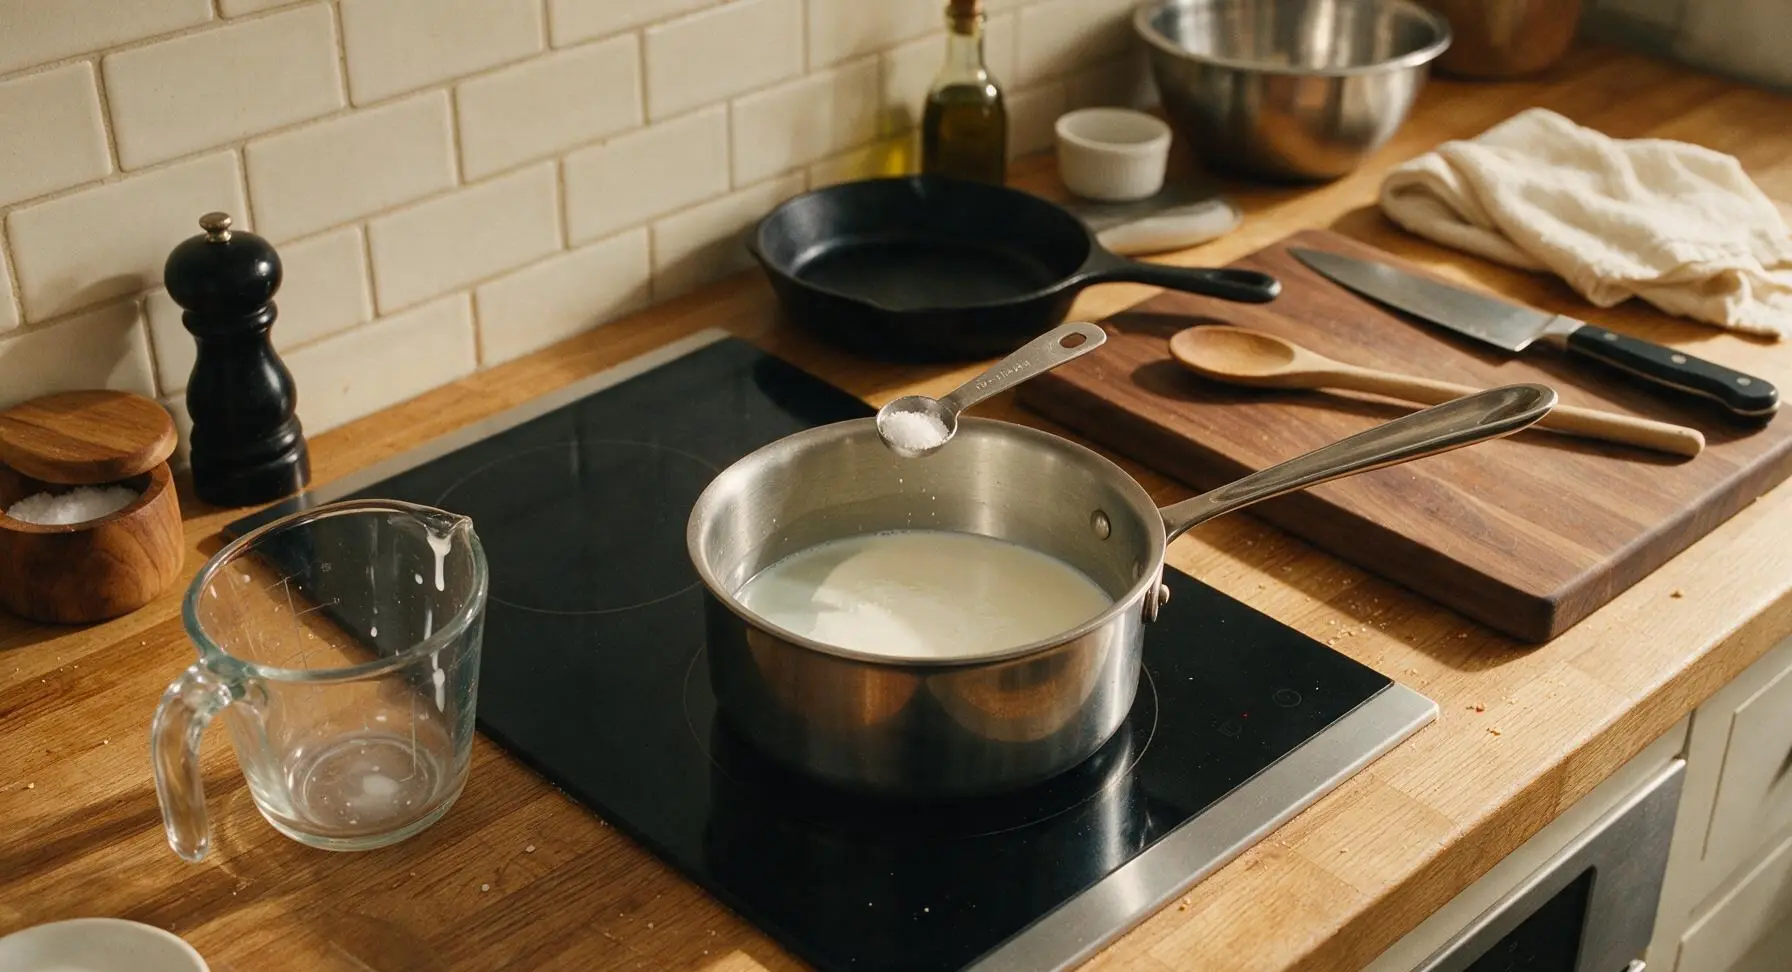
Using the clear borosilicate glass measuring cup, measure 2 cups water and 2 cups whole milk, then pour both into the 3-quart heavy-bottomed stainless steel saucepan. Place the saucepan on the centered flush-mounted matte black induction cooktop over medium heat, add 1/4 tsp fine sea salt measured with the stainless steel measuring spoons, and bring to a gentle, rolling simmer (around 190°F / 88°C). Watch closely to avoid boiling over, as scalded milk will add a bitter flavor to the finished mush; this step takes approximately 5 minutes.
Step 1
step1:Heat Base Liquids
2

Whisk in Cornmeal

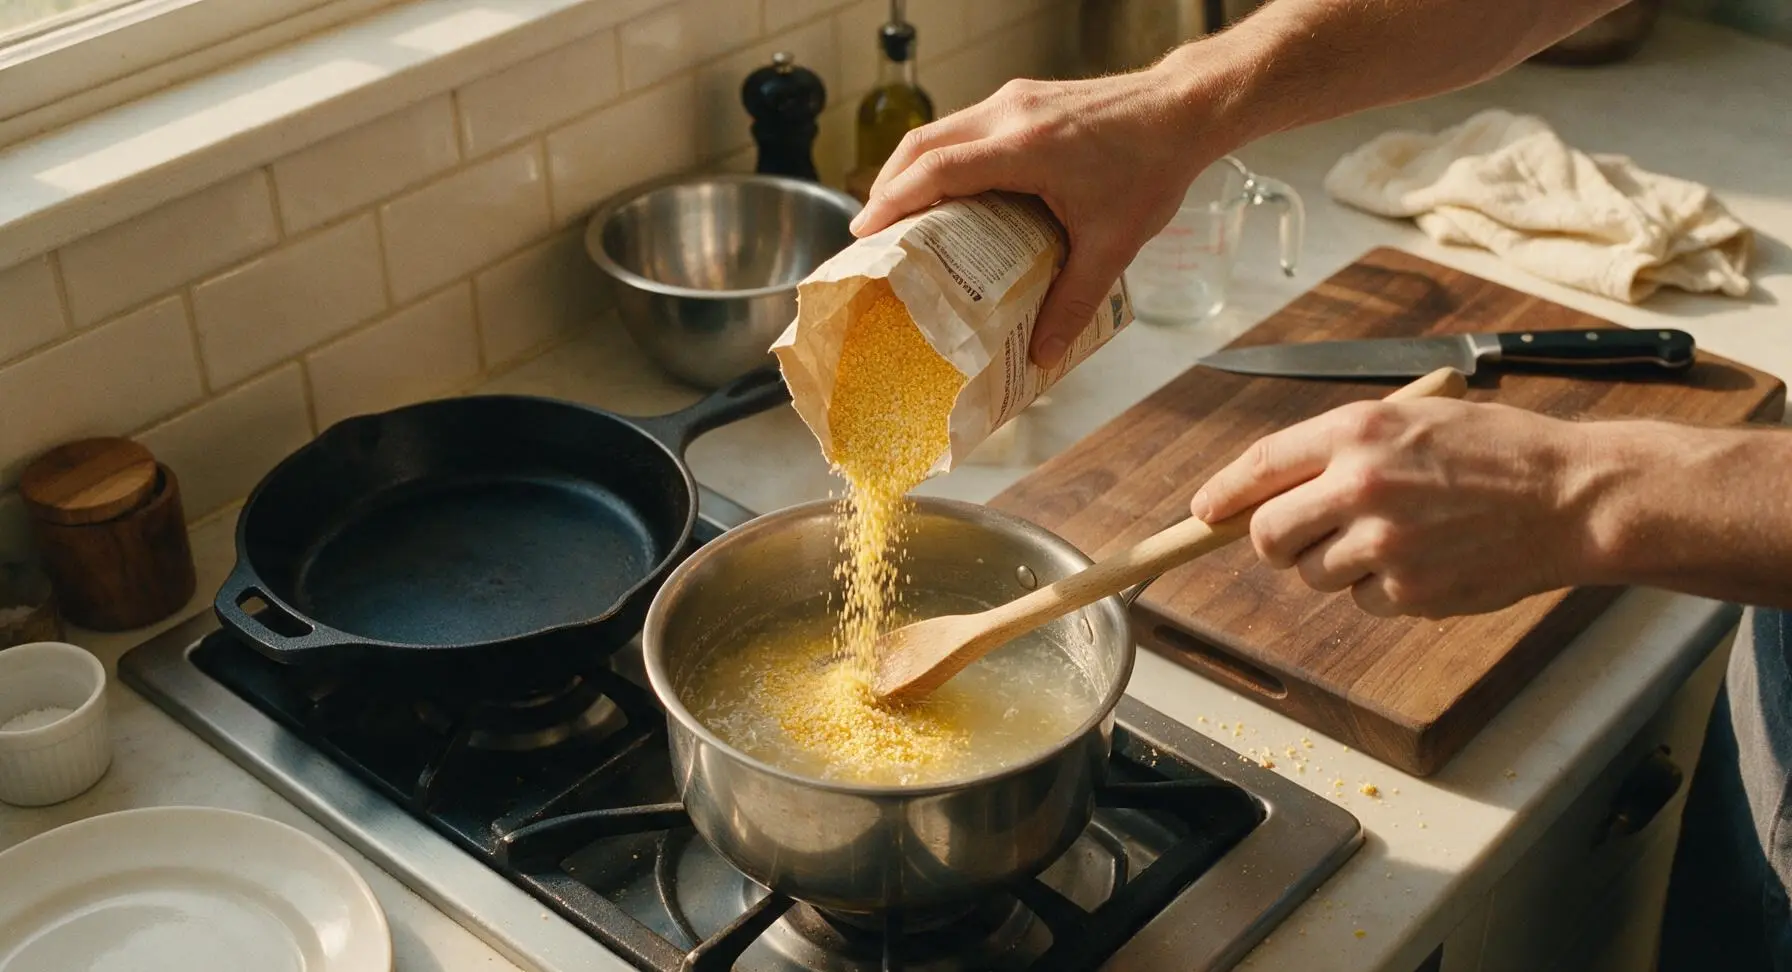
Once the liquid reaches a gentle simmer, reduce heat to medium-low to maintain a low, steady bubble. Slowly pour the 1 cup of stone-ground yellow cornmeal into the liquid in a thin, steady stream, stirring constantly with the long-handled beech wood stirring spoon to prevent lumps from forming. Never dump the full cup of cornmeal in all at once, as this will create dry, uncooked lumps that cannot be stirred smooth.
Step 2
step2:Whisk in Cornmeal
3

Simmer to Creamy Consistency

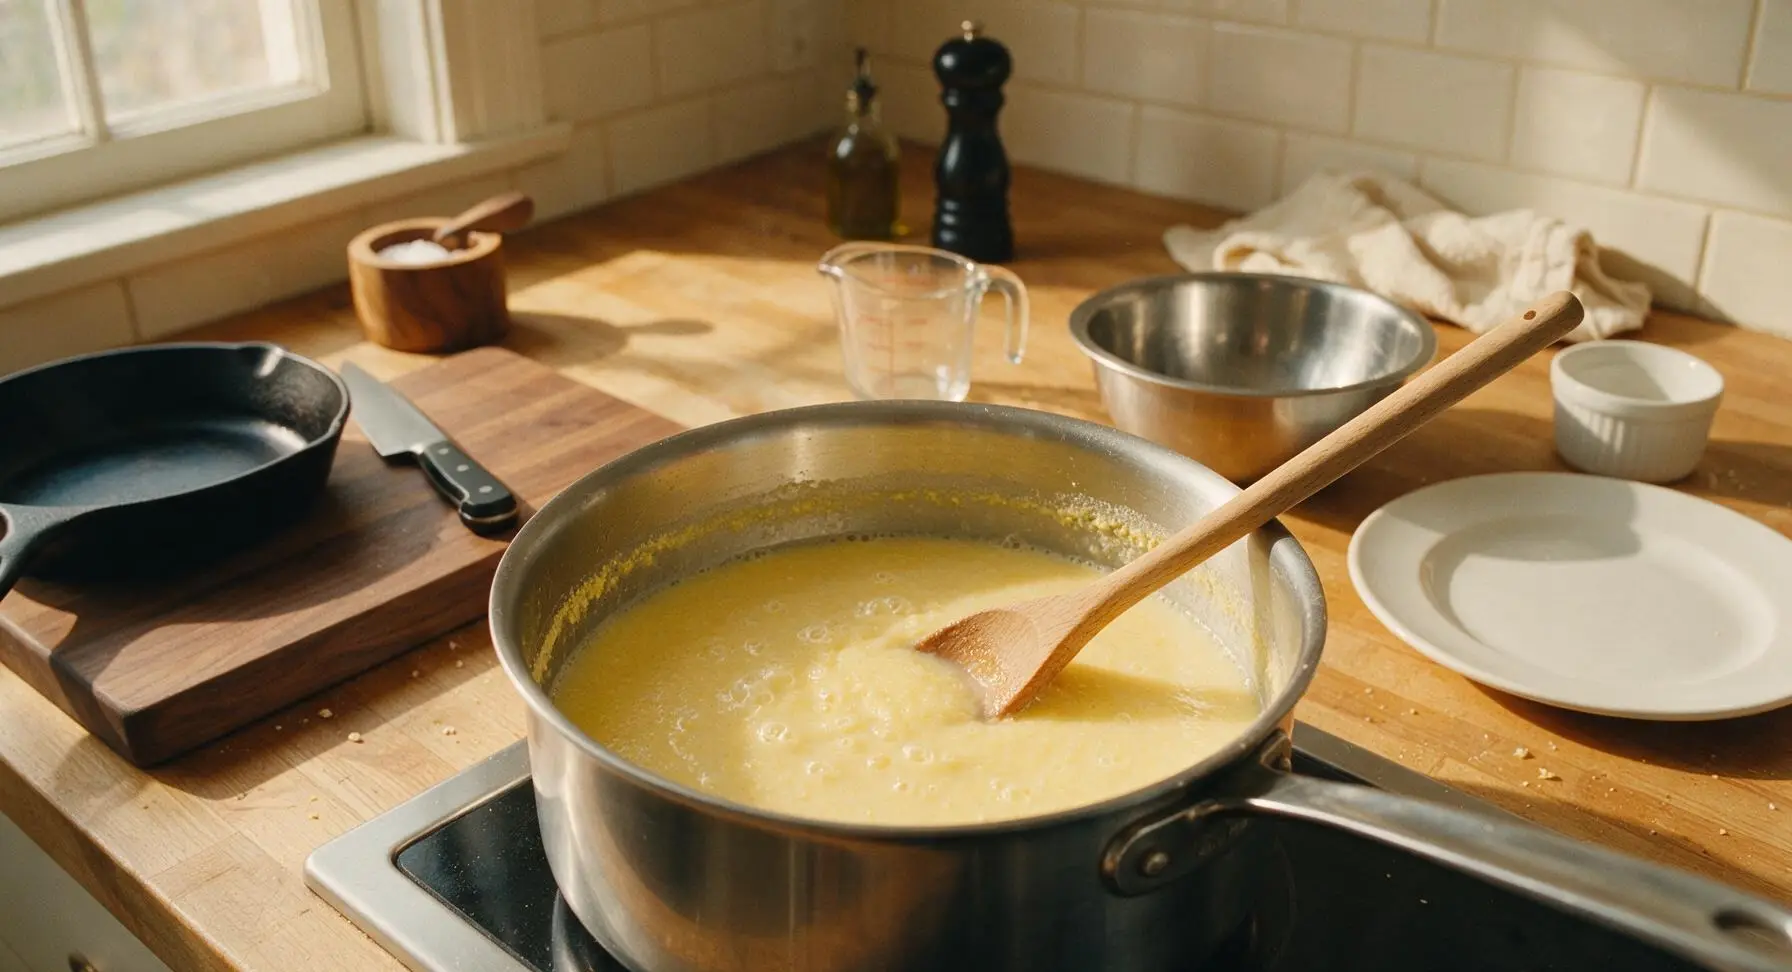
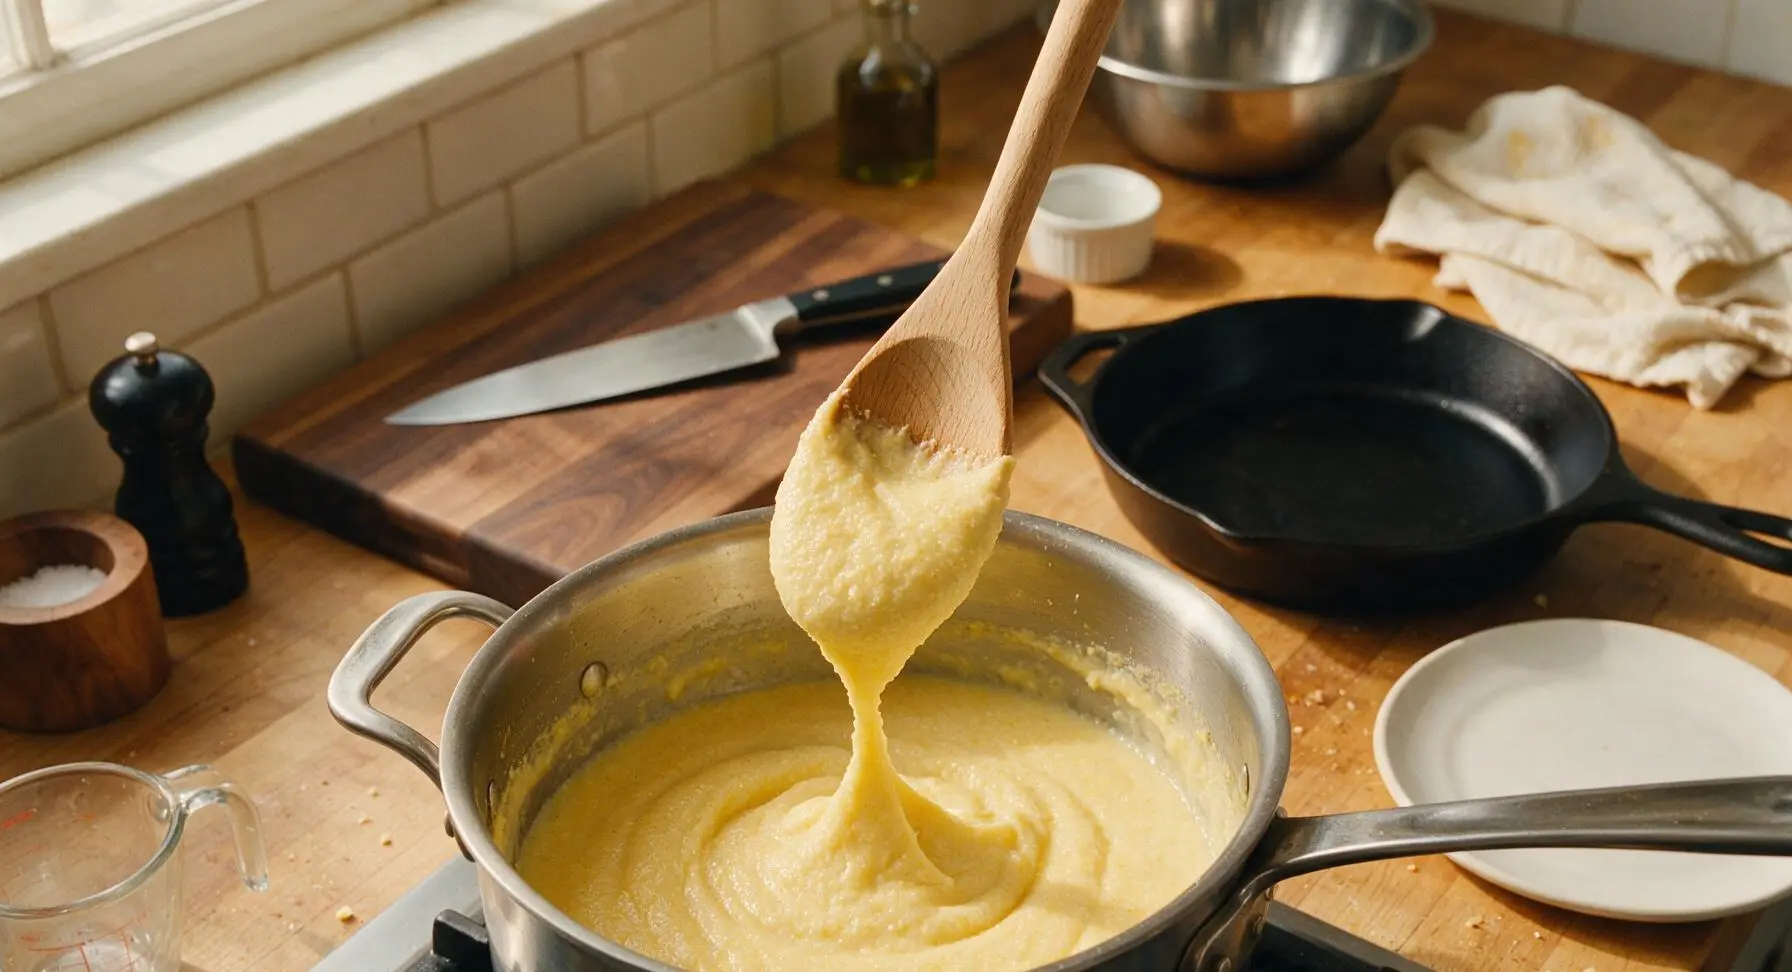
Continue cooking the cornmeal mixture over medium-low heat, stirring frequently with the beech wood stirring spoon to prevent sticking and burning on the bottom of the pot, for 7 to 8 minutes. The mush is fully cooked when it is thick enough to evenly coat the back of the spoon, and a line drawn with your finger across the spoon’s coated surface holds its shape without running. Taste to confirm there is no gritty, raw cornmeal texture remaining.
Step 3
step3:Simmer to Creamy Consistency
Step 3
step3:Simmer to Creamy Consistency
4

Stir in Unsalted Butter

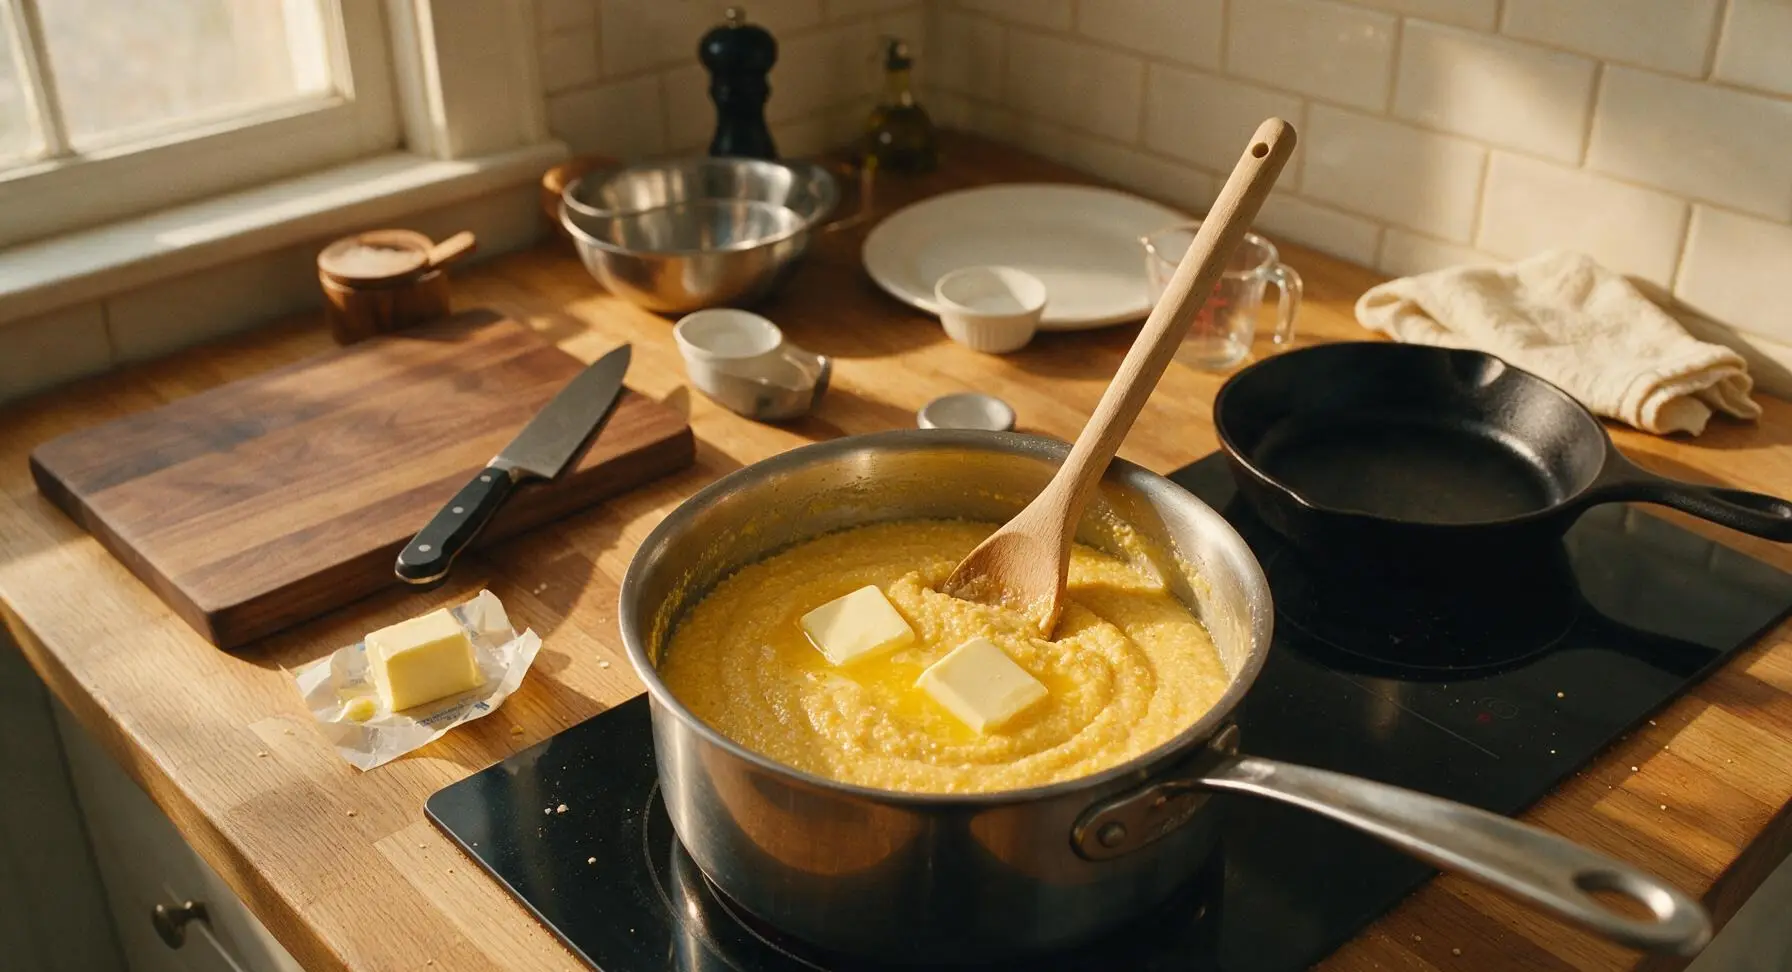
Once the mush reaches the correct thick consistency, turn off the induction cooktop heat. Add 2 tablespoons of unsalted butter to the pot, stirring thoroughly with the beech wood spoon until the butter is fully melted and incorporated, giving the mush a glossy, rich sheen. Scrape the bottom of the pot well to mix in any thicker mush that settled during cooking.
Step 4
step4:Stir in Unsalted Butter
5

Portion into Serving Bowls

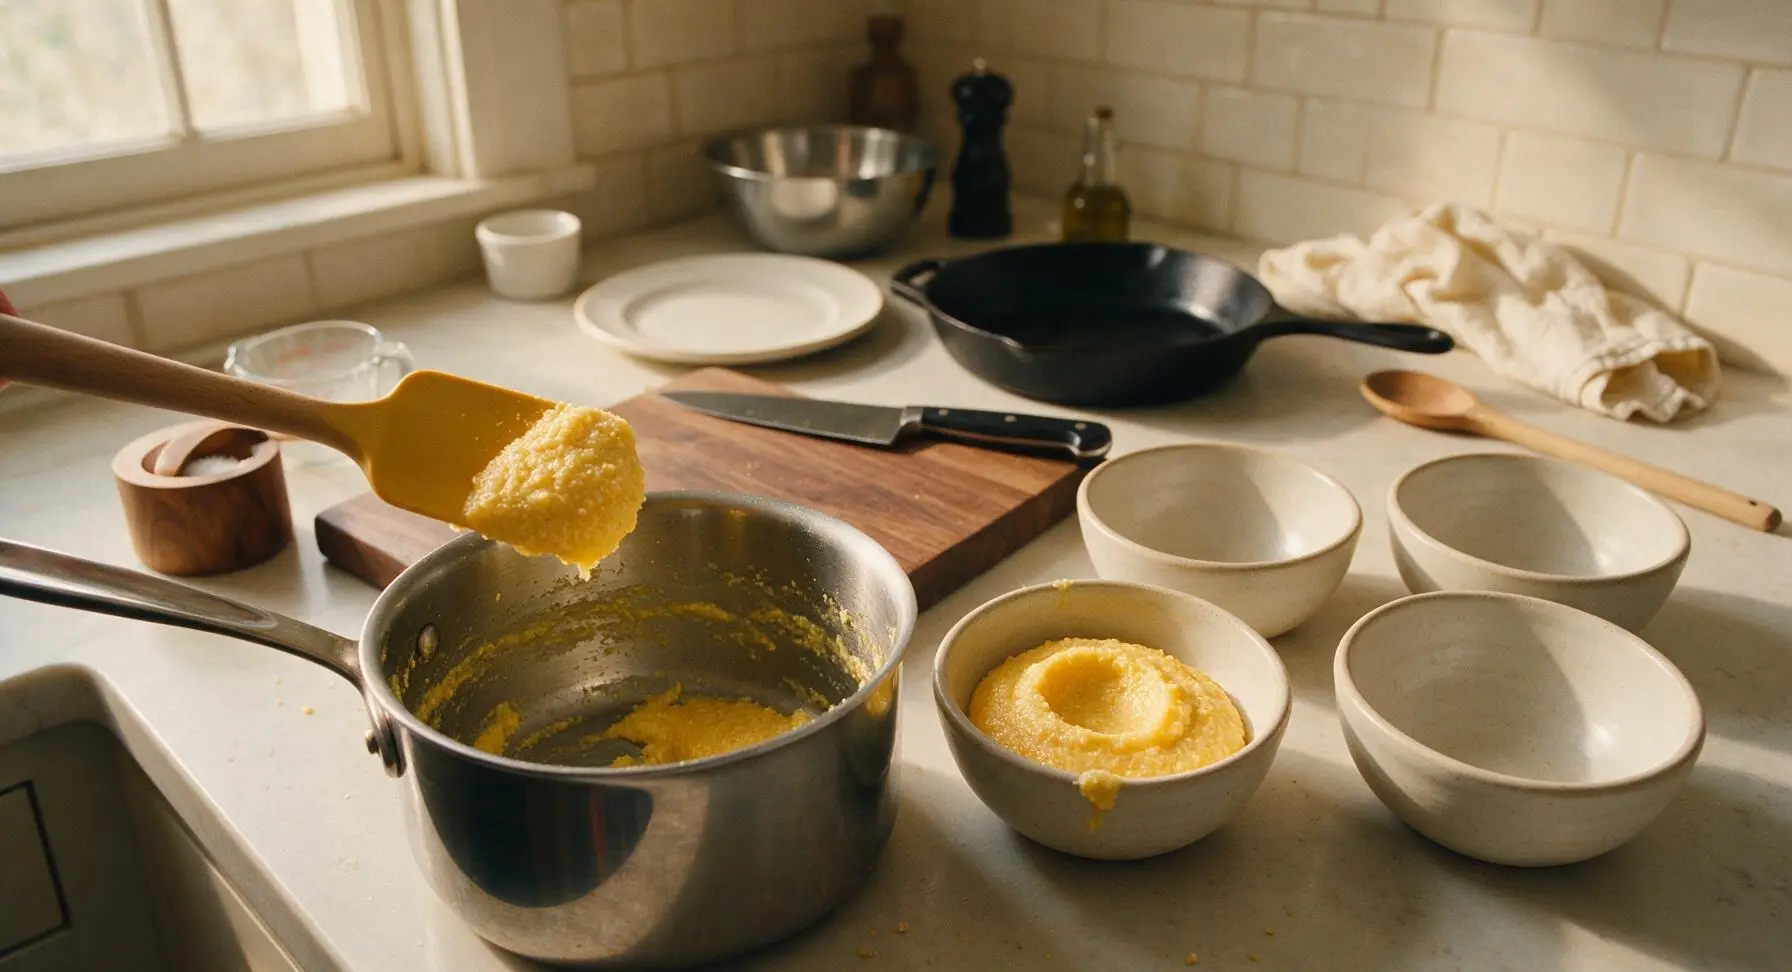
Using the matte honey-yellow silicone spatula, scoop equal 1-cup portions of the warm cornmeal mush into each of the four hand-thrown off-white ceramic cereal bowls. Scrape the sides and bottom of the saucepan thoroughly to collect every bit of mush, leaving the pot nearly empty. Gently smooth the top of each mound of mush with the back of the spatula to create a shallow 1-inch well in the center to hold honey.
Step 5
step5:Portion into Serving Bowls
6

Drizzle with Wildflower Honey

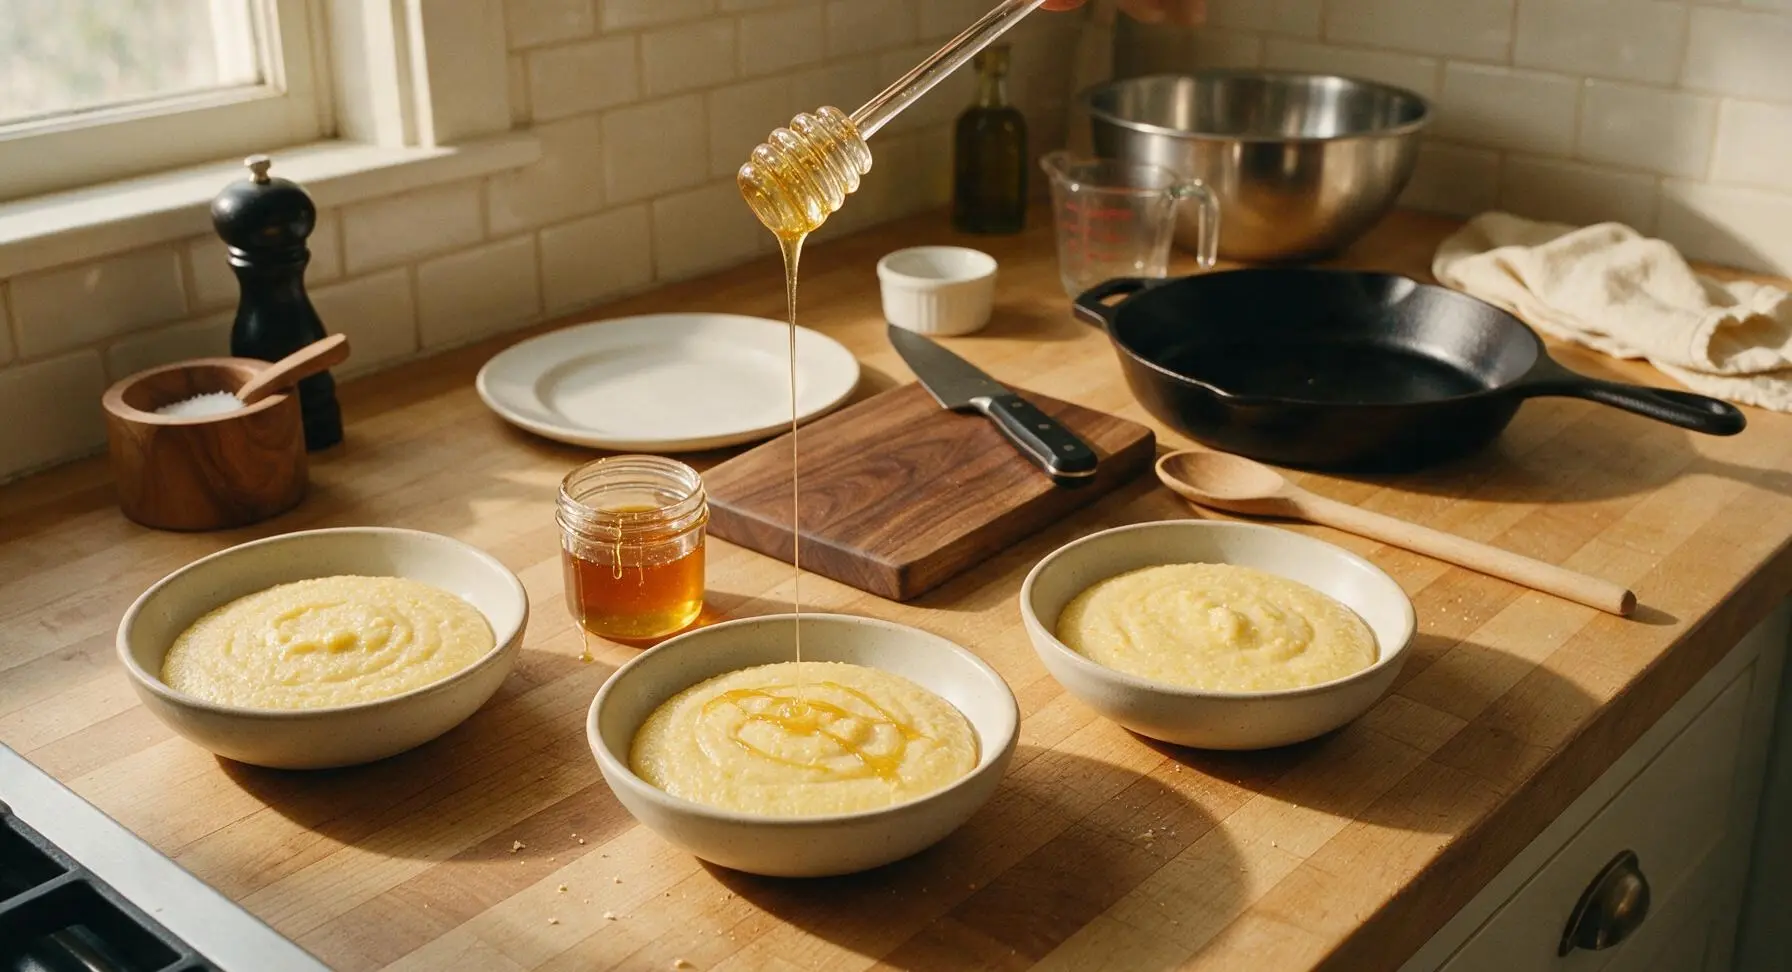
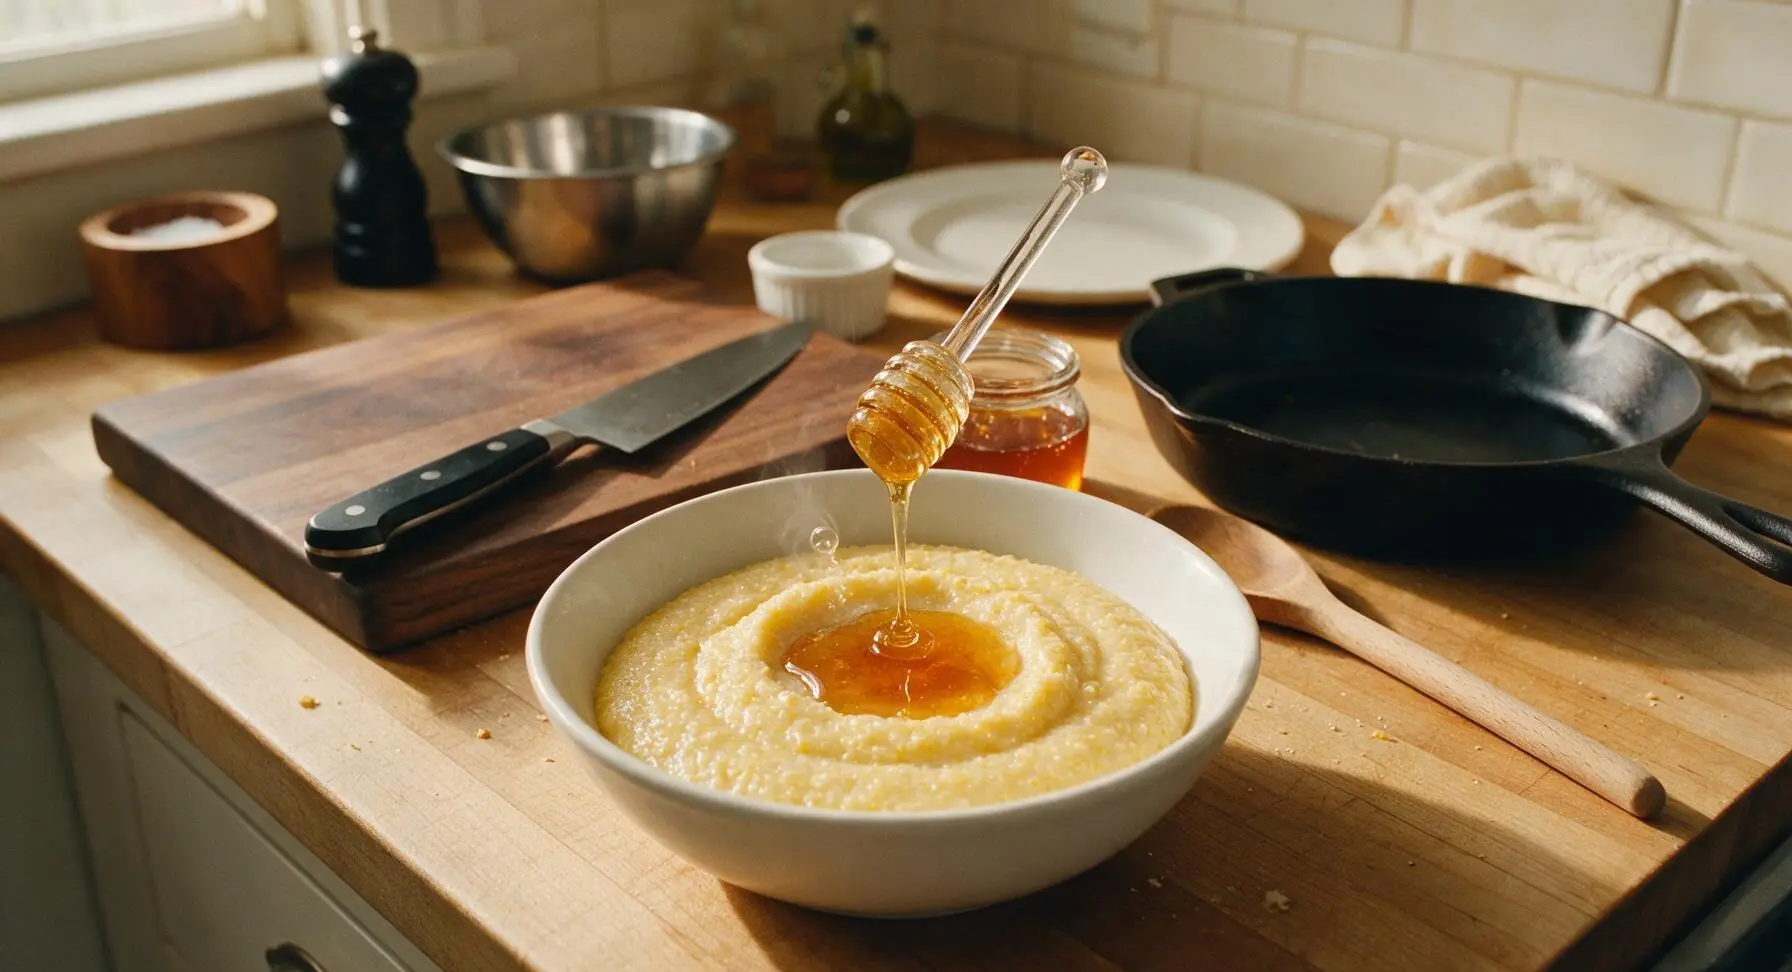
Using the glass honey dipper from the small clear glass honey pot, drizzle 3/4 tablespoon of wildflower honey over each bowl of mush, letting the honey pool slightly in the center well. Serve immediately while the mush is piping hot, so the honey stays runny and coats every bite.
Step 6
step6:Drizzle with Wildflower Honey
Step 6
step6:Drizzle with Wildflower Honey

Tips

1.Opt for coarse stone-ground cornmeal instead of finely ground degerminated cornmeal for the best results: stone-ground meal retains the nutrient-dense corn germ, delivering a nuttier, sweeter corn flavor and slightly rustic, toothsome texture, while finely ground meal often cooks into a gluey, pasty mush.
2.Always add cornmeal to gently simmering (not boiling) liquid in a slow, steady stream while stirring nonstop: dumping cornmeal into rapidly boiling liquid all at once causes dry, floury clumps to form that cannot be broken up, even with extended stirring, leading to lumpy, unevenly cooked mush.
3.For a classic make-ahead variation, pour freshly cooked mush into a greased 9x5-inch loaf pan and chill for 4 hours until firm, then slice into 1/2-inch thick pieces and pan-fry in butter until crispy and golden on both sides. Serve the fried slices with an extra drizzle of honey for a hearty, crunchy breakfast treat.


✨ You May Also Like

Breakfast
🍜 United States

Crisp-edged, fluffy lard griddle cakes are a nostalgic homestyle staple, with rich savoriness from rendered lard, perfect topped with maple syrup or savory gravy.

⏱️ 25 minuteBreakfast ★ 4.8
Breakfast
🍜 United States

Flaky, buttery homemade buttermilk biscuits smothered in creamy, peppery pork sausage gravy: a beloved, hearty Southern American comfort food classic.

⏱️ 35 minuteBreakfast ★ 4.8
Breakfast
🍜 United States

Golden, custardy brioche stuffed with sweet cream cheese and fresh berries, pan-fried to crisp perfection. An indulgent, cozy breakfast perfect for slow weekend mornings.

⏱️ 30 minuteBreakfast ★ 4.7
Breakfast
🍜 United States

Flaky, buttery Southern-style biscuits stuffed with savory salty country ham, a portable, satisfying classic perfect for casual on-the-go meals.

⏱️ 25 minuteBreakfast ★ 4.8
Breakfast
🍜 United States

Iconic puffy baked pancake popularized in Seattle, with crisp golden edges and soft custardy center, served warm with classic sweet toppings.

⏱️ 35 minuteBreakfast ★ 4.6
Breakfast
🍜 United States

Fluffy, golden pancakes studded with juicy peak-summer mixed berries, drizzled with maple syrup for a bright, comforting, crowd-pleasing family breakfast.

⏱️ 25 minuteBreakfast ★ 4.7

Cornmeal Mush with Honey:Frequently Asked Questions

1.Can I use regular fine cornmeal instead of stone-ground cornmeal for this recipe? ▾
You absolutely can, though stone-ground cornmeal delivers the signature nutty, hearty texture and deeper corn flavor that makes this classic Appalachian dish shine. Regular fine cornmeal will cook 2-3 minutes faster and produce a slightly smoother, less robust mush—just avoid self-rising cornmeal mixes, which have added salt and leavening that throw off flavor and texture.
2.What dairy-free swaps work for the whole milk and unsalted butter in this mush? ▾
For a great dairy-free version, swap whole milk for unsweetened oat milk, which has the closest creamy, mild flavor to dairy for this recipe, and replace butter with unrefined coconut oil or vegan butter. Stick to plain, unsweetened non-dairy options to avoid clashing with warm corn and sweet honey notes, and add a tiny extra pinch of salt to amp up flavor.
3.How do I prevent lumps from forming in my cornmeal mush? ▾
Lumps form when dry cornmeal hits boiling liquid too fast and clumps before it can hydrate evenly. Prevent this by whisking cornmeal into cold water first before bringing the pot up to heat, or slowly sprinkling meal into simmering liquid while whisking constantly. If small lumps do form, a quick 30-second blend with an immersion blender will smooth them right out.
4.Can I make this cornmeal mush ahead of time? ▾
You can prep this mush up to 3 days ahead! Store cooled, tightly covered mush in the fridge—note that it will firm up significantly as it chills. To reheat, stir in a splash of extra milk or water over low heat, whisking until it returns to that signature velvety, spoonable consistency before topping with butter and honey.
5.Why does the recipe use a mix of milk and water instead of all milk? ▾
Using a balanced mix of whole milk and water strikes the perfect flavor and texture note: milk adds rich, creamy depth and subtle sweetness, while water keeps bright corn flavor front and center so the dish doesn’t taste heavy or muted. Cooking in all milk also leads to faster scorching on the pot bottom, since milk solids burn at a lower temperature than water.
6.What cornmeal-to-liquid ratio gives the best soft, spoonable mush? ▾
For that velvety, not-too-thick, not-too-runny spoonable texture ready in 20 minutes, use a 1:4 ratio of cornmeal to total liquid. That means 1 cup of stone-ground yellow cornmeal for every 4 cups of combined milk and water, which will hold a drizzle of honey without turning gummy or stiff as it cools slightly before serving.
7.Can I use this recipe to make the classic fried cornmeal mush I grew up eating? ▾
Absolutely! This recipe makes a perfect base for fried cornmeal mush, a beloved Appalachian variation. If you plan to fry it, cook the mush as directed, pour it into a lightly greased loaf pan, chill for 4+ hours until fully firm, slice into ½-inch slabs, and pan-fry in butter until crispy on both sides before drizzling with honey.
8.Do I really need to add fine sea salt if I’m topping the mush with sweet honey? ▾
That small pinch of fine sea salt is non-negotiable, even for a sweet-topped serving! Salt amplifies the natural toasty sweetness of the corn and balances the bright, floral notes of wildflower honey, so the dish doesn’t taste flat or one-note. You only need ¼ teaspoon per cup of cornmeal, so it won’t make the mush taste savory at all.
9.What other toppings pair well with this cornmeal mush besides wildflower honey? ▾
While wildflower honey’s warm, floral notes pair perfectly with creamy corn, you can swap in or add other toppings to mix things up: toasted pecans or walnuts, a sprinkle of ground cinnamon, a dollop of Greek yogurt, fresh sliced peaches or berries, a drizzle of maple syrup, or a light pinch of flaky sea salt for an extra pop of flavor.
10.How do I keep the mush from sticking and scorching on the bottom of the pot? ▾
Sticking and scorching happens most often when heat is too high, or you don’t stir frequently enough. Use a heavy-bottomed saucepan to distribute heat evenly, keep the liquid at a gentle simmer rather than a rolling boil, and stir with a wooden spoon every 30 to 45 seconds, making sure to scrape the full bottom of the pot as you go.
11.Is this cornmeal mush recipe naturally gluten-free? ▾
As written, this cornmeal mush is naturally gluten-free, as long as you use certified gluten-free stone-ground cornmeal. Cross-contamination can happen during milling if corn is processed on equipment that also handles wheat, barley, or rye, so double-check your cornmeal label if cooking for someone with celiac disease or severe gluten sensitivity.
12.Can I use coarse-ground cornmeal instead of the recommended stone-ground yellow cornmeal? ▾
Coarse-ground cornmeal will work, but it will require 5 to 7 extra minutes of cooking time to fully soften and reach that velvety consistency, and it will have a chewier, more textured final bite. If you use coarse meal, add an extra ¼ cup of liquid to account for extra absorption as it cooks, so the mush doesn’t turn out too thick.
13.How long does leftover cornmeal mush stay fresh, and can I freeze it? ▾
Cooked cornmeal mush will stay fresh for 3 to 4 days in an airtight container in the fridge. It also freezes well for up to 3 months: portion it into individual freezer-safe containers, leave a little headspace for expansion, and thaw in the fridge overnight before reheating gently on the stovetop with a splash of milk to restore creaminess.
14.My last batch of mush turned out gummy and gluey—what did I do wrong? ▾
A gummy, gluey texture almost always comes from one of two missteps: either you cooked the mush at too high a temperature, which breaks down cornmeal starches too quickly, or you stirred it too vigorously for too long after it finished cooking. Next time, keep heat at a low simmer, stir just enough to prevent sticking, and pull it off heat once it coats the back of a spoon.

Comments (5)

3 days ago

OMG this was SO good! I threw this together on a busy school morning when we were running late for the bus and my kids devoured it. I added a tiny sprinkle of cinnamon on top and it tasted like a warm, cozy hug. 15 minute cook time is no joke — total game changer for chaotic weekdays!

2 days ago

The cinnamon sprinkle idea is genius! I’m making this for my grandson this weekend, definitely stealing that tip.

yesterday

So happy your kids loved it! The cinnamon addition sounds absolutely perfect — warm spices pair so beautifully with the honey and cornmeal. So glad this works for your busy school mornings!

1 week ago

Tried this for meal prep this week! Portioned it out into 5 containers with a little extra drizzle of honey and some sliced bananas on the side, and it held up perfectly in the fridge. Way cheaper than buying those premade oatmeal cups at the grocery store, and way less added sugar. Only note: make sure you whisk constantly so you don’t get lumps!

5 days ago

Great tip about the constant whisking! Love the meal prep idea with sliced bananas — that sounds like such a satisfying, easy grab-and-go breakfast. Thanks for sharing your hack!

2 weeks ago

This tastes exactly like the cornmeal mush my mom used to make when I was a kid growing up in Georgia! I was worried it would be too complicated but it was so easy, I didn’t even have to pull out my old recipe box. Served it with a pat of salted butter under the honey and my whole family asked for seconds at Sunday dinner.

1 week ago

The pat of salted butter is non-negotiable for me too! Cuts the sweetness perfectly, such a classic touch.

5 days ago

There’s nothing quite like a recipe that brings back childhood memories, right? The salted butter addition is such a smart, delicious call — that sweet-salty balance is unbeatable. So glad your family enjoyed it for Sunday dinner!

5 days ago

Made this for a potluck brunch last weekend and people kept coming back for more! I used a locally sourced wildflower honey and it gave the mush the most amazing floral, bright flavor. Super easy to scale up for a crowd too, I tripled the recipe and it still cooked in right around 15 minutes, no extra time needed. Knocked off one star because I accidentally burned the first batch when I turned the heat up too high, oops! Just remember to keep it on medium-low, folks.

3 days ago

Oh I burned my first batch too! Turned the heat down like you said and the second pan came out perfect. The local honey tip is chef’s kiss, I did that too and it tasted incredible.

2 hours ago

Perfect quick breakfast before an early morning hike! I packed this in an insulated thermos and it stayed warm all the way up the trail, even when it was 30 degrees out. Topped it with some toasted pecans for extra crunch and protein, kept me full for the entire 4 mile trek. Will definitely be making this all winter long.



