
cowboy hash brown casserole

title 1
cowboy hash brown casserole
⏱️ cook time 1 hour
🍽️ servings 8
⚡ Difficulty easy

intro

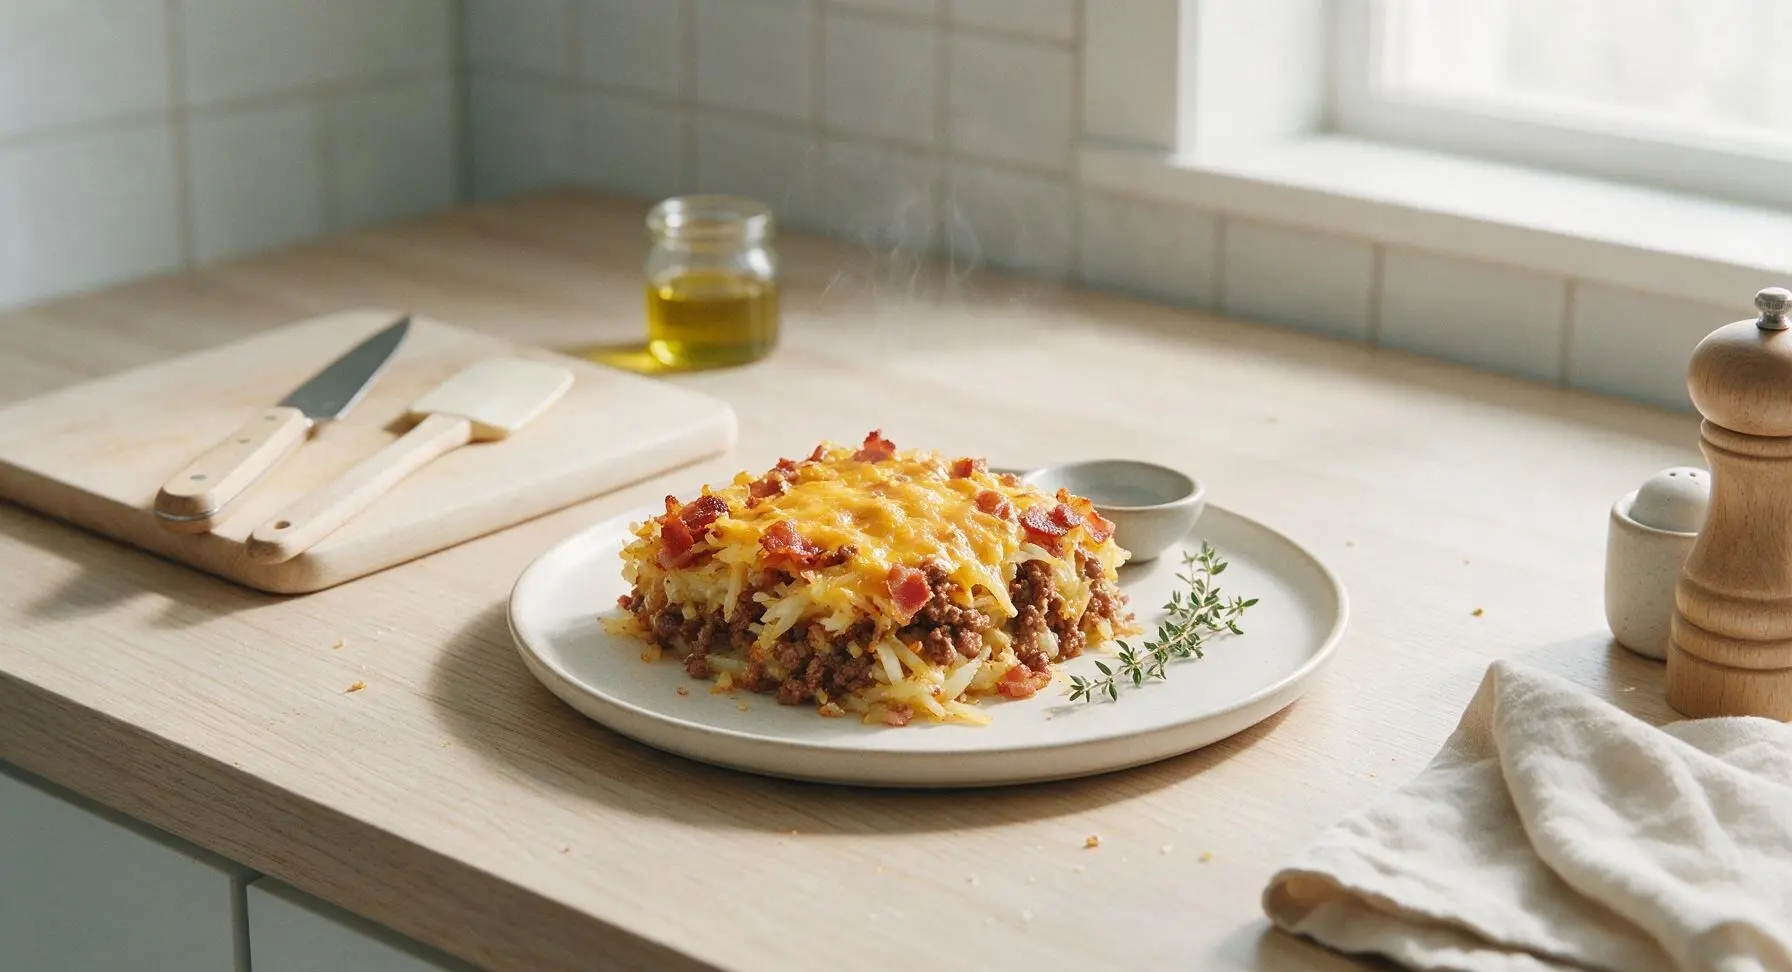
Hearty, cheesy cowboy hash brown casserole loaded with crispy hash browns, smoky bacon, savory ground beef, and golden melted cheddar is the ultimate crowd-pleasing make-ahead comfort food.

Ingredients
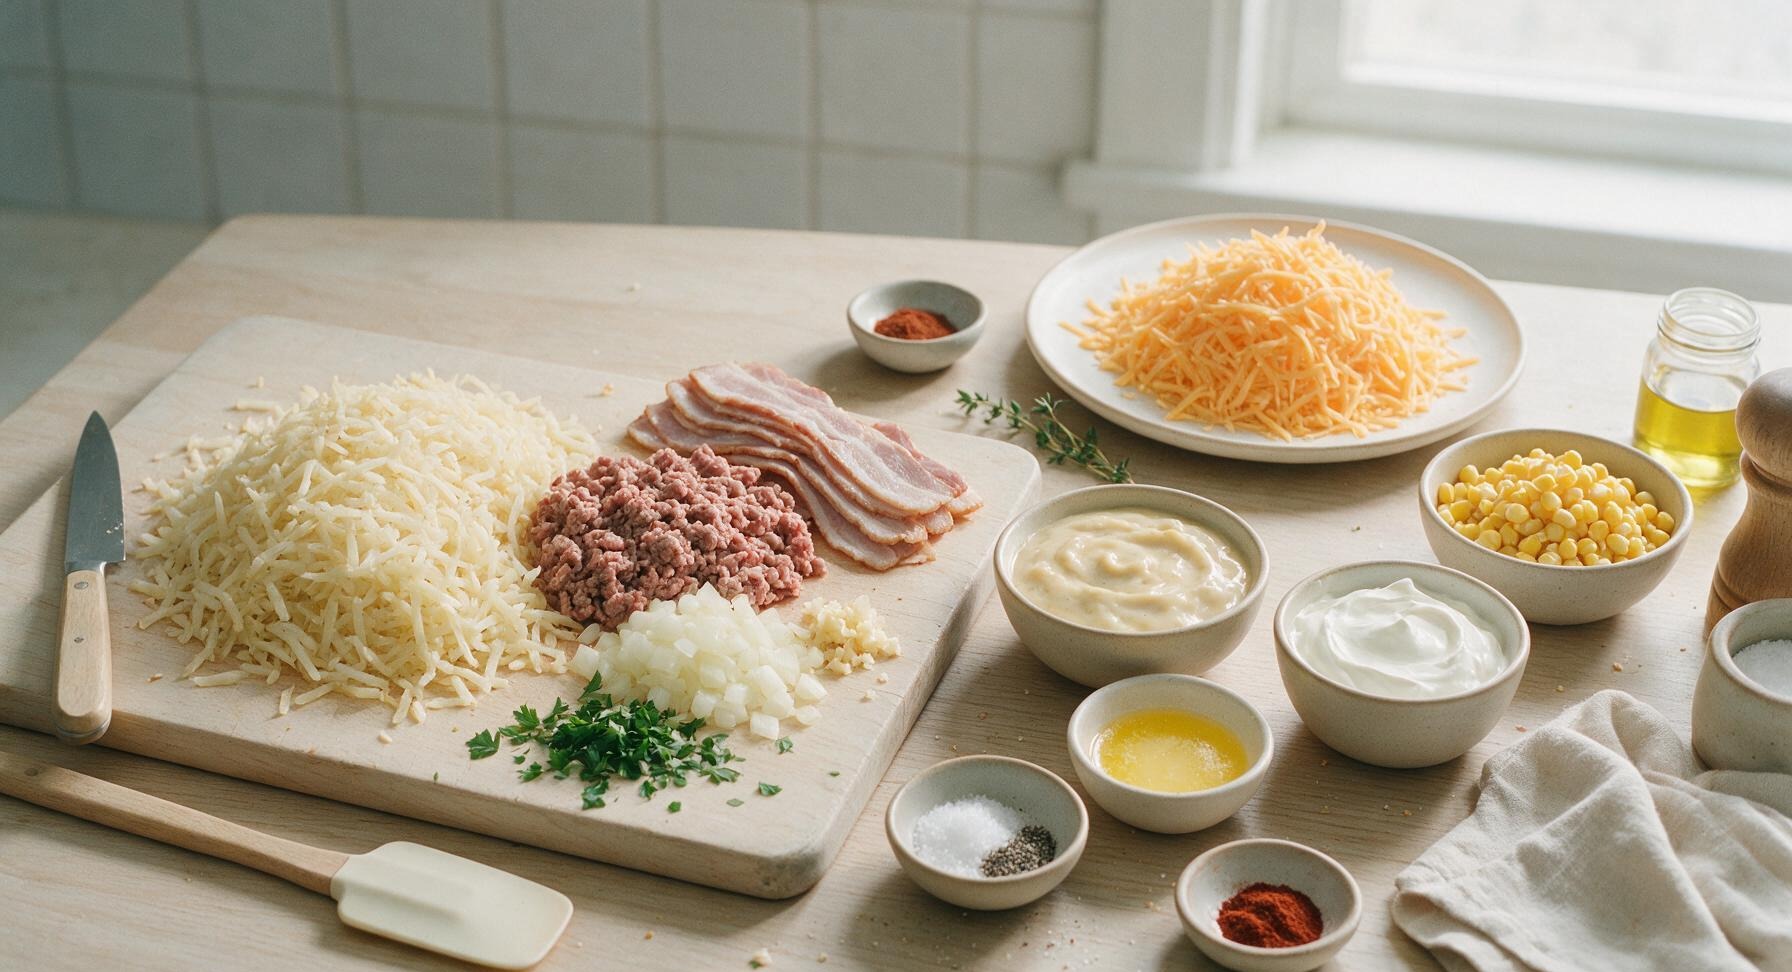
Frozen shredded hash browns, thawed 900g (2 lbs)
80/20 ground beef 450g (1 lb)
Thick-cut bacon 170g (6 slices)
Sharp cheddar cheese, shredded 340g (3 cups)
Yellow onion, diced 1 medium (150g)
Garlic cloves, minced 3 cloves (10g)
Condensed cream of mushroom soup 1 can (305g)
Full-fat sour cream 227g (1 cup)
Frozen sweet corn, thawed 150g (1 cup)
Unsalted butter, melted 57g (4 tbsp)
Kosher salt 1 tsp
Freshly ground black pepper 1/2 tsp
Smoked paprika 1/2 tsp
Fresh flat-leaf parsley, chopped 2 tbsp

Steps

1

Cook Bacon and Beef

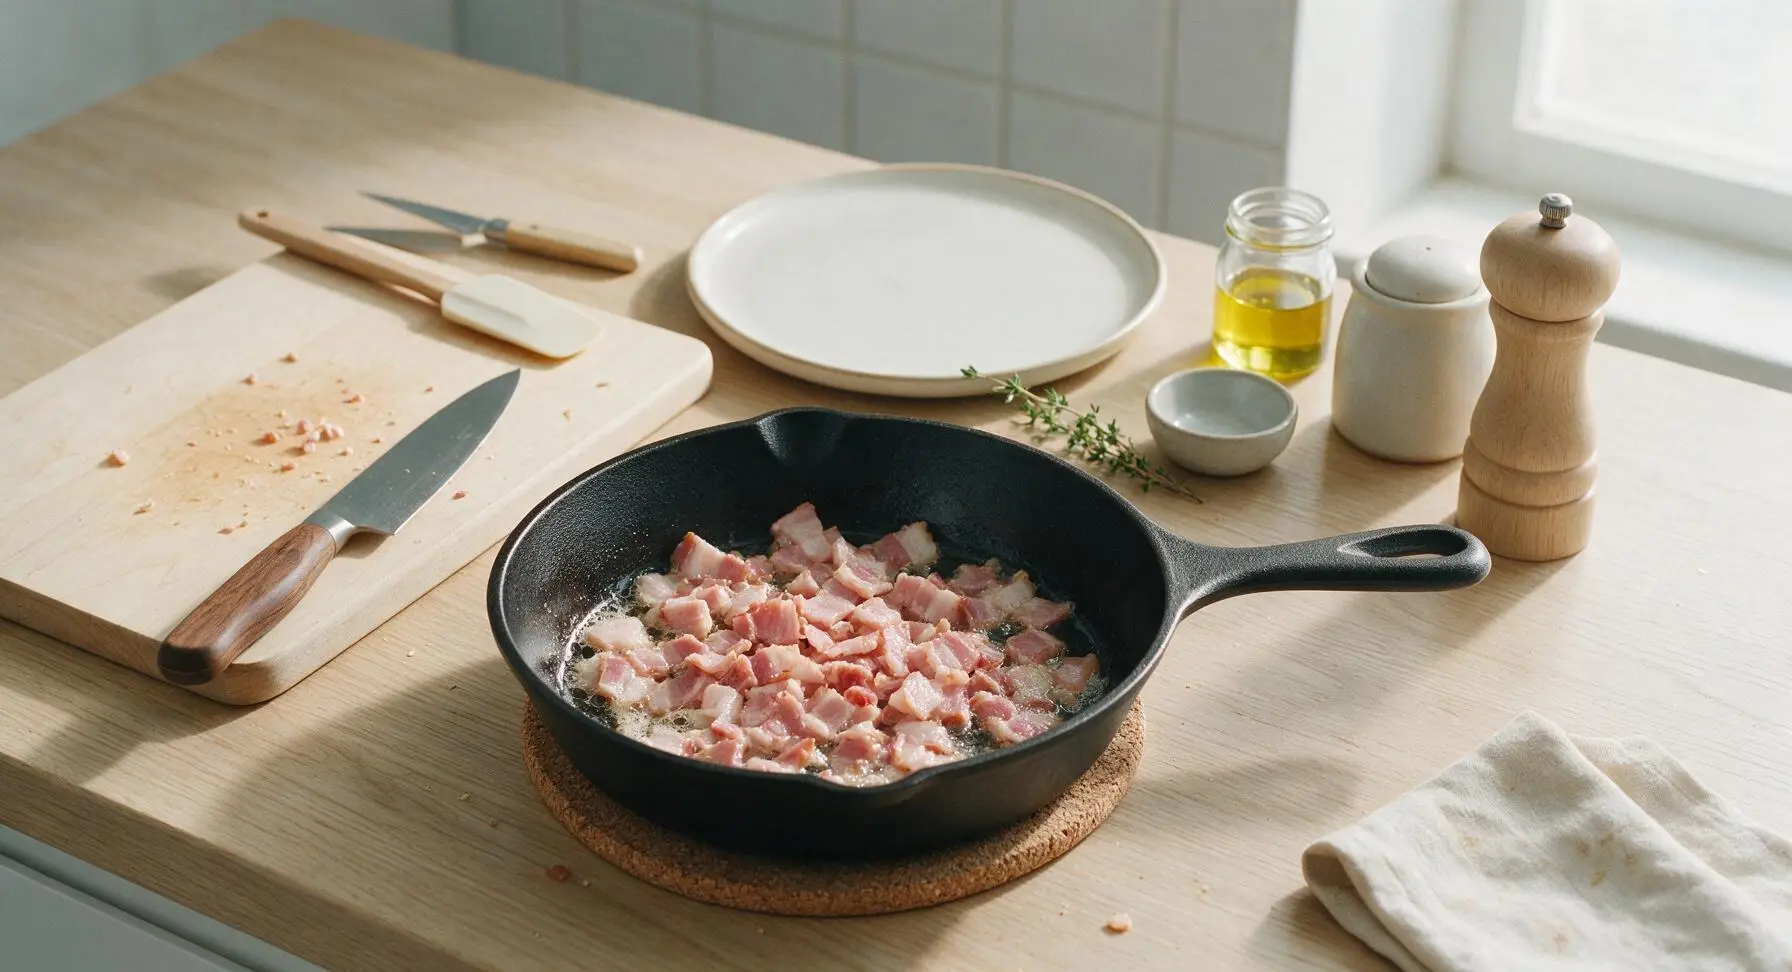
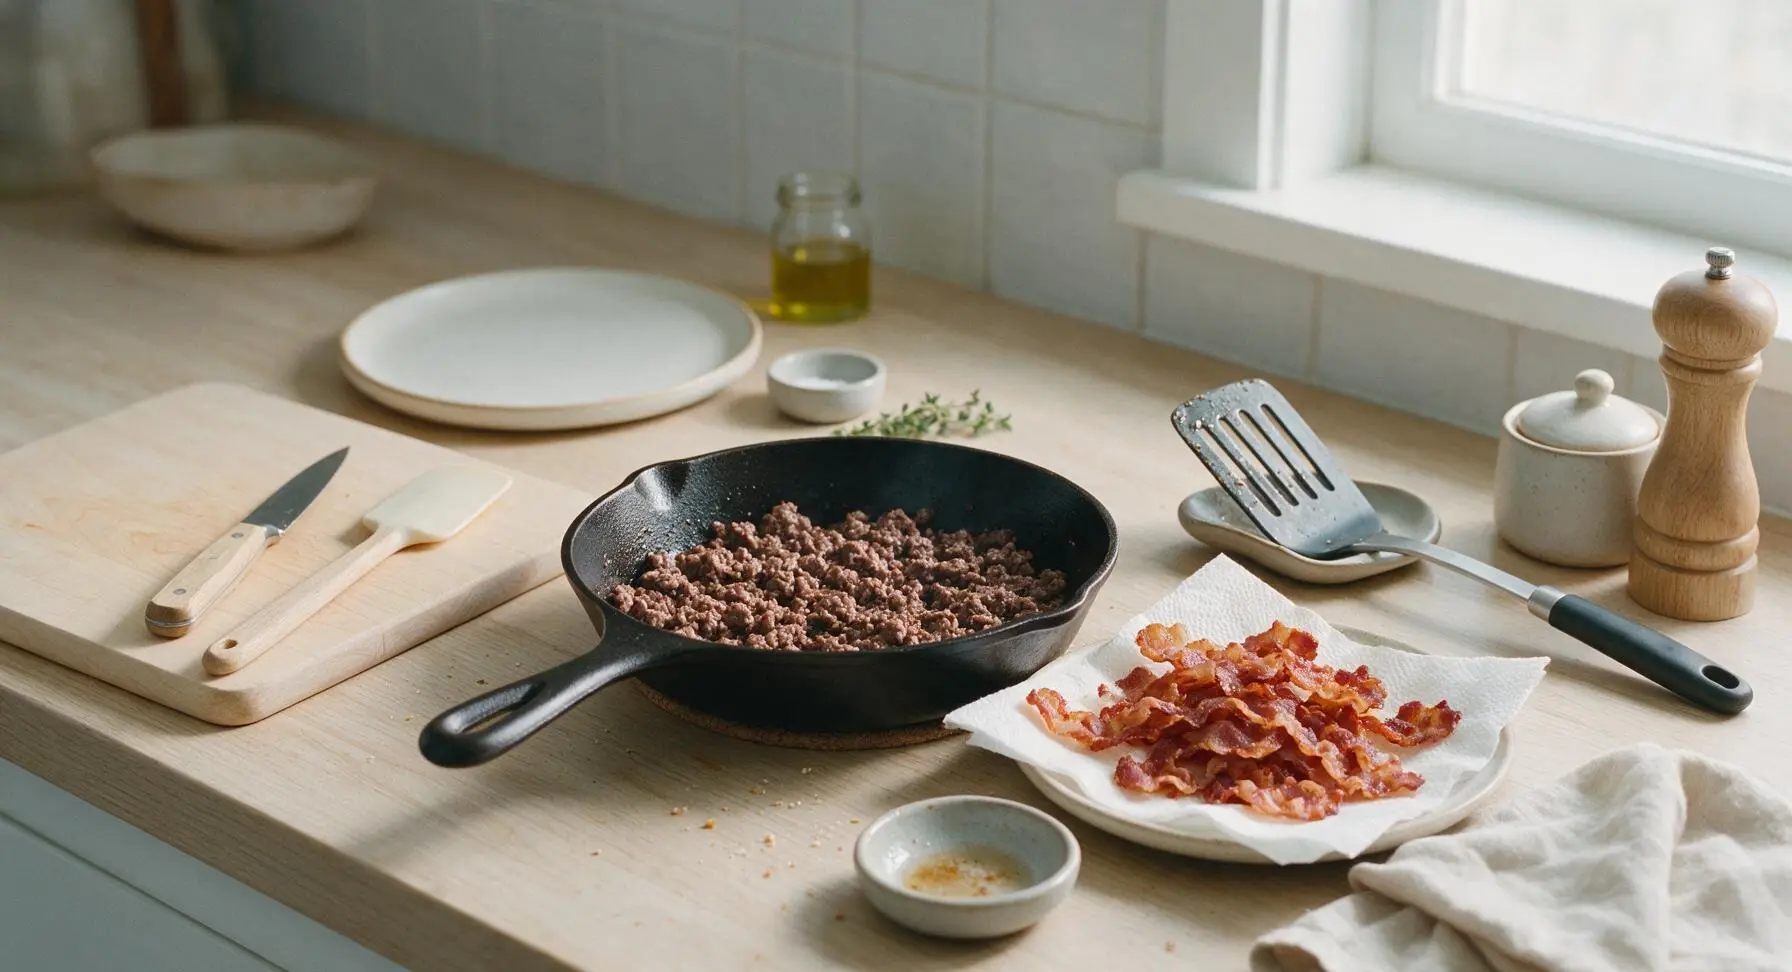
Place the cast iron skillet over medium heat (350°F / 175°C). Chop 6 slices (170g) thick-cut bacon into 1/2-inch pieces using the chef knife on the maple cutting board. Add bacon to the skillet and cook 5 minutes, stirring occasionally, until crispy and fully rendered. Use the slotted turner to transfer bacon to a paper-towel lined plate, leaving 1 tablespoon of bacon fat in the skillet. Add 450g 80/20 ground beef to the skillet, break apart into small crumbles with the mixing spoon, and cook 6-7 minutes until fully browned with no pink remaining. Drain all excess grease from the beef.
Step 1
step1:Cook Bacon and Beef
Step 1
step1:Cook Bacon and Beef
2

Sauté Onion and Garlic

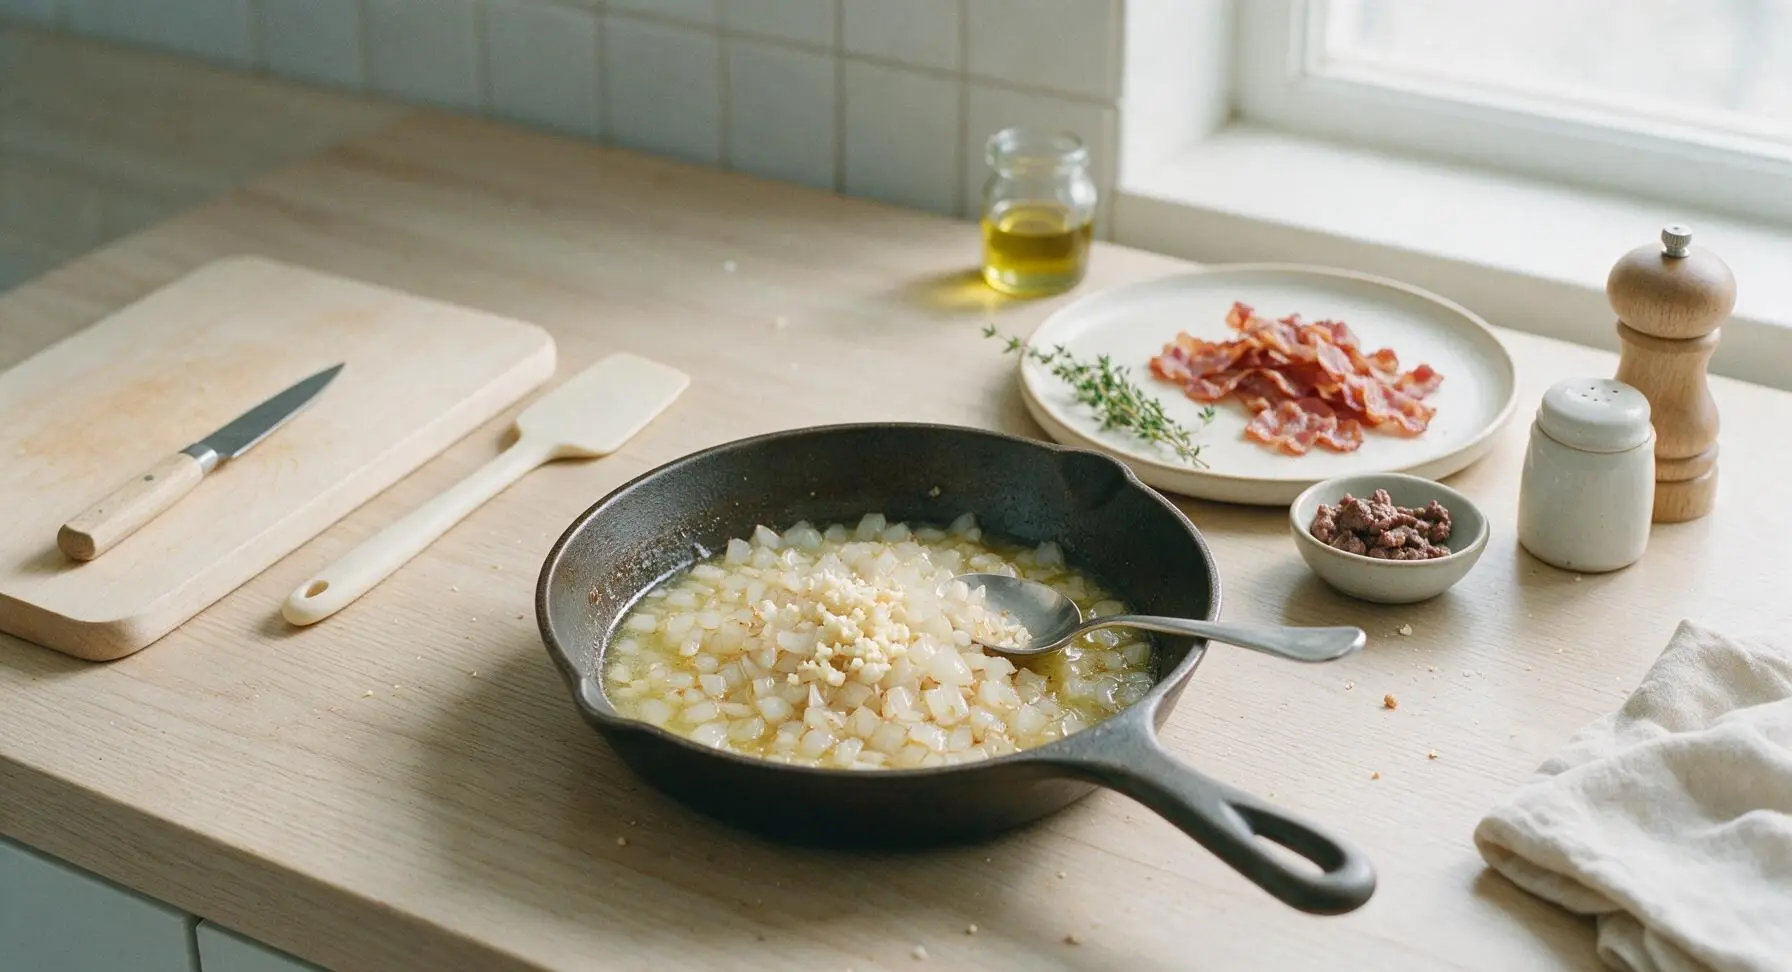
In the same cast iron skillet with the reserved 1 tablespoon of bacon fat, add 1 medium (150g) diced yellow onion. Cook over medium heat for 4 minutes, stirring occasionally, until soft and translucent. Add 3 minced garlic cloves (10g) and cook 30 seconds more, until fragrant—do not let the garlic turn brown, as it will become bitter. Remove the skillet from heat.
Step 2
step2:Sauté Onion and Garlic
3

Squeeze Hash Browns Dry

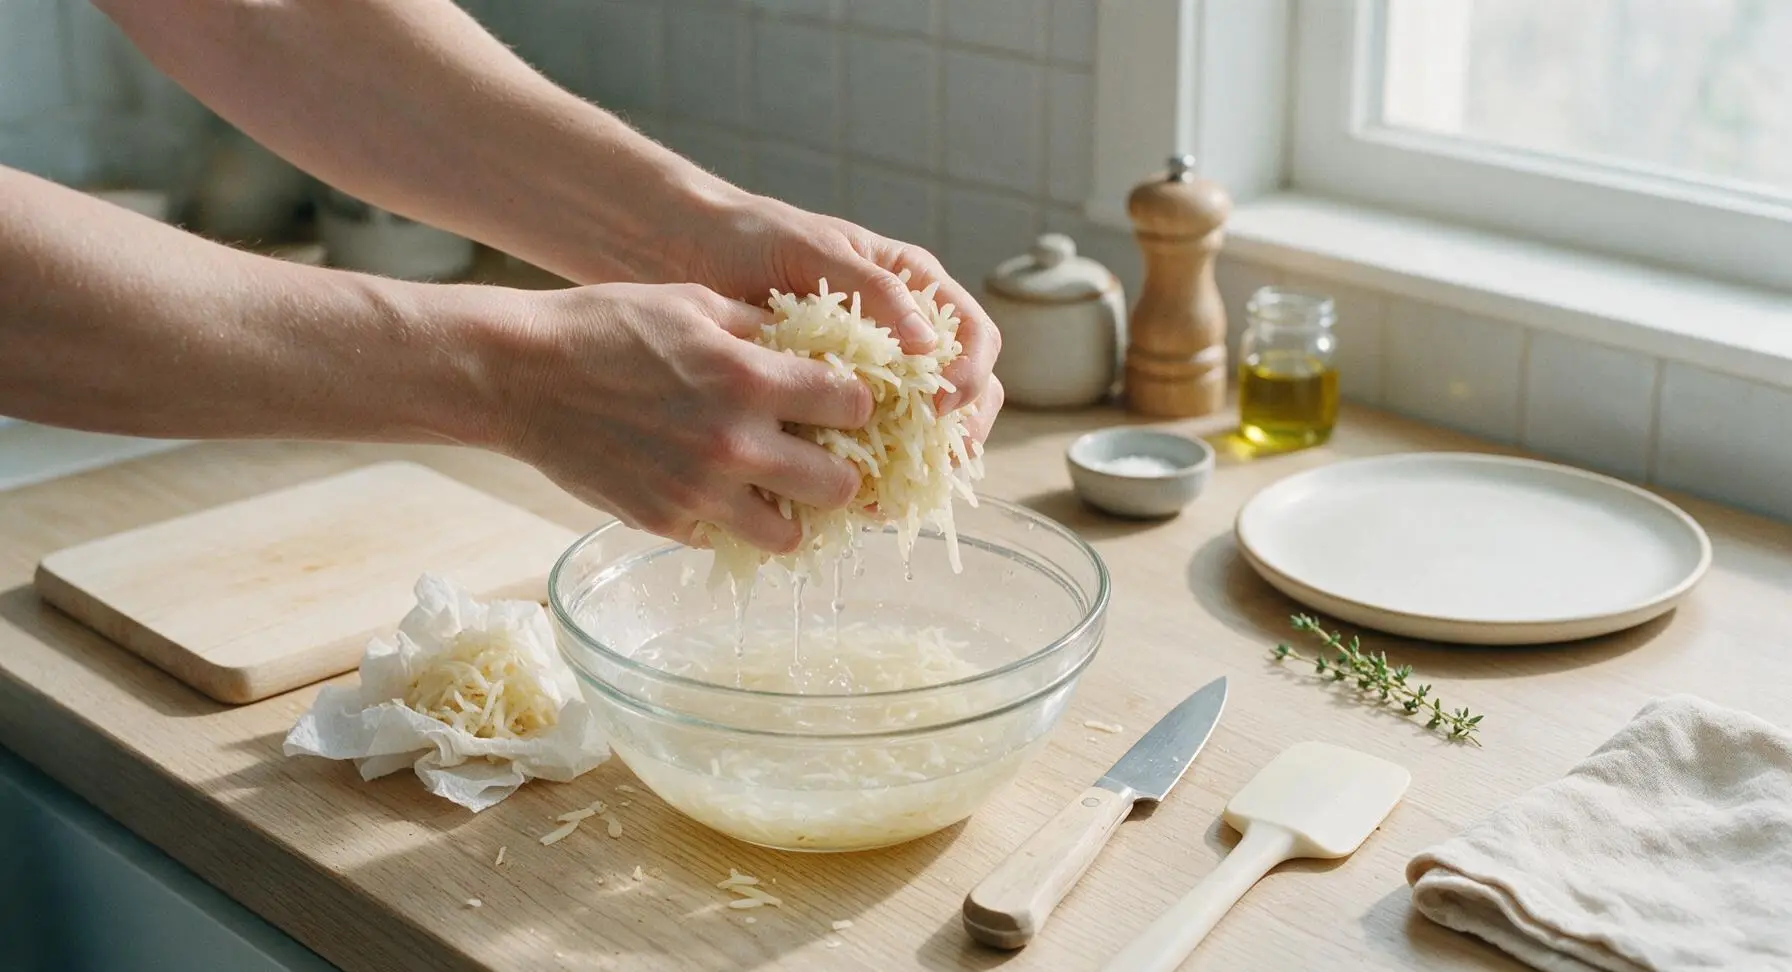
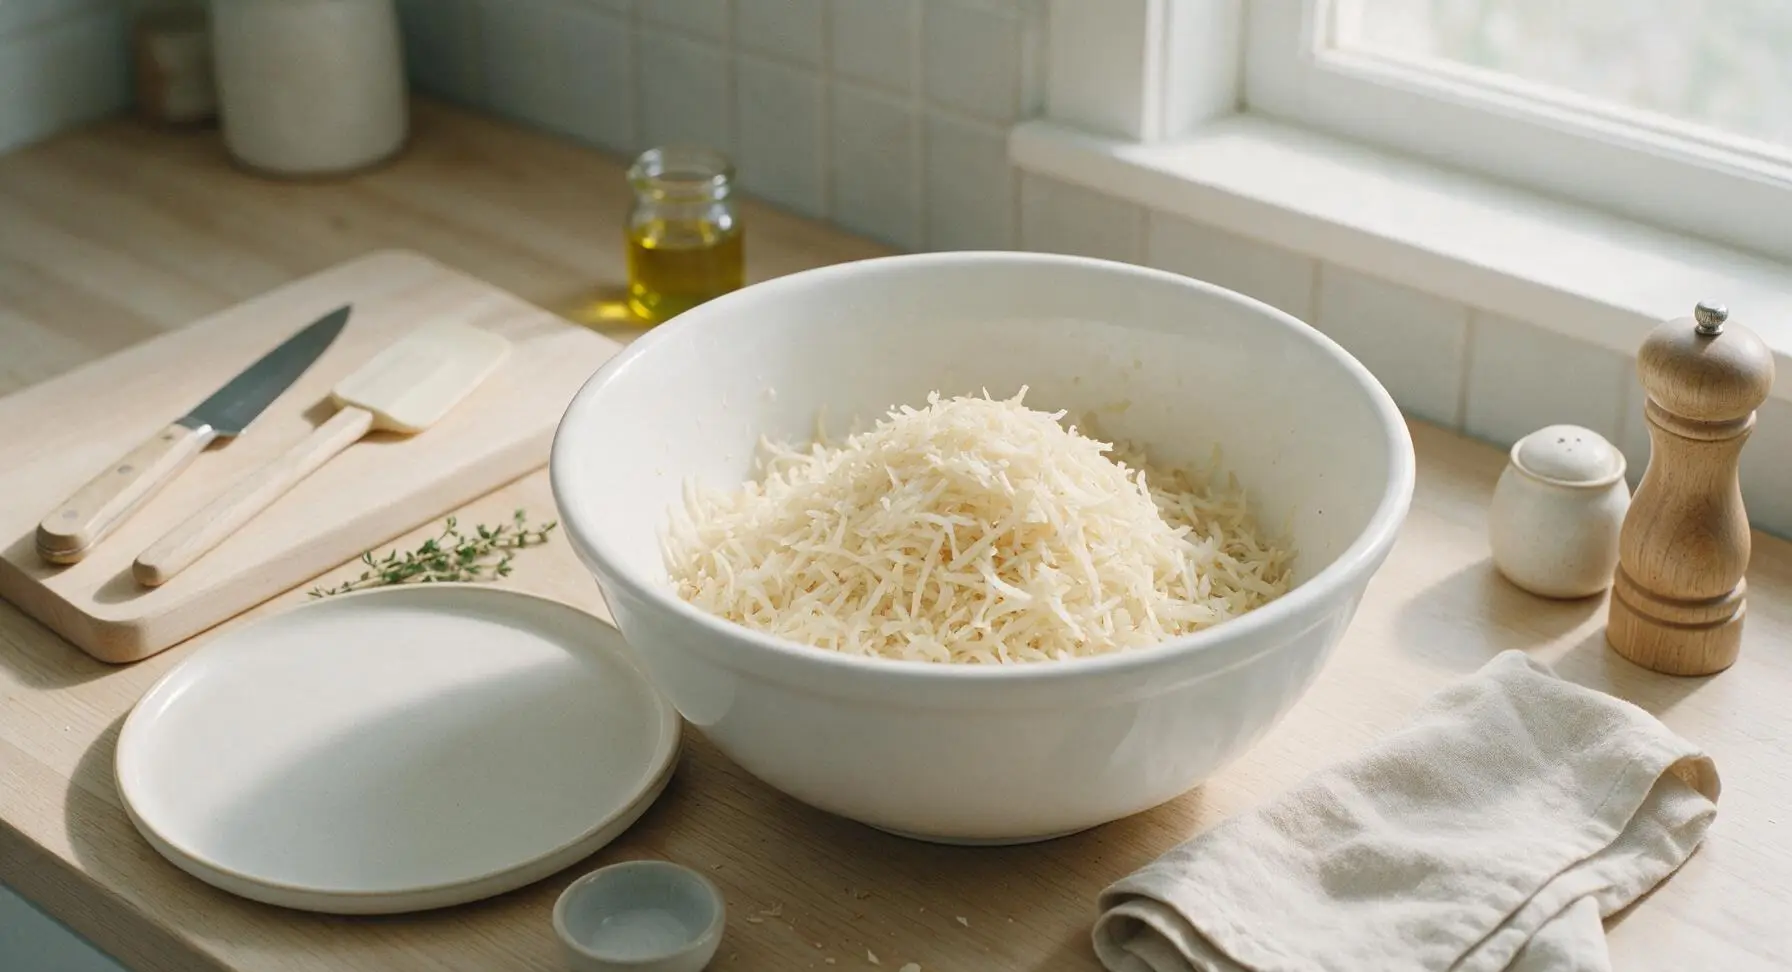
Working in 1-cup batches, place thawed 900g shredded hash browns on clean paper towels, and squeeze firmly to wring out as much excess starchy moisture as possible. This step is critical to avoid a soggy, mushy casserole, and ensures crispy hash brown texture in the finished dish. Transfer all dried hash browns into the large 4-quart white ceramic mixing bowl.
Step 3
step3:Squeeze Hash Browns Dry
Step 3
step3:Squeeze Hash Browns Dry
4

Combine Filling Ingredients

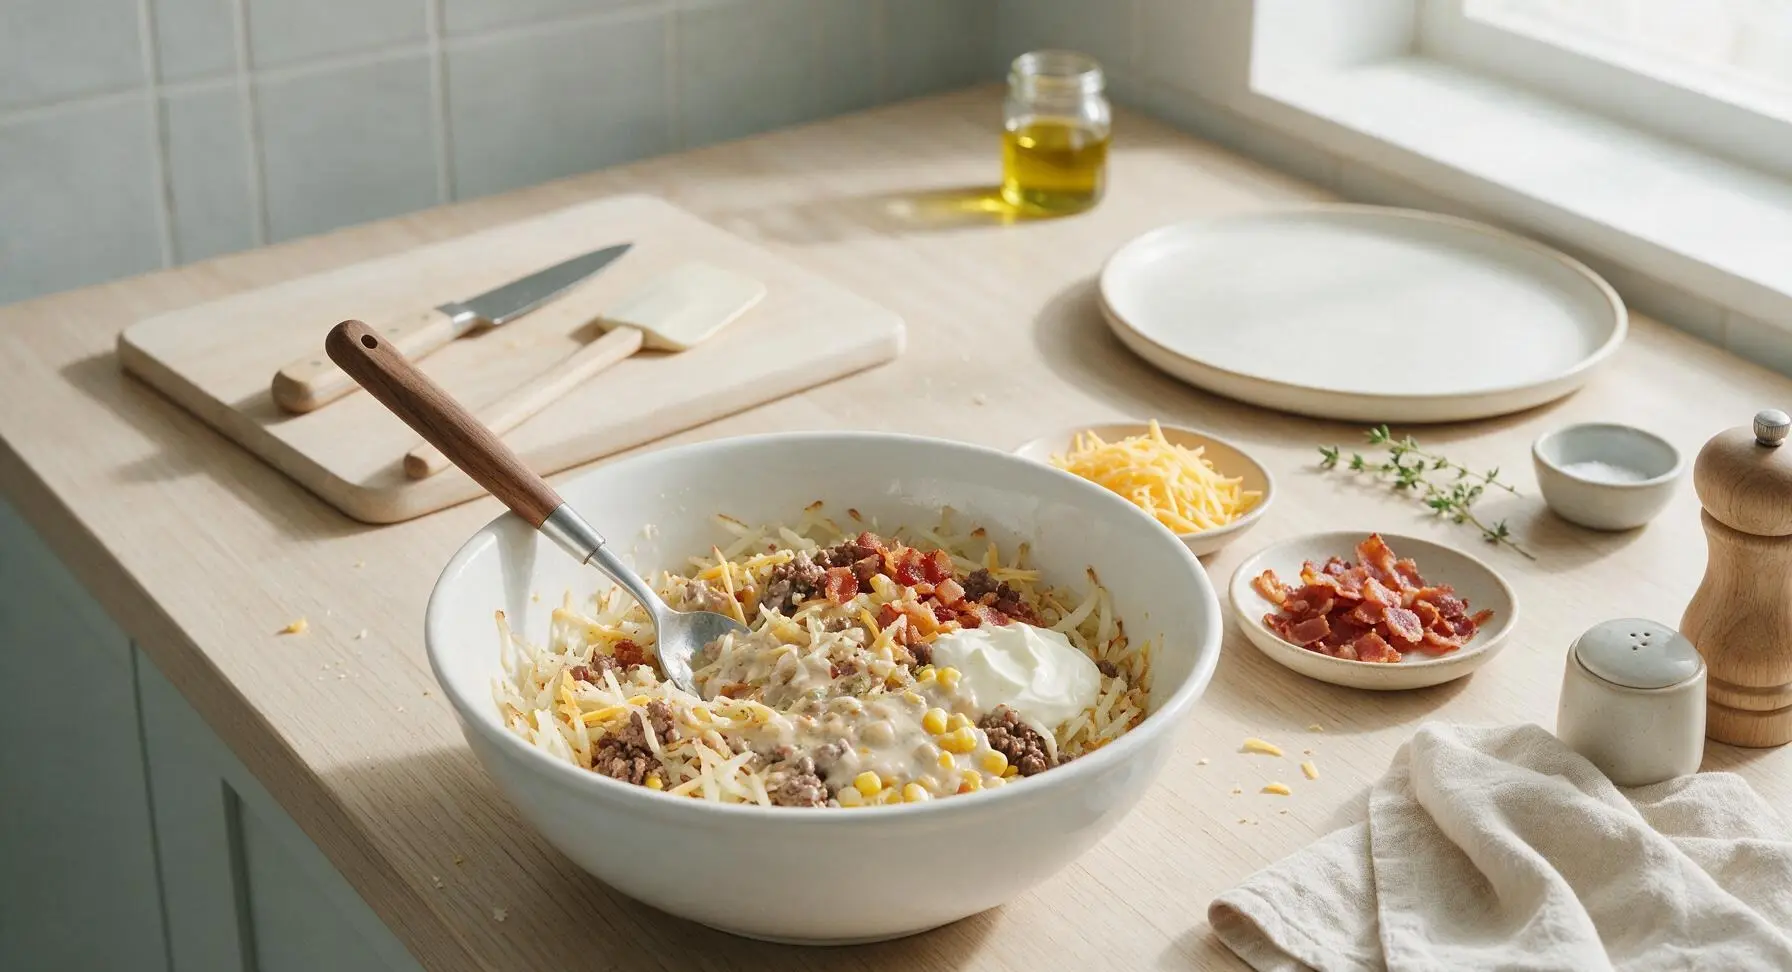
To the mixing bowl with dried hash browns, add the cooked ground beef, half of the cooked crispy bacon, sautéed onion and garlic, 225g (2 cups) shredded sharp cheddar cheese, 305g condensed cream of mushroom soup, 227g full-fat sour cream, 150g thawed sweet corn, 57g melted unsalted butter, 1 tsp kosher salt, 1/2 tsp freshly ground black pepper, and 1/2 tsp smoked paprika. Stir thoroughly with the stainless steel mixing spoon until all ingredients are evenly coated in creamy sauce, with no dry, uncoated hash brown clumps remaining.
Step 4
step4:Combine Filling Ingredients
5

Assemble Casserole Layers

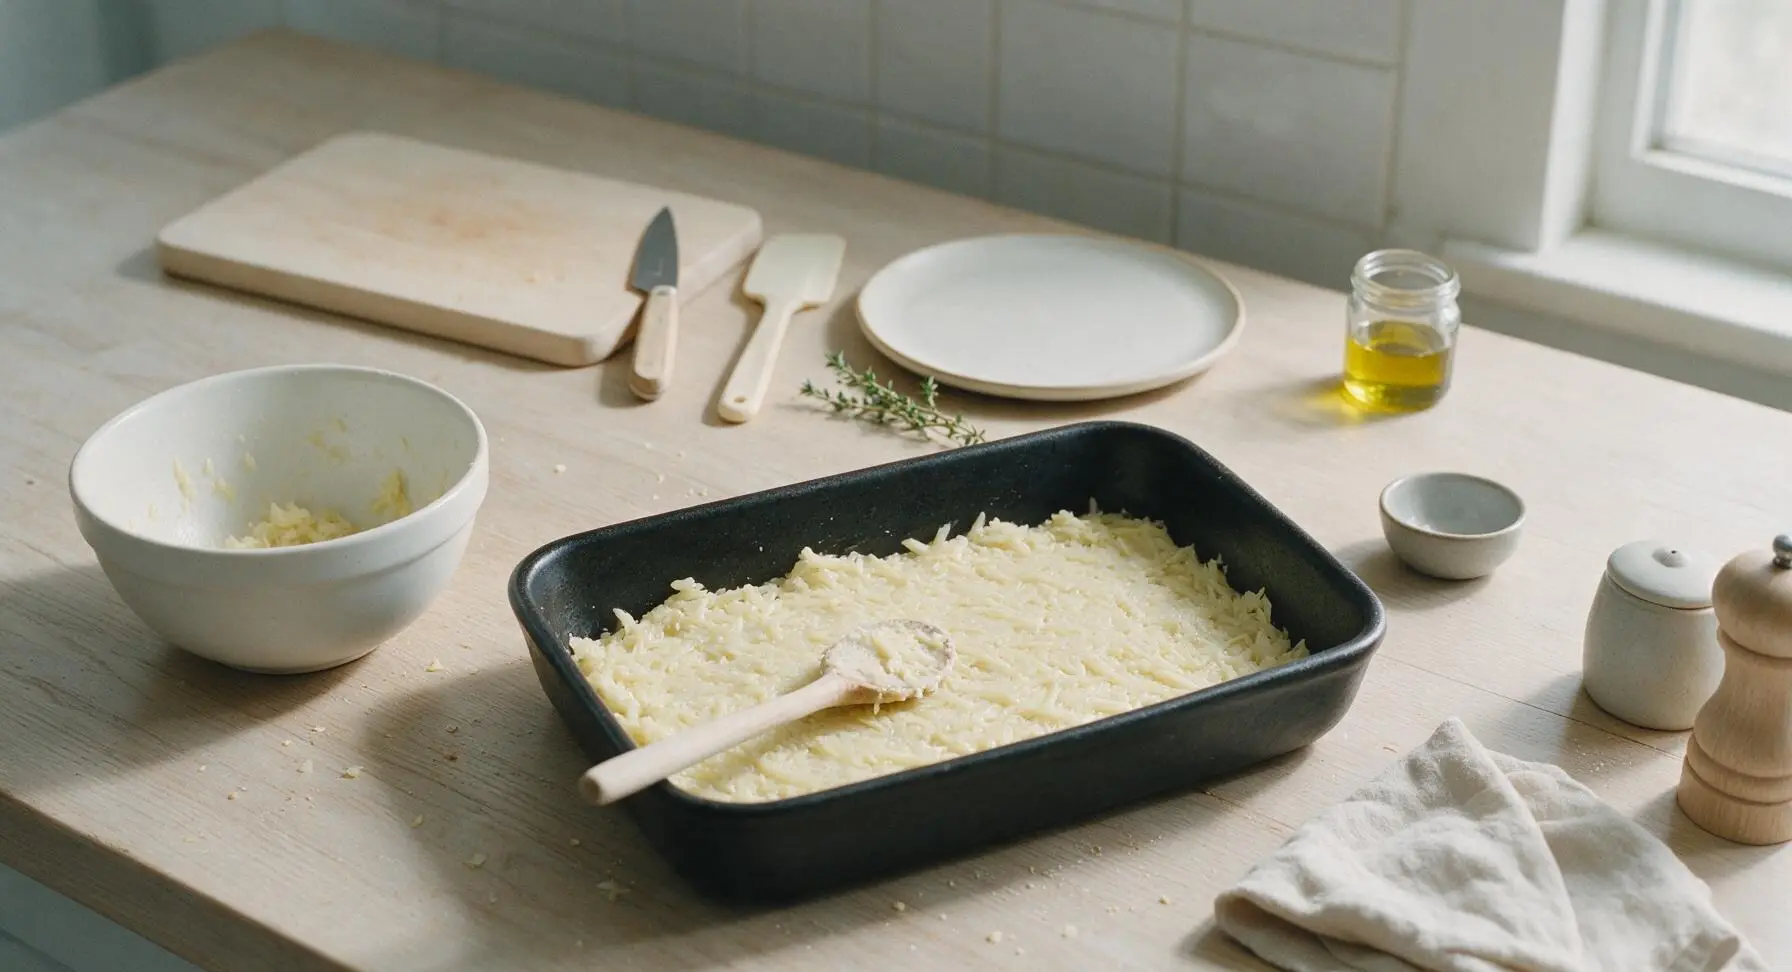
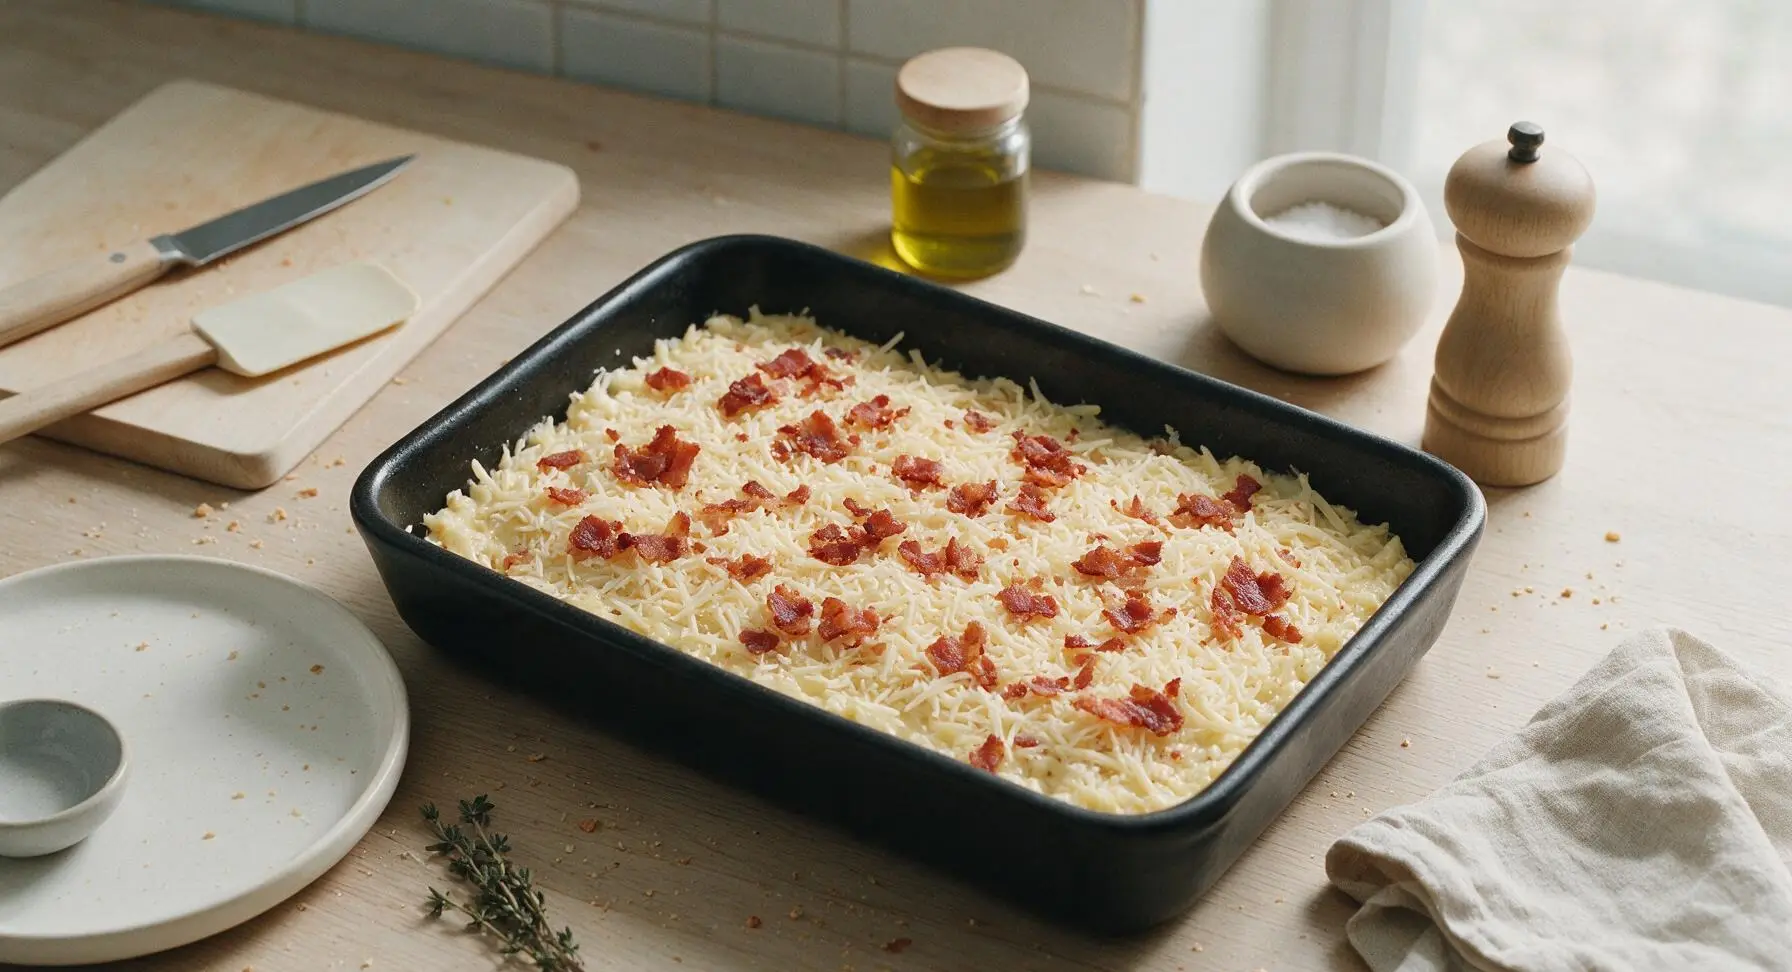
Lightly grease the interior of the 9x13 inch matte black stoneware baking dish with butter. Transfer the entire hash brown mixture into the baking dish, spreading it into a smooth, even layer with the back of the mixing spoon. Sprinkle the remaining 115g (1 cup) shredded cheddar evenly over the top, then scatter the reserved half of the crispy bacon pieces across the cheese layer.
Step 5
step5:Assemble Casserole Layers
Step 5
step5:Assemble Casserole Layers
6

Bake to Golden Perfection

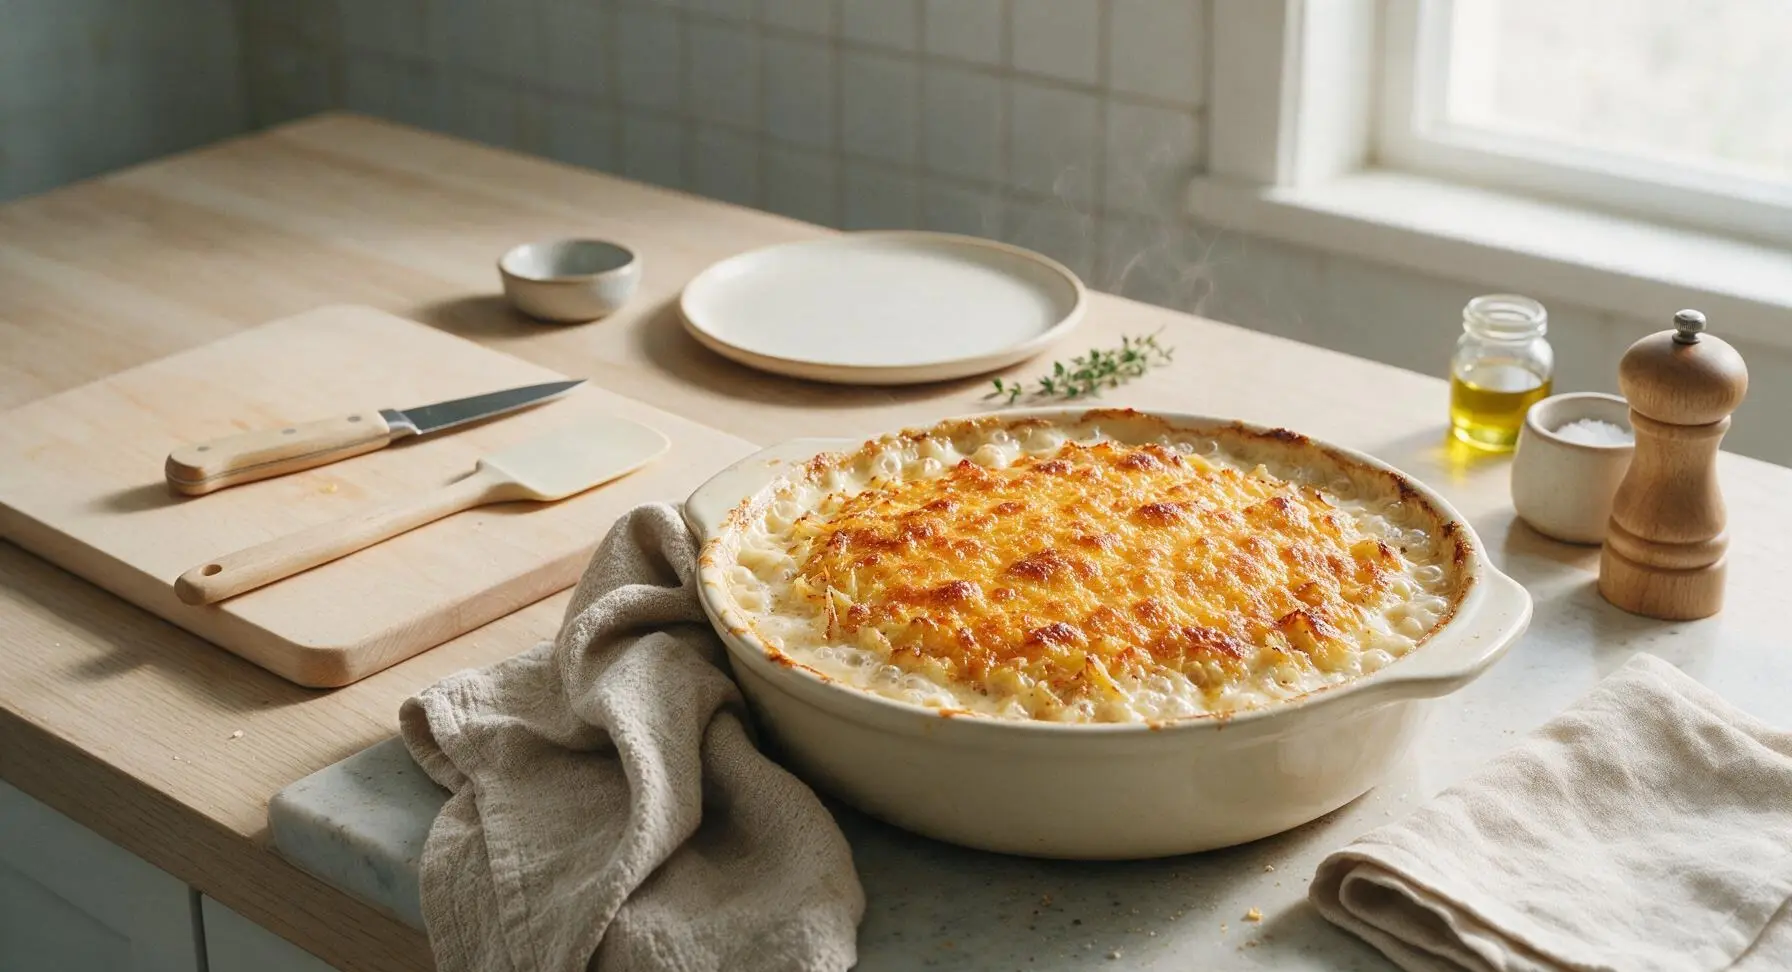
Place the assembled baking dish on the middle rack of a preheated 375°F (190°C) oven, uncovered. Bake for 45-50 minutes, until the edges are vigorously bubbling, the cheese top is golden brown with darker crispy spots, and the center reaches an internal temperature of 165°F (74°C). Carefully remove from the oven using oven mitts.
Step 6
step6:Bake to Golden Perfection
7

Garnish and Rest

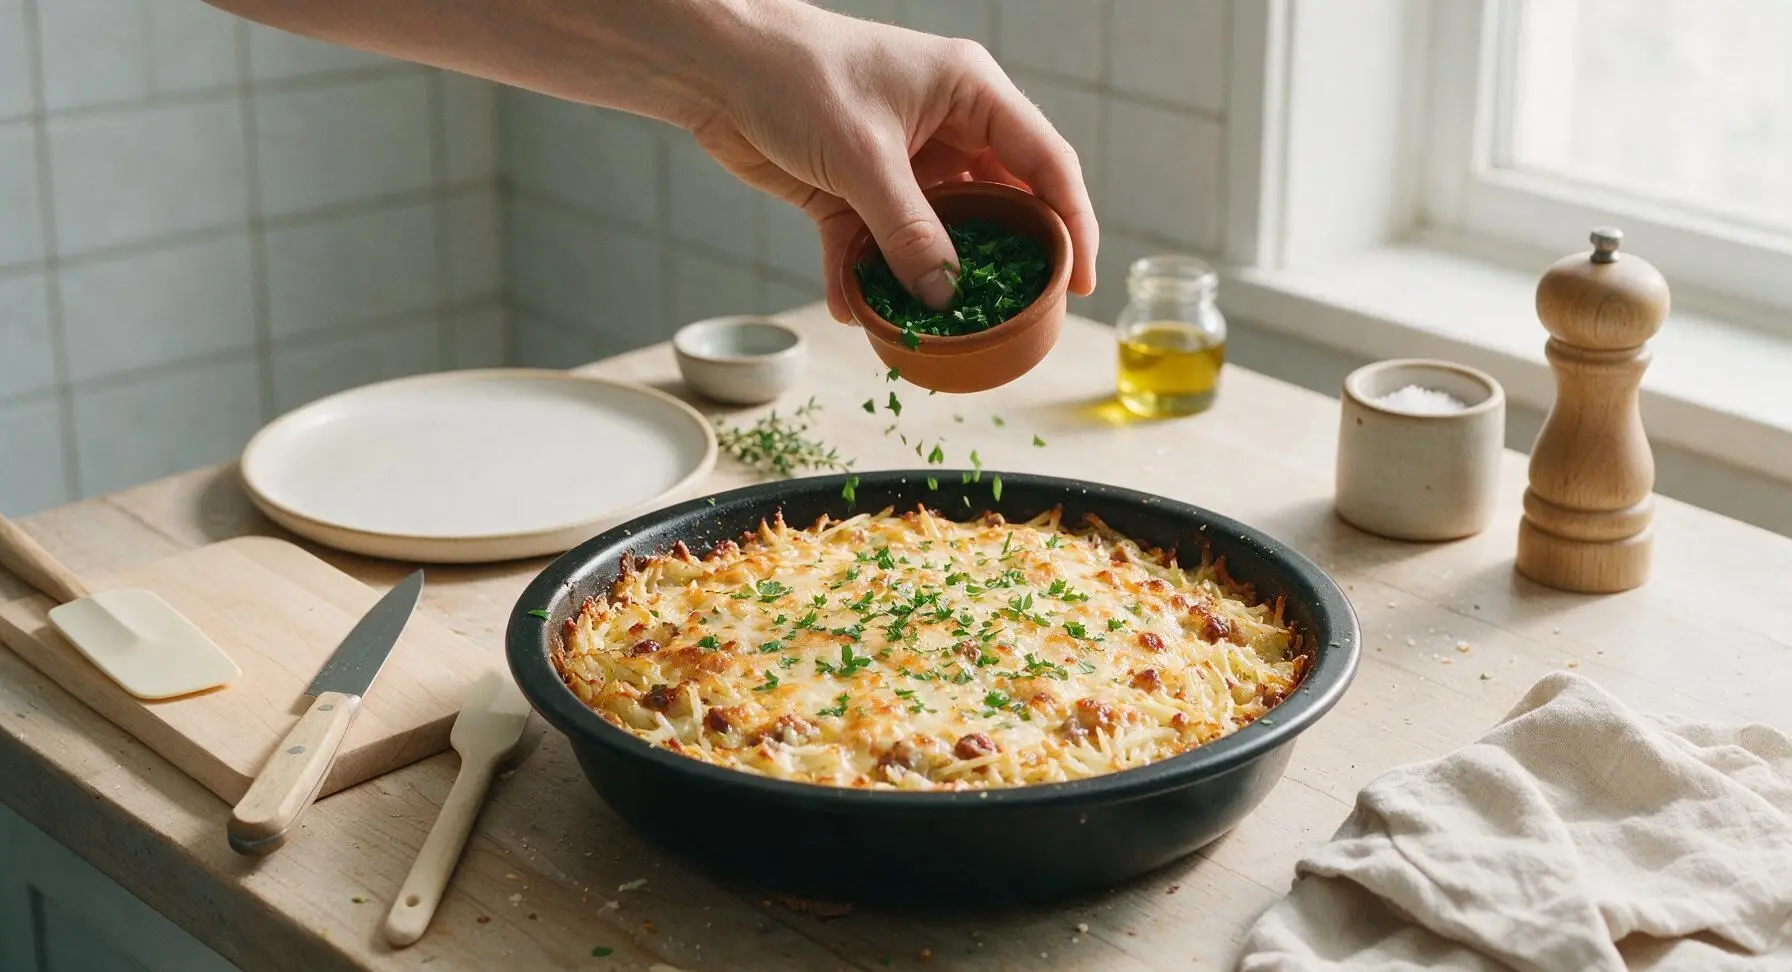
Let the hot casserole rest on the counter for 10 minutes to set—this prevents runny, sliding portions when scooping. Sprinkle 2 tablespoons of chopped fresh flat-leaf parsley evenly over the warm top for a bright, herby contrast to the rich, savory flavors.
Step 7
step7:Garnish and Rest

Tips

1.Squeeze all excess moisture from thawed hash browns in small batches: leftover starchy potato water will turn the casserole soggy and watery instead of creamy with crisp edges, so take 5 extra minutes to wring shreds dry with paper towels.
2.Let the baked casserole rest for 10 full minutes before serving: the hot creamy sauce needs time to set, so portions will hold their shape instead of sliding apart into a runny mess on plates.
3.For an extra-crispy cheese top, broil the casserole for the final 2-3 minutes of baking, keeping a close eye to avoid burning. This adds deep golden, crunchy cheese bits that perfectly contrast the soft, creamy interior.


✨ You May Also Like

Main Course
🍜 United Kingdom

A showstopping classic of tender seared beef, savory mushroom duxelles, and crisp prosciutto wrapped in flaky golden puff pastry, baked to juicy perfection.

⏱️ 2 hours 1Main Course ★ 4.7
Main Course
🍜 India

Tender charred marinated chicken simmered in a rich, spiced creamy tomato sauce, this iconic Anglo-Indian curry pairs perfectly with basmati rice or warm naan.

⏱️ 50 minuteMain Course ★ 4.6
Main Course
🍜 Thailand

Classic tangy, sweet, and savory Thai stir-fried rice noodles with shrimp, tofu, and crunchy garnishes, balancing all five core Thai flavor profiles.

⏱️ 30 minuteMain Course ★ 4.5
Main Course
🍜 United Kingdom

Crispy golden beer-battered cod and fluffy double-fried chips, served with tangy tartar sauce and malt vinegar: the timeless, beloved British pub comfort classic.

⏱️ 45 minuteMain Course ★ 4.7
Main Course
🍜 Mexico

Smoky, chile-marinated pork tacos with caramelized pineapple, fresh cilantro, and lime: a beloved classic Mexican street food perfect for casual summer gatherings.

⏱️ 1 hour 45Main Course ★ 4.8
Main Course
🍜 United States

Crunchy Fritos corn chips layered with savory beef chili and melted cheddar, topped with cool, zesty fixings for a beloved, cozy Tex-Mex comfort food.

⏱️ 35 minuteMain Course ★ 4.8

cowboy hash brown casserole:Frequently Asked Questions

1.Can I make this cowboy hash brown casserole ahead of time? ▾
Absolutely—this dish is made for easy advance prep! Assemble it fully 1–2 days ahead, cover tightly, and store it in the fridge. When you’re ready to bake, add 10–15 minutes to the cook time to account for the cold starting temperature, and you’ll have a hot, hearty meal ready with zero last-minute fuss.
2.Do I need to thaw the frozen shredded hash browns before baking? ▾
Yes, fully thaw and squeeze excess moisture out of your frozen hash browns first for the best texture. If you skip this step, trapped water in the frozen potatoes will make your casserole soggy instead of crisp around the edges. Pat them dry with paper towels or wring them in a clean kitchen towel to cut down on excess moisture before mixing.
3.Why do you recommend 80/20 ground beef instead of a leaner blend? ▾
The 20% fat content in 80/20 ground beef adds rich, savory flavor and keeps the meat tender while it bakes, so you won’t end up with dry, crumbly bits in your casserole. Leaner blends like 90/10 work in a pinch, but add an extra tablespoon of bacon grease to the pan when browning to make up for the missing fat.
4.Can I substitute turkey bacon for the thick-cut bacon in the recipe? ▾
You can swap in turkey bacon if you prefer, but know it won’t render the same smoky, rich fat that thick-cut pork bacon does. If you make that swap, save 2 tablespoons of beef drippings from browning your ground beef, or add a pinch of smoked paprika to mimic that deep, classic cowboy flavor. Crisp the turkey bacon fully before adding it.
5.How do I keep the hash browns crispy instead of turning out mushy? ▾
Two easy tricks make all the difference: first, squeeze every bit of excess moisture out of your thawed hash browns before mixing, as leftover potato water is the top cause of sogginess. Second, bake the casserole uncovered for the first 20 minutes to let the potato edges crisp up before the cheese fully melts and seals in moisture.
6.Can I freeze this casserole to save for later meals? ▾
Definitely! You can freeze this casserole either fully baked or unbaked for up to 3 months. If freezing unbaked, wrap it tightly in two layers of plastic wrap and one layer of foil to prevent freezer burn, and thaw fully in the fridge for 24 hours before baking. For baked leftovers, cool completely first before freezing in airtight containers.
7.Is sharp cheddar the best cheese to use, or can I mix in other varieties? ▾
Sharp cheddar is my top pick because its tangy, bold flavor cuts through the richness of the beef and bacon perfectly, and it melts into that ideal golden, stretchy top layer. You can swap up to half the cheese for pepper jack for heat, colby for a milder bite, or smoked gouda for extra smoke—just skip pre-shredded cheese with anti-caking additives for the smoothest melt.
8.Do I need to pre-cook the ground beef, bacon, and diced onion before adding them to the casserole? ▾
Yes, always fully cook your thick-cut bacon, 80/20 ground beef, and diced yellow onion before mixing them into the casserole. Raw ingredients release large amounts of excess moisture and grease as they bake, leading to a soggy, unevenly cooked final dish. Drain off excess grease after browning to keep the dish rich but not oily.
9.What size baking dish works best for this recipe? ▾
A standard 9x13 inch glass or ceramic baking dish is ideal for this recipe—it gives the casserole enough surface area to develop those perfectly crispy, cheesy edges while keeping the center tender and creamy. If you use a smaller dish, add 15–20 minutes of bake time; a larger dish will cook faster and yield extra crispy bits across the top.
10.Can I add extra vegetables to this casserole without ruining the texture? ▾
Absolutely! Diced bell peppers, drained canned corn, sliced jalapeños, or even roasted broccoli make great, flavor-matched additions. Just be sure to sauté firmer veggies first and pat canned veggies completely dry to avoid adding extra moisture that causes sogginess. Stick to 1–1.5 cups of add-ins so you don’t throw off the core ingredient ratio.
11.How long will leftovers stay fresh in the refrigerator? ▾
Properly stored in an airtight container, leftover cowboy hash brown casserole will stay fresh in the fridge for 3–4 days. For the best texture when reheating, warm portions in a 350°F oven or toaster oven for 10–12 minutes instead of the microwave—this brings back crispy potato edges and keeps cheese from getting rubbery, though the microwave works in a pinch.
12.My last batch turned out really greasy—what did I do wrong? ▾
A greasy casserole almost always comes from skipping the step of draining excess fat after cooking your bacon, beef, and onion. After browning, pour off all but 1–2 tablespoons of the rendered fat to keep enough for rich flavor without the oily finish. If you used a fattier beef blend than 80/20, drain a bit more, and skip adding extra oil when browning.
13.What should I serve with this casserole to make a complete meal? ▾
This hearty casserole is pretty filling on its own, but it pairs perfectly with bright, fresh sides to cut through its richness. Try serving it with a simple green salad tossed in vinaigrette, pickled jalapeños, a side of buttered cornbread, or roasted cherry tomatoes. For brunch, serve it with scrambled eggs and a dollop of sour cream on each slice.

Comments (3)

3 days ago

OMG this Cowboy Hash Brown Casserole was such a game changer for our neighborhood potluck last weekend! I threw it together in 15 minutes flat even with my toddler hanging on my leg, popped it in the oven, and it was gone before I even got a second helping. The crispy hash brown edges mixed with the savory sausage and melty cheese? *Chef's kiss* My husband asked if we can have this every Sunday for family dinner from now on. SO good, 10/10.

2 days ago

Quick question—how well did this hold up when you transported it to the potluck? I’m making this for our family camping trip next weekend and wondering if I can assemble it ahead and bake it over campfire coals in my Dutch oven instead of a regular oven!

yesterday

So stoked this was such a hit at your potluck, Molly! Great question, Jake—this casserole holds up perfectly when pre-assembled, and baking it over campfire coals in a cast iron Dutch oven works like an absolute charm. Just keep the lid tight and check it after 45 minutes to make sure the bottom doesn’t burn. Enjoy your camping trip!

1 week ago

Such an easy recipe, total lifesaver for my weekly meal prep! I made a full pan on Sunday, portioned it out into containers, and it held up perfectly all week for quick work lunches. I swapped the regular pork sausage for turkey sausage to cut a bit of saturated fat and it still tasted absolutely incredible. Pro tip: a dash of spicy hot sauce on top when you reheat it takes it to the next level.

5 days ago

That turkey sausage swap is such a smart, delicious tweak, Josh! We love hearing that this works so well for weekly meal prep—this casserole is such a workhorse for quick lunches, and we 100% co-sign that dash of hot sauce on reheated servings. Thanks for sharing your tip!

2 hours ago

Made this for my kids’ post-football practice dinner tonight and they both loved it! I was fully prepared for my picky 8 year old to pick out all the bell pepper and onion bits, but he shoveled down two servings so fast he didn’t even notice them. It was so easy to throw together on a chaotic weeknight too— I only had about an hour to get food on the table between picking them up from practice and starting homework, and this fit the bill perfectly. Can’t wait to make a batch for our upcoming tailgate!



