
Cranberry Walnut Stuffed Turkey Breast
intro
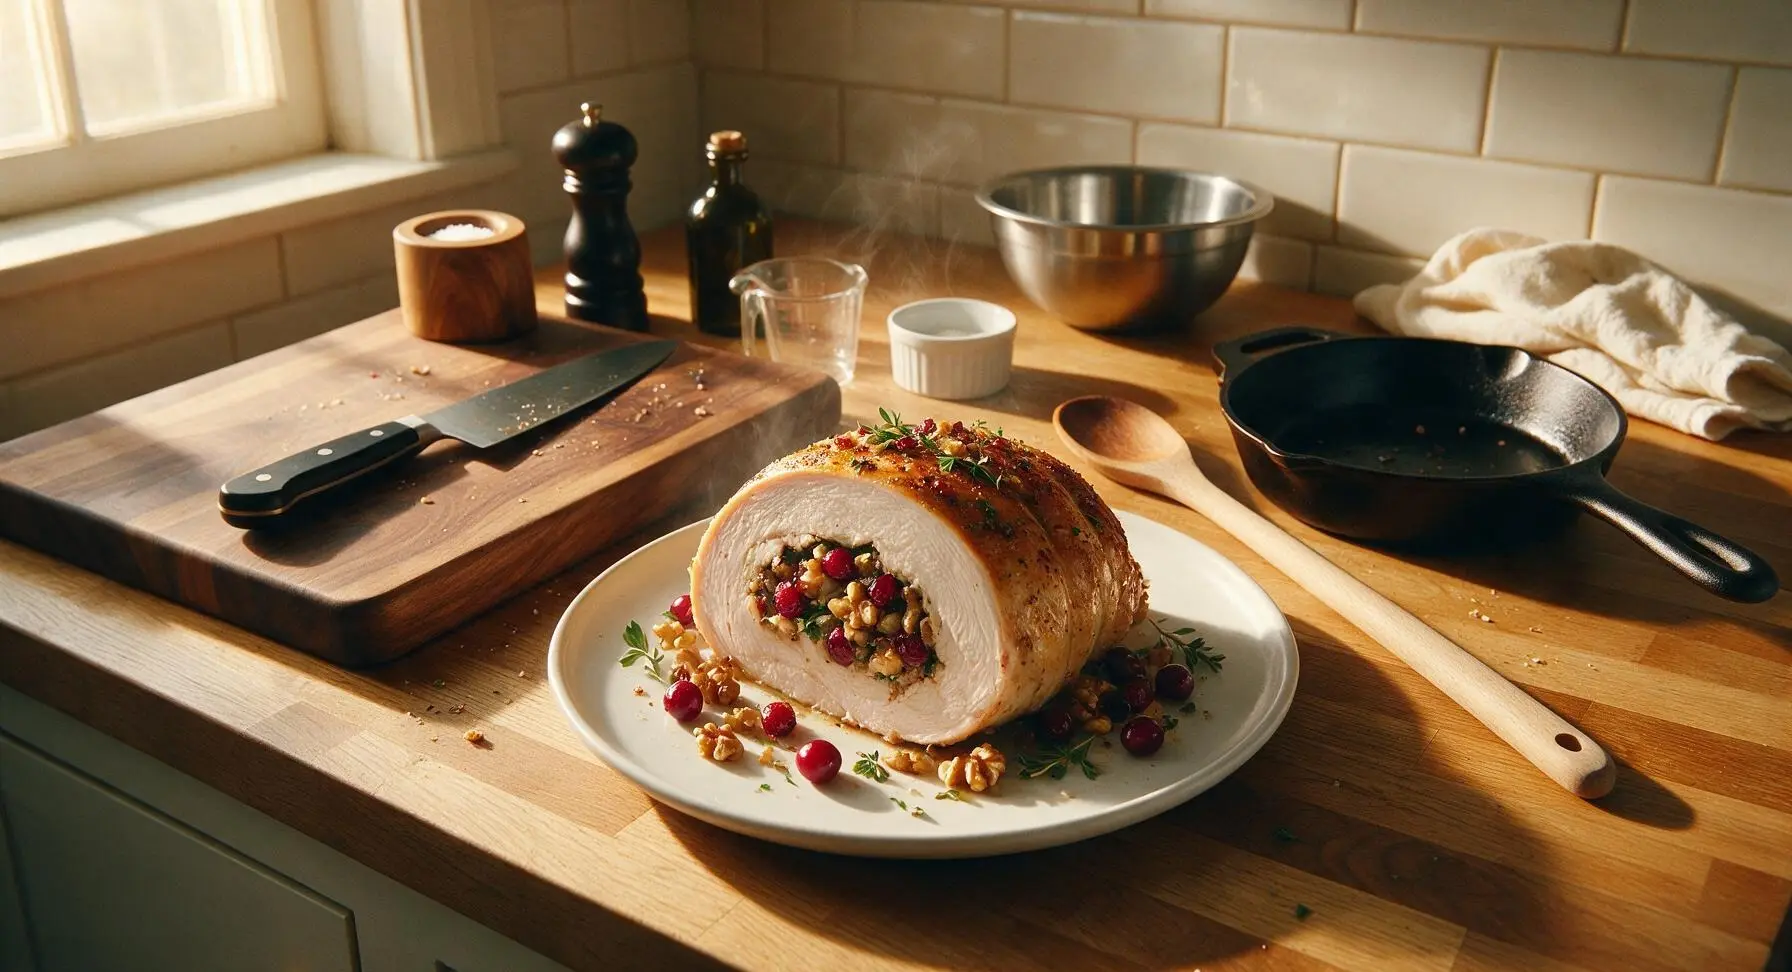
Juicy, tender rolled turkey breast stuffed with tart cranberries, toasty walnuts, and fresh herbs—an easier, smaller-scale alternative to whole roasted turkey for holiday meals.
Ingredients
Steps
Butterfly and Pound Turkey
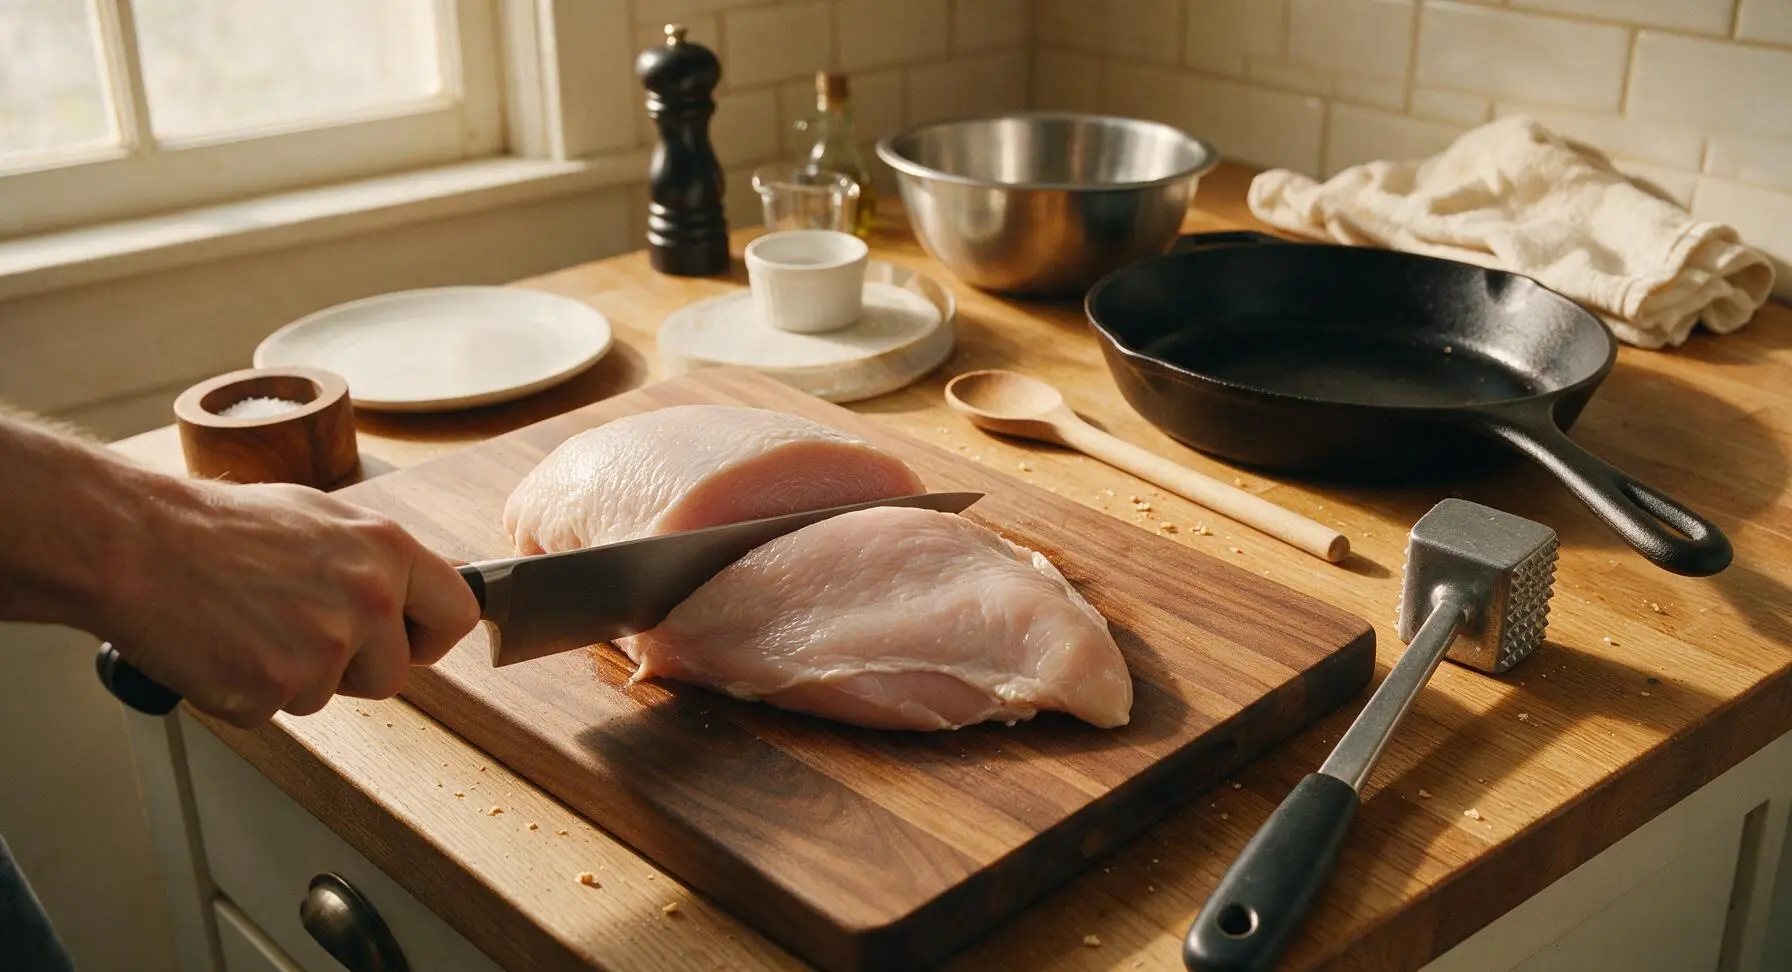
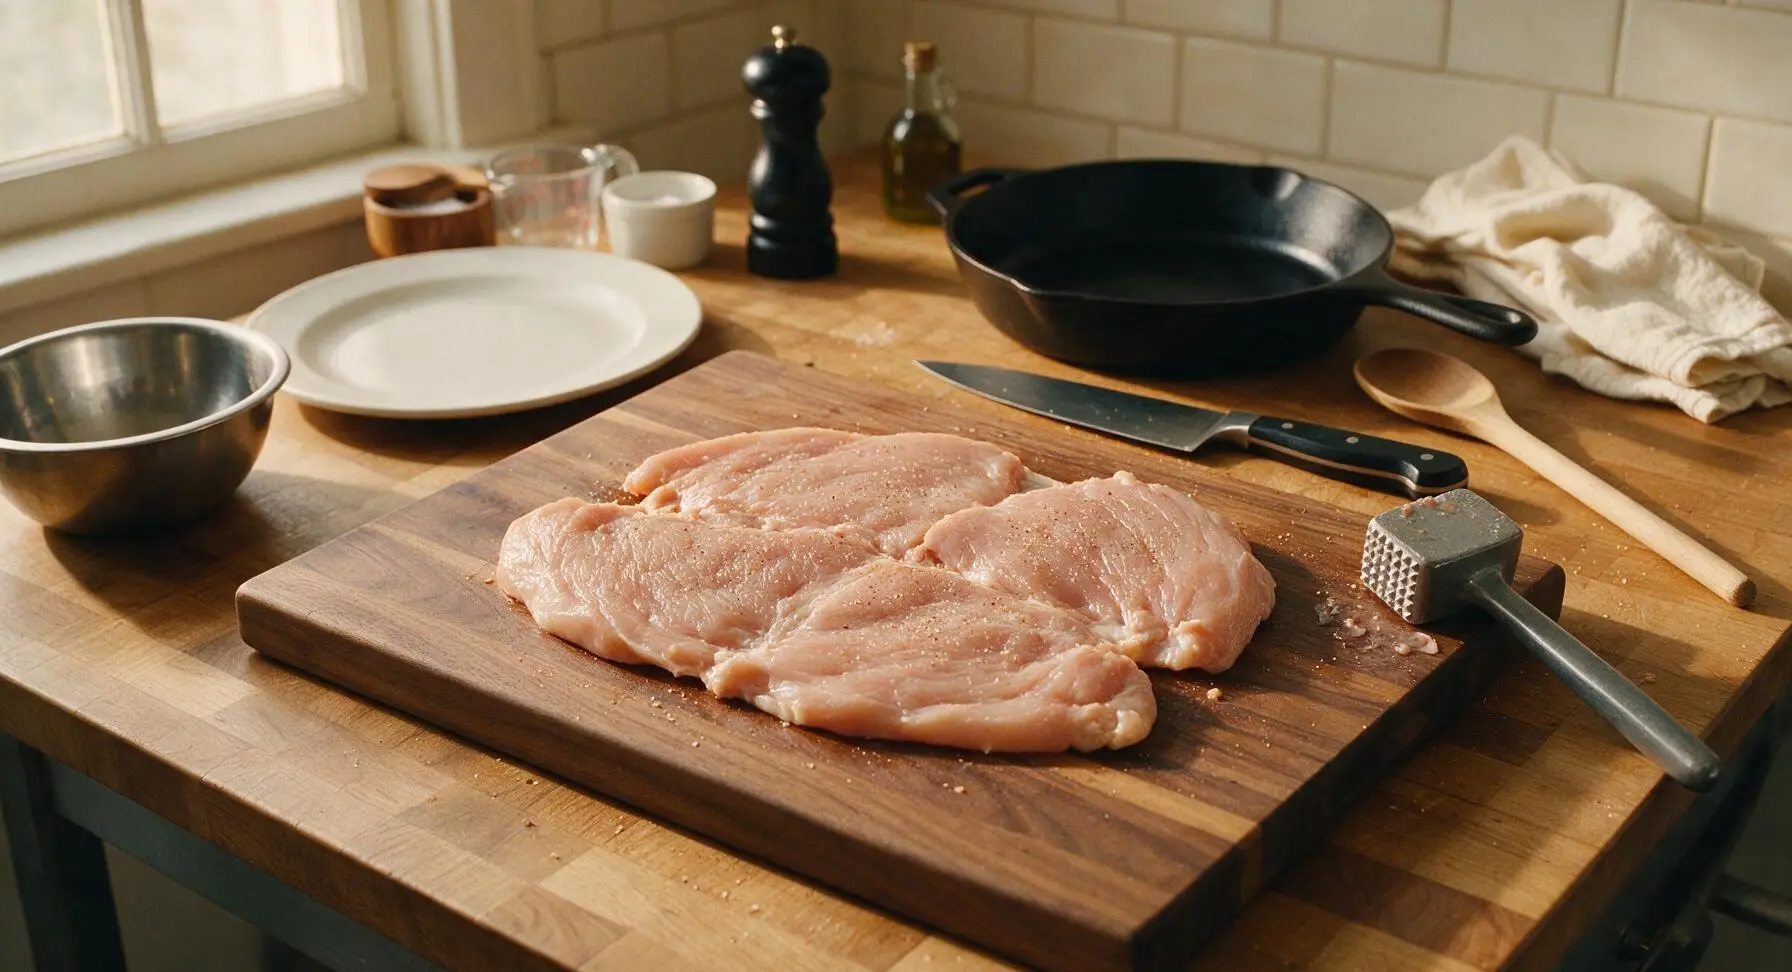
Place the boneless, skinless turkey breast on the large maple cutting board. Hold the 8-inch chef knife parallel to the cutting surface, slicing horizontally through the thickest part of the breast until you are 1cm from the opposite edge, so the breast opens flat like a book. Cover the butterflied turkey with a small sheet of parchment paper, then use the flat side of the meat tenderizer to pound the turkey to a uniform 1.5cm thickness across its entire surface. Season the exposed top side with 1 tsp kosher salt and 1/4 tsp freshly ground black pepper.
Cook Stuffing Mixture
Place the 1-quart stainless steel saucepan over medium heat, and melt 1 tbsp of unsalted butter. Add the chopped walnuts, toasting for 3 minutes while stirring frequently with the matte grey silicone spatula, until the nuts are fragrant and light golden brown. Add the finely diced yellow onion, cooking for 4 minutes until soft and translucent, then stir in the minced garlic, chopped sage, and chopped thyme, cooking for 30 seconds until aromatic. Add the dried cranberries and low-sodium chicken broth, simmering for 2 minutes until all liquid is fully absorbed. Transfer the cooked mixture to the medium stainless steel mixing bowl, and set aside to cool for 10 minutes at room temperature.
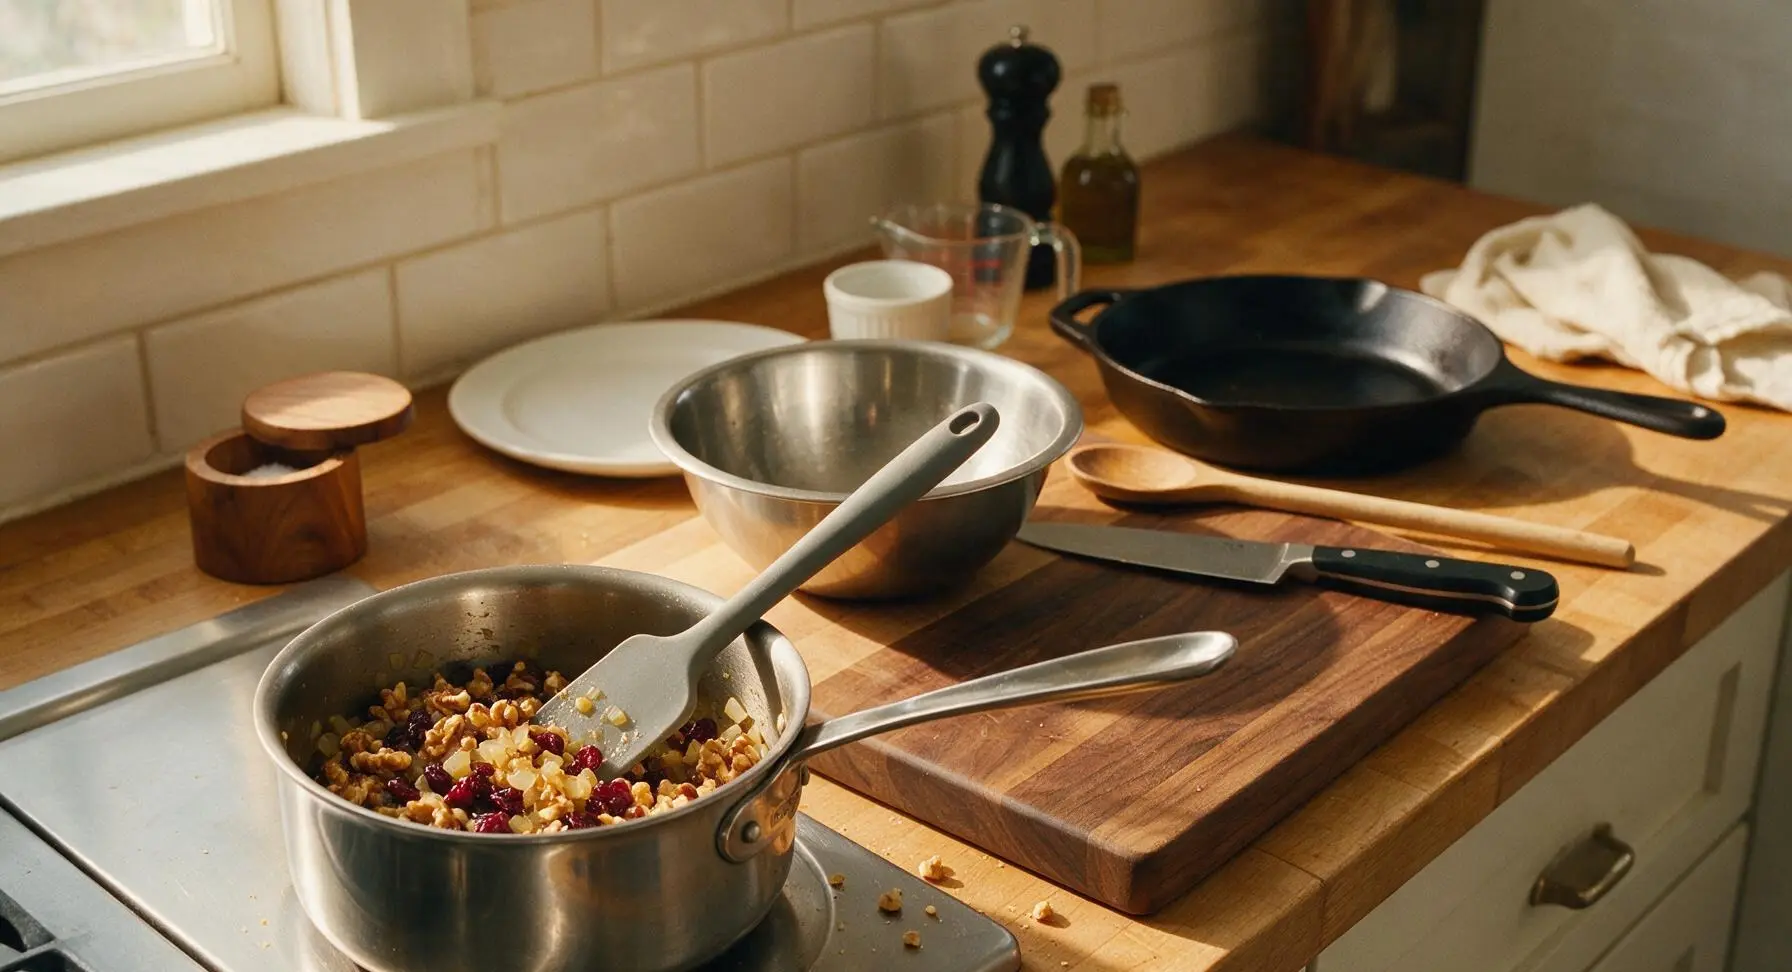
Spread Stuffing Evenly
Once the cranberry walnut stuffing has cooled to room temperature, spoon it evenly across the surface of the pounded, seasoned turkey breast, leaving a clear 2cm border along all edges to prevent stuffing from leaking during rolling. Press the stuffing into a flat, uniform layer using the back of the silicone spatula.
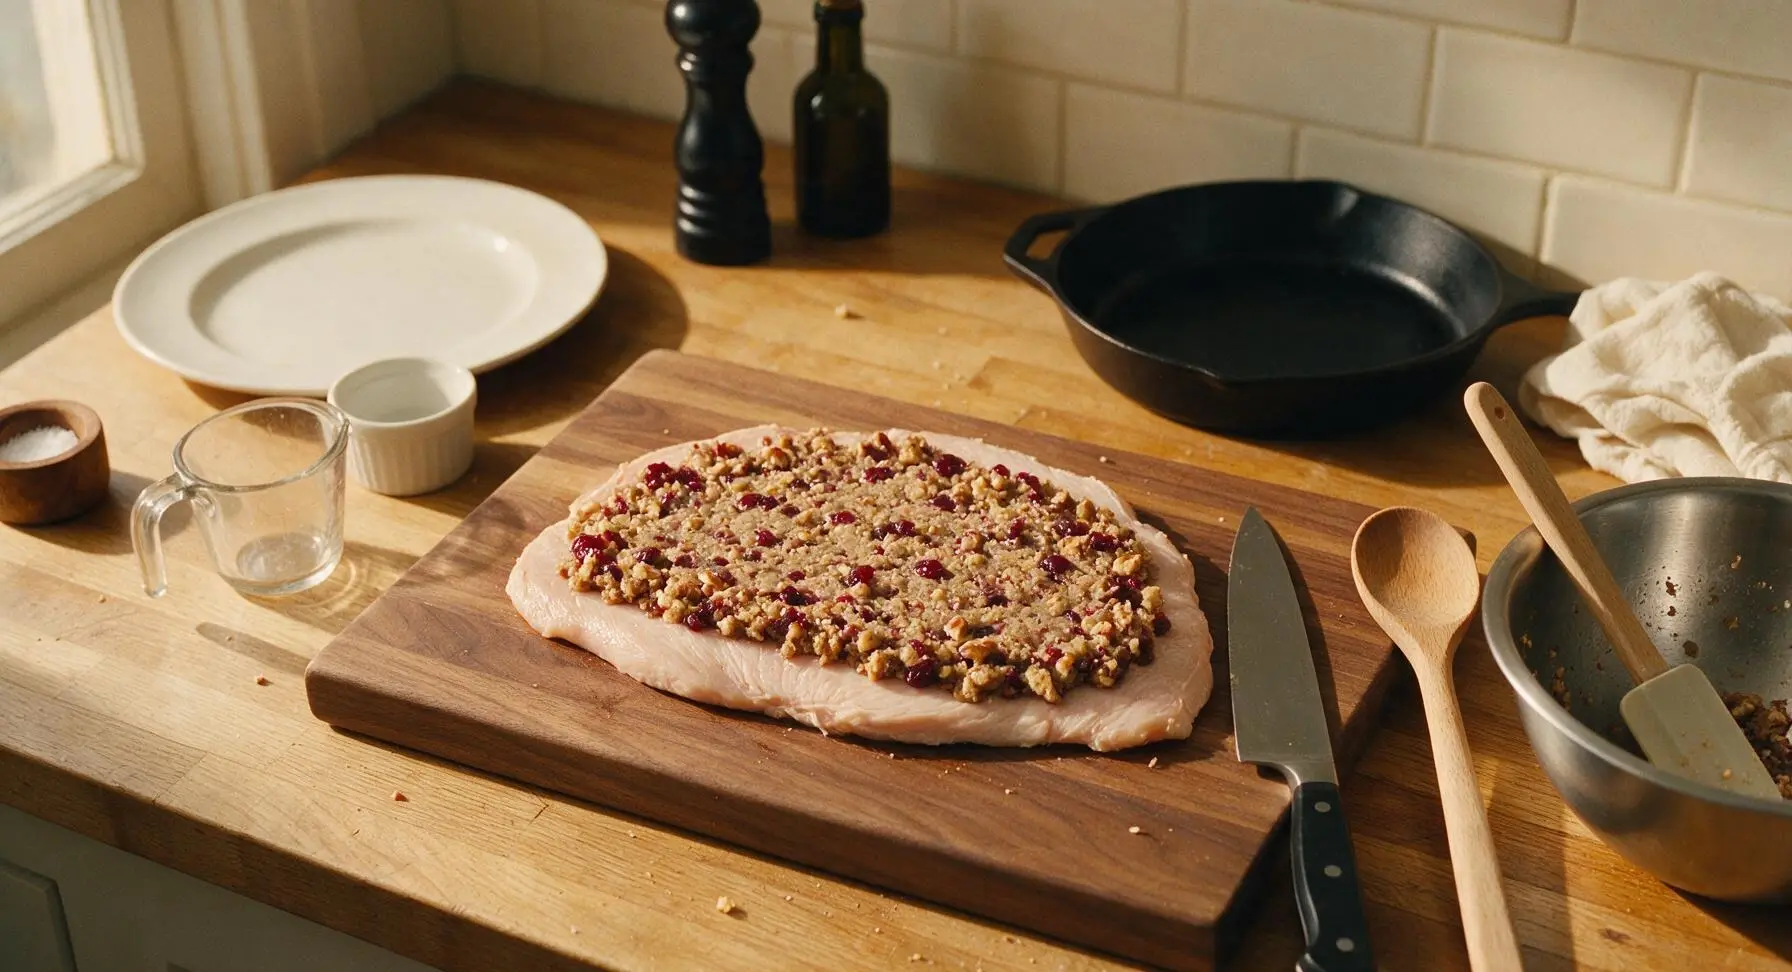
Roll and Tie Turkey
Starting at the long edge of the turkey closest to you, roll the breast tightly into a uniform cylindrical log, tucking the side edges in as you roll to seal the stuffing inside. Cut 5 pieces of unbleached cotton kitchen twine, each 20cm long, and tie them snugly (but not so tight that stuffing squeezes out) at evenly spaced 4cm intervals around the turkey log to hold its shape during cooking. Tuck any loose bits of stuffing that squeeze out back into the ends of the roll. Season the outside of the rolled log with the remaining 0.5 tsp kosher salt and 1/4 tsp black pepper, then rub the entire surface with 1 tbsp extra virgin olive oil.
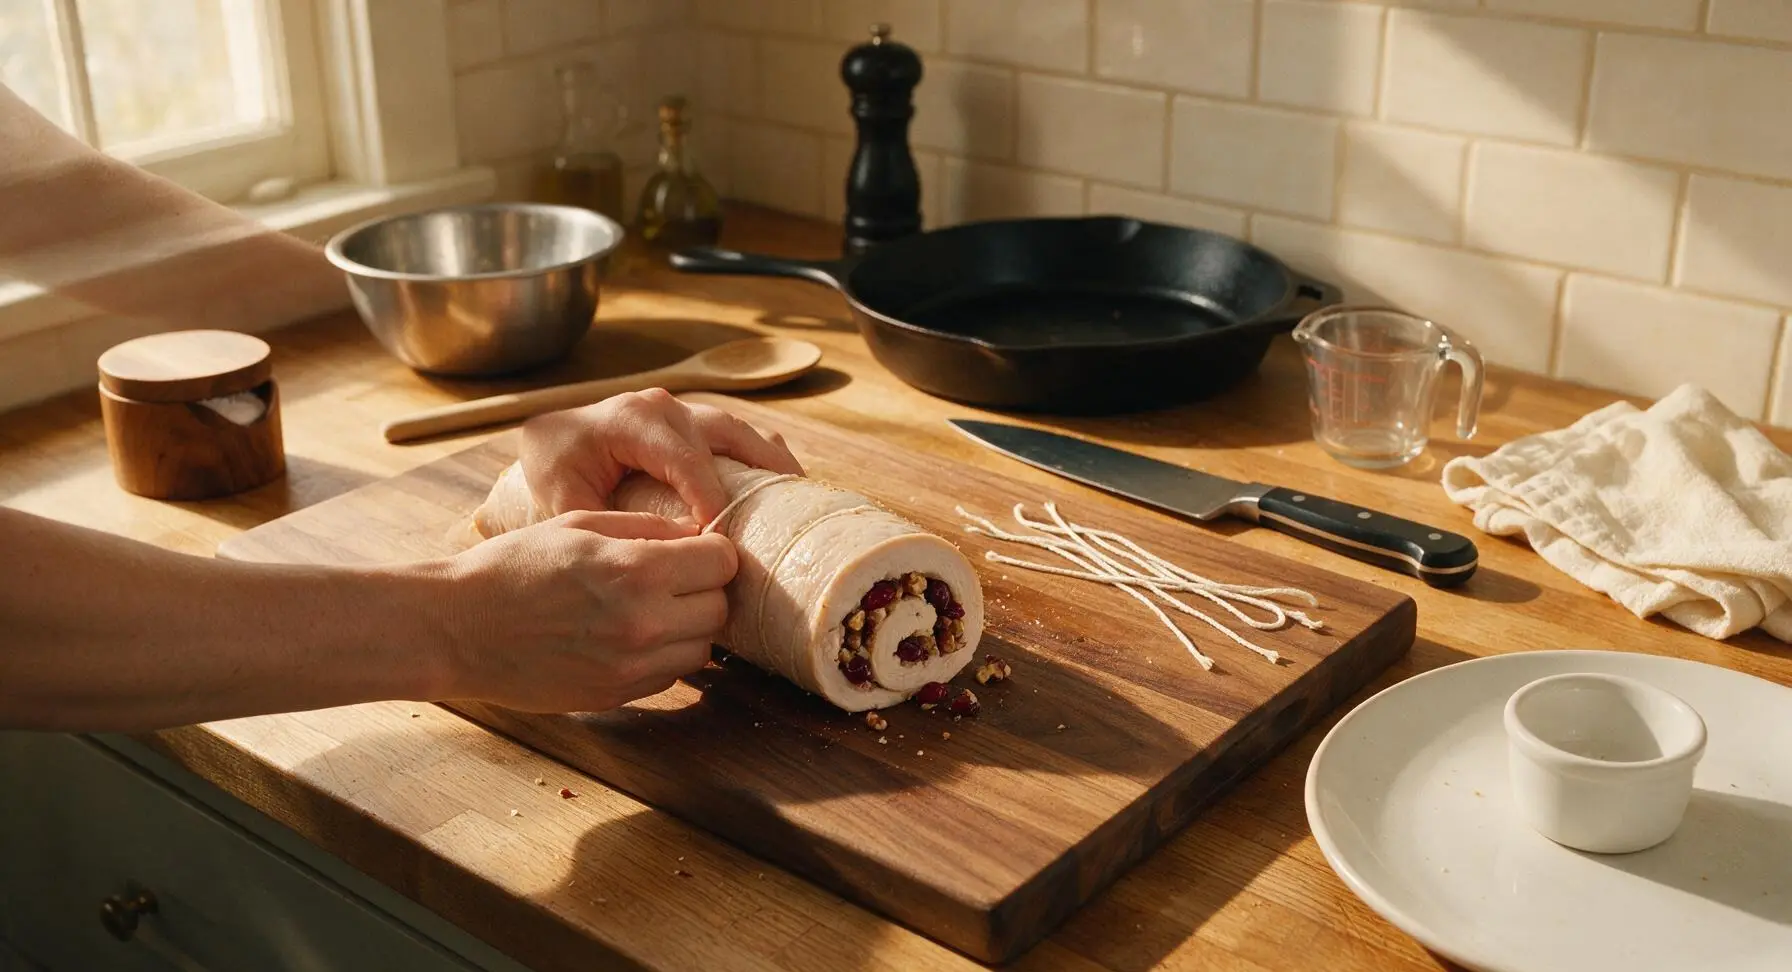
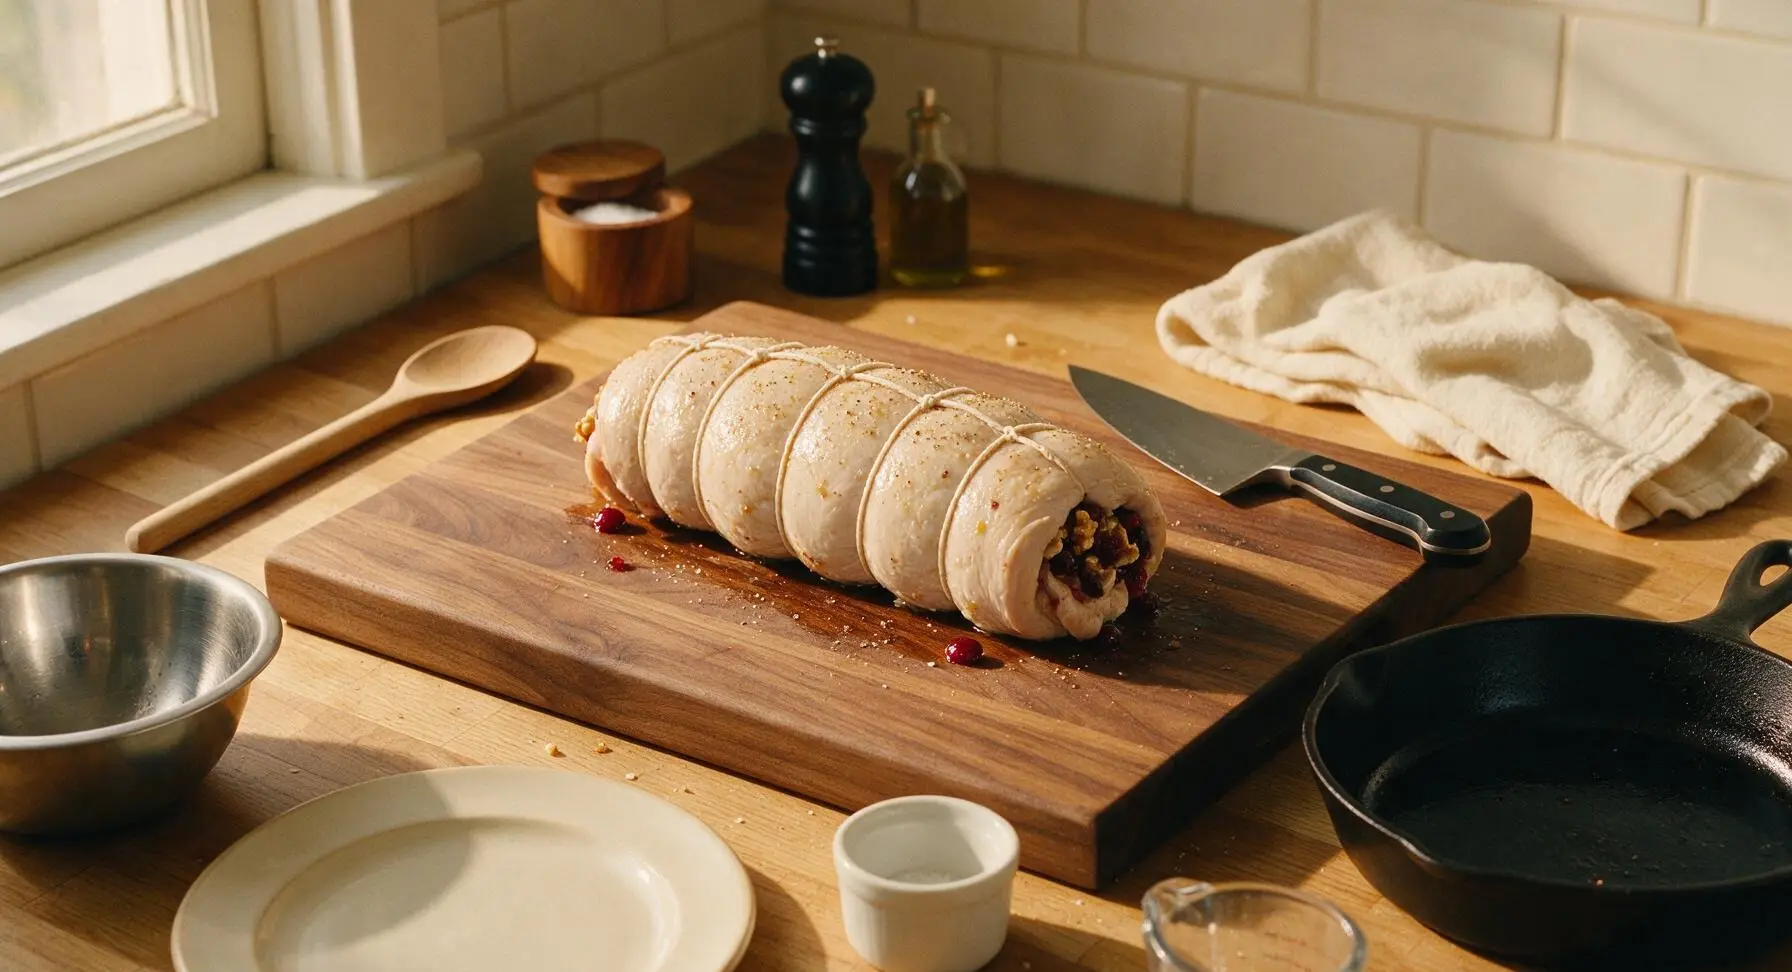
Roast to Safe Temperature
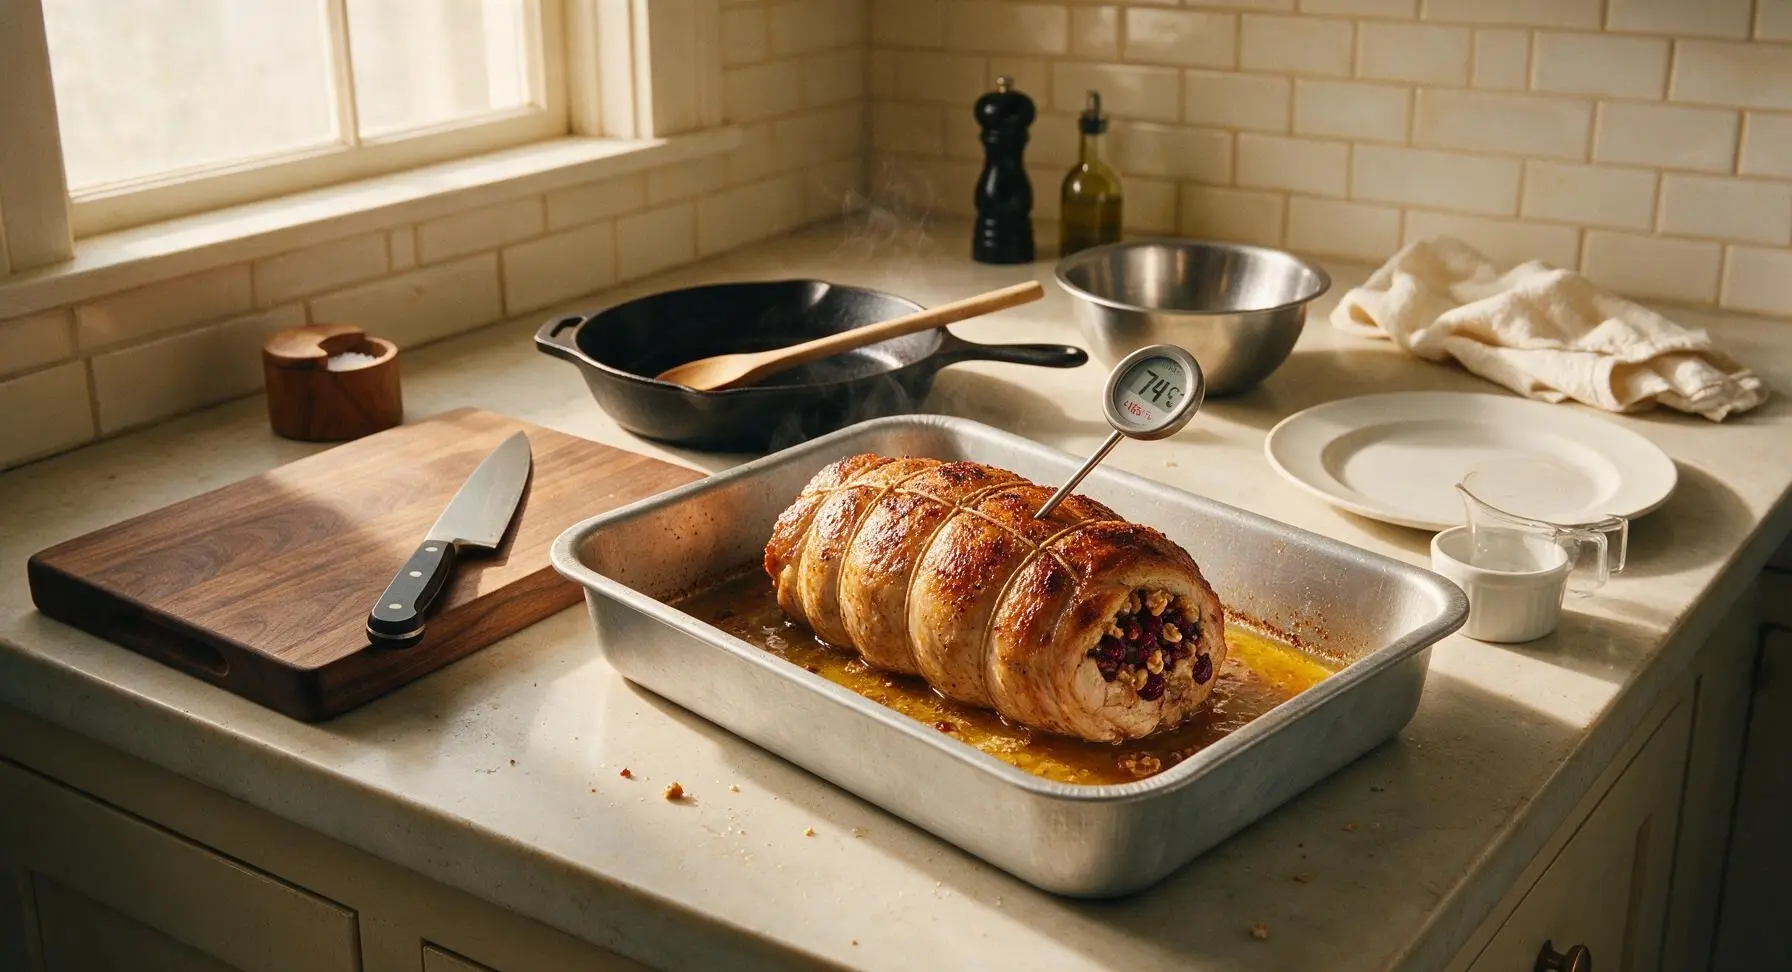
Place the tied turkey log on the raised wire rack inside the heavy-gauge aluminum roasting pan. Melt the remaining 1 tbsp unsalted butter, and brush it evenly over the top surface of the turkey. Roast in a preheated 190C (375F) oven for 55 to 65 minutes, basting once with pan juices halfway through cooking, until the digital instant-read thermometer inserted into the thickest part of the turkey (avoiding the stuffing center) reads 74C (165F).
Rest Turkey Before Slicing
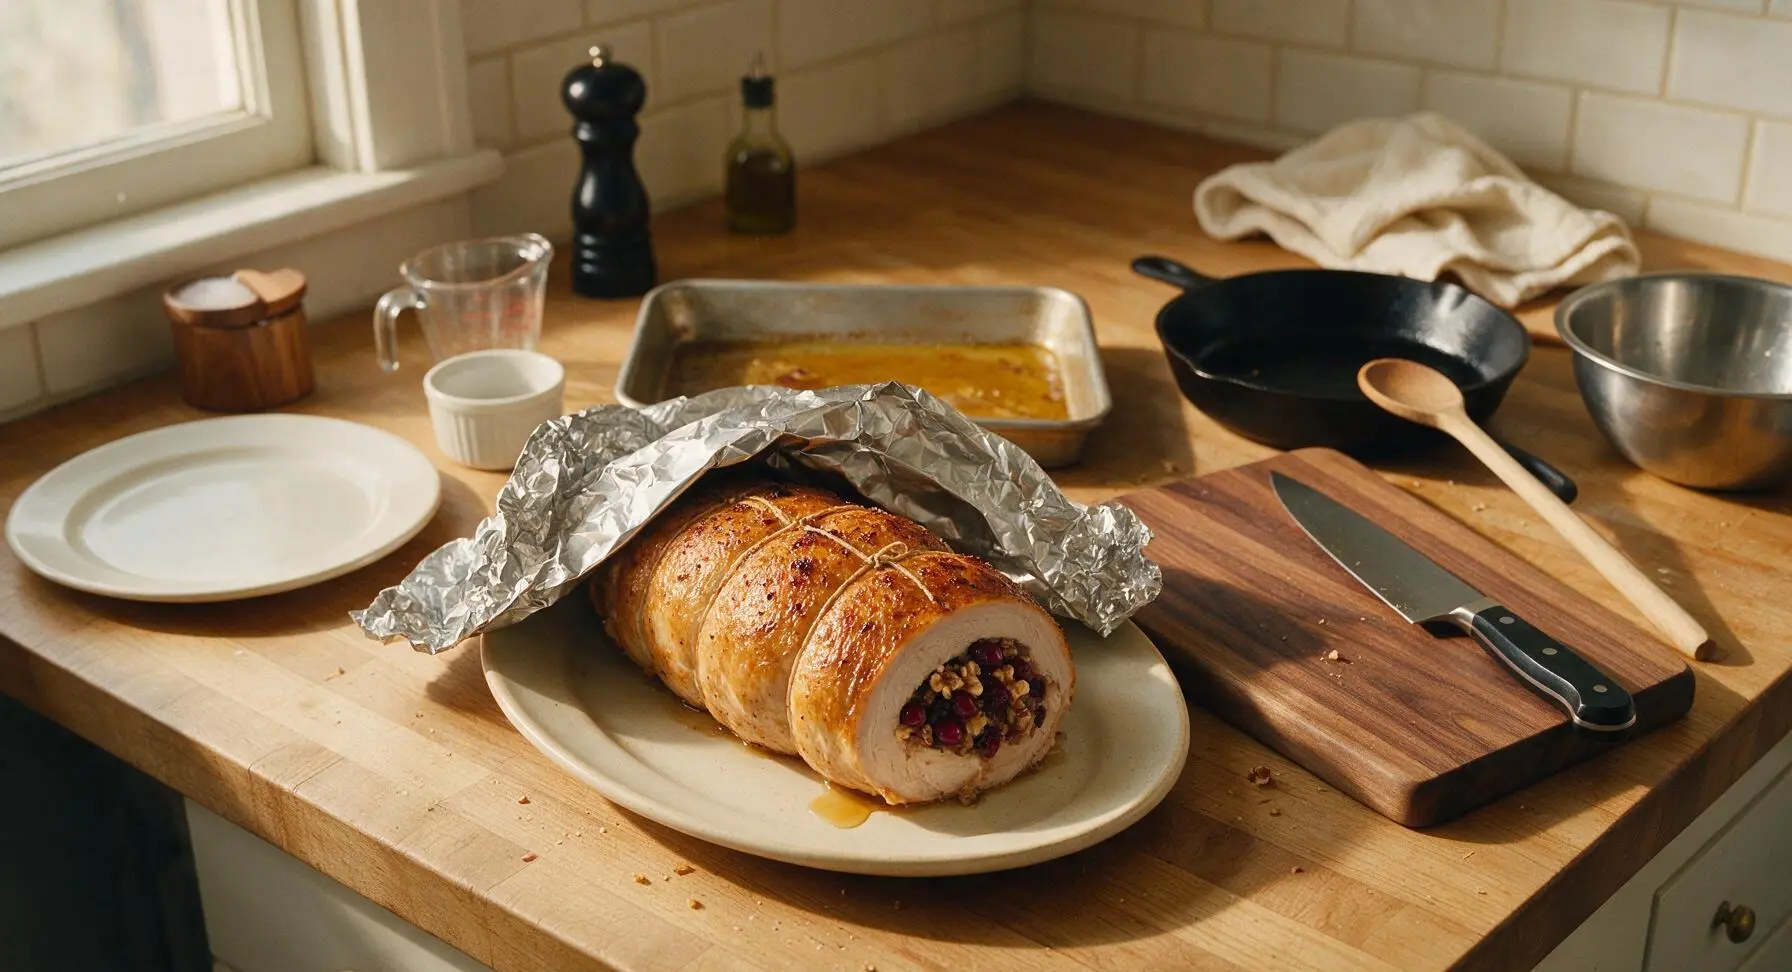
Carefully transfer the roasted turkey log from the roasting pan to the matte cream ceramic oval platter. Tent the turkey loosely with a sheet of aluminum foil, and let it rest for 15 minutes at room temperature. Resting allows muscle fibers to relax and reabsorb juices, preventing dry meat and runaway juice when sliced. Do not remove the kitchen twine during the resting period.
Slice and Garnish Platter
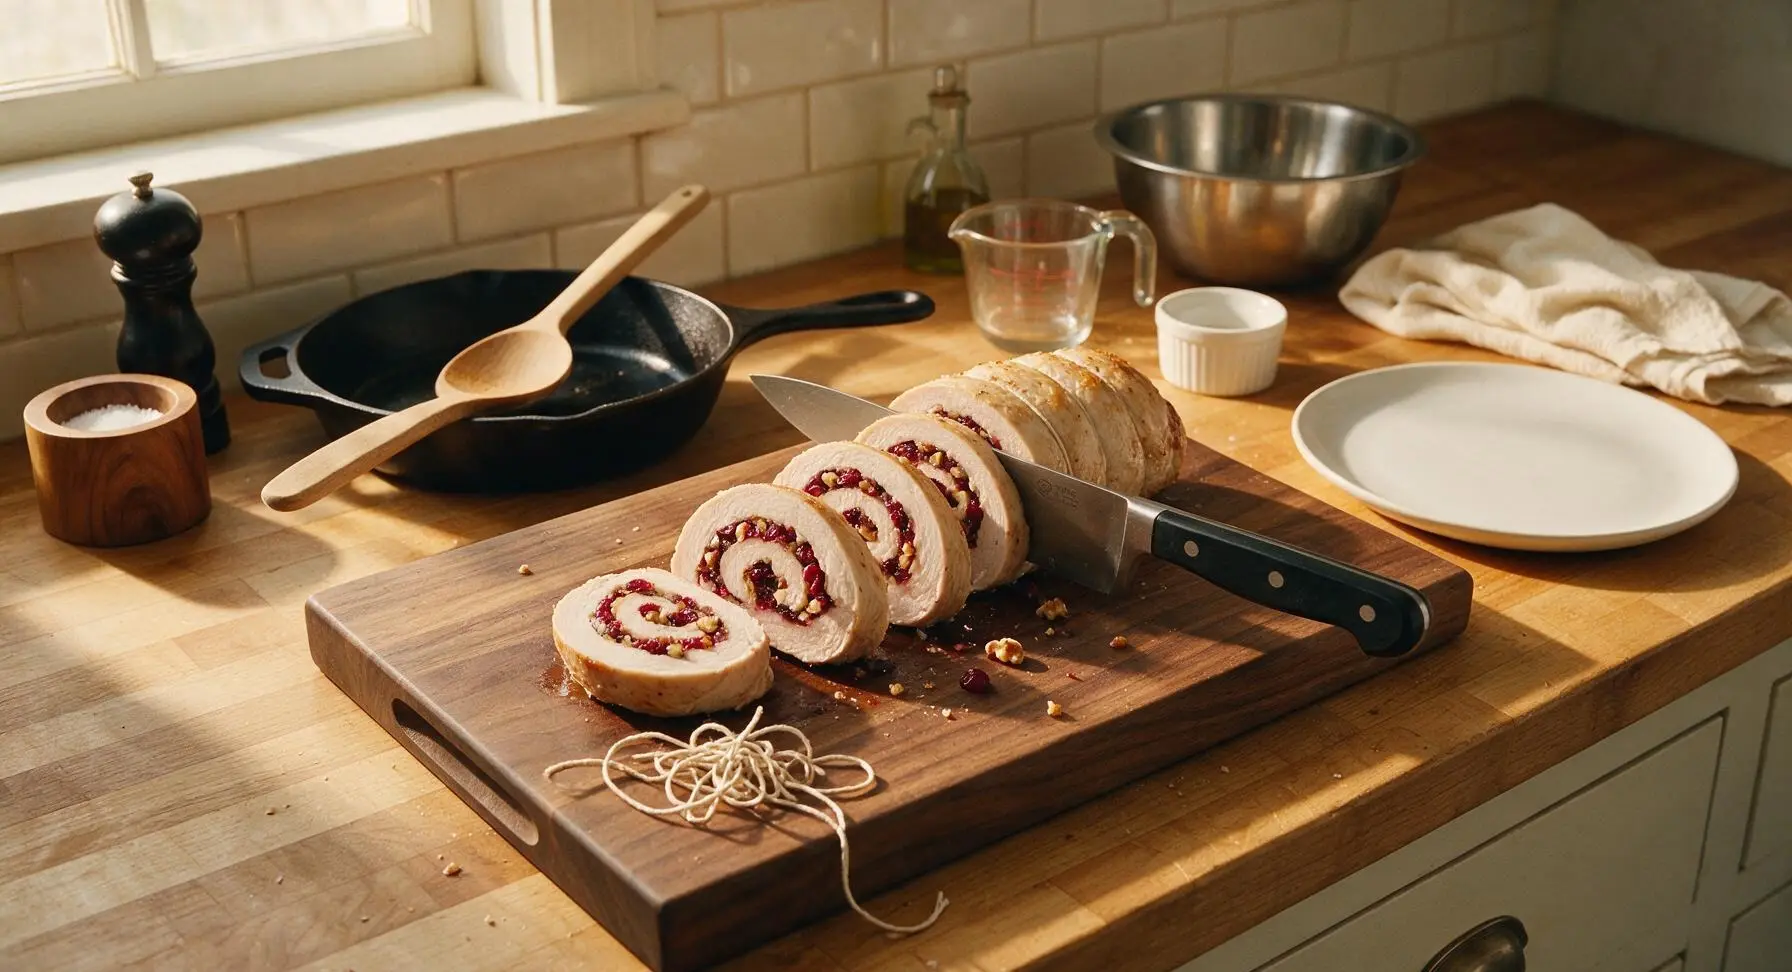
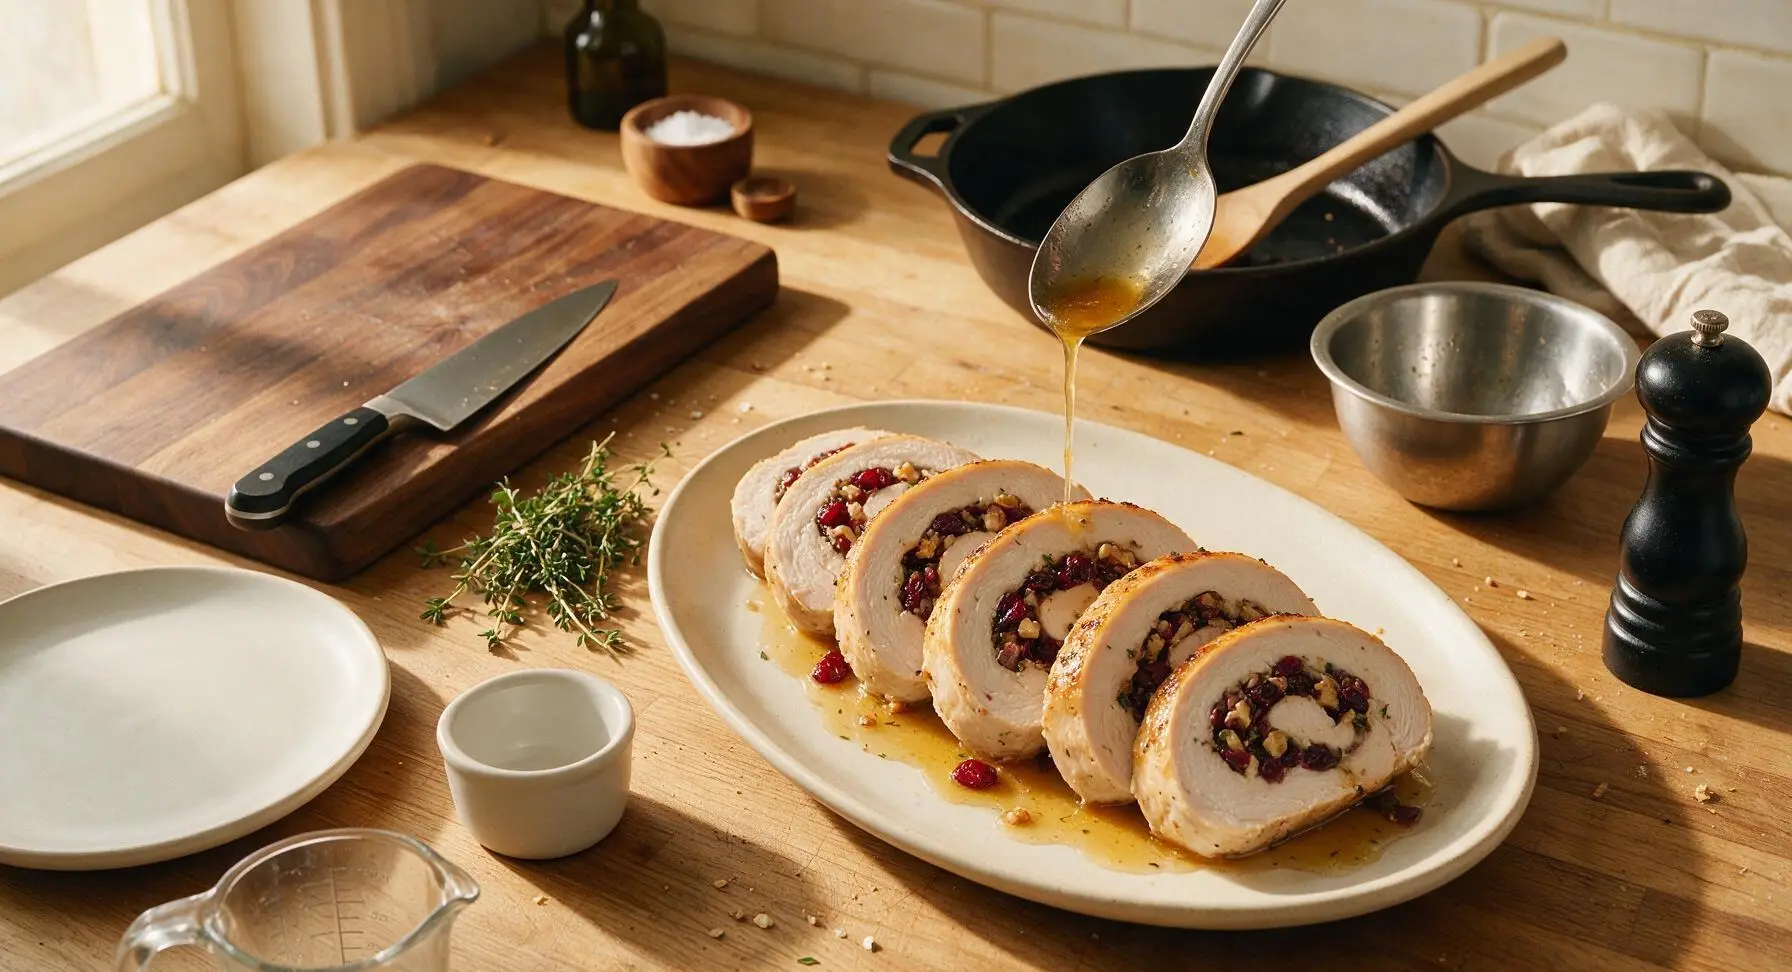
After resting, snip and remove all pieces of kitchen twine from the turkey log. Use the sharp chef knife to slice the roll into uniform 2cm thick slices, taking care to cut cleanly so the spiral stuffing stays intact in each piece. Arrange the slices in a slightly overlapping fan across the platter, drizzling 2 to 3 spoonfuls of reserved pan juices over the top, and tuck fresh thyme sprigs between slices for garnish.
Tips
2.Let the stuffing cool completely before spreading it on the turkey: warm stuffing will start to cook the raw turkey surface prematurely and create excess moisture that makes the roll slide apart while roasting.
3.Use the rack inside the roasting pan: elevating the turkey allows hot oven air to circulate evenly around the entire log, preventing a soggy bottom and creating a uniformly golden, crisp outer crust.






OMG this was the star of our Friendsgiving potluck last weekend! I was nervous to tackle a stuffed turkey breast because I usually dry out turkey, but the cook time was totally spot on. The cranberry walnut filling is the perfect balance of sweet and nutty, my picky 7 year old even asked for seconds! 10/10 will be making this for Christmas dinner too.
Total game changer for weeknight meal prep! I made this on Sunday, sliced it up, and ate it all week with roasted veggies and quinoa. The stuffing doesn’t get soggy at all even when reheated, which I was worried about. Only note: I added a tiny extra drizzle of maple syrup to the filling because I love sweet cranberry flavor, chef’s kiss.
Made this for my husband’s birthday dinner last night and he RAVED. He said it’s better than the turkey we get at our favorite fancy steakhouse? Wild. The walnut crunch against the tart cranberry is unreal, and it looked so pretty plated I felt like a actual pro chef. SO good.
Really solid recipe, medium difficulty is no joke though! I messed up rolling the breast the first time and half the filling fell out while it was cooking, oops. Flavor was still incredible though, even with my messy execution. Next time I’ll tie it tighter with kitchen twine like the instructions say, I skipped that step and paid for it lmao.
I’ve been making stuffed turkey breast for 40 years and this recipe is hands down the best version I’ve ever tried. The hint of rosemary in the filling? *Chef’s kiss* Brought it to my church potluck and every single person asked for the recipe, even the ladies who bring the same green bean casserole every year!
My whole family loved this! Made it for our Sunday dinner when my parents were in town, my mom kept going back for more of the cranberry walnut bits that fell out onto the roasting pan lmao. Paired it with mashed potatoes and roasted green beans, total comfort food feast.
Wait I was so intimidated by the medium difficulty rating but this was way easier than I thought! The step by step instructions for butterflying the breast were so clear, I’ve never done that before and didn’t totally butcher it. Cook time was exactly right too, no guesswork. 10/10 for beginner home cooks who want to impress people.
Pro tip: toast the walnuts for 5 minutes before mixing them into the filling! It makes the nutty flavor so much deeper, I did that on a whim and it was unreal. Also, if you have leftover filling, toss it on top of a salad the next day – game changer.
Great flavor, but my cook time was a little longer than the 1 hour 10 minutes listed! My breast was on the thicker side (almost 3lbs instead of the 2.5 the recipe calls for) so it took an extra 15 minutes to hit temp. Still turned out amazing, just a heads up for anyone using a bigger cut!
Just pulled this out of the oven and it smells INCREDIBLE. I snuck a tiny bite of the edge while it was resting and WOW, the flavors are already perfect. Can’t wait to serve it to my roommates for our early holiday dinner tonight, I know they’re gonna lose their minds.