
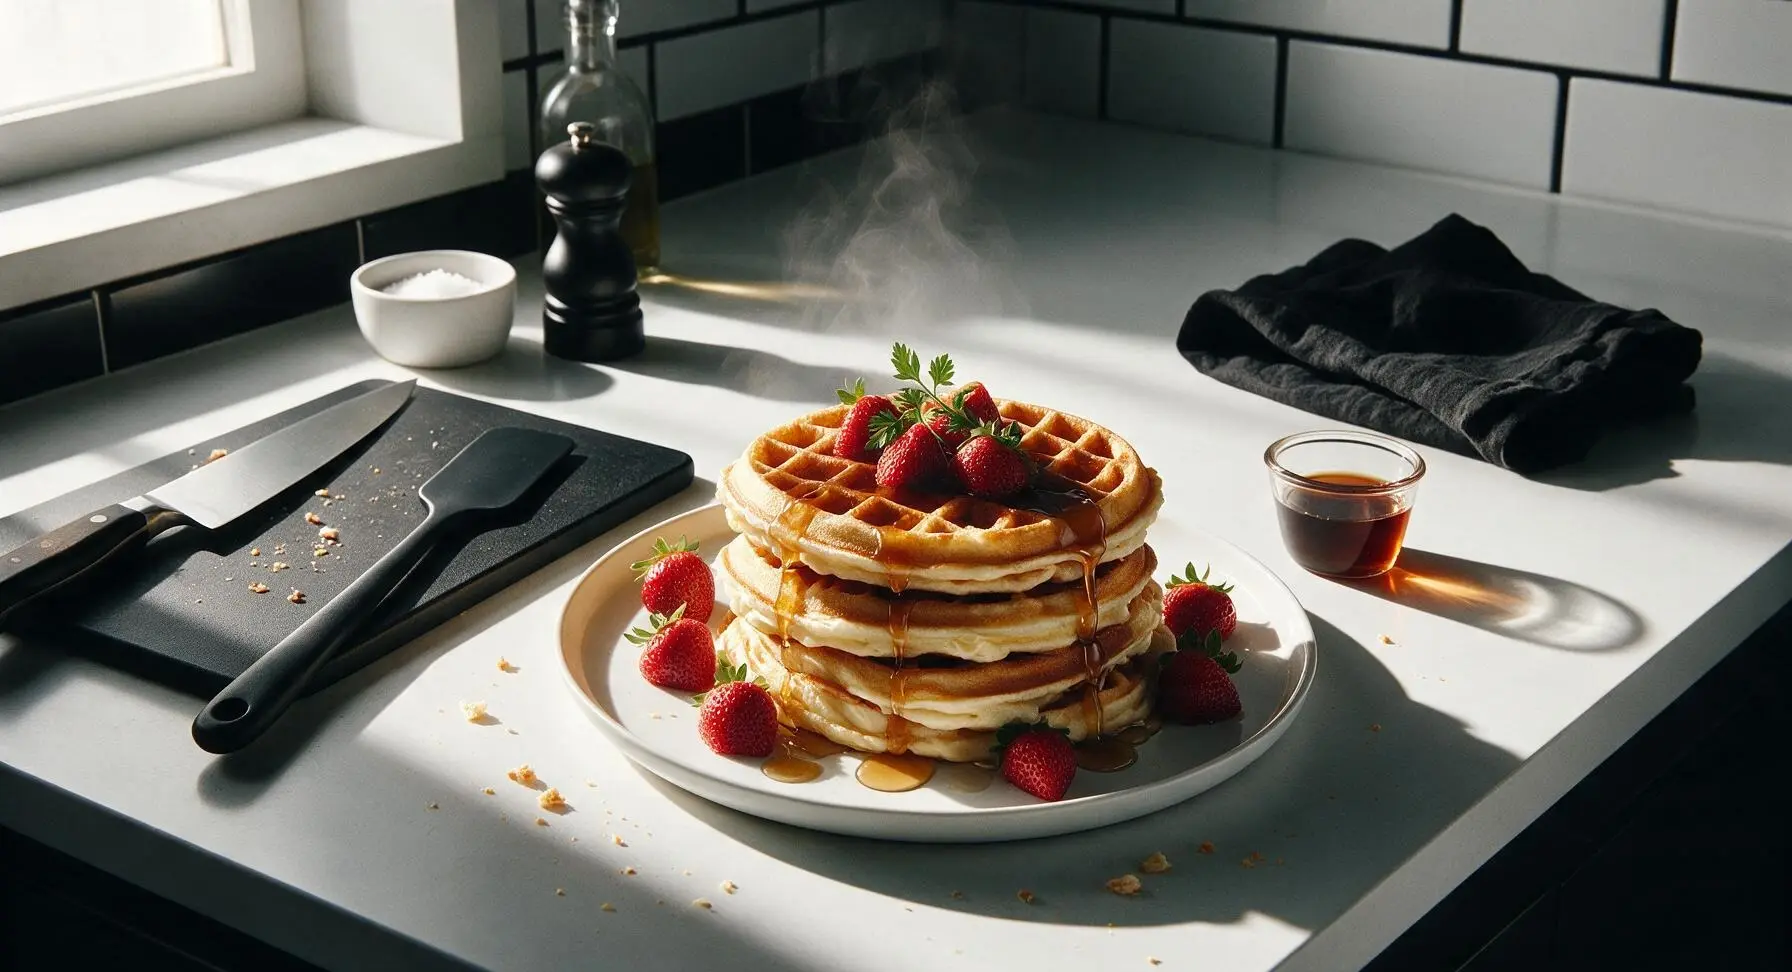
creams waffles

title 1
creams waffles
⏱️ cook time 15 minutes
🍽️ servings 4
⚡ Difficulty easy

intro

Ultra-fluffy, crisp-edged waffles made with rich heavy cream for a luxe, tender crumb, topped with maple syrup and fresh spring strawberries for a cozy weekend family meal.

Ingredients
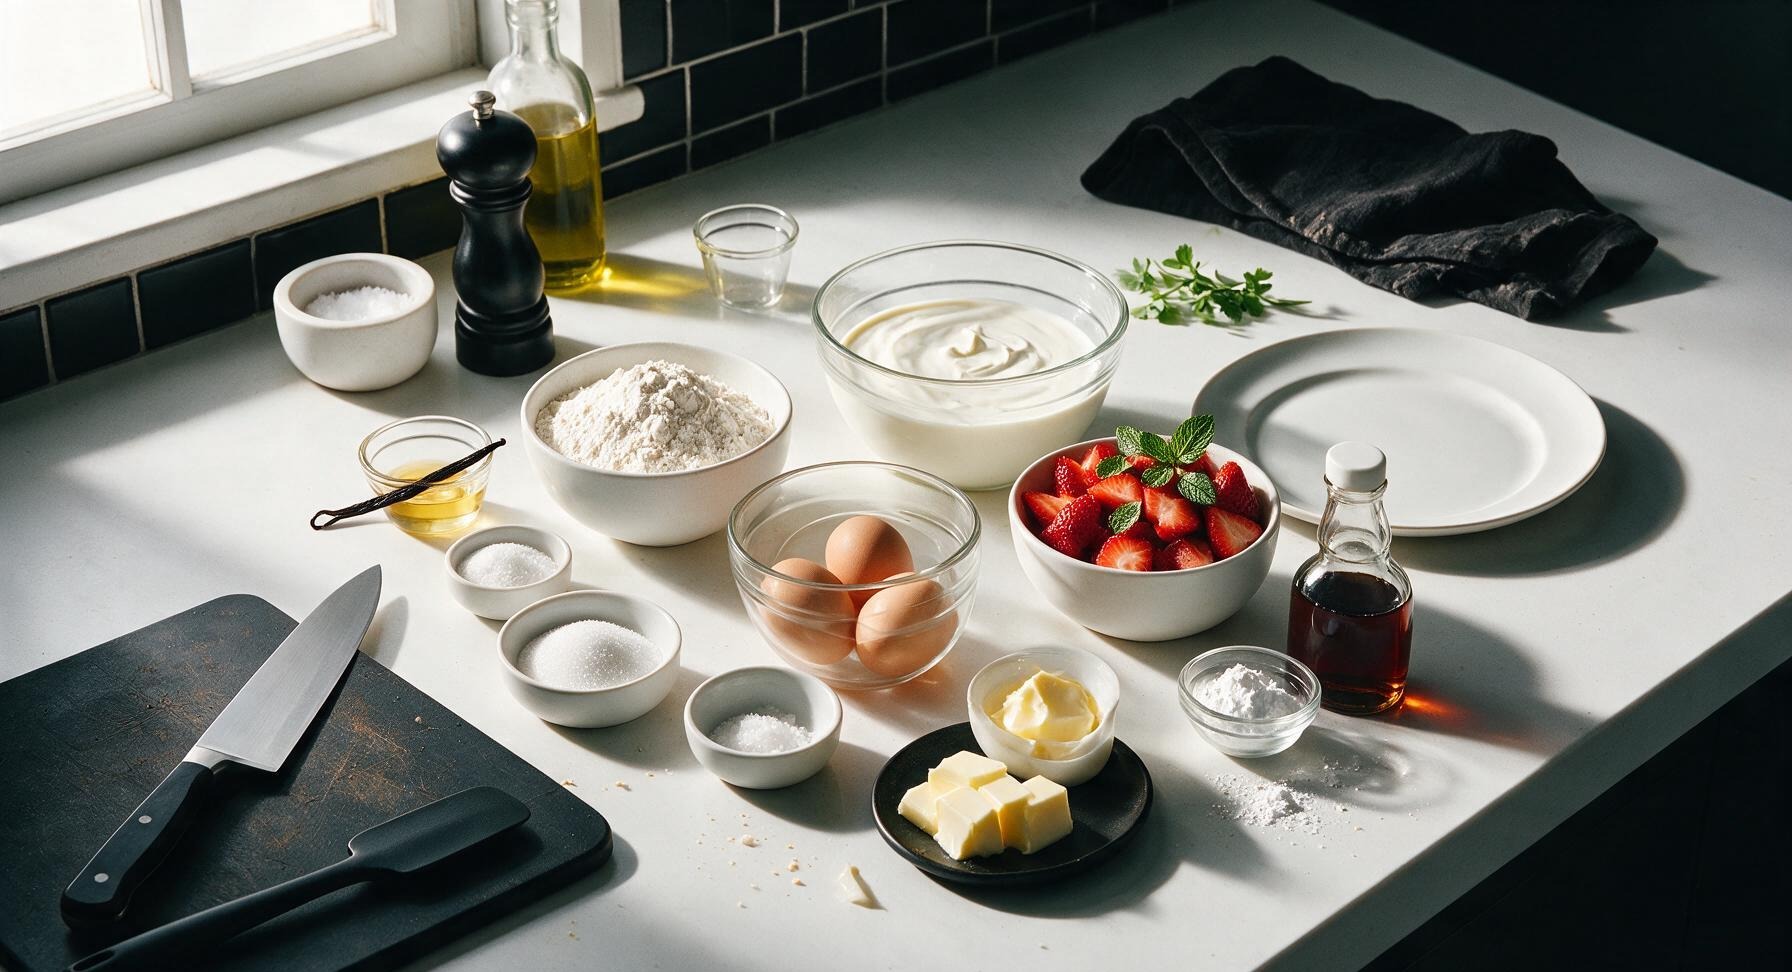
All-purpose flour 2 cups (240g)
Heavy whipping cream 1.5 cups (360ml)
Large eggs 2 (100g total, lightly beaten)
Granulated sugar 2 tablespoons (25g)
Baking powder 1 tablespoon (12g)
Fine sea salt 1/2 teaspoon (3g)
Pure vanilla extract 1 teaspoon (5ml)
Unsalted butter 3 tablespoons (42g, melted and cooled)
Salted butter 4 tablespoons (56g, cut into 1-tablespoon pats)
Pure maple syrup 1/2 cup (120ml)
Fresh strawberries 1 cup (150g, hulled and sliced)
Powdered sugar 1 tablespoon (8g, for dusting)
Fresh mint leaves 6 small leaves

Steps

1

Whisk Dry Ingredients

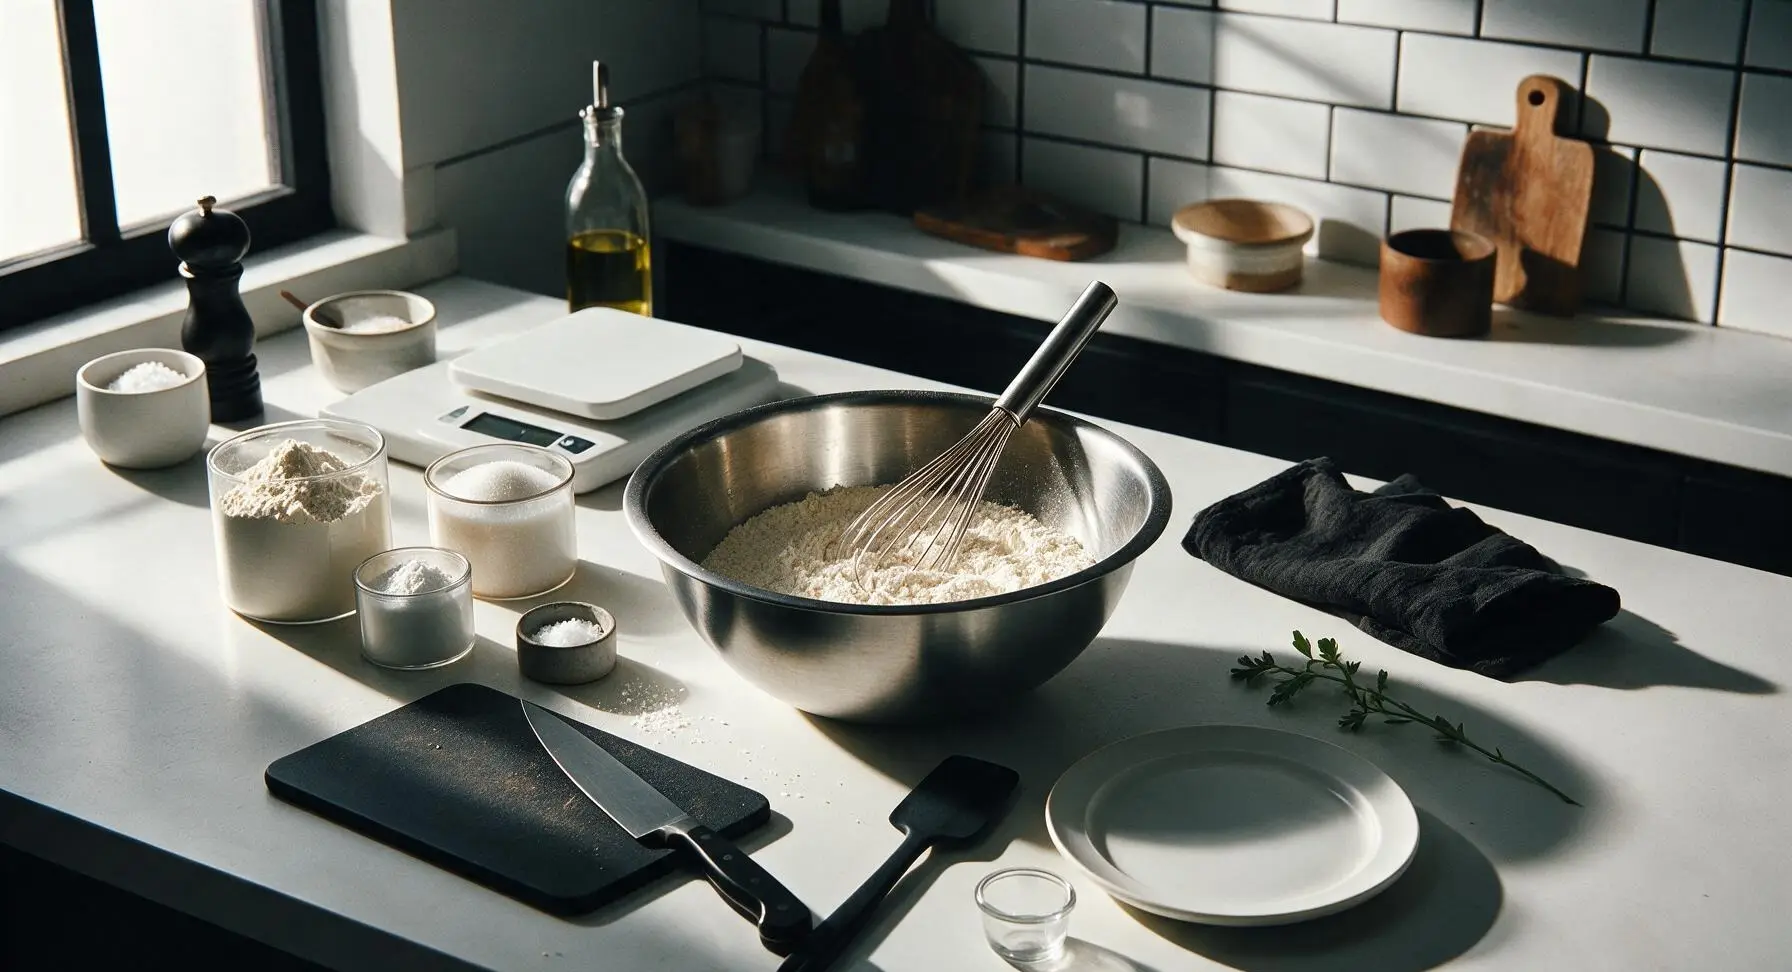
Set the large brushed stainless steel mixing bowl at the center of the counter. Add 2 cups (240g) all-purpose flour, 1 tablespoon baking powder, 2 tablespoons granulated sugar, and 1/2 teaspoon fine sea salt to the bowl. Use the small stainless steel whisk to stir the dry ingredients for 30 seconds until fully combined, with no visible clumps of baking powder; the mixture will be a uniform pale off-white color.
Step 1
step1:Whisk Dry Ingredients
2

Combine Wet Ingredients

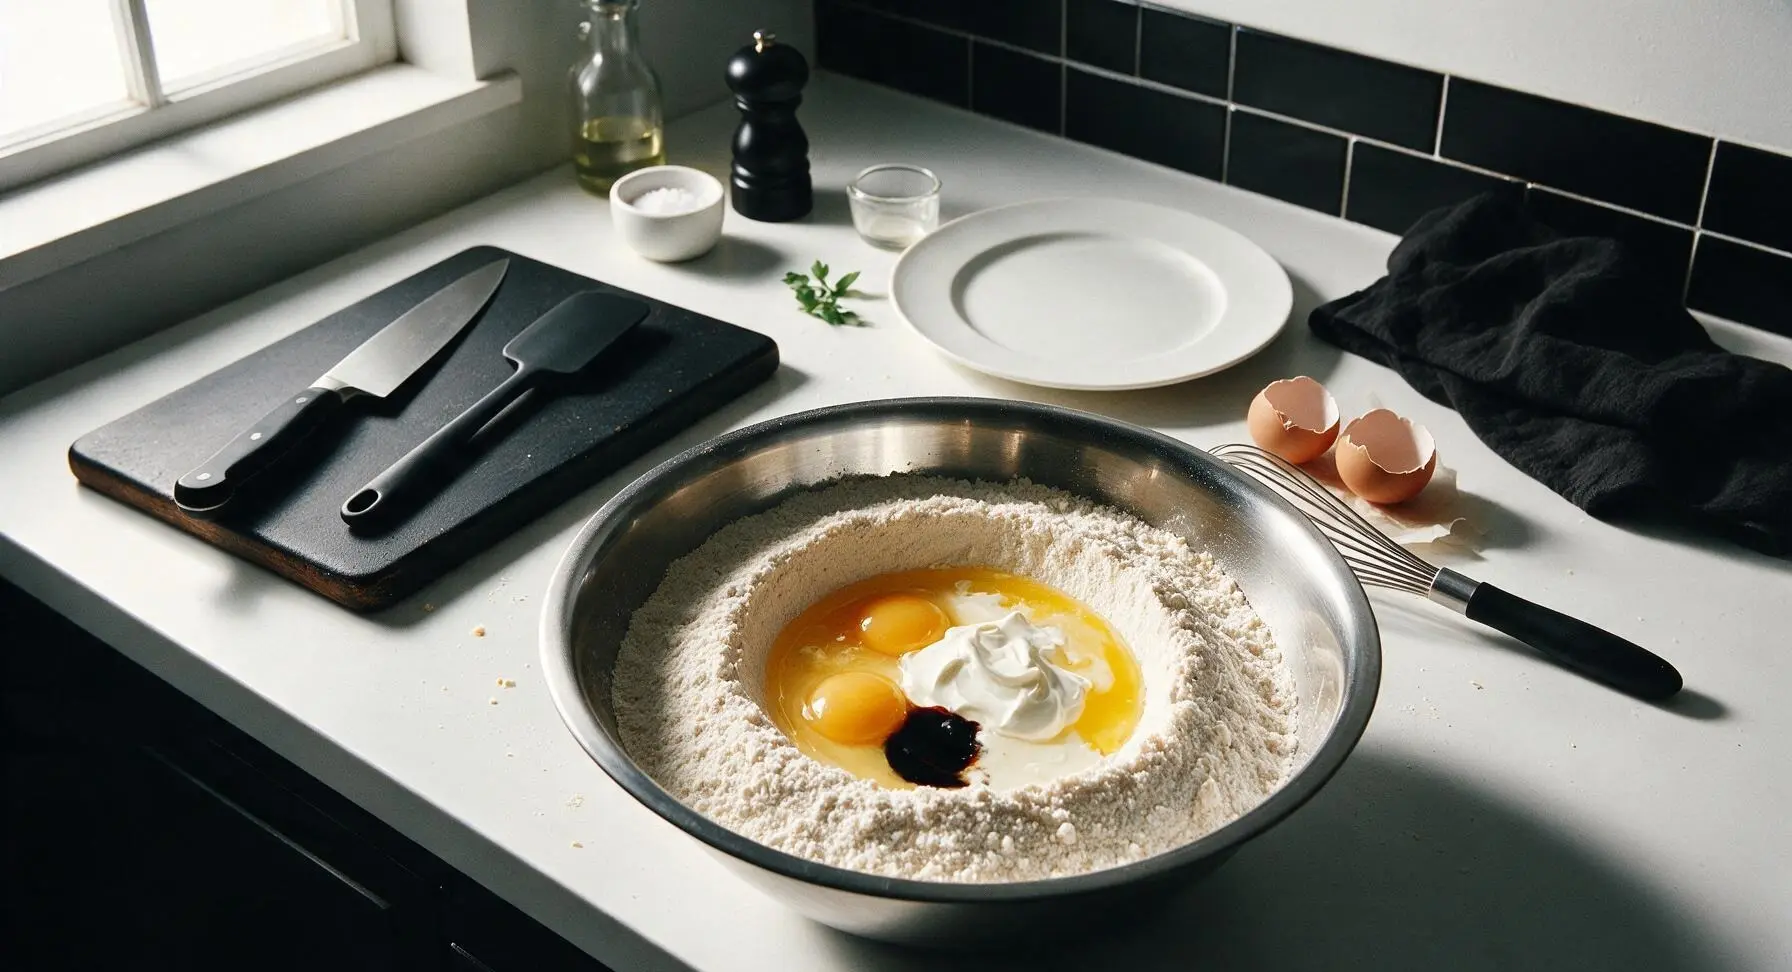
Create a 3-inch wide well in the center of the mixed dry ingredients. Add 2 lightly beaten large eggs, 1.5 cups cold heavy whipping cream, 1 teaspoon pure vanilla extract, and 3 tablespoons cooled, melted unsalted butter to the well. Do not stir at this stage; the wet ingredients will form a smooth, pale golden pool in the center of the dry flour mix.
Step 2
step2:Combine Wet Ingredients
3

Mix and Rest Batter

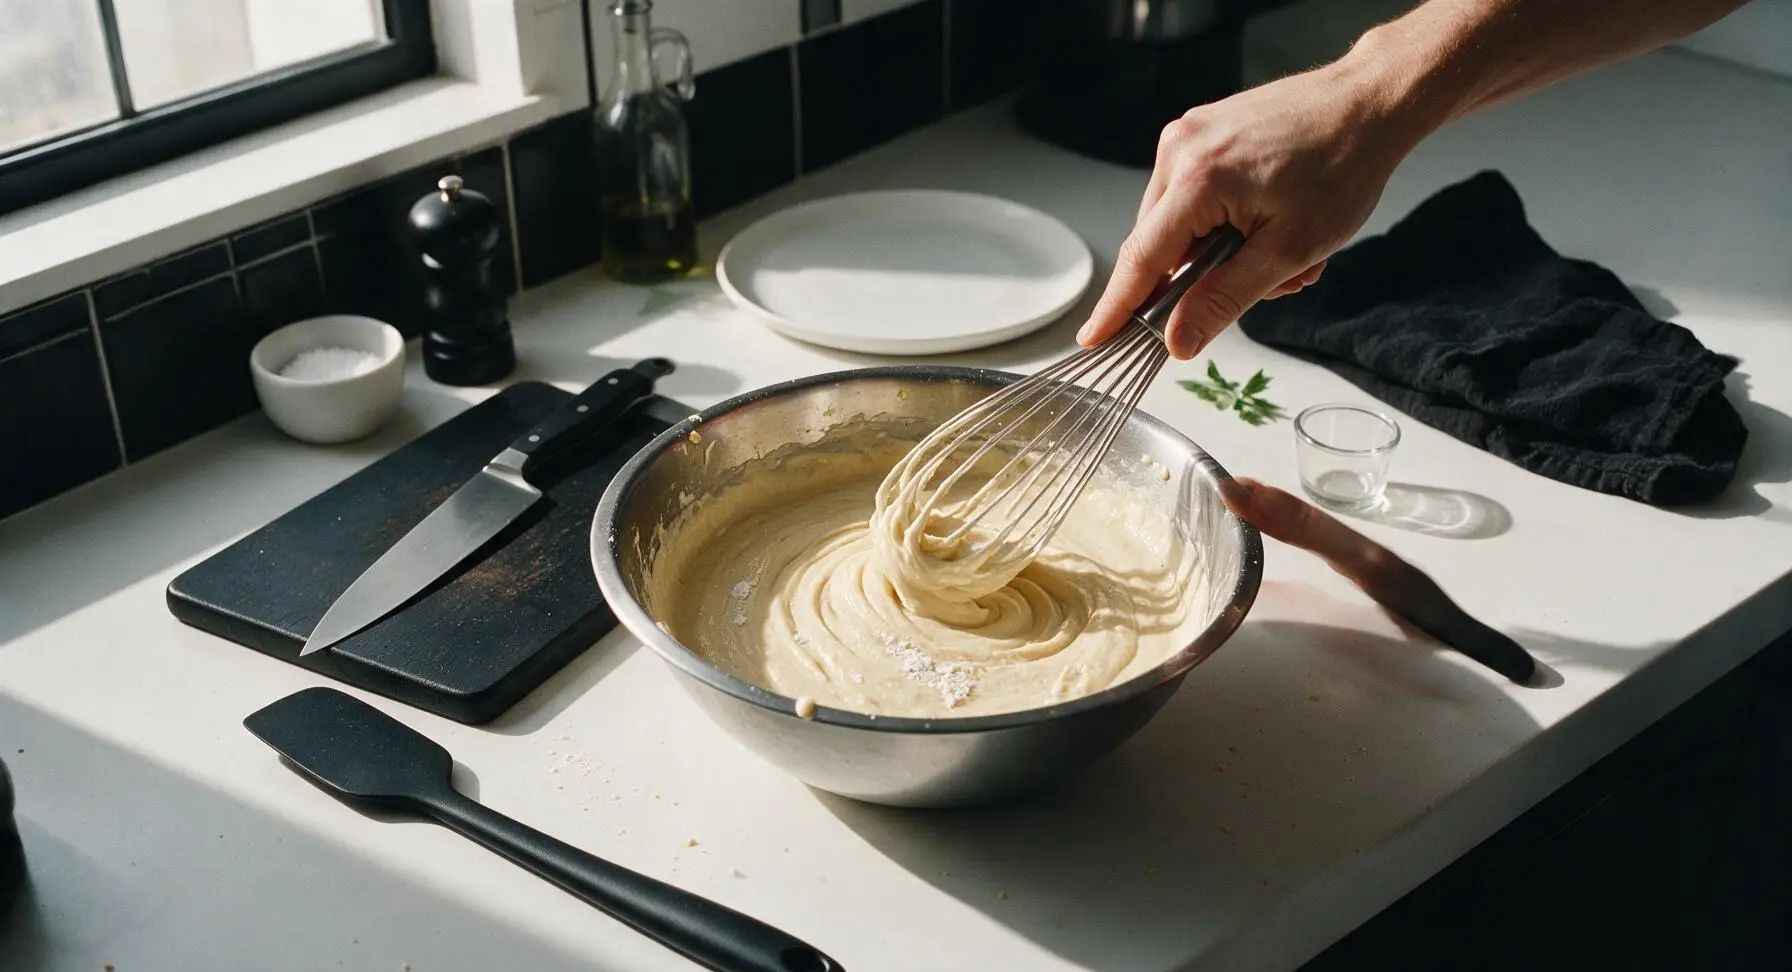
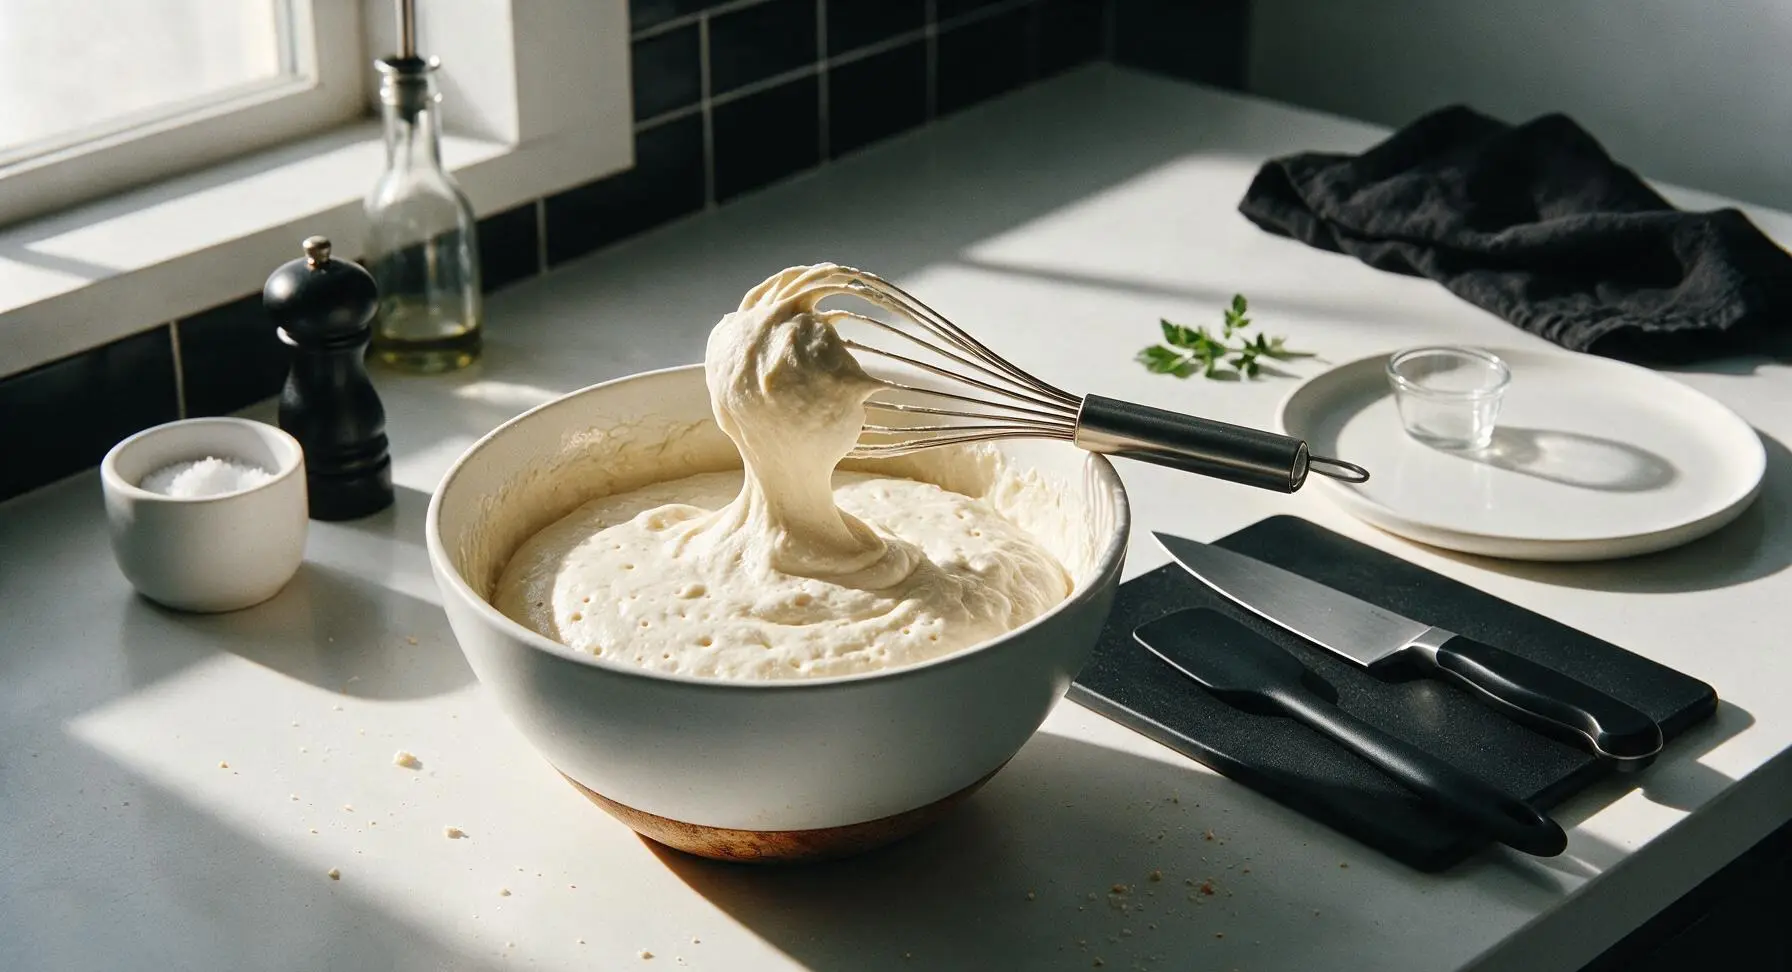
Use the stainless steel whisk to gently stir the wet and dry ingredients together with slow, broad circular motions, mixing only just until no large dry flour streaks remain. The finished batter will be thick, slightly lumpy, and leave a soft, slow trail when the whisk is lifted; do not overmix, as this will develop gluten and create tough waffles. Let the batter rest for 5 minutes at room temperature to activate the baking powder, until tiny air bubbles dot the batter surface.
Step 3
step3:Mix and Rest Batter
Step 3
step3:Mix and Rest Batter
4

Preheat Waffle Iron

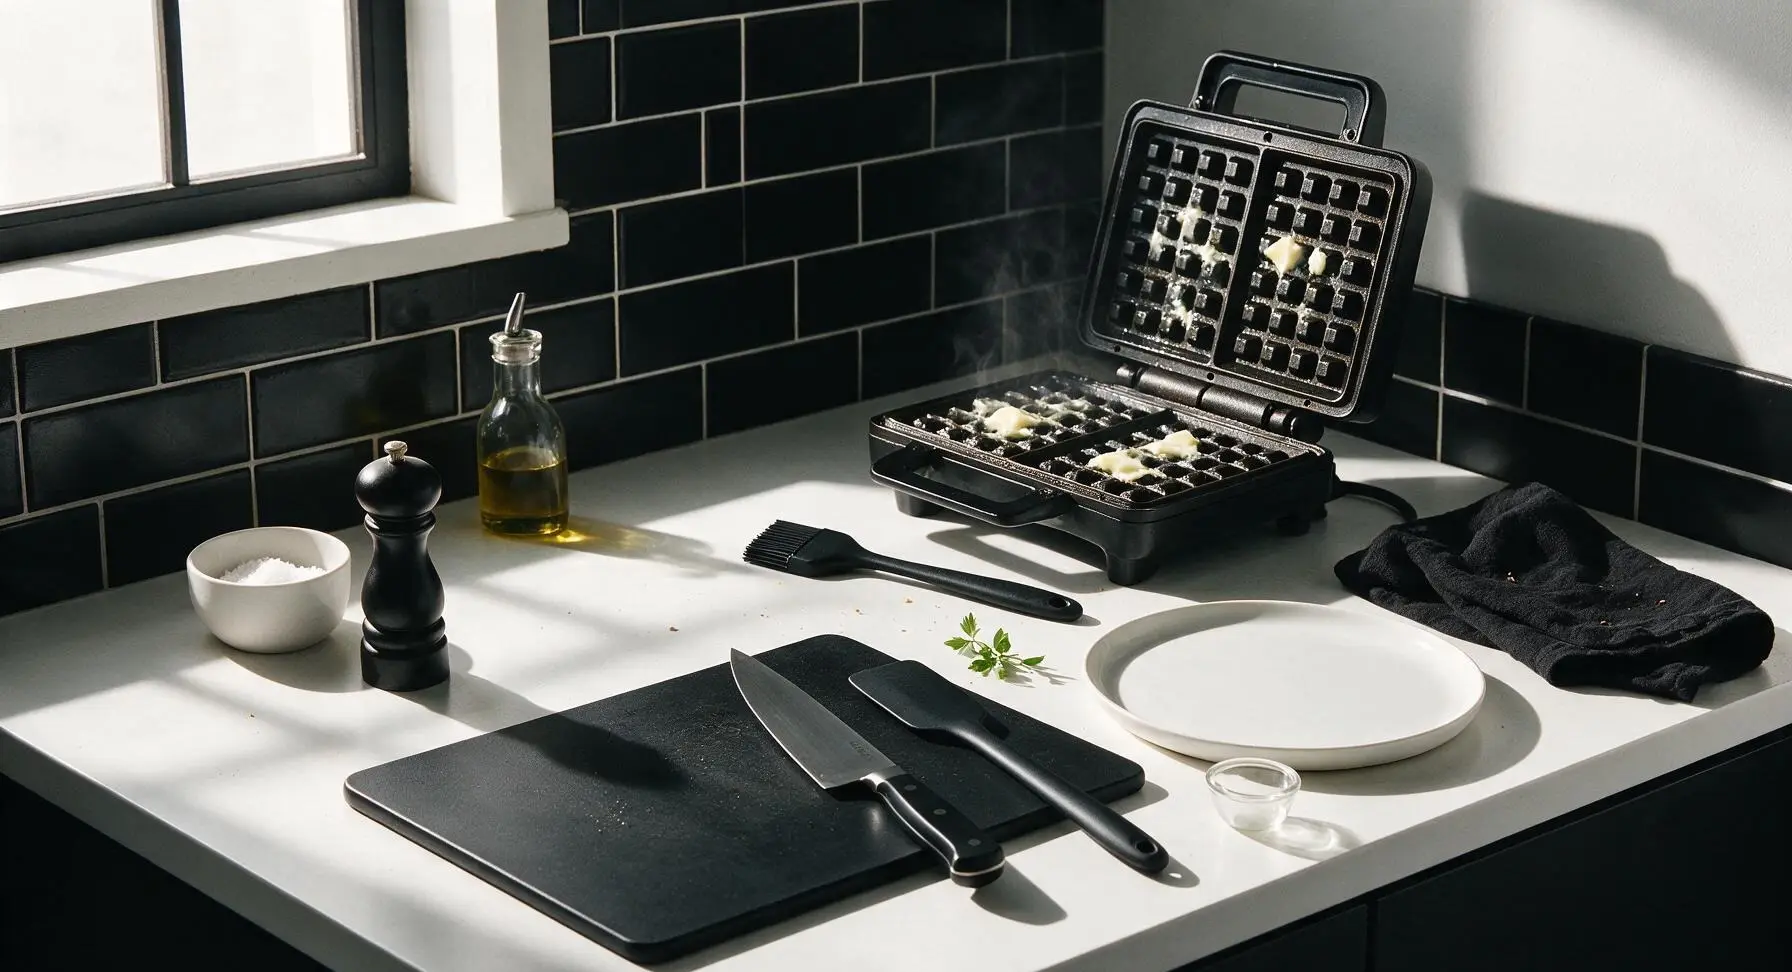
Retrieve the matte black cast aluminum waffle iron from under-counter storage and place it in its fixed back-right position next to the mint bud vase. Plug it in and preheat to 375°F (190°C, medium-high setting). Use the silicone pastry brush from the utensil crock to coat the top and bottom cooking grids with a thin layer of melted unsalted butter to prevent sticking. The iron is fully preheated when a single drop of water flicked onto the surface sizzles and evaporates completely in 2 seconds.
Step 4
step4:Preheat Waffle Iron
5

Cook Waffles Until Crisp

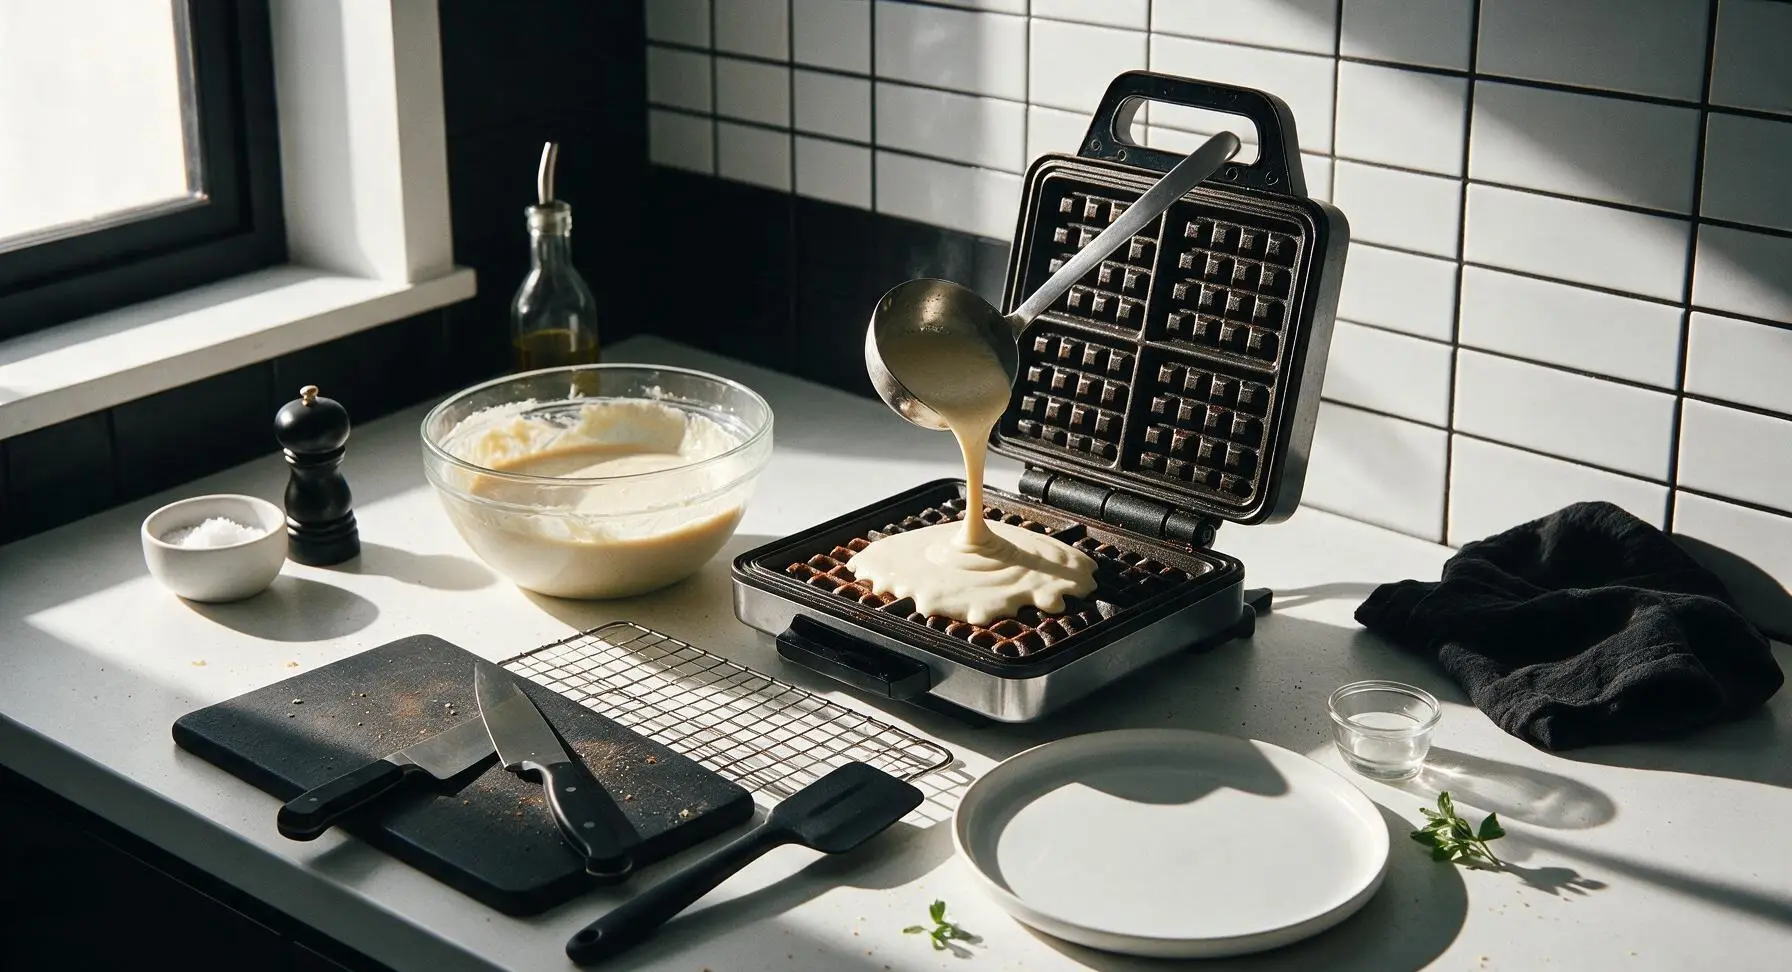
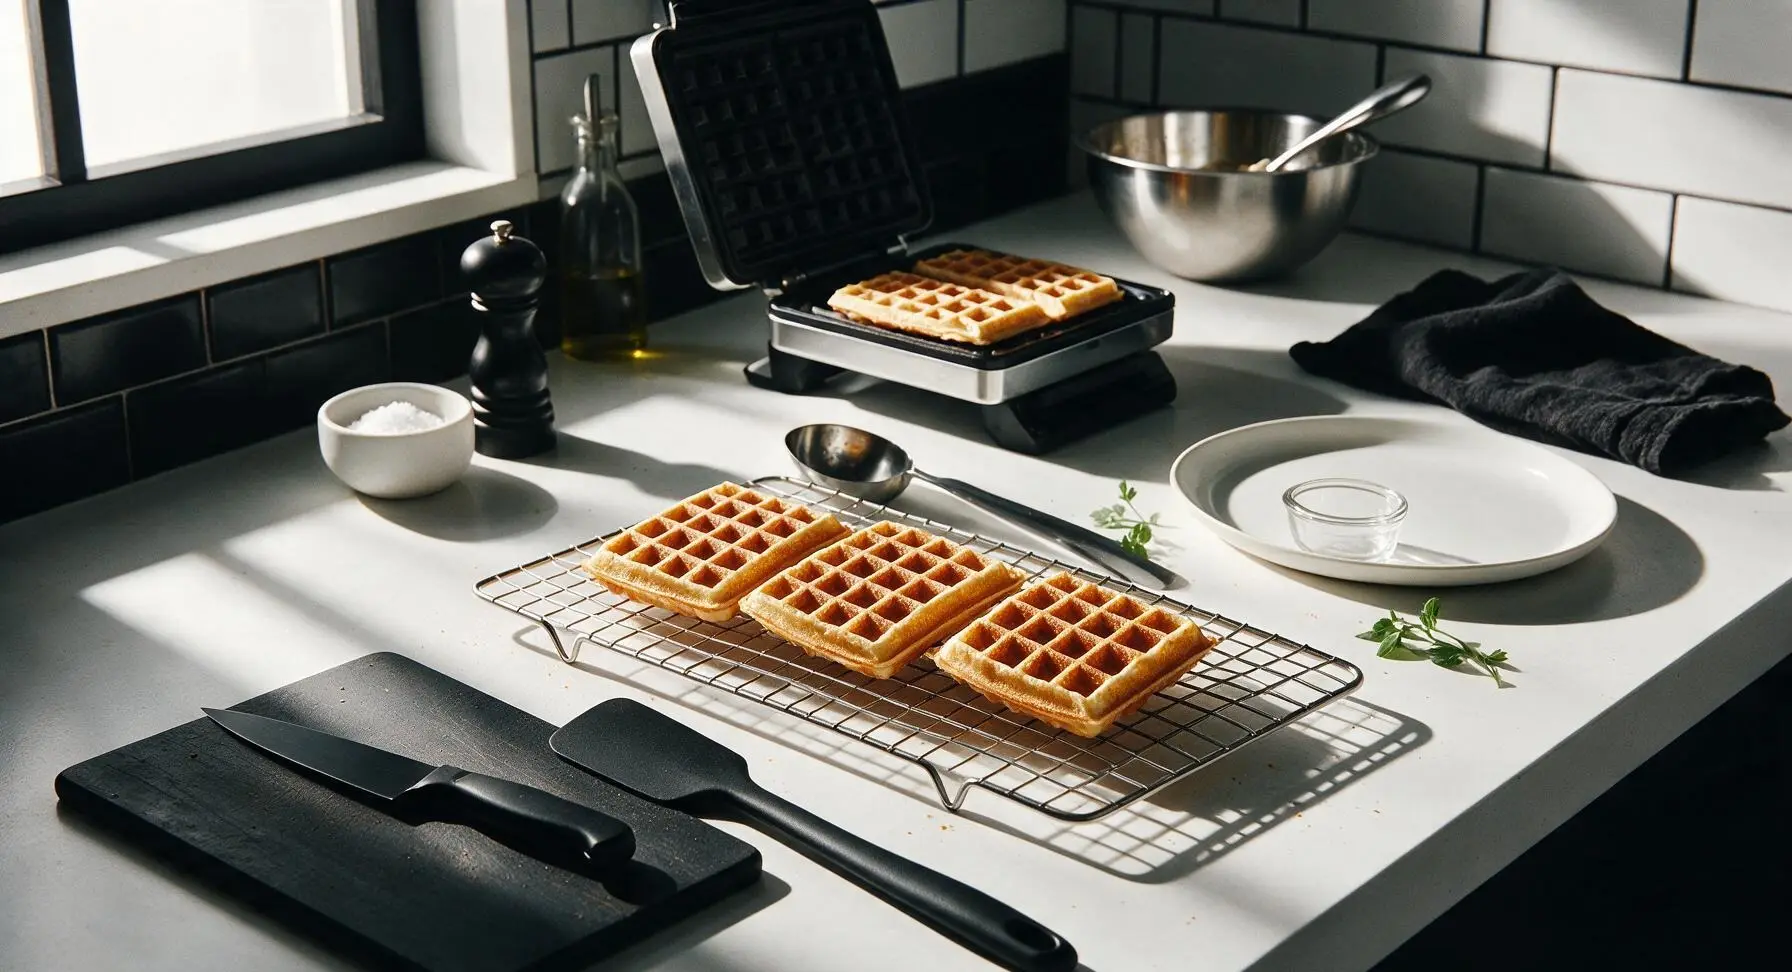
Retrieve the stainless steel wire cooling rack from under-counter storage and place it between the mixing bowl and the cream stoneware dinner plate. Use the stainless steel ladle to pour 1/2 cup of batter onto the center of the preheated waffle iron grid, close the lid, and cook for 3.5 to 4 minutes per waffle. Do not lift the lid for the first 2 minutes of cooking, as this will cause the waffle to tear. The waffle is done when steam stops escaping from the iron edges, and the waffle is deep golden brown with crisp, caramelized edges. Transfer cooked waffles to the wire rack in a single layer (do not stack hot waffles directly, as trapped steam will make them soggy) and repeat with remaining batter to make 4 total waffles.
Step 5
step5:Cook Waffles Until Crisp
Step 5
step5:Cook Waffles Until Crisp
6

Plate and Garnish Waffles

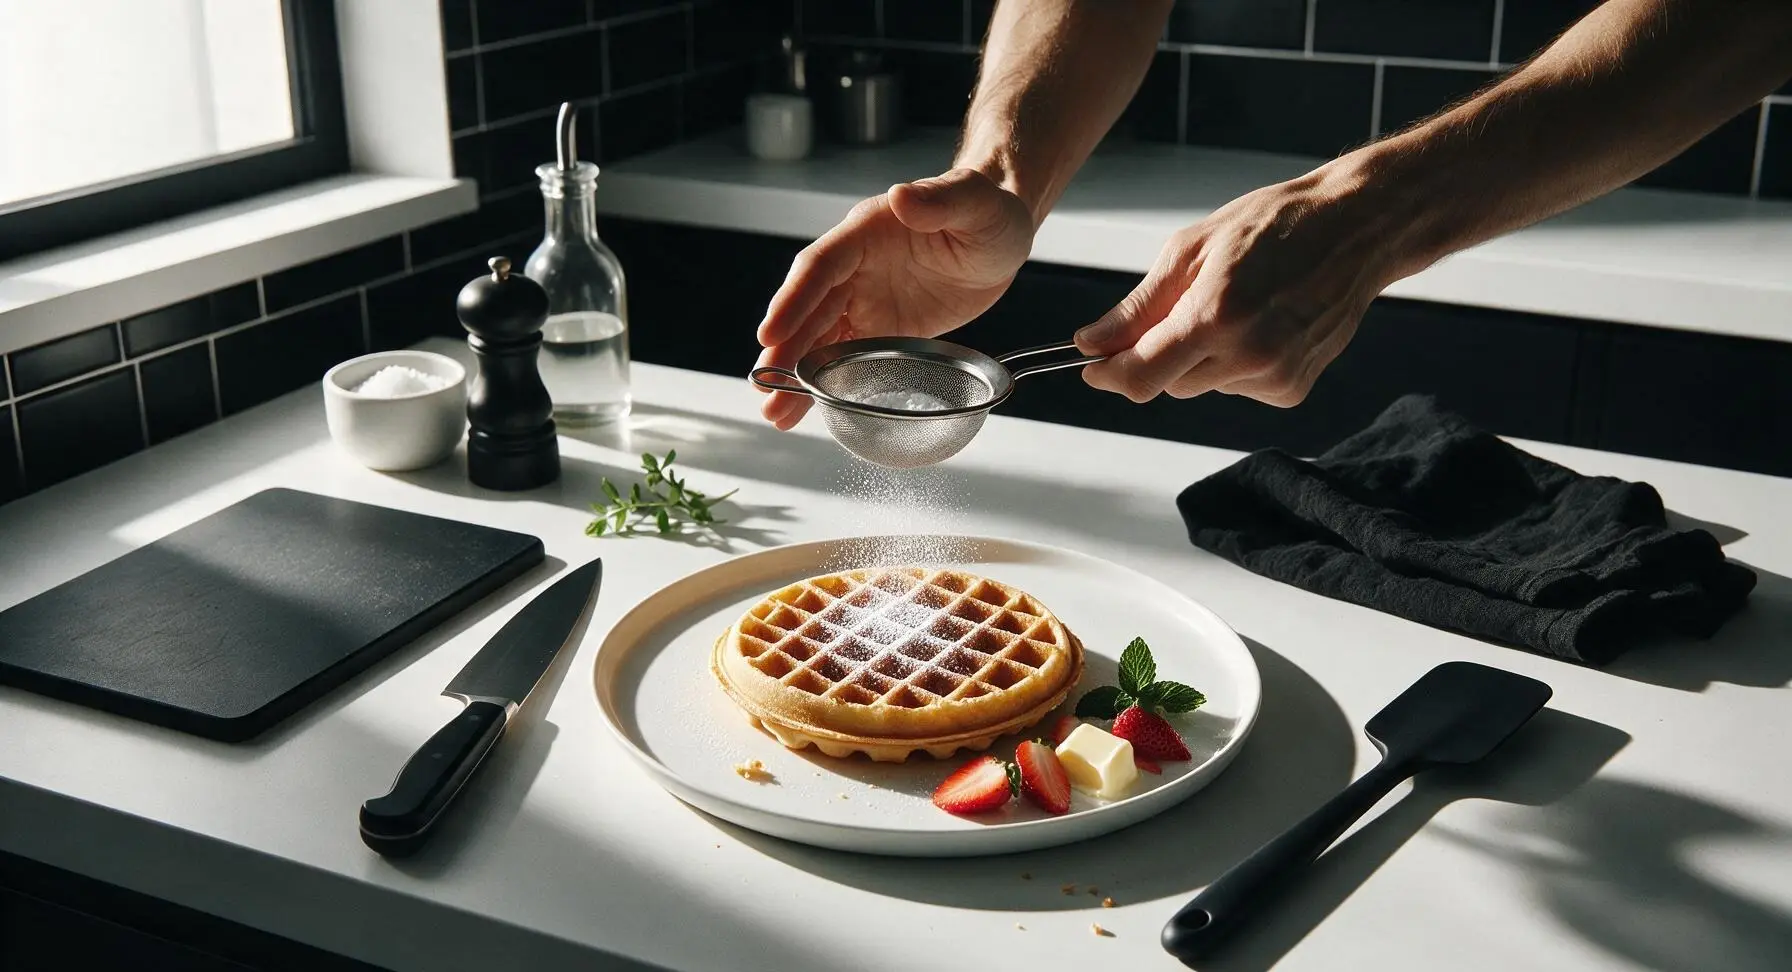
Place one warm waffle centered on the matte cream stoneware dinner plate. Top the waffle with a 1-tablespoon pat of salted butter, letting it melt slightly into the waffle pockets. Drizzle 2 tablespoons of pure maple syrup over the top, letting it run slowly down the waffle sides. Arrange 3 sliced fresh strawberries against the right edge of the waffle, dust lightly with powdered sugar from the small cream ramekin, and tuck two small fresh mint leaves next to the berries for a bright, fresh garnish.
Step 6
step6:Plate and Garnish Waffles

Tips

1.Use cold heavy cream straight from the refrigerator: Cold cream slows gluten development in the flour and creates a more dramatic rise when it hits the hot waffle iron, resulting in a lighter, fluffier crumb and crisper edges than room-temperature cream or milk.
2.Embrace lumpy batter: Overmixing until the batter is completely smooth develops tough gluten strands, leading to dense, chewy waffles instead of tender, delicate ones. Small, pea-sized lumps in the batter will cook out completely and will not affect the final texture.
3.Hold cooked waffles in a low oven if serving a crowd: If you are not plating waffles immediately, transfer them to a wire rack set inside a baking sheet and hold in a 200°F (95°C) oven for up to 20 minutes. Never stack hot waffles on a plate, as trapped steam will quickly turn crisp edges soft and soggy.


✨ You May Also Like

Breakfast
🍜 United States

Crisp-edged, fluffy lard griddle cakes are a nostalgic homestyle staple, with rich savoriness from rendered lard, perfect topped with maple syrup or savory gravy.

⏱️ 25 minuteBreakfast ★ 4.8
Breakfast
🍜 United States

Flaky, buttery homemade buttermilk biscuits smothered in creamy, peppery pork sausage gravy: a beloved, hearty Southern American comfort food classic.

⏱️ 35 minuteBreakfast ★ 4.8
Breakfast
🍜 United States

Golden, custardy brioche stuffed with sweet cream cheese and fresh berries, pan-fried to crisp perfection. An indulgent, cozy breakfast perfect for slow weekend mornings.

⏱️ 30 minuteBreakfast ★ 4.7
Breakfast
🍜 United States

Flaky, buttery Southern-style biscuits stuffed with savory salty country ham, a portable, satisfying classic perfect for casual on-the-go meals.

⏱️ 25 minuteBreakfast ★ 4.8
Breakfast
🍜 United States

Iconic puffy baked pancake popularized in Seattle, with crisp golden edges and soft custardy center, served warm with classic sweet toppings.

⏱️ 35 minuteBreakfast ★ 4.6
Breakfast
🍜 United States

Fluffy, golden pancakes studded with juicy peak-summer mixed berries, drizzled with maple syrup for a bright, comforting, crowd-pleasing family breakfast.

⏱️ 25 minuteBreakfast ★ 4.7

creams waffles:Frequently Asked Questions

1.What makes these fluffy cream waffles different from standard buttermilk waffles? ▾
Unlike tangy, slightly dense buttermilk waffles, these rely on high-fat heavy cream to create an ultra-tender, light crumb and crisp, lacy edges without a sour tang. They have a richer, luxe mouthfeel that pairs perfectly with bright fresh strawberries and sweet maple syrup for a cozy weekend family treat.
2.Can I use half-and-half or low-fat cream instead of heavy whipping cream? ▾
I don’t recommend it for the signature texture. Heavy cream’s 36%+ fat content prevents tough gluten formation, supports fluffy lift, and delivers crisp edges. Half-and-half or low-fat cream will produce flatter, chewier, less flavorful waffles that turn soggy within minutes of coming off the iron.
3.How do I get perfectly crisp edges instead of soft, floppy waffles? ▾
First, preheat your waffle iron fully—wait until the indicator light shows it’s reached full high heat, usually 3-5 minutes. Don’t overmix the batter (lumps are good!), and avoid opening the iron too early. Rest cooked waffles on a wire rack in a 200°F oven for 2-3 minutes to crisp edges before serving.
4.Can I make the waffle batter ahead of time for weekend brunch? ▾
You can mix the dry ingredients (flour, sugar, baking powder) the night before and store them in an airtight container, but wait to whisk in eggs and heavy cream until 10 minutes before cooking. Mixing wet ingredients too early makes baking powder lose leavening power, leading to flat, dense waffles.
5.Why do my waffles turn out dense and heavy instead of light and fluffy? ▾
The most common culprit is overmixing the batter! Overstirring develops tough gluten in the all-purpose flour, which weighs waffles down. Stop mixing as soon as no dry flour streaks remain—small lumps are totally fine. Also, double-check that your baking powder is fresh, as expired leavening won’t create lift.
6.Do I need to separate eggs and whip whites for extra fluff, like some waffle recipes call for? ▾
You don’t! The combination of fresh baking powder and gentle aeration from whisking whole eggs with heavy cream creates more than enough lift for light, tall waffles. Skipping the egg-separation step cuts down on prep time, making this recipe easy for lazy weekends without sacrificing texture.
7.How much batter should I pour into my waffle iron per waffle? ▾
For most standard 7-inch round waffle irons, ⅔ to ¾ cup of batter is perfect. Pour it right in the center, then close the lid and let it spread naturally. Adding too much causes messy oozing out the sides, while too little creates thin, uneven waffles without deep pockets to hold syrup.
8.Can I freeze leftover waffles for quick weekday breakfasts? ▾
Absolutely! Let cooked waffles cool completely on a wire rack, then stack them between sheets of parchment paper and store in a sealed freezer bag for up to 3 months. Reheat directly from frozen in a toaster or 350°F oven for 5-7 minutes, and they’ll crisp right up with no sogginess.
9.What toppings work best besides maple syrup and fresh strawberries? ▾
While spring strawberries and pure maple syrup are the classic cozy pairing, you can top these rich waffles with whipped cream, a dusting of powdered sugar, lemon curd, toasted pecans, or even a scoop of vanilla ice cream for a fun brunch dessert. Avoid watery toppings that make crisp edges soggy fast.
10.Can I use self-rising flour instead of all-purpose flour for this recipe? ▾
If you use self-rising flour, adjust the leavening to account for the baking powder and salt already in the mix: leave out the recipe’s added baking powder, and cut ¼ teaspoon of added salt if your self-rising flour is salted. Keep all other measurements the same to maintain that tender, fluffy crumb.
11.How do I know when waffles are fully cooked without opening the iron too early? ▾
Wait until steam stops escaping from the edges of the waffle iron, usually 4-5 minutes per batch. If you open the lid and the waffle pulls apart easily and is deep golden brown, it’s done. If it sticks, close the lid and cook for 30-60 seconds longer—sticking usually means it needs more time to crisp.
12.Can I adjust the recipe to make these waffles work for savory toppings? ▾
Definitely! Cut the granulated sugar in half (to 1 tablespoon per standard batch) to dial back sweetness, so the waffles pair beautifully with savory toppings like fried chicken, smoked salmon, herbed cream cheese, or crispy bacon. The rich cream flavor will still shine through without clashing with savory add-ons.
13.Why does my batter get thicker as it sits before cooking? ▾
That’s totally normal! The all-purpose flour will continue to absorb moisture from the heavy cream as it rests, thickening the batter slightly. If it gets too thick to pour easily, stir in 1-2 tablespoons of extra heavy cream to thin it back to a slow-pouring consistency before adding it to your waffle iron.
14.Do I need to grease my waffle iron even if it has a non-stick coating? ▾
Yes, a light greasing is still recommended for those crisp, easy-release edges. Use a pastry brush to coat the iron plates with a thin layer of melted butter or neutral cooking spray before the first batch. You won’t need to re-grease for every batch, but it prevents sticking and adds an extra buttery, crisp bite.

Comments (11)

2 hours ago

OMG these are SO good!!! I made them for Saturday brunch with my roommates and we all went back for seconds. The fluff level is insane, I never thought adding heavy cream would make such a huge difference vs regular milk waffles. Total game changer!

1 hour ago

Right?! I made them last weekend for a potluck and everyone was begging for the recipe! I added a little cinnamon to the batter and it was chef’s kiss

30 minutes ago

So glad you and your roommates loved them! The cinnamon addition sounds delicious – we love seeing people customize the recipe to their taste!

yesterday

My kids absolutely demolished these waffles this morning! I was worried they’d be too fussy with the cream step but it was so easy, even with the chaos of getting everyone ready for school. 10/10 will be adding this to our weekly breakfast rotation.

yesterday

That makes our day to hear! We love that this recipe is quick enough for busy school mornings – pro tip, you can mix the dry ingredients the night before to cut down on prep time even more!

3 days ago

Super easy recipe, came out perfectly on my first try! I topped mine with fresh strawberries and a dollop of whipped cream, tasted like something I’d order at a fancy brunch spot. Only note is I cooked mine a minute longer than recommended to get that extra crisp edge, which worked great.

5 days ago

Has anyone tried making these with a 1:1 gluten free flour blend? I’m dying to make them for my sister who visits next weekend but don’t want them to turn out dense!

4 days ago

I used Bob’s Red Mill 1:1 blend last week and they came out just as fluffy! Just make sure you don’t overmix the batter, that’s the key no matter what flour you use

3 days ago

Great question! We’ve tested this with 1:1 gluten free flour and it works beautifully, just like MountainHiker12 said – avoid overmixing to keep that light, fluffy texture. Hope your sister loves them!

1 week ago

Okay as someone who burns literally every breakfast food I try to make, these were foolproof! 15 minutes total, minimal cleanup, and they taste incredible. I ate mine with a drizzle of maple syrup and some chocolate chips, no notes.

5 days ago

Dude same! I made these in my tiny dorm waffle maker last night and my whole floor could smell them, people kept knocking asking for a bite. So worth it

2 weeks ago

I made a big batch of these on Sunday for weekday breakfasts and they freeze SO well! Just pop them in the toaster for a minute when you’re ready to eat and they taste just as fresh as the day you made them. Perfect for busy work mornings when I don’t have time to cook from scratch.

2 days ago

Wait, I made these this morning and my batter was way runnier than I expected? Did I do something wrong? I measured everything exactly like the recipe said but they spread super thin in my waffle iron and didn’t get that fluffy height everyone is talking about.

2 days ago

Oh that happened to me once! Turns out I used heavy whipping cream that was almost expired and had started to separate, it made the batter too thin. Swapped for a fresh carton and they came out perfect!

1 day ago

Sorry to hear they didn’t turn out as fluffy for you! A couple common culprits are overmixed batter (which deflates the air bubbles that make them fluffy) or cream that’s not cold enough. Make sure your cream is straight from the fridge and you only mix until ingredients are just combined, give it another try!

1 week ago

Made these on our camping trip this past weekend using our cast iron waffle iron over the campfire and they were a hit! So simple to prep the batter at home and bring along in a cooler. Everyone at the campsite was asking where I got the recipe.

6 days ago

That is such a fun idea! We never thought to make these over a campfire – so cool that they worked out perfectly for your trip. Thanks for sharing that hack!

30 minutes ago

Added a handful of mini chocolate chips to the batter and topped with peanut butter drizzle, and my husband said these are the best waffles he’s ever had. Will absolutely be making these for our next family breakfast when my parents come to visit. So easy even a beginner can nail it!

5 minutes ago

Game changer! I’ve tried so many waffle recipes over the years that turn out soggy or dense, but these are light, fluffy, and have that perfect little crisp on the outside. I don’t think I’ll ever use another waffle recipe again.

just now

Same! I’ve been making these every Sunday for a month now and my partner jokes they’re going to turn into a waffle from how many we eat. No ragrets

yesterday

Wait, is there a non-dairy swap for the heavy cream that works here? I’m lactose intolerant but these look so good I’m dying to try them!

20 hours ago

I used full fat canned coconut cream (chilled, skip the watery part at the bottom!) and it worked perfectly! Came out just as fluffy, no weird coconut aftertaste if you grab the unsweetened kind

18 hours ago

Great question! Full fat chilled coconut cream is our go-to non-dairy swap for this recipe, just like Lex mentioned. You can also use a non-dairy heavy whipping cream alternative if that’s easier to find, just make sure it’s cold for the best fluff!



