
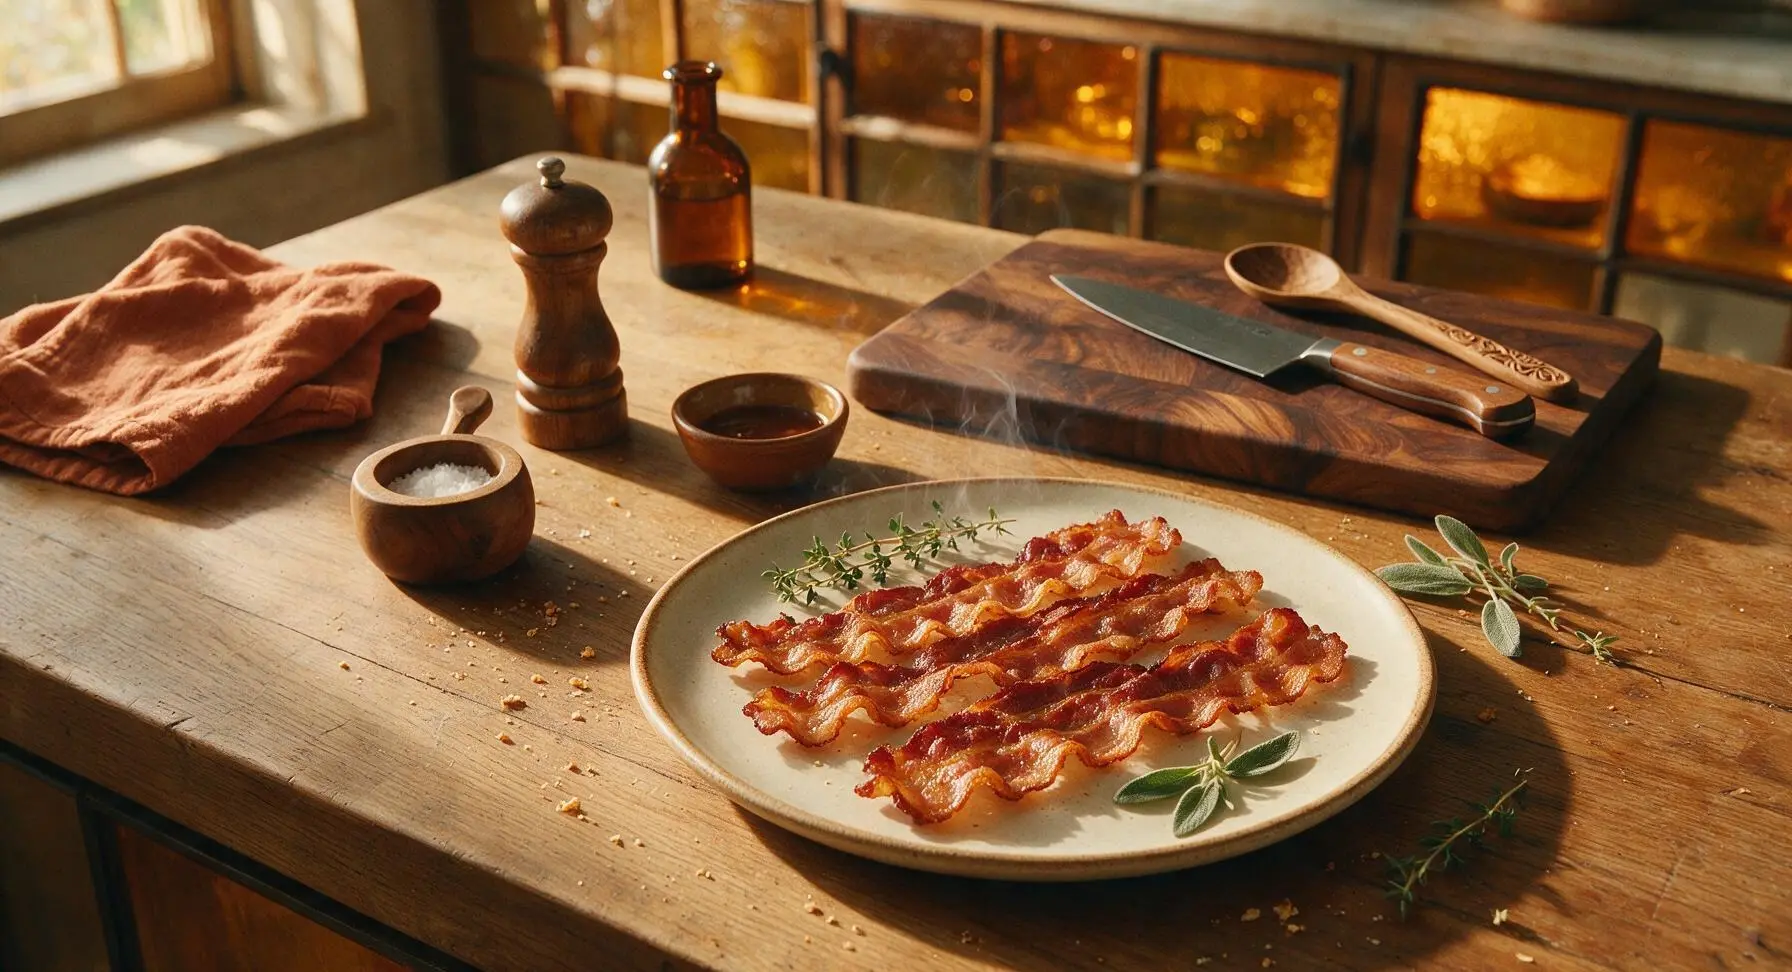
crispy bacon recipe

title 1
crispy bacon recipe
⏱️ cook time 18 minutes
🍽️ servings 4
⚡ Difficulty easy

intro

Shatteringly crisp, evenly rendered bacon with zero burnt edges and minimal mess, perfect for breakfast, BLTs, or crunchy salad toppers.

Ingredients
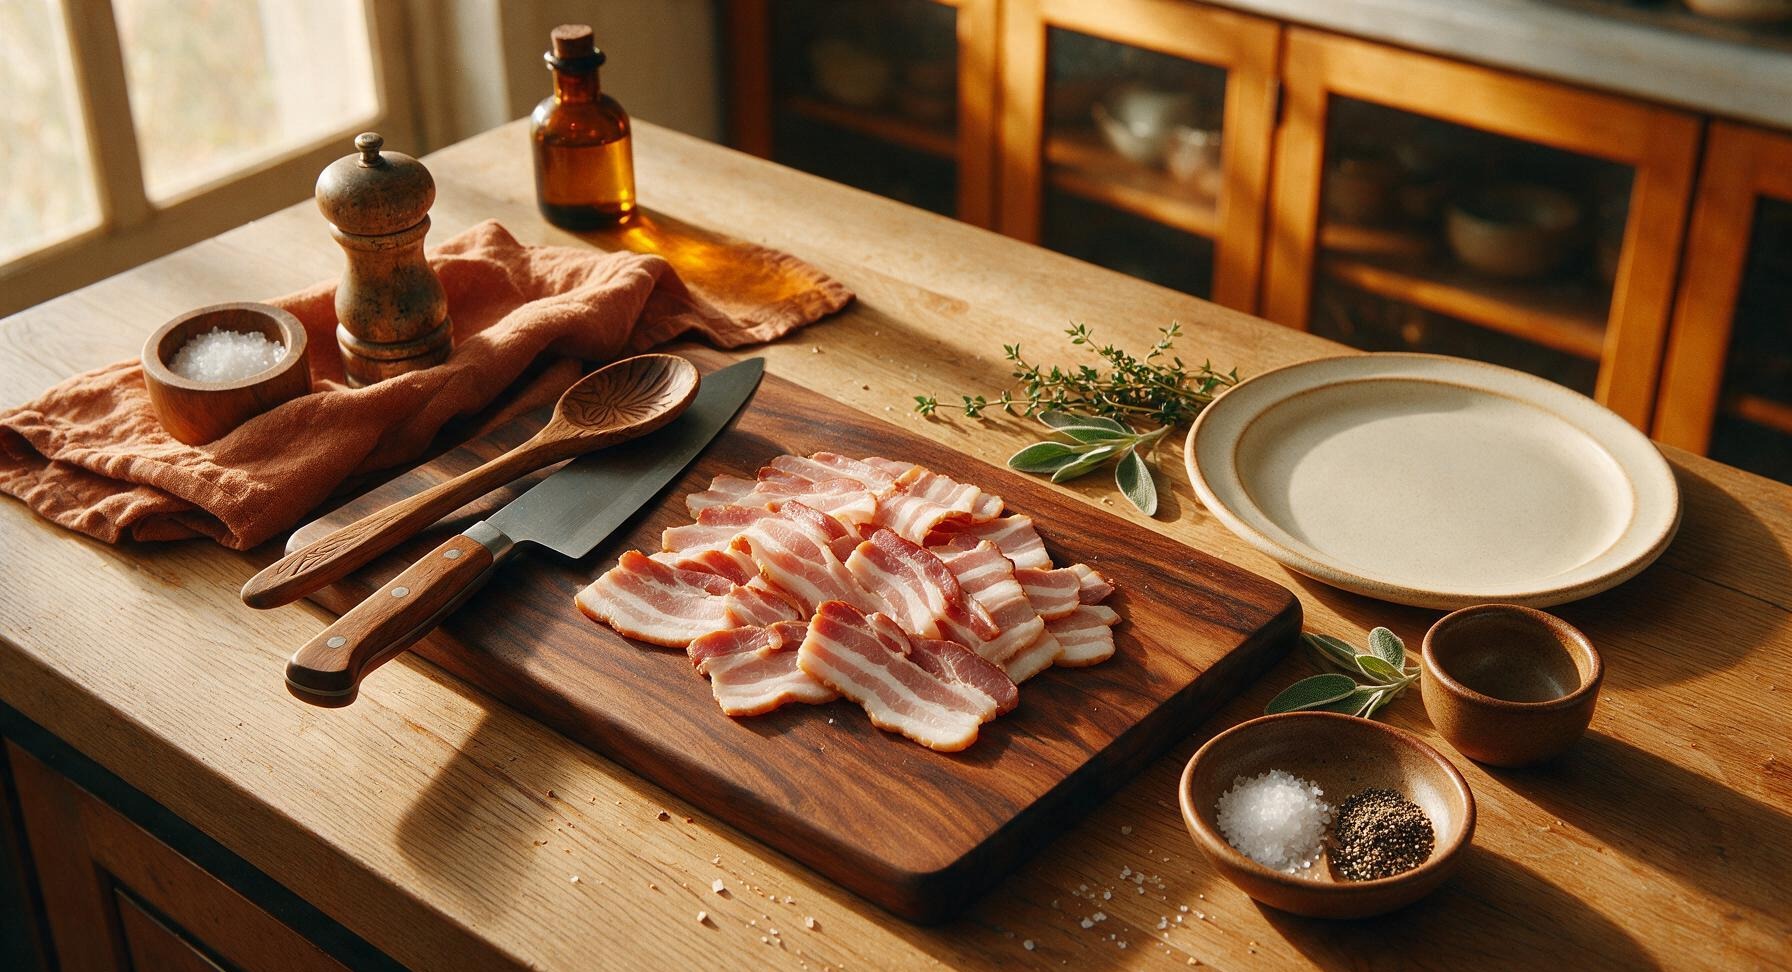
Thick-cut sliced bacon 340g (12oz, ~12 slices)
Coarse kosher salt 1/8 tsp (optional, for low-sodium bacon)
Freshly ground black pepper 1/4 tsp (optional)

Steps

1

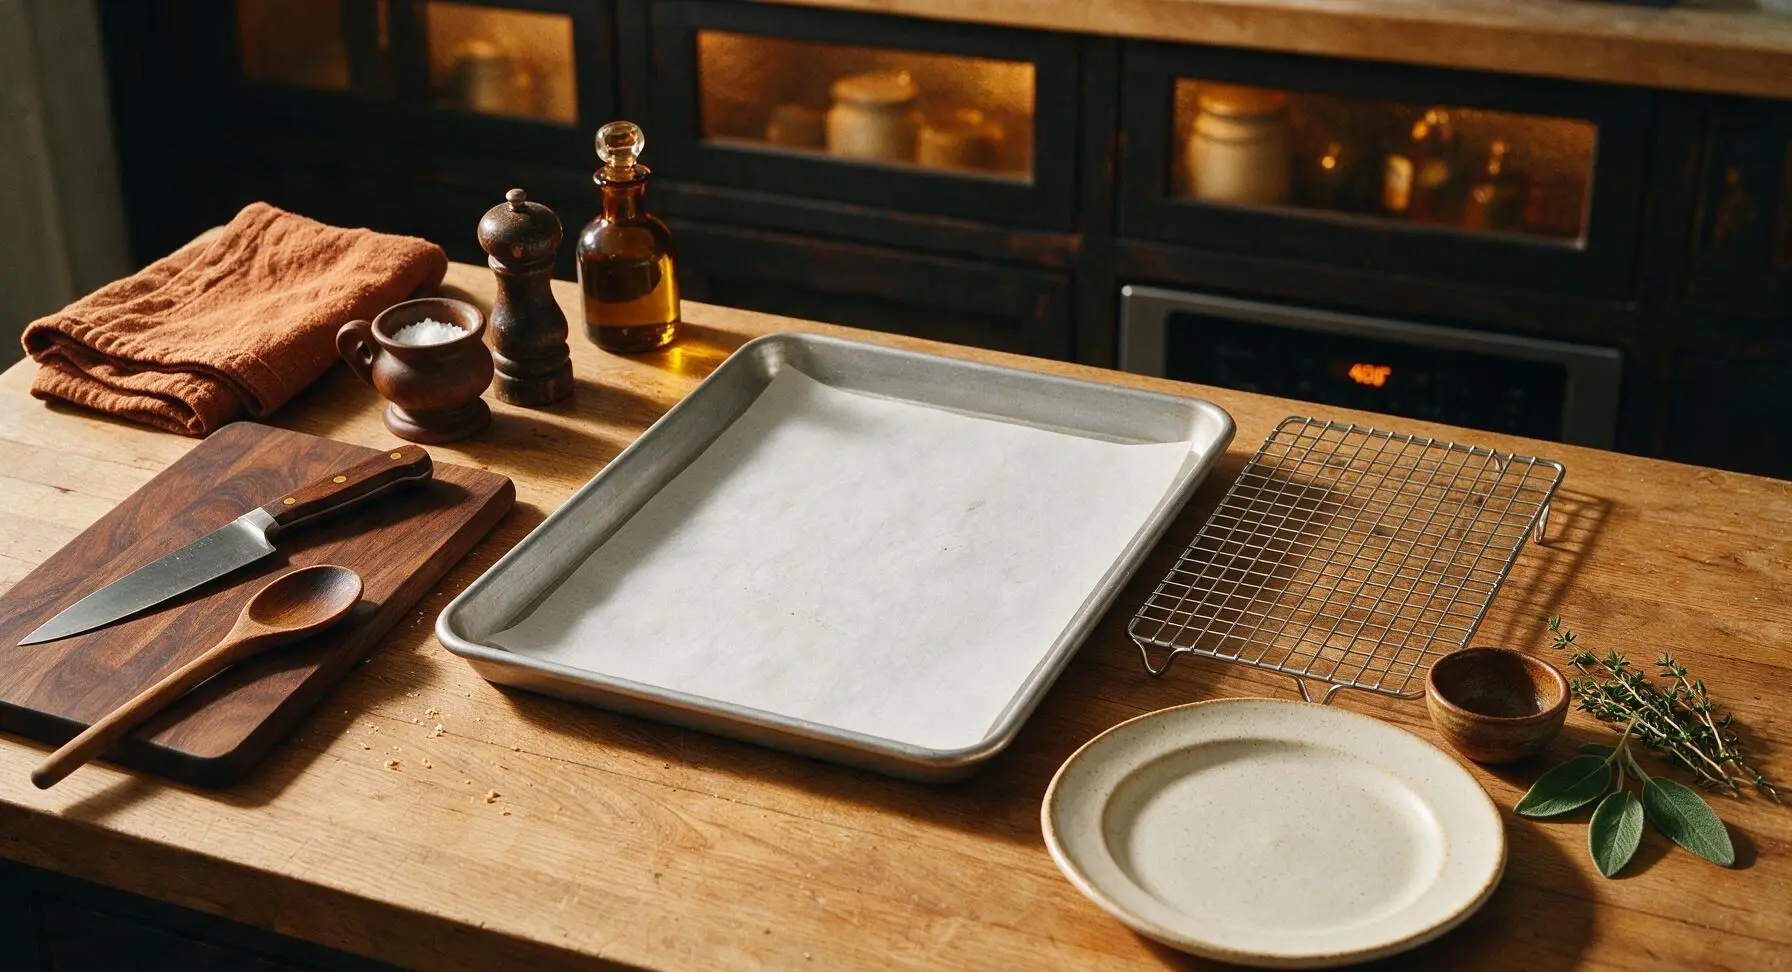
Preheat Oven, Prep Pan

Adjust your oven rack to the middle position, then preheat the oven to 400°F (200°C). Cut a sheet of uncoated white parchment paper to fit the heavy-gauge matte silver rimmed baking sheet exactly, with no paper overhanging the pan edges (overhanging paper can burn during baking). Set the chrome wire cooling rack inside the lined baking sheet, ensuring it sits level.
Step 1
step1:Preheat Oven, Prep Pan
2

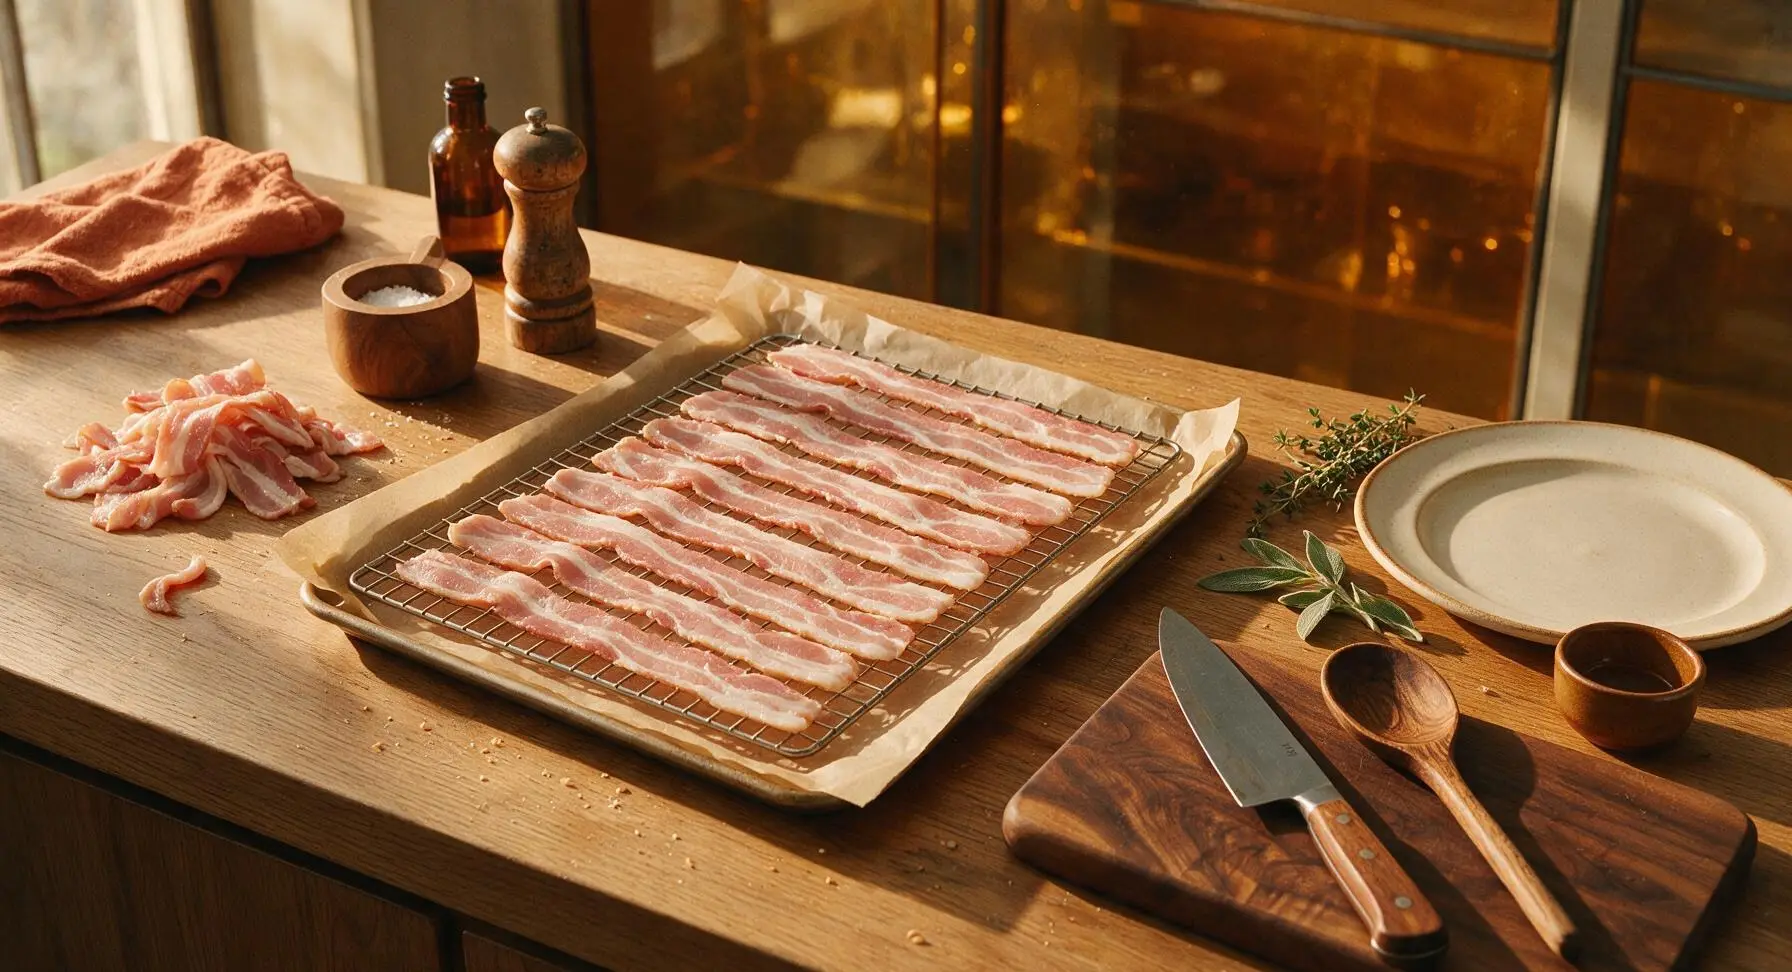
Arrange Bacon Slices

Separate individual raw bacon slices carefully to avoid tearing. Lay slices in a single, even layer across the wire cooling rack (now set inside the lined baking sheet), leaving a 1/4-inch gap between each slice. Ensure no slices overlap, as overlapping sections will steam instead of crisping during baking.
Step 2
step2:Arrange Bacon Slices
3

Season Lightly If Desired

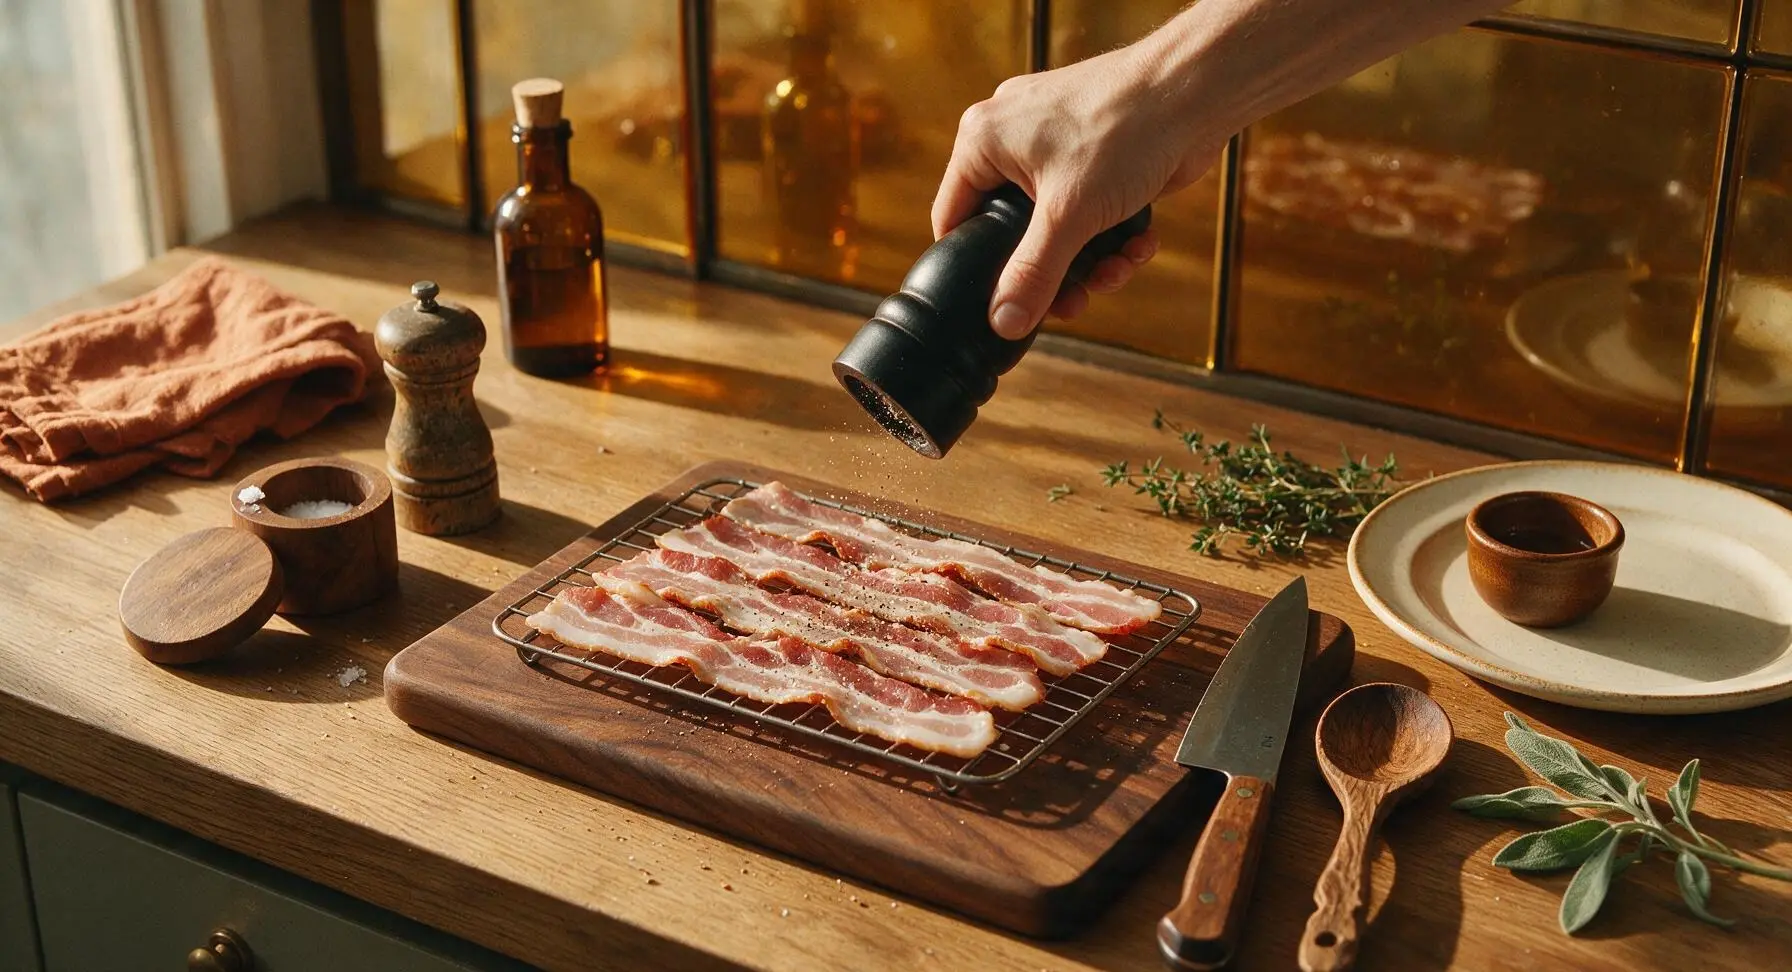
If using low-sodium bacon, sprinkle a tiny pinch (1/8 tsp total) of coarse kosher salt evenly across the slice surfaces. Add a light grind (1/4 tsp total) of fresh black pepper across the top for extra depth, if desired. Do not over-season, as commercially cured bacon already contains high levels of sodium.
Step 3
step3:Season Lightly If Desired
4

Bake Until Evenly Golden

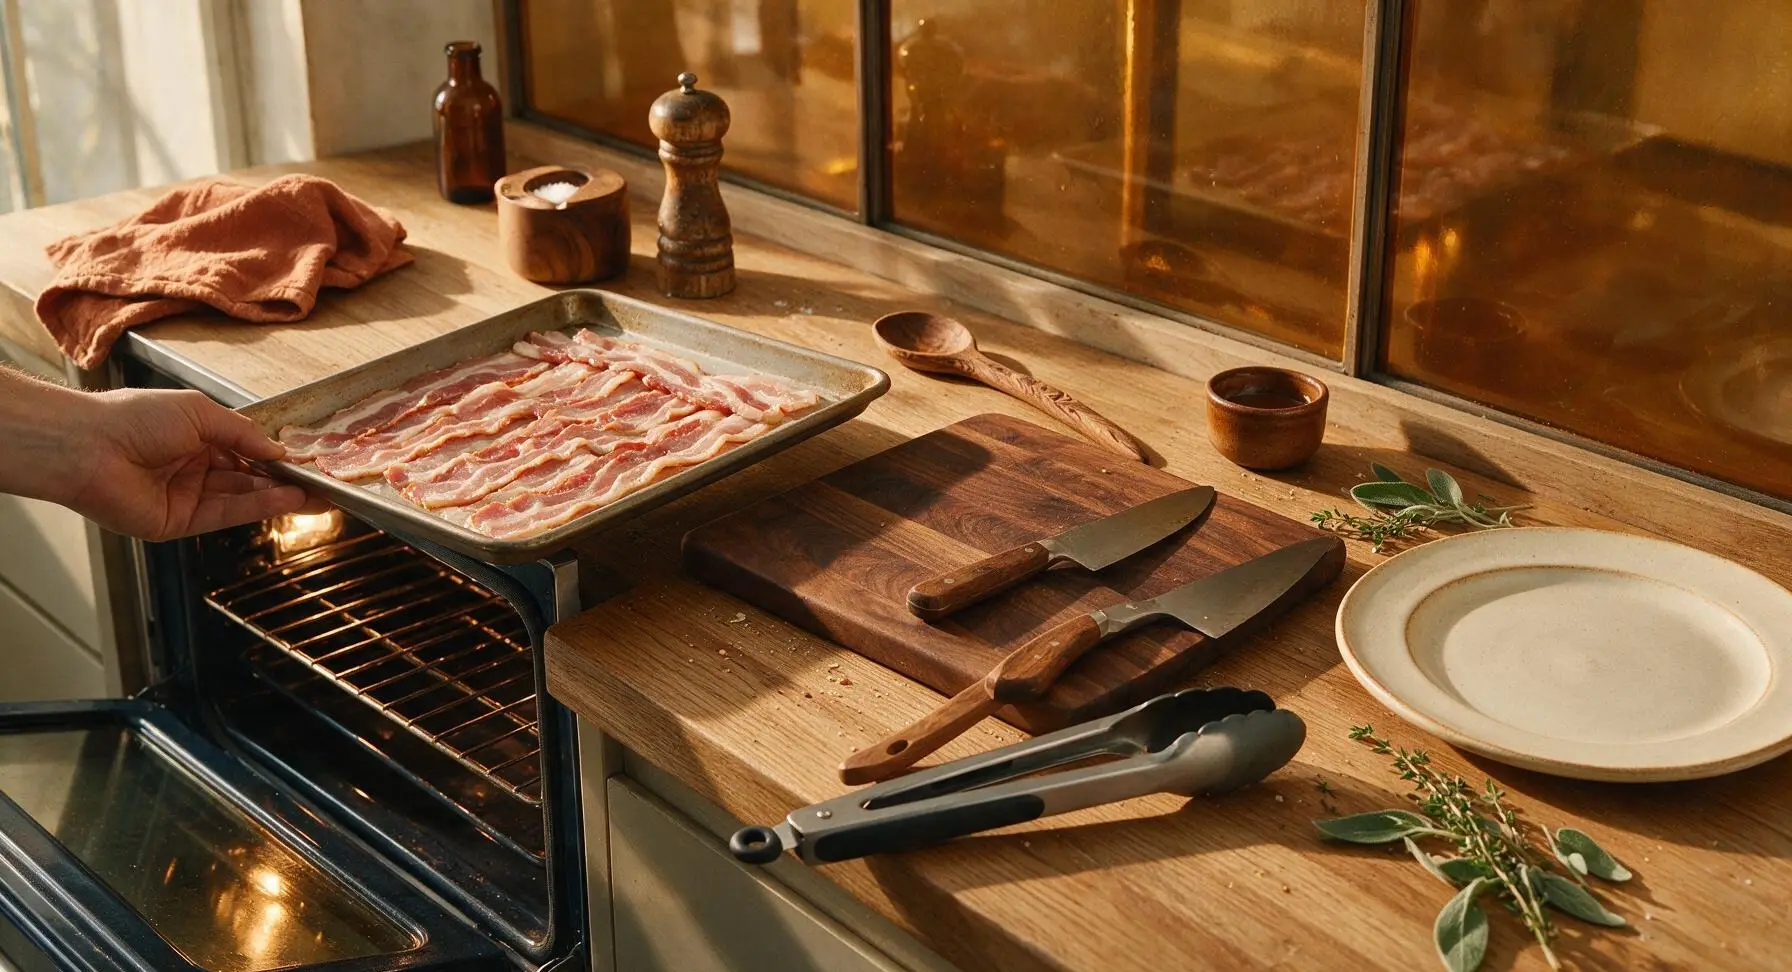
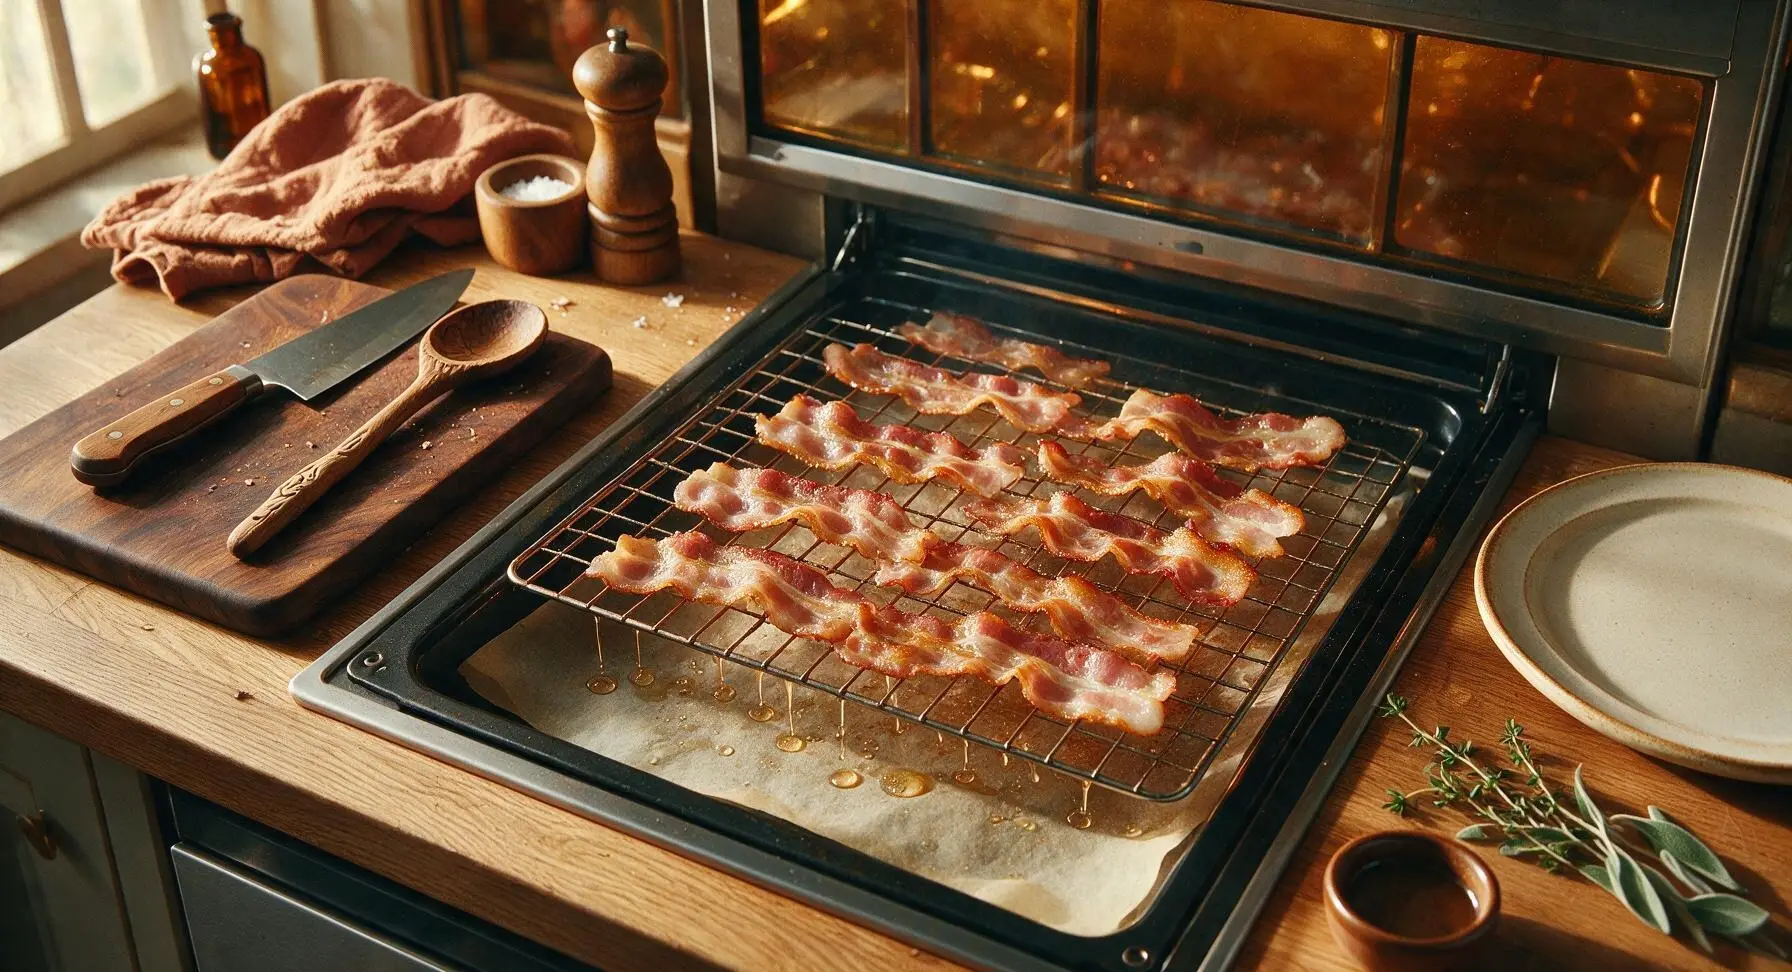
Carefully transfer the prepared baking sheet to the preheated middle oven rack. Bake for 15 minutes, then open the oven to check doneness. For shatteringly crisp bacon, bake for 2-3 additional minutes, watching closely to avoid burning. Bacon is ready when it turns deep golden amber, with fat fully rendered and edges starting to curl. Remember: bacon will continue to crisp for 1 minute after removal from residual heat, so pull it just before it reaches your ideal crisp level.
Step 4
step4:Bake Until Evenly Golden
Step 4
step4:Bake Until Evenly Golden
5

Drain Excess Grease

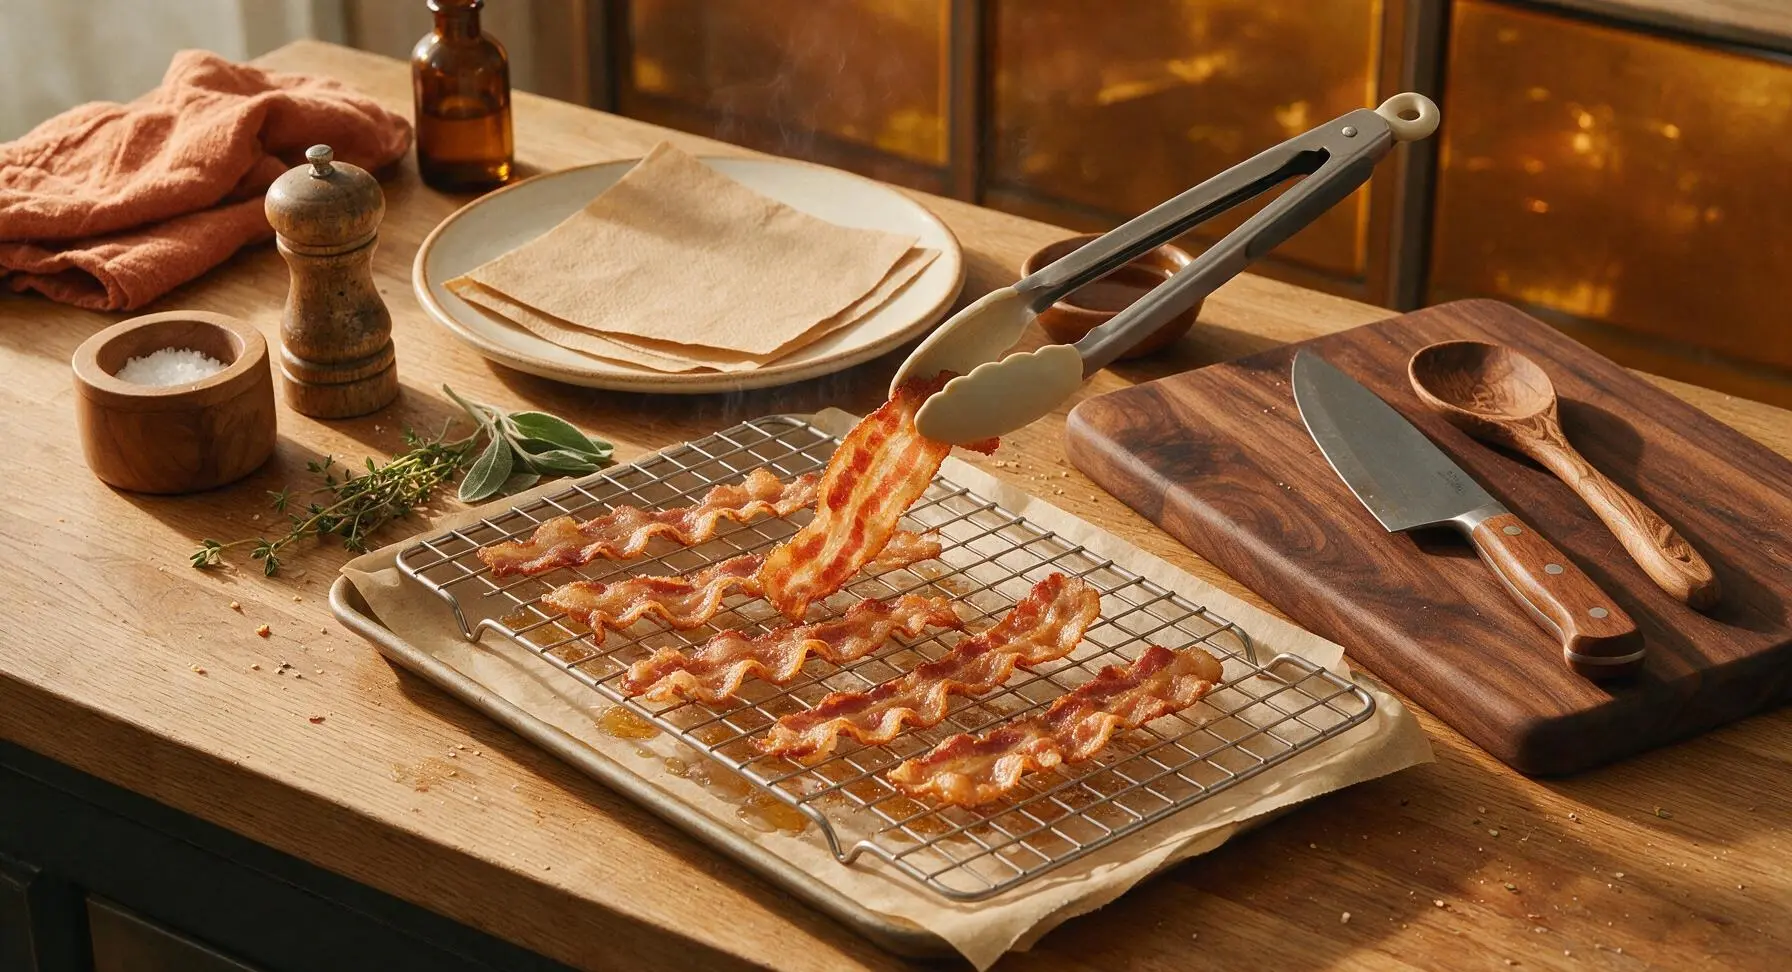
Using the silicone-tipped stainless steel tongs, carefully transfer the hot cooked bacon strips from the wire rack to the matte off-white ceramic dinner plate, lined with 2 layers of unbleached brown paper towels. Let the bacon rest for 1 full minute to allow paper towels to wick away excess surface grease, which prevents soggy strips.
Step 5
step5:Drain Excess Grease
6

Reserve Rendered Fat

Allow the rendered bacon fat left on the parchment paper to cool for 10 minutes, until it is safe to handle but still liquid. Carefully lift the corner of the parchment to pour the cooled, clear golden fat into the fixed-position clear glass bacon grease storage jar. Seal the jar and refrigerate for up to 3 months to use for frying eggs, roasting vegetables, or sautéing potatoes for extra smoky flavor.
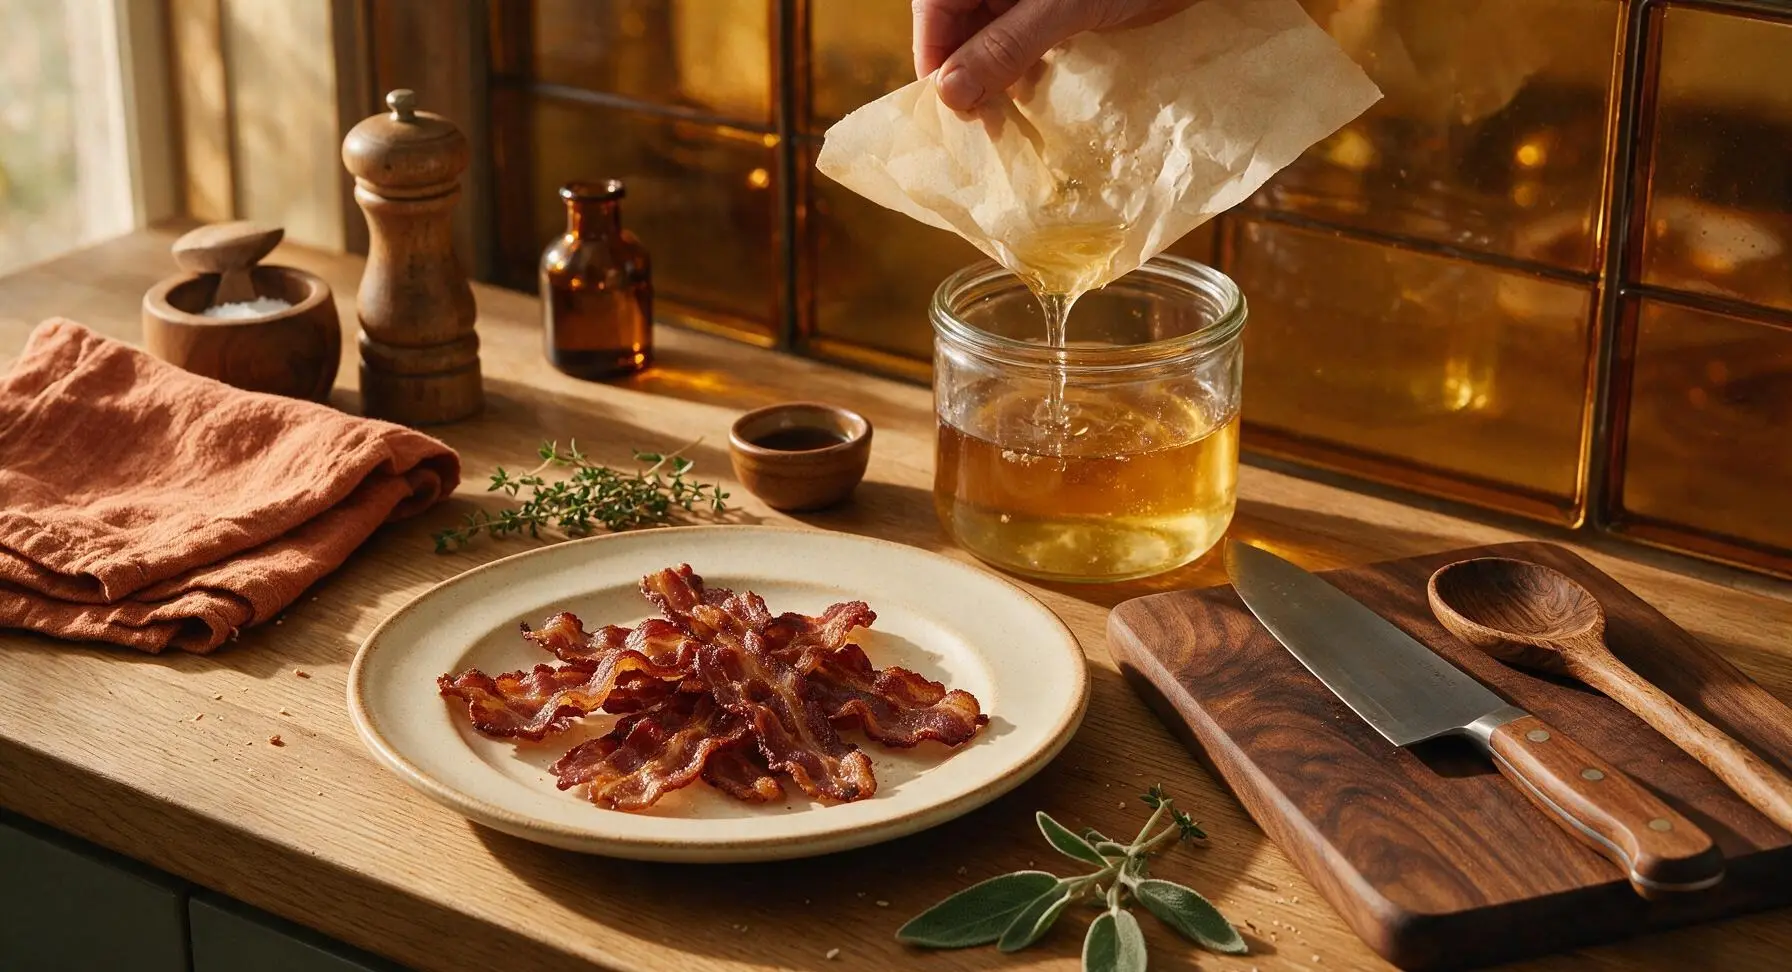
Step 6
step6:Reserve Rendered Fat

Tips

1.Skip stovetop frying and use the oven rack method: Elevating bacon on a wire rack allows hot air to circulate evenly around every slice, eliminating soggy grease-soaked spots and cutting down on messy stovetop splatter entirely, with no need to flip slices halfway through cooking.
2.Never cook bacon at oven temperatures above 400°F (200°C): Bacon fat has a low smoke point, and higher heat will burn slice edges before the inner fat fully renders, leading to bitter, charred strips and unwanted smoke in your kitchen.
3.Resist the urge to serve bacon immediately off the rack: Letting strips rest for 1 minute on paper towels allows residual heat to finish crisping the fat, while the paper wicks away excess surface grease to keep strips shatteringly crisp instead of turning soggy as they cool.


✨ You May Also Like

Breakfast
🍜 United States

Crisp-edged, fluffy lard griddle cakes are a nostalgic homestyle staple, with rich savoriness from rendered lard, perfect topped with maple syrup or savory gravy.

⏱️ 25 minuteBreakfast ★ 4.8
Breakfast
🍜 United States

Flaky, buttery homemade buttermilk biscuits smothered in creamy, peppery pork sausage gravy: a beloved, hearty Southern American comfort food classic.

⏱️ 35 minuteBreakfast ★ 4.8
Breakfast
🍜 United States

Golden, custardy brioche stuffed with sweet cream cheese and fresh berries, pan-fried to crisp perfection. An indulgent, cozy breakfast perfect for slow weekend mornings.

⏱️ 30 minuteBreakfast ★ 4.7
Breakfast
🍜 United States

Flaky, buttery Southern-style biscuits stuffed with savory salty country ham, a portable, satisfying classic perfect for casual on-the-go meals.

⏱️ 25 minuteBreakfast ★ 4.8
Breakfast
🍜 United States

Iconic puffy baked pancake popularized in Seattle, with crisp golden edges and soft custardy center, served warm with classic sweet toppings.

⏱️ 35 minuteBreakfast ★ 4.6
Breakfast
🍜 United States

Fluffy, golden pancakes studded with juicy peak-summer mixed berries, drizzled with maple syrup for a bright, comforting, crowd-pleasing family breakfast.

⏱️ 25 minuteBreakfast ★ 4.7

crispy bacon recipe:Frequently Asked Questions

1.What cut of bacon works best for this perfect crispy oven-baked recipe? ▾
Thick-cut bacon (about 1/8-inch thick slices) is non-negotiable here. Thin, paper-thin deli bacon cooks too fast, developing burnt edges before fat fully renders, while extra-thick 1/4-inch steakhouse bacon stays chewy in spots. Standard grocery store thick-cut slices render slowly and evenly for that ideal shatteringly crisp texture without charred bits.
2.Do I need to preheat my oven before putting the bacon in to bake? ▾
You’ll actually get the most even, consistent results by starting bacon in a cold oven! Arrange slices on a cold rimmed sheet pan, then set the oven to 400°F. Fat renders gradually as the oven heats up, cutting down on curl, eliminating hot-spot burns, and delivering all-over crispness without needing to flip slices.
3.Will baking bacon in the oven make a big, greasy mess all over my oven interior? ▾
This method creates far less mess than stovetop bacon, and you can eliminate almost all splatter without fancy gear. Simply line your rimmed baking sheet with a single layer of parchment paper under the bacon, and don’t overcrowd slices. Even oven heat doesn’t cause the violent grease pops you get on a hot stovetop burner.
4.When is the right time to add the kosher salt and black pepper to the bacon? ▾
Season your bacon right after you arrange it on the cold sheet pan, before it goes into the oven. Go light on the coarse kosher salt—most bacon is already salt-cured! A few grinds of fresh black pepper and light salt sprinkle sticks to rendering fat as it melts, so seasoning adheres evenly instead of sliding off greasy cooked slices.
5.How do I keep bacon from curling up into tight rolls as it bakes? ▾
Skip the bulky, hard-to-clean bacon presses for this! Curling happens when bacon hits sudden high heat, making fat and muscle contract unevenly. Starting in a cold oven, laying slices in a single flat layer with no overlap, and using thick-cut bacon all but eliminates curl, so strips lie perfectly flat for BLTs or salad toppers.
6.How long does thick-cut bacon take to bake to perfect crispness? ▾
Plan for 18 to 22 minutes total cook time for thick-cut bacon, starting from when you put the pan in the cold oven set to 400°F. Start checking slices at the 17-minute mark, since oven temperatures vary: bacon is done when it’s deep golden, fat is fully translucent, and there are no flabby, pale fatty spots left.
7.Do I have to flip bacon halfway through baking to get it crisp on both sides? ▾
You won’t need to flip if you use the cold-oven start method! Gradual, evenly circulating heat cooks both sides of flat-laid slices consistently. Flipping can actually cause strips to tear or curl, and raises your risk of painful grease burns from jostling hot rendered fat mid-cook.
8.Can I use regular table salt instead of coarse kosher salt for this recipe? ▾
You can, but you’ll need to adjust the amount heavily to avoid over-salting. Table salt is much denser and sharper-tasting than flaky coarse kosher salt, so use only 1/4 of the called-for kosher salt amount if substituting. Kosher salt is preferred because it distributes evenly without leaving harsh, concentrated salty spots.
9.What’s the best way to drain baked bacon so it stays crisp instead of turning soggy? ▾
As soon as you pull the pan from the oven, transfer strips to a wire rack set over a paper-towel lined plate for 1 to 2 minutes. Don’t lay bacon directly on a thick stack of paper towels, as trapped steam will make the underside soggy. The short elevated rest lets excess grease drip off without softening the crisp surface.
10.Why does my oven bacon always come out with burnt, blackened edges instead of even crispness? ▾
Burnt edges almost always come from using too high an oven temperature, thin-cut bacon, or preheating the oven so slice edges hit searing heat before center fat renders. Sticking to thick-cut slices, the cold oven start, and a 400°F max temperature eliminates those charred edges entirely for even, golden crispness.
11.Can I bake this bacon ahead of time for meal prep or weekend brunch? ▾
Absolutely! Once baked and drained, let strips cool completely, then store them in an airtight container lined with a paper towel in the fridge for up to 5 days. Reheat strips for 30 seconds on a paper-towel lined plate in the microwave, or 2 minutes in a 350°F oven, to bring back that shatteringly crisp texture.
12.Is it safe to save and use the rendered bacon fat left on the baking sheet after cooking? ▾
Definitely! The rendered fat from this recipe is clean and perfectly seasoned, since you won’t have bitter burnt bits from overcooked edges. Let the fat cool slightly, pour it through a fine mesh strainer into a glass jar, and store it in the fridge for up to 3 months to use for frying eggs, roasting veggies, or making dressings.

Comments (8)

3 days ago

OMG this is such a game changer! I’ve been frying bacon on the stovetop forever and dealing with grease splatters all over my arms and stove. Tried this last night for our family burger night and it came out perfectly crispy every single strip, no burnt edges! My kids went back for seconds, even my super picky 7 year old. Total game changer for weekend breakfast meal prep too!

2 days ago

Right?! I used to hate cleaning up splatters too, I was skeptical it would actually get crispy in the oven but wow, no more standing over the pan for 20 minutes!

yesterday

So glad this worked out for your family burger night! Pro tip: line your pan with parchment paper for even faster cleanup if you don’t already do that!

1 week ago

I make a big batch of this every Sunday for the week to add to breakfast sandwiches, salads, and even wrap in dates for quick snacks. 18 minutes is exactly the right cook time for my oven, no flipping needed, all strips cook evenly. Perfect for anyone who meal preps for work week lunches, way less mess than pan frying.

2 days ago

Brought a big platter of this bacon to our neighborhood potluck last weekend and people kept asking where I got it! No one could believe I made it in the oven, everyone thought I pan fried the fancy thick cut stuff. SO good, will be using this method for every brunch I host from now on.

yesterday

That’s such a great potluck hack! Oven baking is perfect for making large batches all at once so you don’t have to cook batch after batch on the stove. So happy it was a hit with your neighbors!

30 minutes ago

Wait, is there a trick to keeping it from getting soggy? I tried this yesterday and some of the strips in the middle were a little floppy, not as crispy as I wanted. Did I overlap them too much? I used thick cut bacon if that matters.

5 minutes ago

I had that problem the first time too! Make sure you don’t overlap the strips at all, and if you’re using thick cut add 2-3 extra minutes of cook time, that fixed it for me!

just now

Great question! Overlapping is usually the culprit for floppy bacon — arrange strips in a single layer with space between them, and add 2-3 minutes for thick cut like Kara mentioned, and you’ll get perfect crispy strips every time!

2 hours ago

Obsessed. I thought my cast iron skillet made the best bacon until I tried this method. It’s evenly crispy, no weird chewy fatty bits, and I don’t have to dodge hot grease while I’m trying to make mimosas for brunch. 10/10, will never make bacon another way again.

yesterday

Tried this for our Saturday morning breakfast with the kids, was shocked how easy it was. I usually overcook half the batch and undercook the other half on the stove, but every strip was perfect. Even saved the leftover grease to make roasted potatoes later, zero waste!

2 hours ago

Oh saving the grease for roasted potatoes is such a good call! I never thought to do that, I’m definitely stealing that trick for next time I make this!

5 days ago

This is my go-to bacon method now! I have a tiny apartment kitchen with zero vent hood, so stovetop bacon used to set off my smoke alarm every single time. Baking it in the oven at the temp this recipe says? No smoke, no alarm, perfect bacon every time. Game changer for small space living!

3 days ago

Oh we feel that small kitchen smoke alarm struggle! So glad this method saves you from scrambling to wave a towel at the alarm every time you make bacon. Enjoy!

1 week ago

Super easy even for someone who burns toast half the time! I don’t have fancy cookware, just a regular baking sheet and some aluminum foil, and this turned out restaurant level crispy bacon. Made a whole pack to eat with my roommates during our movie night last week, it was gone in 10 minutes. Will be making this every week!

5 days ago

Same! I’m a college student too and I was worried I’d mess it up, but it’s so hard to mess up as long as you set a timer. I make it for quick breakfasts between classes!

3 days ago

Love that this works for college dorm/apartment cooking! Foil lining makes cleanup a total breeze too, so no scrubbing baking sheets for ages after. Enjoy your movie night snacks!



