
crispy chicken breast
intro
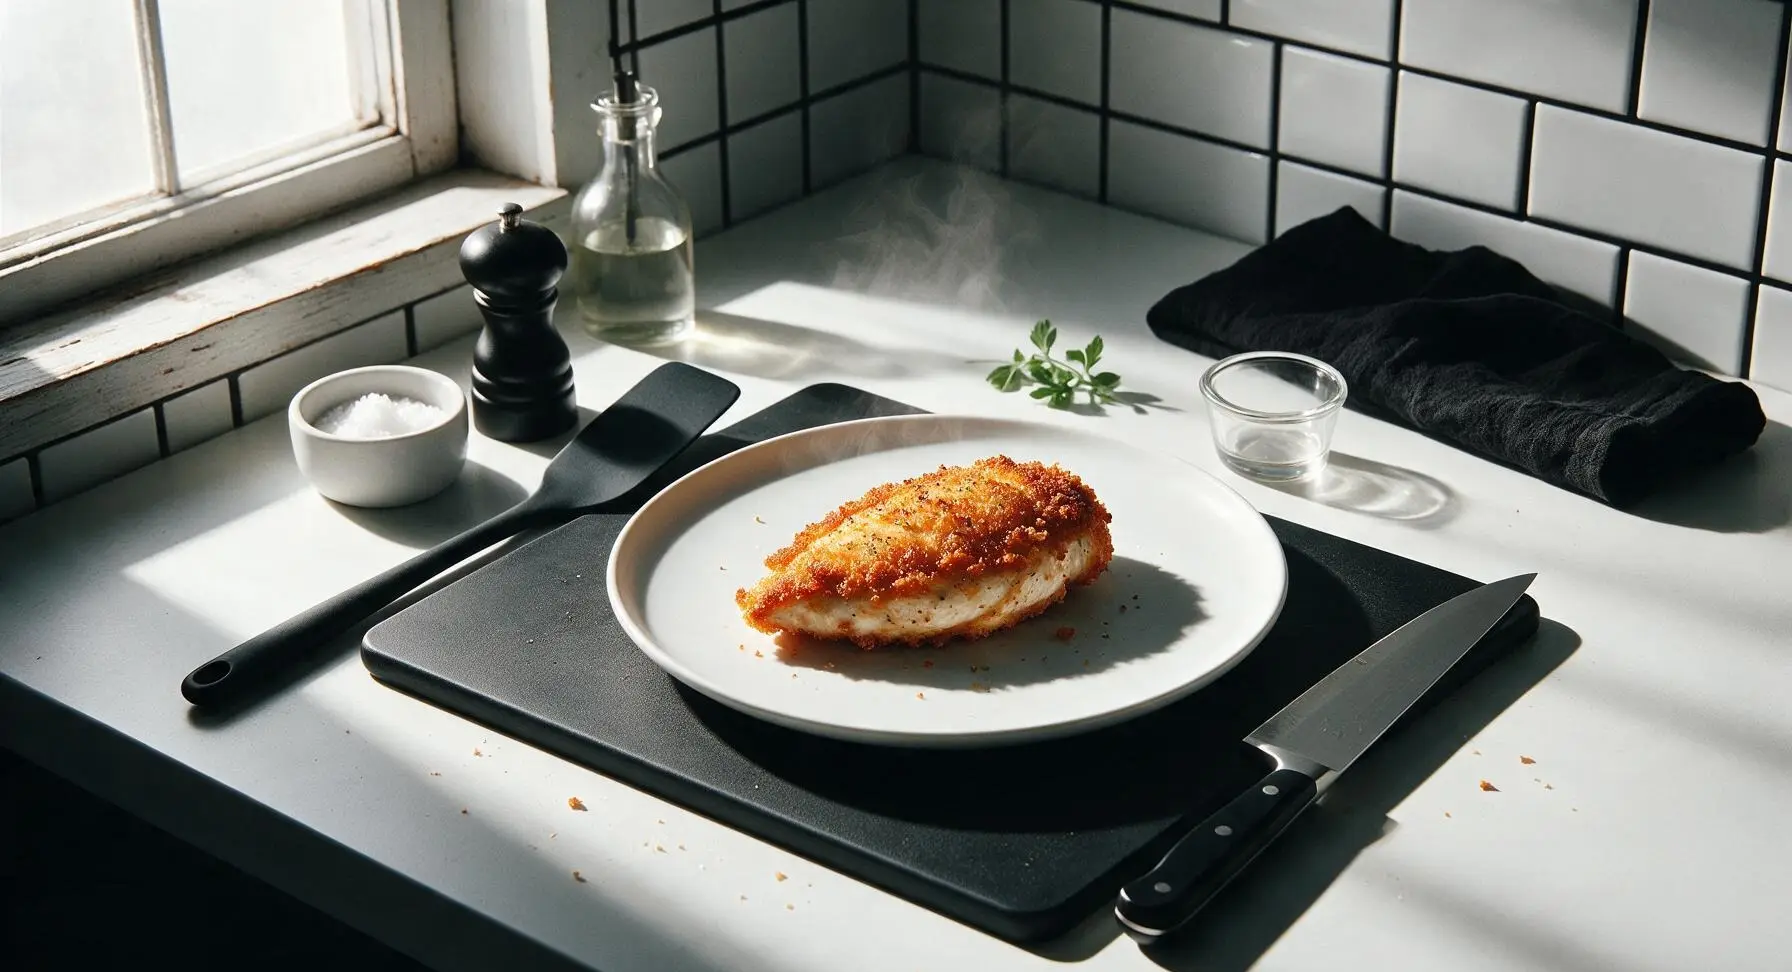
Shatteringly crisp golden crust giving way to juicy, tender, perfectly seasoned chicken breast, ready in under 30 minutes for a satisfying, no-fuss weeknight meal.
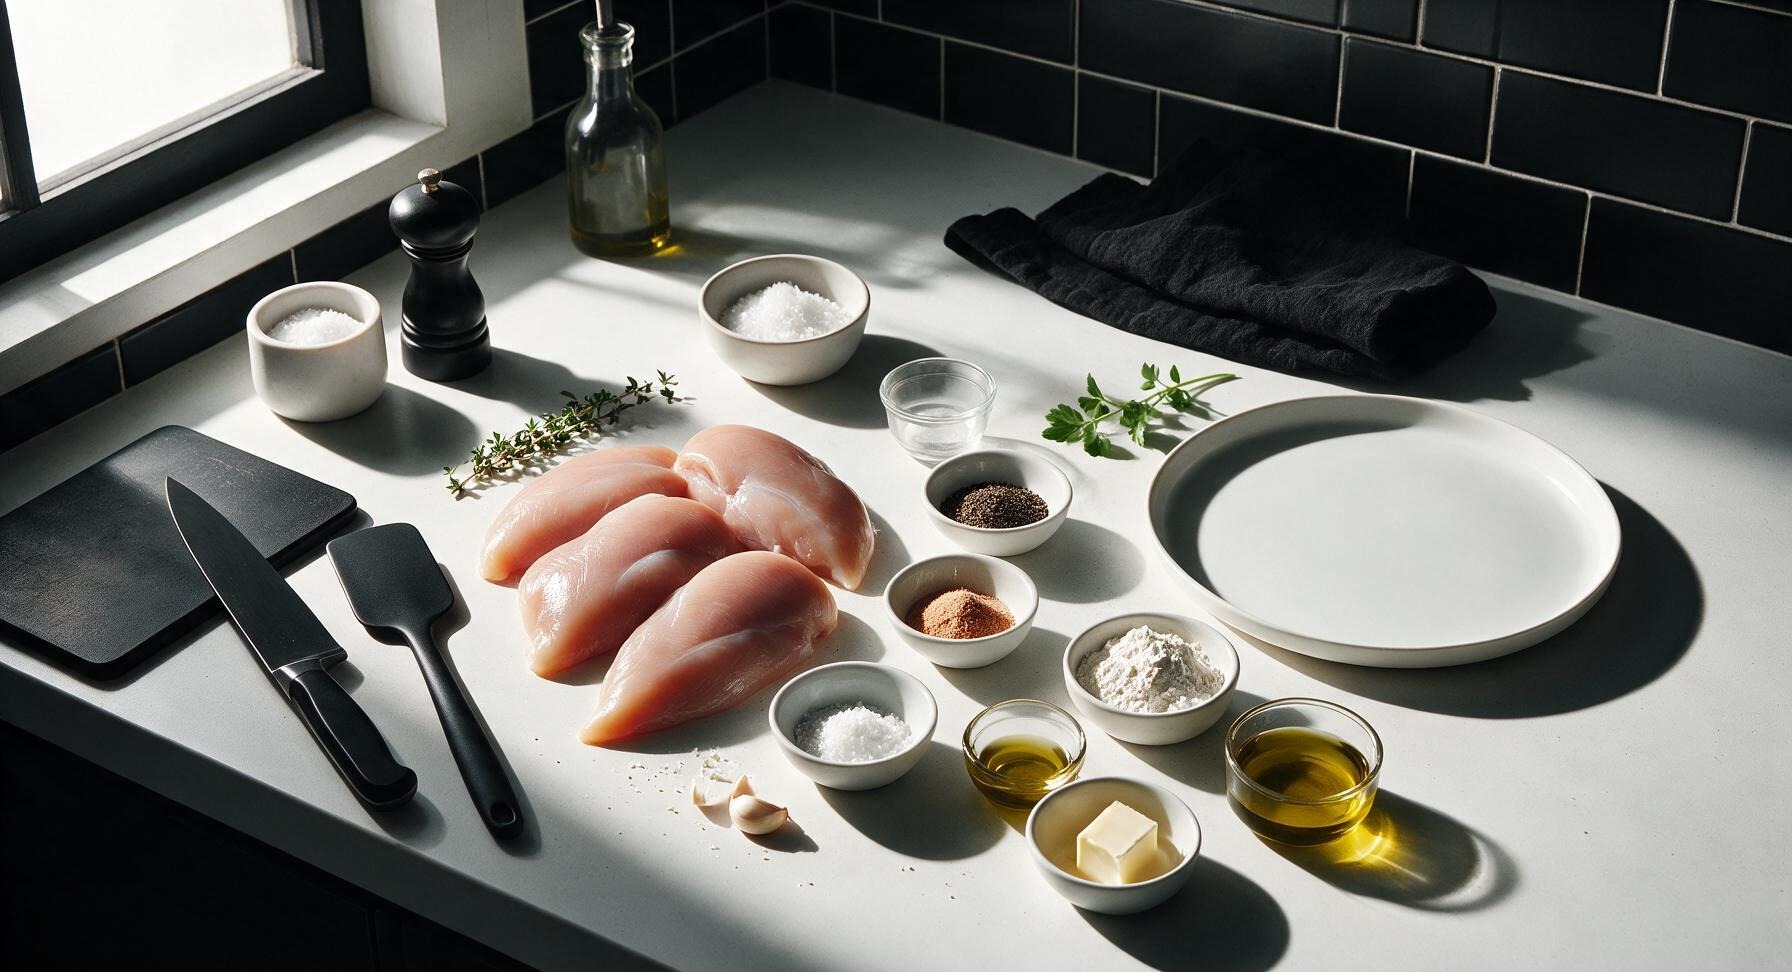
Ingredients
Steps
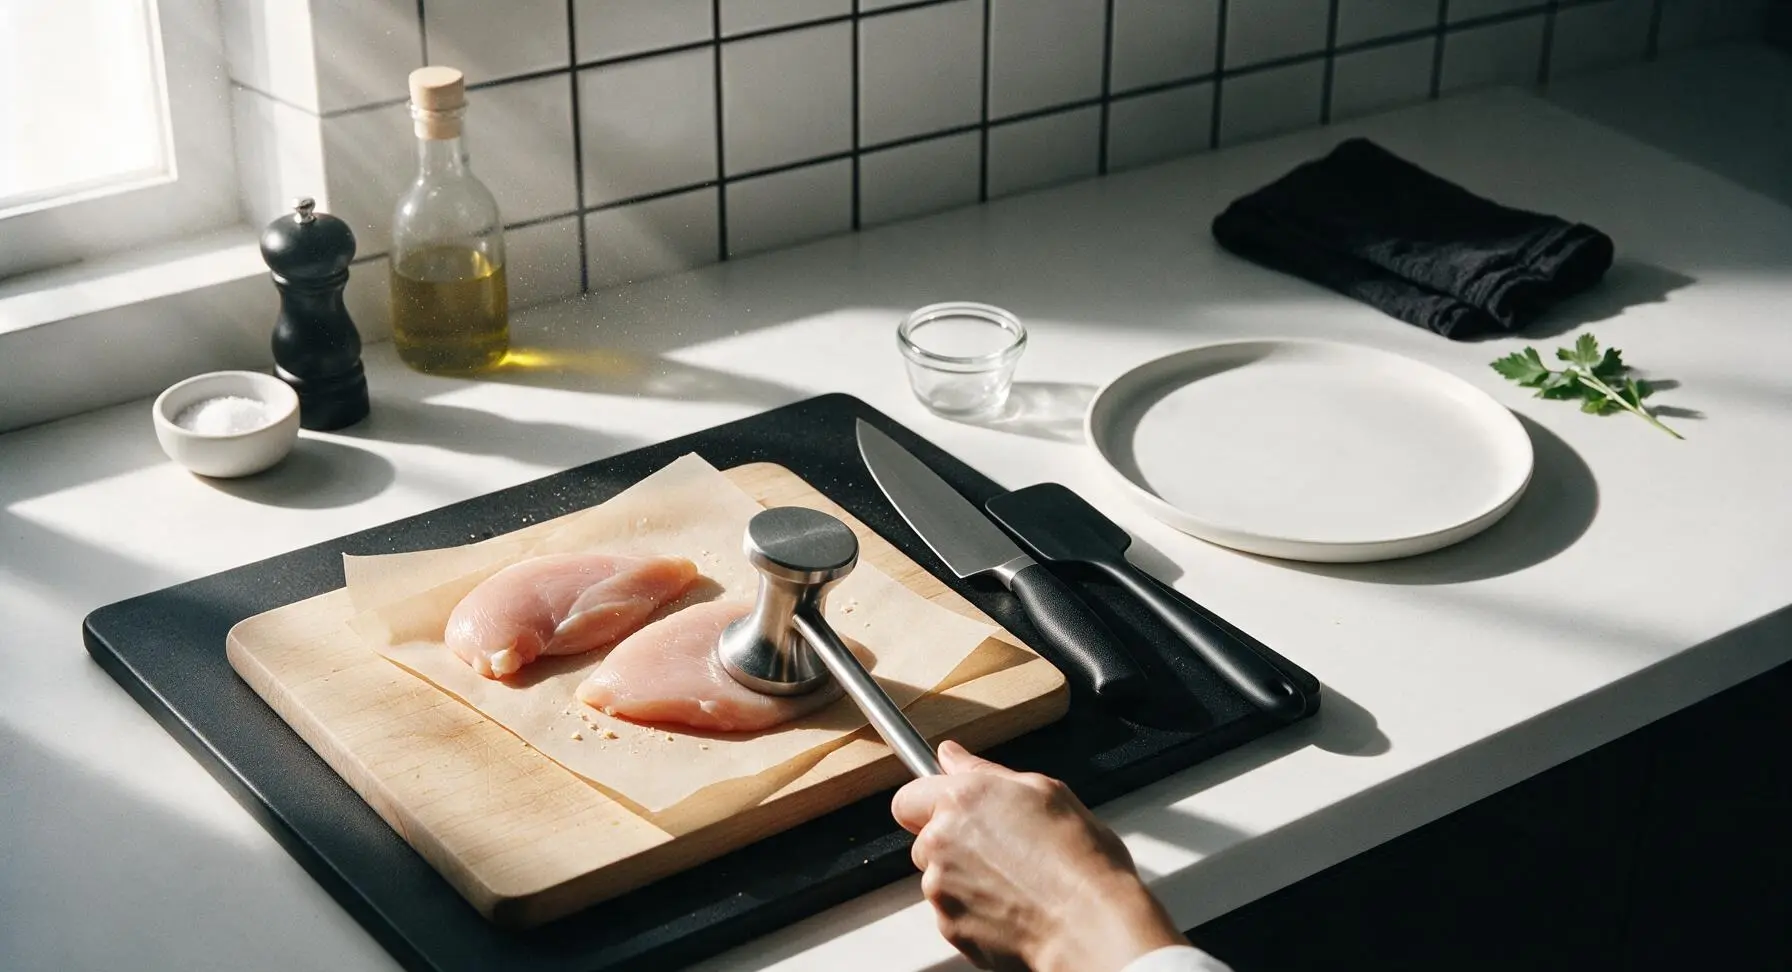
Pound chicken evenly
Place each boneless, skinless chicken breast between two sheets of parchment paper on the light maple cutting board. Use the stainless steel meat mallet to pound the thickest end of each breast to a uniform 1.5cm (½ inch) thickness. This ensures even cooking so no thin edges dry out before the thick part cooks through. Discard the top parchment sheet when done.
Season chicken thoroughly
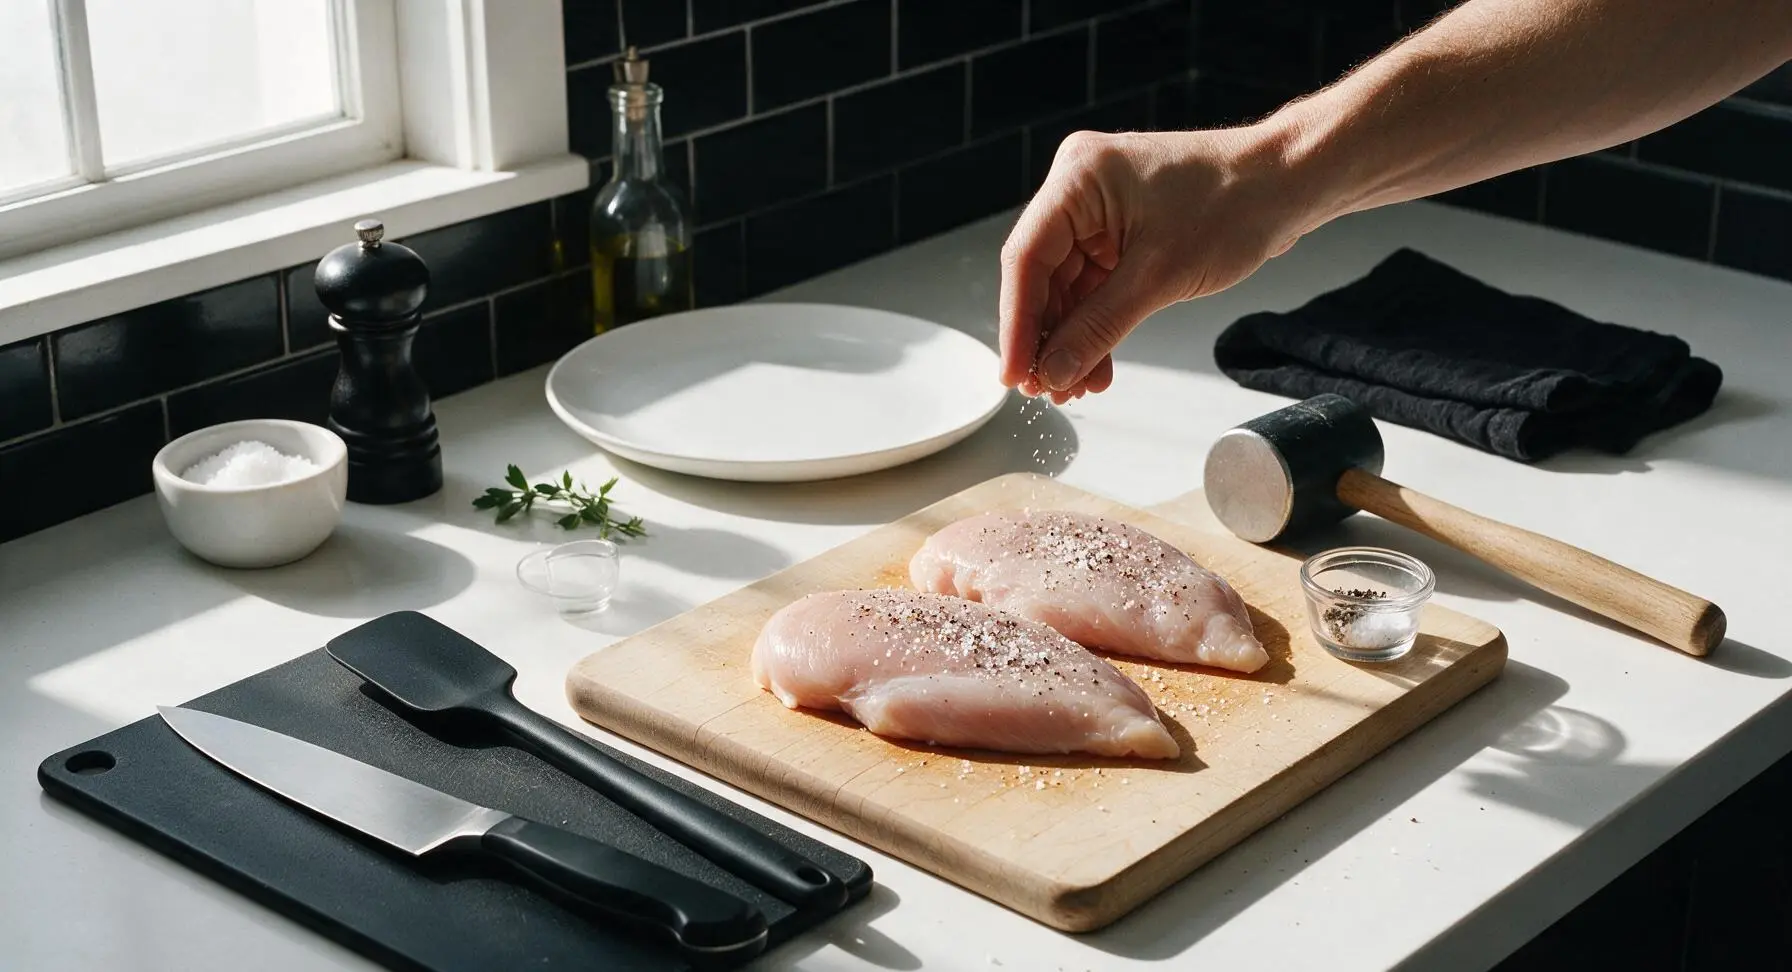
Pat the pounded chicken completely dry on all sides using paper towels (critical for crispiness). Sprinkle 1 tsp of the kosher salt and ½ tsp of the black pepper evenly over both sides of the chicken, pressing lightly so the seasoning adheres. Let the chicken rest for 5 minutes at room temperature to allow the salt to penetrate.
Dredge for crisp crust
Mix the 3 tbsp all-purpose flour, 1 tbsp cornstarch, remaining ½ tsp kosher salt, ½ tsp black pepper, 1 tsp garlic powder, and ½ tsp smoked paprika together in the clear glass pie dish until fully combined. Dredge each seasoned chicken breast lightly in the flour mixture, coating every surface, then shake off all excess so only a thin, even dusting remains. Too much flour will create a gummy, pasty crust instead of a crisp one.
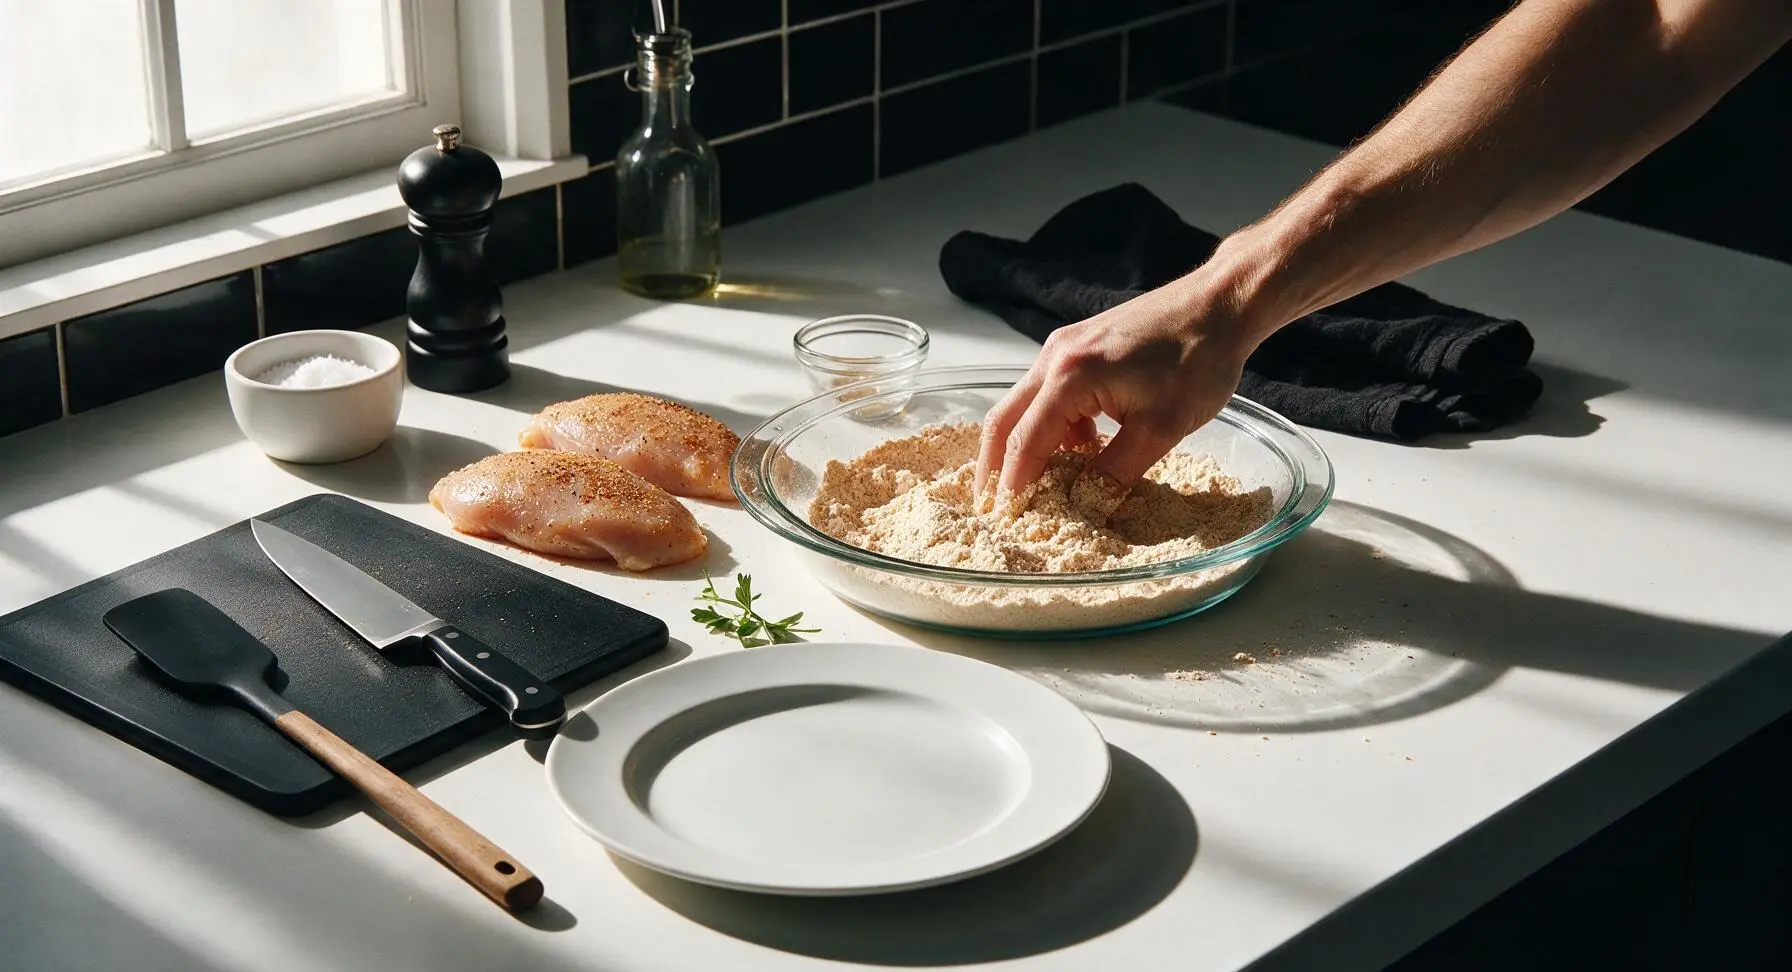
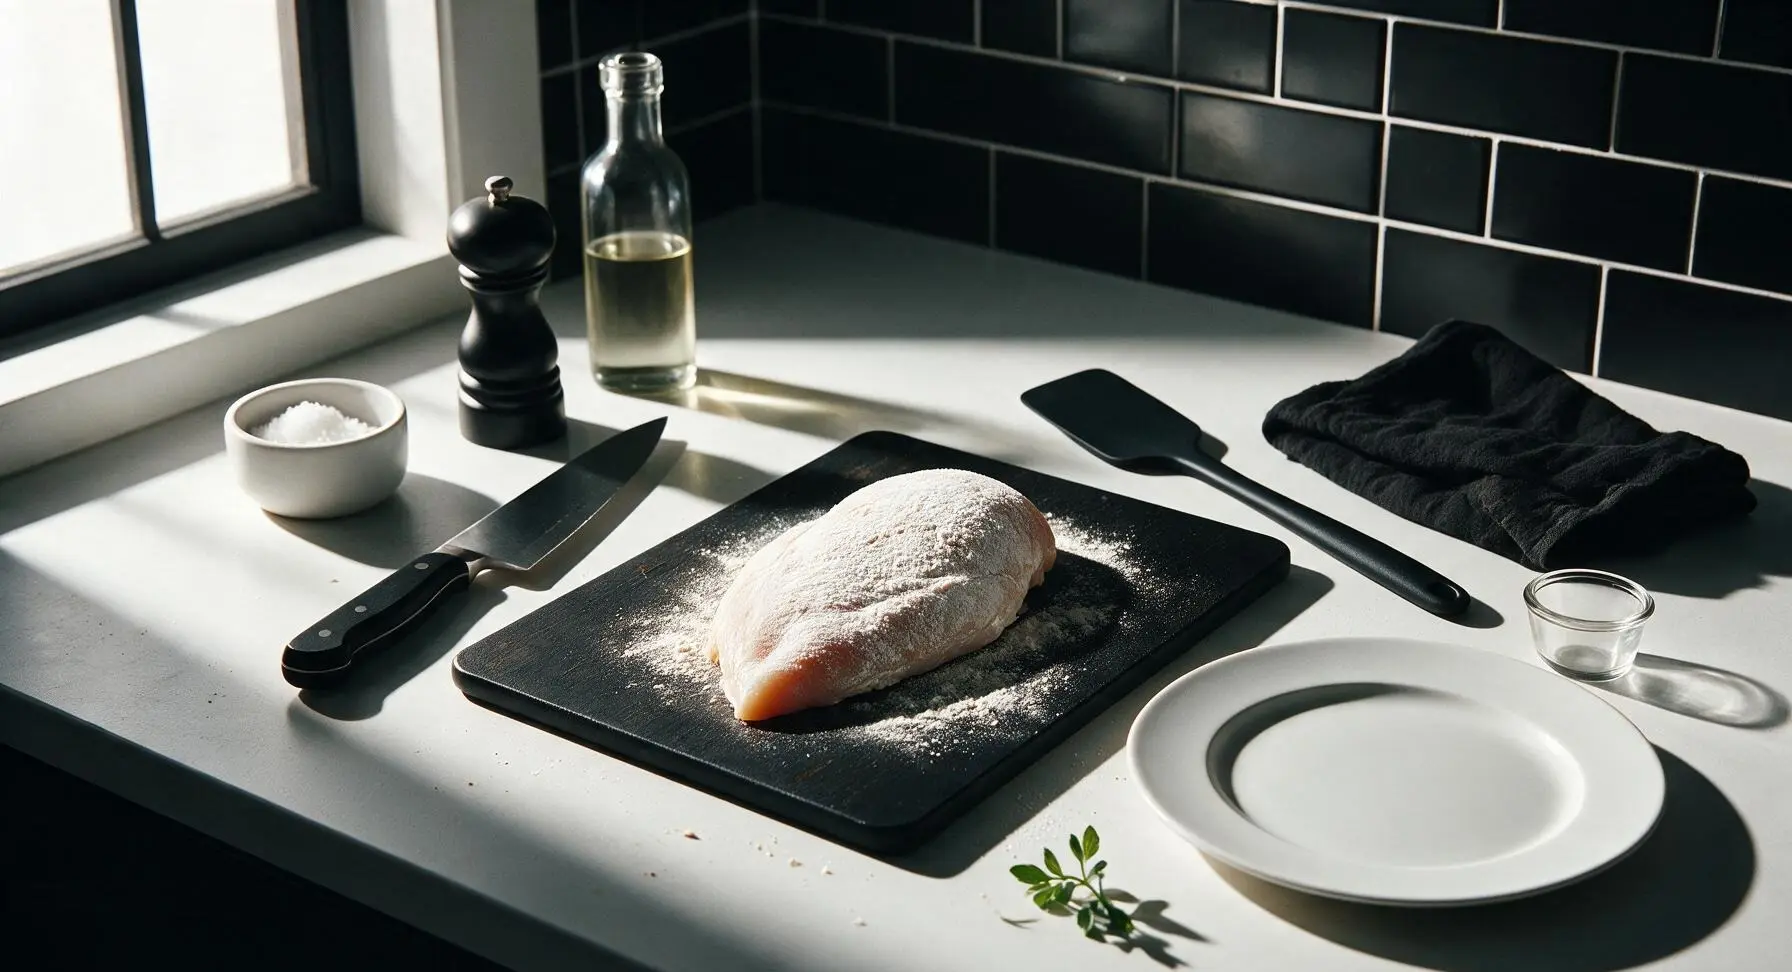
Preheat skillet properly
Place the 28cm stainless steel skillet on the black induction stovetop to the right of the prep area over medium-high heat. Add 2 tbsp extra-virgin olive oil, and heat until the oil shimmers and just begins to send up thin wispy trails of smoke (approximately 3-4 minutes). Do not add chicken until the pan is fully hot—this is the key to preventing sticking and building a crisp crust.
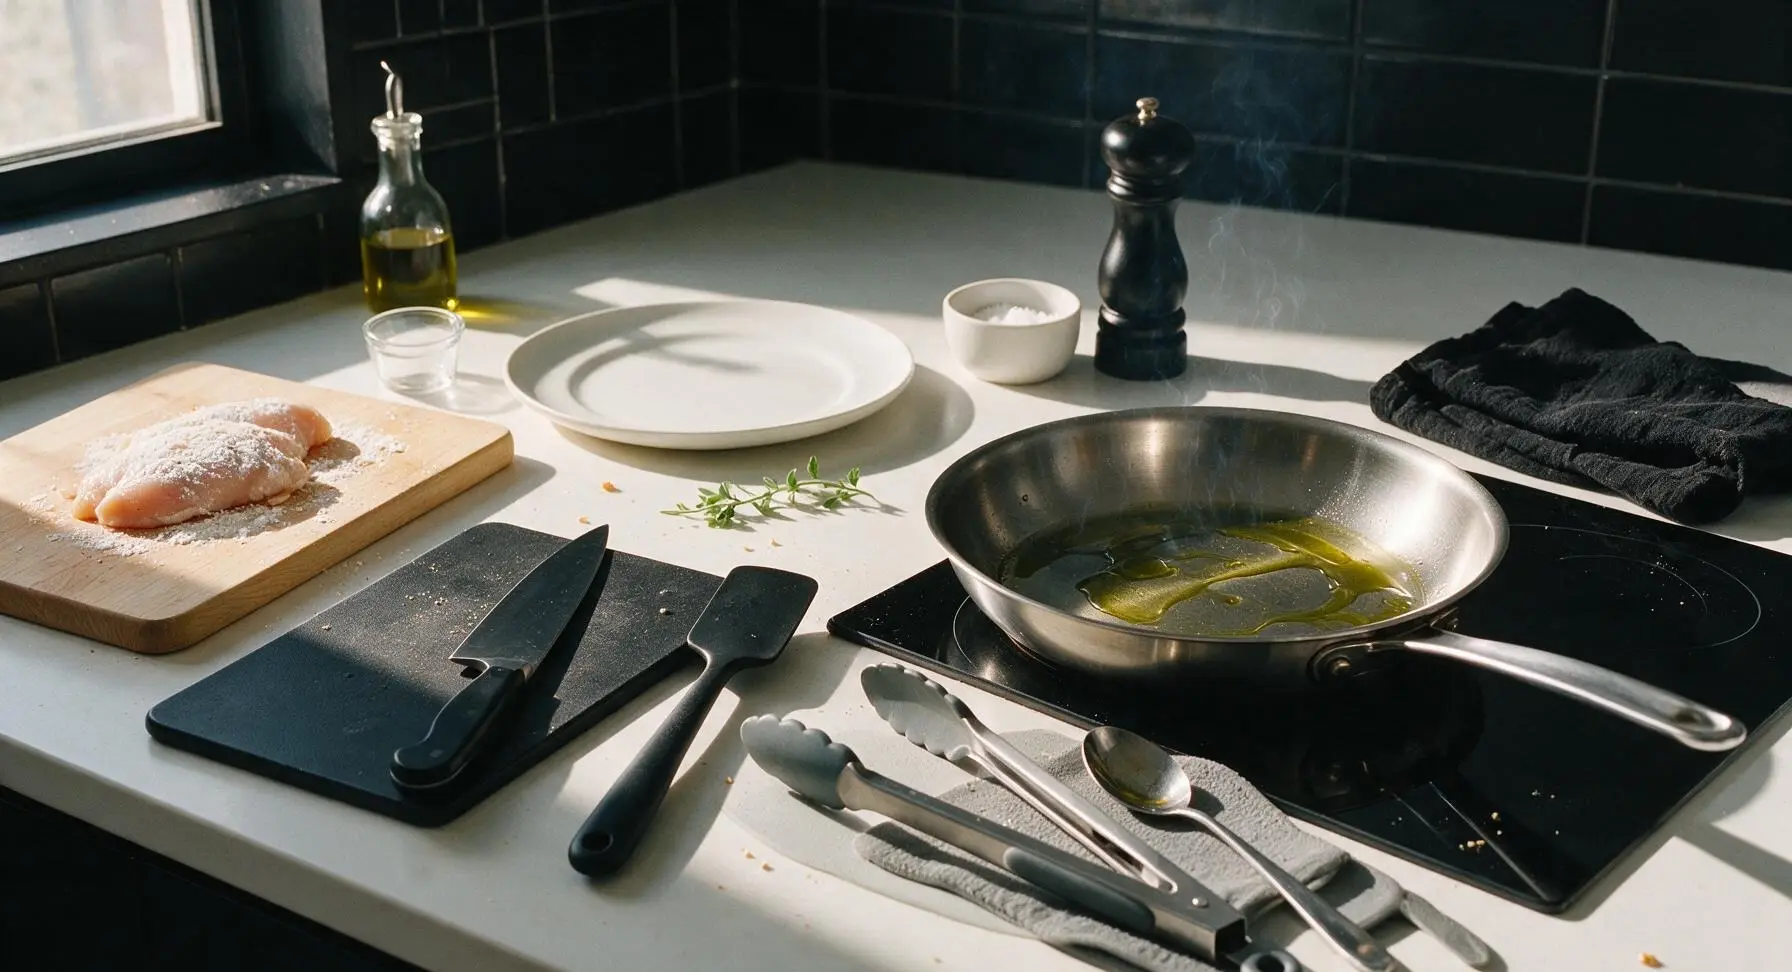
Sear first side golden
Carefully lay each floured chicken breast in the hot skillet away from your body, to avoid oil splatters. Do not move the chicken for 6 full minutes. After 6 minutes, the crust should be deep golden brown, crisp, and release easily from the pan when lifted with tongs. If the chicken sticks, it is not ready to flip—give it 30 more seconds.
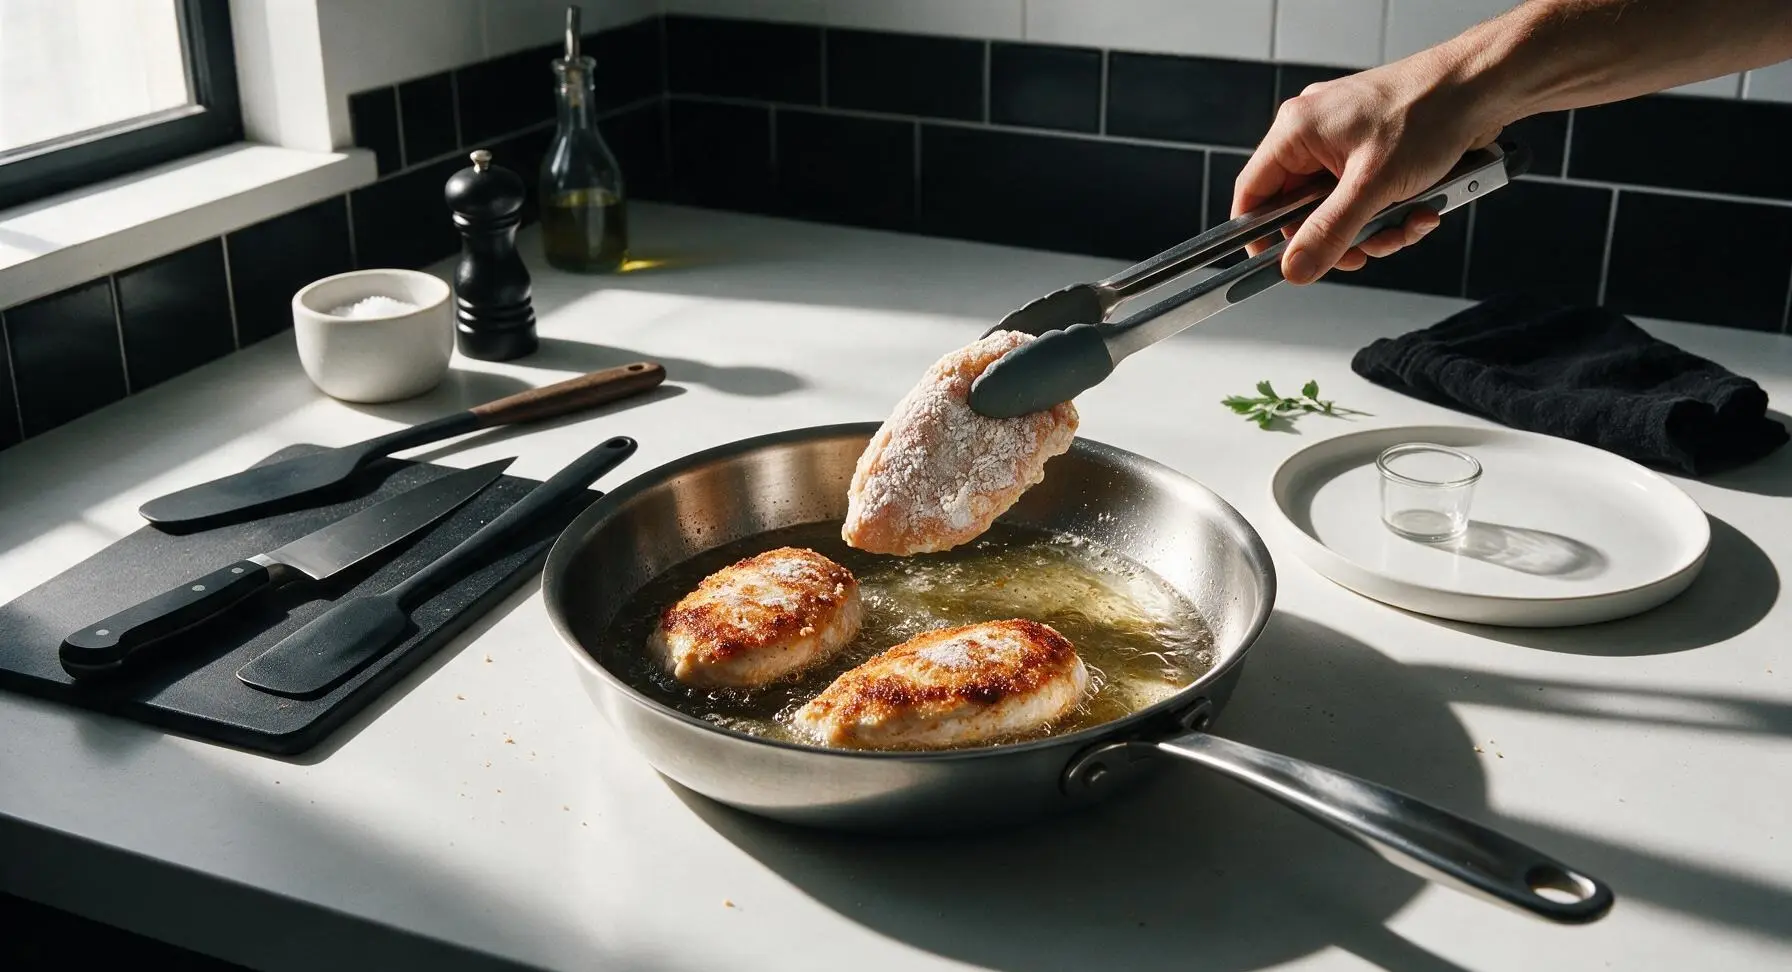
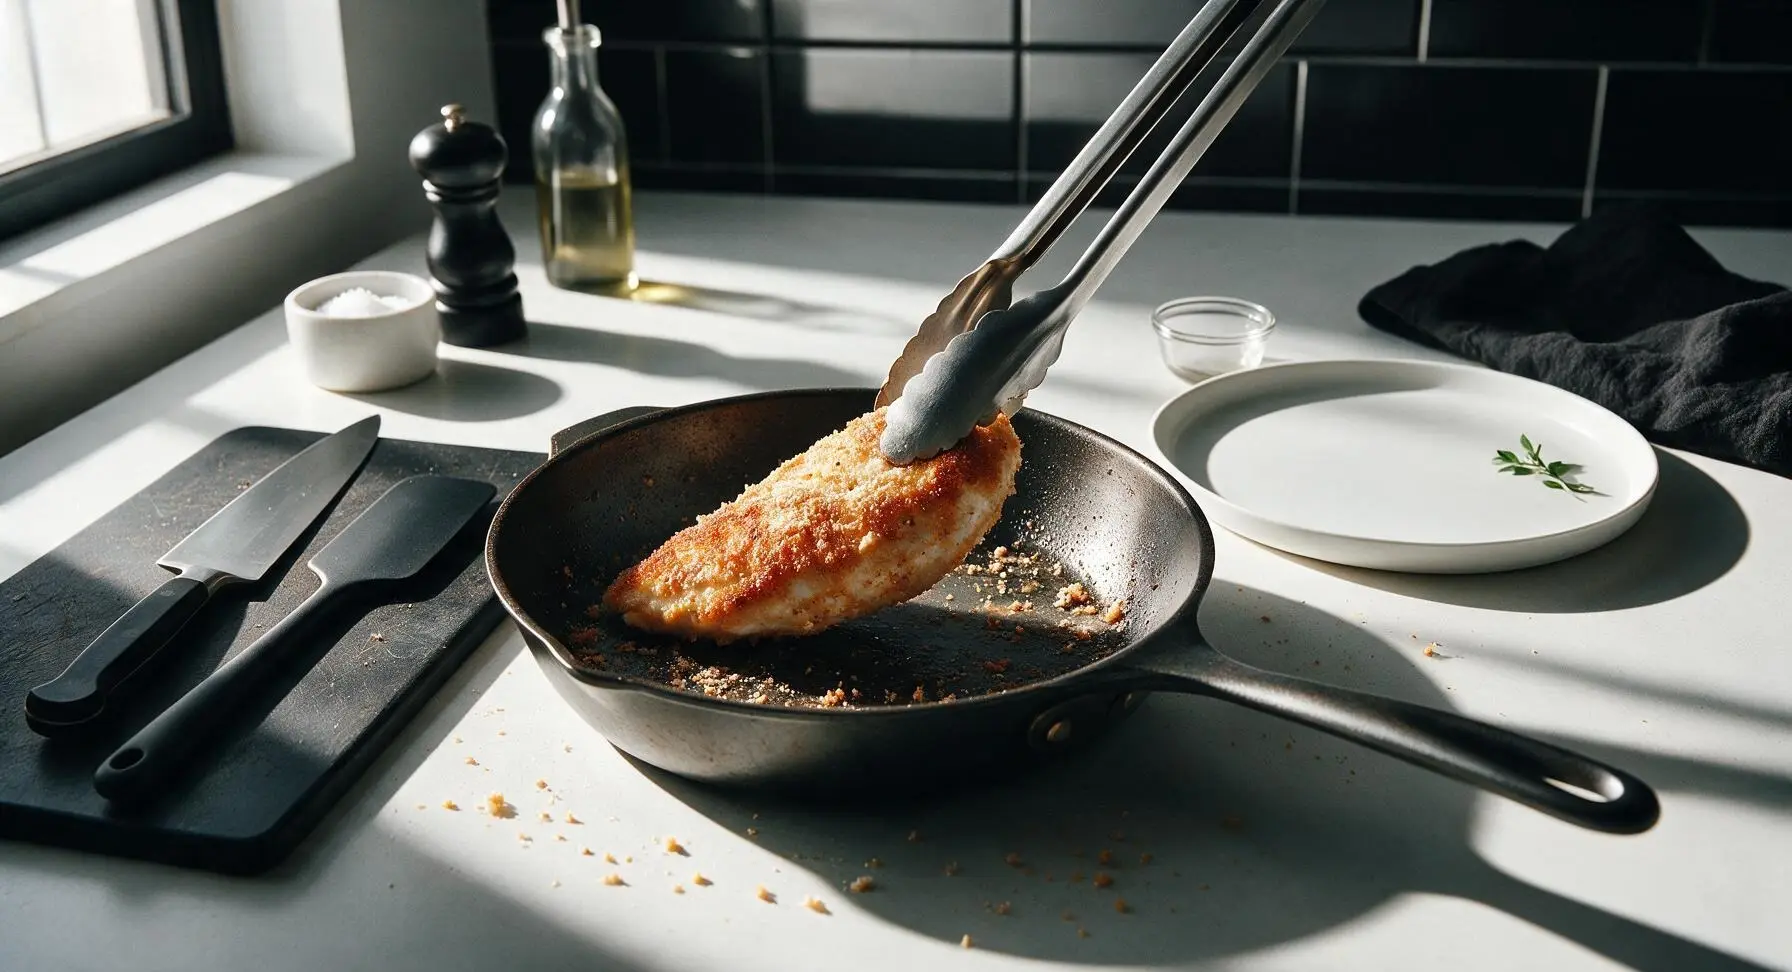
Flip and add aromatics
Use the tongs to flip each chicken breast to the second side. Immediately add the 1 tbsp unsalted butter, 2 lightly crushed garlic cloves, and 2 fresh thyme sprigs to the pan. Tilt the pan slightly so the melted butter pools at one edge, and use the stainless steel basting spoon to baste the top of the chicken with the bubbling, herb-and-garlic infused butter for 4-5 minutes, until the chicken reaches an internal temperature of 74°C (165°F) at the thickest part.
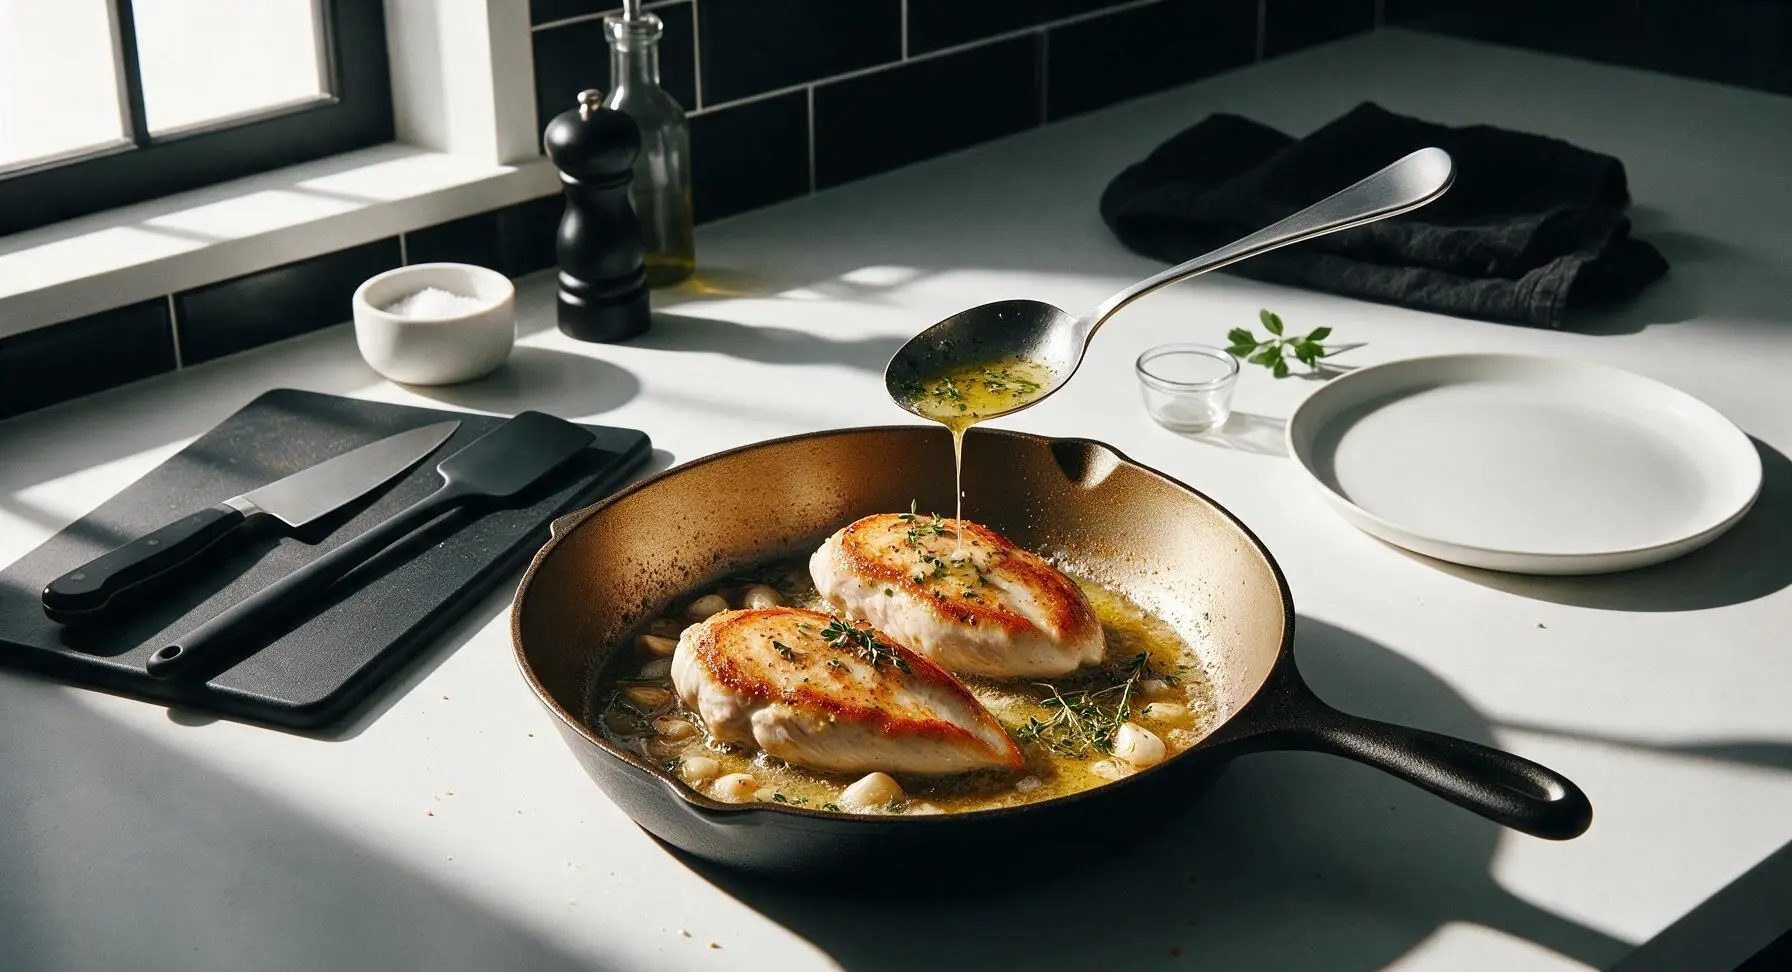
Rest chicken for juiciness
Transfer the seared chicken from the skillet to the matte off-white ceramic dinner plate. Loosely tent a small piece of aluminum foil over the top, and let the chicken rest for 5 full minutes. This allows the muscle fibers to relax and reabsorb juices, so every bite is juicy instead of having juice run out onto the plate when cut.
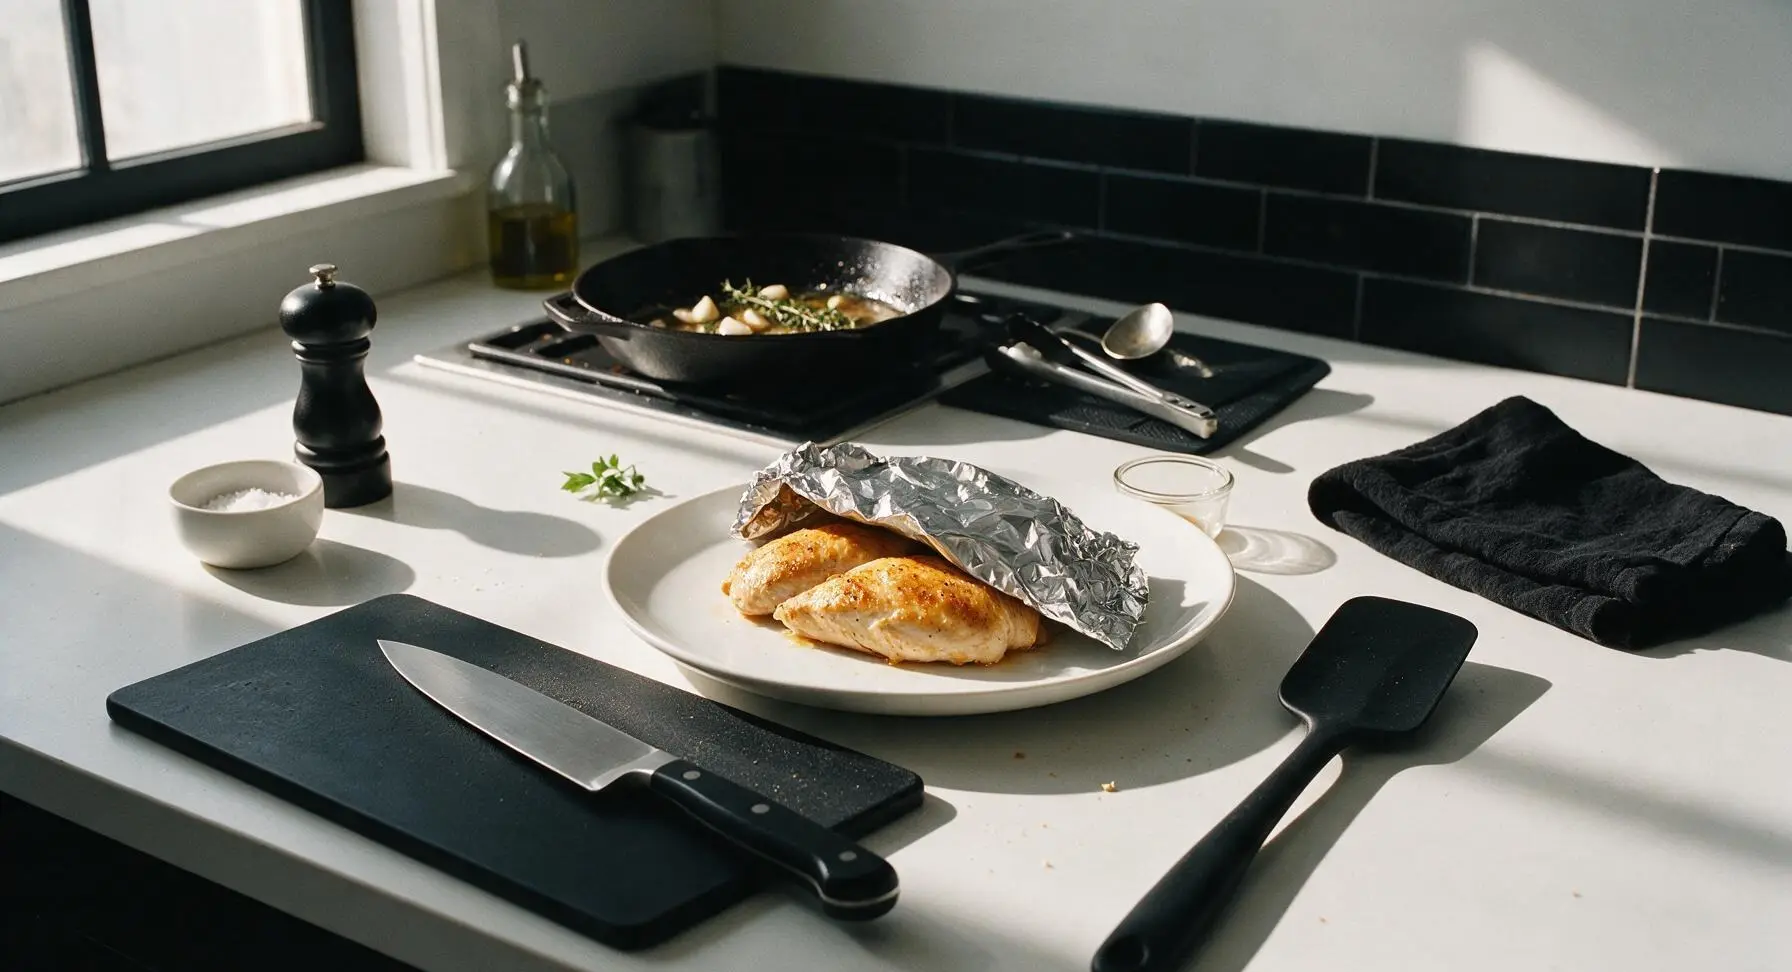
Slice and serve hot
After resting, transfer the chicken back to the light maple cutting board, and slice each breast against the grain into 1cm thick slices. Arrange the slices back on the matte off-white ceramic dinner plate, spoon a small amount of the reserved browned butter and thyme from the skillet over the top, and garnish with a few fresh thyme leaves. Serve immediately while the crust is crisp.
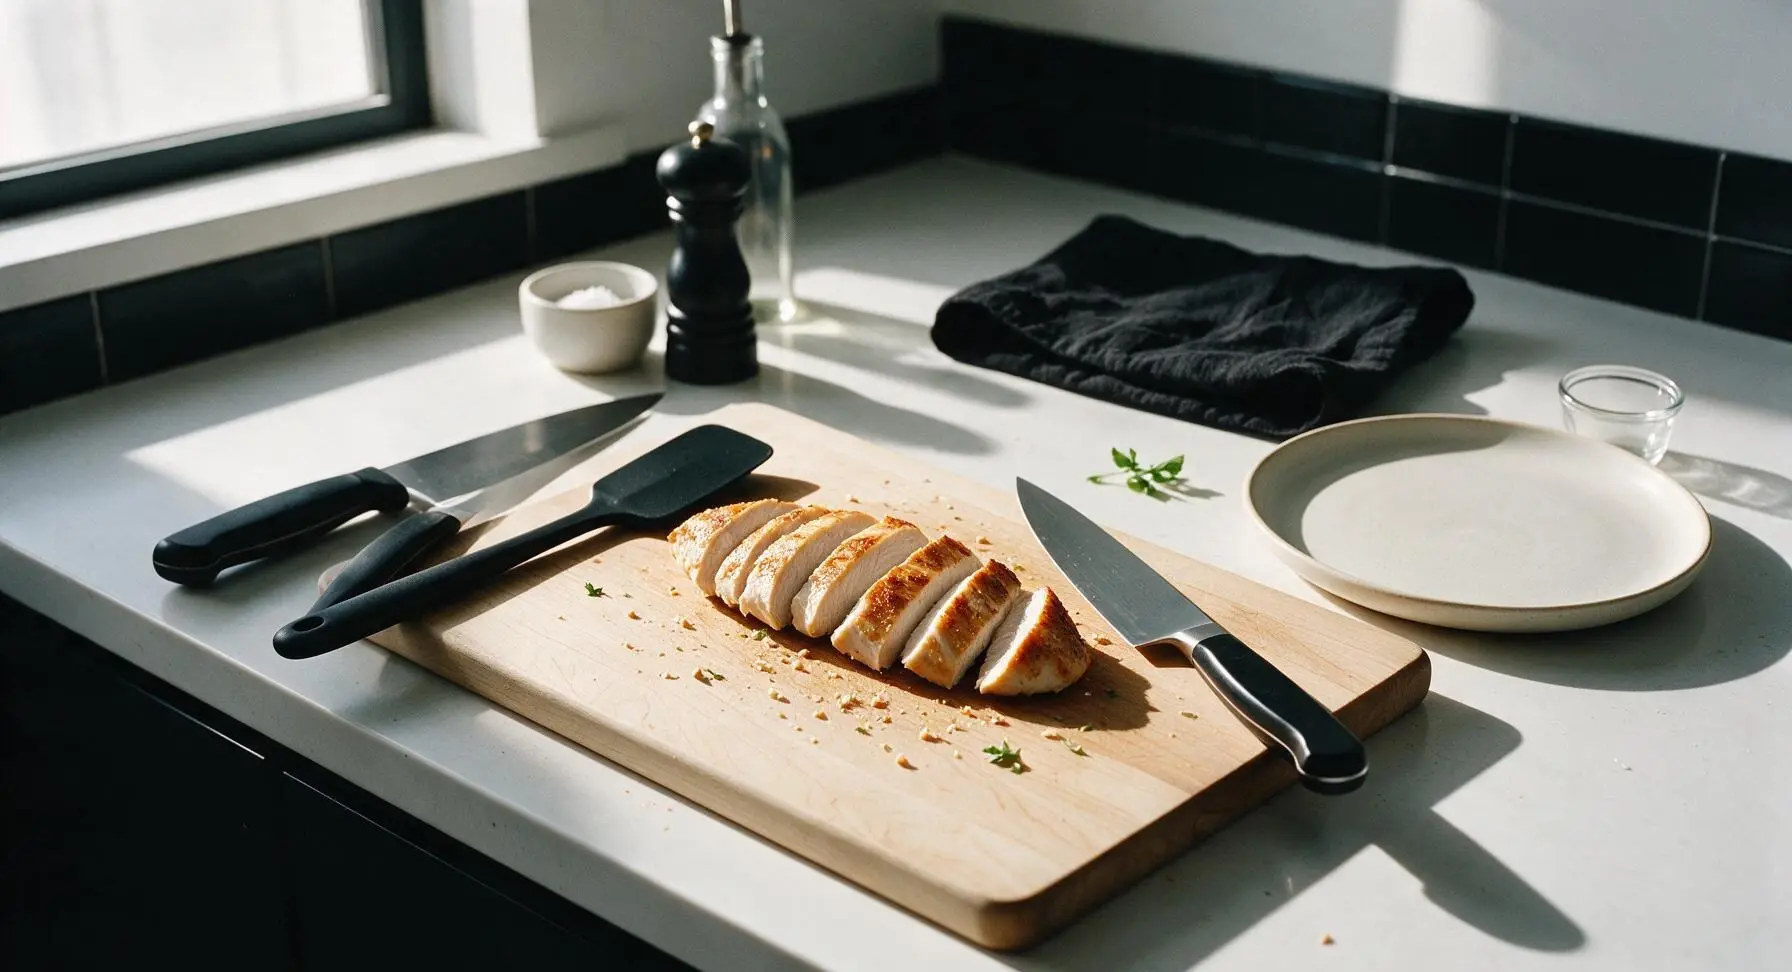
Tips
2.Resist the urge to move or flip the chicken during the first 6 minutes of searing: constant prodding breaks the forming crust and interrupts the Maillard reaction, which creates the deep golden color, crunchy texture, and rich savory flavor of the perfect crisp coating.
3.Use a 3:1 ratio of all-purpose flour to cornstarch for the light dredge: cornstarch reduces gluten formation in the flour, creating a shatteringly crisp crust that stays crisp longer than flour alone, without the heavy, bready texture of egg washes or thick breading.






OMG this is such a game changer! I’ve always struggled to get chicken breast crispy without drying it out, and this 12 minute method worked perfectly. My kids devoured two helpings each at family dinner last night, even my super picky 7 year old asked for seconds. SO good, I’m making this for our neighborhood potluck this weekend!
Total meal prep win! I made a batch of these Sunday night to slice up for salads and wraps all week, and the crust stayed crispy even after reheating in the air fryer for a minute. Super easy even for someone who burns toast half the time, no fancy ingredients needed at all. Will be a weekly staple for sure.
Wait quick question — I only have thin cut chicken breasts on hand, how much should I adjust the cook time so I don’t overcook them? Don’t want to end up with rubbery chicken for date night tonight 😅
I made this last night with that garlic butter brush on top people were talking about in the tips and HOLY COW. Crispy outside, juicy inside, better than the pan seared chicken I pay $22 for at the gastropub down the street. 10/10, no notes.