1.What exactly are whole belly clams, and can I substitute clam strips if I can’t find them?
▾
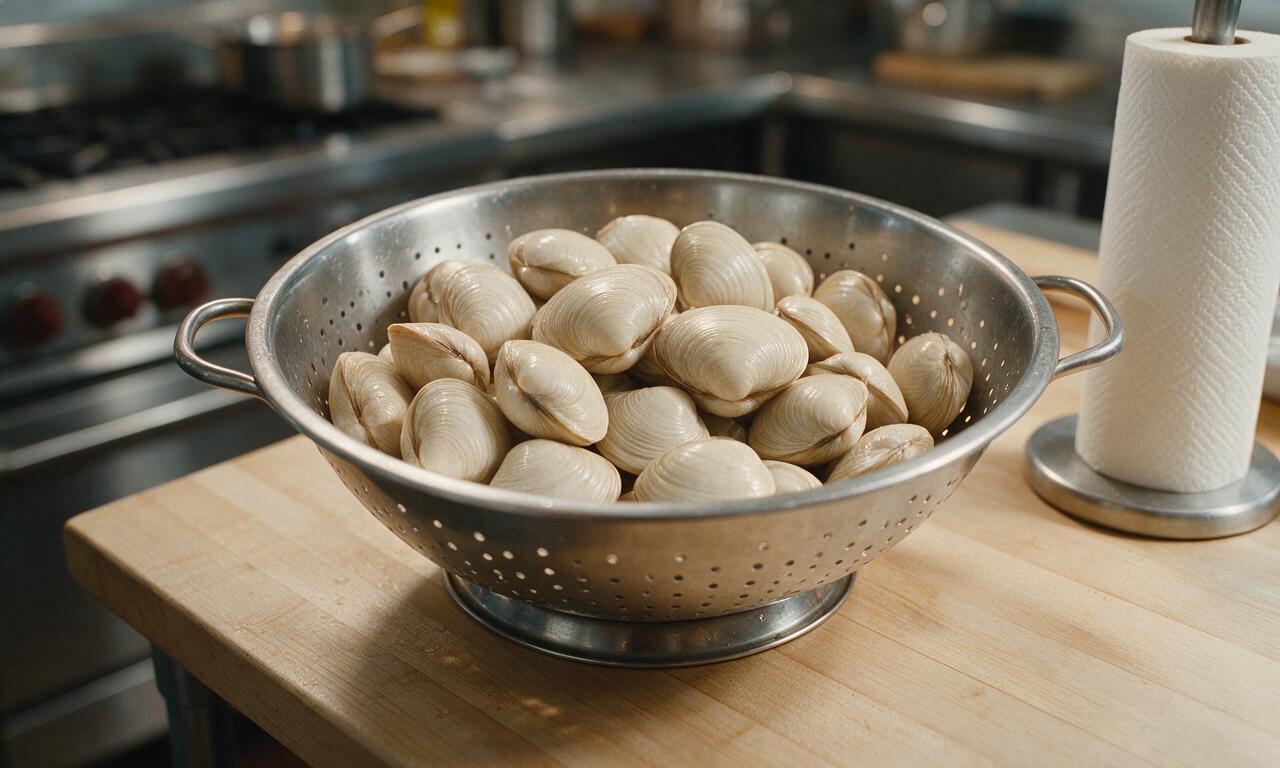
Whole belly clams are shucked soft-shell (steamer) clams with their creamy, ultra-briny belly meat left intact, which gives this dish its iconic New England flavor. You can use pre-shucked clam strips in a pinch, but cut fry time by 30 seconds since strips are thinner, and note you’ll miss that rich, melt-in-your-mouth briny pop from the bellies.
2.How do I get the clams extra crispy without the breading falling off?
▾
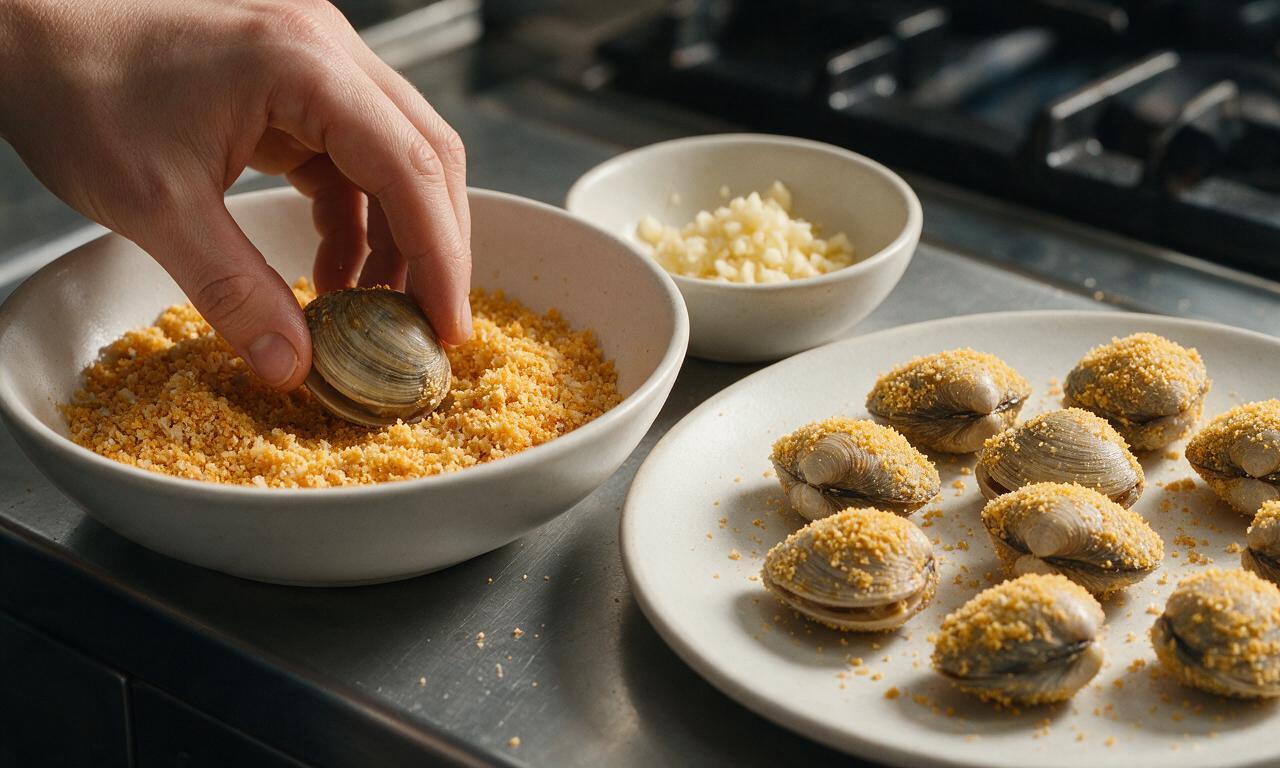
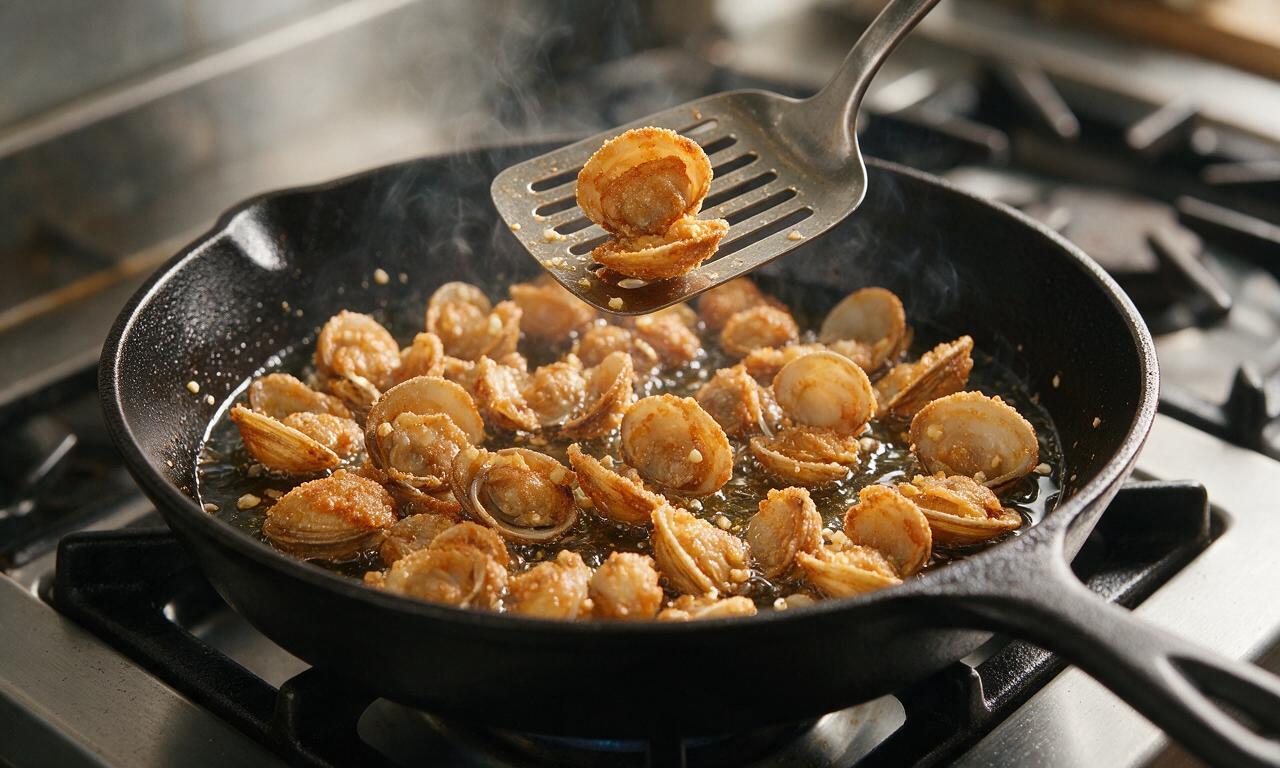
First, pat shucked clams completely dry with paper towels before dredging—excess moisture is the #1 cause of soggy, sliding breading. Dredge right before frying, don’t let coated clams sit, and make sure your oil holds a steady 365°F so the cornmeal-flour crust sets instantly instead of soaking up excess grease.
3.What type of oil works best for frying these clams?
▾
Reach for a neutral, high-smoke-point oil like canola, peanut, or refined safflower oil. Skip olive oil or butter for the frying step—those have low smoke points that burn quickly, leave a bitter off-flavor, and keep your crust from getting that perfect light, shatteringly crisp texture. Save the butter for the finishing garlic toss.
4.Do I need to soak shucked clams before cooking to get rid of trapped grit?
▾
Yes, even pre-shucked store-bought clams can hold hidden grit. Give them a quick 10-minute soak in cold salted water (1 tbsp salt per 4 cups water), then lift them out (don’t pour the water off, that leaves grit at the bottom) and pat fully dry before dredging to avoid sandy bites.
5.Can I make these clams in an air fryer instead of deep frying?
▾
Absolutely! Spray dredged clams generously with oil on all sides, arrange in a single layer in your air fryer basket, and cook at 400°F for 6-8 minutes, flipping halfway, until golden and crisp. Toss immediately in the garlic butter right when they come out for the closest texture to classic deep-fried versions.
6.How much Old Bay should I use, and can I adjust the seasoning to taste?
▾
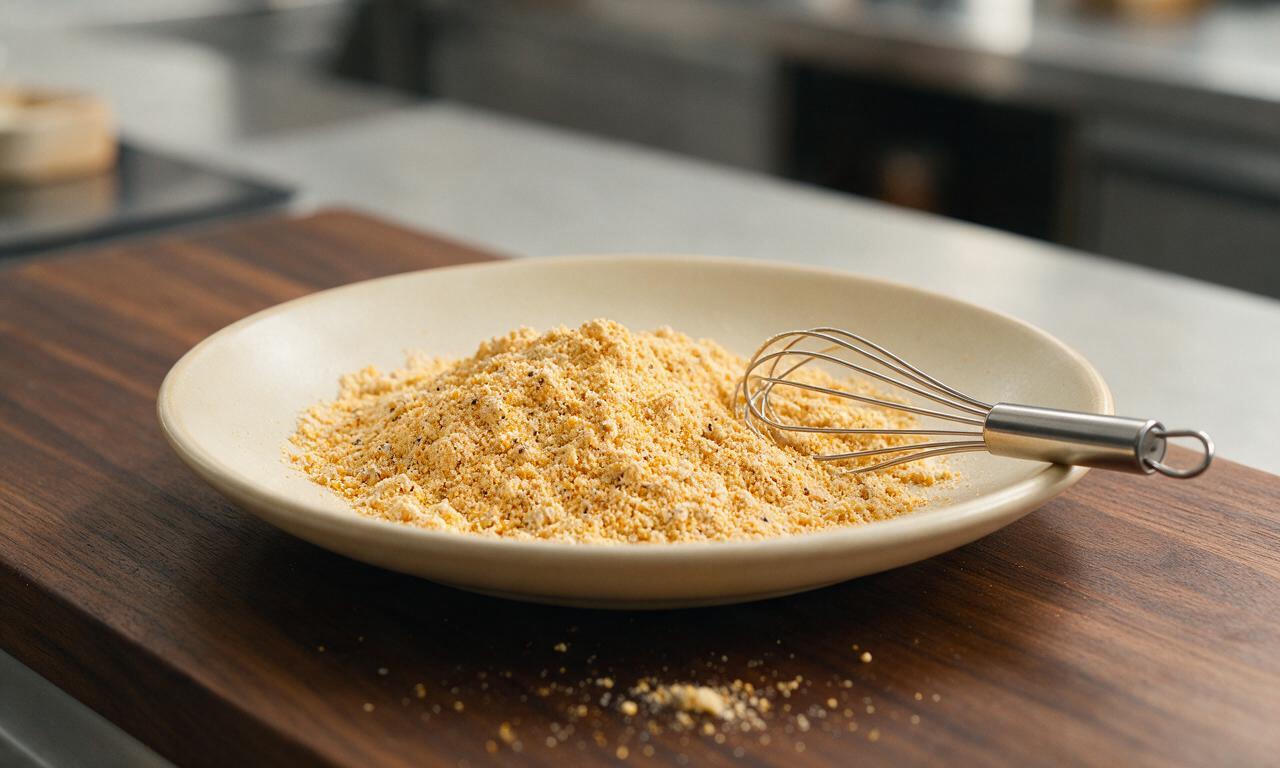
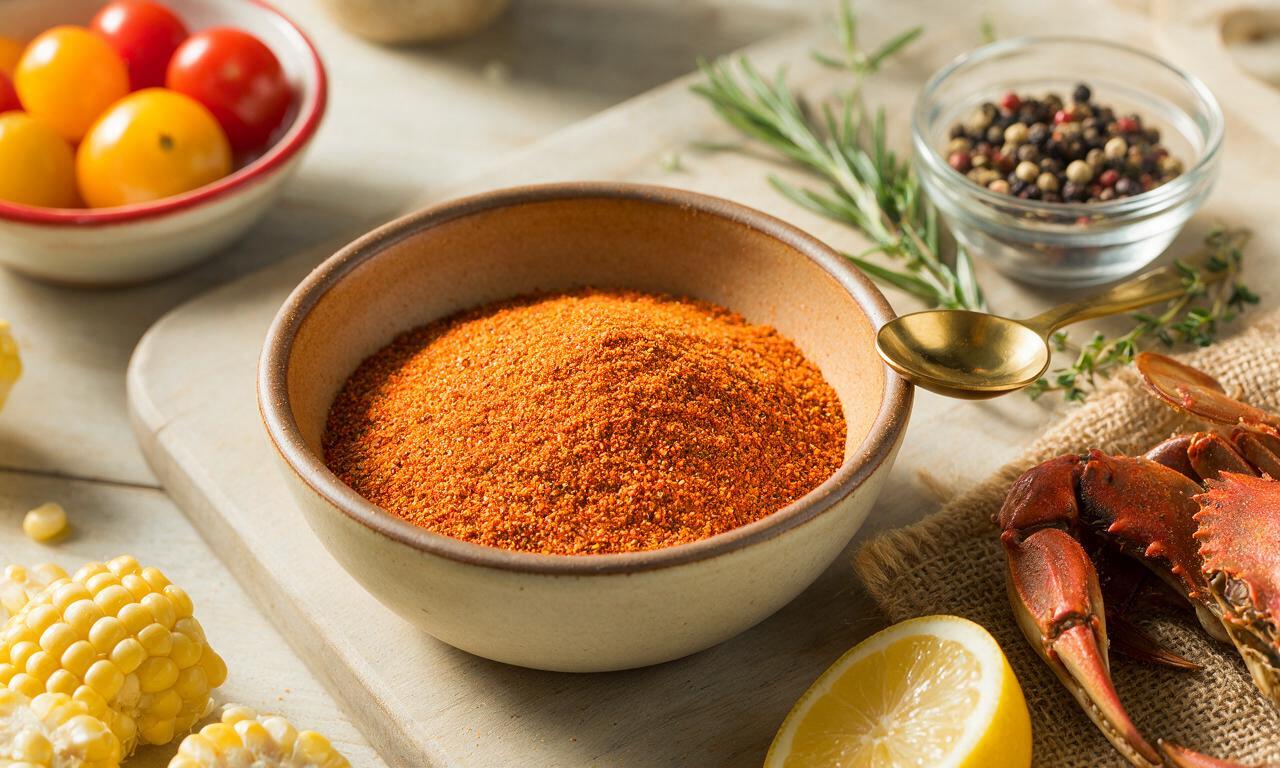
The base recipe uses 1 tsp of Old Bay mixed into the flour-cornmeal dredge for that classic coastal savoriness, but feel free to tweak it! Add a pinch of cayenne for heat, an extra ½ tsp garlic powder for more punch, or a sprinkle of fresh lemon zest to the dredge if you like a brighter, zippier flavor.
7.Why do my fried clams turn out rubbery instead of tender?
▾
Rubberiness almost always comes from overcooking. Whole belly clams only need 1.5 to 2 minutes total in hot 365°F oil—they’re done the second the crust is deep golden and crisp. If you cook them any longer, the delicate belly meat tightens up and gets tough, so pull them as soon as the crust hits that perfect golden color.
8.How do I make the garlic butter without burning the garlic?
▾
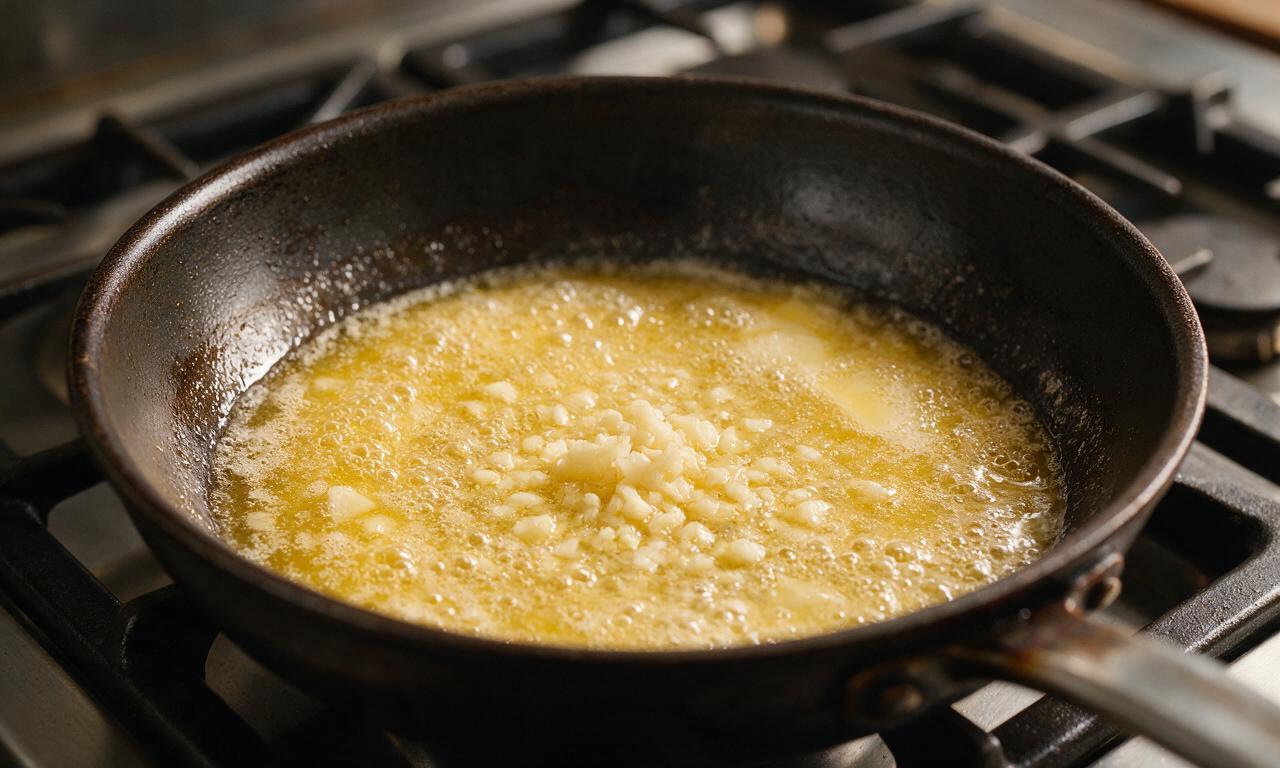
Melt the butter in a large skillet over medium-low heat, add minced garlic, and cook for just 30 to 45 seconds, stirring constantly, until it smells fragrant and turns pale golden. Pull the pan off the heat right away—garlic goes from perfectly nutty to bitter and burnt in seconds, so don’t walk away during this step.
9.Can I prep these clams ahead of time for a party or cookout?
▾
For the best crispness, don’t dredge the clams until right before you fry them. You can, however, prep the garlic butter 2 days ahead, mix your seasoned flour-cornmeal dredge 3 days ahead, and soak/pat dry the clams 4 hours ahead, storing them covered in the fridge until you’re ready to cook and serve.
10.What’s the best ratio of flour to cornmeal for the crispy coating?
▾
Stick to a 1:1 ratio of all-purpose flour to fine yellow cornmeal for the most authentic texture. The flour helps the coating stick to the clams, while the cornmeal adds that signature gritty, shatteringly crisp crunch New England clam shacks are known for—skip coarse cornmeal, it makes the crust too heavy and rough.
11.What are the best sides to serve with these garlic butter clams?
▾
Keep it classic coastal! Serve them with crispy French fries, creamy coleslaw, buttered toasted split-top hot dog buns for stuffing, tartar sauce, lemon wedges, and dill pickles. For a lighter twist, pair them with a simple arugula salad tossed in lemon vinaigrette to cut through the rich butter and brininess.
12.Can I use frozen whole belly clams for this recipe?
▾
Yes, frozen shucked whole belly clams work great—just thaw them completely in the fridge overnight first, drain off all excess liquid, soak to remove any lingering grit, and pat extremely dry before dredging. Don’t thaw them in the microwave or warm water, that will make the meat mushy and lead to soggy breading.
13.How do I keep the clams crispy when cooking multiple batches?
▾
As you pull finished clams out of the oil, set them on a wire rack set over a baking sheet (don’t stack them on paper towels, that traps steam and makes them soggy) and hold them in a 200°F oven while you cook remaining batches. Wait to toss them in garlic butter until all batches are done, right before serving.
14.Is there a gluten-free swap for the dredge that still gets crispy?
▾
Definitely! Swap the all-purpose flour for a 1:1 gluten-free all-purpose baking blend (make sure it contains xanthan gum to help the coating stick) and keep the fine cornmeal as is. Double check that your Old Bay is gluten-free (most standard bottles are) for a totally gluten-free version that’s just as crispy as the original.
15.Should I rinse shucked clams, or will that wash away their briny flavor?
▾
Give them a very quick, gentle rinse in cold water after soaking to dislodge any last bits of grit, but don’t soak them for more than 10 minutes total or hold them under running water for long. A light rinse won’t strip that signature briny flavor, but extended soaking will leach out the sweet, salty taste that makes these clams special.

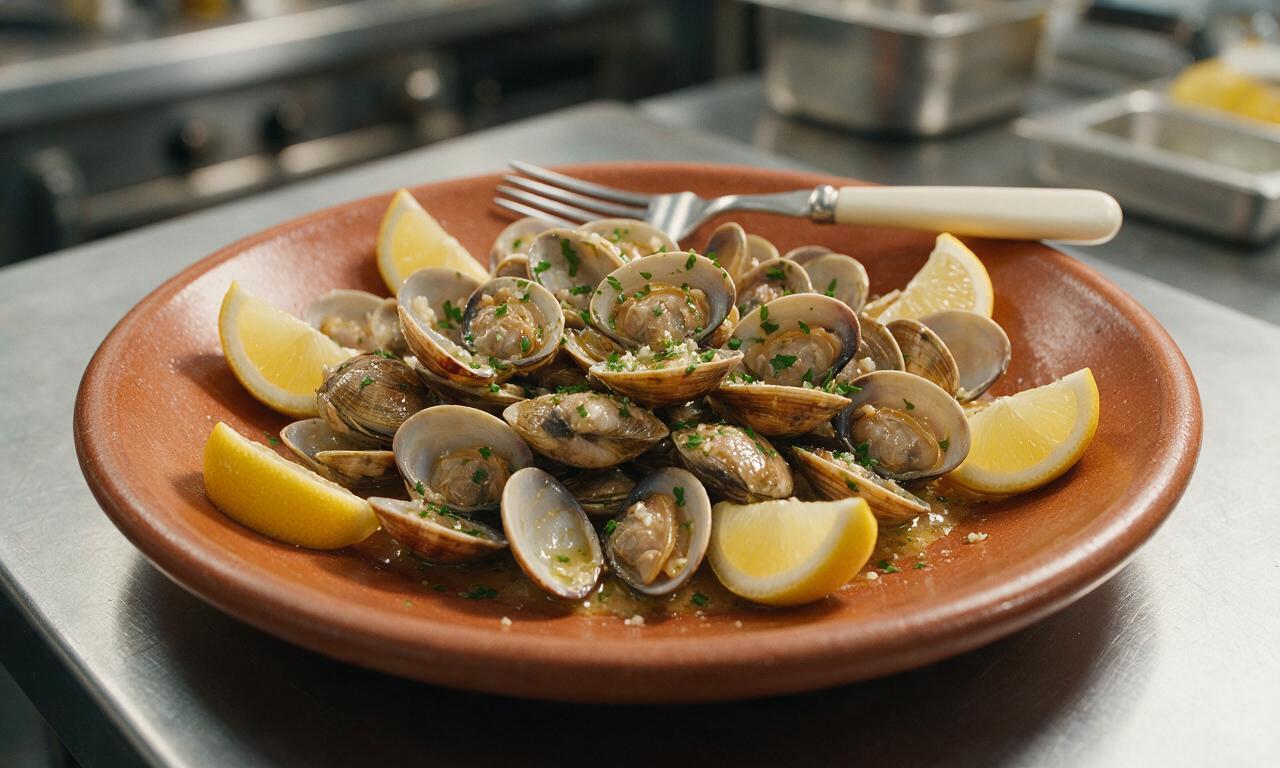
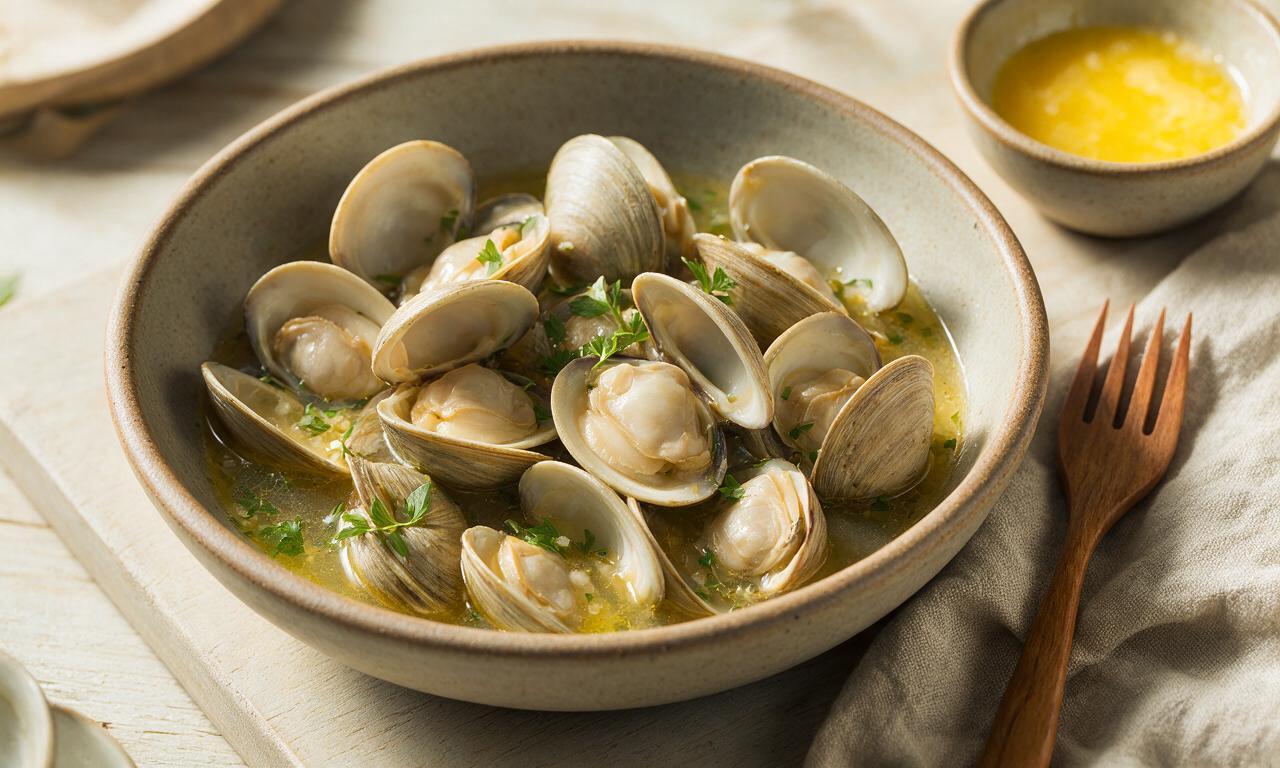
OMG these were SO good!!! I’ve been scared to cook whole belly clams at home because I always thought they’d turn out rubbery, but this recipe was so easy even I didn’t mess it up. The crispy garlic butter coating is a total game changer—my husband ate half the plate before I even got the sides on the table for our Friday fish fry! Will 100% be making this again for our next neighborhood potluck.
Really tasty recipe! Only reason I’m knocking off a star is I added a little too much red pepper flakes on my first go and it was way spicier than my kids could handle. The garlic butter crisp on the clams was chef’s kiss though, even the spice couldn’t ruin it. My 7 year old picked off all the crispy garlic bits first before eating the clams, lol.
Made these last night for date night with my girlfriend and she said they’re better than the fried clams we get at our favorite coastal seafood shack. 25 minute cook time is no joke too—we were eating 30 minutes after I walked in the door from work, zero stress. 10/10, adding this to our regular weeknight rotation.
Game. Changer. I meal prepped the garlic butter mix ahead of time on Sunday and threw these together for dinner last night and it was so fast. The clams stayed crispy even after I tossed them in the butter, no soggy mess at all! My whole family raved, even my super picky teen who turns his nose up at most seafood.
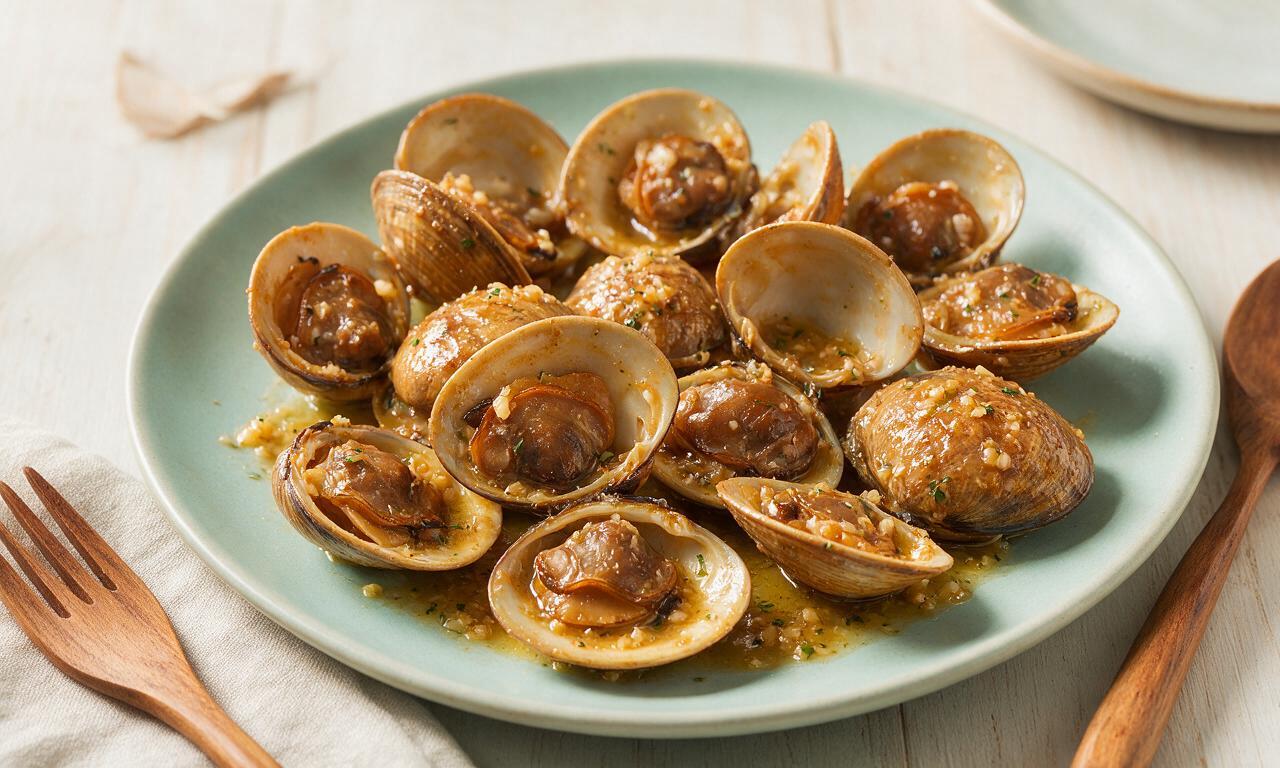
Tasted good, but I couldn’t get the clams as crispy as the photo shows? I followed the directions exactly, patted them dry before tossing in the flour mix, but they came out a little soft on the outside. Any tips?
Just made these for a quick lunch and WOW, I’m obsessed. I added a squeeze of fresh lemon at the end like the recipe suggested and it cut through the butter so perfectly. I didn’t have fresh parsley so I used dried and it still tasted amazing, no complaints at all.
Made these for my annual fishing trip cookout with the guys and everyone was begging for the recipe. Super easy to make even on a camp stove with a cast iron pan, crispy as can be. Pro tip: toss in a little extra parmesan with the garlic butter if you’re feeling fancy, it slaps.