
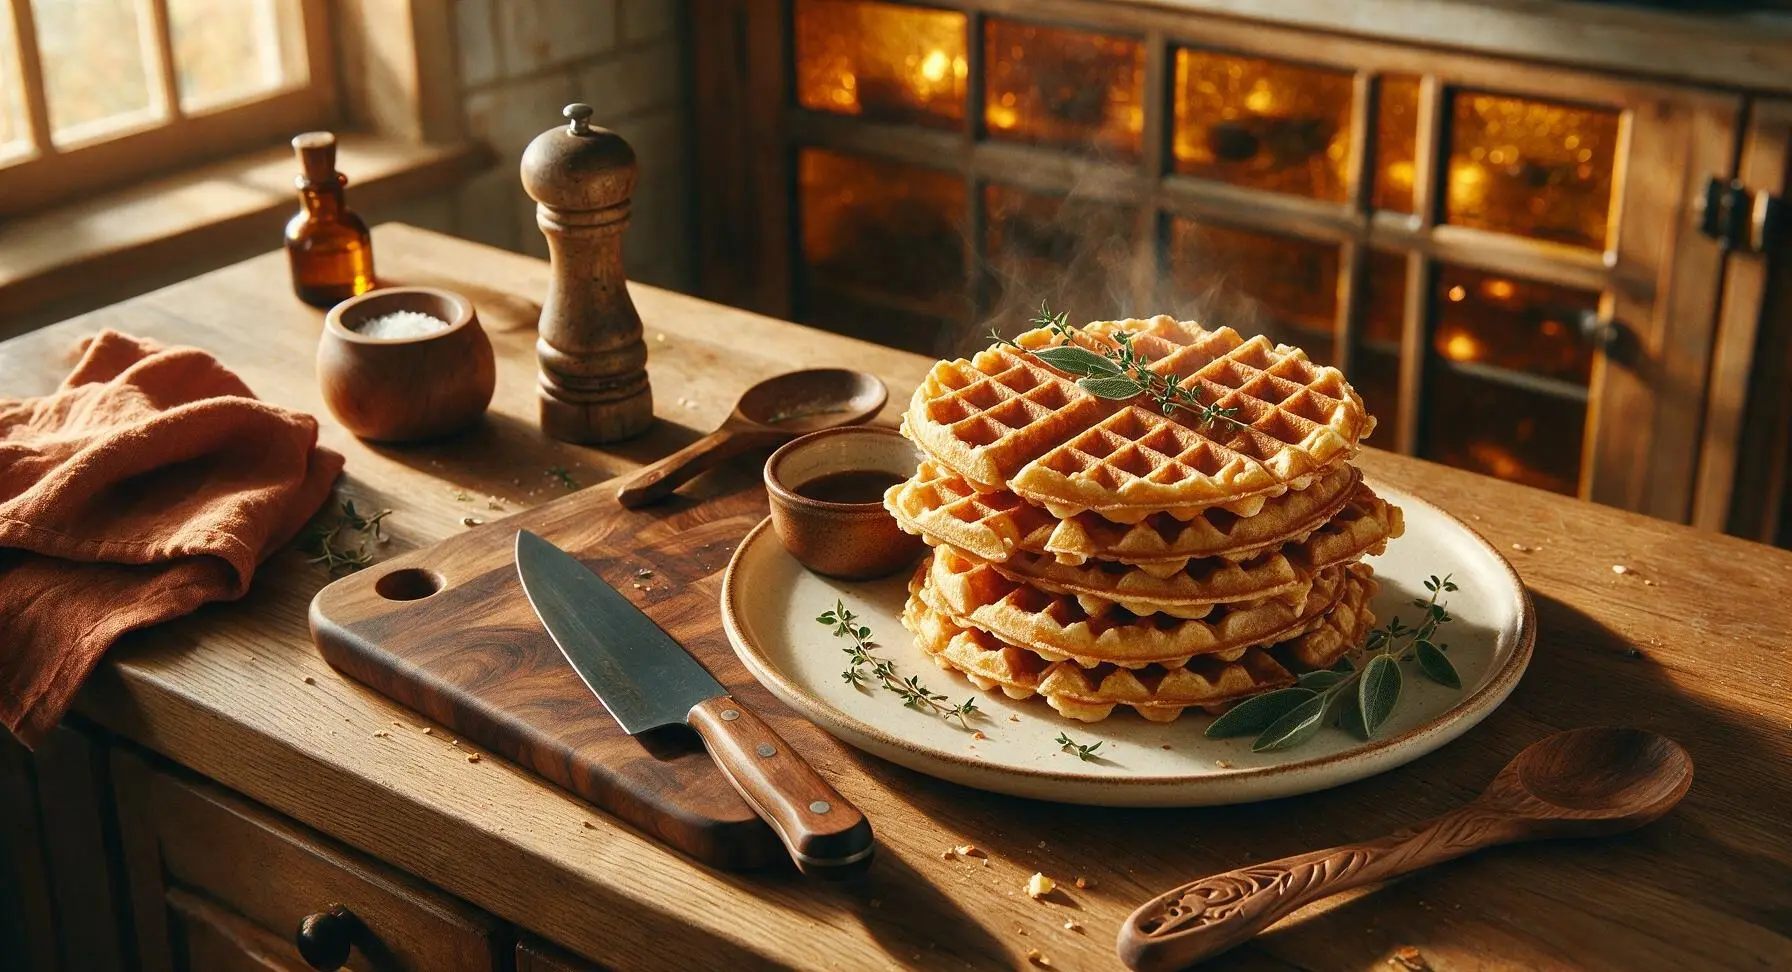
crispy waffle mix

title 1
crispy waffle mix
⏱️ cook time 15 minutes
🍽️ servings 4
⚡ Difficulty easy

intro

This shelf-stable homemade mix produces shatteringly crisp, light golden waffles in minutes. Skip store-bought blends for zero artificial additives and perfect texture every time.

Ingredients
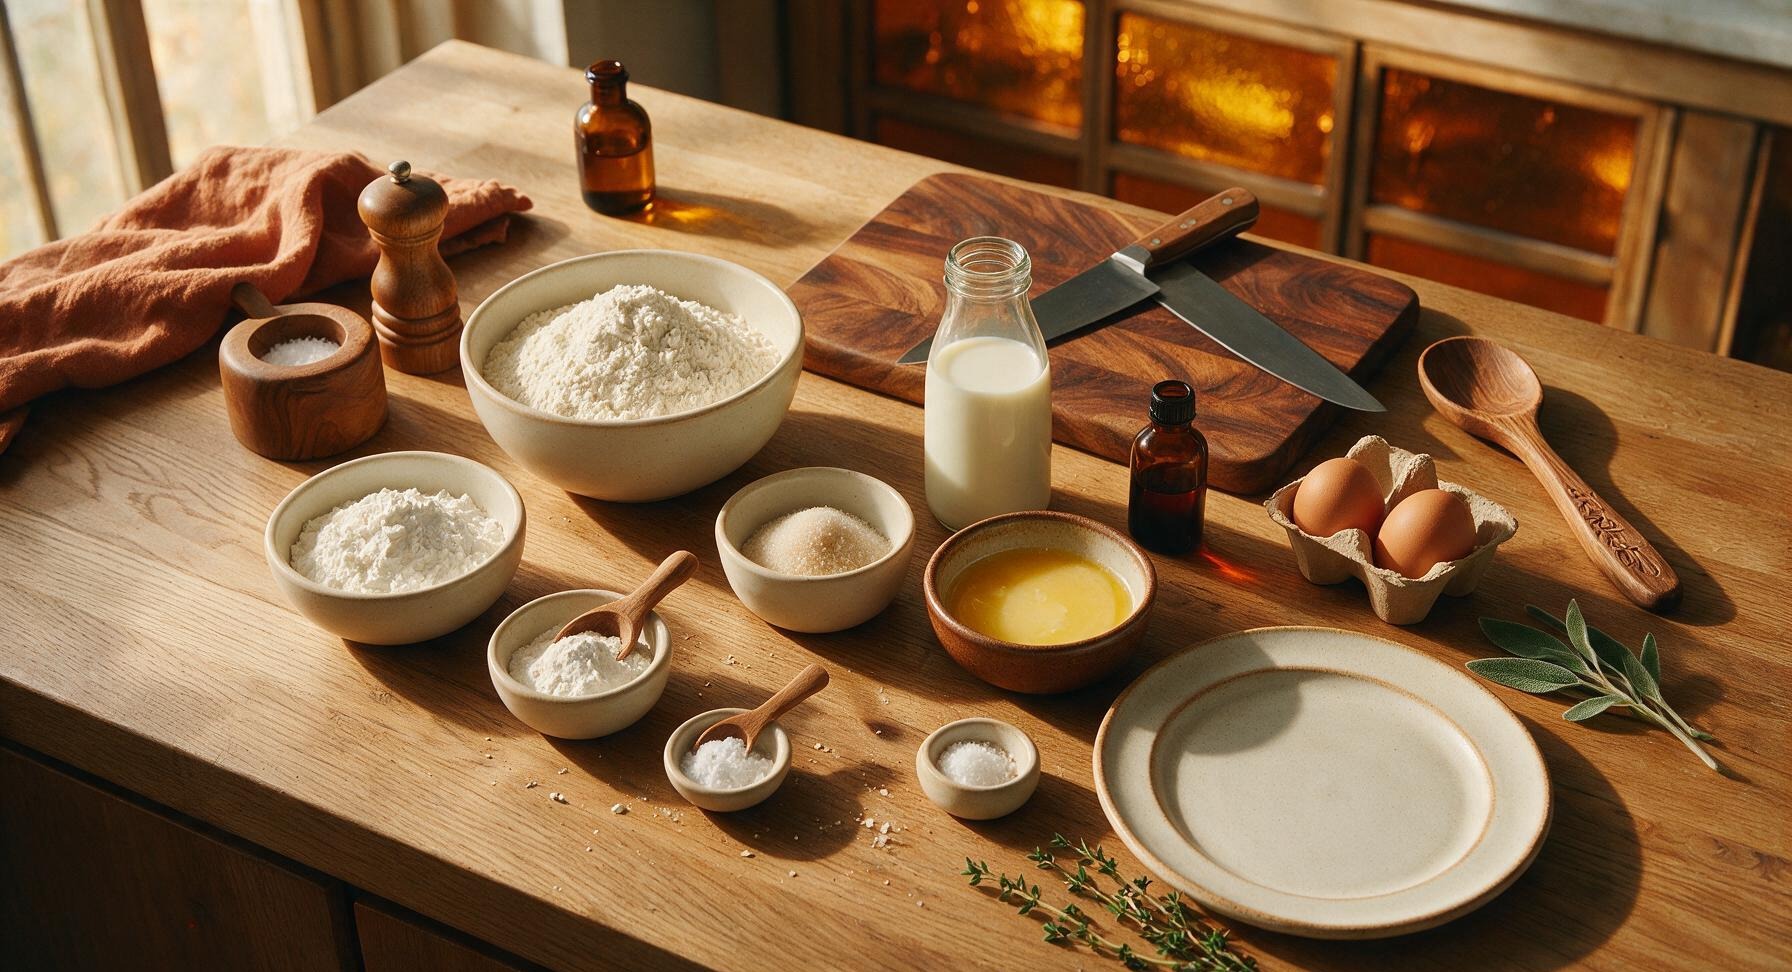
All-purpose flour 2 cups (240g)
Cornstarch 1/2 cup (60g)
Granulated sugar 2 tbsp (25g)
Baking powder 1 tbsp (12g)
Baking soda 1 tsp (5g)
Fine sea salt 1 tsp (5g)
Whole milk 1 3/4 cups (420ml)
Large eggs 2 each
Unsalted butter, melted and cooled 1/4 cup (57g)
Vanilla extract 1 tsp (5ml)

Steps

1

Portion Dry Ingredients

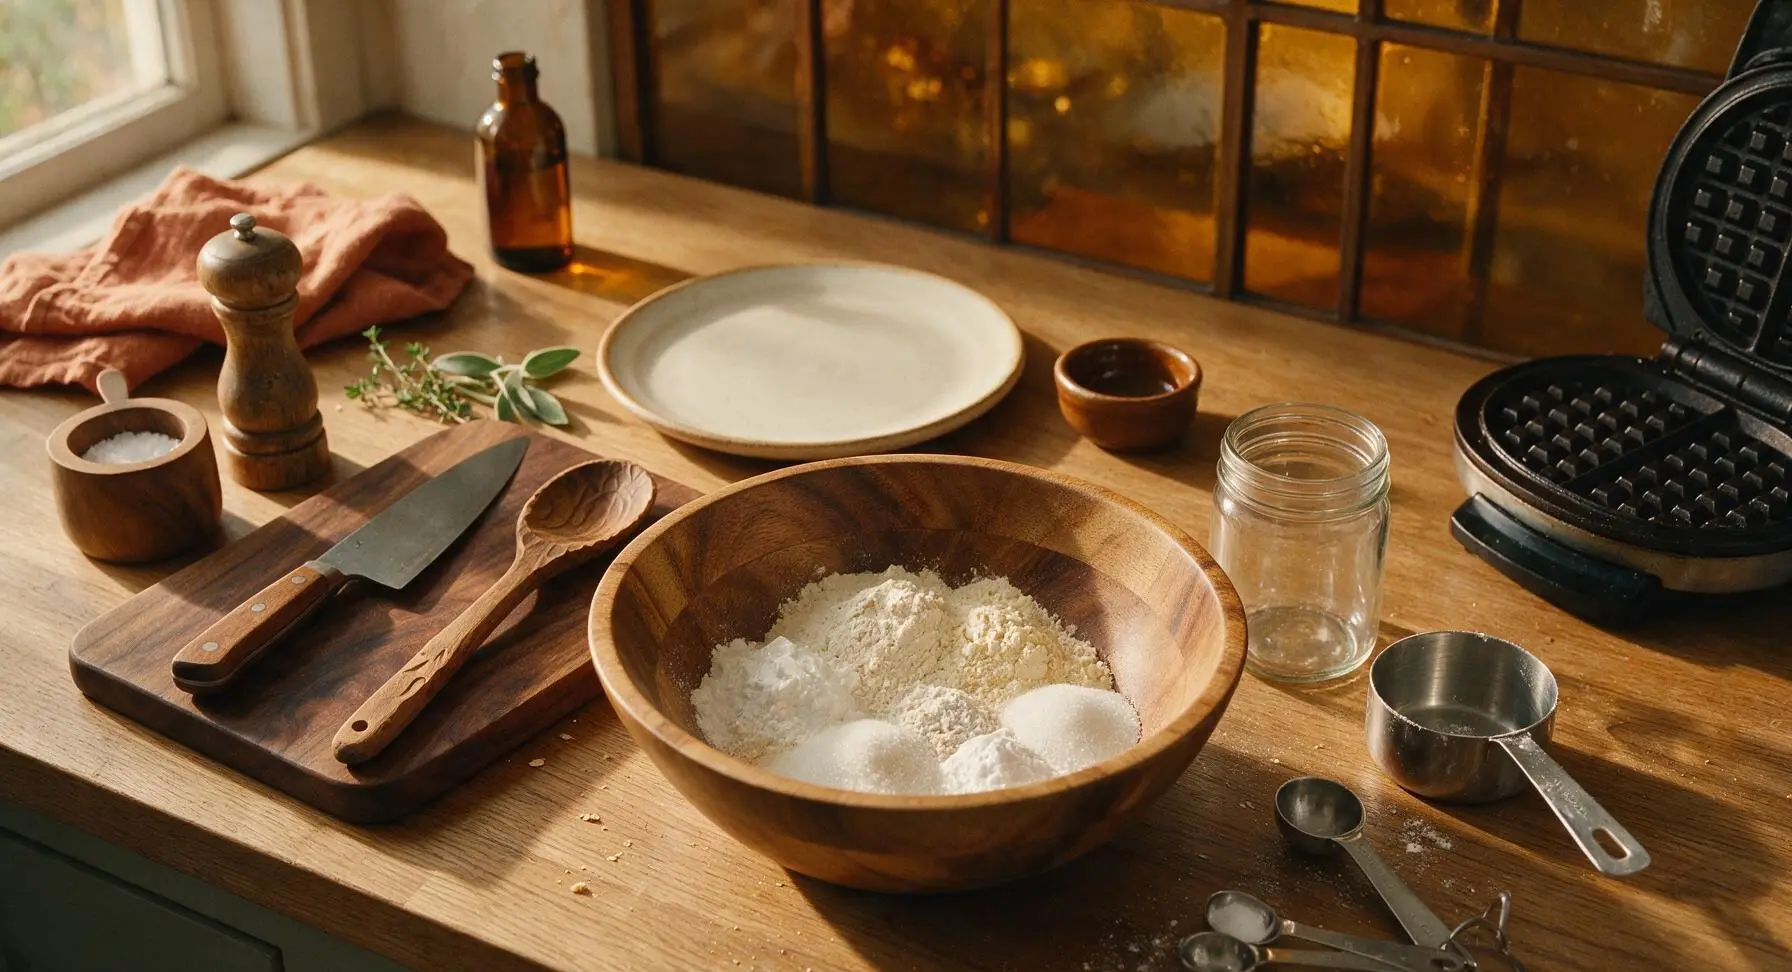
First, ensure all mixing tools and bowls are completely dry — even small amounts of moisture will activate the leavening early, reducing the mix’s shelf life and leading to flat waffles. Use the stainless steel measuring cups and spoons to portion all dry mix ingredients (flour, cornstarch, sugar, baking powder, baking soda, salt) into the large acacia wood mixing bowl.
Step 1
step1:Portion Dry Ingredients
2

Whisk Dry Blend Evenly

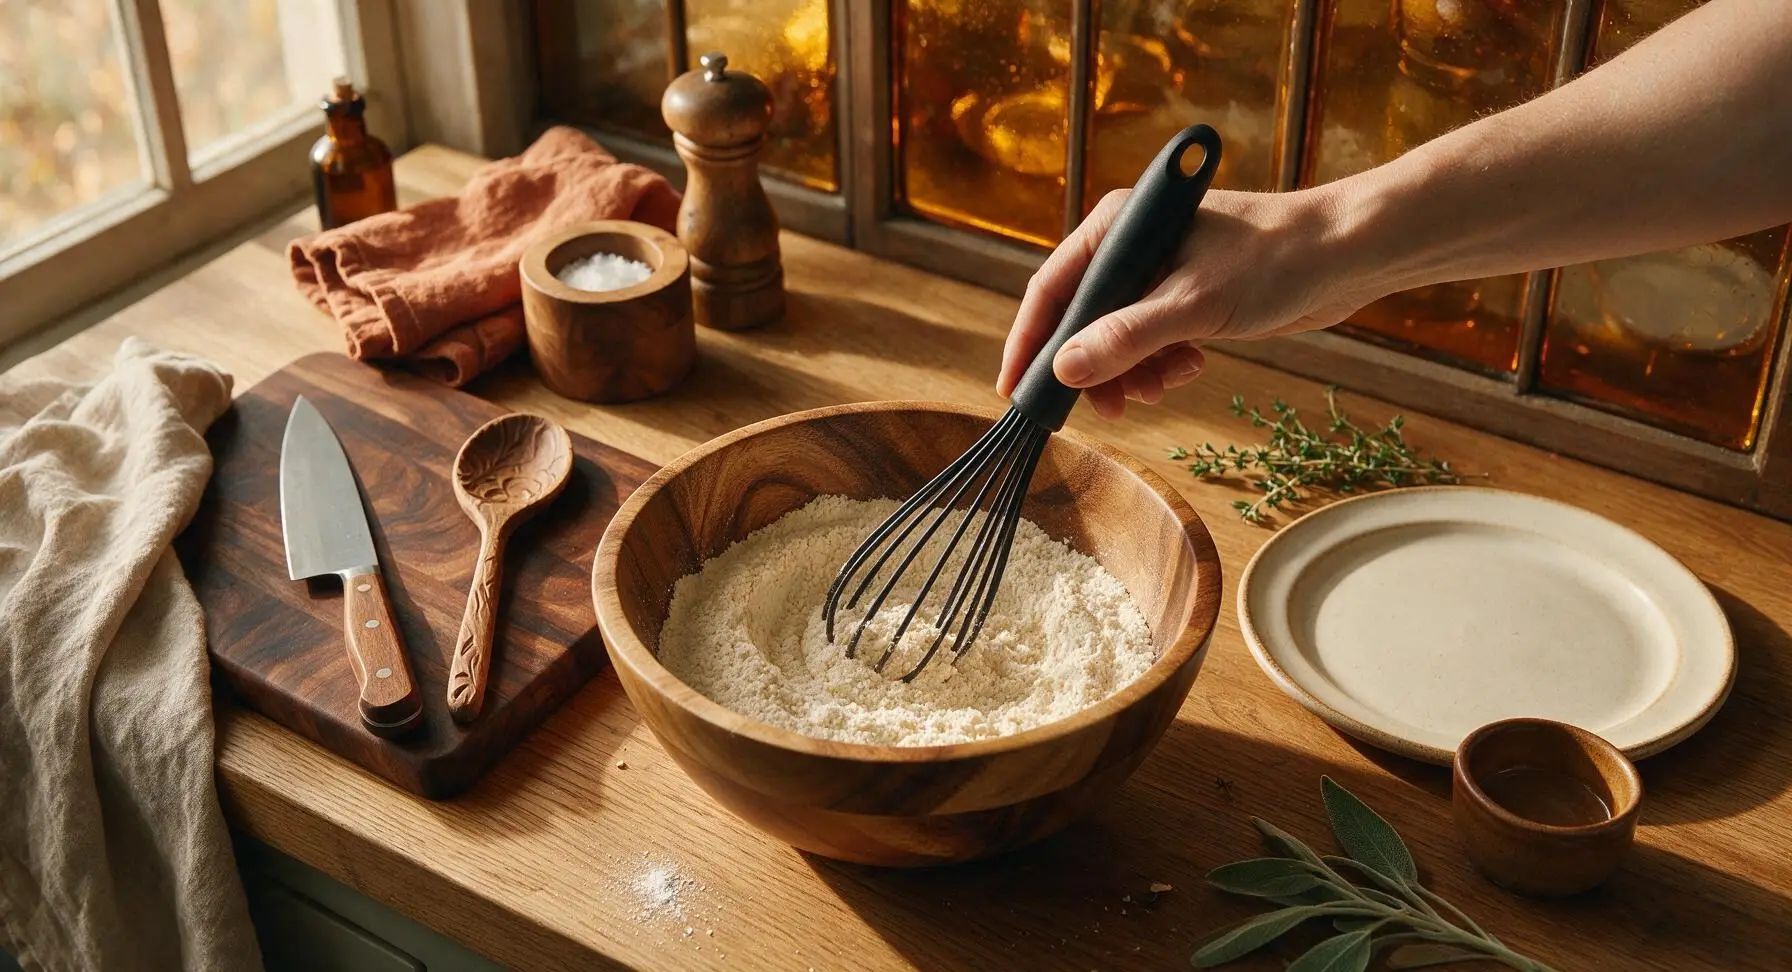
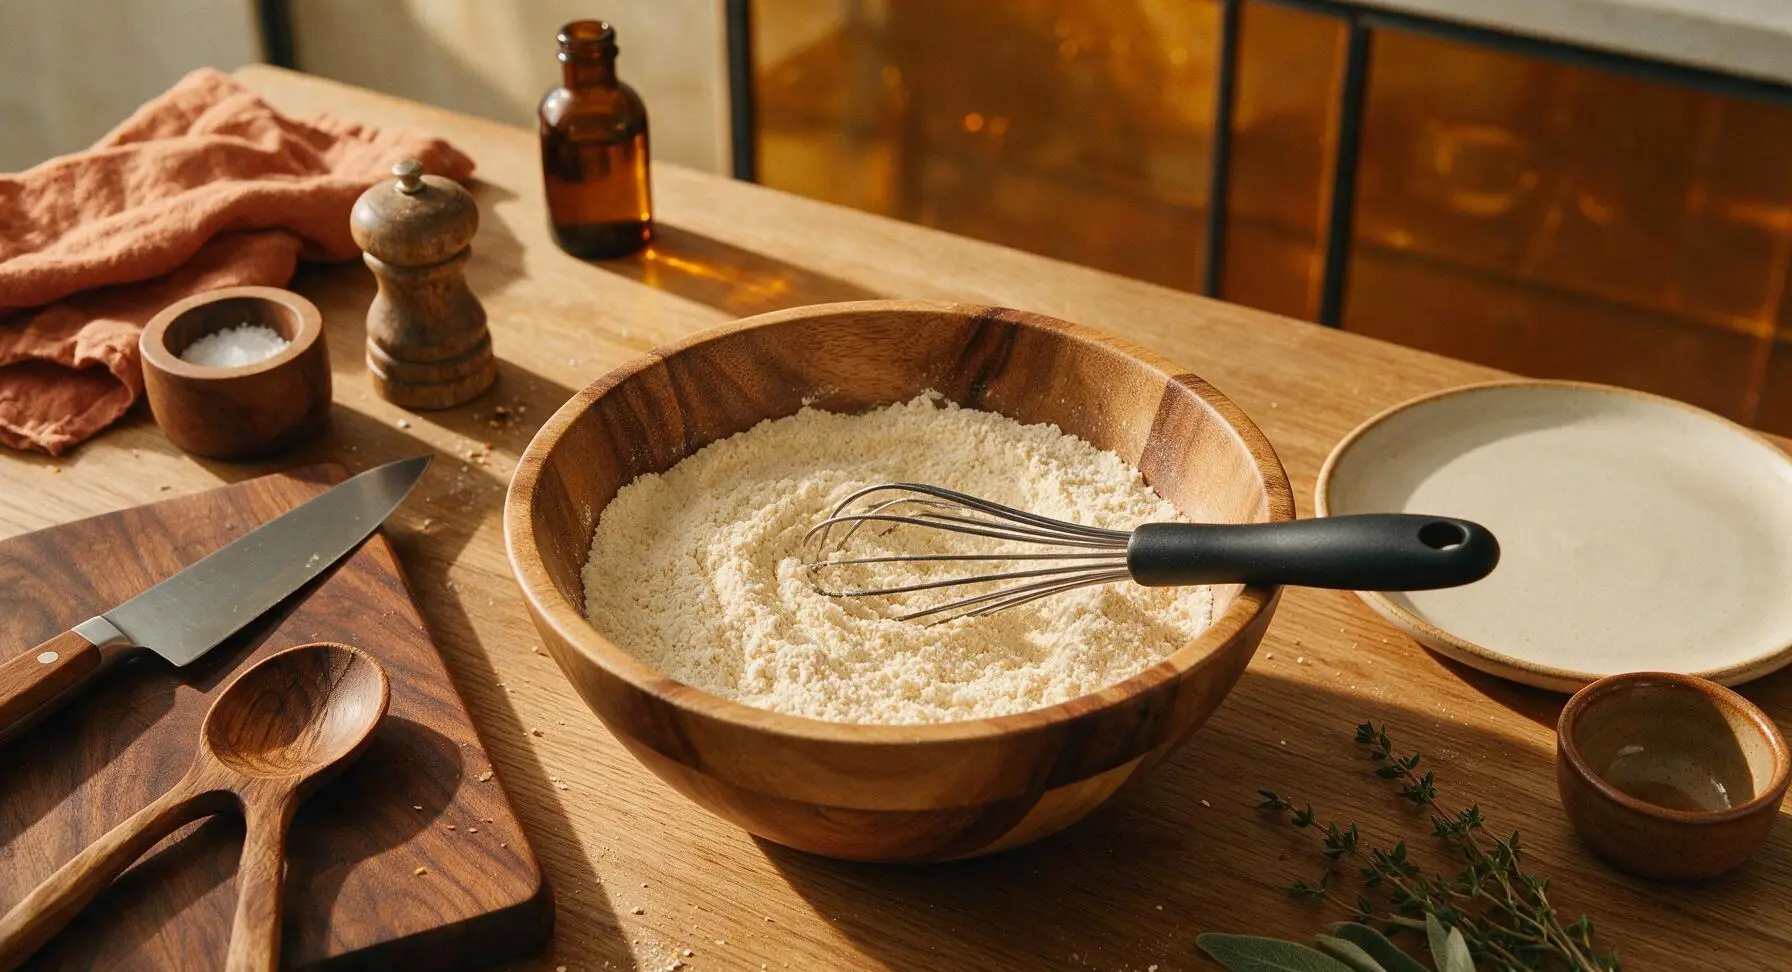
Use the black-handled silicone whisk to stir the dry ingredients together for 60 to 90 seconds, moving the whisk around the bottom and sides of the bowl to eliminate pockets of concentrated leavening or salt. The finished dry blend should be a uniform pale cream color, with no darker clumps of baking soda or salt visible.
Step 2
step2:Whisk Dry Blend Evenly
Step 2
step2:Whisk Dry Blend Evenly
3

Store Mix For Later

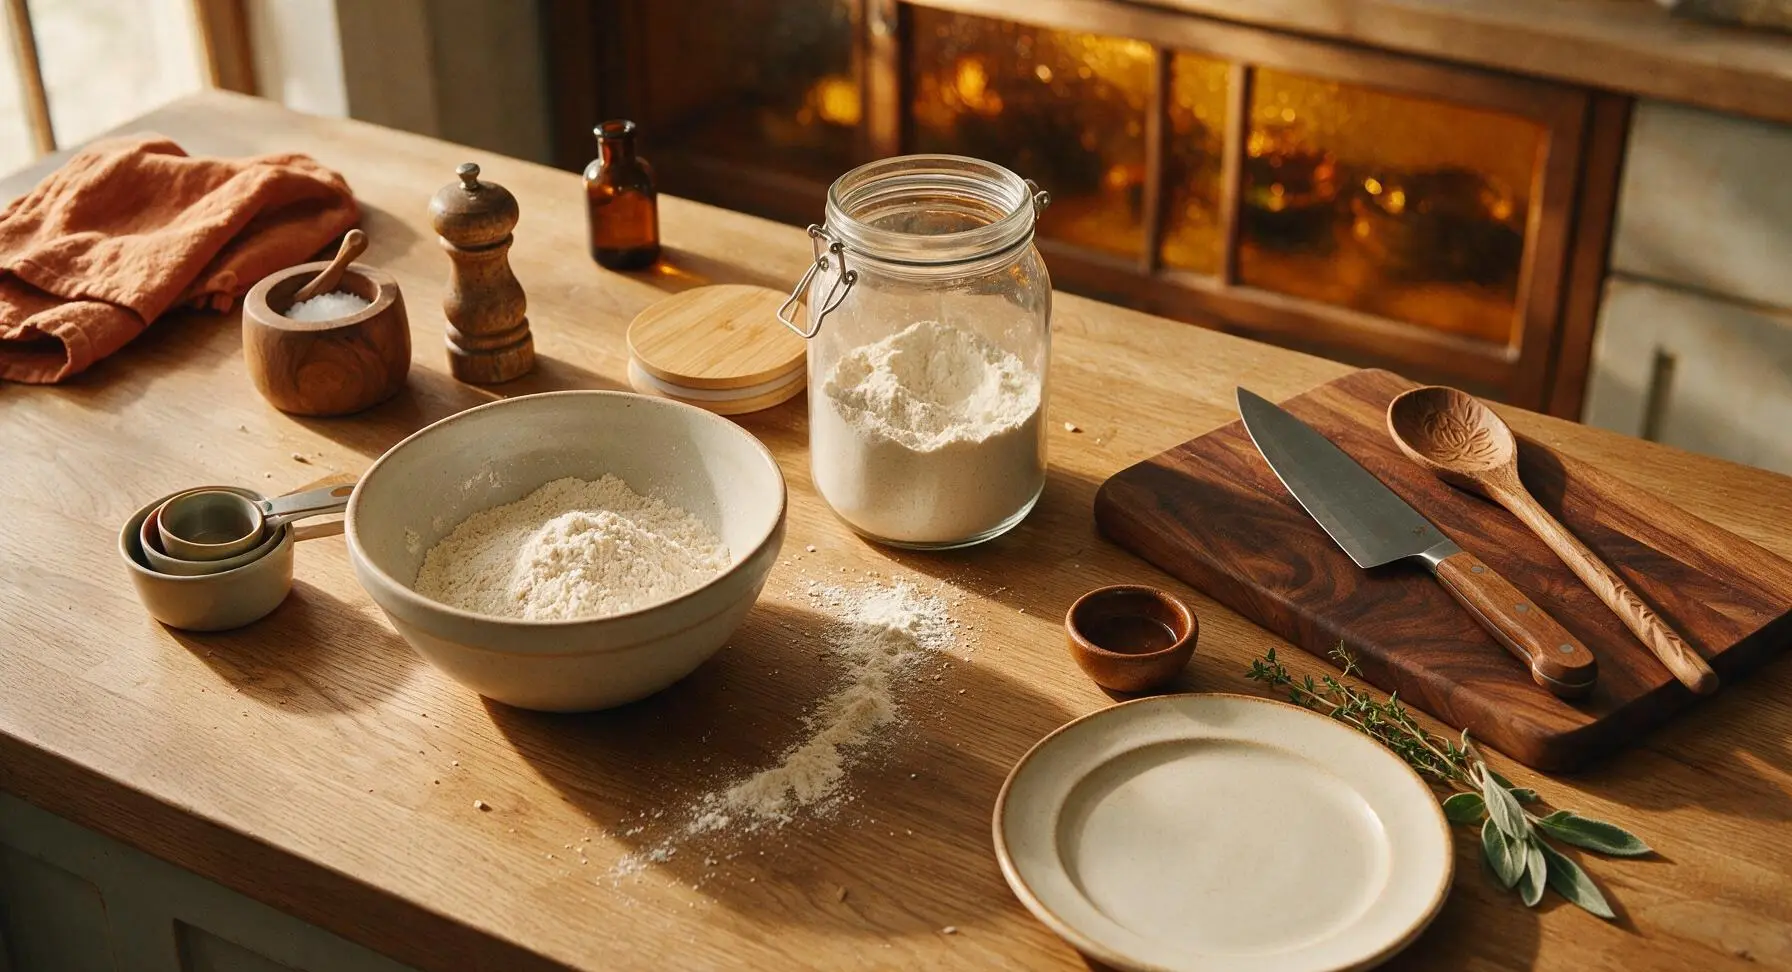
If not using immediately, carefully pour the fully mixed dry waffle mix into the clear glass airtight storage jar. Seal the bamboo lid tightly, and store in a cool, dark pantry for up to 3 months. For immediate use, leave the mix in the acacia mixing bowl to proceed to waffle preparation.
Step 3
step3:Store Mix For Later
4

Prep Wet Ingredients

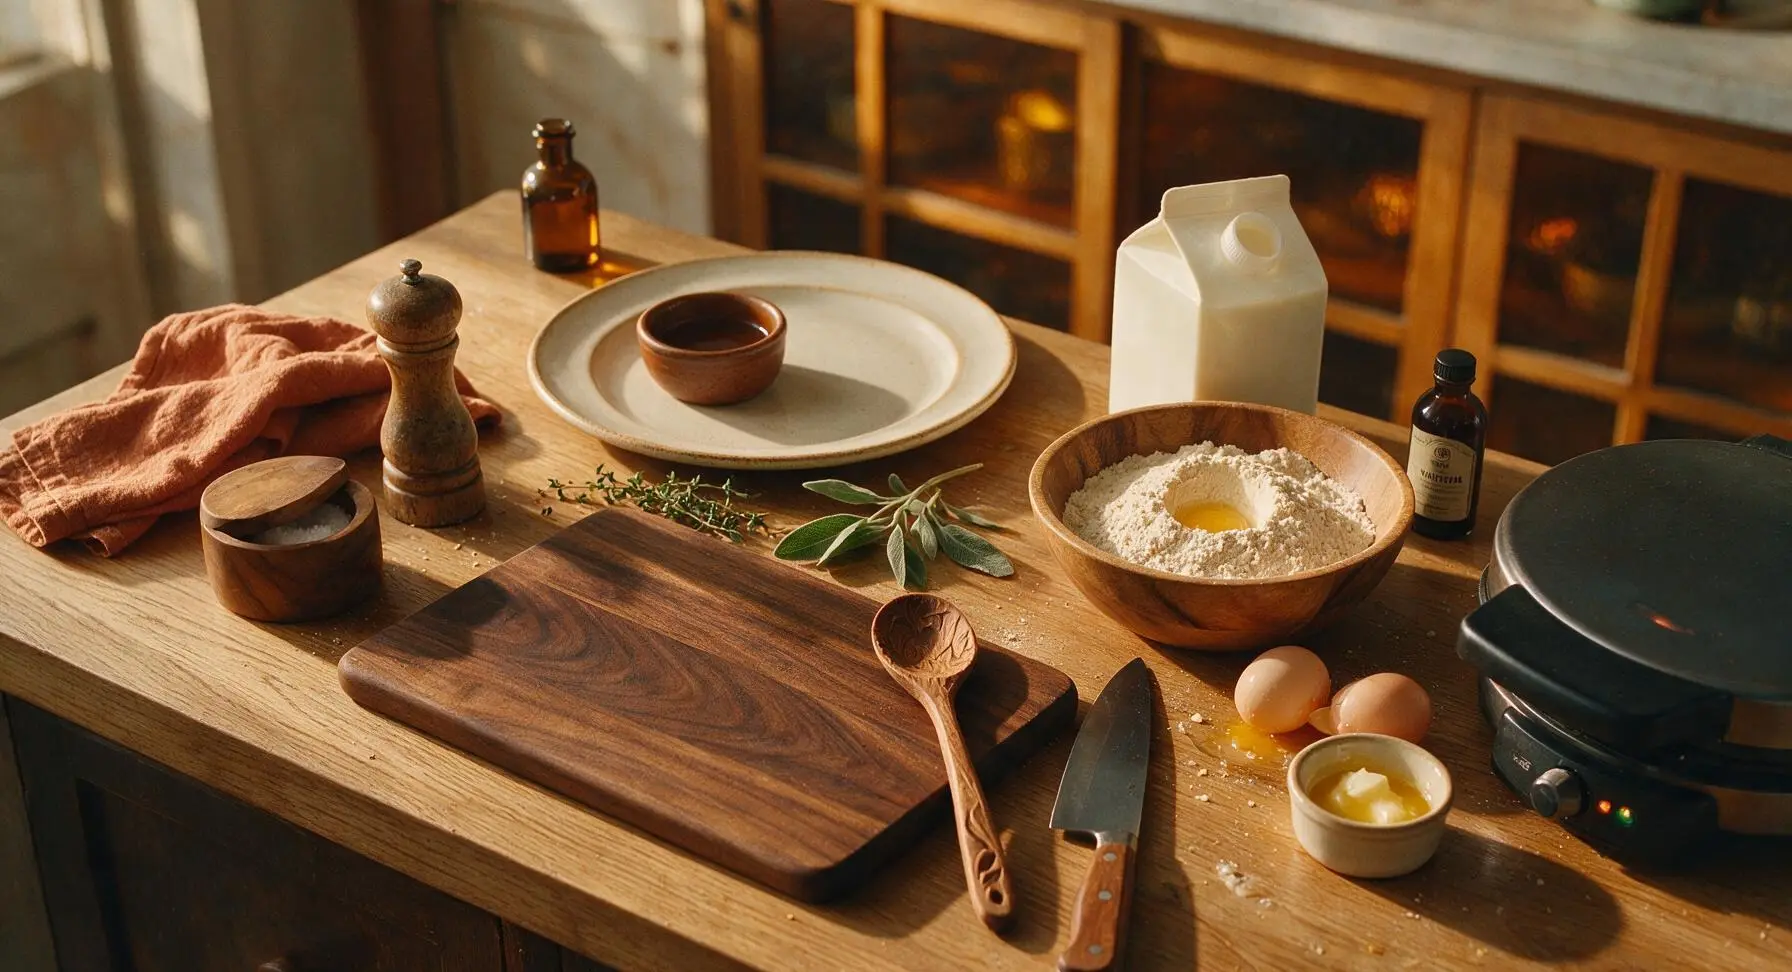
When ready to cook waffles, preheat the waffle iron to 375°F (190°C). The iron is fully preheated when a drop of water dances across the plate and evaporates in 2 seconds. Make a 2-inch wide well in the center of the dry mix, then add whole milk, lightly beaten eggs, cooled melted butter (from the small cream ramekin), and vanilla extract. Wait 3 minutes for melted butter to cool before adding, as hot butter will cook the eggs and create lumps.
Step 4
step4:Prep Wet Ingredients
5

Mix Batter Gently

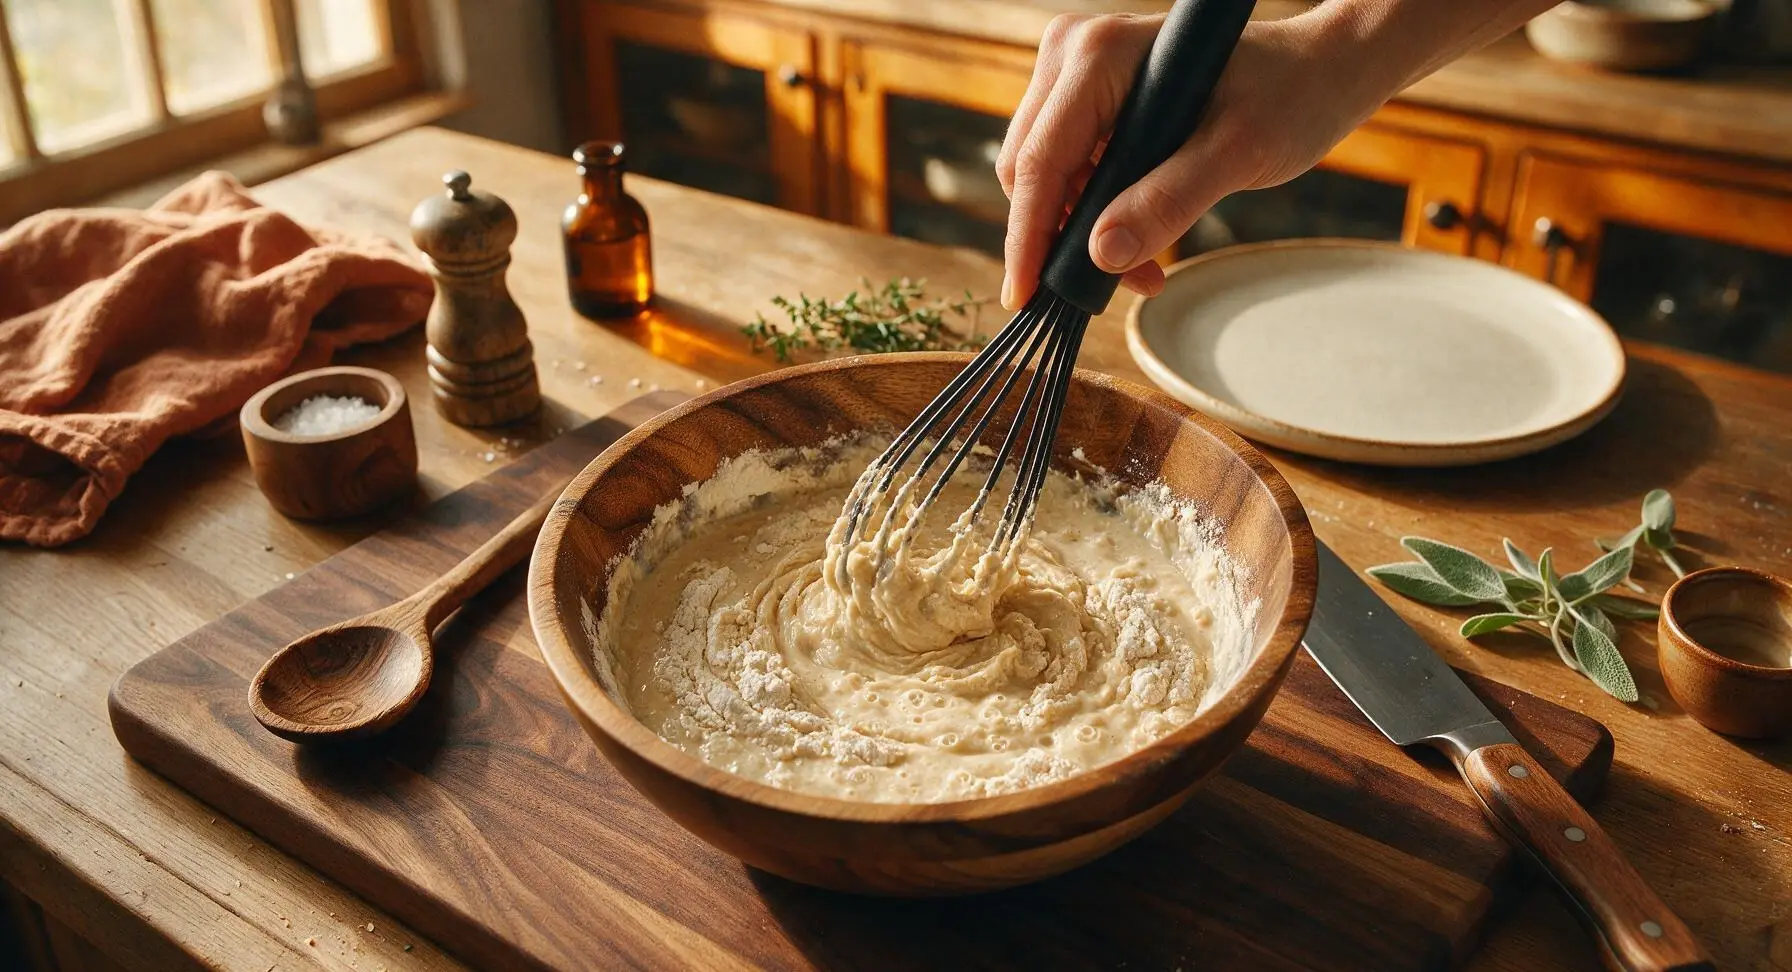
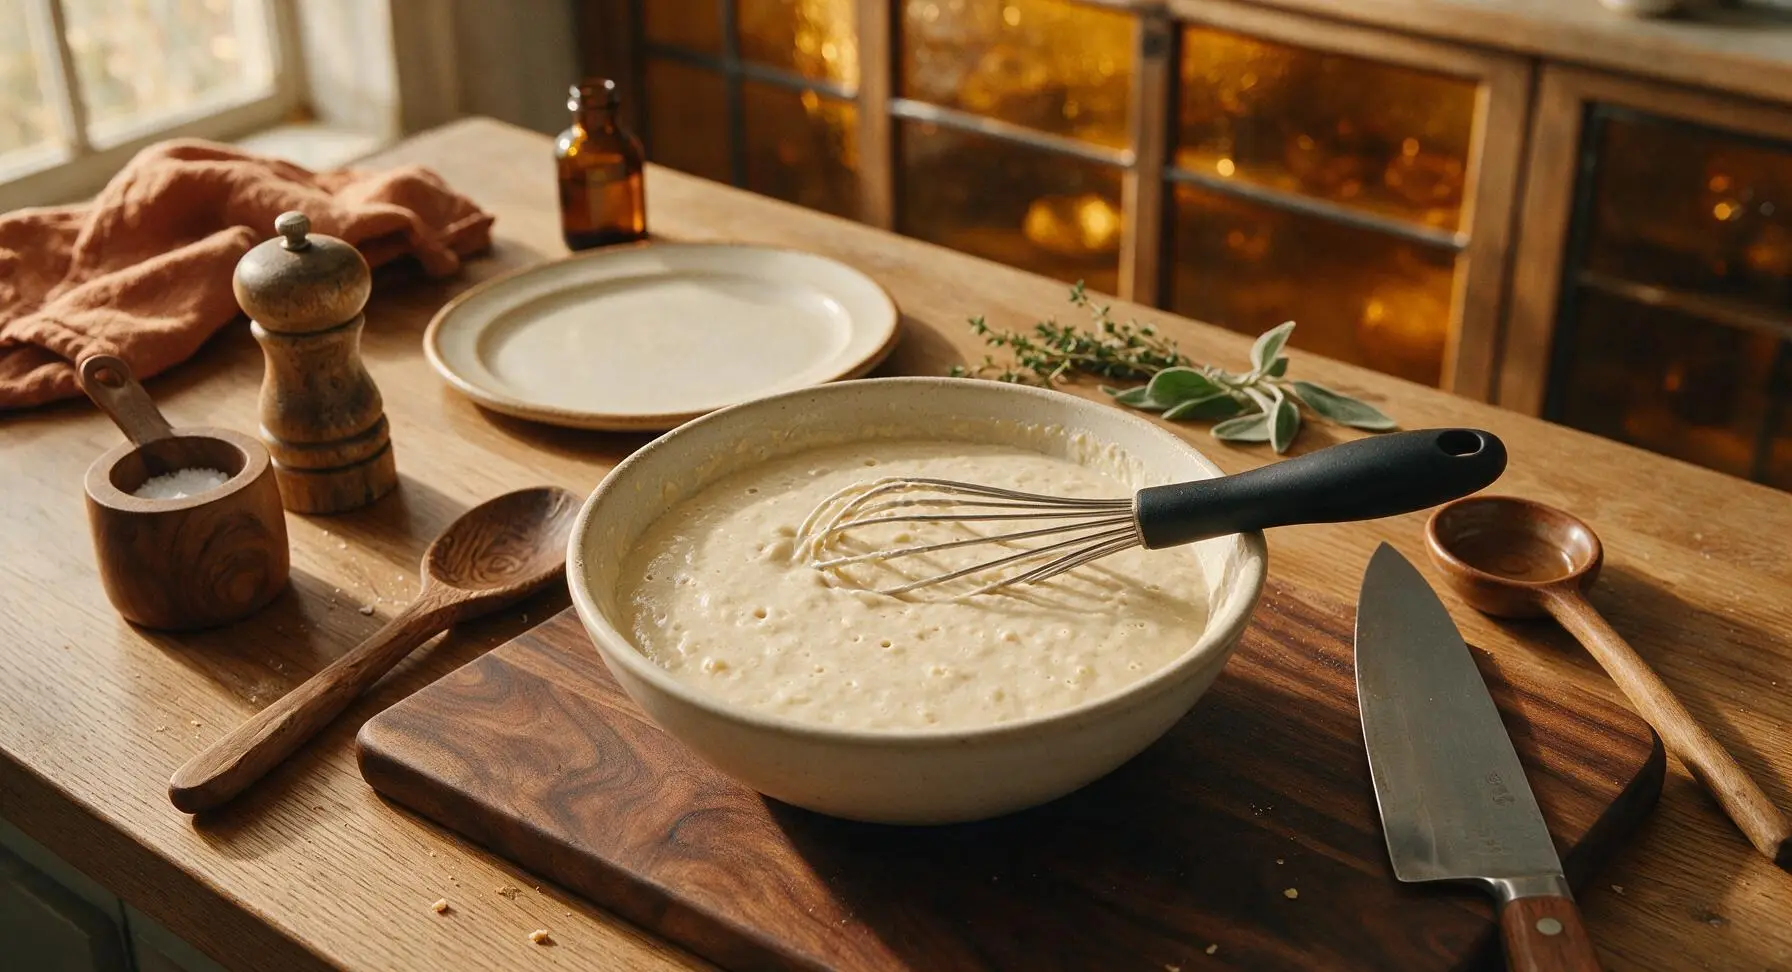
Use the black-handled silicone whisk to gently fold the wet ingredients into the dry mix, stirring only until just combined — about 10 to 12 slow folds around the bowl. The batter should be thick and slightly lumpy, with small streaks of dry flour still visible; do not whisk until smooth. Let the batter rest for 5 minutes at room temperature, until tiny air bubbles appear across the surface, indicating the leavening is activated.
Step 5
step5:Mix Batter Gently
Step 5
step5:Mix Batter Gently
6

Cook Waffles Until Crisp

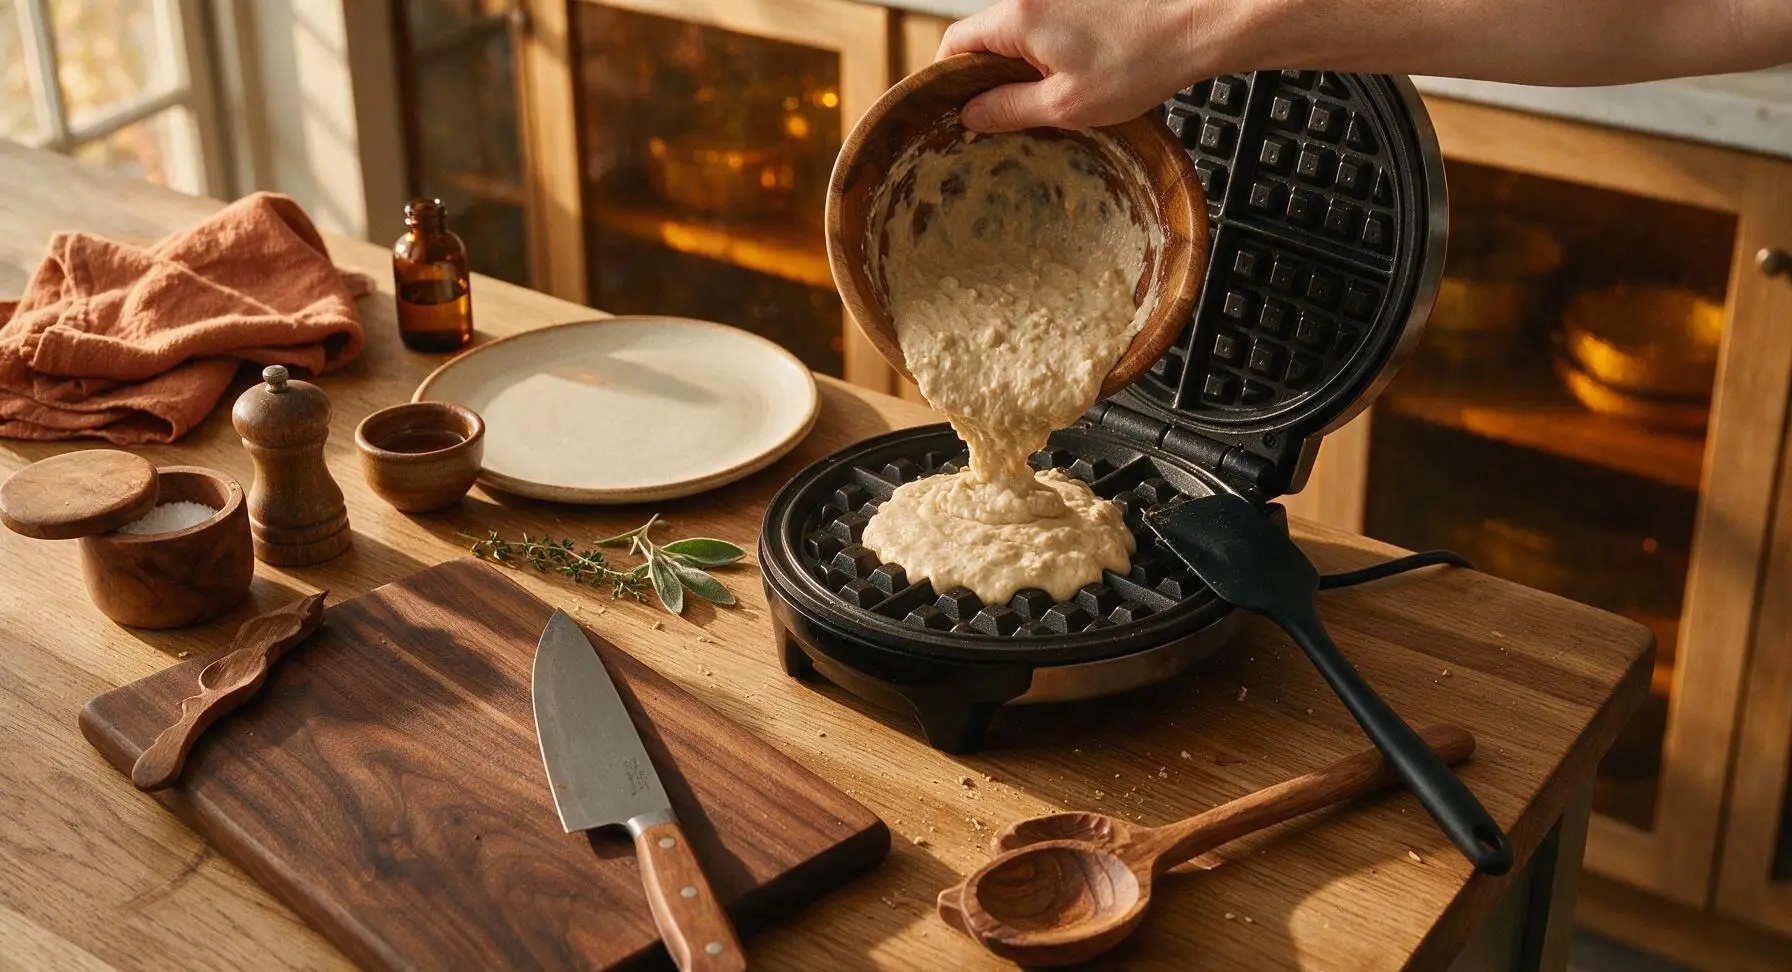
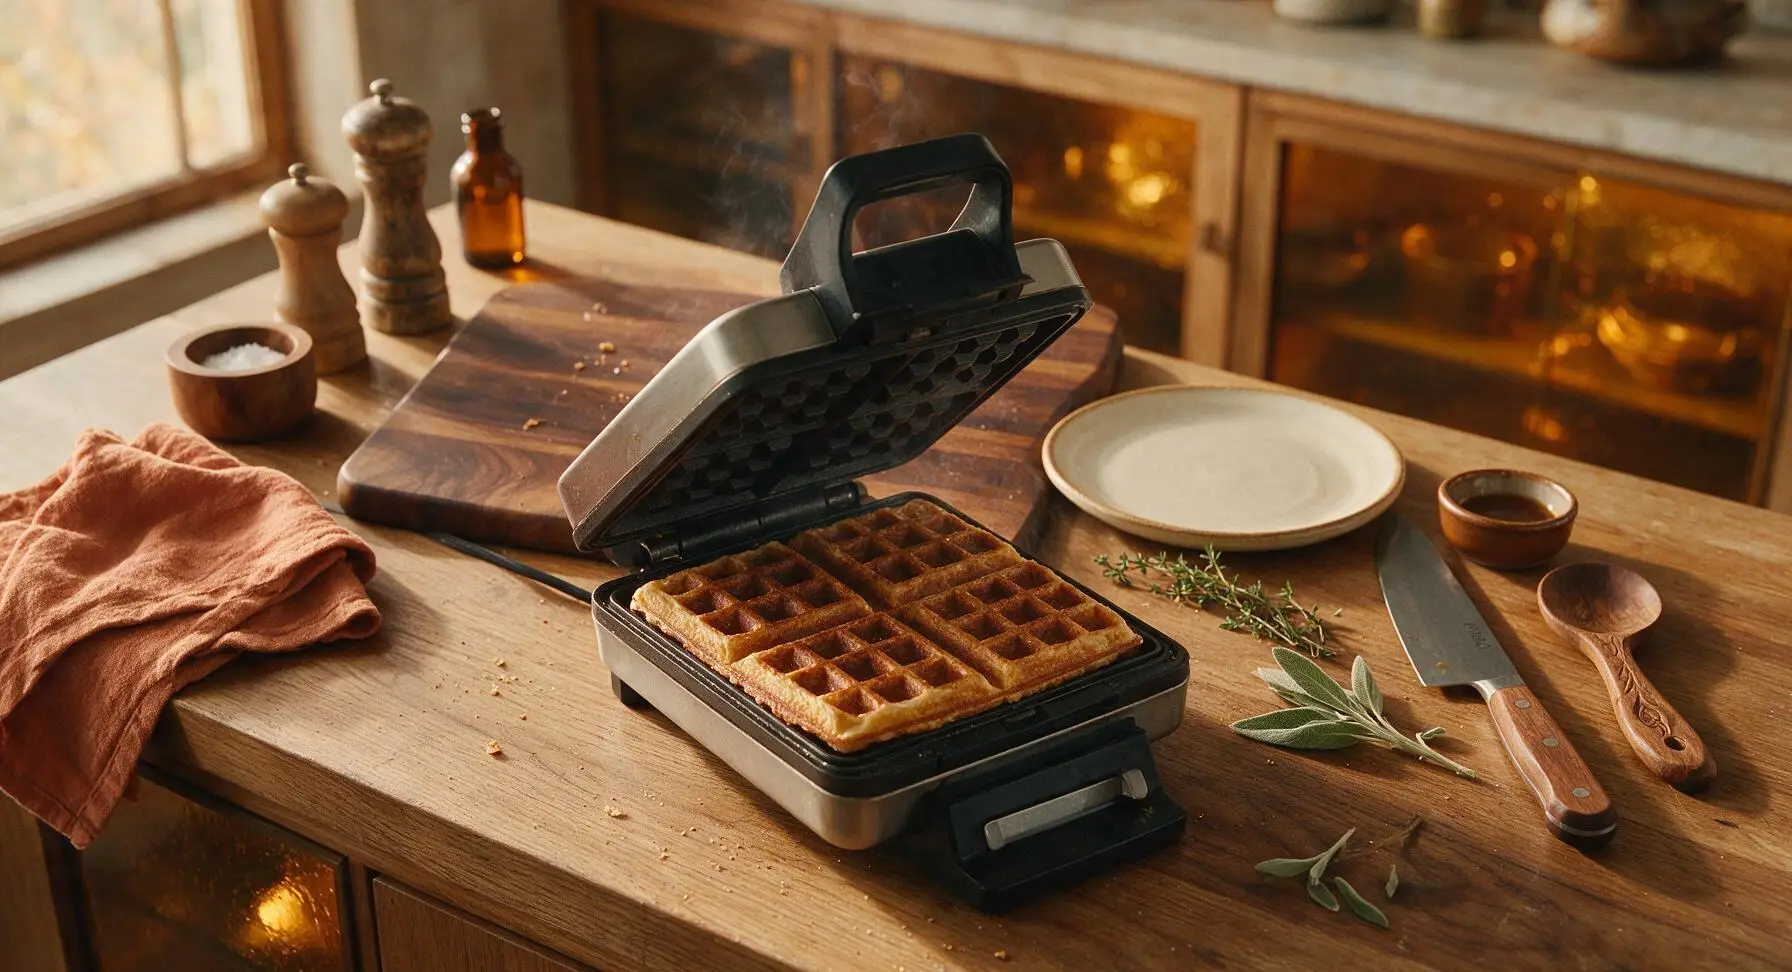
Pour 1/3 cup of batter per waffle onto the center of the preheated lower waffle plate. Close the lid immediately and cook for 3.5 to 4 minutes, without opening the lid for the first 3 minutes (opening early causes waffles to split and stick). The waffle is done when no more steam escapes from the iron edges, and the waffle is deep golden brown with crisp, darker edges.
Step 6
step6:Cook Waffles Until Crisp
Step 6
step6:Cook Waffles Until Crisp
7

Plate And Serve

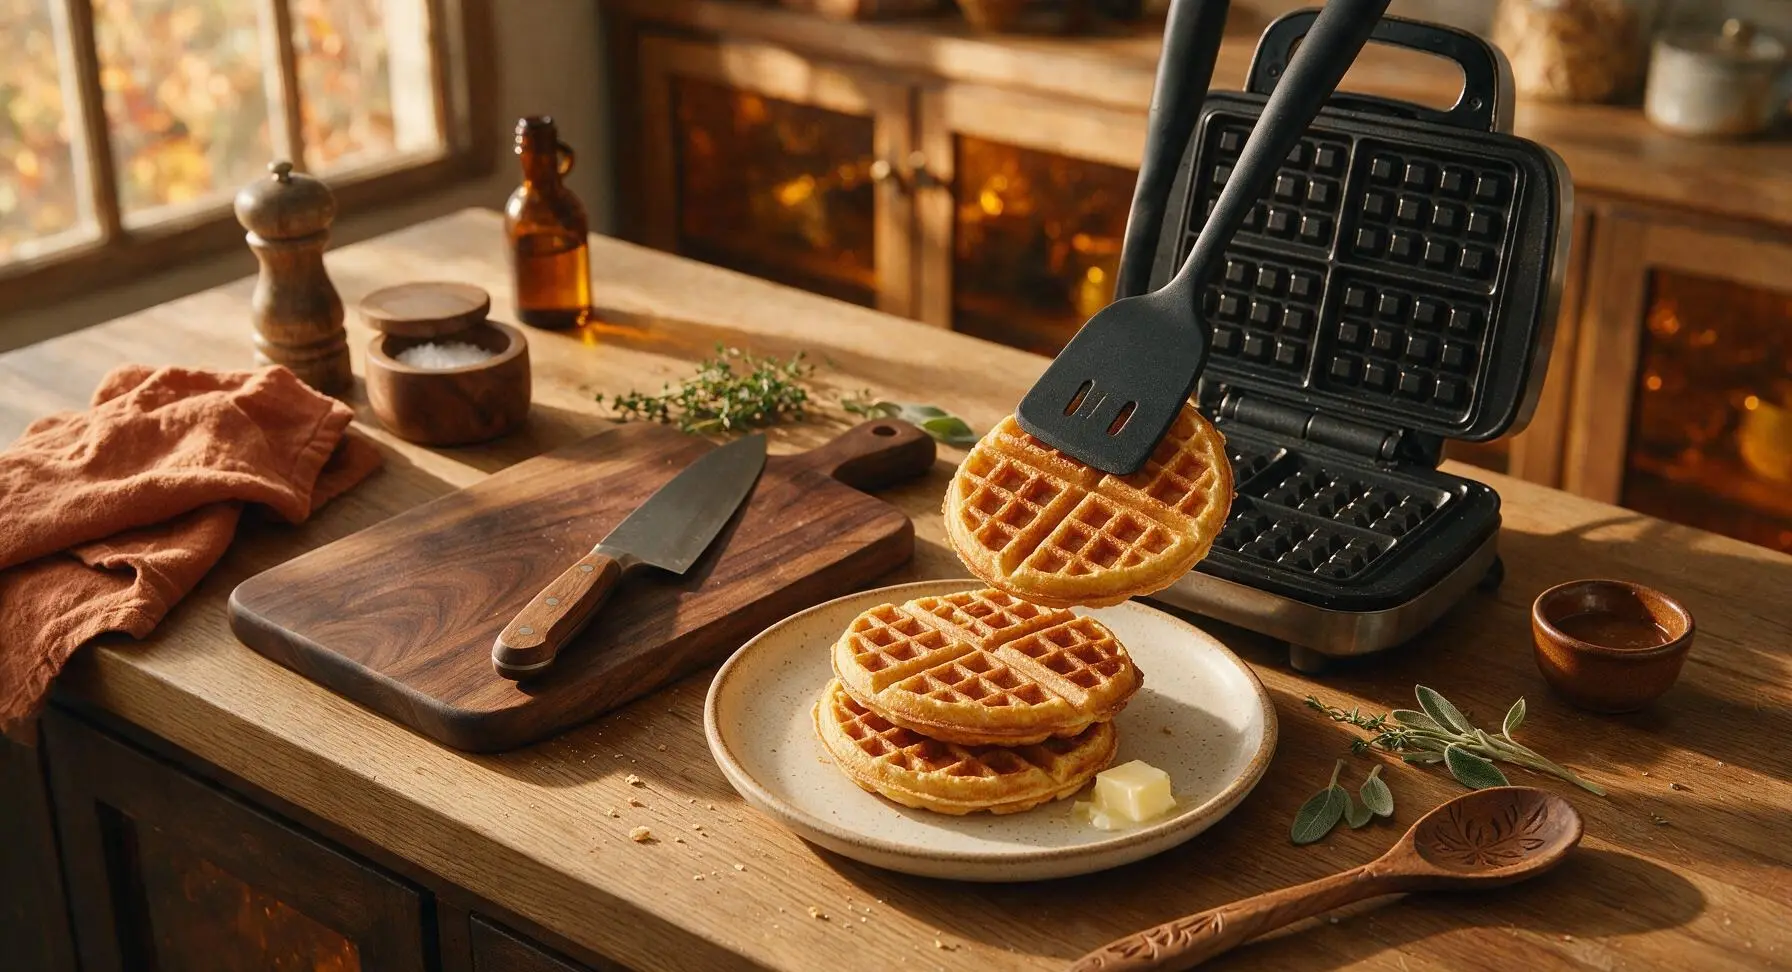
Use the matte black silicone turner to lift cooked waffles from the iron, transferring them to the matte cream ceramic plate. For serving, stack waffles, top with a pat of salted butter, and drizzle with warm maple syrup. If holding waffles for serving, keep them on a wire rack in a warm oven to preserve crispness.
Step 7
step7:Plate And Serve

Tips

1.Cornstarch is the secret to crisp, non-soggy waffles: it reduces gluten development in the flour and creates a shatteringly light crust that stays crisp even under syrup and toppings. Do not substitute with extra flour, as this will produce soft, chewy waffles.
2.Never overmix your waffle batter: lumps are completely normal and desirable. Overmixing develops tough gluten strands that lead to dense, chewy waffles instead of light, crisp ones.
3.Keep cooked waffles crisp by placing them on a wire rack set over a baking sheet in a 200°F (95°C) oven while you cook remaining batches. Stacking waffles directly on a plate traps steam, which softens the crisp crust in under a minute.


✨ You May Also Like

Breakfast
🍜 United States

Crisp-edged, fluffy lard griddle cakes are a nostalgic homestyle staple, with rich savoriness from rendered lard, perfect topped with maple syrup or savory gravy.

⏱️ 25 minuteBreakfast ★ 4.8
Breakfast
🍜 United States

Flaky, buttery homemade buttermilk biscuits smothered in creamy, peppery pork sausage gravy: a beloved, hearty Southern American comfort food classic.

⏱️ 35 minuteBreakfast ★ 4.8
Breakfast
🍜 United States

Golden, custardy brioche stuffed with sweet cream cheese and fresh berries, pan-fried to crisp perfection. An indulgent, cozy breakfast perfect for slow weekend mornings.

⏱️ 30 minuteBreakfast ★ 4.7
Breakfast
🍜 United States

Flaky, buttery Southern-style biscuits stuffed with savory salty country ham, a portable, satisfying classic perfect for casual on-the-go meals.

⏱️ 25 minuteBreakfast ★ 4.8
Breakfast
🍜 United States

Iconic puffy baked pancake popularized in Seattle, with crisp golden edges and soft custardy center, served warm with classic sweet toppings.

⏱️ 35 minuteBreakfast ★ 4.6
Breakfast
🍜 United States

Fluffy, golden pancakes studded with juicy peak-summer mixed berries, drizzled with maple syrup for a bright, comforting, crowd-pleasing family breakfast.

⏱️ 25 minuteBreakfast ★ 4.7

crispy waffle mix:Frequently Asked Questions

1.What makes this homemade mix produce crispier waffles than standard store-bought blends? ▾
The secret is the precise ratio of cornstarch to all-purpose flour—cornstarch cuts down on tough gluten formation to create that shatteringly crisp, light bite instead of chewy, dense waffles. Unlike many store-bought blends, we skip softening additives and anti-caking agents that can leave waffles soggy or with a faint chemical aftertaste.
2.How long does this dry waffle mix stay fresh when stored in the pantry? ▾
Stored in an airtight container in a cool, dark pantry away from stovetop heat or moisture, this mix stays fresh for up to 3 months. If you tuck a food-safe oxygen absorber packet into the container, you can extend that shelf life to 6 months—just give it a quick whisk before each use to evenly redistribute leaveners.
3.Do I really need both baking powder and baking soda in the mix? ▾
Yes, you do! Baking powder provides the initial, steady rise as soon as you mix wet ingredients into the dry, while baking soda reacts with acidic add-ins (like buttermilk or yogurt) during cooking to boost lift and create that light, airy crumb under the crisp crust. Skipping one leads to flat, dense waffles.
4.Can I adapt this mix to be gluten-free for guests with dietary restrictions? ▾
Absolutely! Swap the all-purpose flour for a 1:1 gluten-free all-purpose baking blend that contains xanthan gum, and double-check that your cornstarch and leaveners are certified gluten-free to avoid cross-contamination. The final waffles will still come out light and crisp, with no gritty aftertaste if you use a high-quality GF blend.
5.How much of this dry mix do I need to use per standard batch of waffles? ▾
For a standard 4-waffle batch (perfect for 2 people), measure out 2 cups of the dry mix, then whisk in 1 ¼ cups milk, 1 large egg, 2 tablespoons melted cooled butter, and 1 teaspoon vanilla extract. Don’t overmix—a few small lumps are totally fine and help keep waffles tender instead of tough.
6.Why do my waffles come out soft instead of crispy even when I use this mix? ▾
The two most common culprits are overmixing the batter, which develops excess gluten that makes waffles chewy and soft, and not preheating your waffle iron fully. You’ll also get soggier waffles if you stack them right off the iron—set cooked waffles on a wire rack in a 200°F oven to keep the crust crisp.
7.Can I reduce the amount of sugar in the mix if I prefer less sweet waffles? ▾
You can cut the granulated sugar by half (down to 2 tablespoons per full batch of dry mix) without ruining texture, but don’t omit it entirely. A small amount of sugar helps the waffle surface caramelize to that perfect golden, crisp crust, and balances the savoriness of the flour and leaveners for well-rounded flavor.
8.Can I store this mix in the fridge or freezer to extend its shelf life? ▾
You can absolutely stash the sealed mix in the fridge for up to 8 months, or the freezer for up to a full year, if you don’t plan to use it quickly. Just let the container come to room temperature before opening it to prevent condensation from getting inside, clumping the mix, or activating leaveners early.
9.Do I need to sift all the ingredients when prepping the mix for storage? ▾
Sifting isn’t strictly required, but it’s a quick step that ensures the baking powder, baking soda, and cornstarch are evenly distributed throughout the flour so every batch rises consistently. If you don’t have a sifter, just whisk the dry ingredients really well for 30 to 45 seconds in a large bowl before jarring the mix.
10.Can I use this waffle mix to make pancakes too, or is it only for waffles? ▾
It works great for thin, crisp-edged pancakes! Just add about 2 extra tablespoons of milk per 2 cups of mix to thin the batter slightly, and cook on a preheated greased griddle over medium heat. The pancakes won’t be as fluffy as a dedicated pancake mix, but they’ll have a lovely crisp edge and light crumb.
11.What causes clumps to form in stored mix, and is clumpy mix still safe to use? ▾
Small clumps usually form from tiny amounts of moisture getting into the storage container, and they’re totally harmless as long as the mix doesn’t smell off, have visible mold, or show signs of pantry pests. Just break up clumps with a whisk before measuring, and double-check that your container has a tight, airtight seal.
12.Why is cornstarch included instead of just using extra all-purpose flour? ▾
All-purpose flour has protein that forms gluten when mixed with wet ingredients, which creates a chewy, bready texture if you use too much. Cornstarch has zero gluten, so it lightens the flour base and creates that delicate, shatteringly crisp crust that marks a great waffle, without any tough, chewy bite.
13.Can I add mix-ins like chocolate chips or blueberries to waffles made with this mix? ▾
Absolutely! Once you’ve mixed your batter, fold in up to ½ cup of add-ins per 2 cups of dry mix—think chocolate chips, fresh blueberries, chopped pecans, or even shredded cheddar for savory waffles. Just avoid stirring too hard when folding, to keep the batter light and prevent tough, dense waffles.

Comments (5)

2 days ago

OMG this homemade waffle mix is such a game changer! I prepped a big jar of it last Sunday for quick weekday breakfasts before school, and my kids absolutely devoured the waffles this morning. They came out so crispy even after I topped them with syrup and berries, no soggy mess at all! Way better than the store-bought stuff I used to buy. So easy to throw together too, I didn’t even have to run to the grocery store for fancy ingredients.

1 week ago

Took this mix to our neighborhood potluck last weekend and everyone was asking for the recipe! I added a little extra cinnamon to my batch and it was chef’s kiss. Cook time was super quick too, I cranked out waffles for 12 people in under 45 minutes total. Only thing I wish was that I made a double batch, people went back for seconds and thirds!

5 days ago

So glad it was a hit at your potluck! Adding cinnamon is such a cozy, delicious twist — we love tossing in a pinch of nutmeg sometimes too for extra warmth. A double batch is definitely the move for big groups, this mix stores so well in an airtight container for months!

2 hours ago

Wait, why did I ever spend money on pre-made waffle mix?? This is SO good. I was worried homemade mix would be complicated but it’s literally just measuring dry ingredients and shaking them up in a jar. Made waffles for my partner and I this morning, they were perfectly crispy on the outside and fluffy inside, exactly what I’ve been trying to nail for months. 10/10

30 minutes ago

Right?! I used to drop $8 a box on the fancy organic mix and this tastes way better for a fraction of the cost. I keep a mason jar of it in my pantry at all times now!

3 days ago

Quick question — can I swap the all-purpose flour for a 1:1 gluten free flour blend for my kid who has Celiac? I’ve tried other homemade mixes with GF flour before and they came out really dense, but I’d love to make this work since the reviews are so good!

3 days ago

Great question! Yes, a high-quality 1:1 gluten free all-purpose flour blend works perfectly here — we recommend one with xanthan gum included to help keep that light, crispy texture. Just make sure you don’t overmix your batter when you make the waffles, that’s usually what leads to dense results!

2 days ago

I did this last week with Bob’s Red Mill 1:1 GF blend and it worked amazing! My whole family ate them and didn’t even notice they were gluten free. So crispy!

yesterday

This is going into my regular meal prep rotation for sure! I mixed up three batches of the dry mix last night and stored them in labeled jars so I don’t have to measure anything on busy mornings. How long does the dry mix stay good in the pantry if it’s sealed tight? I want to make sure I don’t let it go bad!

yesterday

I’ve had a sealed jar in my pantry for almost 3 months now and it still tastes totally fresh! Just make sure you keep it away from moisture, that’s the only thing that makes it go bad fast.

30 minutes ago

Thanks for the great question! Stored in a tightly sealed, airtight container in a cool, dry pantry spot, this mix stays fresh for up to 3 months. If you add any dried fruit or nuts to the mix, just note that will shorten the shelf life a little, so we recommend adding those when you make the waffles instead!



