
crispy waffle recipe without buttermilk

title 1
crispy waffle recipe without buttermilk
⏱️ cook time 15 minutes
🍽️ servings 4
⚡ Difficulty easy

intro

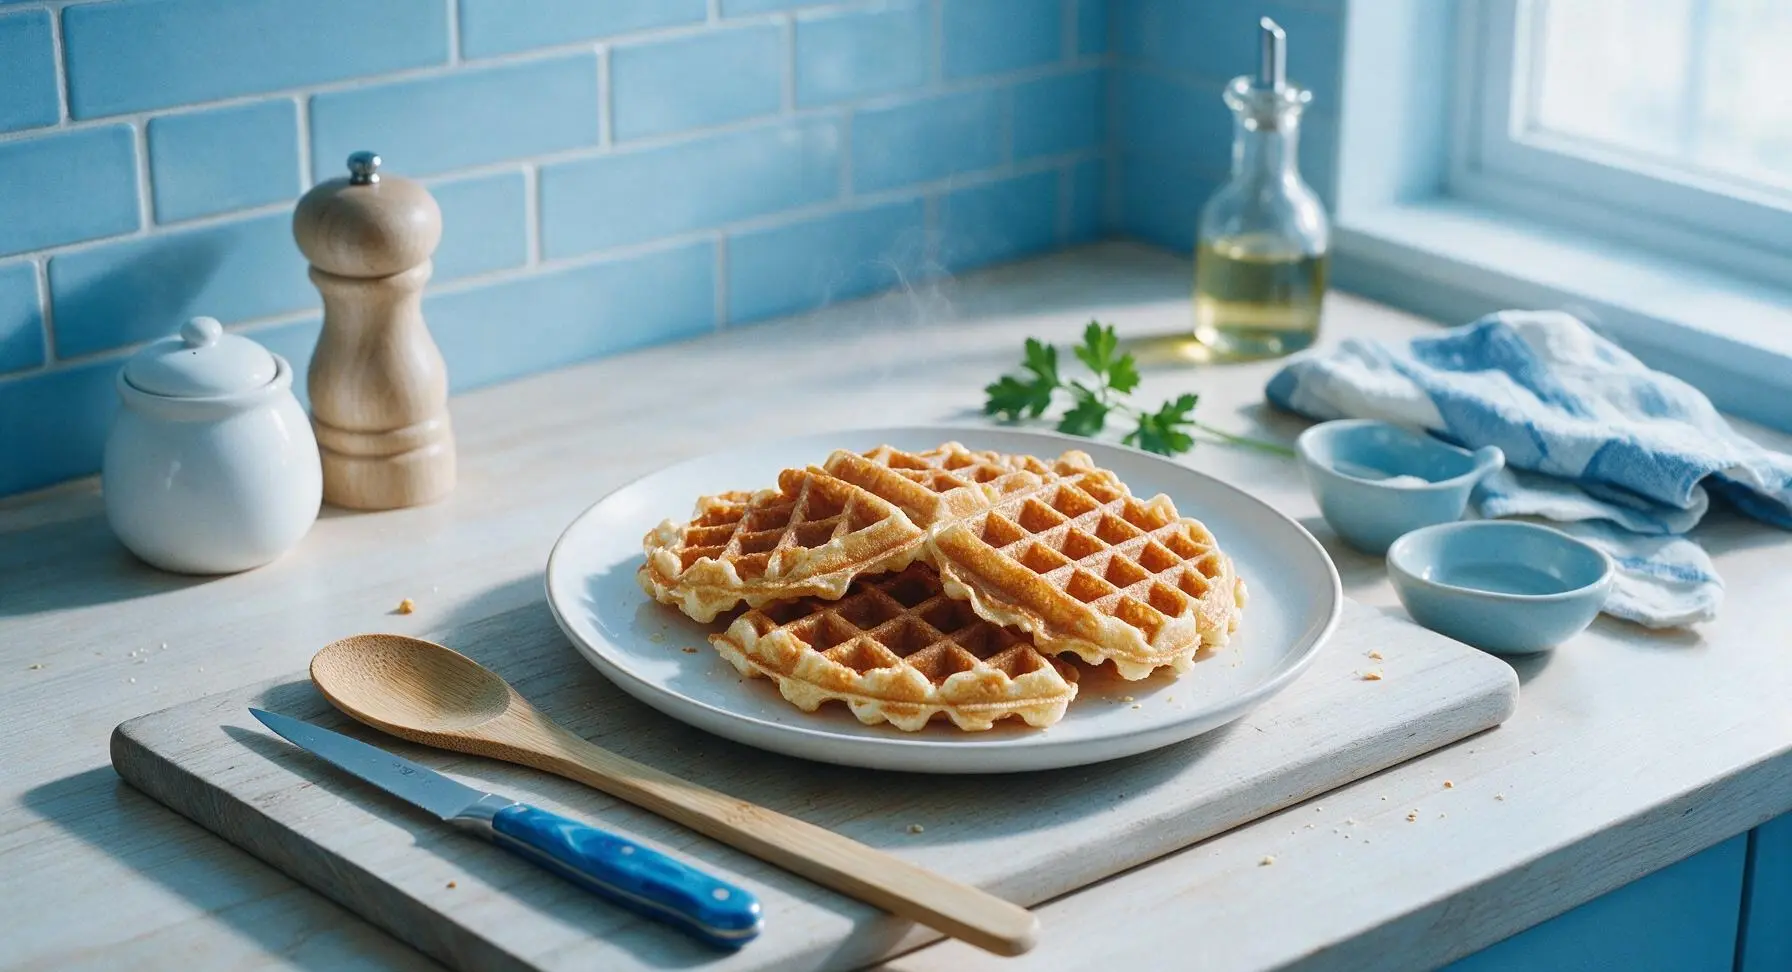
Shatteringly crisp, golden homemade waffles made entirely without buttermilk, with deep syrup-catching grids and a light, fluffy interior, ideal for quick breakfasts or cozy weeknight brinner.

Ingredients
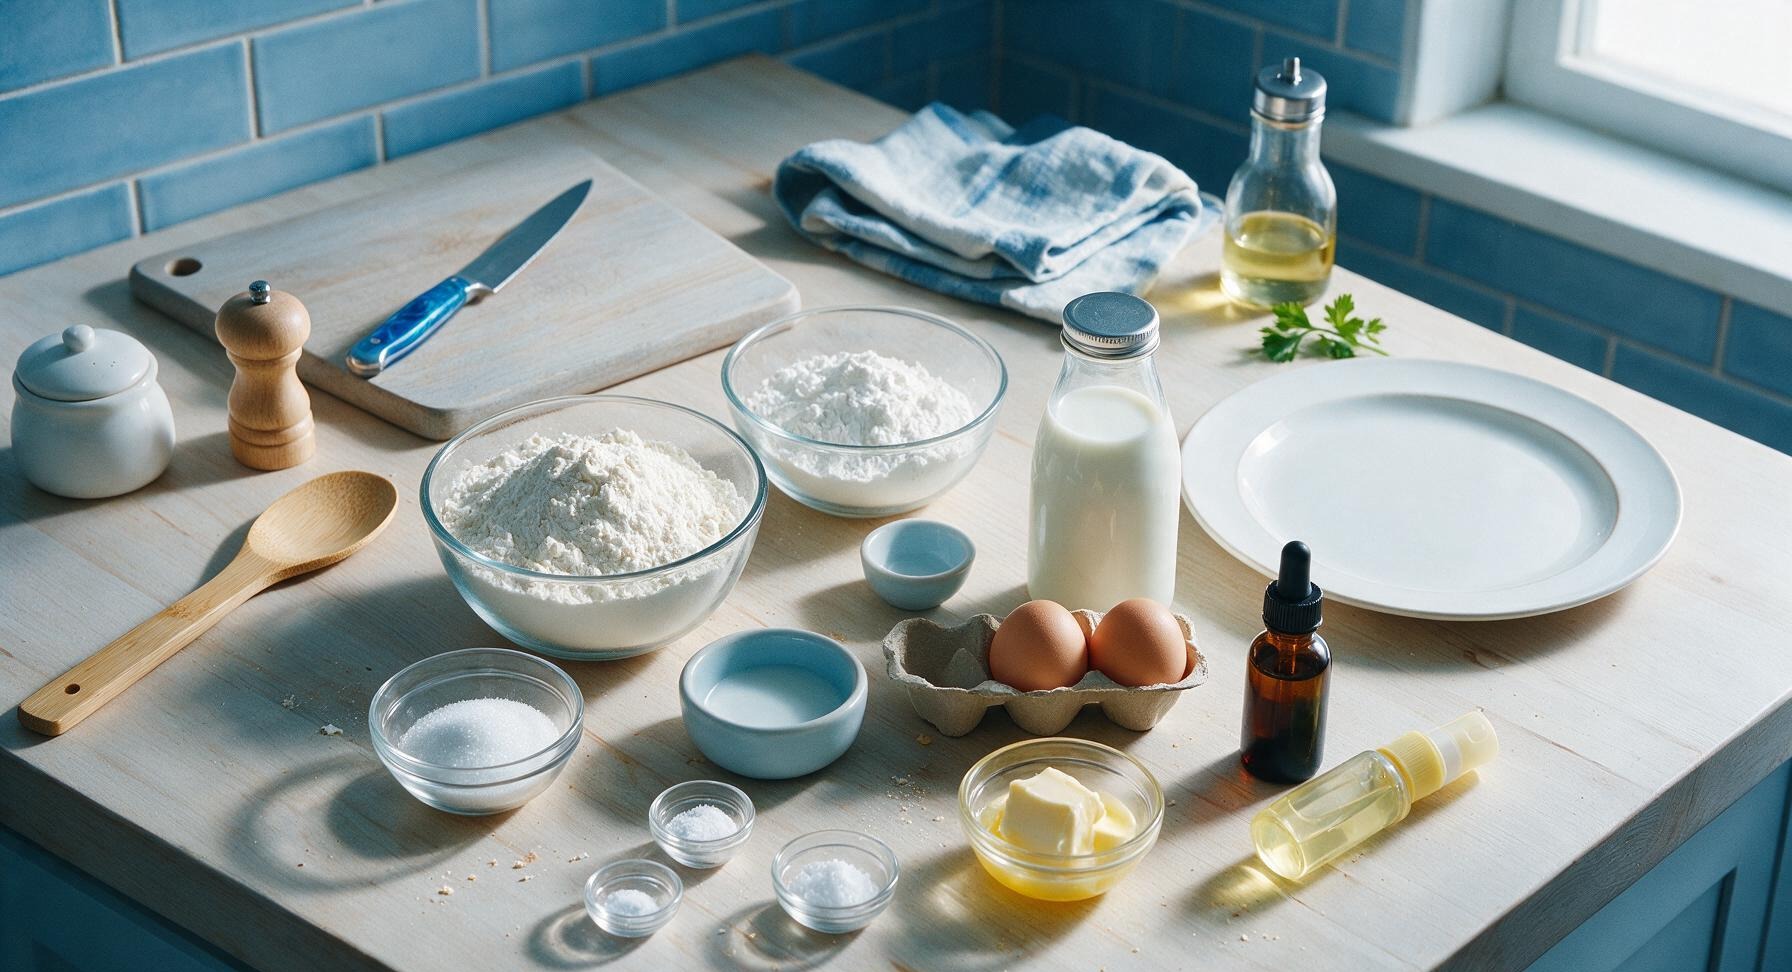
All-purpose flour 1 ½ cups (180g)
Cornstarch ½ cup (60g)
Granulated sugar 2 tbsp (25g)
Baking powder 2 tsp
Baking soda ¼ tsp
Fine sea salt ½ tsp
Large eggs 2, room temperature
Whole milk 1 ½ cups (360ml)
Unsalted butter, melted and cooled slightly ¼ cup (56g)
Pure vanilla extract 1 tsp
Neutral nonstick cooking spray as needed

Steps

1

Preheat the Waffle Iron

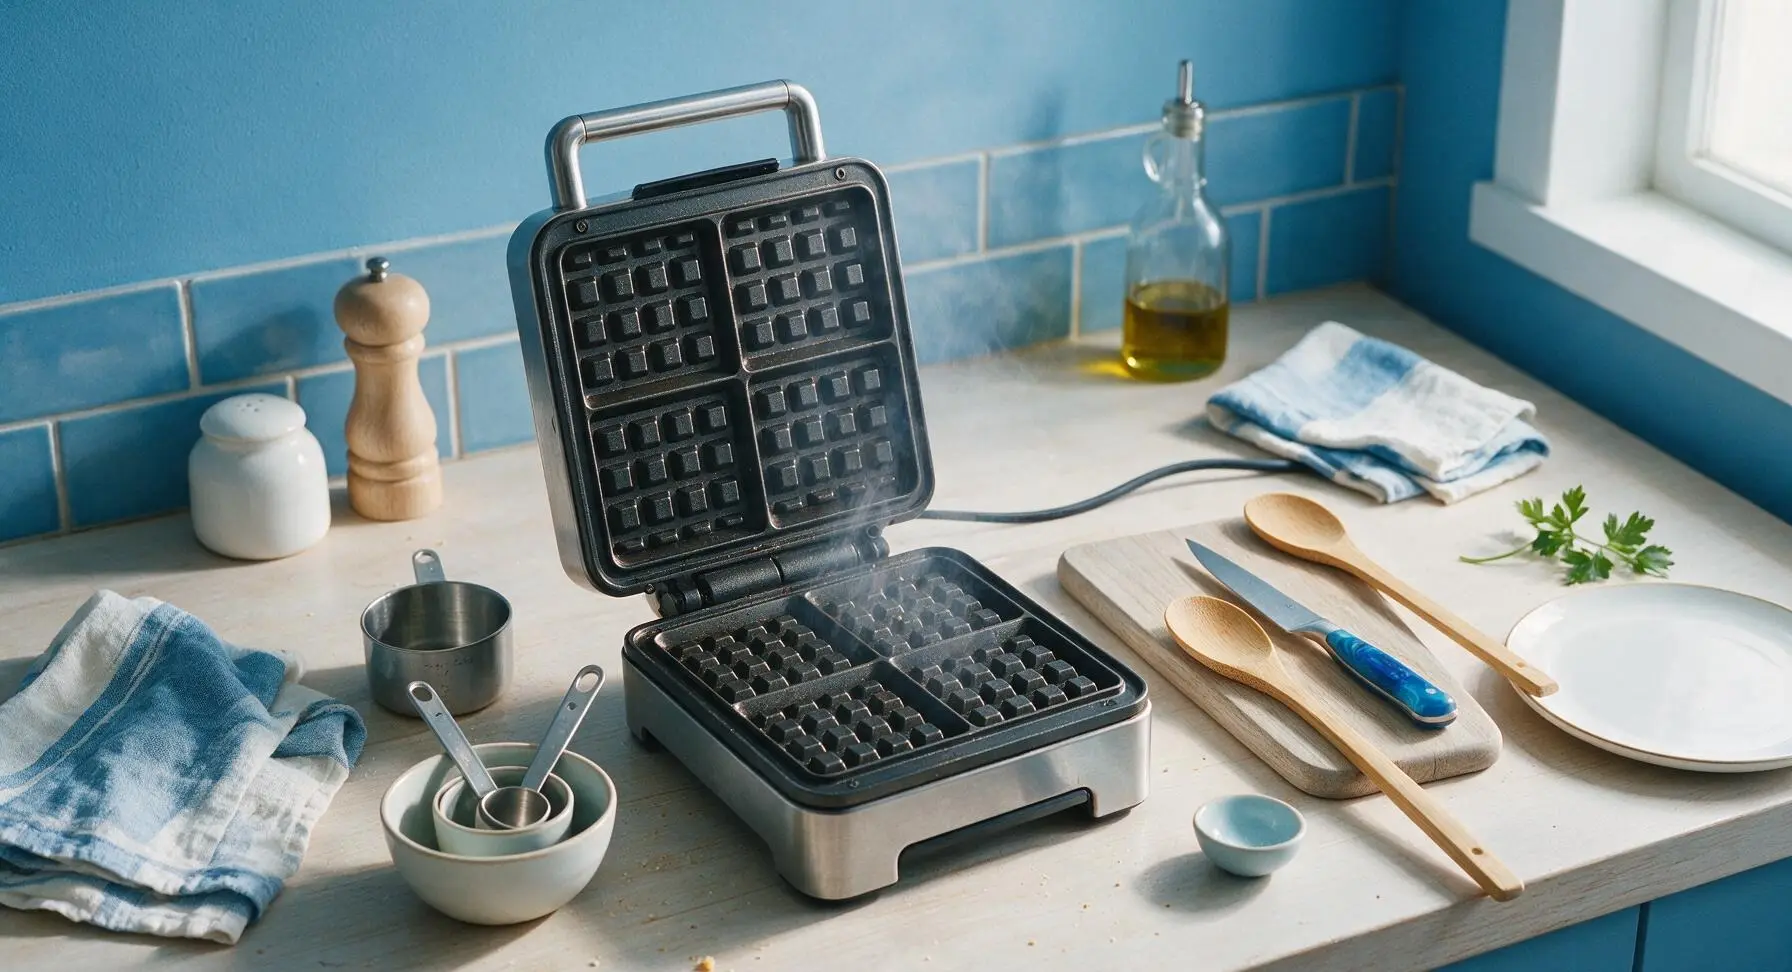
Place the 7-inch waffle iron on the center of the oak countertop, plug it in, and preheat to medium-high heat (375°F/190°C). The iron is ready when a drop of water flicked onto the grids sizzles and evaporates in 2-3 seconds, about 5 minutes total preheat time. Lightly coat the preheated grids with neutral nonstick cooking spray before adding batter.
Step 1
step1:Preheat the Waffle Iron
2

Whisk Dry Ingredients

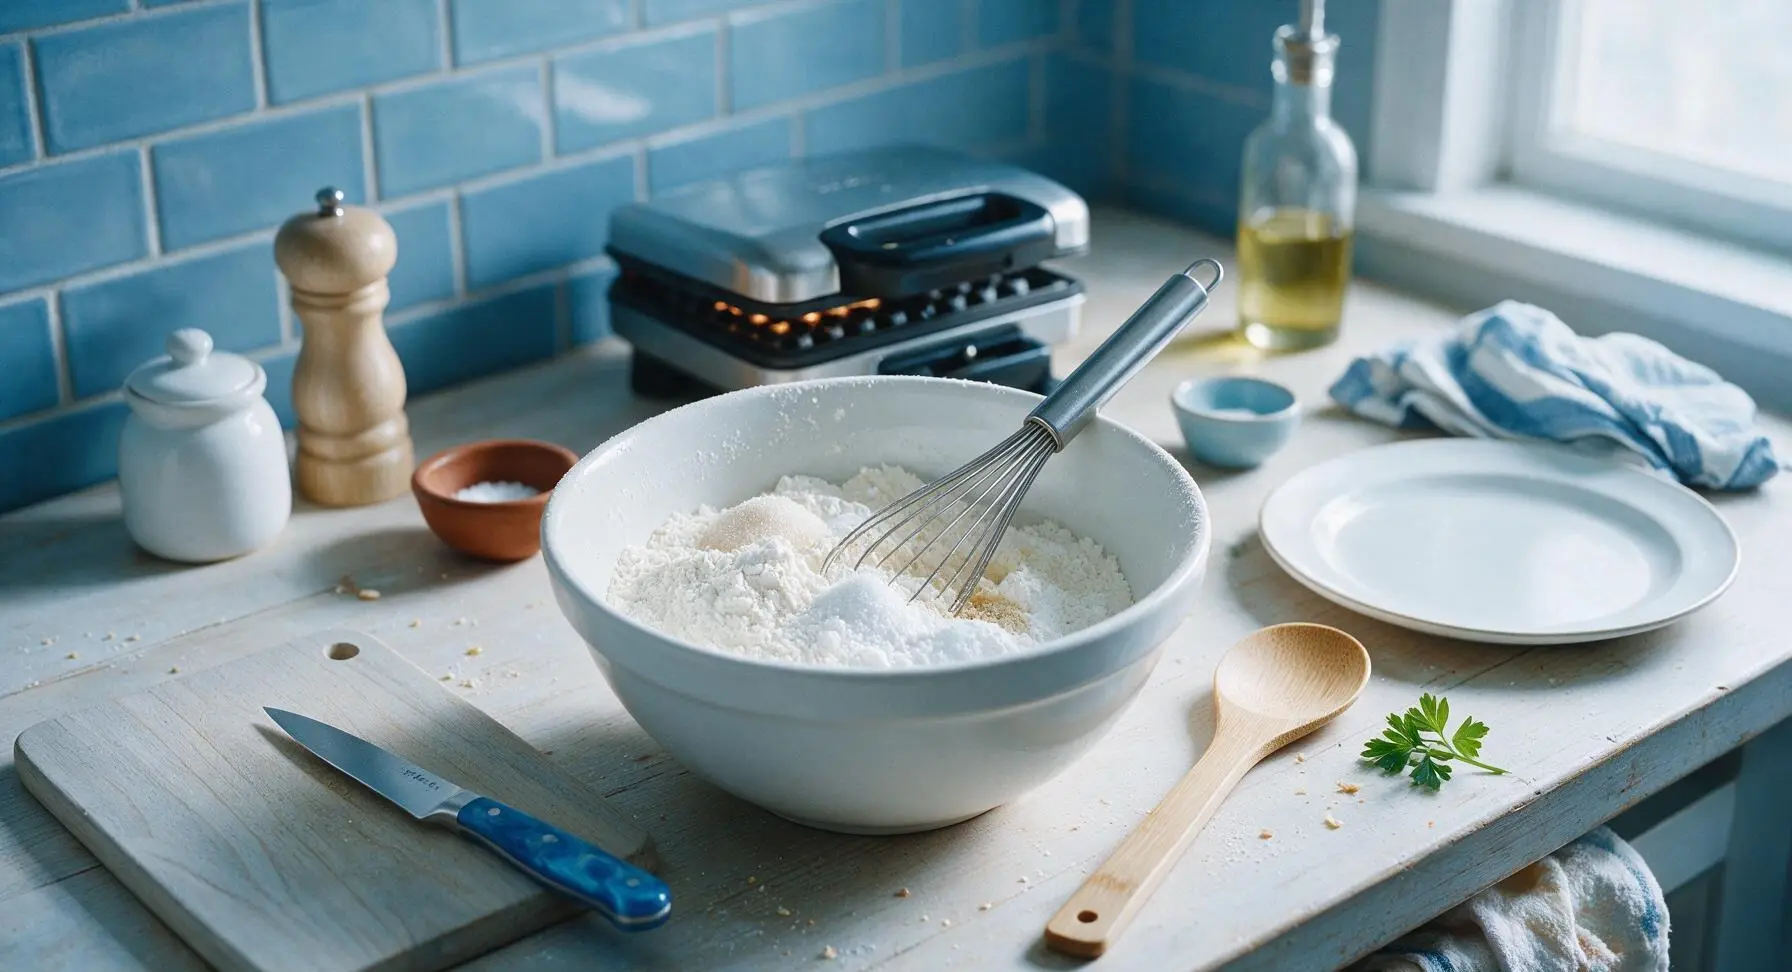
Place the large matte white ceramic mixing bowl in the center of the counter. Add the 1 ½ cups all-purpose flour, ½ cup cornstarch, 2 tbsp granulated sugar, 2 tsp baking powder, ¼ tsp baking soda, and ½ tsp fine sea salt to the bowl. Use the stainless steel wire whisk to stir the dry ingredients for 30 seconds until fully combined, with no visible clumps of baking powder or cornstarch.
Step 2
step2:Whisk Dry Ingredients
3

Add Wet Ingredients

Make a 2-inch wide well in the center of the whisked dry ingredients. Crack the 2 room-temperature eggs into the well, then add the 1 ½ cups whole milk, ¼ cup cooled melted butter, and 1 tsp vanilla extract. Do not stir yet; ensure all wet ingredients are pooled in the center of the dry mix to avoid over-mixing.
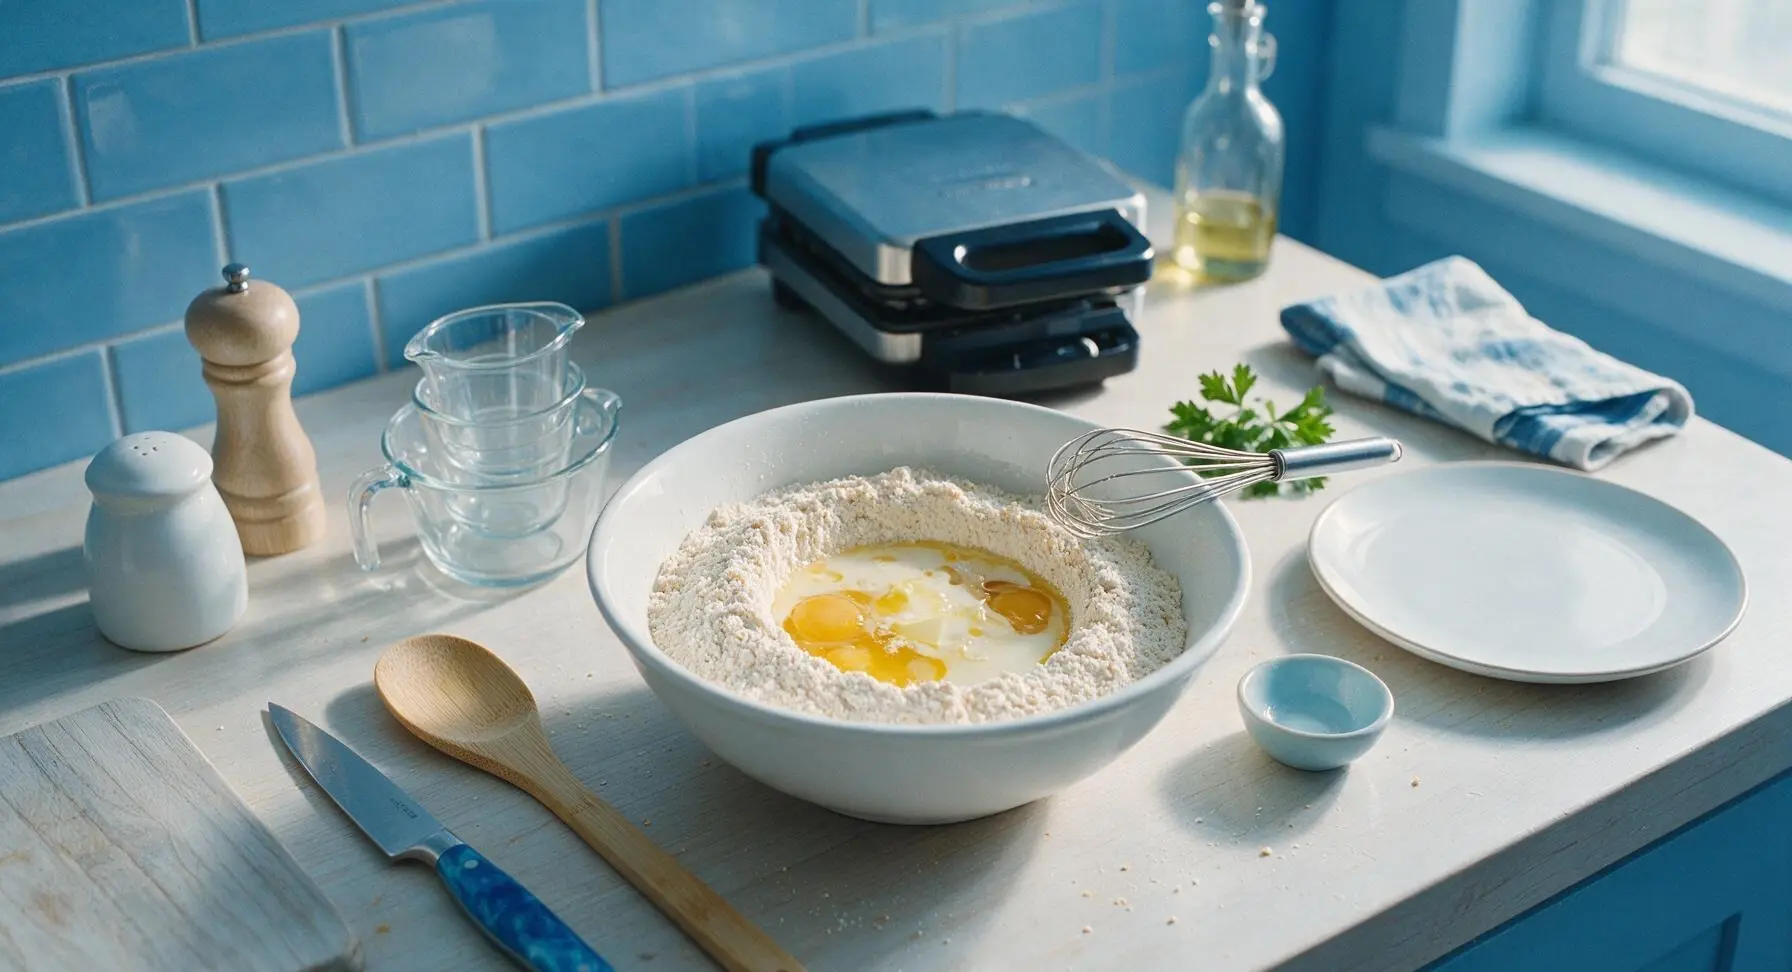
Step 3
step3:Add Wet Ingredients
4

Combine Batter Gently

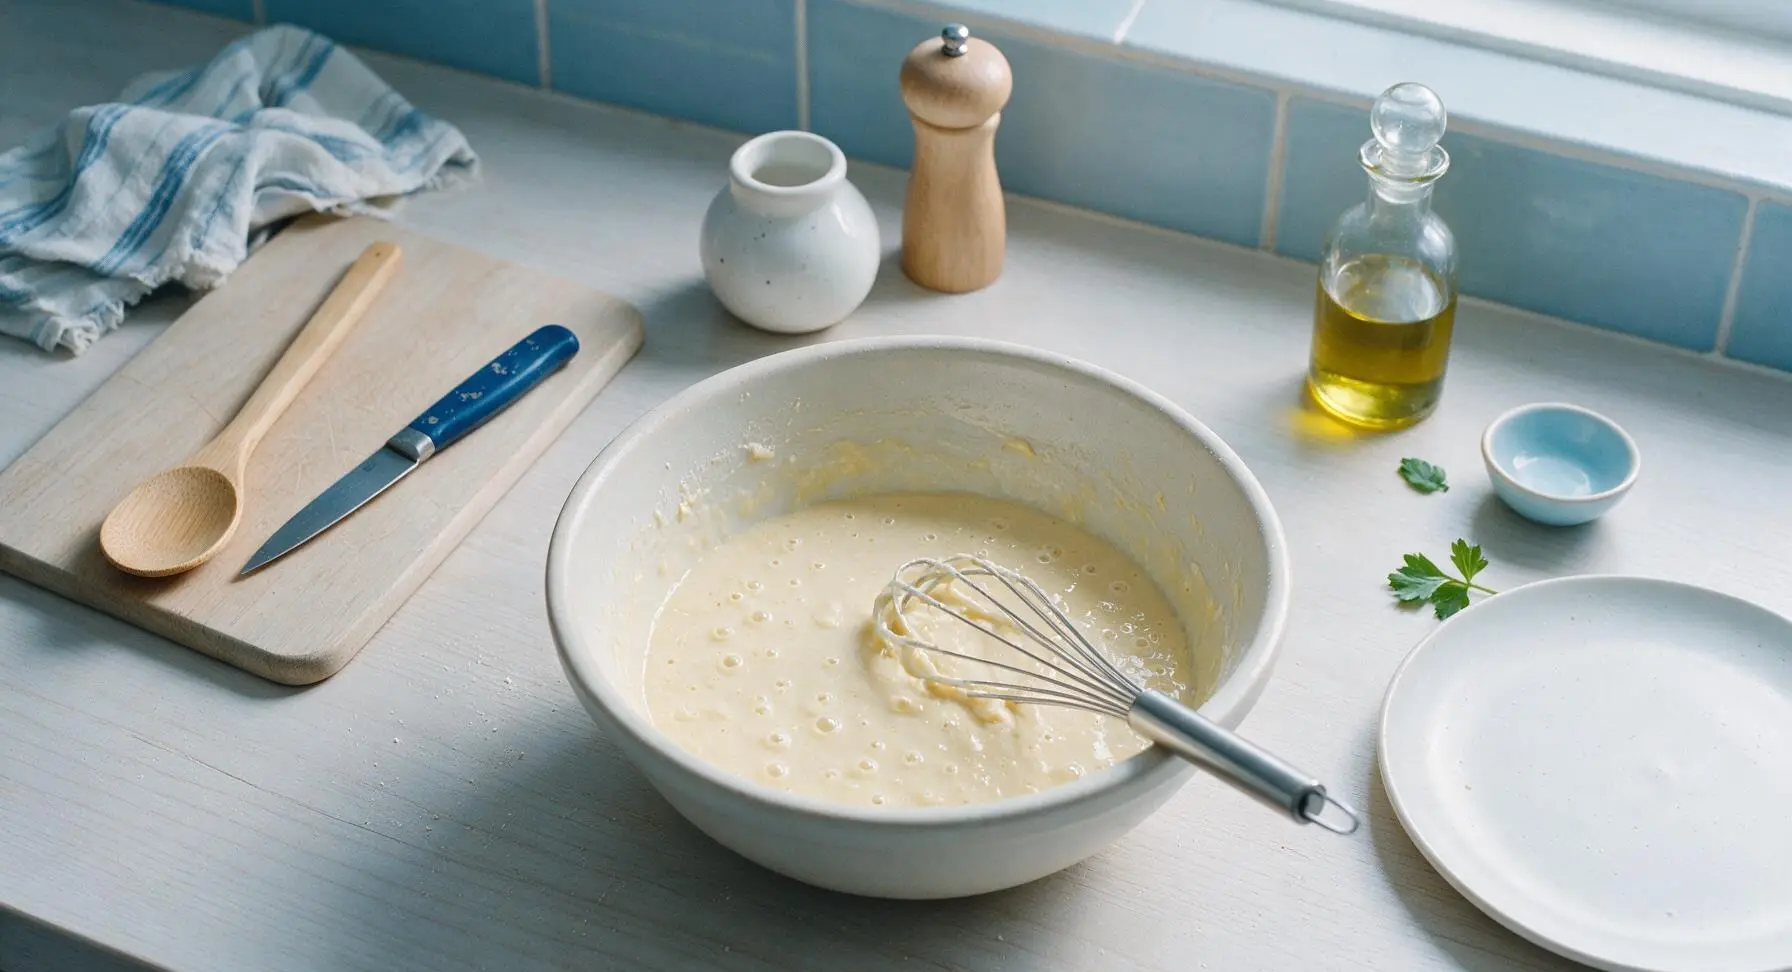
Use the wire whisk to gently stir the wet ingredients into the dry mix, stirring only until just combined. Stop mixing as soon as no large streaks of dry flour remain; the batter will be slightly lumpy, with small pea-sized lumps visible. Do not over-mix, as this will develop gluten and make tough, less crispy waffles. Let the batter rest for 3 minutes to allow leaveners to activate, until small bubbles appear on the surface.
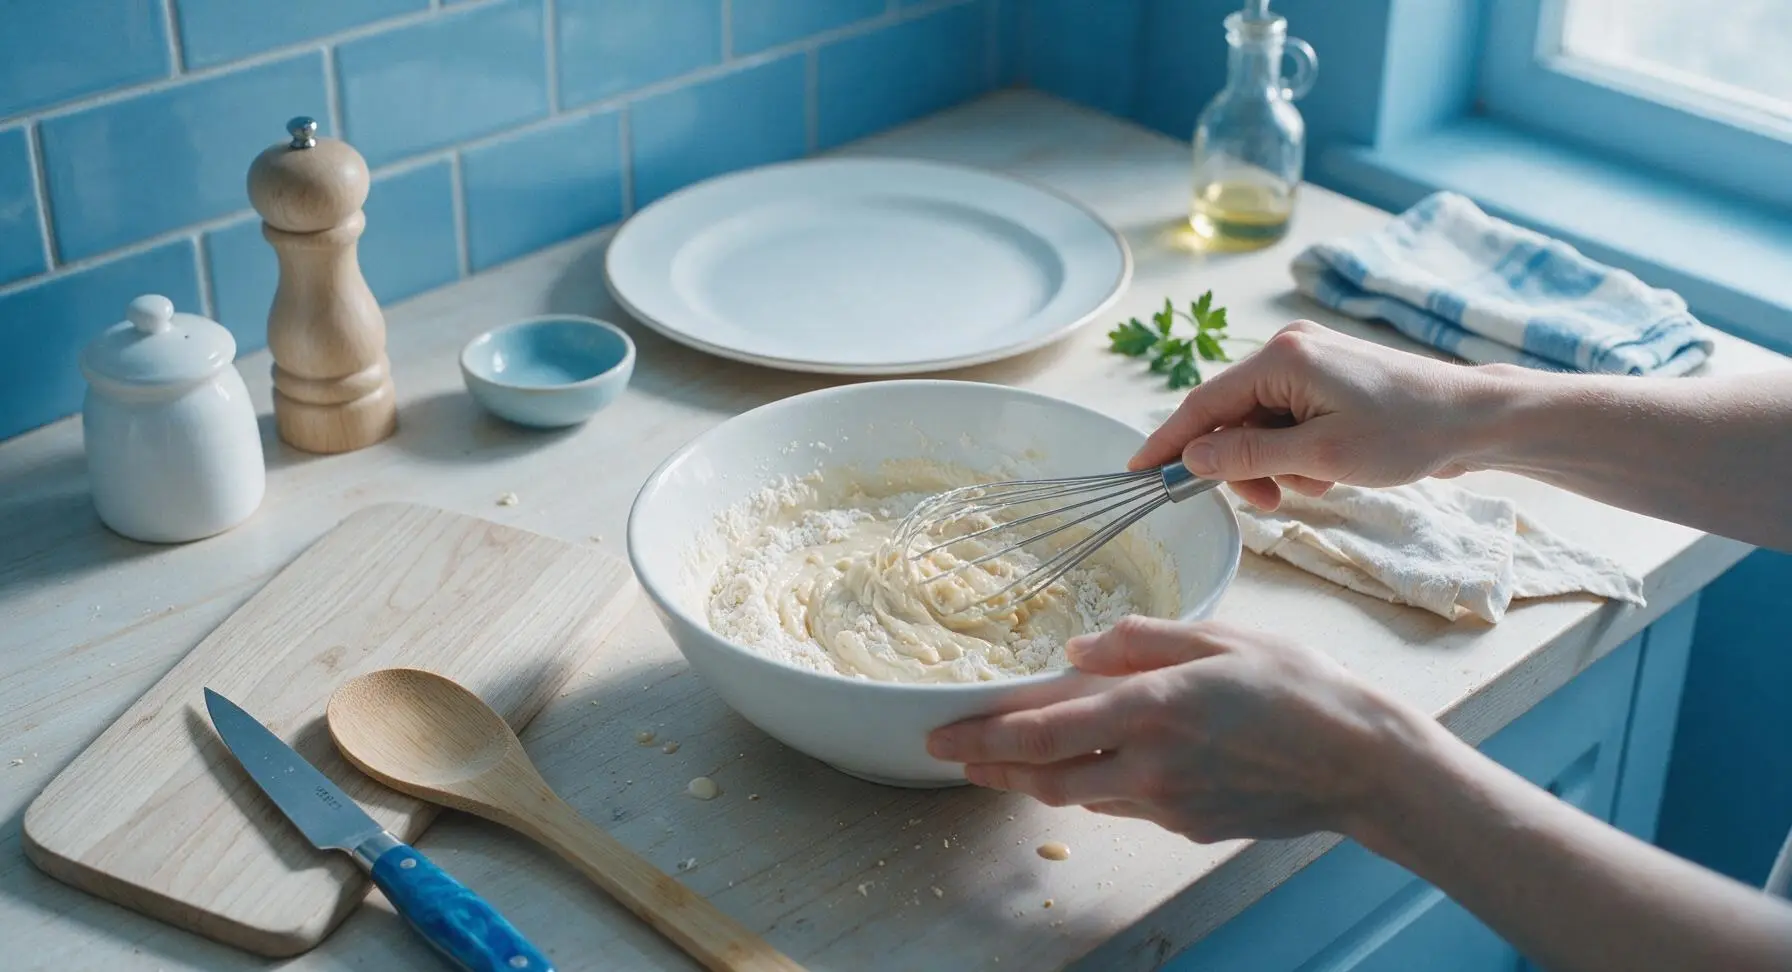
Step 4
step4:Combine Batter Gently
Step 4
step4:Combine Batter Gently
5

Cook Waffles Until Crisp

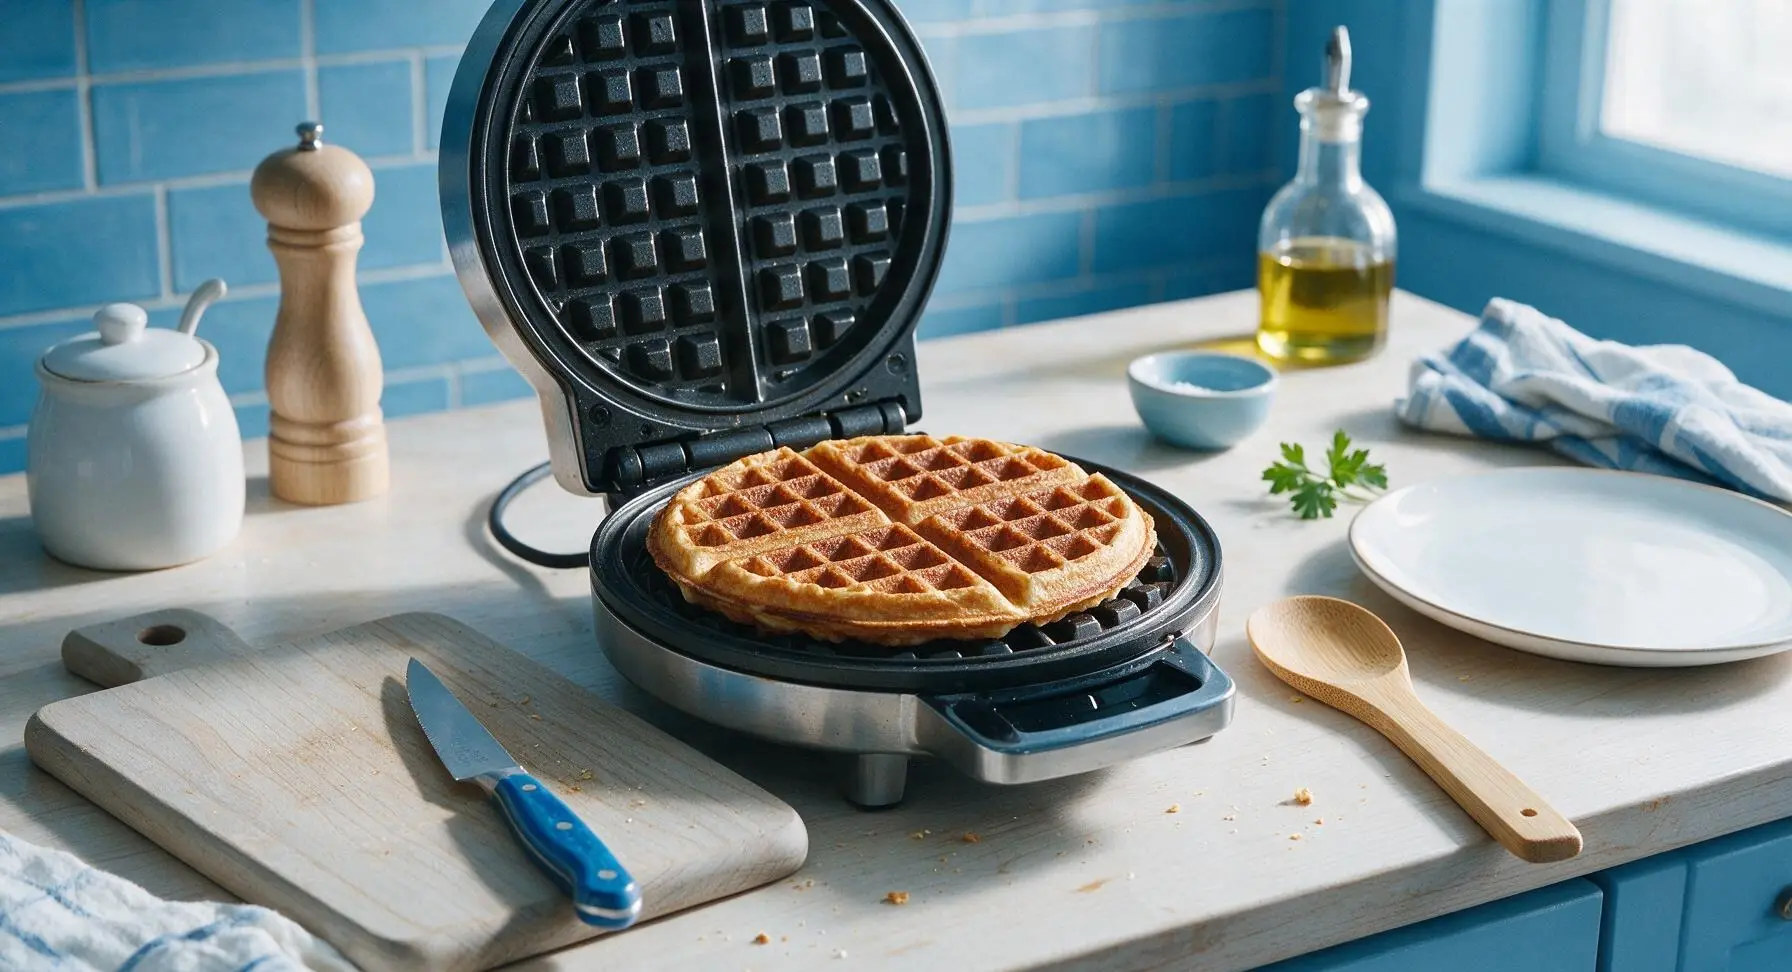
Once the batter is rested and the waffle iron is fully preheated, pour ¾ cup of batter onto the center of the lower waffle grid. Close the lid and cook for 2 ½ to 3 minutes, until the waffle is deep golden brown, the edges are crisp, and no steam escapes from the sides of the iron. Do not open the lid early, as this will cause the waffle to split and stick.
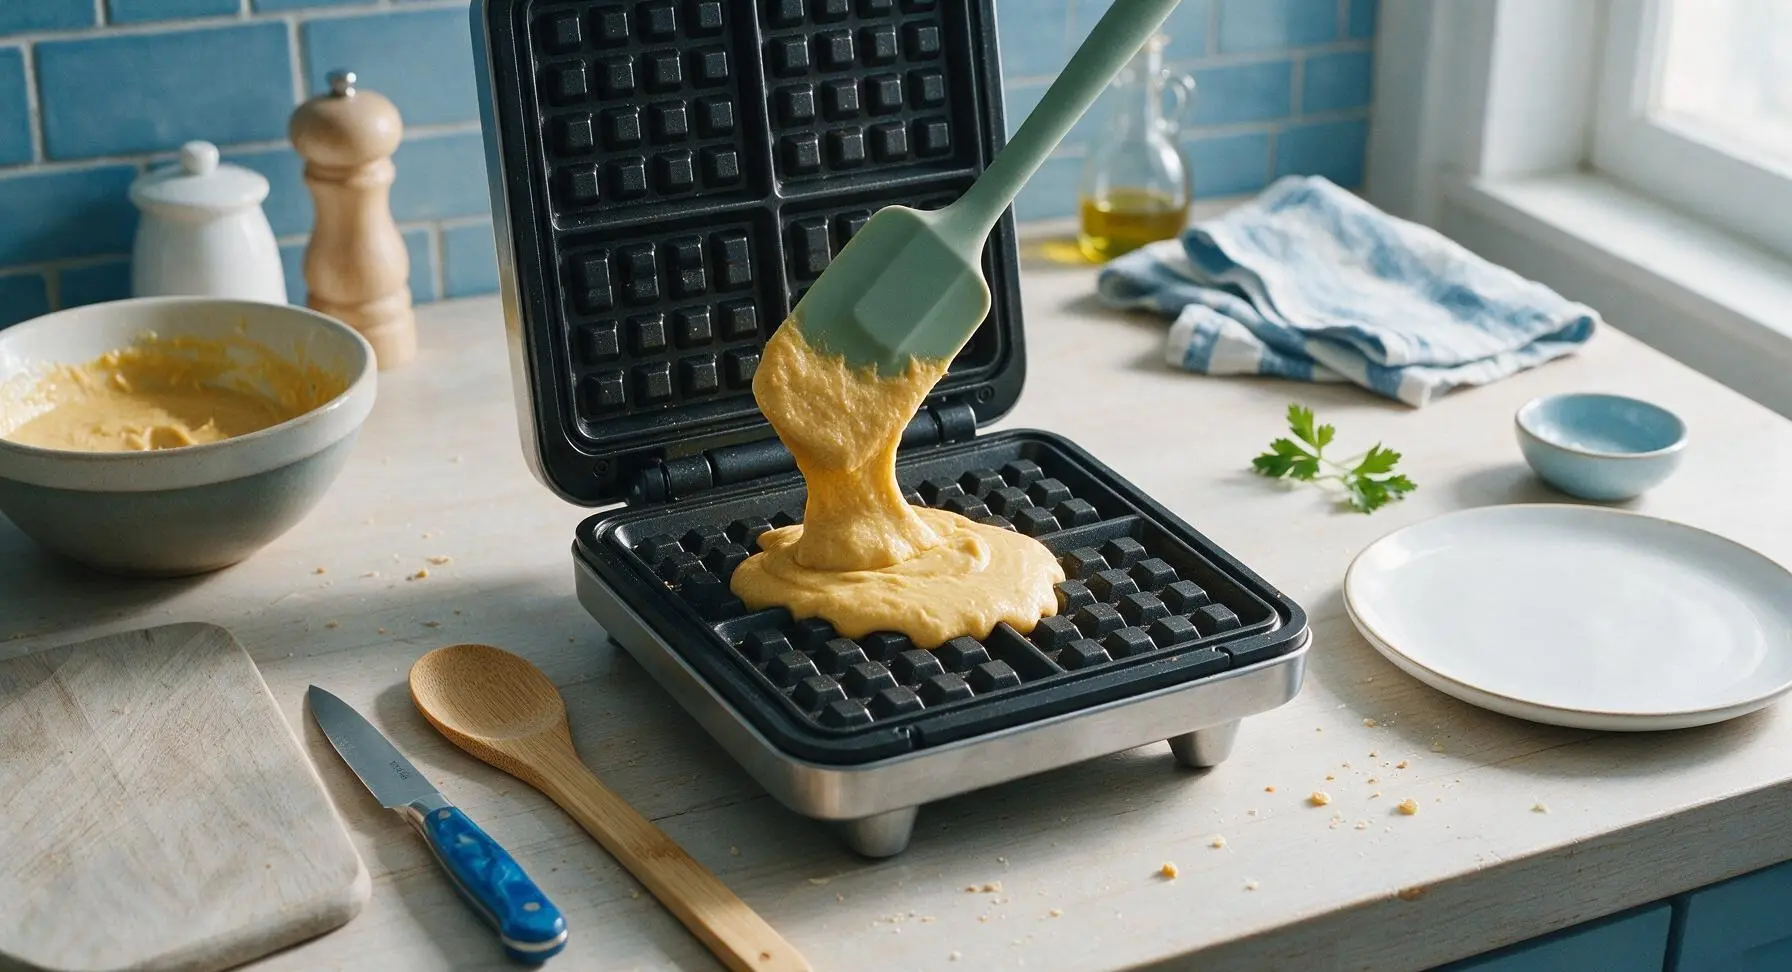
Step 5
step5:Cook Waffles Until Crisp
Step 5
step5:Cook Waffles Until Crisp
6

Keep Waffles Crisp

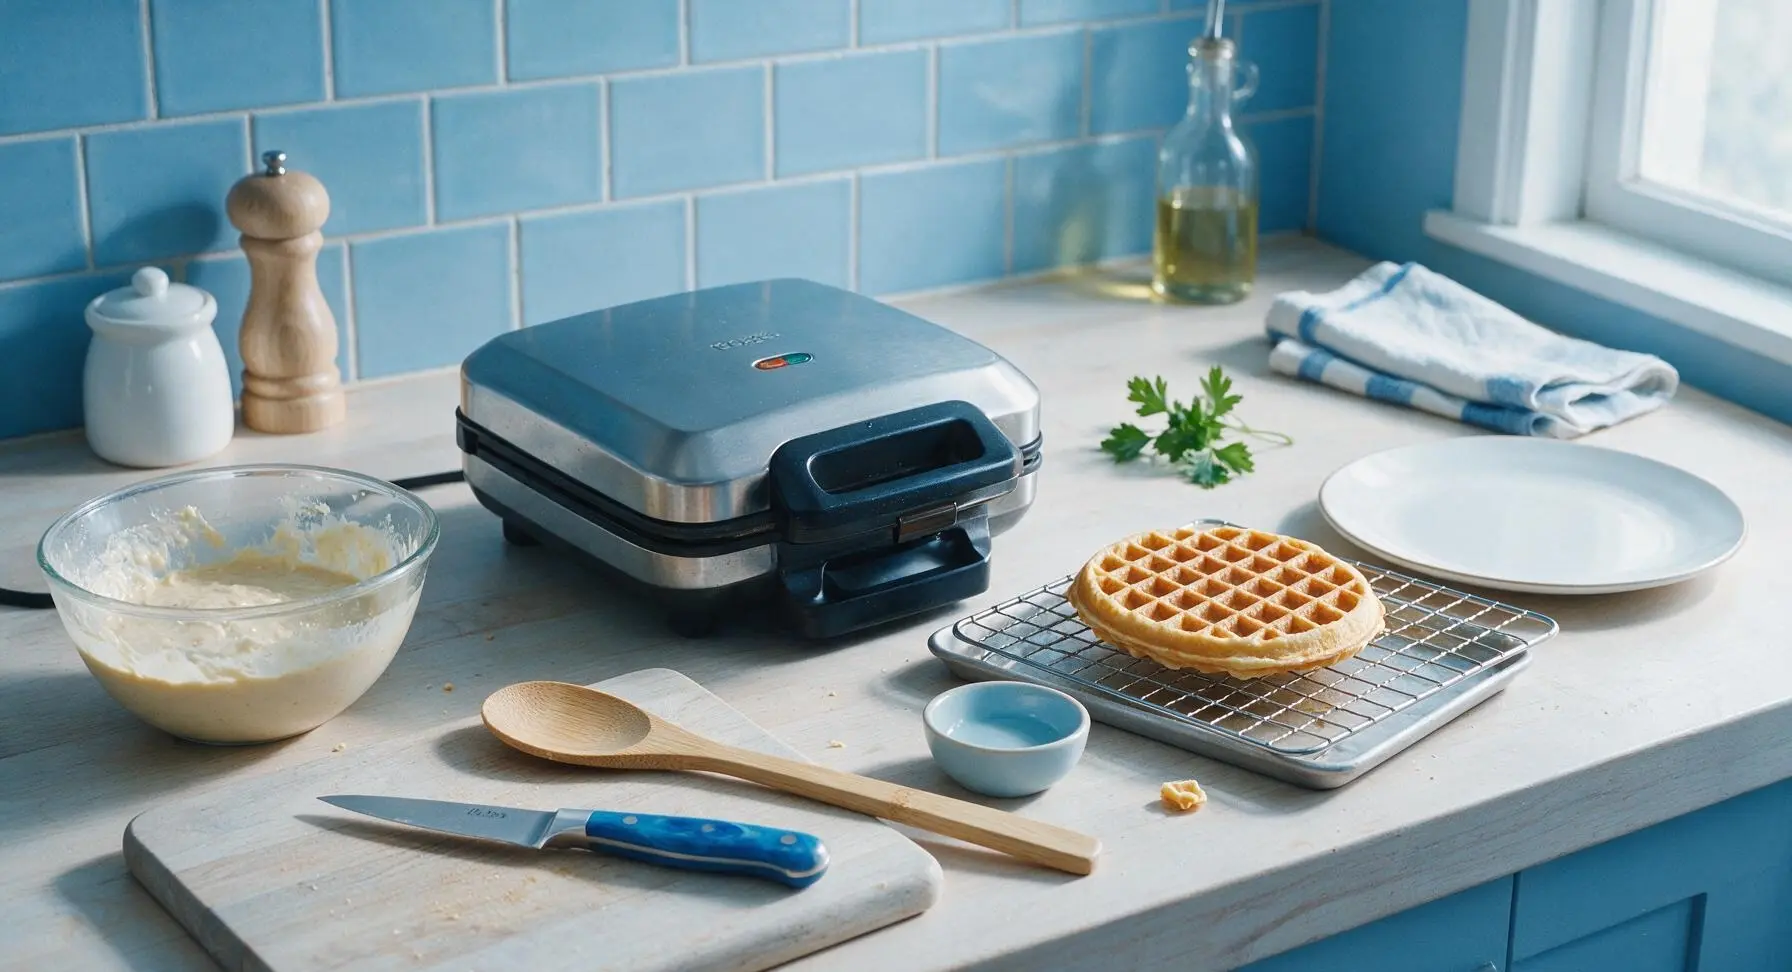
As each waffle finishes cooking, use the silicone spatula to lift it from the waffle iron and transfer it to the chrome wire rack set over a small baking sheet, positioned to the right of the iron. Hold waffles in a 200°F/95°C oven while cooking the remaining batch to keep them crisp; do not stack waffles directly on top of each other, as trapped steam will turn them soggy. Repeat the cooking process with remaining batter, using ¾ cup batter per waffle, for a total of 4 waffles.
Step 6
step6:Keep Waffles Crisp
7

Plate and Serve Waffles

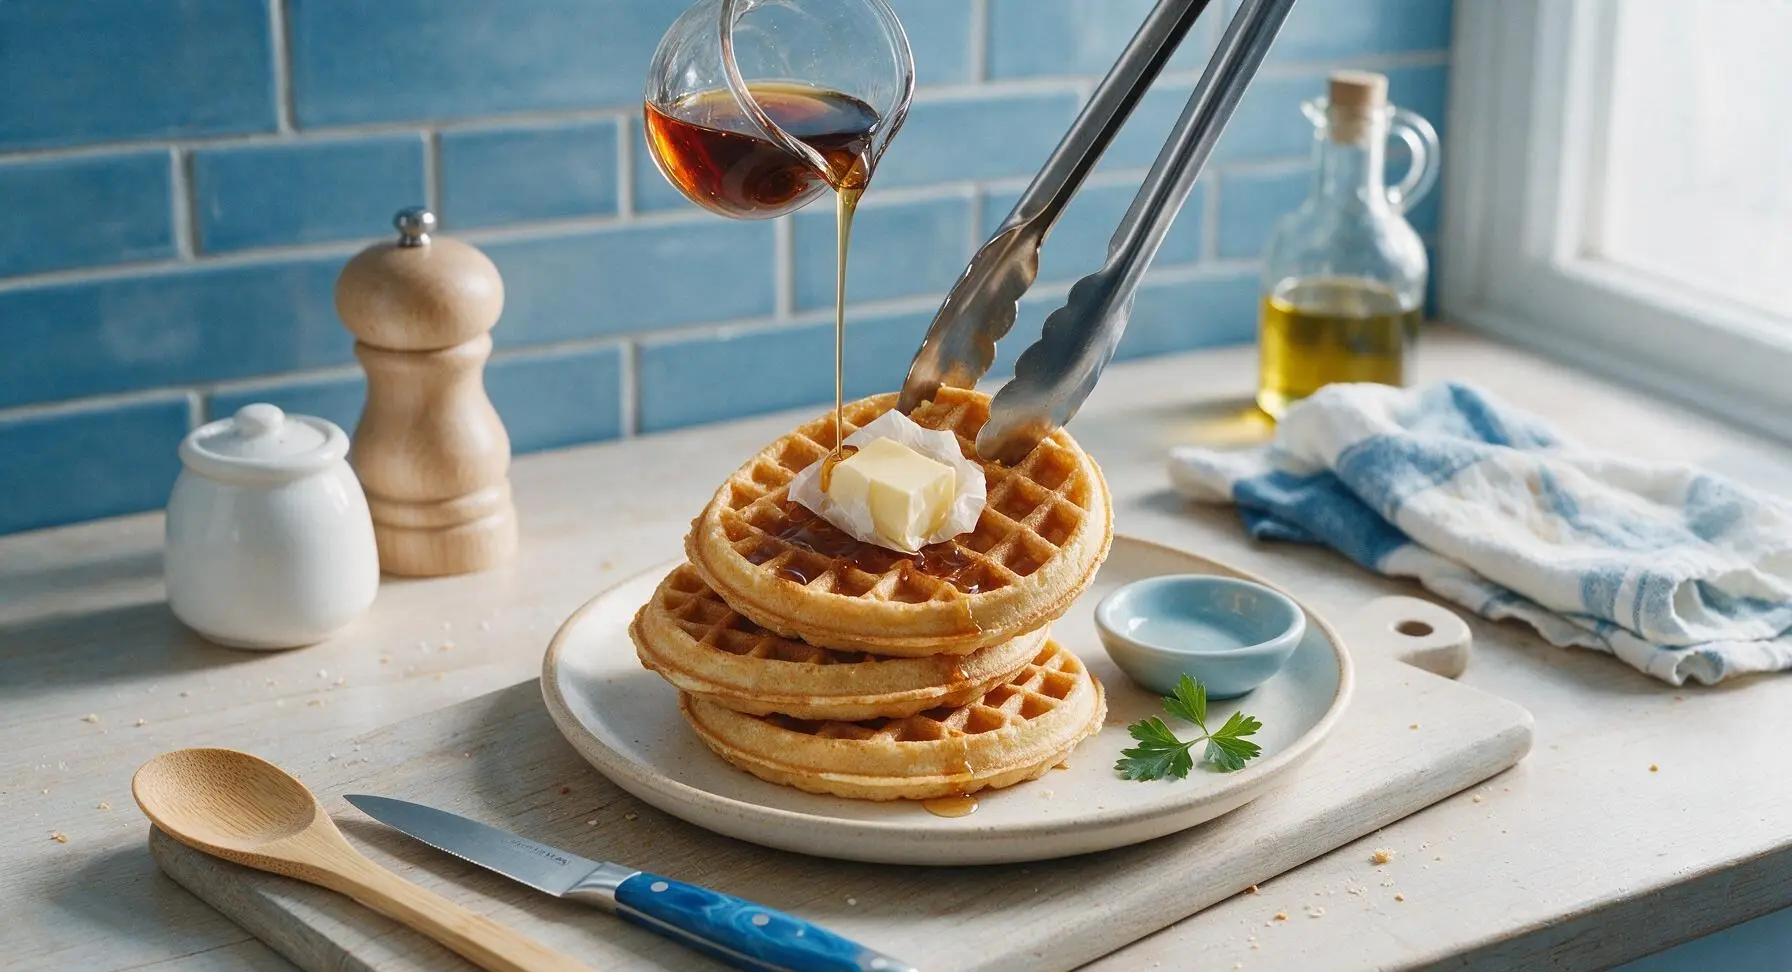
Once all waffles are cooked, stack three waffles on the cream stoneware dinner plate. Top with the small pat of salted butter, drizzle with warm maple syrup from the glass pitcher, and add a tiny sprig of fresh thyme for garnish if desired. Serve immediately while hot and crisp.
Step 7
step7:Plate and Serve Waffles

Tips

1.Cornstarch is the key to crisp waffles without buttermilk: it cuts gluten development in the flour to create a shatteringly crisp crust, rather than the chewy, dense texture you get from flour-only batter, and helps waffles hold their crunch even under syrup and toppings.
2.Resist the urge to over-mix the batter: small, pea-sized lumps are ideal. Over-stirring develops excess gluten, which leads to tough, bready waffles instead of light, crisp ones with a tender fluffy center.
3.Never stack hot waffles directly on a plate while cooking: trapped steam will quickly soften the crisp crust. Resting cooked waffles on a wire rack (held in a low oven to stay warm) lets air circulate around every surface to preserve crunch.


✨ You May Also Like

Breakfast
🍜 United States

Crisp-edged, fluffy lard griddle cakes are a nostalgic homestyle staple, with rich savoriness from rendered lard, perfect topped with maple syrup or savory gravy.

⏱️ 25 minuteBreakfast ★ 4.8
Breakfast
🍜 United States

Flaky, buttery homemade buttermilk biscuits smothered in creamy, peppery pork sausage gravy: a beloved, hearty Southern American comfort food classic.

⏱️ 35 minuteBreakfast ★ 4.8
Breakfast
🍜 United States

Golden, custardy brioche stuffed with sweet cream cheese and fresh berries, pan-fried to crisp perfection. An indulgent, cozy breakfast perfect for slow weekend mornings.

⏱️ 30 minuteBreakfast ★ 4.7
Breakfast
🍜 United States

Flaky, buttery Southern-style biscuits stuffed with savory salty country ham, a portable, satisfying classic perfect for casual on-the-go meals.

⏱️ 25 minuteBreakfast ★ 4.8
Breakfast
🍜 United States

Iconic puffy baked pancake popularized in Seattle, with crisp golden edges and soft custardy center, served warm with classic sweet toppings.

⏱️ 35 minuteBreakfast ★ 4.6
Breakfast
🍜 United States

Fluffy, golden pancakes studded with juicy peak-summer mixed berries, drizzled with maple syrup for a bright, comforting, crowd-pleasing family breakfast.

⏱️ 25 minuteBreakfast ★ 4.7

crispy waffle recipe without buttermilk:Frequently Asked Questions

1.How do these waffles stay crispy without using buttermilk? ▾
The secret is twofold: cornstarch in the dry mix, and a fully preheated waffle iron. Cornstarch cuts down on tough gluten development from the all-purpose flour to create a shatteringly crisp golden crust, while a small amount of granulated sugar adds subtle sweetness and a balanced blend of baking powder and baking soda delivers a light, fluffy interior that doesn’t turn soggy under syrup.
2.What kind of liquid should I use if there’s no buttermilk in the recipe? ▾
Regular whole dairy milk works perfectly here, no fancy swaps needed. Unlike buttermilk-dependent waffle recipes, this formula uses a precise ratio of baking powder and baking soda that don’t require acidic buttermilk to activate. You can also use unsweetened almond, oat, or soy milk as a 1:1 swap if you need a dairy-free option for your household.
3.Why is cornstarch included in the ingredient list? ▾
Cornstarch is non-negotiable for that signature crisp texture, even without buttermilk. It prevents excess gluten formation in the all-purpose flour as you mix the batter, which stops waffles from turning chewy, dense, or bready. It also helps the waffle exterior brown evenly into that perfect golden, syrup-catching crust we all love.
4.How do I keep a full batch of waffles crispy while I cook? ▾
Never stack hot waffles directly on a plate—trapped steam will turn them soft and soggy in minutes. Instead, arrange cooked waffles in a single layer on a wire rack set over a rimmed baking sheet, and hold them in a 200°F oven while you finish cooking the rest of the batter. They’ll stay crisp and warm for up to 30 minutes.
5.Can I mix the batter the night before to save time in the morning? ▾
I don’t recommend mixing the full wet and dry batter ahead of time. The baking powder and baking soda start activating as soon as they touch liquid, so pre-mixed batter will go flat, leading to dense, non-crispy waffles. For a quick shortcut, pre-measure and mix all dry ingredients in an airtight container ahead so you only add wet ingredients when ready to cook.
6.My waffles came out soft instead of crispy—what went wrong? ▾
The most common culprits are an underheated waffle iron, overmixed batter, or opening the iron too early. Wait for the iron to stop releasing steam before checking doneness, and mix batter only until no dry flour remains—lumps are totally fine. Overmixing develops excess gluten in the all-purpose flour, leading to chewy, soft waffles.
7.Can I freeze leftover waffles for quick future meals? ▾
Absolutely! Let cooked waffles cool fully to room temperature first, then freeze them in a single layer on a baking sheet before transferring to a labeled zip-top freezer bag for up to 3 months. Reheat straight from frozen in a toaster or toaster oven until hot and crisp—no thawing needed, and they’ll taste just as fresh as the day you made them.

Comments (11)

1 week ago

Finally! A no-buttermilk waffle recipe that actually gets CRISPY! I’ve tried so many others that turn out soggy no matter what I do, even when I leave them in the waffle iron longer. Followed the recipe exactly, cooked for 4 minutes in my standard waffle maker, and they were perfect. Brought a batch to my neighborhood potluck last weekend and everyone asked for the recipe! SO good.

5 days ago

Wait did you use regular all purpose flour? I only have whole wheat at home right now, wondering if that would work?

3 days ago

Hi Mike! All purpose works best for that classic light crispy texture, but you can swap in up to 50% whole wheat flour without making them too dense — just add a splash extra milk if the batter feels too thick!

3 days ago

These are so easy to throw together for busy school mornings! I mix the dry ingredients in a mason jar the night before for meal prep, so all I have to do in the morning is add the wet ingredients and pour in the waffle iron. My kids loved it — they even asked to put sprinkles on top for their birthday breakfast last week.

2 days ago

That dry mix meal prep hack is genius! So glad the recipe works for your busy morning routine — sprinkles sound like the perfect birthday addition 😊

2 hours ago

Solid recipe, though I added a teaspoon of cinnamon and a dash of vanilla extract because I like my waffles a little more flavorful. Turned out great, crisp enough to hold up to a big scoop of ice cream for a lazy Sunday dessert. Will make again.

5 days ago

Wait, can I make this batter ahead of time and store it in the fridge? I want to make waffles for my family when we go camping this weekend but don’t want to mix up batter at the campsite if I don’t have to.

3 days ago

I did this last month! Stored the batter in an airtight container for 2 days, gave it a quick stir before pouring, and the waffles came out just as crispy as when I make it fresh. Just don’t store it longer than that!

2 days ago

Great tip from CampingMom123! The batter stays good in the fridge for up to 48 hours — just give it a gentle stir before using, don’t overmix it, and you’ll get perfect crispy waffles every time.

yesterday

Game. Changer. I thought I had to have buttermilk to get that restaurant-style crispy waffle, but these are even better than the ones I get at my local diner! Only took 15 minutes total from grabbing the ingredients to taking the first bite, which is perfect because I’m terrible at planning ahead for breakfast.

2 hours ago

Right?! I was so skeptical too, but I made these last week and they were way crispier than the buttermilk version I used to make. Wild!

2 weeks ago

Made these for my roommate’s birthday brunch and everyone raved! I set up a little topping bar with fresh berries, whipped cream, chocolate chips, and maple syrup, and the waffles held up perfectly even when loaded up with toppings. No soggy bottoms here! 10/10

30 minutes ago

Quick question — my waffle iron is the old flip kind from the 90s, does that change the cook time at all? I don’t want to burn these, they sound too good to mess up.

5 minutes ago

Hi Dan! Old flip waffle irons often run a little hotter than newer models, so I’d start checking at the 3 minute mark instead of waiting the full 4-5 minutes. They’re done when they’re deep golden brown and don’t stick when you lift the lid!

2 days ago

OMG I messed up the first batch because I accidentally used melted salted butter instead of unsalted, but they still turned out edible? Wait no, they were actually really good? I think I’ll just cut back a tiny bit on the added salt next time, but even my mistake didn’t ruin these. That’s the mark of a solid easy recipe if you ask me.

yesterday

I do that all the time! I never keep unsalted butter in the house, so I just skip the extra salt entirely and it works out perfectly every time. These waffles are foolproof for real.

2 hours ago

Same! I used salted butter too and they were amazing, I actually preferred the little extra saltiness with the sweet maple syrup. No regrets.

1 week ago

These are perfect for meal prep! I make a big batch on Sundays, let them cool completely, then freeze them in between parchment paper squares. Pop one in the toaster on busy weekdays and it tastes just as crispy as fresh. Saved me so much money on frozen waffles from the grocery store!

5 days ago

Oh thank you for the freezing tip! I’ve been looking for make-ahead breakfasts that don’t get soggy when you reheat them, can’t wait to try this next Sunday.

just now

Took me a minute to get the temperature right on my waffle maker, but once I did these came out perfectly crispy. I added a little paprika for a weird savory twist and ate them with fried chicken for dinner, it was elite. Don’t knock it till you try it.

2 weeks ago

I’ve been dairy free for a year now and I swapped the regular milk for oat milk and used coconut oil instead of butter, and these still came out so crispy! I was worried substitutions would make them soggy, but nope. This recipe is so adaptable, I love it.

1 week ago

So glad the substitutions worked for you, Nora! Oat milk is one of my favorite dairy free swaps for this recipe because it has a nice creamy texture that helps keep the waffles light and crispy. Thanks for sharing your tip!



