
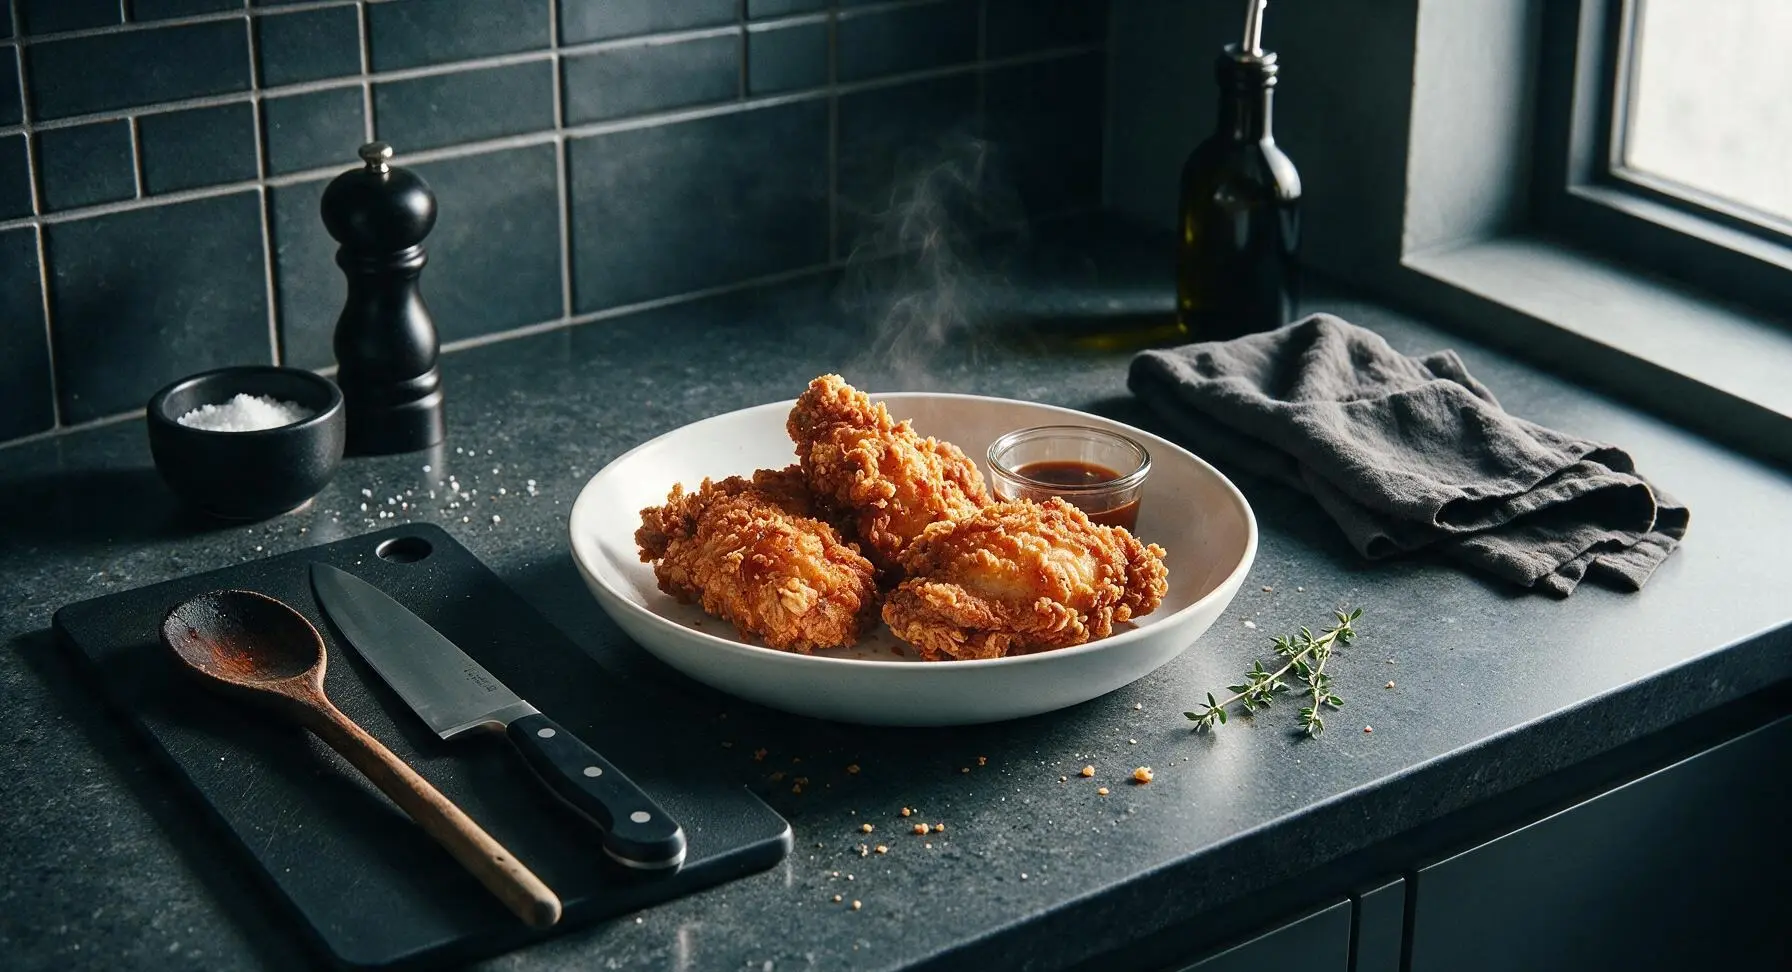
crunchy chicken

title 1
crunchy chicken
⏱️ cook time 20 minutes
🍽️ servings 4
⚡ Difficulty medium

intro

Juicy, tender chicken encased in a shatteringly crisp, golden seasoned crust. This crowd-pleasing crunchy chicken delivers perfect crunch in every bite, with zero soggy coating.

Ingredients
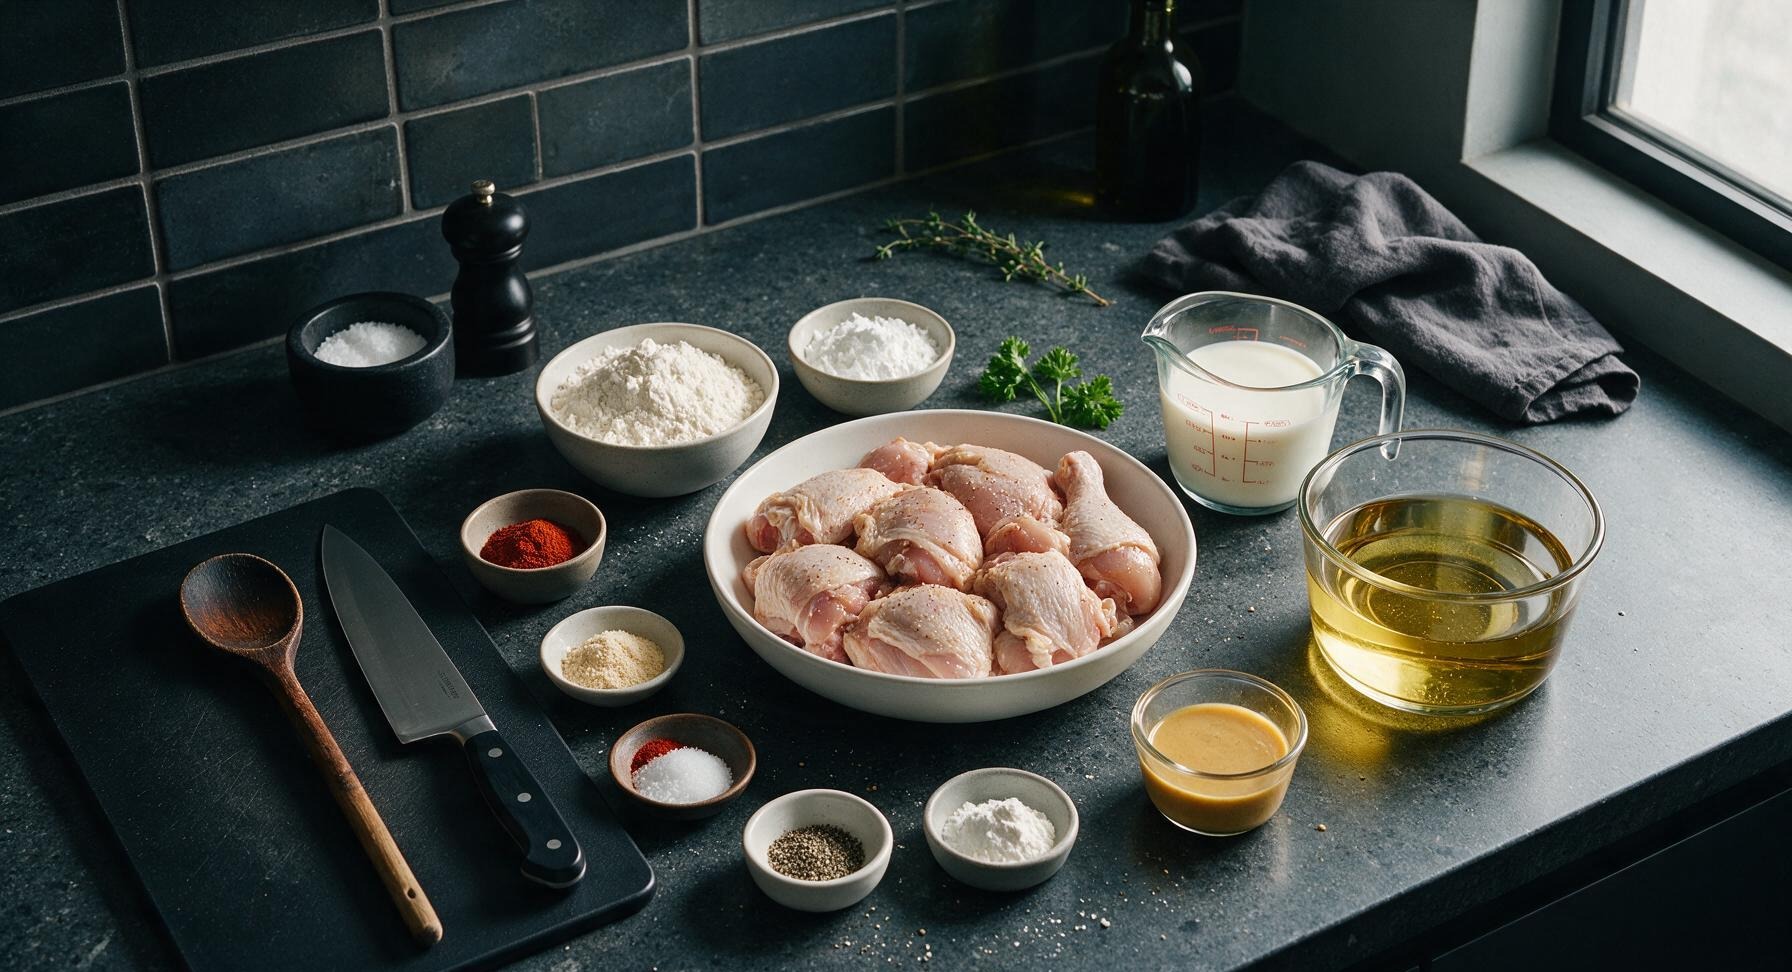
Bone-in skin-on mixed chicken pieces (thighs, drumsticks, tenders) 800g
Full-fat buttermilk 2 cups (480ml)
All-purpose flour 1.5 cups (180g)
Cornstarch 1/2 cup (60g)
Smoked paprika 1 tbsp
Garlic powder 1 tsp
Onion powder 1 tsp
Cayenne pepper 1/4 tsp
Kosher salt 2 tsp
Freshly ground black pepper 1 tsp
Baking powder 1 tsp
Neutral canola frying oil 4 cups (960ml)
Honey mustard sauce (for serving) 1/4 cup (60ml)
Fresh curly parsley (for garnish) 2 sprigs

Steps

1

Prep Chicken Pieces

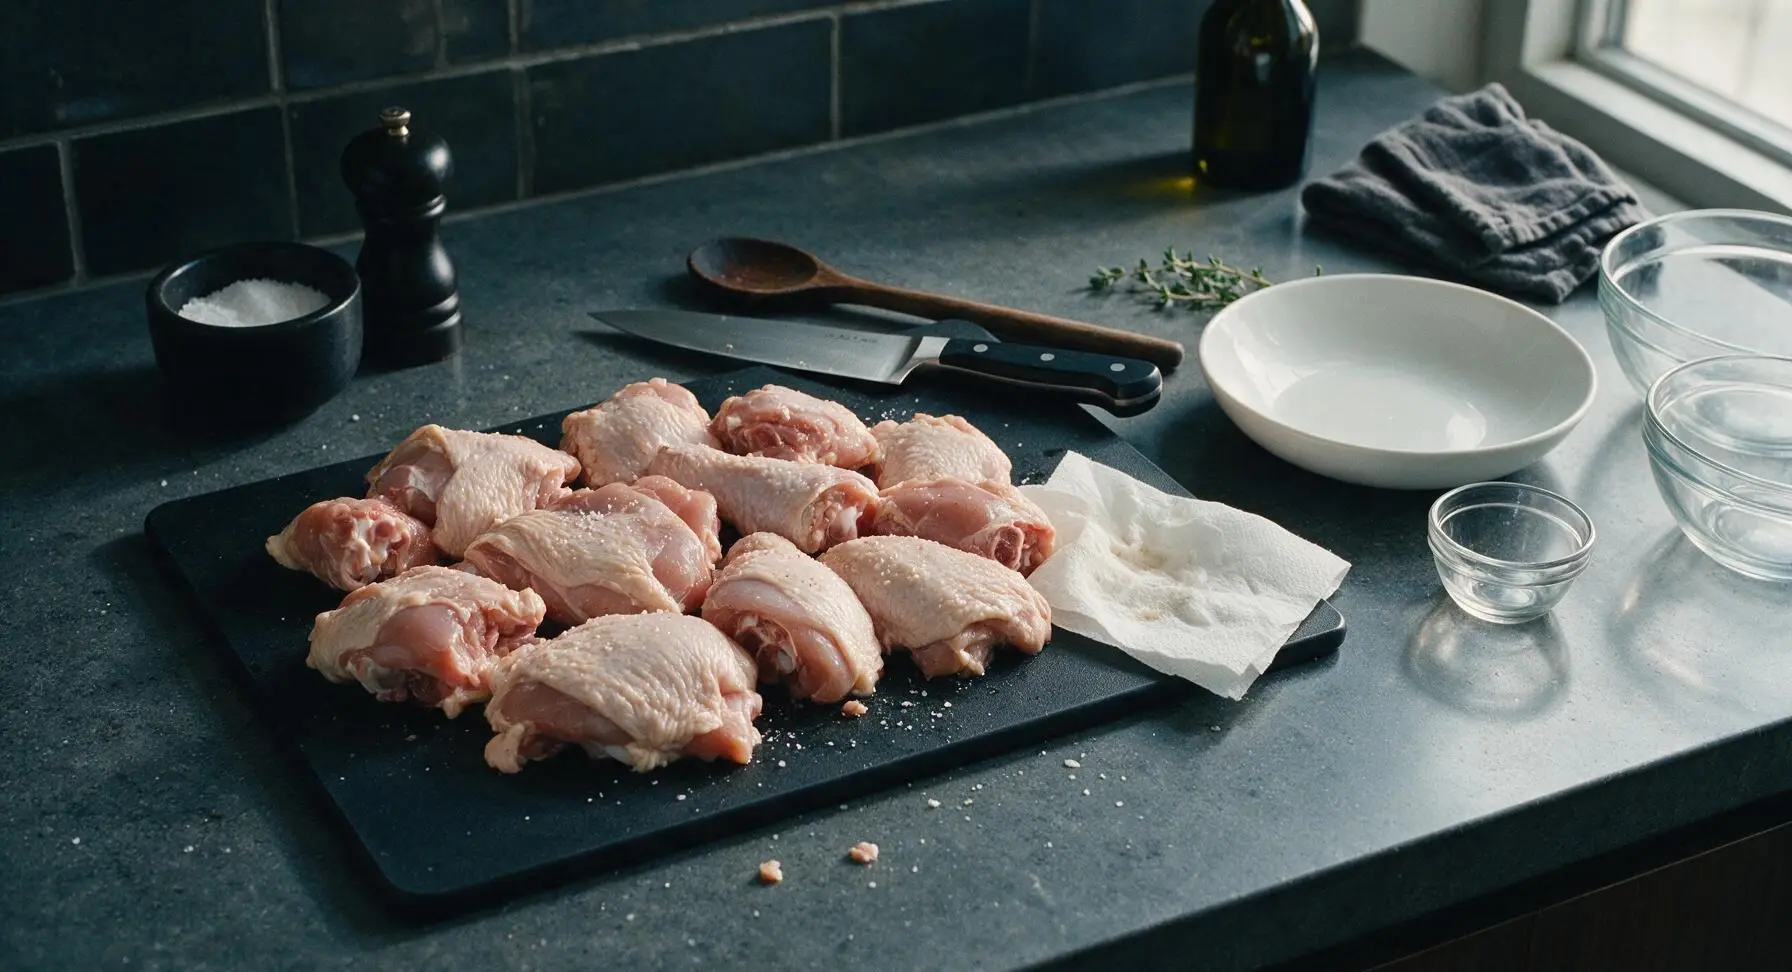
Place the 800g mixed bone-in, skin-on chicken pieces on the maple cutting board. Pat every surface completely dry with paper towels, trimming any excess loose skin or hanging fat with the chef knife. Ensure skin is pulled tight across each piece to prevent shrinking during frying. Lightly season all sides with 1 tsp of the kosher salt.
Step 1
step1:Prep Chicken Pieces
2

Soak in Buttermilk

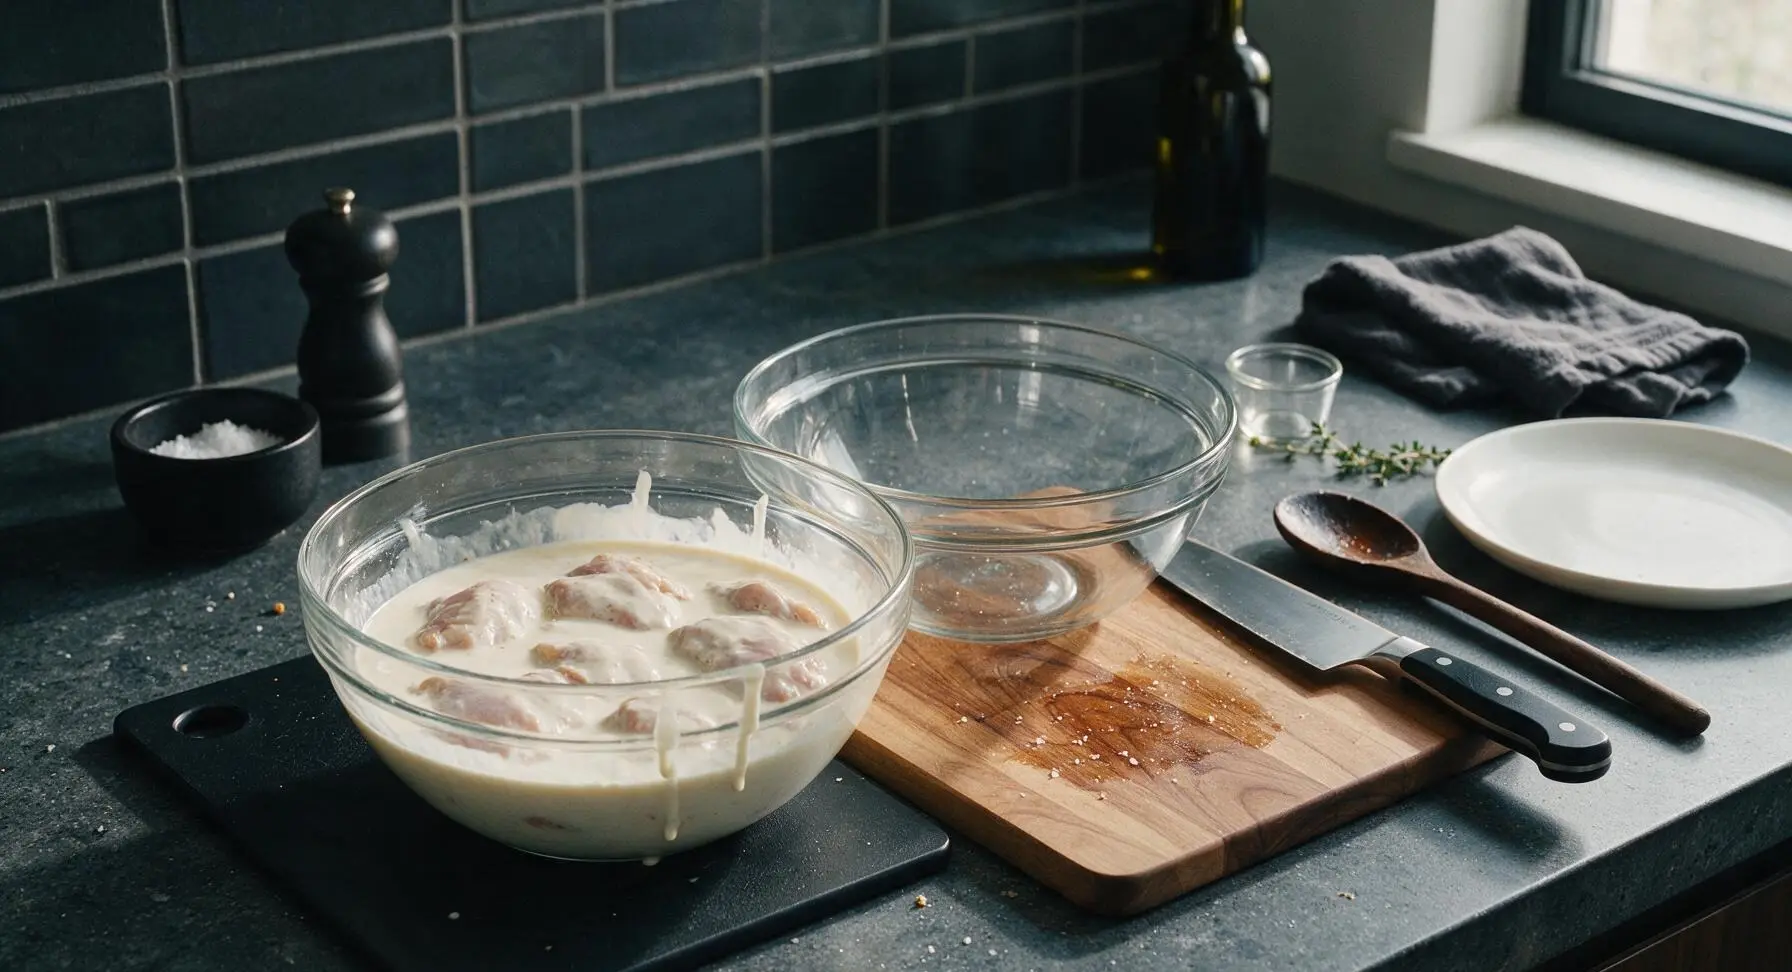
Pour 2 cups of buttermilk into one of the clear glass mixing bowls. Add the prepped dried chicken pieces to the bowl, turning to coat every piece fully in buttermilk. Cover loosely and let rest at room temperature for 15 minutes (or refrigerate for up to 4 hours for extra tenderness); do not soak longer than 4 hours as the coating will become mushy.
Step 2
step2:Soak in Buttermilk
3

Mix Crispy Dredge

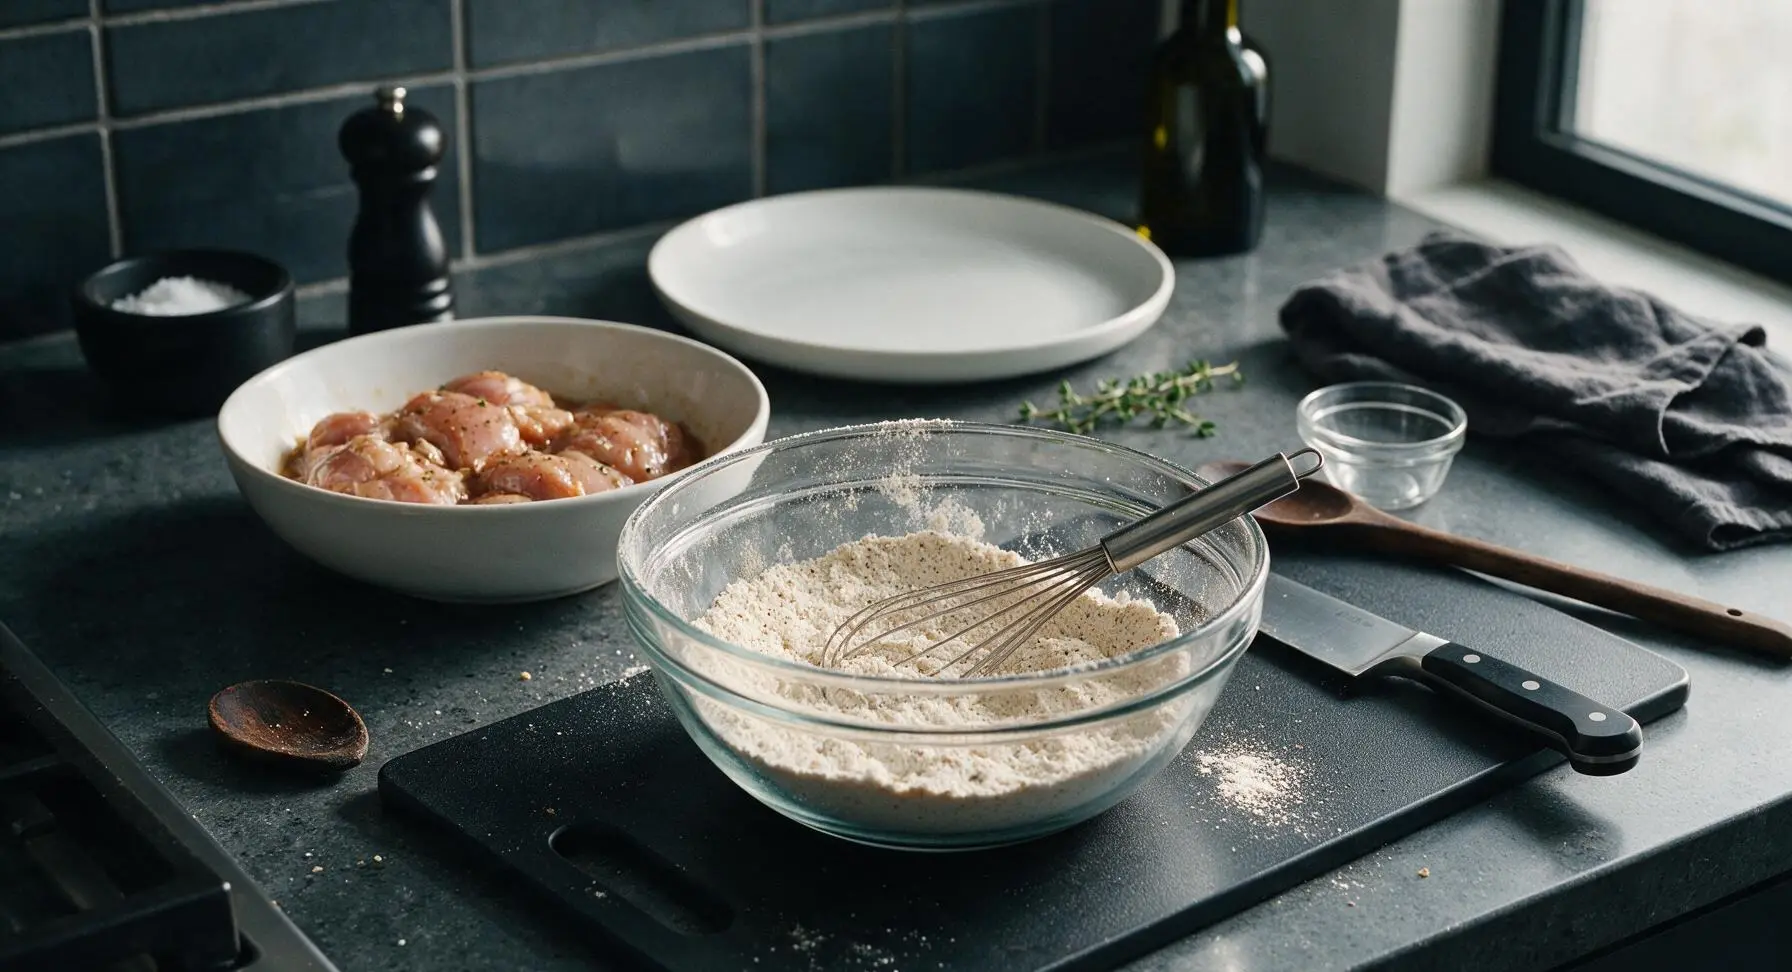
In the second clear glass mixing bowl, combine 1.5 cups all-purpose flour, 1/2 cup cornstarch, 1 tbsp paprika, 1 tsp garlic powder, 1 tsp onion powder, 1/4 tsp cayenne pepper, remaining 1 tsp kosher salt, 1 tsp black pepper, and 1 tsp baking powder. Whisk thoroughly for 30 seconds until all spices and leavening are evenly distributed, with no clumps of spice or flour remaining.
Step 3
step3:Mix Crispy Dredge
4

Coat Chicken Evenly

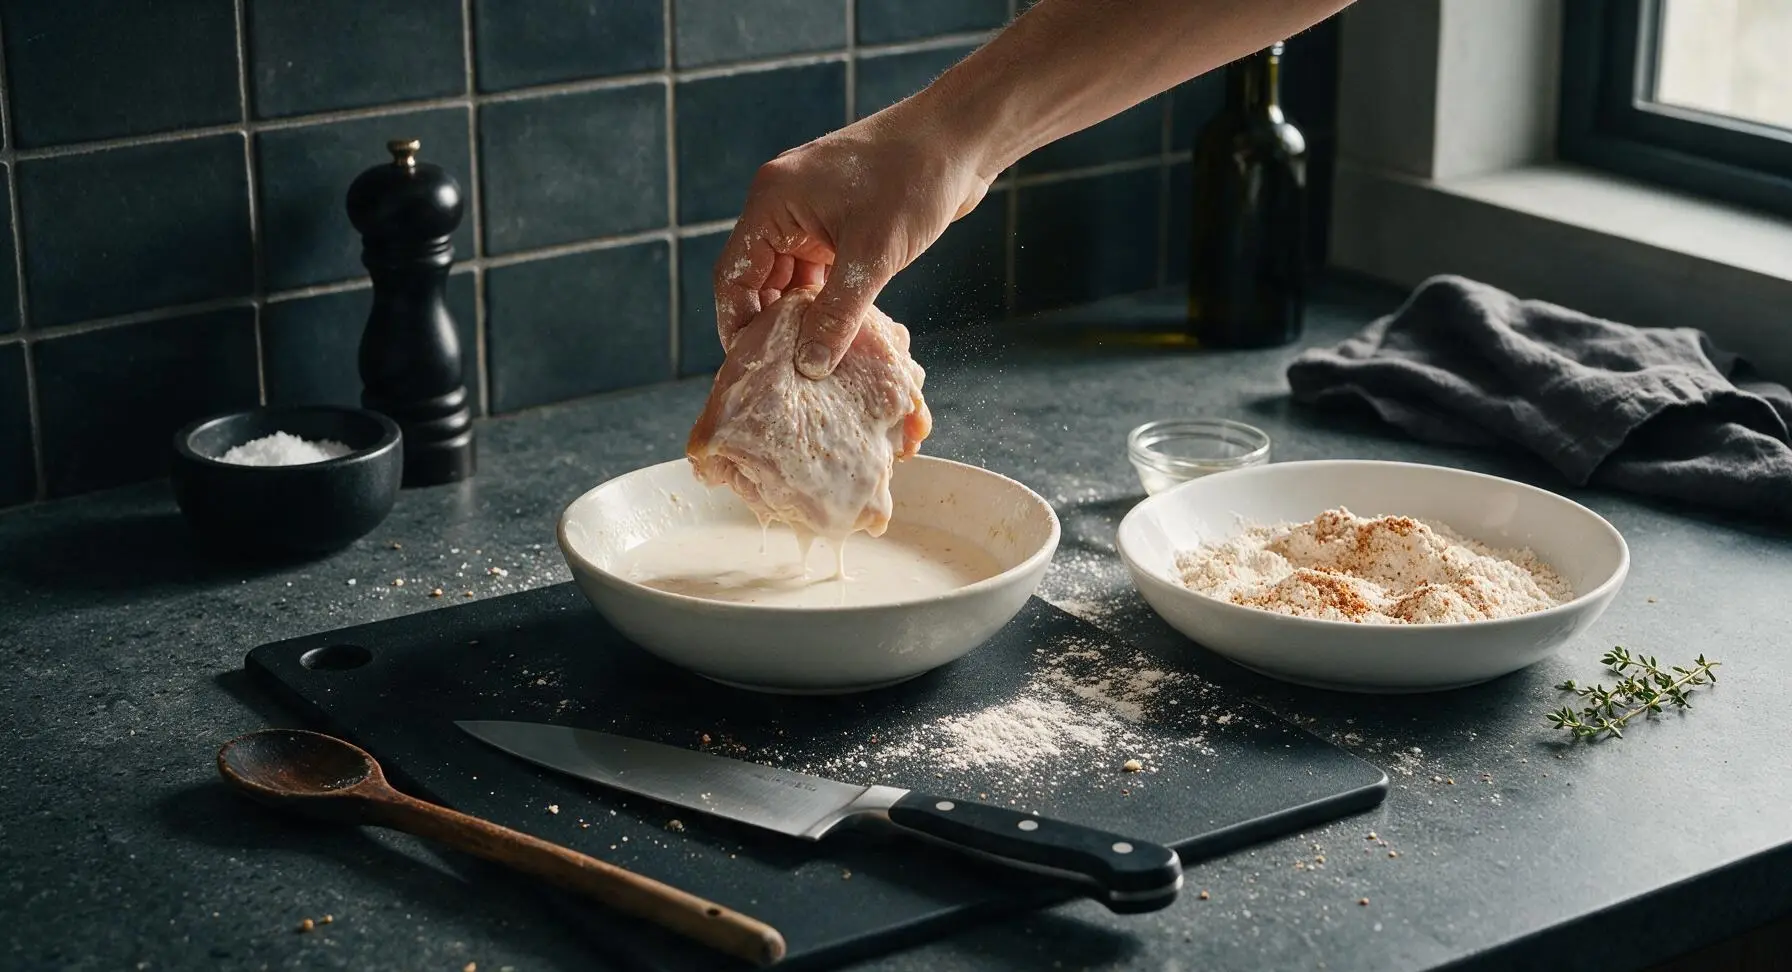
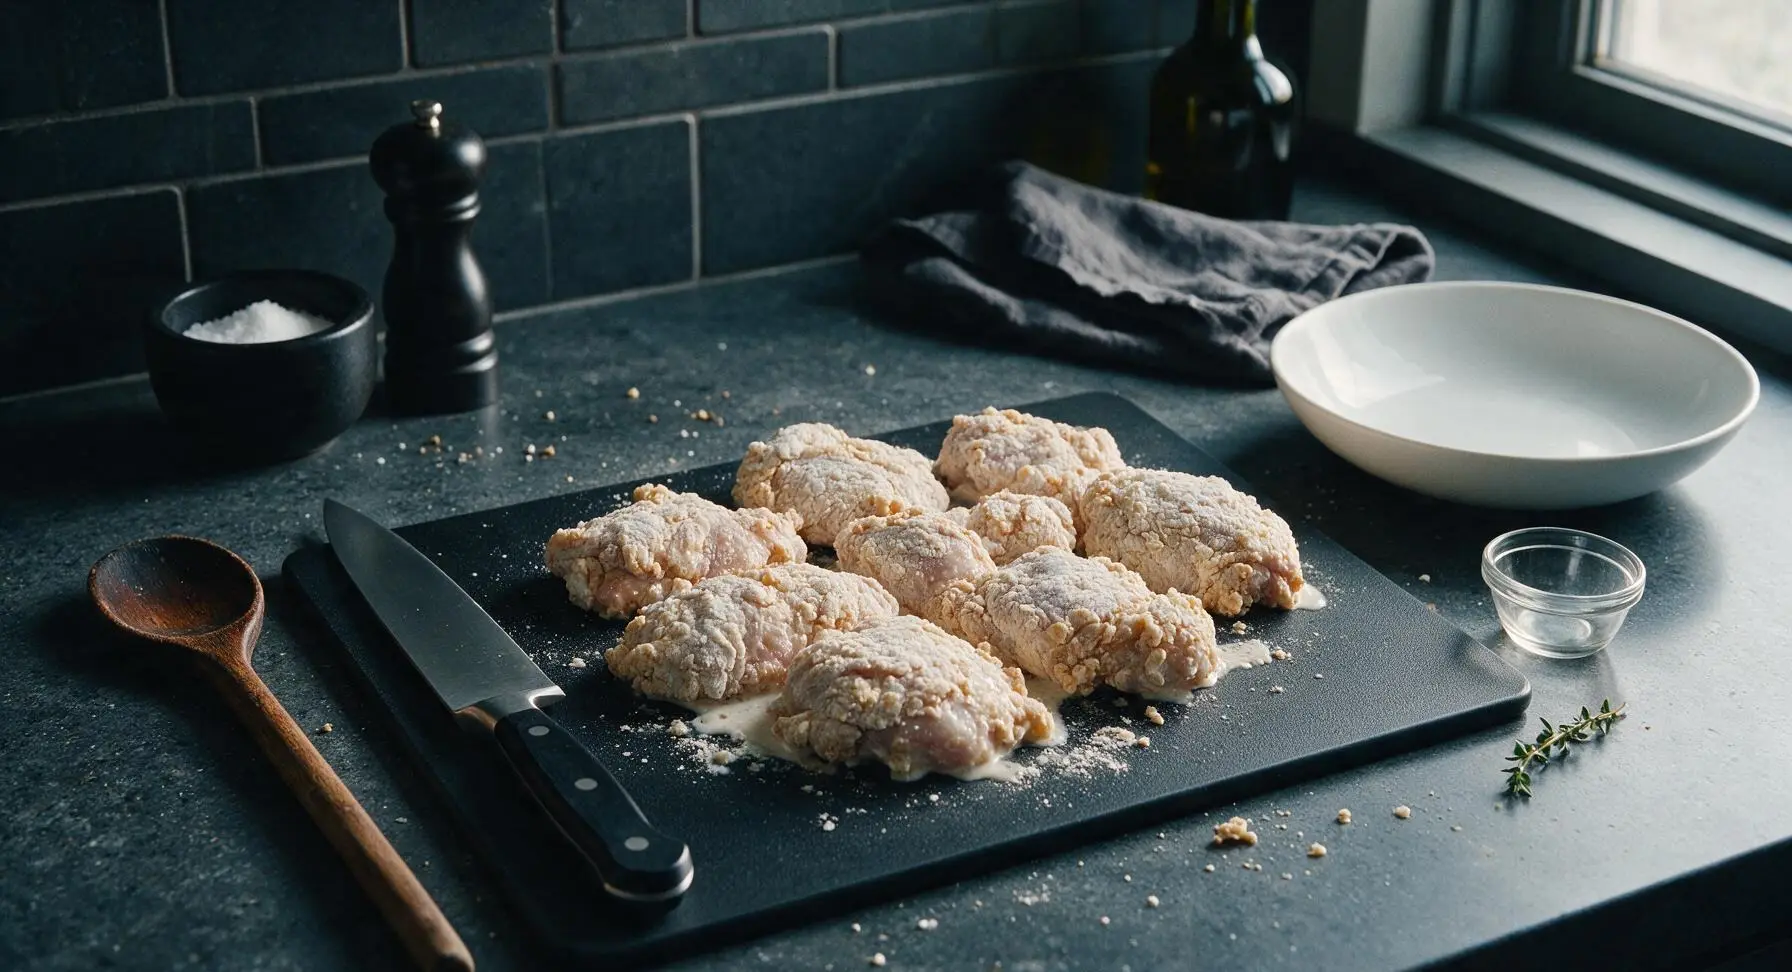
Working one piece at a time, lift chicken from the buttermilk, letting excess buttermilk drip off for 3 seconds. Press the chicken firmly into the dredge mixture on all sides, making sure every crevice, edge, and patch of skin is fully coated. Place coated pieces on a clean section of the cutting board, and let rest for 10 minutes to allow the coating to set; this prevents the crust from falling off during frying.
Step 4
step4:Coat Chicken Evenly
Step 4
step4:Coat Chicken Evenly
5

Heat Frying Oil

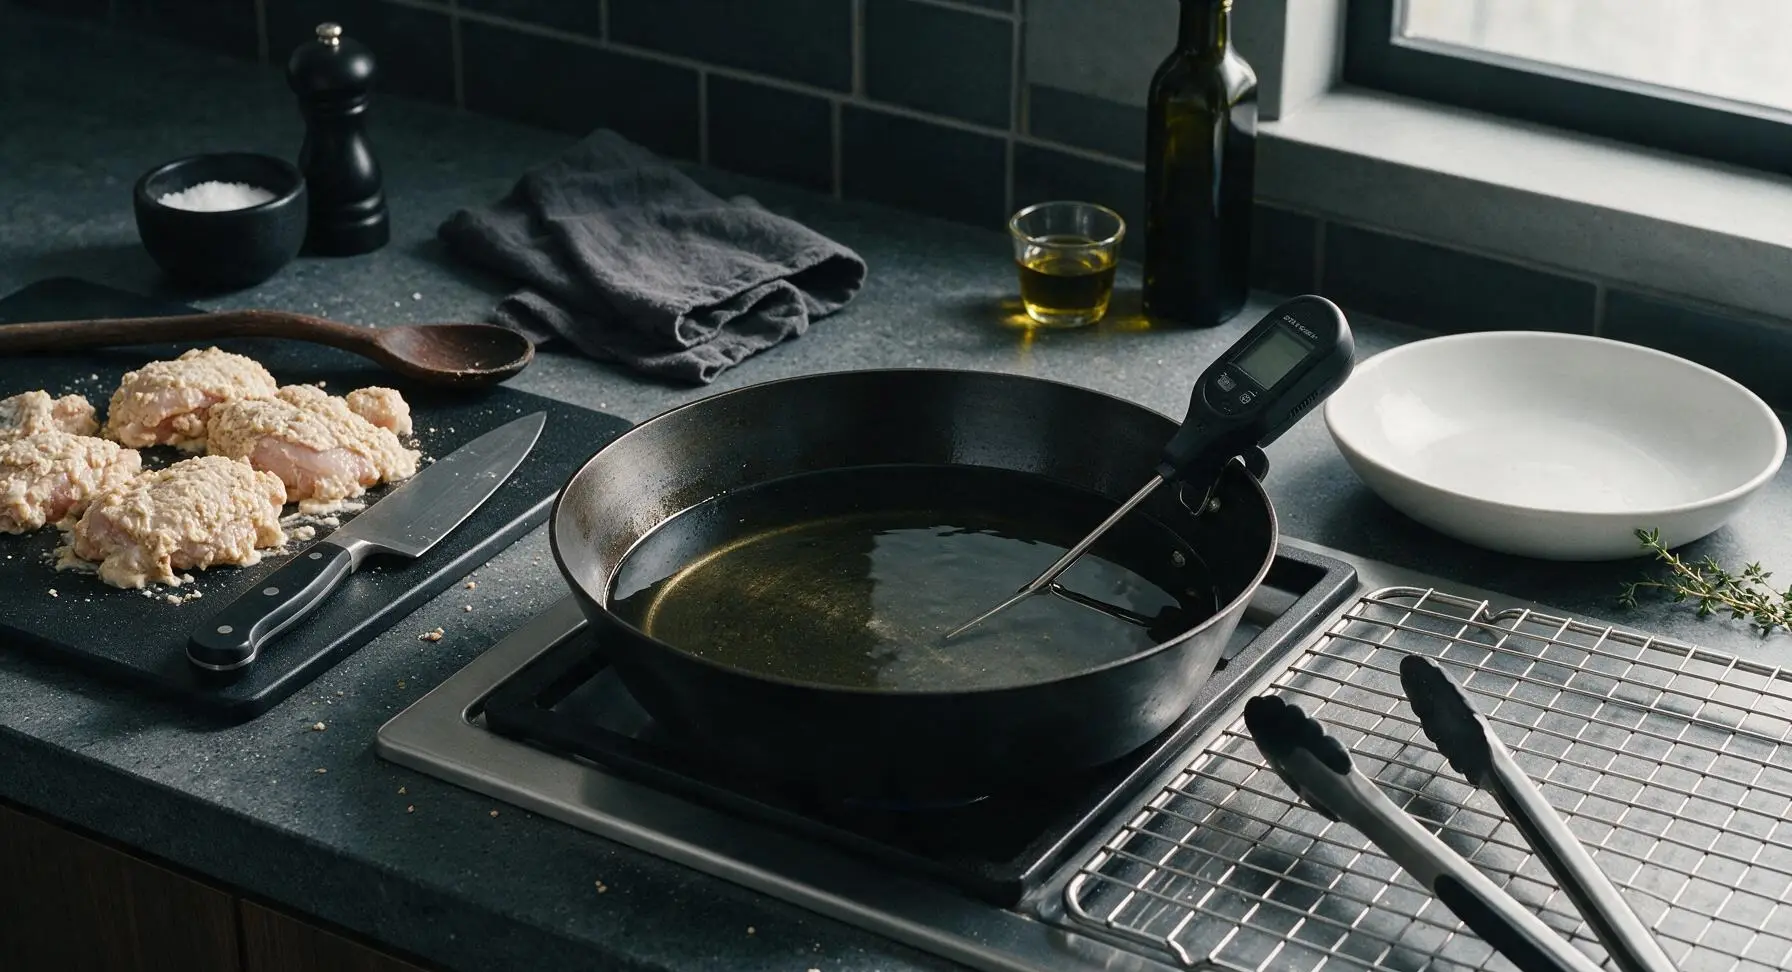
Place the 12-inch matte black carbon steel deep skillet on the stovetop. Pour 4 cups of neutral frying oil into the skillet, until oil reaches 2cm depth up the pan sides. Heat oil over medium heat until it reaches 175C (350F), measured with the digital instant-read thermometer. Do not heat oil above 180C (360F), as the coating will burn before the chicken cooks through.
Step 5
step5:Heat Frying Oil
6

Fry Chicken in Batches

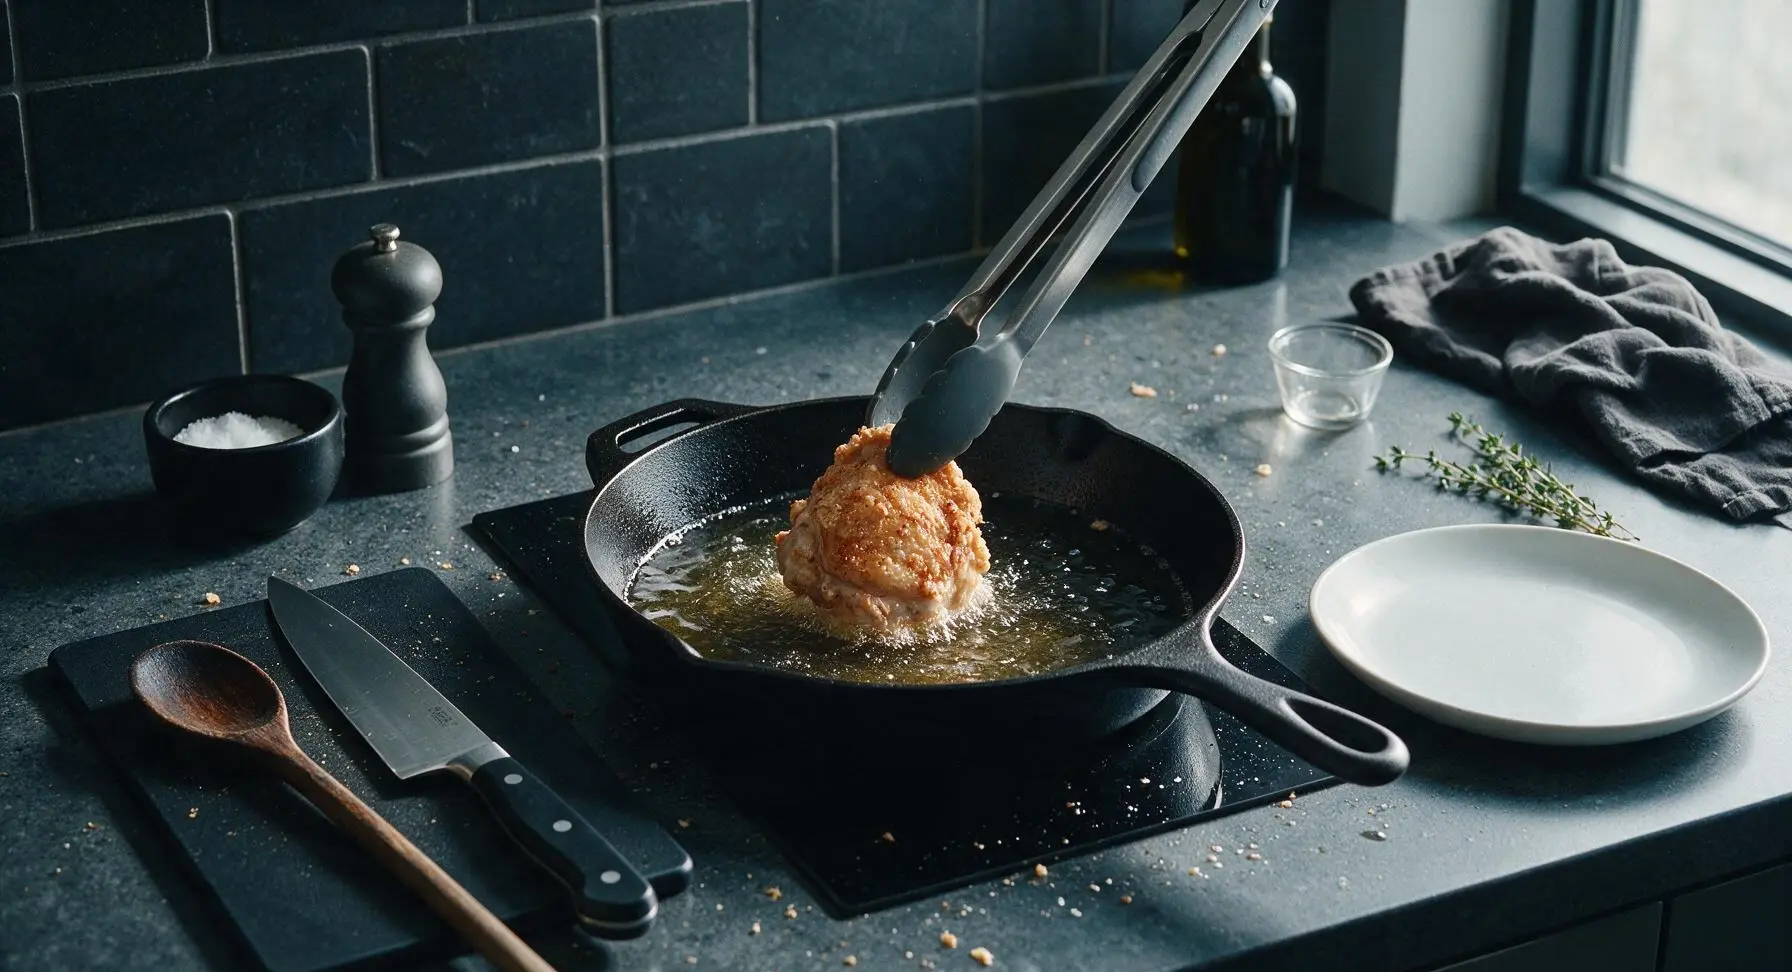
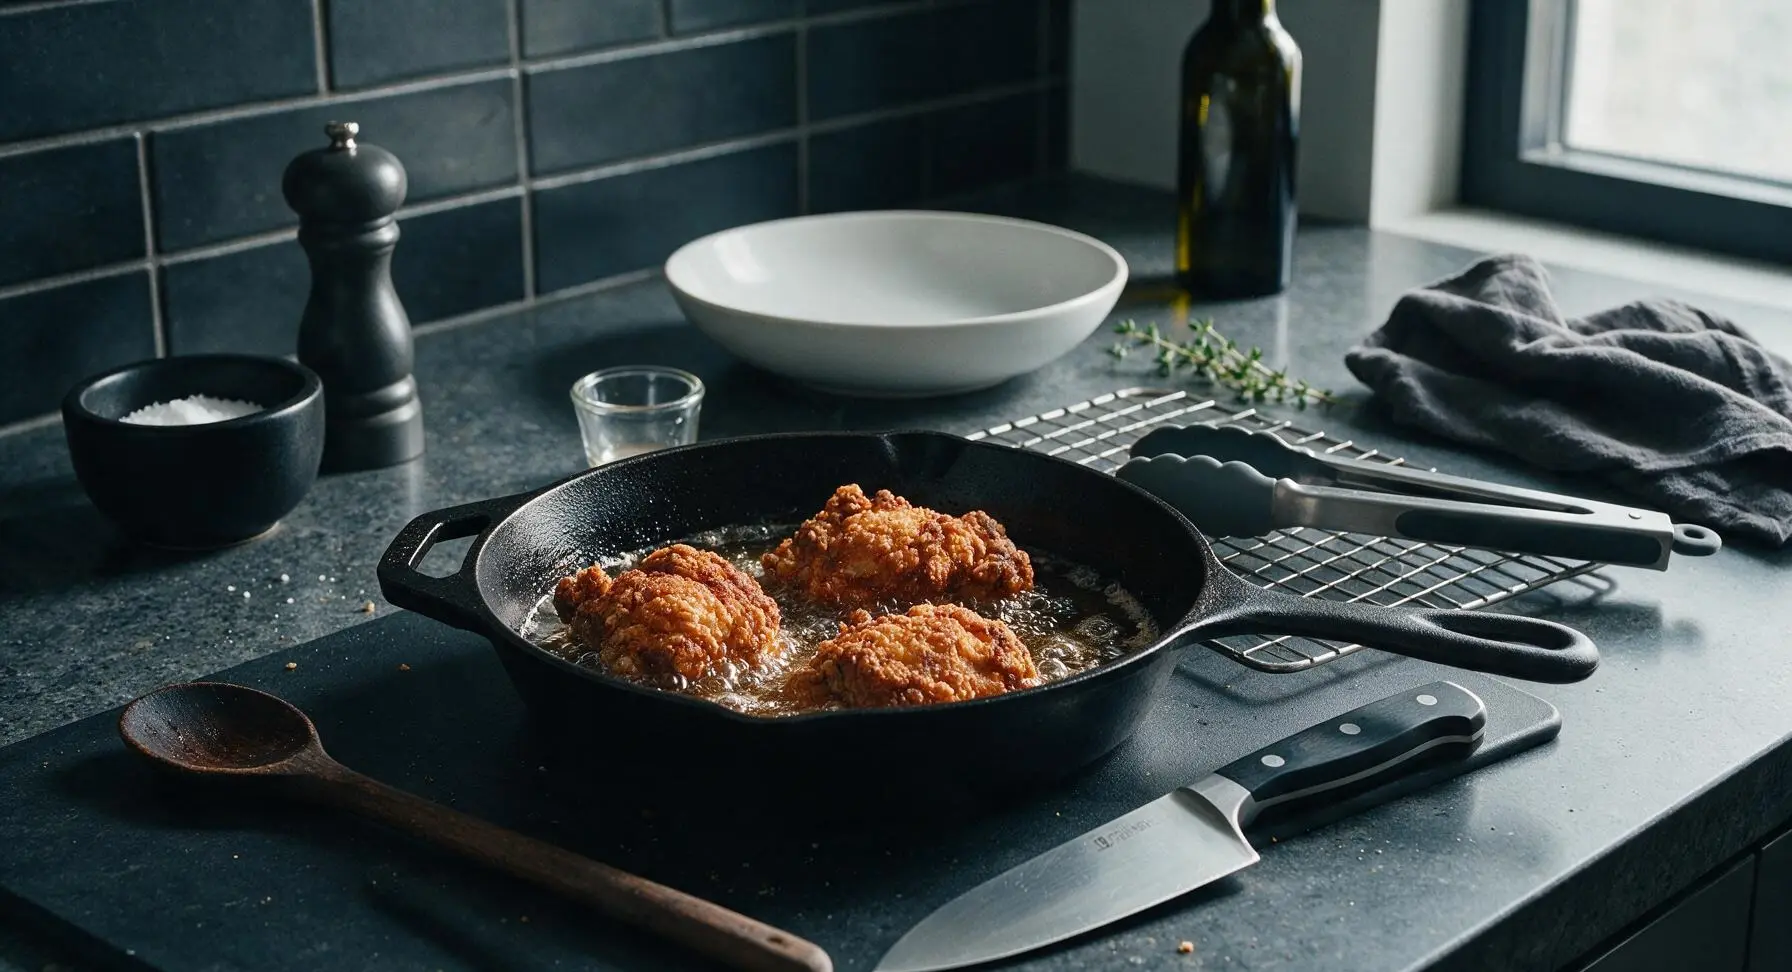
Using the silicone-tipped tongs, carefully lower 2-3 coated chicken pieces into the hot oil, taking care not to overcrowd the pan (overcrowding drops oil temperature and causes soggy crust). Fry for 7-9 minutes per side, until the crust is deep golden brown and crunchy, and the internal temperature of the chicken reaches 75C (165F) on the instant-read thermometer.
Step 6
step6:Fry Chicken in Batches
Step 6
step6:Fry Chicken in Batches
7

Drain Fried Chicken

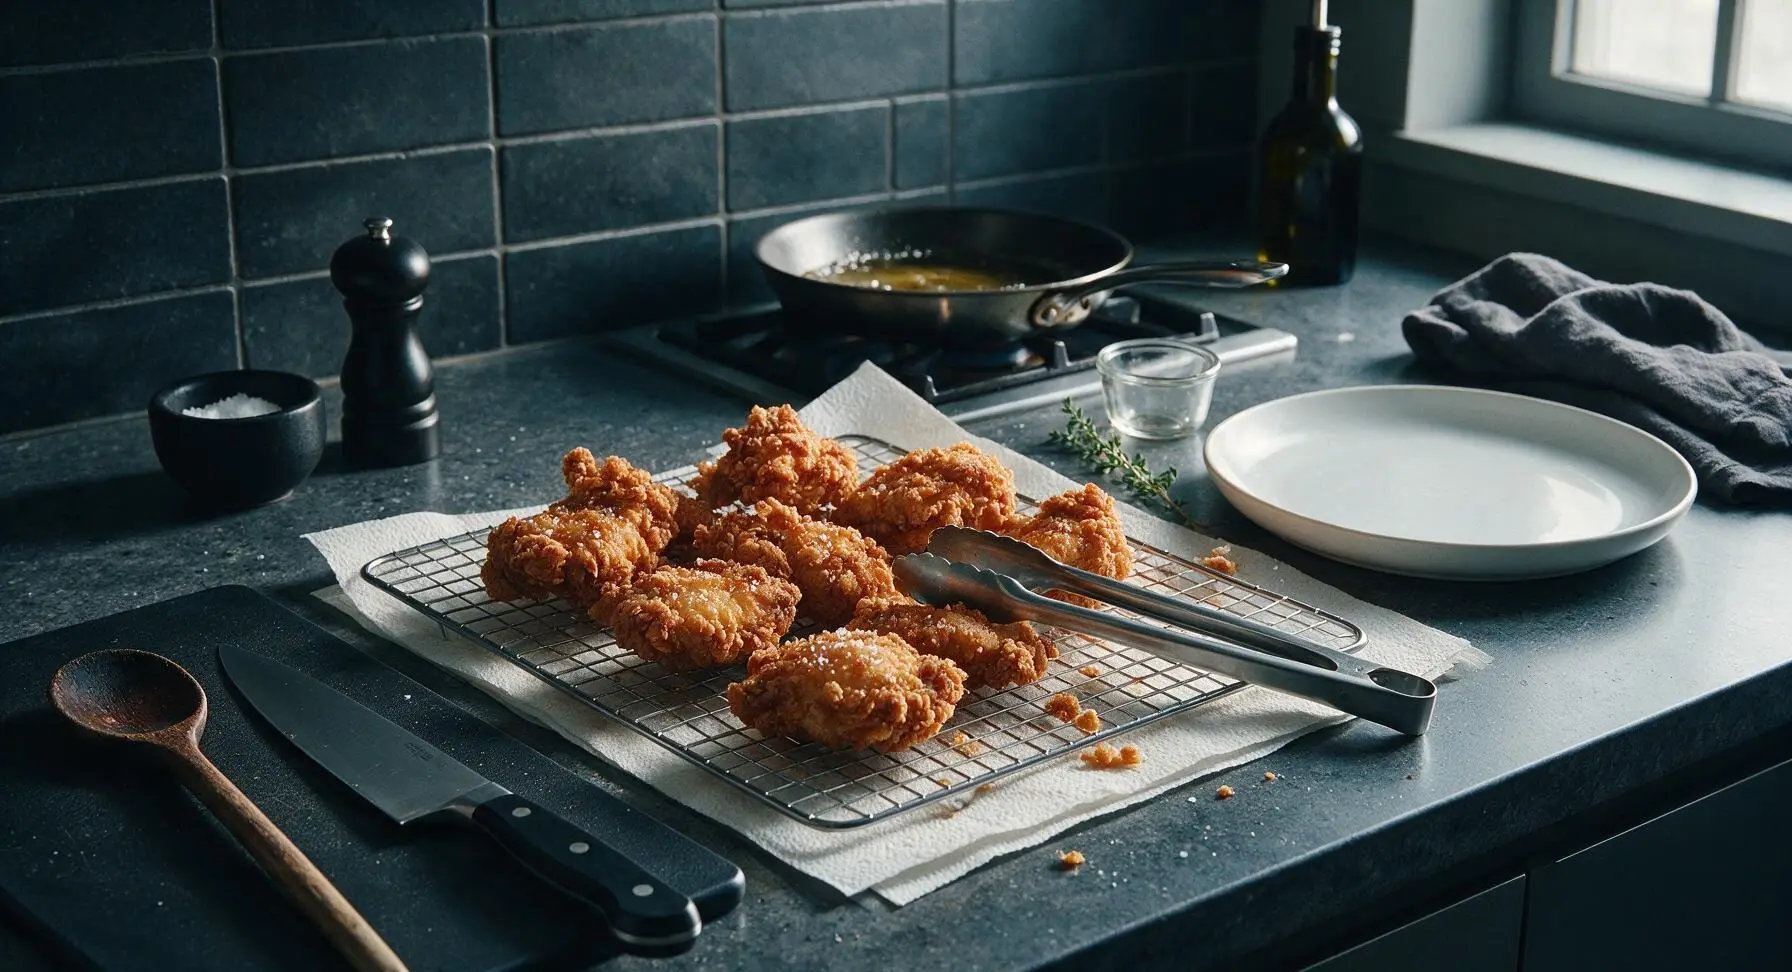
Once cooked, use tongs to lift chicken pieces from the oil, holding them above the pan for 2 seconds to let excess oil drip off. Transfer pieces to the paper-towel lined chrome cooling rack, and immediately sprinkle with a pinch of flaky sea salt while the crust is hot and oil is still glistening. Let rest for 5 minutes before serving; this allows excess oil to drain without making the crust soggy.
Step 7
step7:Drain Fried Chicken
8

Plate and Serve

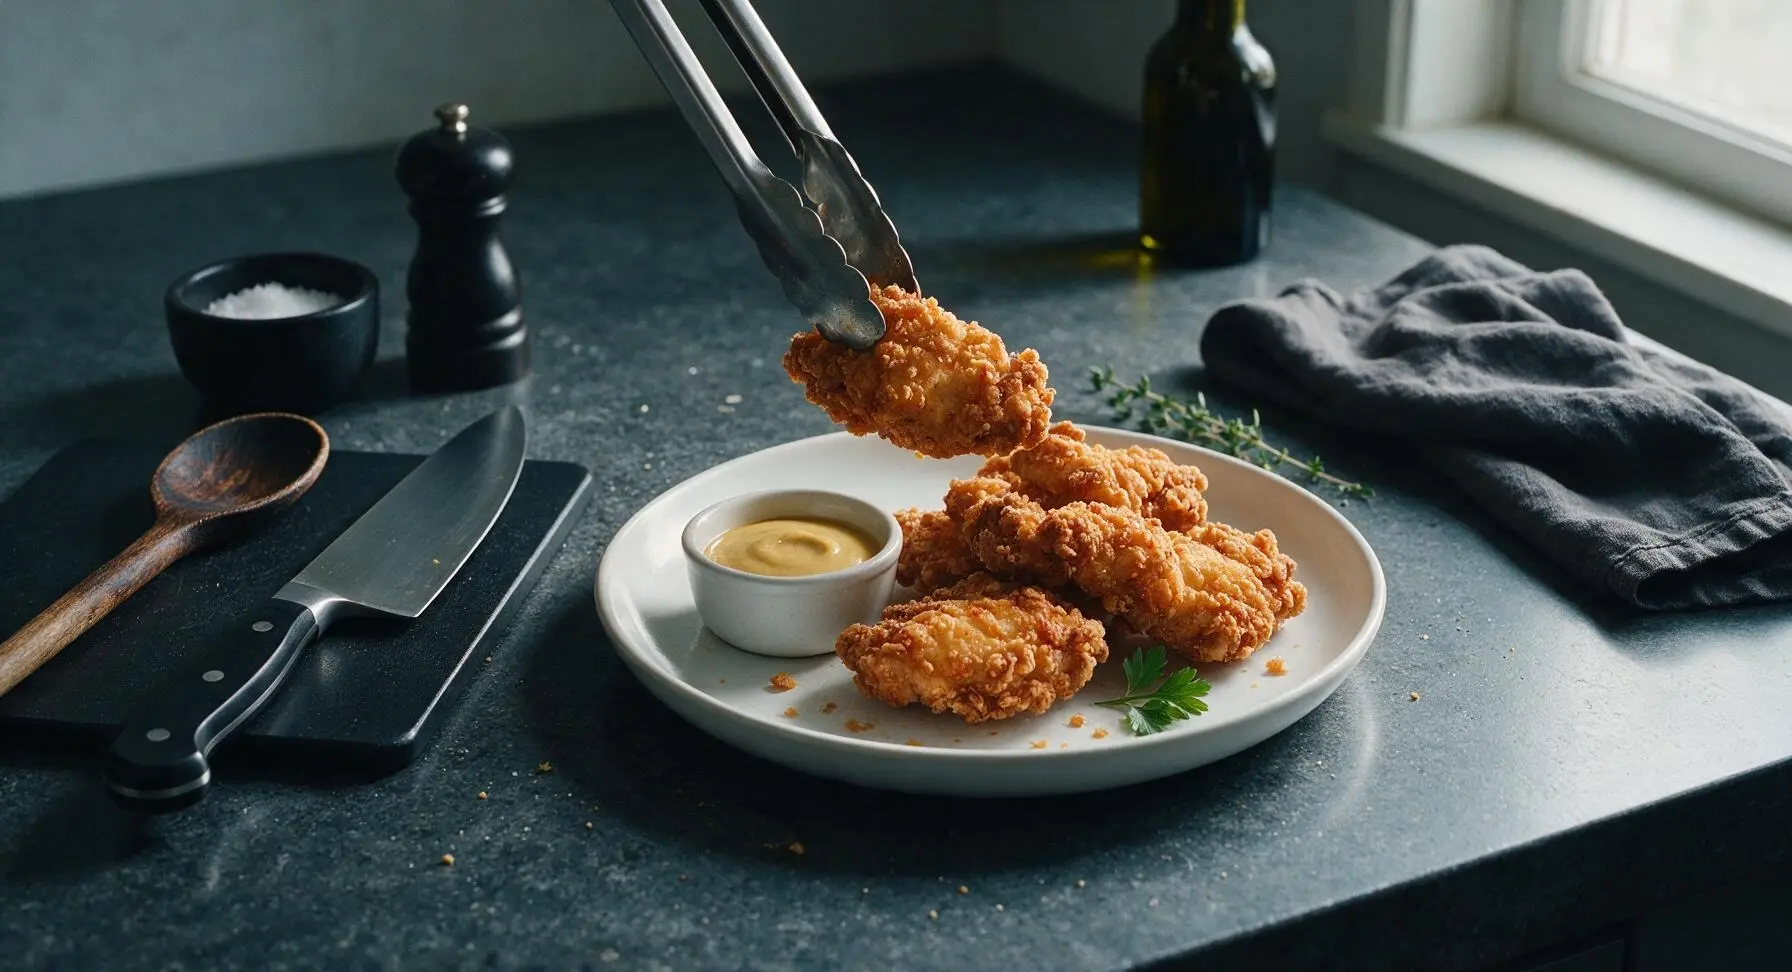
Transfer the rested crunchy chicken pieces to the cream white stoneware dinner plate, piling them loosely. Tuck a sprig of fresh parsley at the edge of the plate for garnish, and fill the small matte white ramekin with honey mustard sauce for dipping. Serve immediately while the crust is at its crunchiest.
Step 8
step8:Plate and Serve

Tips

1.Let dredged chicken rest for 10 minutes before frying: this rest period lets the flour and buttermilk form a tight, adhesive layer that won’t slide off the chicken or separate in hot oil, guaranteeing a fully intact, evenly crunchy crust with no bare spots.
2.Add baking powder to the flour dredge: as the chicken fries, the baking powder releases tiny carbon dioxide bubbles that create a light, shatteringly crisp crust instead of a dense, hard breading. It also promotes even, golden browning across every nook of the chicken surface.
3.Maintain a consistent 175C (350F) oil temperature and never overcrowd the pan: overcrowding drops oil temperature rapidly, which causes excess oil absorption and steam buildup that turns crispy crust soggy. Cook 2-3 pieces at a time, and let oil return to temperature between batches for maximum crunch.


✨ You May Also Like

Main Course
🍜 United Kingdom

A showstopping classic of tender seared beef, savory mushroom duxelles, and crisp prosciutto wrapped in flaky golden puff pastry, baked to juicy perfection.

⏱️ 2 hours 1Main Course ★ 4.7
Main Course
🍜 India

Tender charred marinated chicken simmered in a rich, spiced creamy tomato sauce, this iconic Anglo-Indian curry pairs perfectly with basmati rice or warm naan.

⏱️ 50 minuteMain Course ★ 4.6
Main Course
🍜 Thailand

Classic tangy, sweet, and savory Thai stir-fried rice noodles with shrimp, tofu, and crunchy garnishes, balancing all five core Thai flavor profiles.

⏱️ 30 minuteMain Course ★ 4.5
Main Course
🍜 United Kingdom

Crispy golden beer-battered cod and fluffy double-fried chips, served with tangy tartar sauce and malt vinegar: the timeless, beloved British pub comfort classic.

⏱️ 45 minuteMain Course ★ 4.7
Main Course
🍜 Mexico

Smoky, chile-marinated pork tacos with caramelized pineapple, fresh cilantro, and lime: a beloved classic Mexican street food perfect for casual summer gatherings.

⏱️ 1 hour 45Main Course ★ 4.8
Main Course
🍜 United States

Crunchy Fritos corn chips layered with savory beef chili and melted cheddar, topped with cool, zesty fixings for a beloved, cozy Tex-Mex comfort food.

⏱️ 35 minuteMain Course ★ 4.8

crunchy chicken:Frequently Asked Questions

1.Why do you recommend full-fat buttermilk instead of low-fat or a quick milk-and-vinegar substitute? ▾
Full-fat buttermilk has a balanced lactic acid and fat content that gently tenderizes chicken without making the outer layers mushy, while the fat helps the flour coating stick tight to prevent sogginess. Quick DIY buttermilk substitutes work in a pinch, but they lack the consistent ratio needed for the juiciest, most evenly coated end result.
2.How do I get that shatteringly crisp crust instead of a soggy coating that slides off the chicken? ▾
The trick is two-fold: first, let coated chicken rest 15 to 20 minutes after dredging so the flour and buttermilk form a tight, adhesive layer that won’t slip during frying. Second, mix cornstarch into your all-purpose flour—it cuts gluten formation to create a lighter, crunchier crust that stays crisp even as it cools.
3.Can I use boneless, skinless chicken instead of the called-for bone-in, skin-on pieces? ▾
You absolutely can, but you’ll need to cut fry time by 30 to 40% to avoid dry, overcooked meat, since boneless cuts cook much faster. Keep in mind bone-in, skin-on pieces deliver far juicier results: the bone insulates meat as it cooks, and rendered skin fat adds depth and extra crunch to the crust.
4.What oil temperature gives a golden, crisp crust without undercooking the chicken inside? ▾
Hold your frying oil steady at 350°F (175°C) for the most consistent results. If oil is too hot, the crust will burn before the chicken reaches a safe 165°F internal temp; if it’s too cool, the crust will soak up excess oil and turn greasy and soggy. Use a clip-on candy thermometer to track temp easily.
5.Why is smoked paprika recommended instead of regular sweet paprika for the seasoning mix? ▾
Smoked paprika adds a deep, warm, subtly smoky note that echoes the wood-fried flavor of classic Southern fried chicken without any special equipment. It also gives the crust a richer, warmer golden hue than regular sweet paprika. If you don’t have it, swap in sweet paprika plus 1/4 teaspoon smoked salt per tablespoon of paprika for a similar profile.
6.How long should I marinate chicken in buttermilk for the juiciest, most tender results? ▾
For best results, marinate bone-in chicken pieces in full-fat buttermilk for a minimum of 4 hours, and up to 24 hours, covered in the fridge. Marinating less than 2 hours won’t give the acid time to tenderize the outer meat layers, while marinating longer than 24 hours can turn the chicken’s outer texture unpleasantly mushy.
7.Do I need to double-dredge the chicken to get that advertised extra crunch? ▾
You don’t need a thick double dredge for this recipe, thanks to the cornstarch in the flour mix and the post-dredge resting step. A single, even dredge—pressing the flour firmly into every crevice of the buttermilk-soaked chicken before resting—creates a thin, shatteringly crisp crust instead of a thick, bready coating that can turn soggy.
8.How do I check if the chicken is done without overcooking it to a dry, tough texture? ▾
Skip cutting into chicken to check doneness, which lets all the juicy moisture run out. Instead, use an instant-read thermometer inserted into the thickest part of each piece, away from the bone, to pull chicken once it hits 165°F. Let it rest on a wire rack (not paper towels) for 5 minutes to let juices redistribute.
9.Can I bake this buttermilk fried chicken instead of deep frying it for a lighter version? ▾
You can make a solid crunchy baked version, though it won’t have the exact same shatteringly crisp crust as fried. Set coated chicken on an oil-spritzed wire rack over a baking sheet, spritz the chicken lightly with oil, and bake at 425°F for 35 to 40 minutes, flipping halfway, until it hits 165°F internally.
10.How do I store leftovers and reheat them without ending up with a soggy crust? ▾
Store leftover fried chicken in an airtight container in the fridge for up to 3 days. To reheat without sogginess, place pieces on a wire rack set over a baking sheet and bake at 375°F for 12 to 15 minutes, until the crust is crisp again and internal temp hits 165°F. Skip the microwave—it turns crust rubbery every time.
11.Should I let excess buttermilk drip off chicken before dredging, or go straight from marinade to flour? ▾
Let excess buttermilk drip off each piece for 2 to 3 seconds before dredging in the seasoned flour and cornstarch mix. If too much thick, gloppy buttermilk clings to the chicken, the coating will turn thick and doughy instead of light and crisp. You only need a thin, even layer of buttermilk to help the flour adhere without clumping.

Comments (5)

2 days ago

OMG this fried chicken is a total game changer! I was nervous the crust wouldn’t stay crispy because every other fried chicken recipe I’ve tried gets soggy 5 minutes out of the fryer, but this? CRUNCH you can hear across the dining room. My kids devoured 3 pieces each and asked when I’m making it again. Perfect for our weekly Sunday dinner, already planning to make a double batch for my neighbor’s potluck next weekend!

yesterday

Wait, how long did you let the chicken sit in the buttermilk brine? I’m making this for game night tomorrow and don’t want to cut corners and end up with sad, soggy chicken!

2 hours ago

So glad your family loved it, Molly! Quick tip for your potluck: keep the cooked chicken on a wire rack set over a baking sheet in a 200°F oven for up to an hour, and it’ll stay perfectly crunchy — no soggy crust guaranteed. And to answer your question Jake, 4 hours minimum in the buttermilk brine works great, but letting it sit overnight is even better for extra juicy, tender meat!

1 week ago

Took me a little longer to prep than I expected because I’ve never fried chicken at home before, but the end result was SO good. I did accidentally add a little too much paprika to the flour mix, but it gave it a nice little kick that my partner loved. Only note is that I had to adjust my fry temp a bit because my stove runs hot — kept it at 350°F instead of 375°F and it cooked perfectly in 20 minutes just like the recipe said.

5 days ago

Great call adjusting the temp for your stove, Lindsey! Stove and fryer temps can vary a lot between kitchens, so keeping a candy thermometer handy to check oil temp always helps get that perfect golden crunch without burning the crust. So happy you and your partner enjoyed the recipe!

30 minutes ago

Meal prepped this for the week and I’m shocked how well the crunch held up even after reheating in the air fryer! Usually meal prep fried chicken is a sad, soggy mess, but this tasted almost as good as it did fresh out of the oil. Will be adding this to my regular rotation for sure.

3 days ago

Made this for my kid’s soccer team potluck last weekend and every single parent asked for the recipe! The crunch is unreal, I added a quarter cup of cornstarch to the flour mix like I saw in a tip on another fried chicken recipe and it turned out perfect. Only con is my kitchen smelled like fried oil for two days, but it was 100% worth it.

2 days ago

Oh the cornstarch trick is chef’s kiss! I did that too when I made this last week and my crust didn’t slip off the chicken at all, which is always my biggest fried chicken fail.

just now

Tried this last night after seeing it pop up on my feed and wow, way better than the fast food fried chicken I usually grab on Friday nights. The buttermilk brine makes the chicken so juicy, I was worried I’d overcook the thighs but they came out perfectly tender with that insane crunchy crust. Definitely saving this recipe for summer cookouts.



