
Daechang Ribs
intro
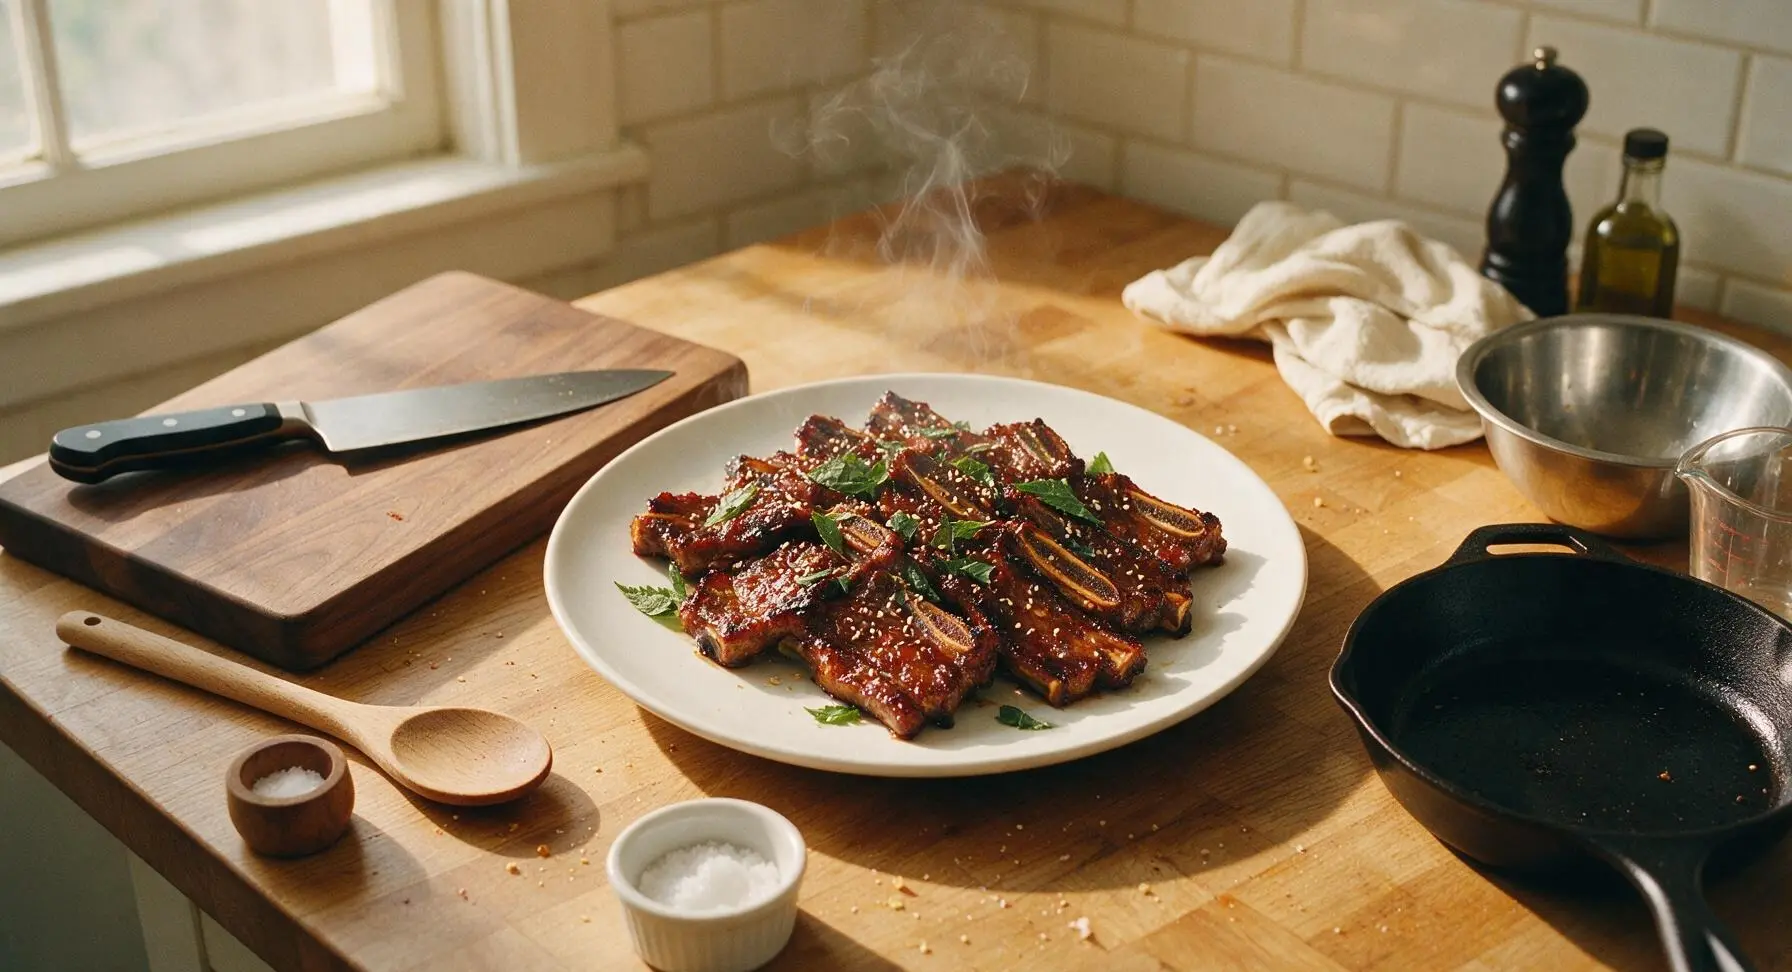
Rich, caramelized Korean marinated beef short ribs with glossy charred edges, savory-sweet depth, and the luxe, fatty savor that echoes classic daechang, perfect for summer grilling.
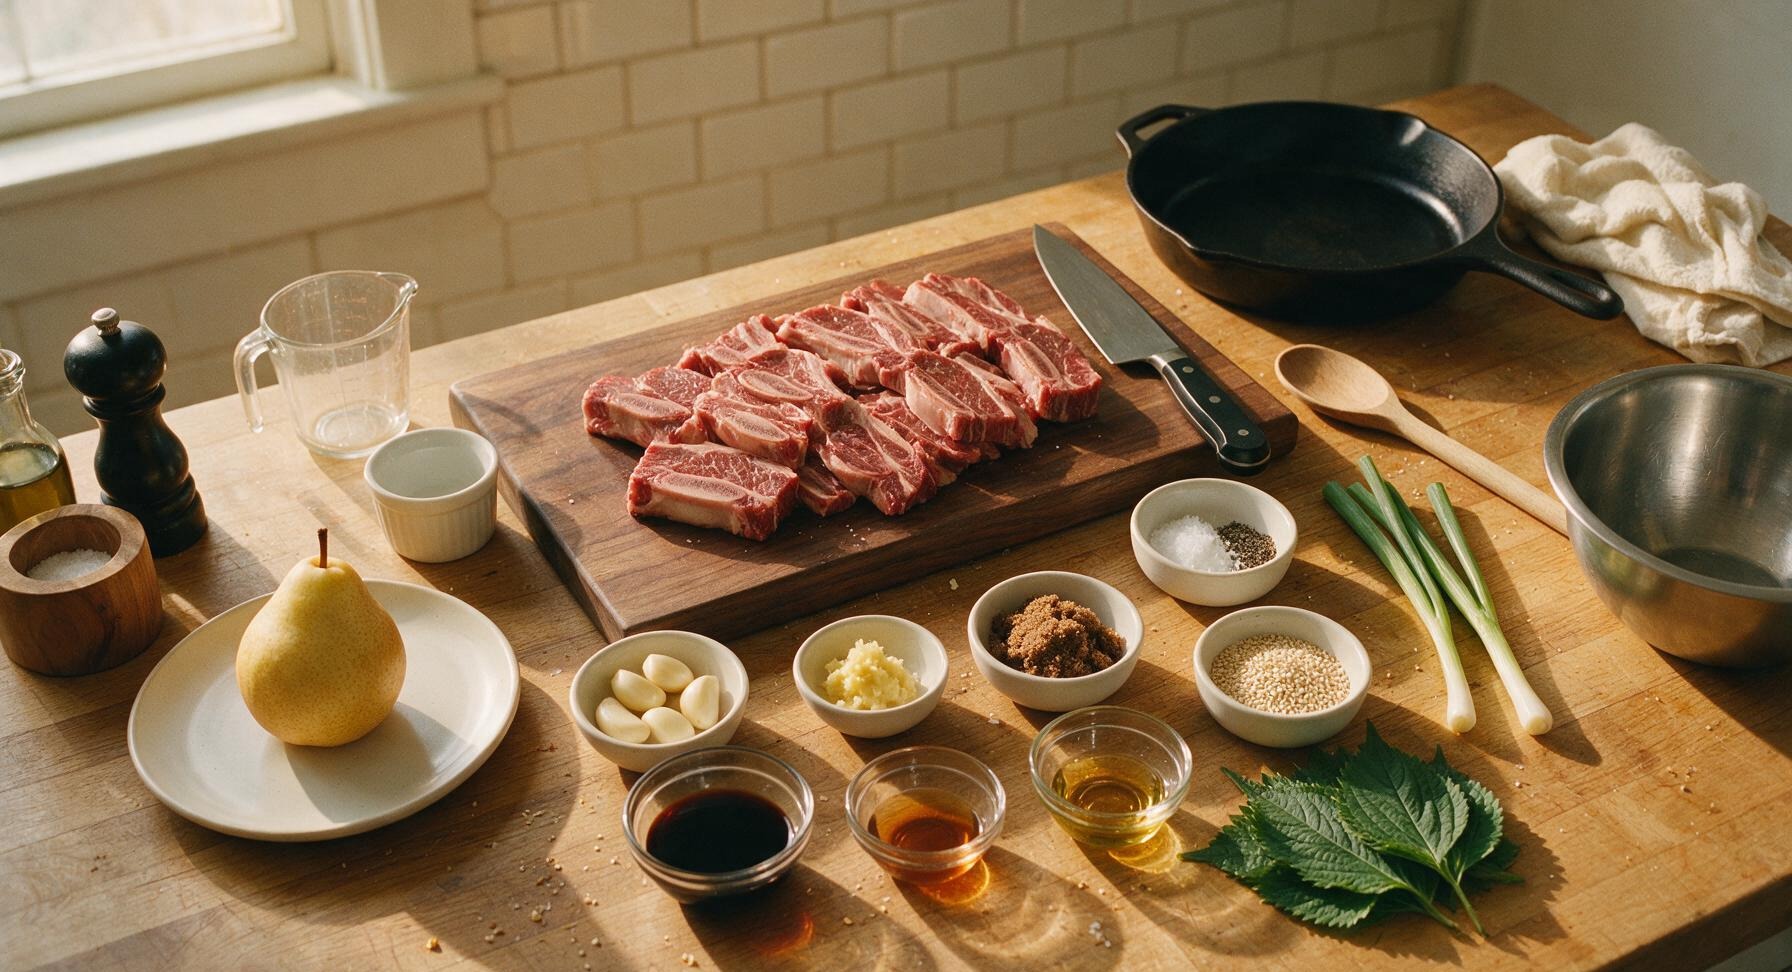
Ingredients
Steps
Trim and Score Ribs
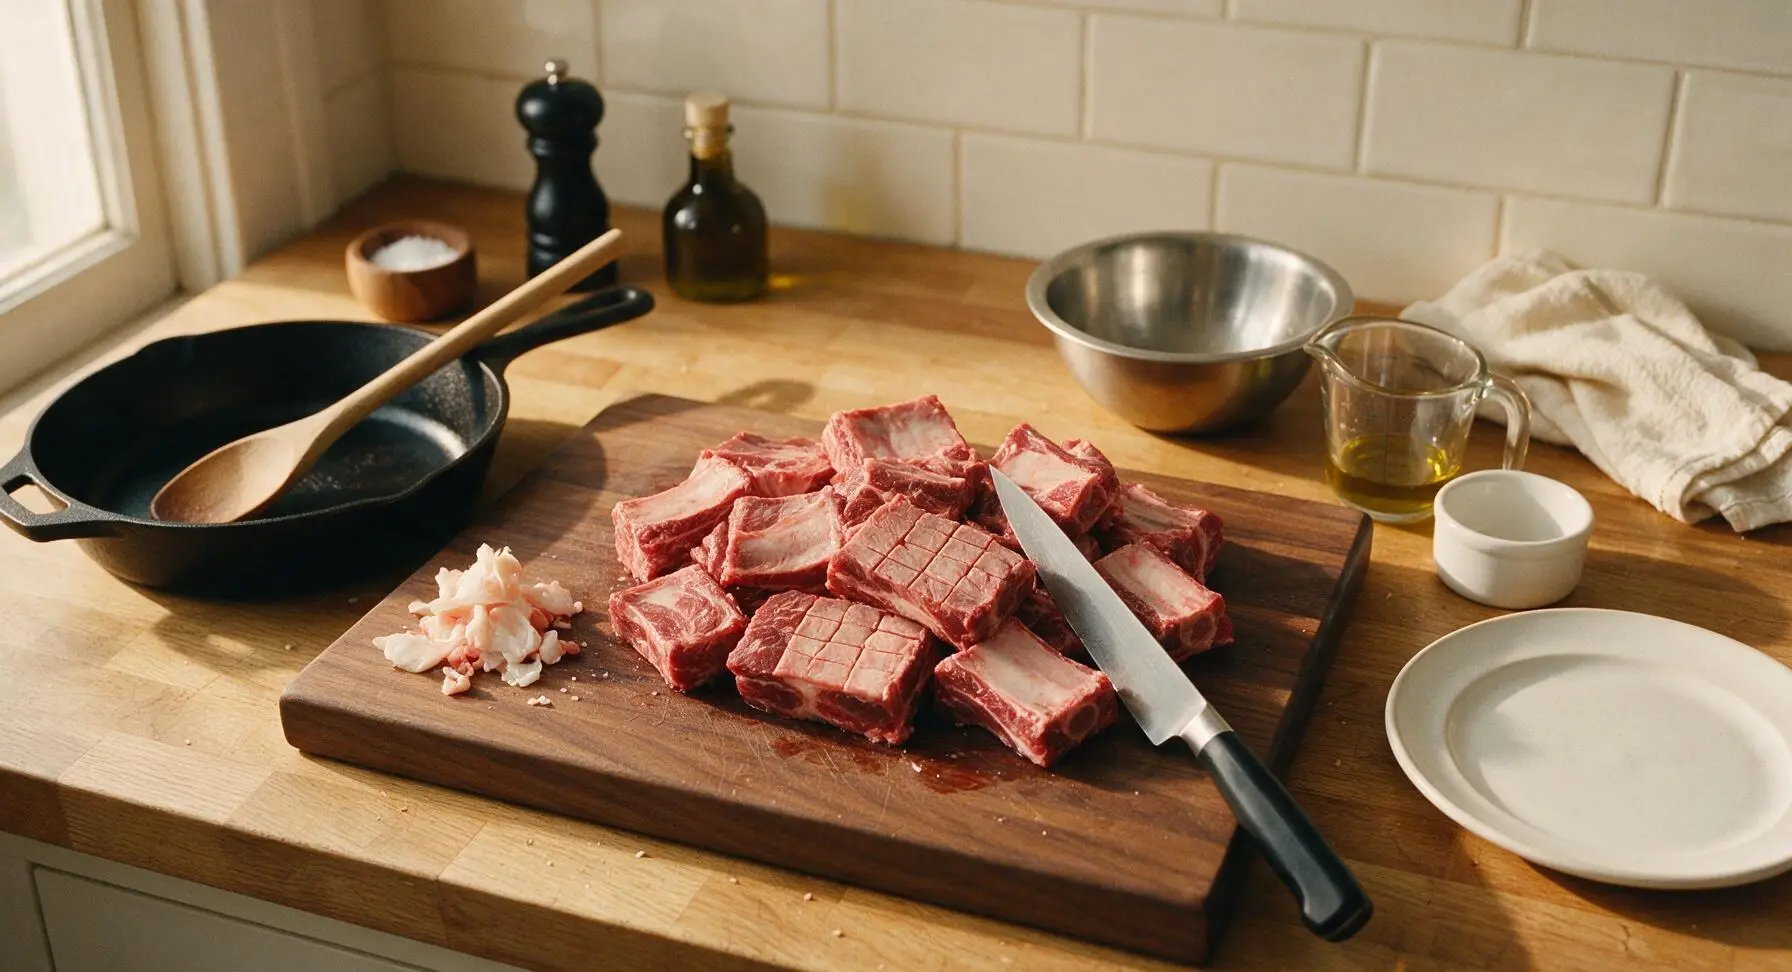
Place the 1kg bone-in beef short ribs on the walnut cutting board. Use the 8-inch chef knife to trim away any tough silver skin and hard, dense fat deposits, leaving a 3mm layer of soft marbled fat for rich, daechang-like savoriness. Score the meaty side of each rib in a 1cm crosshatch pattern, cutting only 5mm deep (do not cut all the way to the bone) to help the marinade penetrate deeply. Pat all surfaces of the ribs completely dry with a corner of the fixed linen towel.
Mix Marinade Base
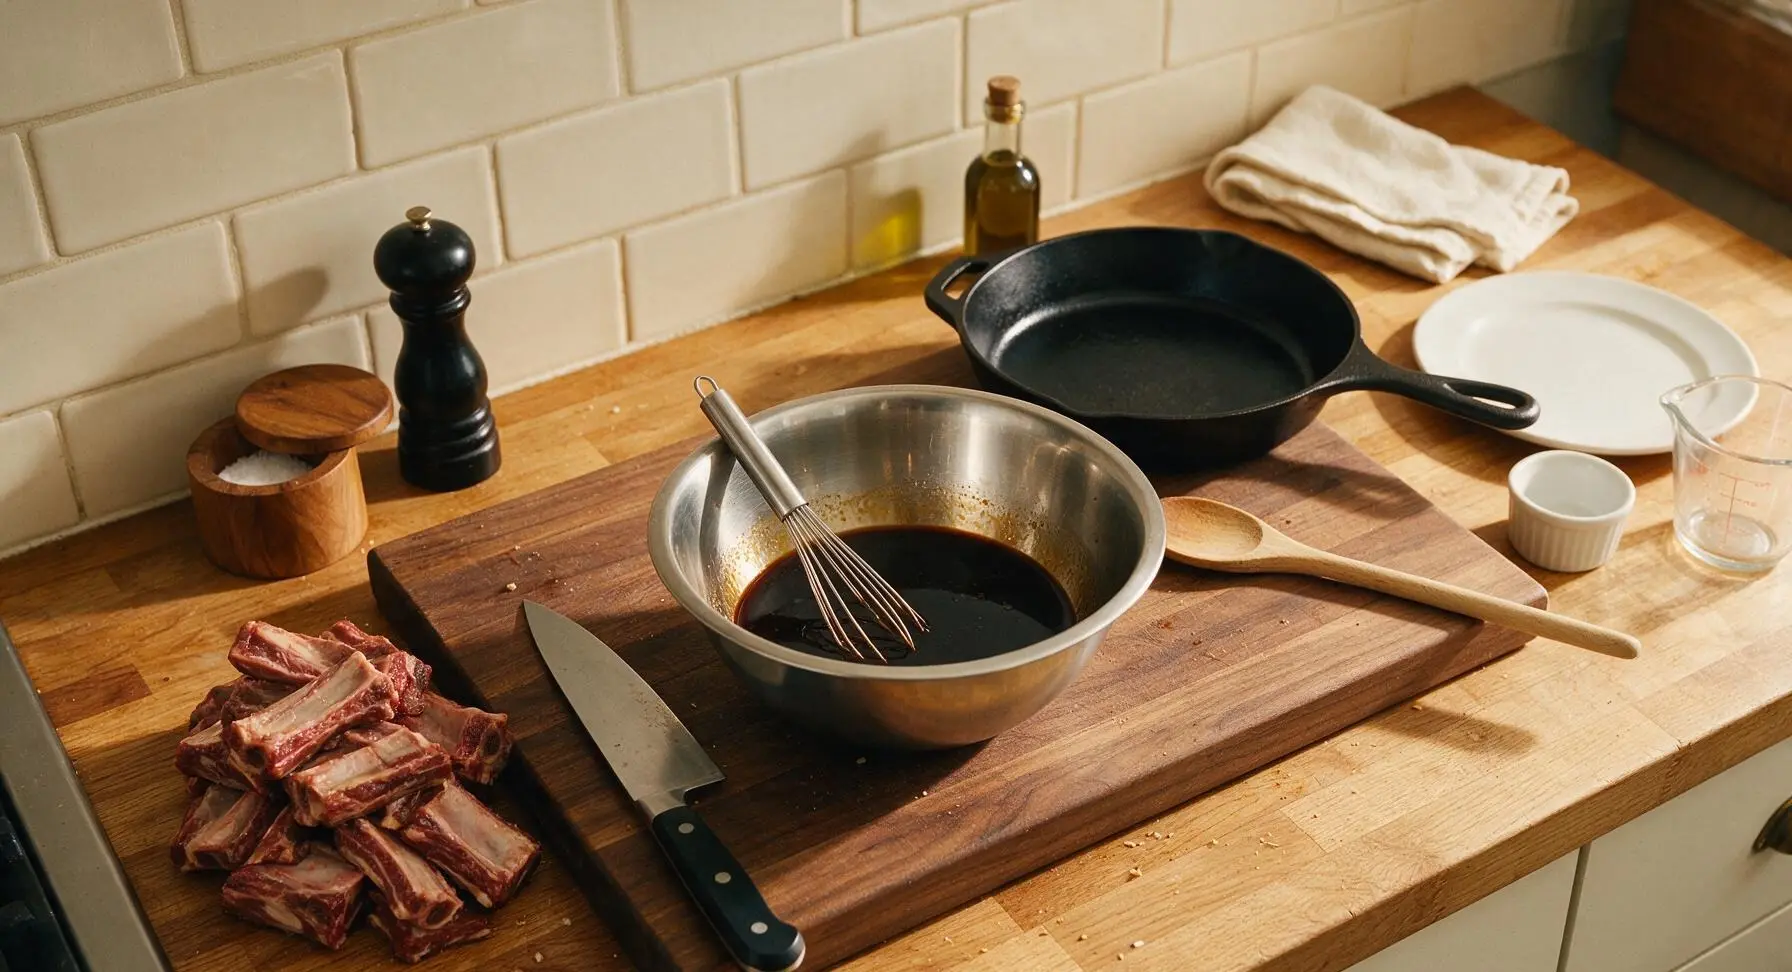
In the medium 1.5L stainless steel mixing bowl, combine 120ml low-sodium soy sauce, 3 tbsp dark brown sugar, 3 tbsp mirin, 1 tsp coarse sea salt, and 1 tsp ground black pepper. Use the small stainless steel whisk to stir the mixture for 1 full minute, until all brown sugar granules are fully dissolved and the liquid is smooth, with no grit at the bottom of the bowl.
Grate Pear and Aromatics
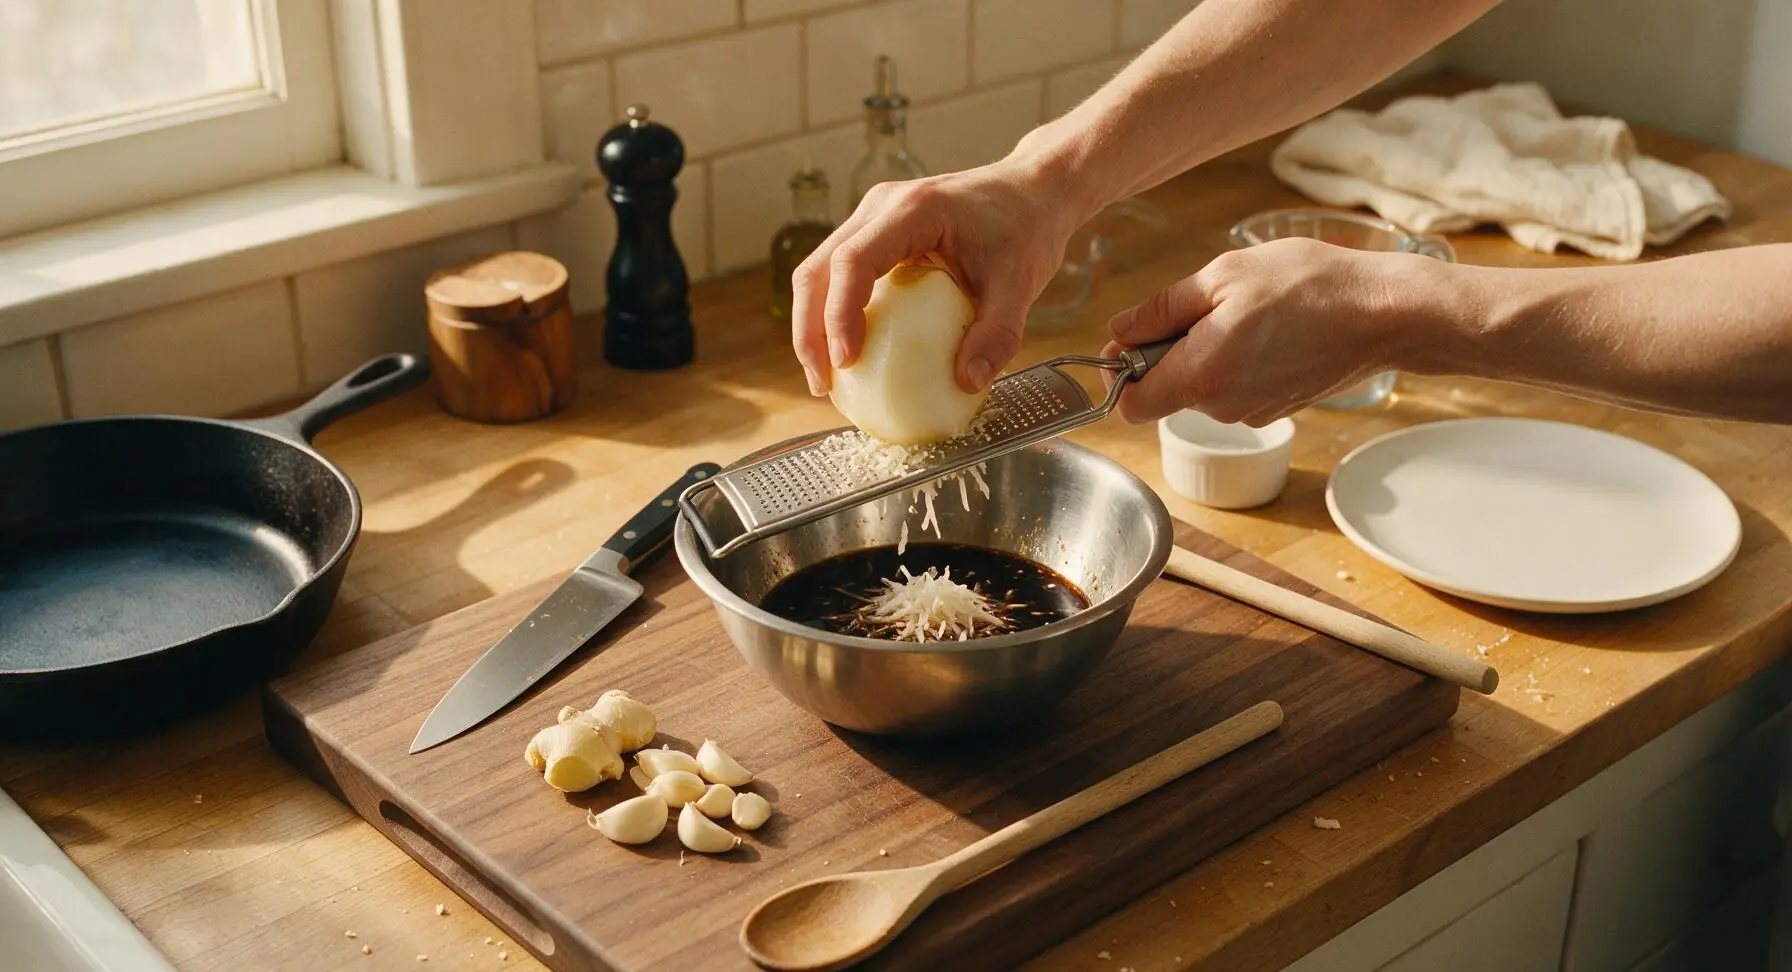
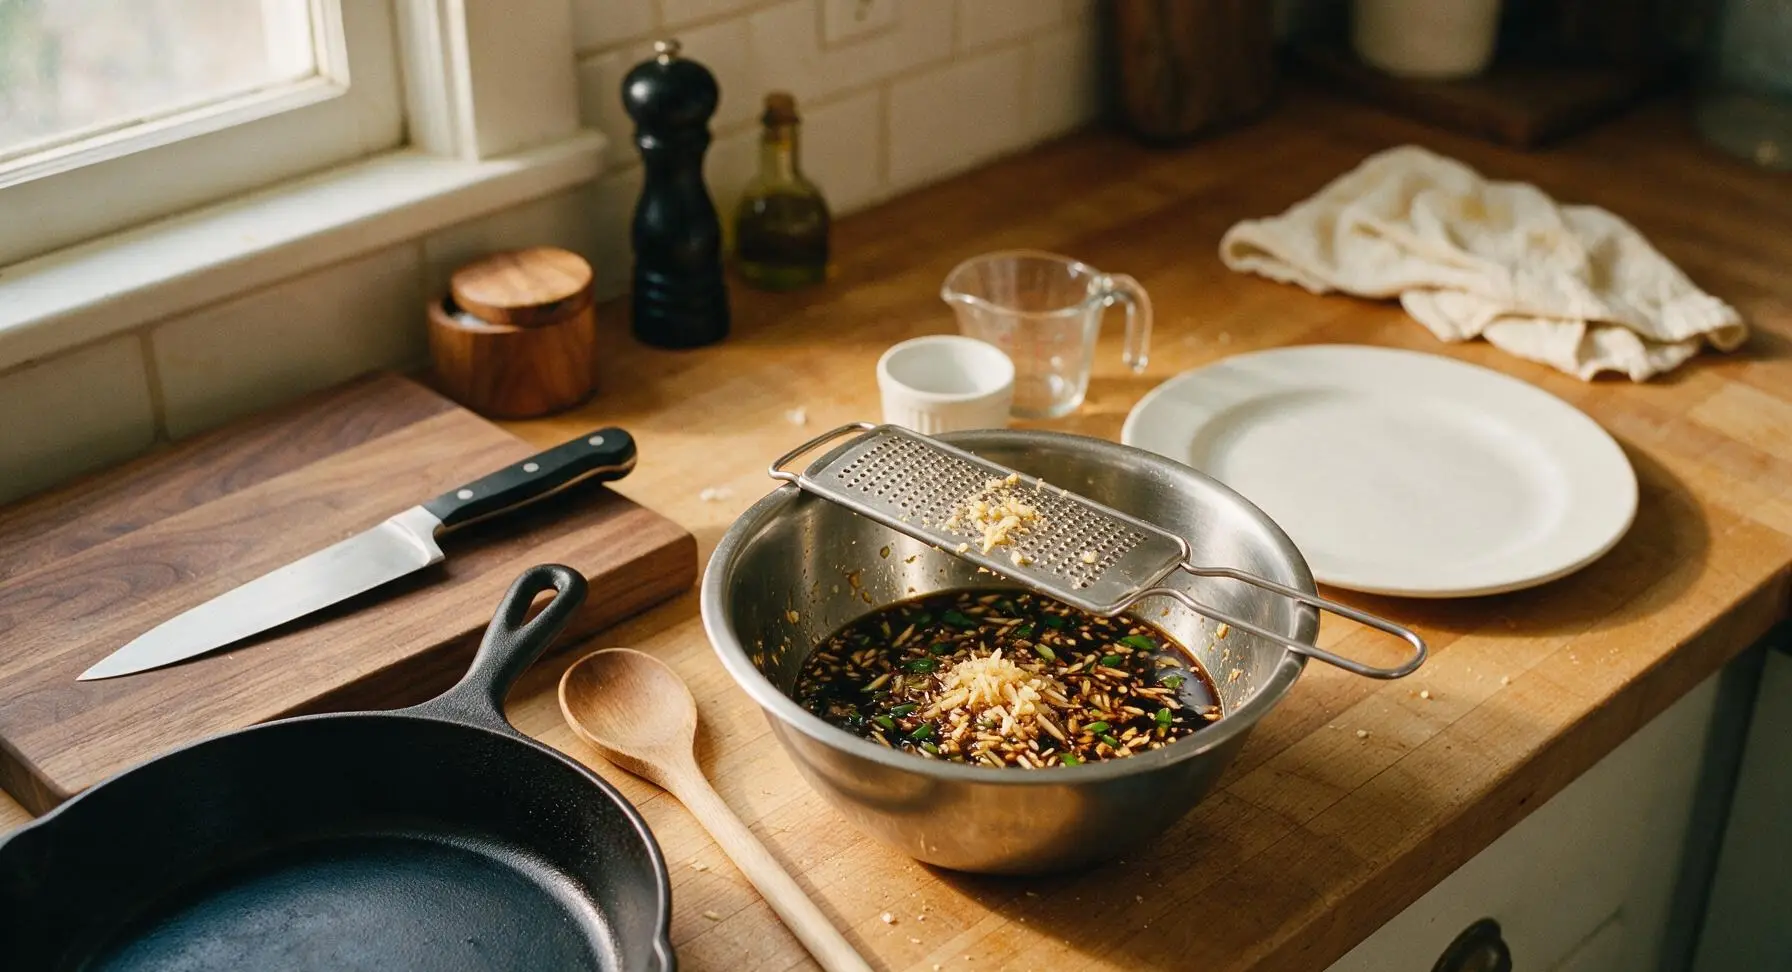
Set the fine-mesh stainless steel hand grater over the mixing bowl with the marinade base. Peel the Korean pear, garlic cloves, and fresh ginger, then grate all three directly into the marinade (discard the pear core and any tough fibrous ginger bits). Stir in 2 tbsp of chopped scallion whites and 1 tbsp of toasted sesame oil, mixing until the pale golden grated pear and green scallion bits are evenly distributed throughout the dark marinade.
Marinate the Ribs
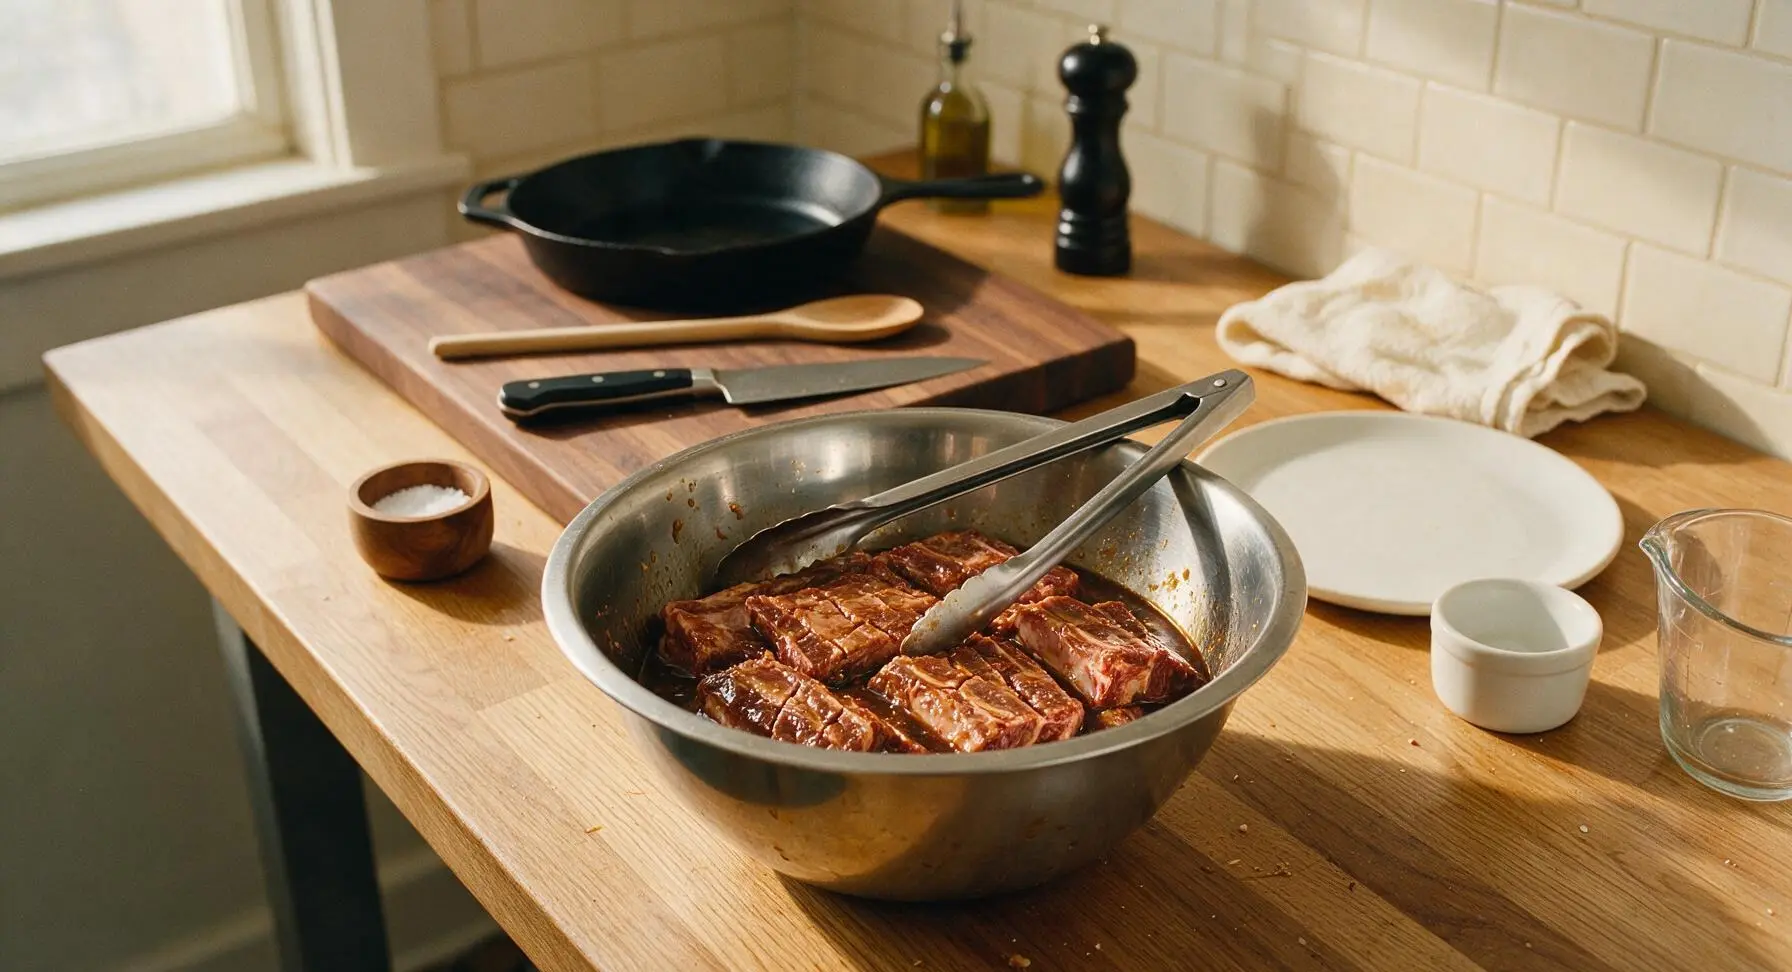
Transfer the dried, scored short ribs to the large 3L stainless steel mixing bowl. Pour the entire finished marinade over the ribs, then use the long stainless steel tongs to turn each rib until every surface is fully coated in marinade. Press the ribs down so they are fully submerged under the liquid, then cover the bowl tightly and refrigerate for a minimum of 4 hours, ideally 8-12 hours (overnight) for maximum tenderness and flavor. Remove the ribs from the fridge 20 minutes before cooking to bring them to room temperature for even cooking.
Preheat Grill Pan
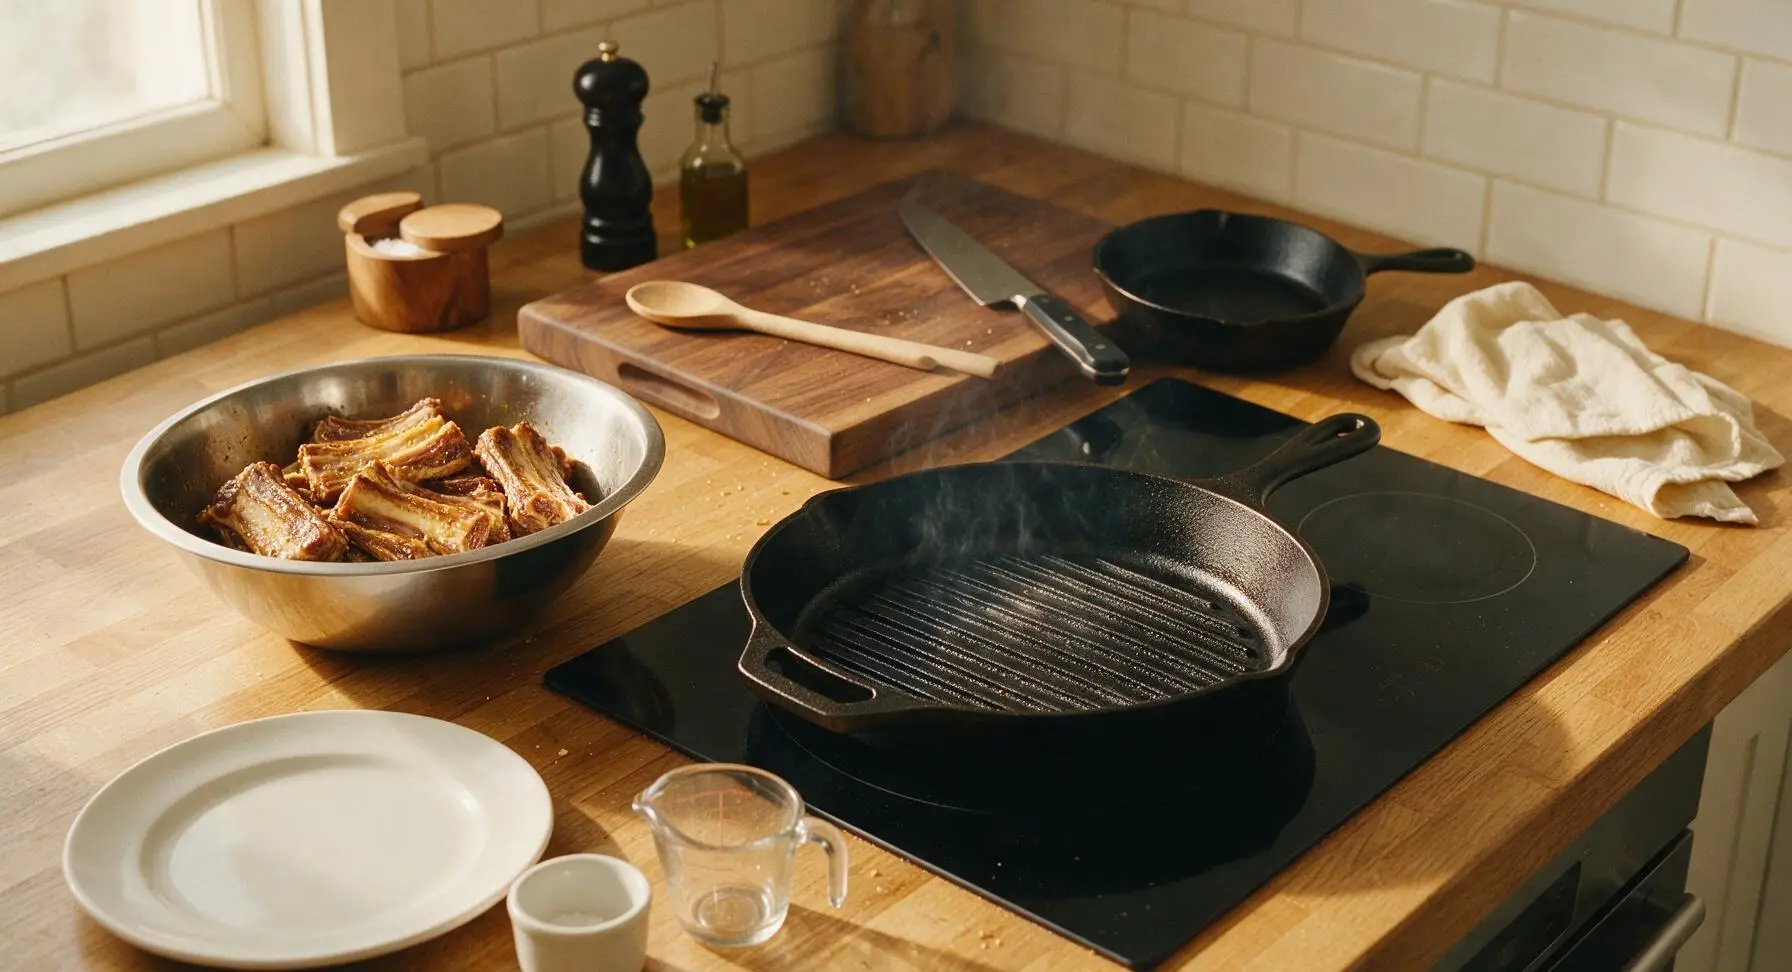
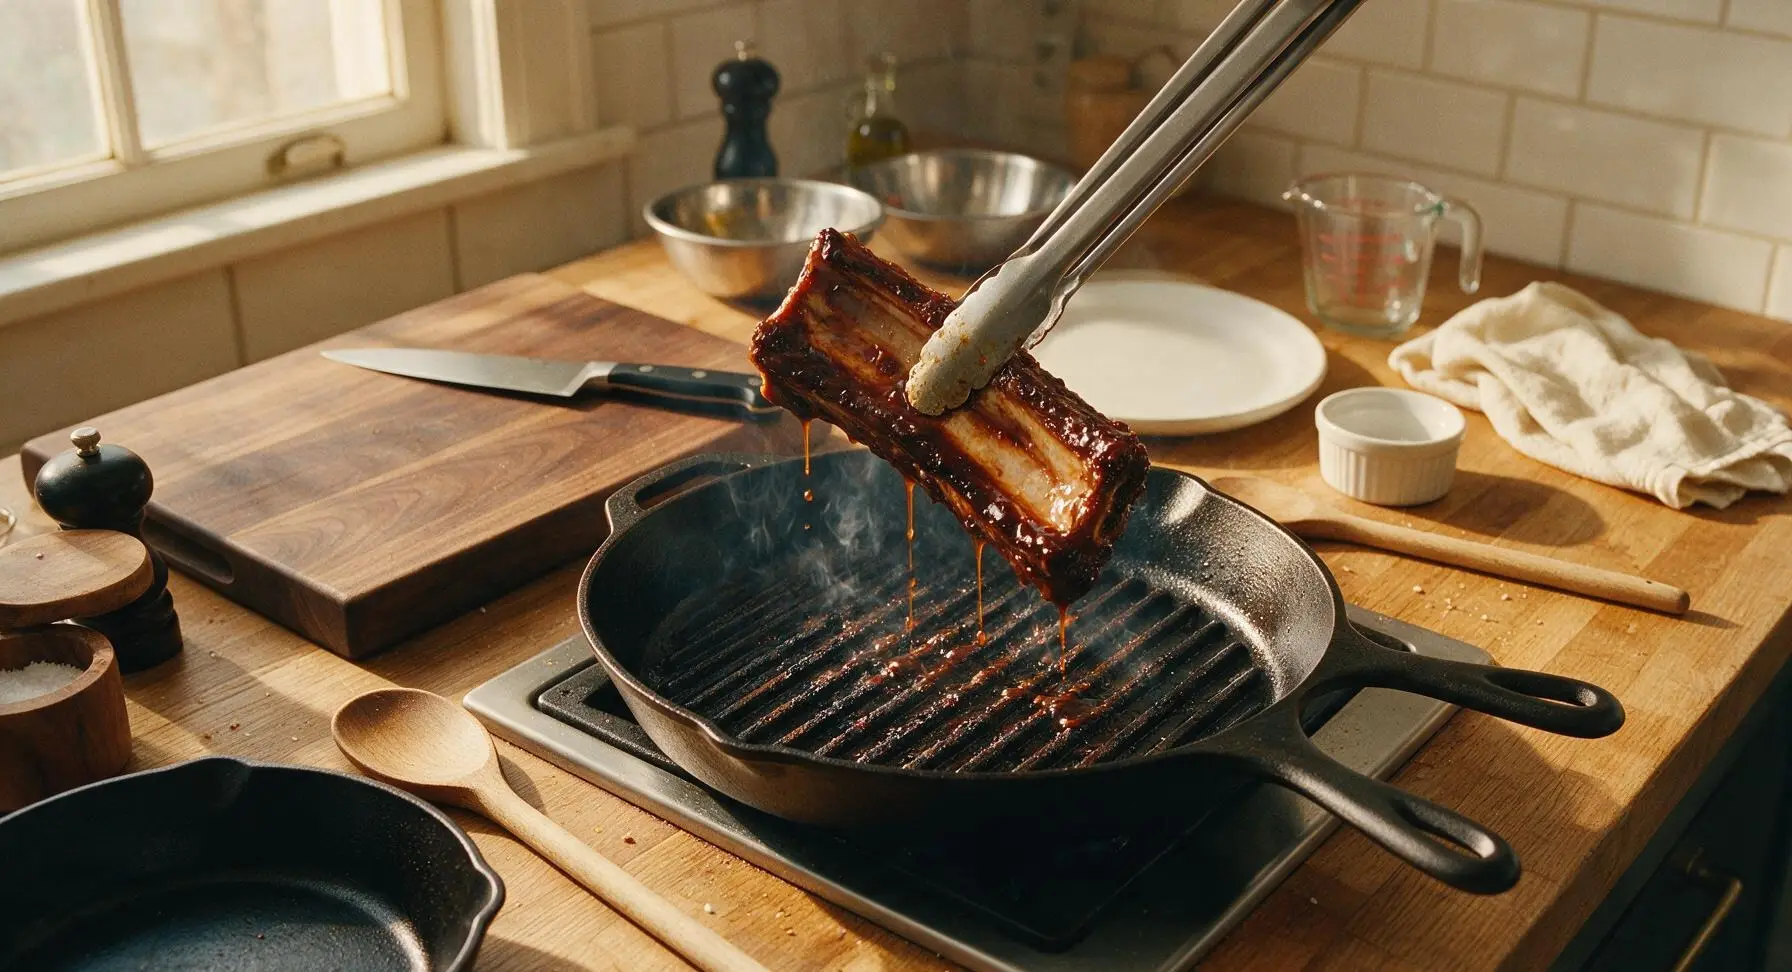
Place the 12-inch pre-seasoned cast iron grill pan on the matte black induction cooktop section of the counter. Turn the heat to medium-high, and let the pan preheat for 5 full minutes, until faint wisps of heat haze rise from the ridged surface and the pan is hot enough that a drop of marinade sizzles and evaporates instantly on contact. Do not add any oil to the pan, as the rib fat and marinade will prevent sticking.
Grill First Side
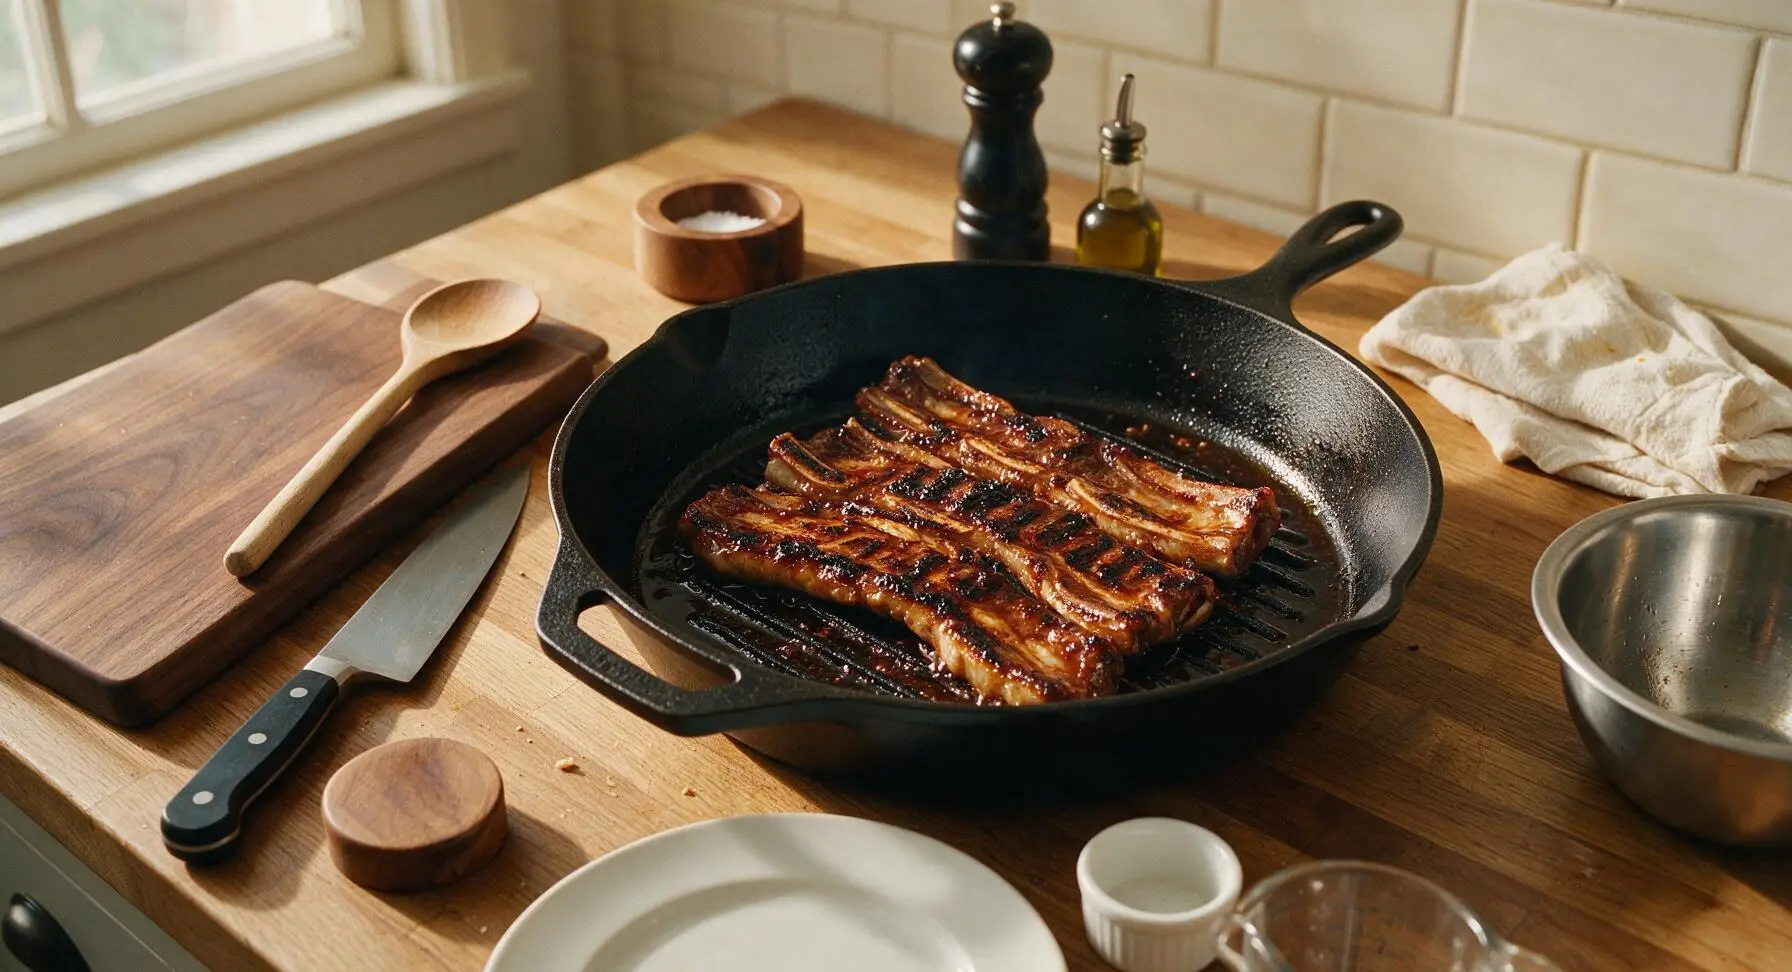
Use the long tongs to lift ribs one at a time from the marinade, letting excess marinade drip back into the bowl, then arrange them in a single layer on the hot grill pan. Work in 2 batches if needed to avoid overcrowding the pan (overcrowding causes steaming instead of caramelized char). Cook the first side for 4 full minutes without moving the ribs, until deep, dark grill marks form and the surface caramelizes to a glossy mahogany color.
Flip and Baste Ribs
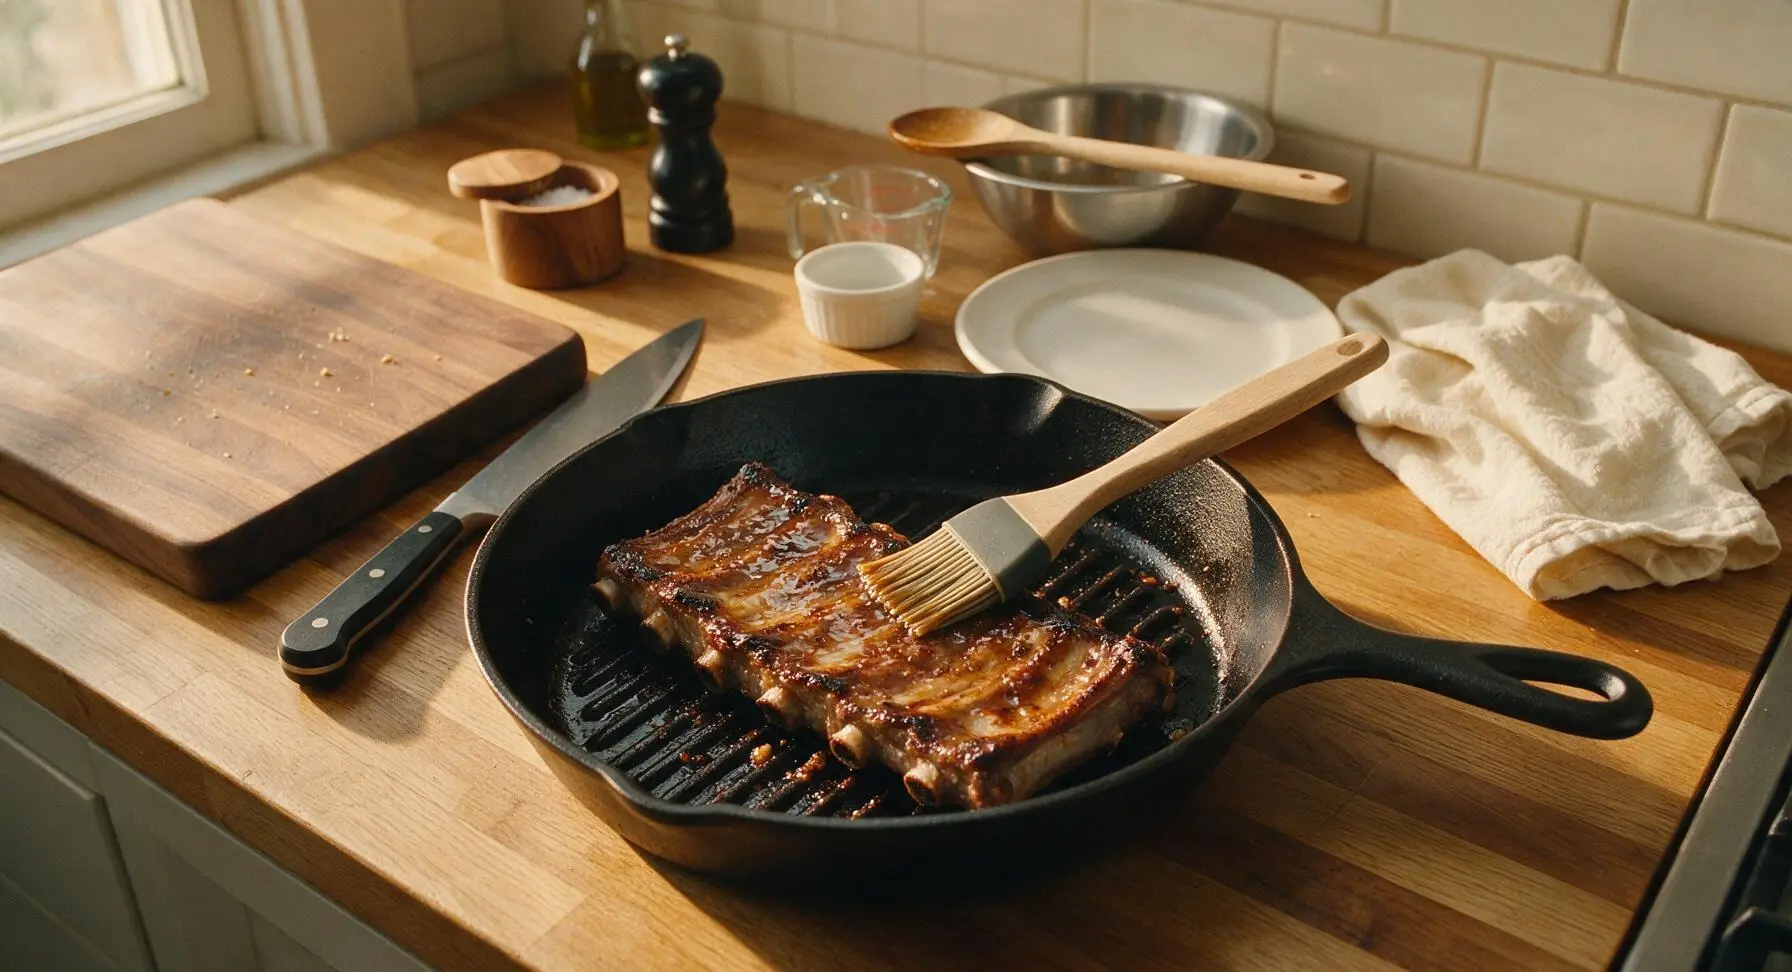
Use the tongs to flip each rib to its second side. Use the silicone basting brush to brush a thin, even layer of reserved leftover marinade over the newly exposed cooked top surface. Cook the second side for 3-4 minutes, until distinct grill marks form and the internal temperature of the thickest part of the rib reaches 63°C (145°F) for juicy medium doneness, with a faint pink center.
Rest and Garnish
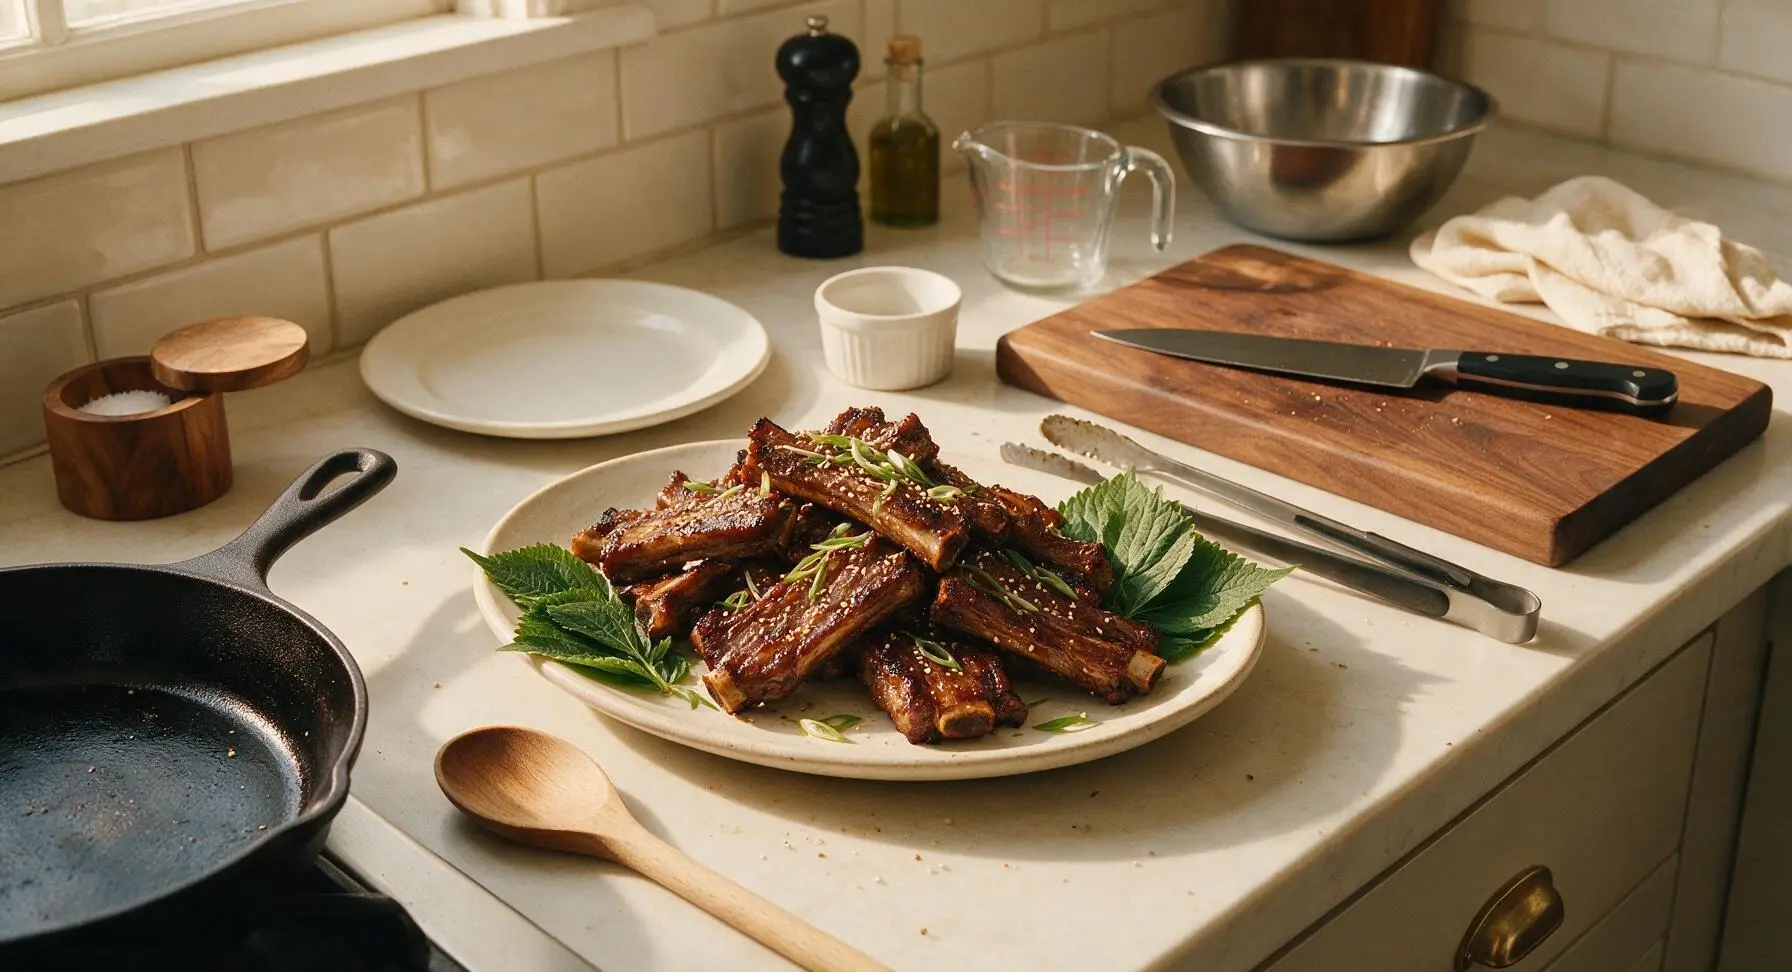
Transfer the cooked ribs to the 30cm off-white ceramic serving platter, loosely tent with a small piece of aluminum foil, and let rest for 5 minutes to allow meat juices to redistribute (this prevents juice from running out when serving). After resting, remove the foil, sprinkle the ribs evenly with toasted white sesame seeds and thinly sliced scallion greens, and tuck fresh perilla leaves around the platter edge for serving.
Tips
2.Always let the ribs come to room temperature for 20 minutes before grilling: cold ribs will cook unevenly, leading to charred outsides and raw, tough centers, while room-temperature ribs cook evenly from edge to center.
3.Resist the urge to move the ribs while the first side cooks: leaving them undisturbed for the full 4 minutes allows the marinade to caramelize and form the deep, smoky char that mirrors the rich savoriness of daechang, rather than sticking to the pan or steaming.






Made these for my partner for our at-home date night and they were OBSESSED. We’ve been trying to recreate our favorite KBBQ date night meals at home to save money, and this hit every single note. We paired it with garlic butter corn and cheese ramyun, 10/10 date night win.
Brought these to my office potluck last week and everyone was hounding me for the recipe! Multiple people said they’d never tried daechang before and were blown away by how flavorful it was. Only downside is my stove got a little splattery but that’s expected with high heat cooking tbh.
As someone who’s pretty intimidated by cooking any kind of offal, I was so happy with how approachable this recipe was! The steps were easy to follow, no fancy equipment needed, and the end result was so flavorful I forgot I was eating intestines lmao. Will absolutely be making this again.
Tried this for my Sunday meal prep and wow, SO good. I was worried medium difficulty would be too much for my basic cooking skills but the steps were super straightforward. Only note is I added a little extra gochujang because I love heat. Great recipe!
OMG these Daechang Ribs were a total game changer for our weekly family dinner! I was nervous to cook intestines for the first time but the 25 minute cook time was so doable even on a busy weeknight. My kids even asked for seconds!!! 10/10 will make again for our next neighborhood potluck.
I grew up eating daechang at family gatherings but never tried making it at home because I thought it would be too much work. This recipe was so straightforward! The seasoning was exactly the classic flavor I remember, and 25 minutes cook time? No way, that’s way faster than the restaurant versions. My grandma even approved!
Decent recipe, but I wish there was a little more guidance on how to get that extra crispy exterior. Mine came out a little chewier than I wanted, probably cooked them a touch too low heat? I’ll crank the heat up next time and give it another go. Flavor was on point though.
Made these last night with my roommates after seeing them all over TikTok and we were obsessed. Crispy on the outside, juicy on the inside, better than the KBBQ spot down the street from our apartment for real. We paired it with soju and pickled radish, chef’s kiss.
Wow, I made these in my air fryer instead of pan frying and they came out insane! Crispy all over, no greasy splatter all over my stove, cooked perfectly in 22 minutes total. 10/10 hack for anyone who hates cleaning up grease splatters like me.