
dairy free waffle mix

title 1
dairy free waffle mix
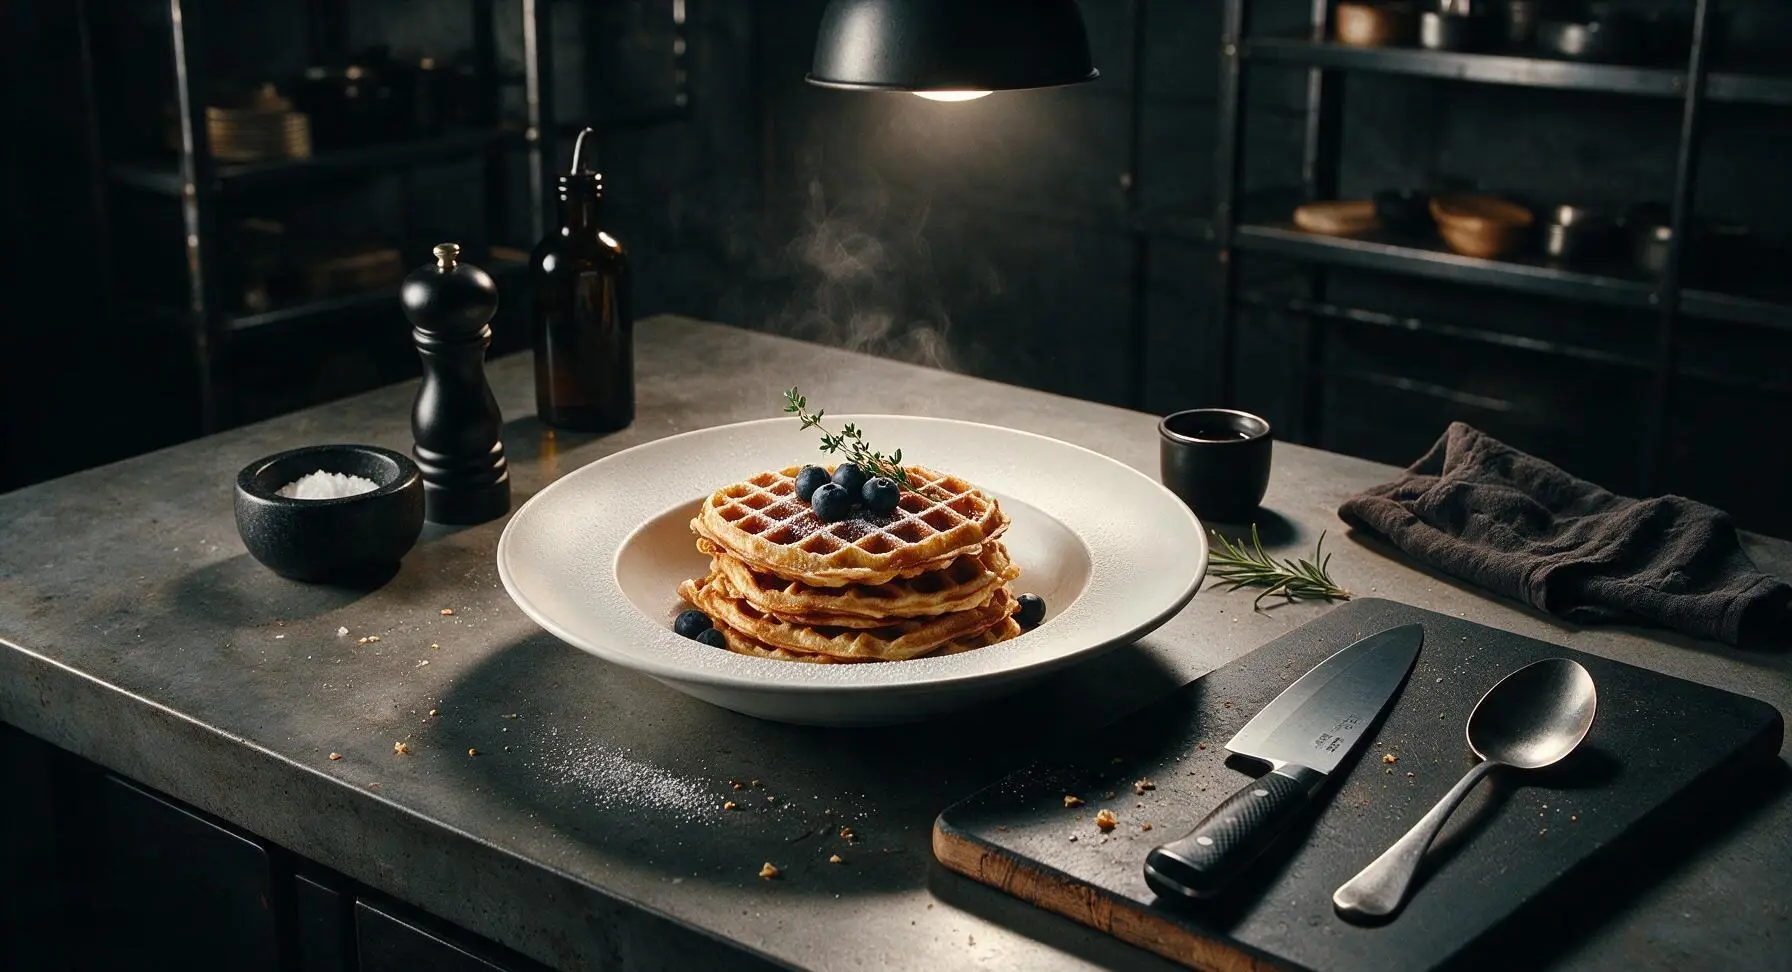
⏱️ cook time 12 minutes
🍽️ servings 4
⚡ Difficulty easy

intro

This shelf-stable dairy-free waffle mix yields light, crisp, fluffy waffles in minutes. It’s a make-ahead pantry staple perfect for quick breakfasts or last-minute brunch.

Ingredients
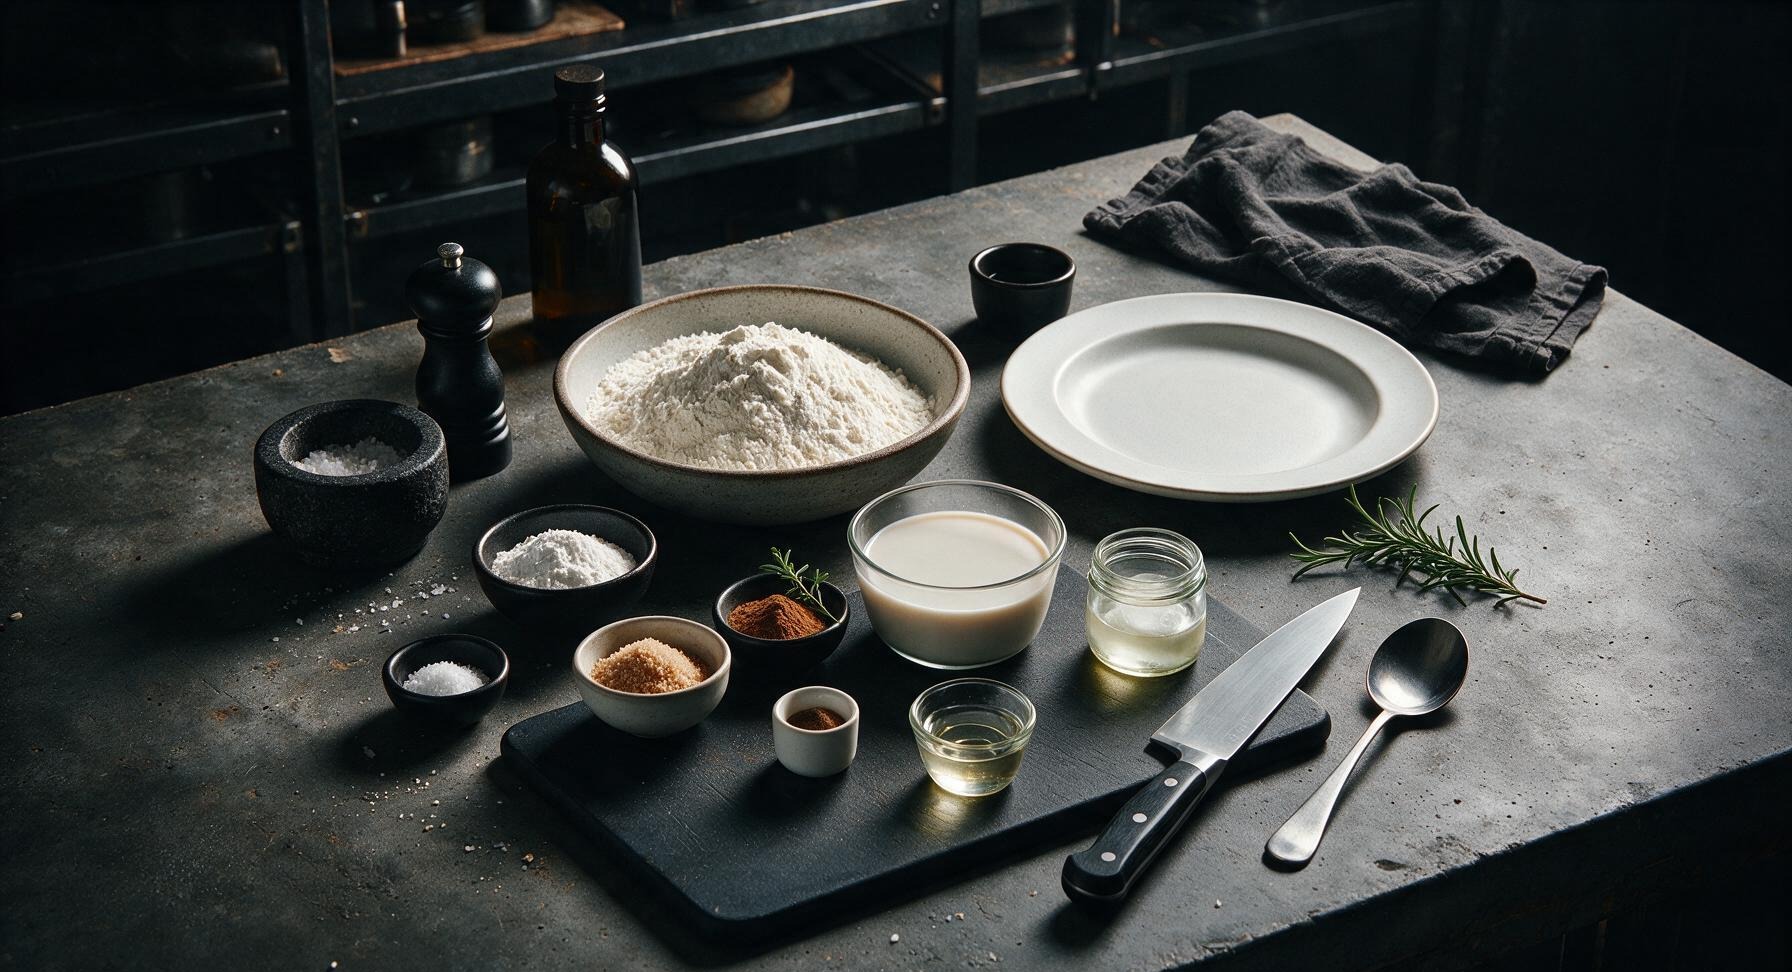
All-purpose flour 4 cups (480g)
Baking powder 2 tbsp
Baking soda 1 tsp
Fine sea salt 1 tsp
Coconut sugar 1/4 cup (40g)
Ground cinnamon 1 tsp
Unsweetened oat milk 1.5 cups (360ml)
Melted coconut oil, cooled 1/4 cup (60ml)
Vanilla extract 1 tsp
Apple cider vinegar 1 tsp

Steps

1

Sift Core Dry Ingredients

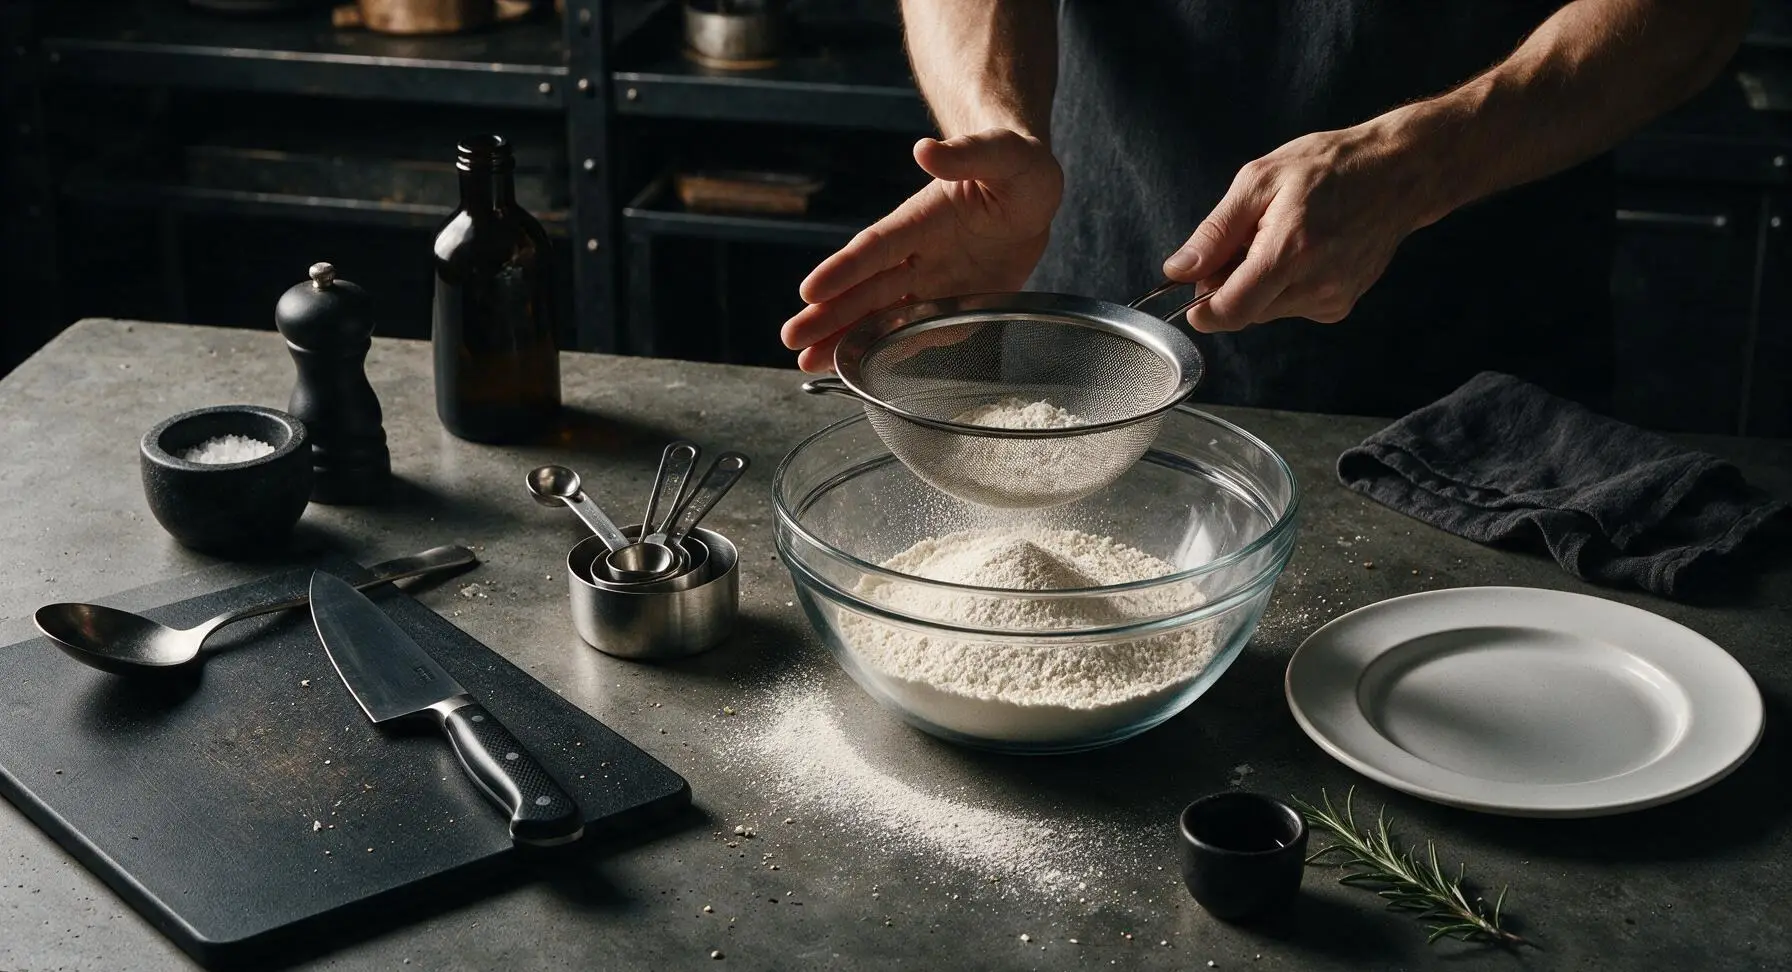
Place the fine-mesh stainless steel sieve over the large glass mixing bowl. Add 4 cups all-purpose flour, 2 tablespoons baking powder, and 1 teaspoon baking soda to the sieve. Tap the sides of the sieve gently to sift all ingredients into the bowl, breaking up any lumps of flour or leavening. Discard any hard, dry lumps left in the sieve. The sifted mixture should be light, uniform, and clump-free at the bottom of the bowl.
Step 1
step1:Sift Core Dry Ingredients
2

Add Sugar and Spices

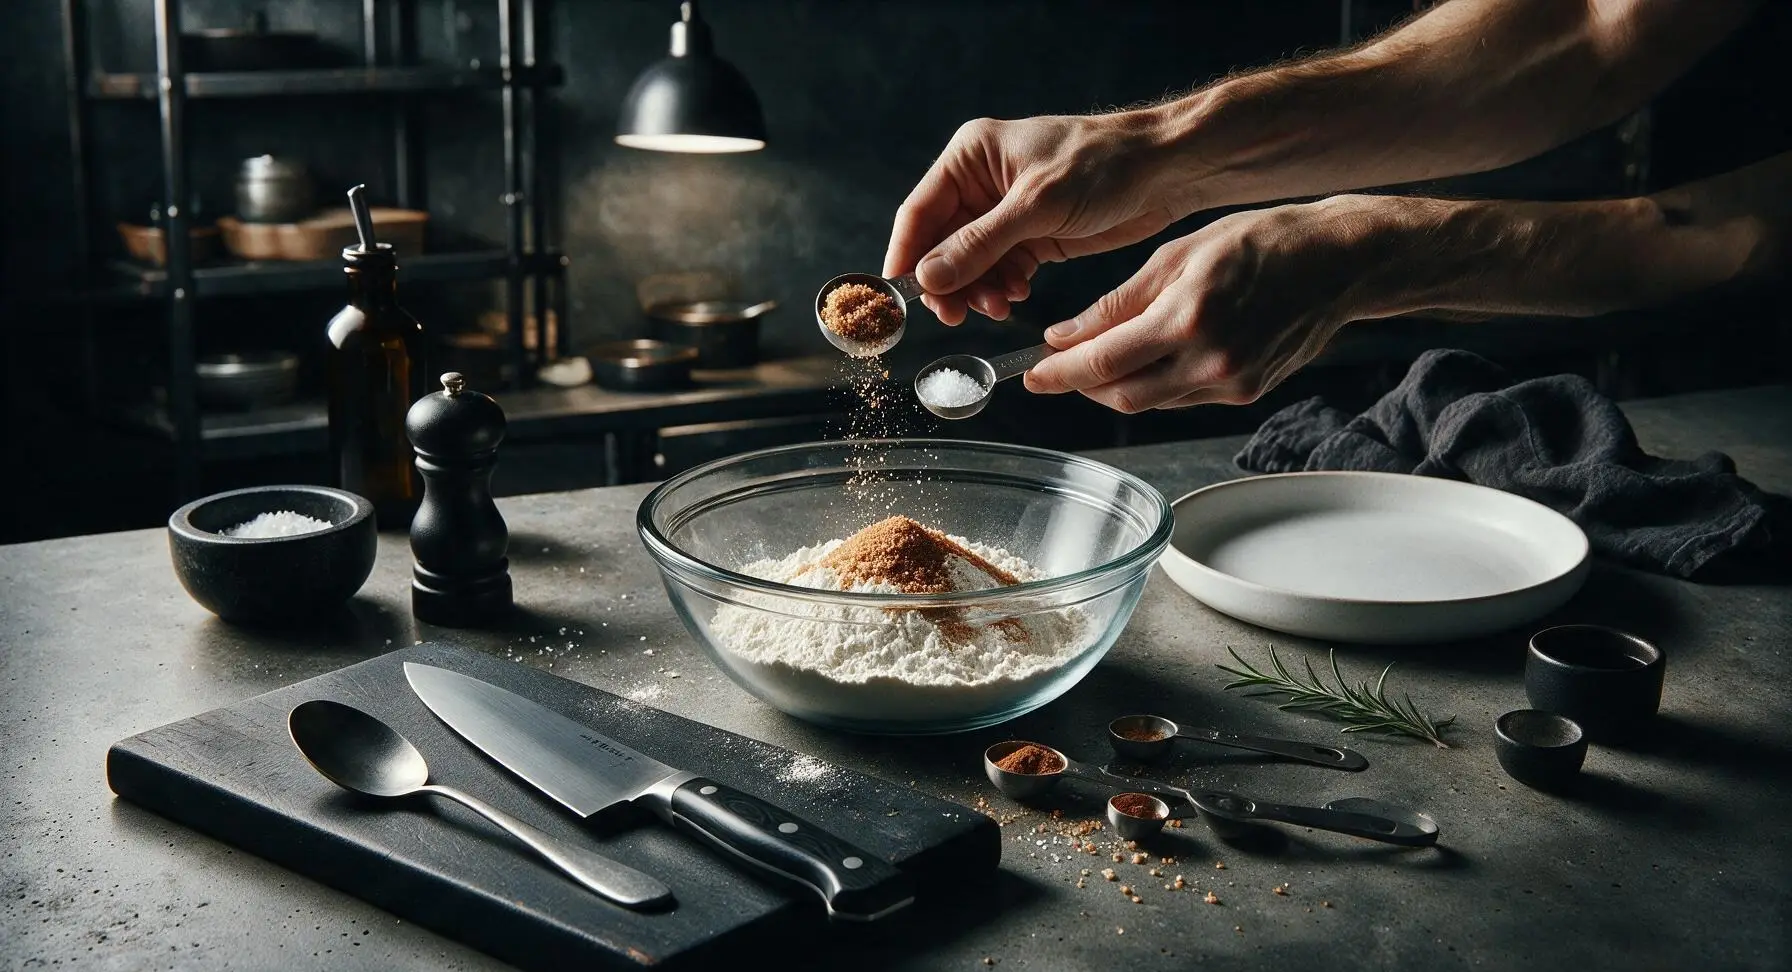
Set the sieve aside on the counter behind the bowl. Add 1/4 cup coconut sugar, 1 teaspoon fine sea salt, and 1 teaspoon ground cinnamon to the sifted flour base. Do not pack the coconut sugar when measuring, as this will add excess density to the finished waffles. These ingredients add subtle warm, balanced flavor without making the waffles overly sweet.
Step 2
step2:Add Sugar and Spices
3

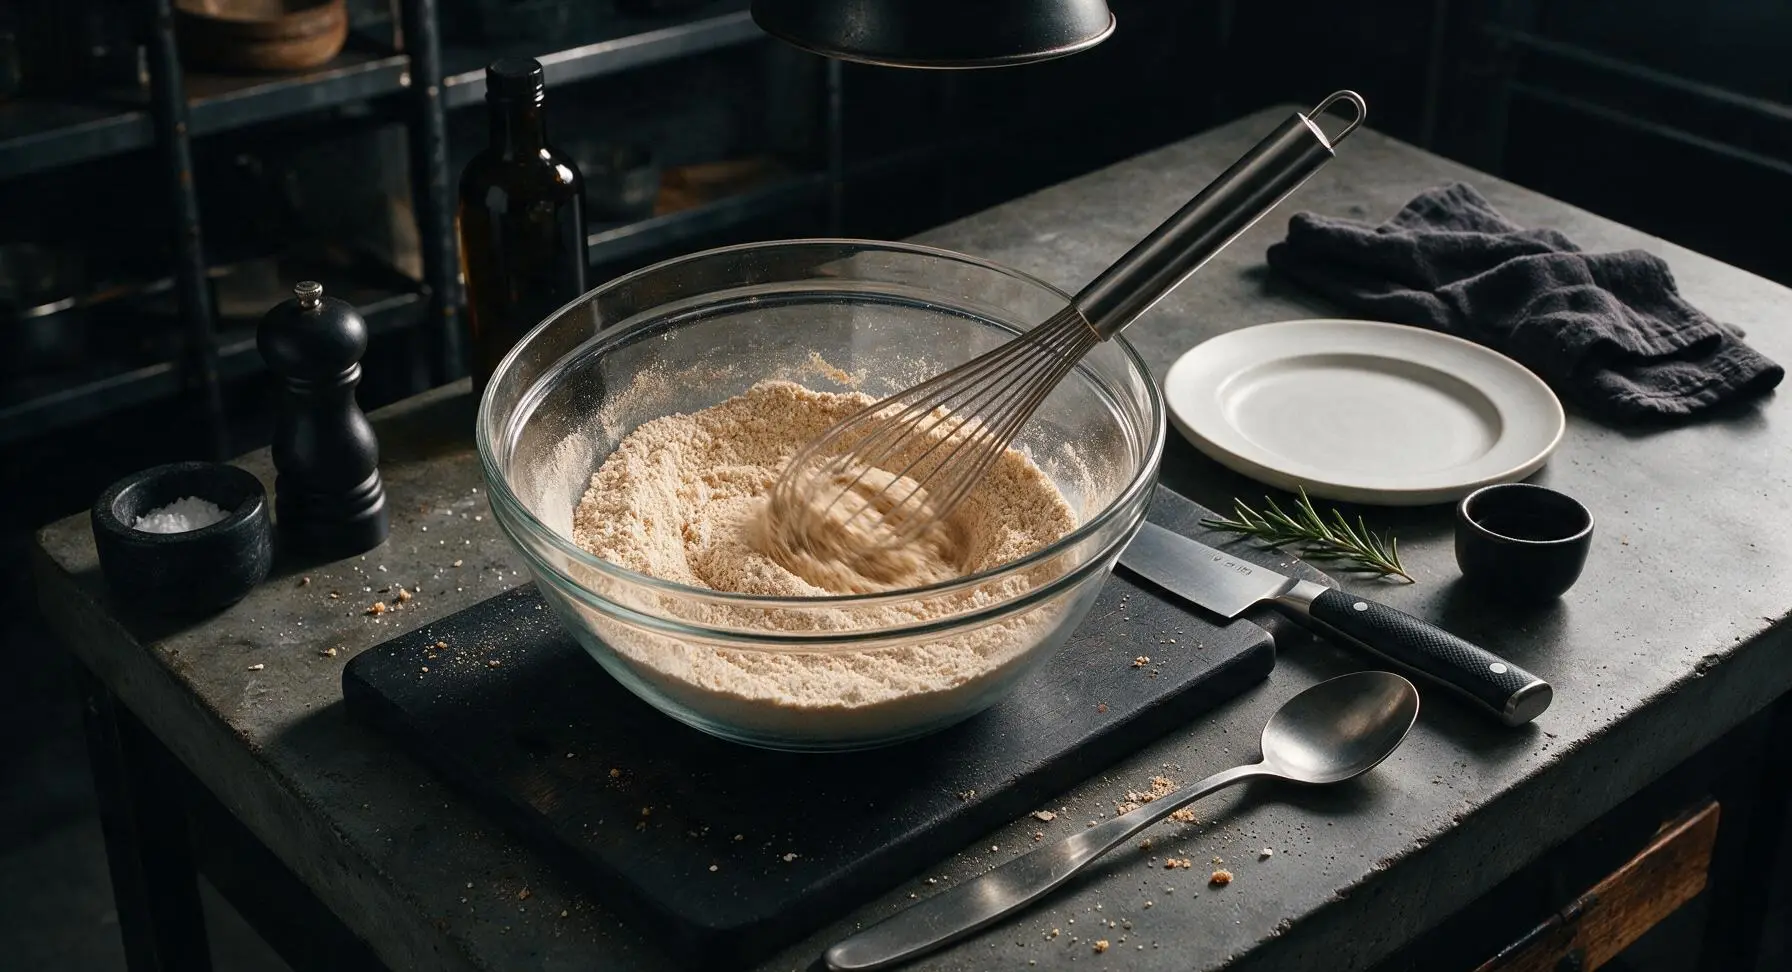
Whisk Until Uniform

Pick up the stainless steel whisk from the rim of the bowl. Whisk all dry ingredients together for 45-60 seconds, using wide circular motions, and scraping the bottom and sides of the bowl regularly to ensure no pockets of leavening or spice remain. The finished dry mix should be a consistent pale tan color, with no visible streaks of cinnamon or clumps of coconut sugar.
Step 3
step3:Whisk Until Uniform
4

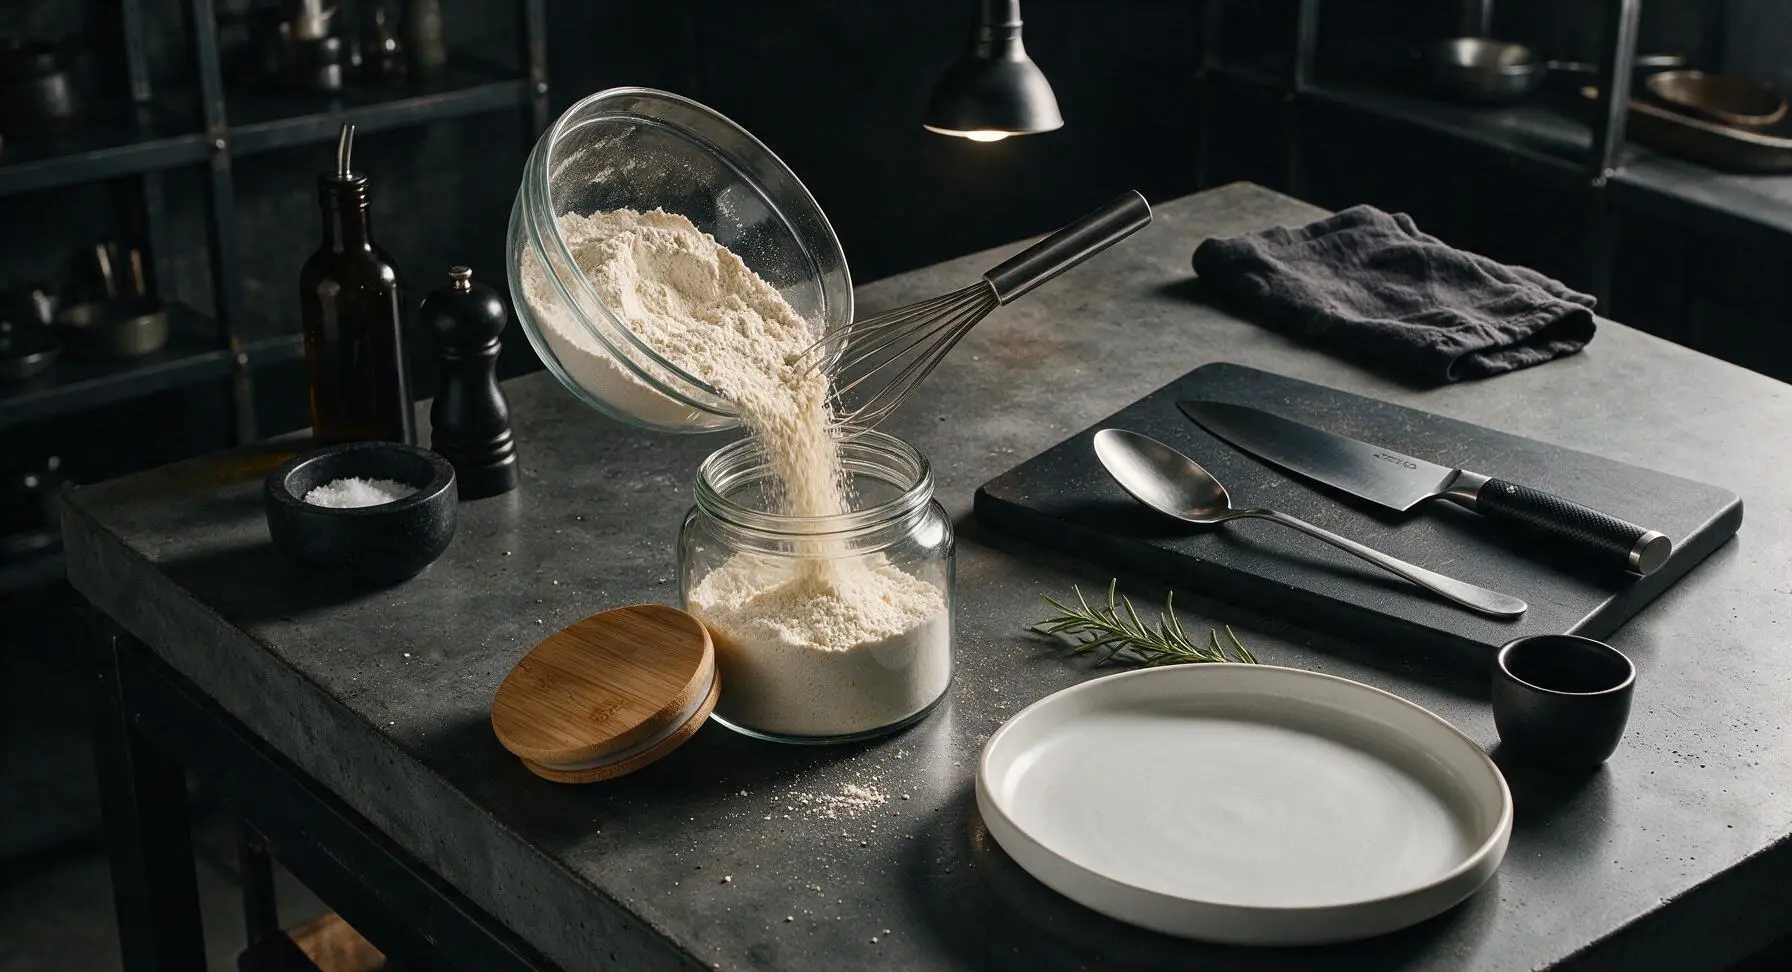
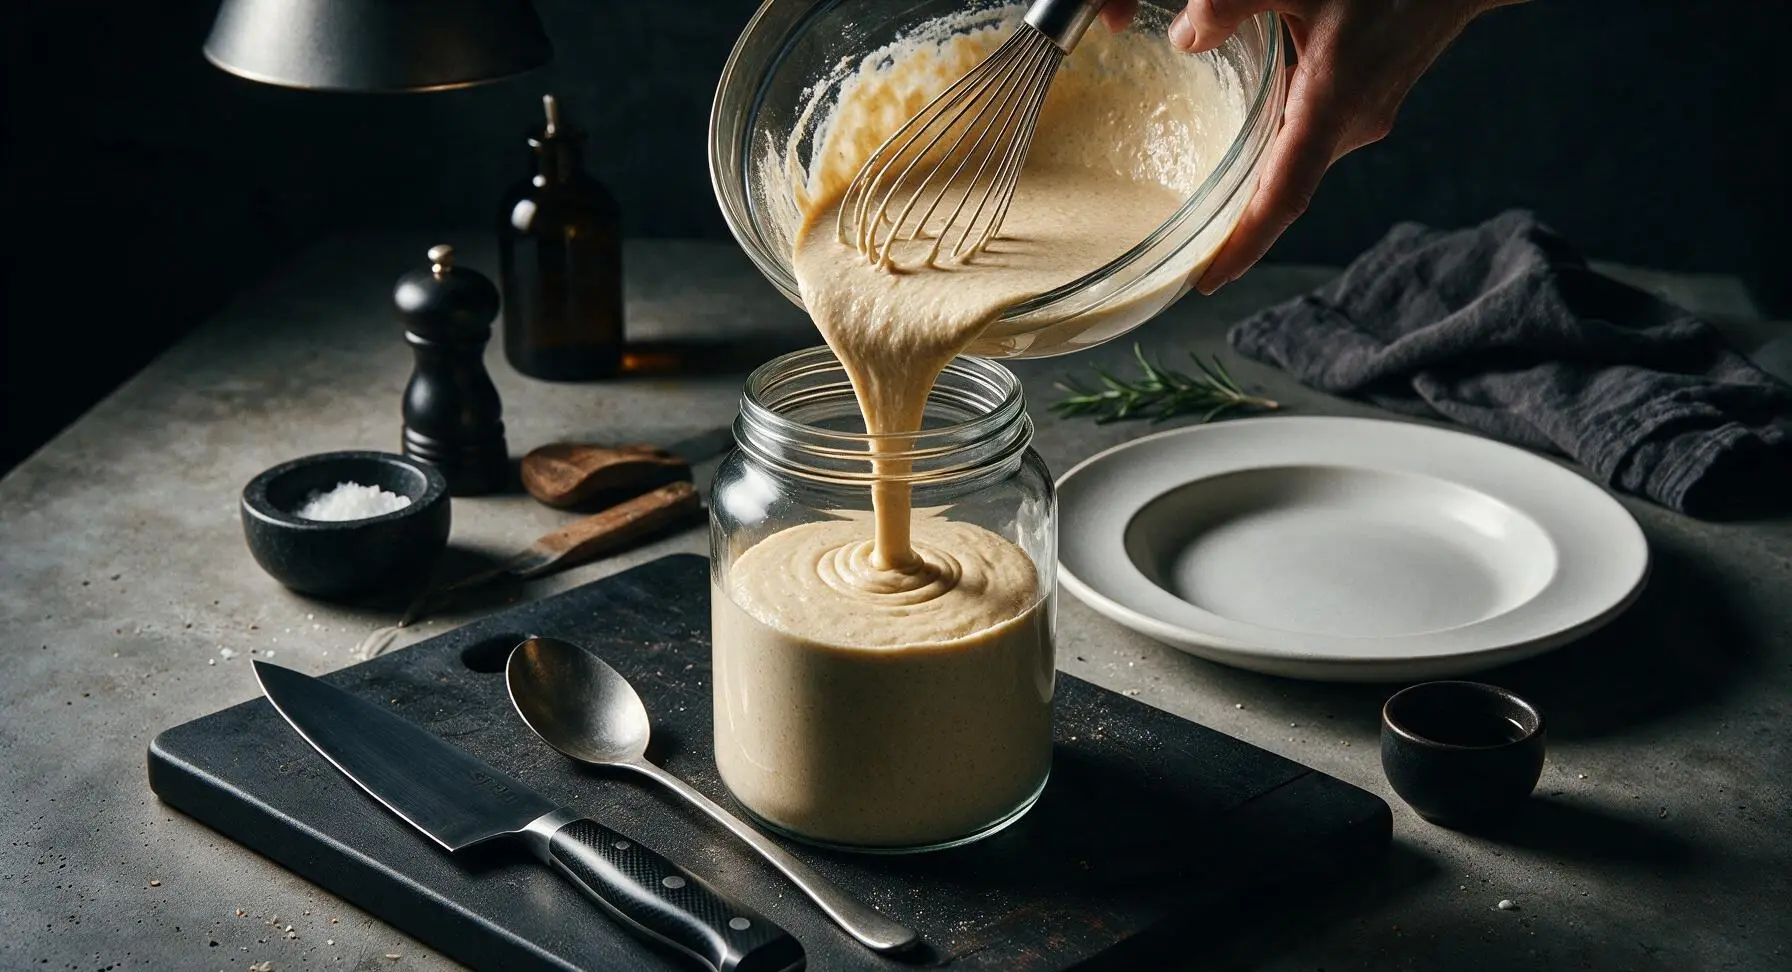
Transfer Mix to Jar

Hold the glass mixing bowl at a slight angle over the open wide-mouth glass storage jar. Guide the flow of dry mix with the whisk to avoid spills as you pour. Tap the jar gently on the counter halfway through pouring to settle the mix and eliminate trapped air pockets, making storage more compact.
Step 4
step4:Transfer Mix to Jar
Step 4
step4:Transfer Mix to Jar
5

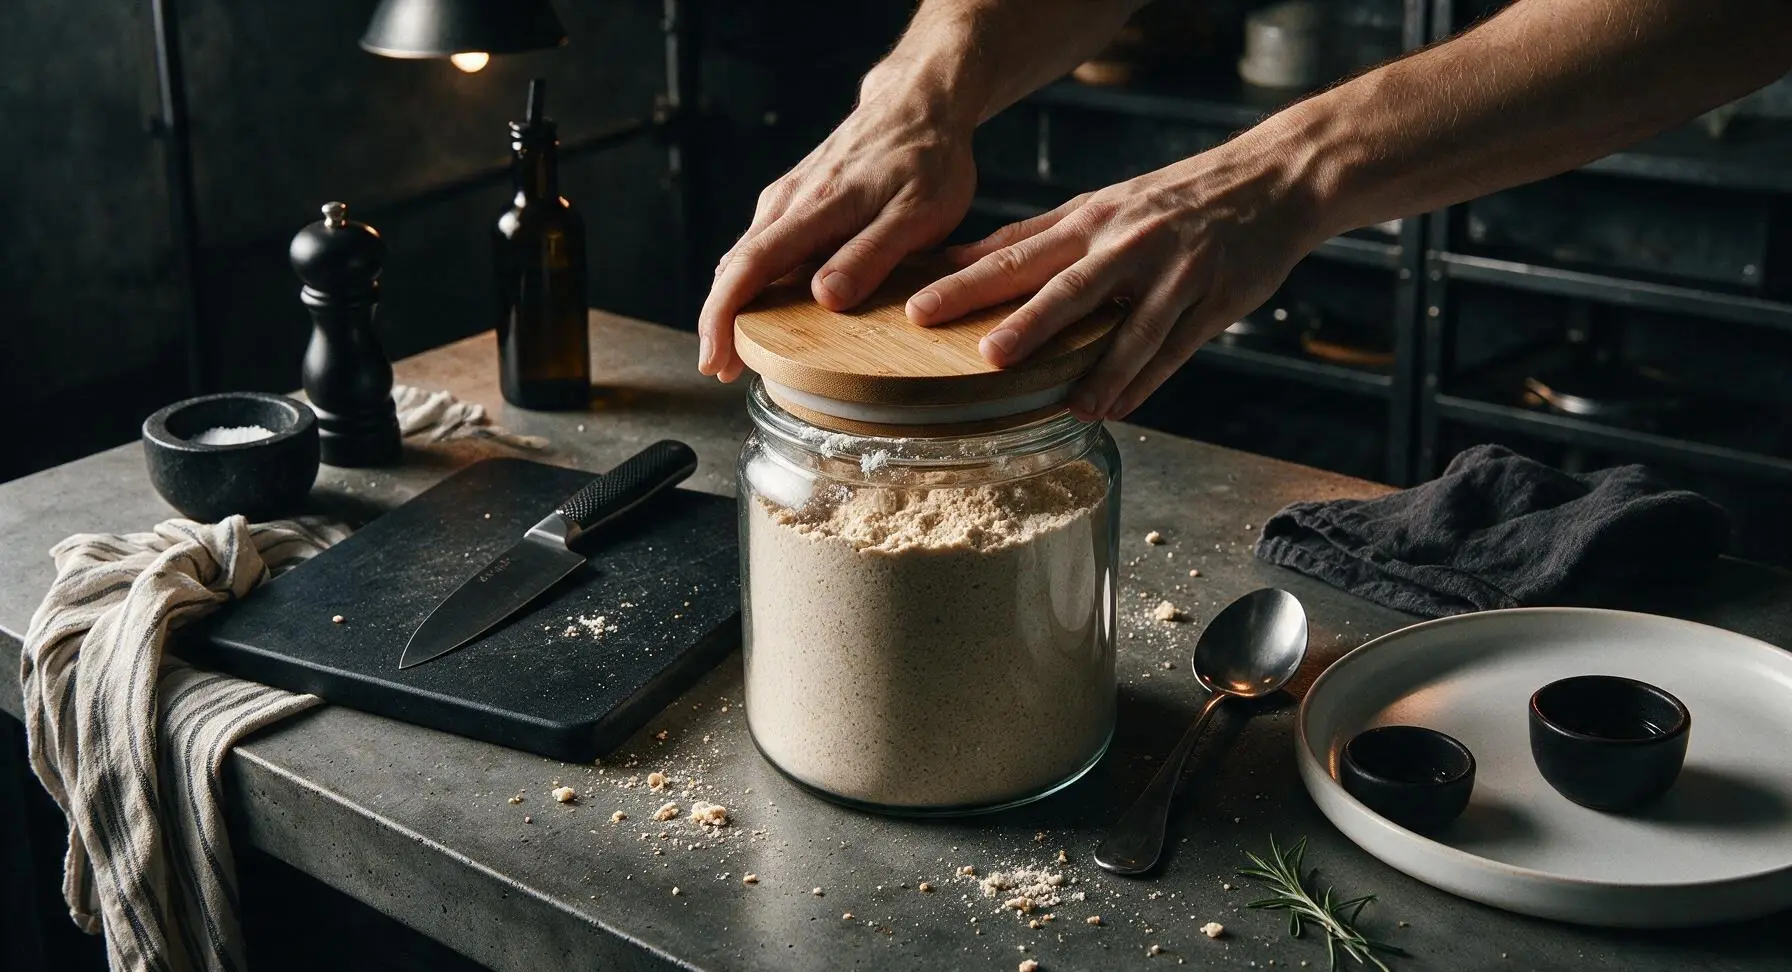
Seal Jar Tightly

Wipe any stray dry mix from the rim of the glass storage jar using a corner of the striped cotton tea towel. Press the bamboo lid firmly onto the jar to create an airtight seal. Stored in a cool, dark pantry, the mix will stay fresh for up to 3 months; do not refrigerate, as trapped moisture will prematurely activate the leavening.
Step 5
step5:Seal Jar Tightly
6

Mix Waffle Batter

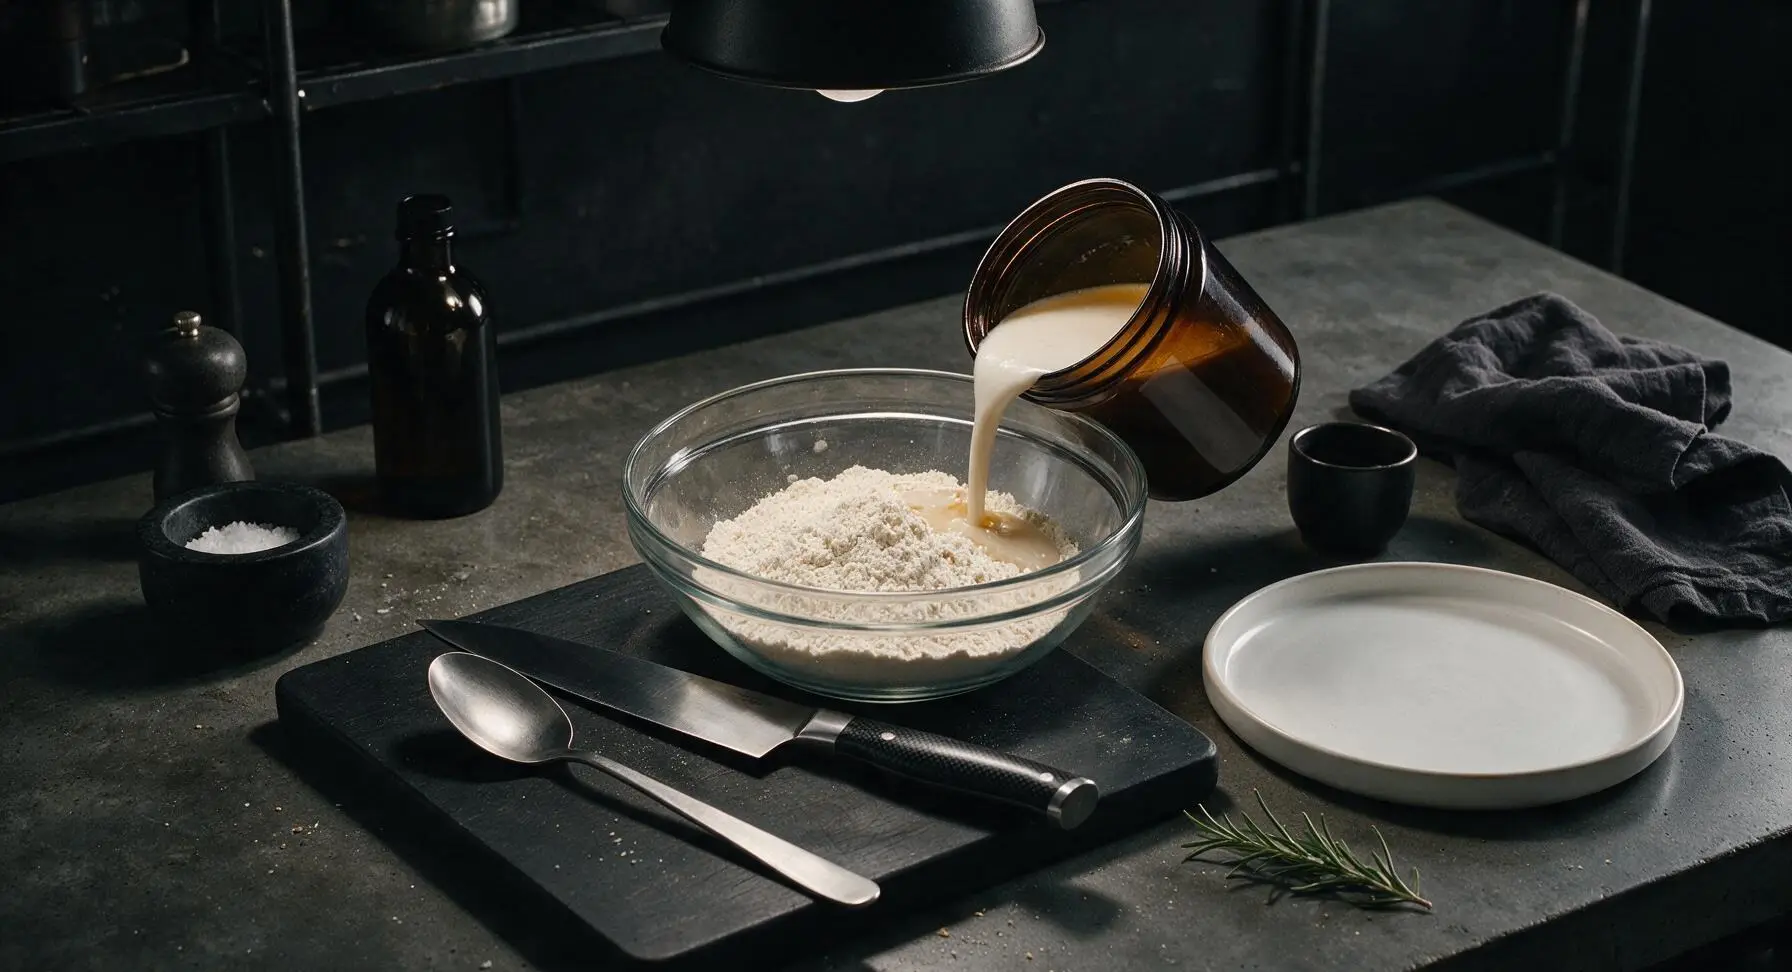
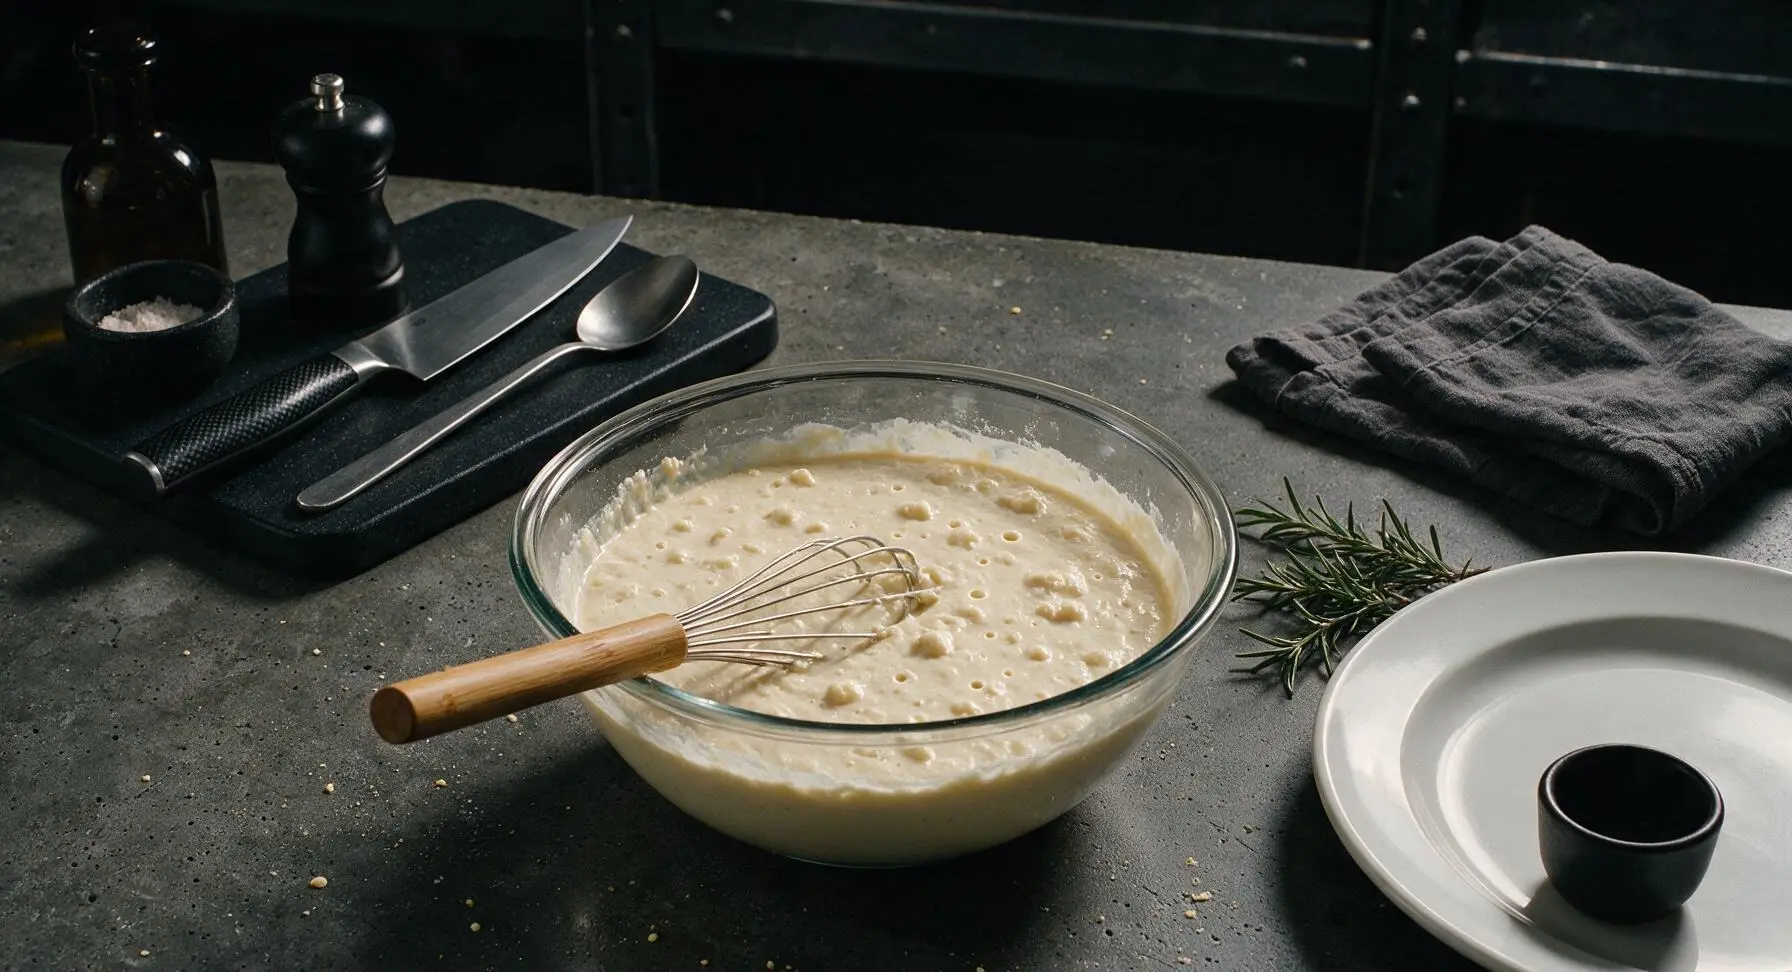
To make 4 servings of waffles, scoop 2 cups of the dry waffle mix back into the clean glass mixing bowl. Add 1.5 cups unsweetened oat milk, 1/4 cup melted cooled coconut oil, 1 teaspoon vanilla extract, and 1 teaspoon apple cider vinegar. Whisk gently until just combined—small lumps are normal, do not overmix, as this will develop excess gluten and create tough waffles. Let the batter rest 5 minutes to activate leavening; it will develop small bubbles on the surface as it rests.
Step 6
step6:Mix Waffle Batter
Step 6
step6:Mix Waffle Batter
7

Cook Crisp Waffles

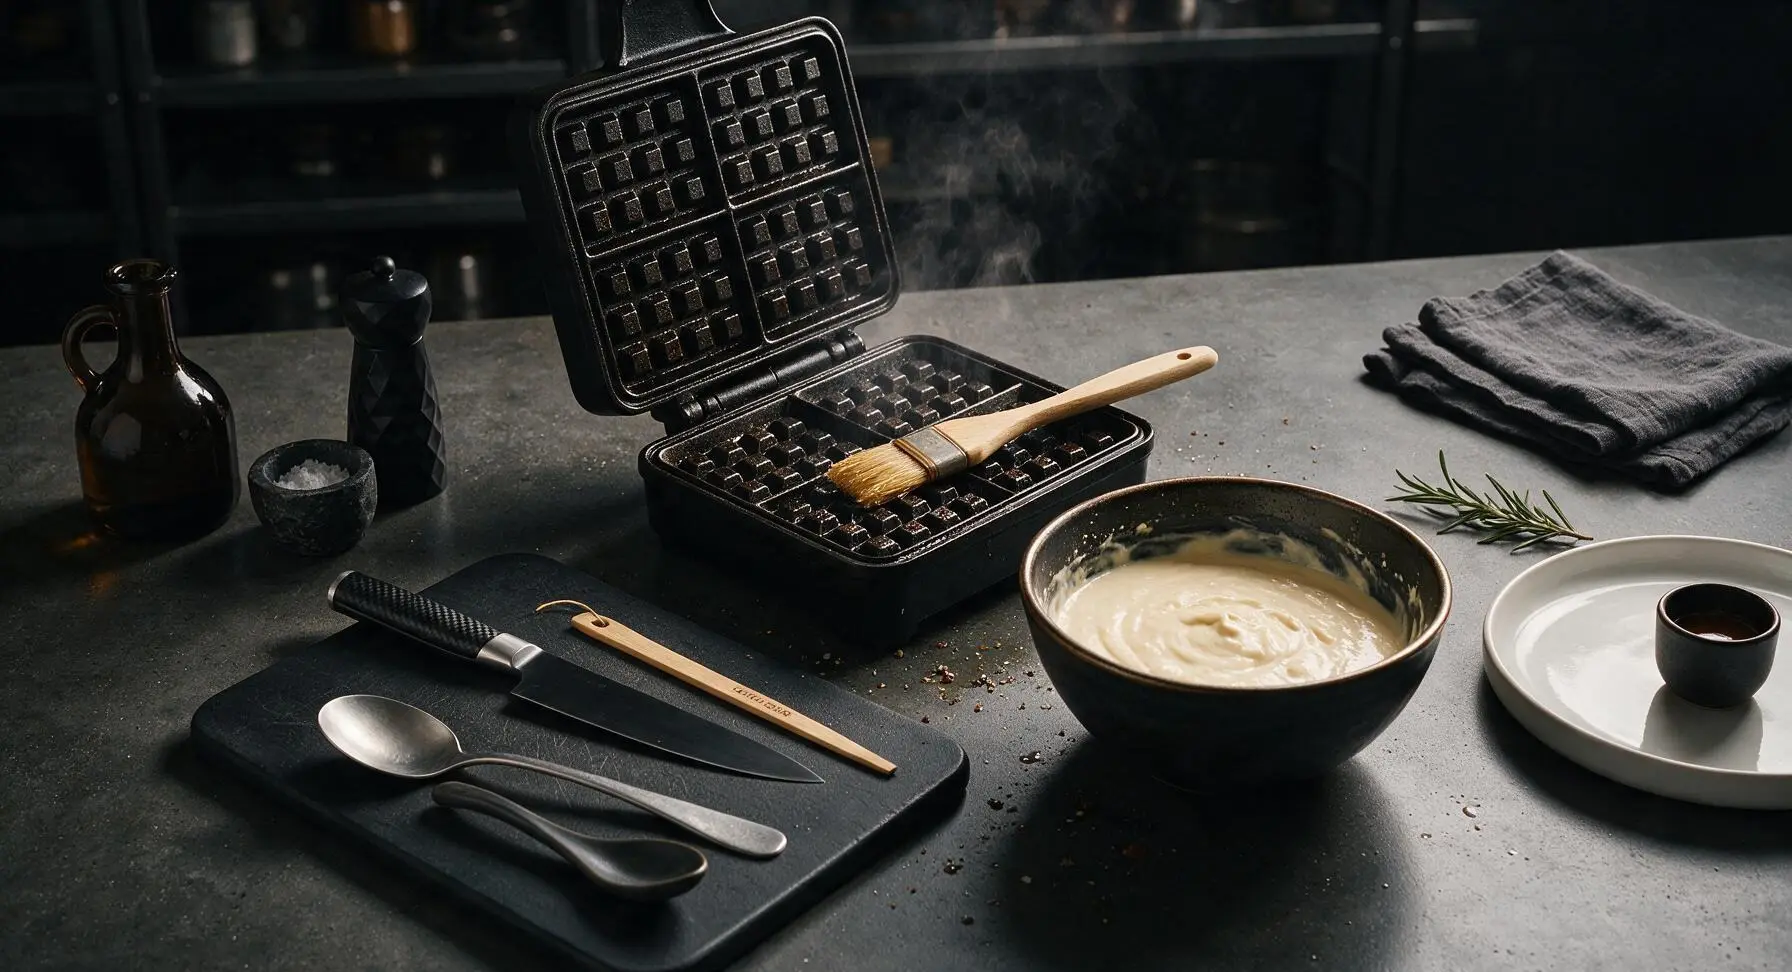
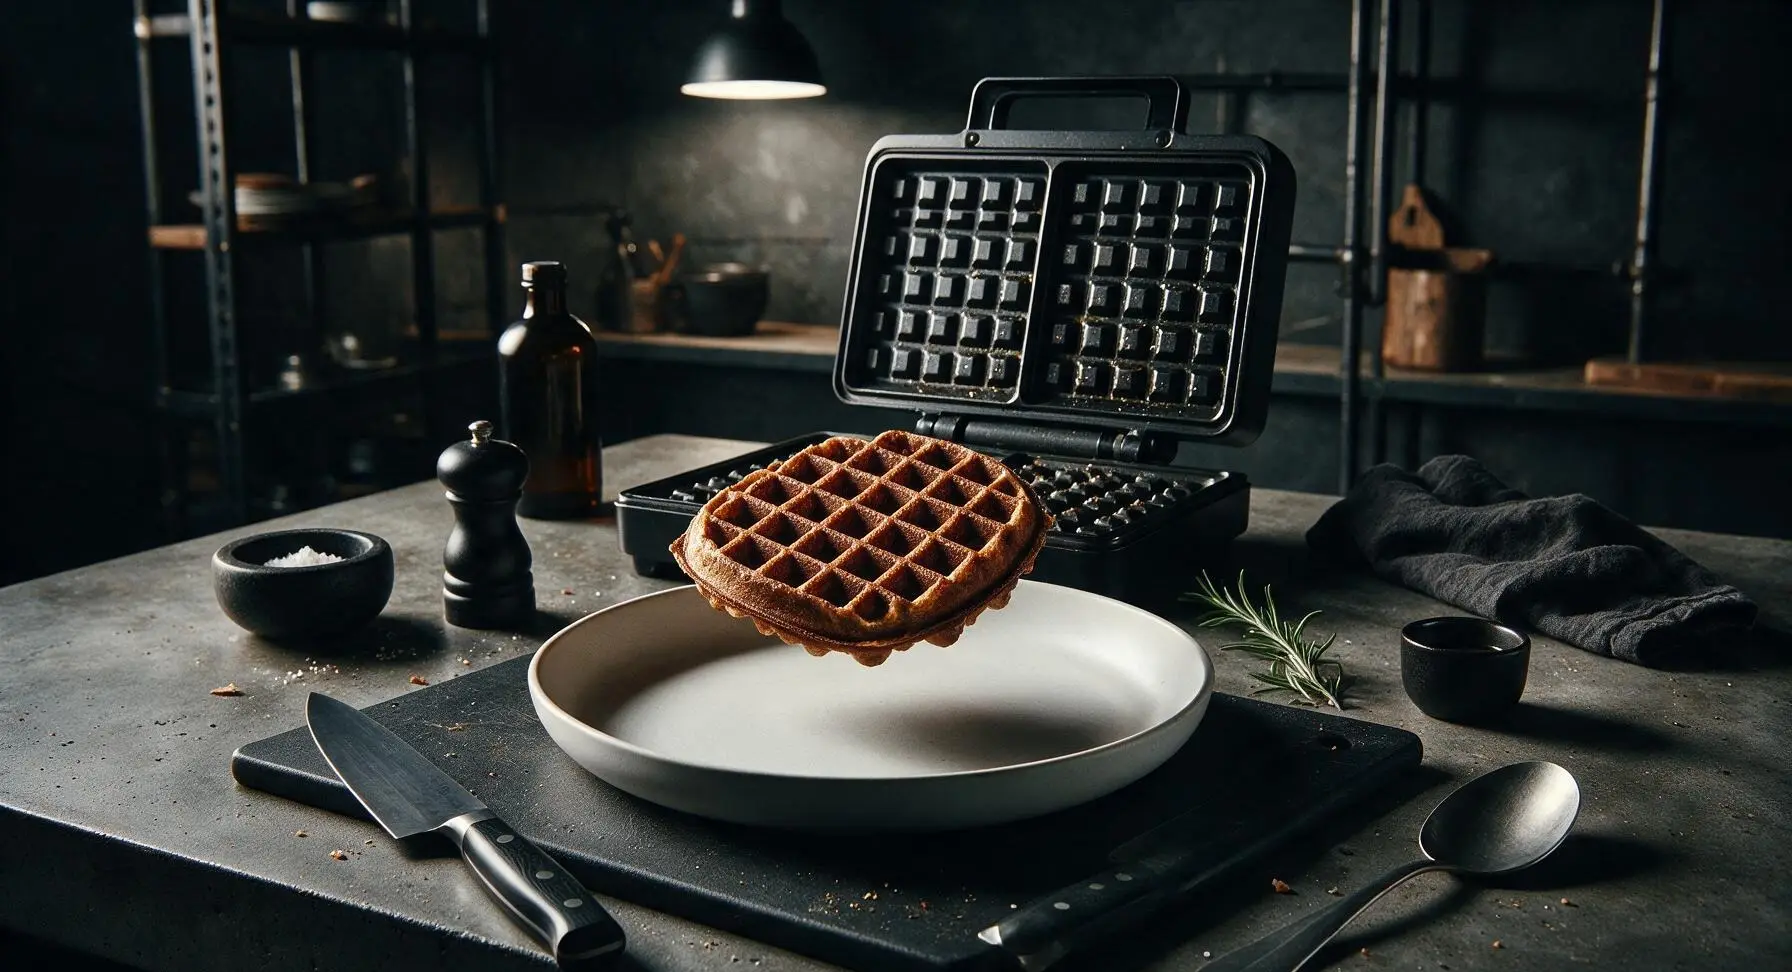
Preheat a standard matte black square waffle iron to medium-high heat (375°F / 190°C), placing it on the counter behind the mixing bowl. Lightly coat the waffle grids with a thin layer of coconut oil using the natural bristle pastry brush. Pour 1/3 cup of batter per waffle onto the center of the hot grid, close the lid, and cook for 3-4 minutes, until steam stops escaping from the iron edges and the waffle is deep golden brown and crisp. Do not open the lid early, as this will tear the waffle.
Step 7
step7:Cook Crisp Waffles
Step 7
step7:Cook Crisp Waffles
8

Plate and Serve

Stack cooked waffles on the matte cream ceramic dinner plate. Top with fresh raspberries from the wicker basket and a light drizzle of maple syrup, or your favorite dairy-free toppings. Serve immediately while hot and crisp, as waffles will soften as they cool.

Step 8
step8:Plate and Serve

Tips

1.Ensure the storage jar and all mixing tools are completely dry before adding the dry waffle mix: even a tiny amount of residual moisture will activate the baking powder and baking soda early, leading to flat, dense waffles with no lift when you cook them later.
2.Resist the urge to overmix the waffle batter once you add wet ingredients: overmixing develops gluten in the flour, which results in tough, chewy waffles instead of the light, crisp texture you want. Small lumps in the batter are completely normal and will disappear during cooking.
3.For extra-crisp waffles, rest cooked waffles on a wire rack for 1 minute after removing them from the iron instead of stacking them immediately: this allows excess steam to escape instead of getting trapped between waffles, which softens the crisp outer crust.


✨ You May Also Like

Breakfast
🍜 United States

Crisp-edged, fluffy lard griddle cakes are a nostalgic homestyle staple, with rich savoriness from rendered lard, perfect topped with maple syrup or savory gravy.

⏱️ 25 minuteBreakfast ★ 4.8
Breakfast
🍜 United States

Flaky, buttery homemade buttermilk biscuits smothered in creamy, peppery pork sausage gravy: a beloved, hearty Southern American comfort food classic.

⏱️ 35 minuteBreakfast ★ 4.8
Breakfast
🍜 United States

Golden, custardy brioche stuffed with sweet cream cheese and fresh berries, pan-fried to crisp perfection. An indulgent, cozy breakfast perfect for slow weekend mornings.

⏱️ 30 minuteBreakfast ★ 4.7
Breakfast
🍜 United States

Flaky, buttery Southern-style biscuits stuffed with savory salty country ham, a portable, satisfying classic perfect for casual on-the-go meals.

⏱️ 25 minuteBreakfast ★ 4.8
Breakfast
🍜 United States

Iconic puffy baked pancake popularized in Seattle, with crisp golden edges and soft custardy center, served warm with classic sweet toppings.

⏱️ 35 minuteBreakfast ★ 4.6
Breakfast
🍜 United States

Fluffy, golden pancakes studded with juicy peak-summer mixed berries, drizzled with maple syrup for a bright, comforting, crowd-pleasing family breakfast.

⏱️ 25 minuteBreakfast ★ 4.7

dairy free waffle mix:Frequently Asked Questions

1.How long does this homemade dairy-free waffle mix stay shelf-stable? ▾
Stored in a fully sealed, airtight container in a cool, dark pantry away from stovetop heat or humidity, this mix stays fresh and effective for up to 6 months. Always use totally dry measuring cups when scooping mix to avoid introducing moisture that causes clumping or spoilage, and confirm your leaveners aren’t expired before mixing a batch.
2.Can I adapt this mix to be gluten-free? ▾
Absolutely! Swap the all-purpose flour for a 1:1 gluten-free all-purpose baking blend that contains xanthan gum for the closest texture match. Skip using single gluten-free flours like almond or coconut flour alone, as they will create dense, crumbly waffles that don’t crisp up properly or hold their light, fluffy structure.
3.Do I have to add dairy to make waffles from this mix? ▾
Nope! That’s the core benefit of this base mix—you don’t need any cow’s milk or butter to make perfect waffles. When you’re ready to cook, simply combine the dry blend with dairy-free milk (oat, almond, or soy work best), neutral or melted coconut oil, eggs (or a flax egg for vegan), and a splash of vanilla.
4.Can I use regular granulated sugar instead of coconut sugar? ▾
Definitely. Coconut sugar adds a subtle caramel note and slightly warmer golden color, but plain granulated white sugar works as a 1:1 direct swap if that’s what you have on hand. You can also use light brown sugar for a deeper, molasses-kissed flavor, just break up any clumps before mixing it into the dry blend for even distribution.
5.Why do my waffles come out flat and dense instead of light and fluffy? ▾
Flat, dense waffles almost always trace back to expired leavening. Double-check that your baking powder and baking soda are fresh (they should fizz when dropped into a small splash of hot vinegar) before mixing the base. Also, don’t overmix the batter once you add wet ingredients—small lumps are totally fine, and overmixing develops tough gluten.
6.How much dry mix do I need for a standard batch of waffles? ▾
For a standard batch that makes 4 to 5 7-inch round waffles, measure out 2 cups of the dry mix, then pair it with 1 ½ cups dairy-free milk, 2 large eggs, ¼ cup neutral oil, and 1 teaspoon vanilla extract. You can easily scale that ratio up or down depending on how many people you’re serving for breakfast or brunch.
7.Can I use this waffle mix to make pancakes in a pinch? ▾
You sure can! This dry base works beautifully for fluffy, tender pancakes with no extra tweaks. When you’re ready to cook, just use slightly less dairy-free milk (about 1 ¼ cups per 2 cups of mix, instead of 1 ½) for a thicker batter, and cook on a preheated greased griddle over medium heat until bubbles form and pop before flipping.
8.Can I store this mix in the fridge or freezer to extend its shelf life? ▾
You absolutely can, especially if you live in a very hot, humid climate where pantry storage leads to faster leavener breakdown. Seal it in a freezer-safe, airtight bag or container, press out excess air, and it will keep for up to 12 months. Let it come to room temperature before scooping to avoid lumpy, uneven batter.
9.Is this mix vegan, or do I need to adjust it for vegan waffles? ▾
The dry mix itself is 100% vegan as written, since none of the core ingredients contain animal products. When you’re ready to cook, just swap the standard eggs for 2 flax eggs (2 tablespoons ground flaxseed mixed with 6 tablespoons water, left to thicken for 5 minutes) and use unsweetened plant-based milk for fully vegan waffles.
10.Why does the recipe call for both baking powder and baking soda? ▾
The two leaveners work together to create that perfect light, crisp, fluffy waffle texture. Baking powder provides most of the steady rise as waffles cook, while the small amount of baking soda cuts through slight tang from dairy-free milk, boosts golden browning for a crispy crust, and adds extra lift without a soapy aftertaste.
11.Can I add mix-ins like chocolate chips or blueberries? ▾
Of course! Once you’ve mixed your wet and dry ingredients together (taking care not to overmix), fold in up to ½ cup of your favorite add-ins per 2 cups of dry mix. Great options include dairy-free chocolate chips, fresh blueberries, chopped pecans, or shredded coconut. Just don’t add mix-ins to stored dry mix, as they introduce moisture that shortens shelf life.
12.Why do my waffles stick to the waffle iron? ▾
Sticking usually happens for one of two common reasons: your waffle iron isn’t fully preheated, or you skipped greasing the plates even if they’re labeled nonstick. Give your iron 5 to 7 minutes to fully heat up before adding batter, brush plates with a thin layer of neutral oil, and don’t lift the waffle too early—it will release cleanly once fully crisp.
13.Can I use a different type of salt instead of fine sea salt? ▾
Yes, just adjust the quantity to match your salt’s grain size. If you’re using fine table salt, cut the amount in half, as its smaller grains taste much saltier per teaspoon. If you use coarse kosher salt, increase the amount by about 50% to ensure even distribution, since large grains won’t disperse as evenly as fine sea salt in the dry blend.
14.Is this mix safe for people with nut allergies? ▾
The base mix is free of most top allergens as written, containing only wheat, leaveners, salt, and coconut sugar. Note that the FDA classifies coconut as a tree nut, so if you need to avoid coconut, swap coconut sugar for plain granulated cane sugar. Always double-check that any wet ingredients or add-ins you use when cooking are also certified nut-free for full safety.
15.How should I package this mix to give as a homemade gift? ▾
It makes a fantastic, thoughtful pantry gift for brunch lovers. Pour the fully mixed dry blend into a clean, sealed glass jar, tie it with a handwritten tag listing the required wet ingredients and cooking instructions, and tuck in a small extra like a mini bottle of vanilla or dairy-free chocolate chips. Be sure to note the 6-month shelf life on the tag.
16.Does this mix work for thick Belgian waffles, or only standard thin waffles? ▾
This mix works beautifully for both standard and thick Belgian waffles! For extra-tall, crisp Belgian waffles with deep, syrup-ready pockets, separate your eggs when mixing batter, whip the whites to soft peaks, and gently fold them into the batter right before cooking. That extra air creates a lighter, fluffier waffle that holds up perfectly to all your favorite toppings.

Comments (11)

2 hours ago

OMG this mix is a game changer for my dorm breakfasts! I’m lactose intolerant and have been buying super expensive pre-made dairy free waffle mix for months, this tastes way better and costs pennies to make. Threw in some chocolate chips this morning and *chef’s kiss*. SO good.

3 days ago

Brought a big batch of waffles made with this mix to my neighborhood potluck last weekend and everyone was begging for the recipe! Even the people who don’t do dairy free said they couldn’t tell the difference. Total win.

1 week ago

Meal prepped a giant jar of this mix last Sunday and we’ve had quick waffles every single school morning this week! My kids loved it, they pile on the berries and syrup and don’t even notice it’s dairy free. So much faster than making batter from scratch every day.

yesterday

Wait, can I use this mix to make pancakes too? My son has a dairy allergy and we’ve been hunting for a multi-use mix we can keep in the pantry. Already saved the recipe but curious if it works for more than waffles!

2 hours ago

Great question! This mix works perfectly for pancakes too — just use a little less liquid to get the right pancake batter consistency, and cook as you normally would on a griddle. So glad it works for your son’s allergy needs!

5 days ago

Made this before a big day hike last weekend and the waffles held up so nice, kept me full for hours! I added a scoop of vanilla protein powder to the dry mix when I made it and it was chef’s kiss. Will be keeping a jar in my camp kit from now on.

3 days ago

Oh the protein powder addition is such a smart call! I’m doing that next time I make a batch for our camping trips — thanks for the tip!

30 minutes ago

Okay, full transparency I burn literally every breakfast I make, but this was so easy even I couldn’t mess it up? 12 minute cook time is no joke, I had crispy, fluffy waffles on my plate before my coffee was even done brewing. Obsessed.

5 minutes ago

That makes us so happy to hear! This mix is designed to be totally foolproof for new cooks, so it’s awesome to know it worked out for you. Enjoy those waffles (and your coffee)!

2 weeks ago

Tried this mix for my sister’s bridal brunch last weekend and it was such a hit! We had a build your own waffle bar with all the toppings, and not a single waffle was left over. The dairy free folks at the party were especially thrilled they didn’t have to bring their own food.

1 week ago

A build your own waffle bar is such a good idea for a bridal brunch! I’m stealing that for my best friend’s shower next month, thanks for the inspo!

2 days ago

Quick question — how long does the dry mix stay good if I store it in an airtight container in the pantry? I want to make a big batch but don’t want it to go bad before I use it all! Also, does it work with oat milk as the wet mix in?

yesterday

Great questions! Stored in a sealed airtight container in a cool, dry pantry, the dry mix will stay fresh for up to 3 months. Oat milk works perfectly as the dairy free milk addition — I use it all the time when making these waffles at home!

2 hours ago

I stored mine for almost 4 months once and it was still totally fine! I add a little silica packet to the jar to keep moisture out, works like a charm. I use almond milk and it turns out great too.

30 minutes ago

Okay I was skeptical because a lot of dairy free baked goods taste like cardboard, but these were SO fluffy and crispy? The only thing I did wrong was I didn’t spray my waffle iron enough first so the first two stuck a little, but that was 100% user error, not the recipe’s fault.

5 minutes ago

Oh I did the exact same thing my first time making these! I now give my iron a quick spray between every couple waffles and they slide right out, no sticking at all.

just now

So glad you enjoyed the flavor and texture! Quick pro tip: letting your waffle iron fully preheat before pouring the batter in also helps cut down on sticking, no extra spray needed sometimes if your iron is well-seasoned!

1 week ago

Made these for my twin toddlers this morning and they gobbled them up faster than the frozen waffles I usually buy! Win in my book. I added a little cinnamon to the mix and it gave it such a cozy warm flavor, will absolutely be making this a staple in our house.

5 days ago

The cinnamon addition sounds incredible! I’m making a batch tonight for tomorrow’s breakfast and I’m definitely tossing in a teaspoon of cinnamon, maybe a little nutmeg too.

3 days ago

Fellow twin mom here! My two are super picky and I’ve been searching for a dairy free waffle they’ll eat — trying this tomorrow, fingers crossed!

3 days ago

Wait a second, is this mix gluten free if I use a 1:1 gluten free all purpose flour? My household is both dairy free and gluten free so I’m always hunting for mixes that pull double duty without tasting weird.

2 days ago

Absolutely! I’ve tested this recipe with a couple different brands of 1:1 gluten free all purpose flour and it turns out perfectly every time. No weird texture or aftertaste, just crispy fluffy waffles.

yesterday

I did this last week with Bob’s Red Mill 1:1 GF flour and it was amazing! Even my gluten-eating roommate stole half the batch, he had no idea it was both GF and DF.



